Rules and features of repairing a soccer ball at home
Signature balls are particularly durable. Manufacturers take into account the load that occurs during the game. Repair of soccer balls is needed when puncture or other damage to the outer casing / camera occurs. As a rule, damage occurs when objects that should not be on the playing field.
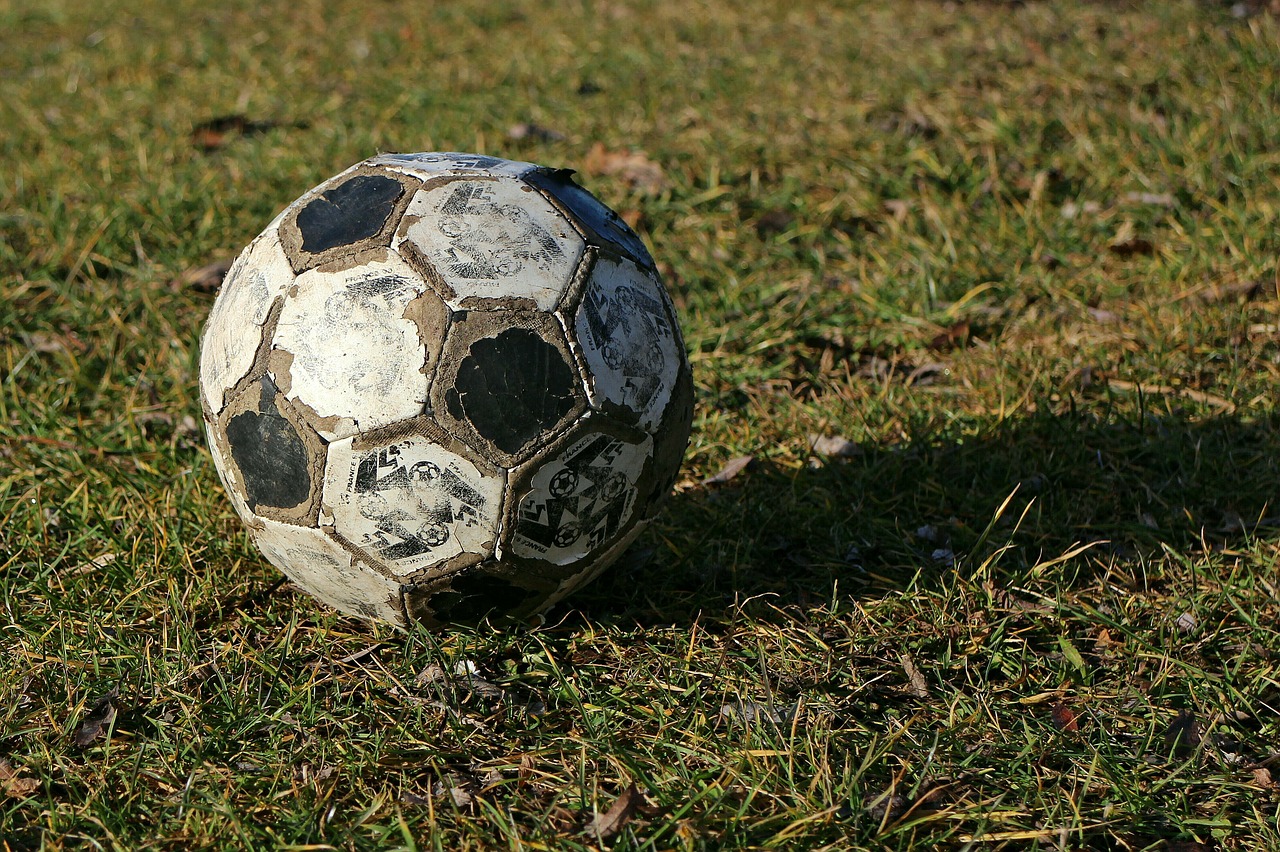
Of course, stadiums are regularly cleaned, but in the yard, such a phenomenon as broken glass or pieces of metal objects is far from uncommon.
Consider the options for repairing balls at home: what is needed for this and is the task feasible.
How to find a puncture on a ball
The first thing to do is to find the place of damage on the surface of the ball.
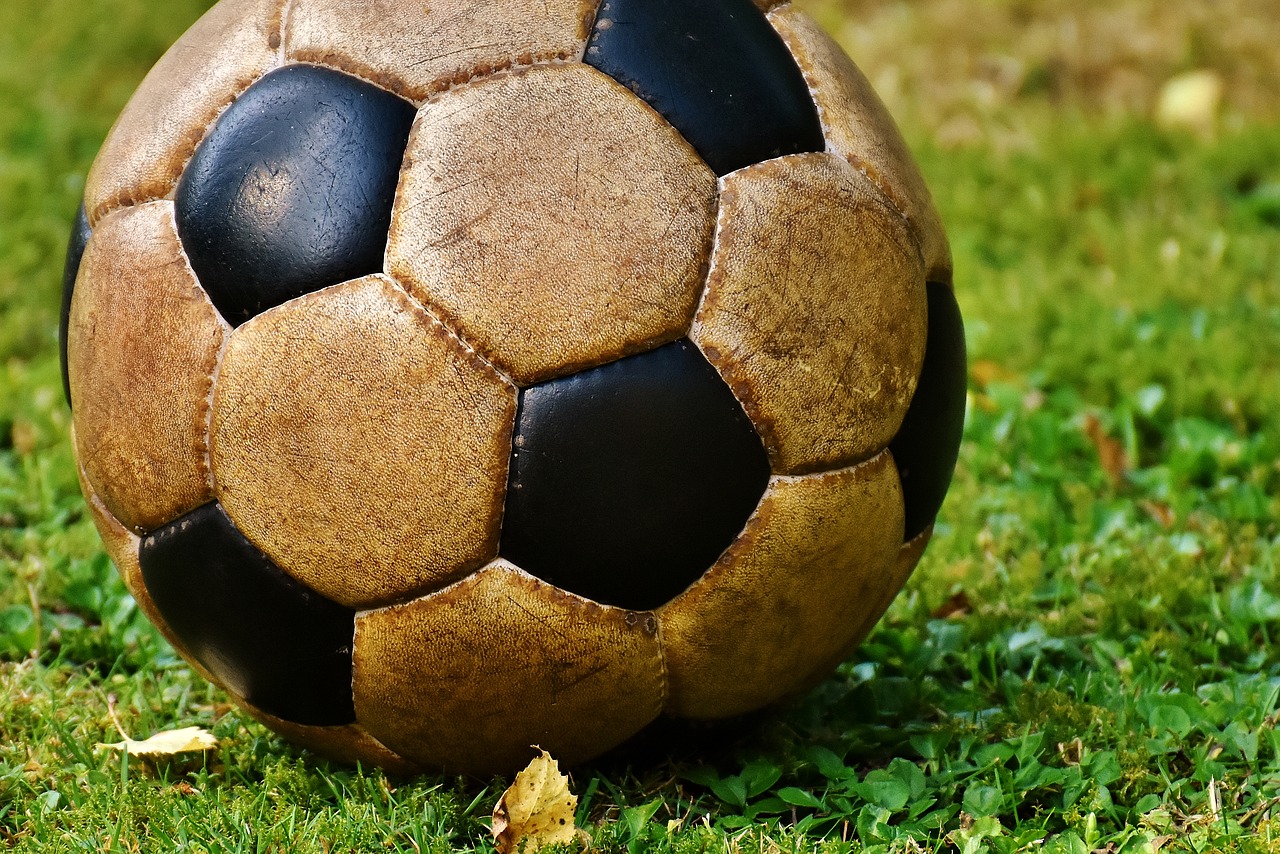
Sometimes this is obvious: when the puncture / cut is clearly visible. Possible troubles include:
- significant (cuts, large tears) and minor (punctures) damage;
- problems with the nipple (valve or the place of attachment to the camera);
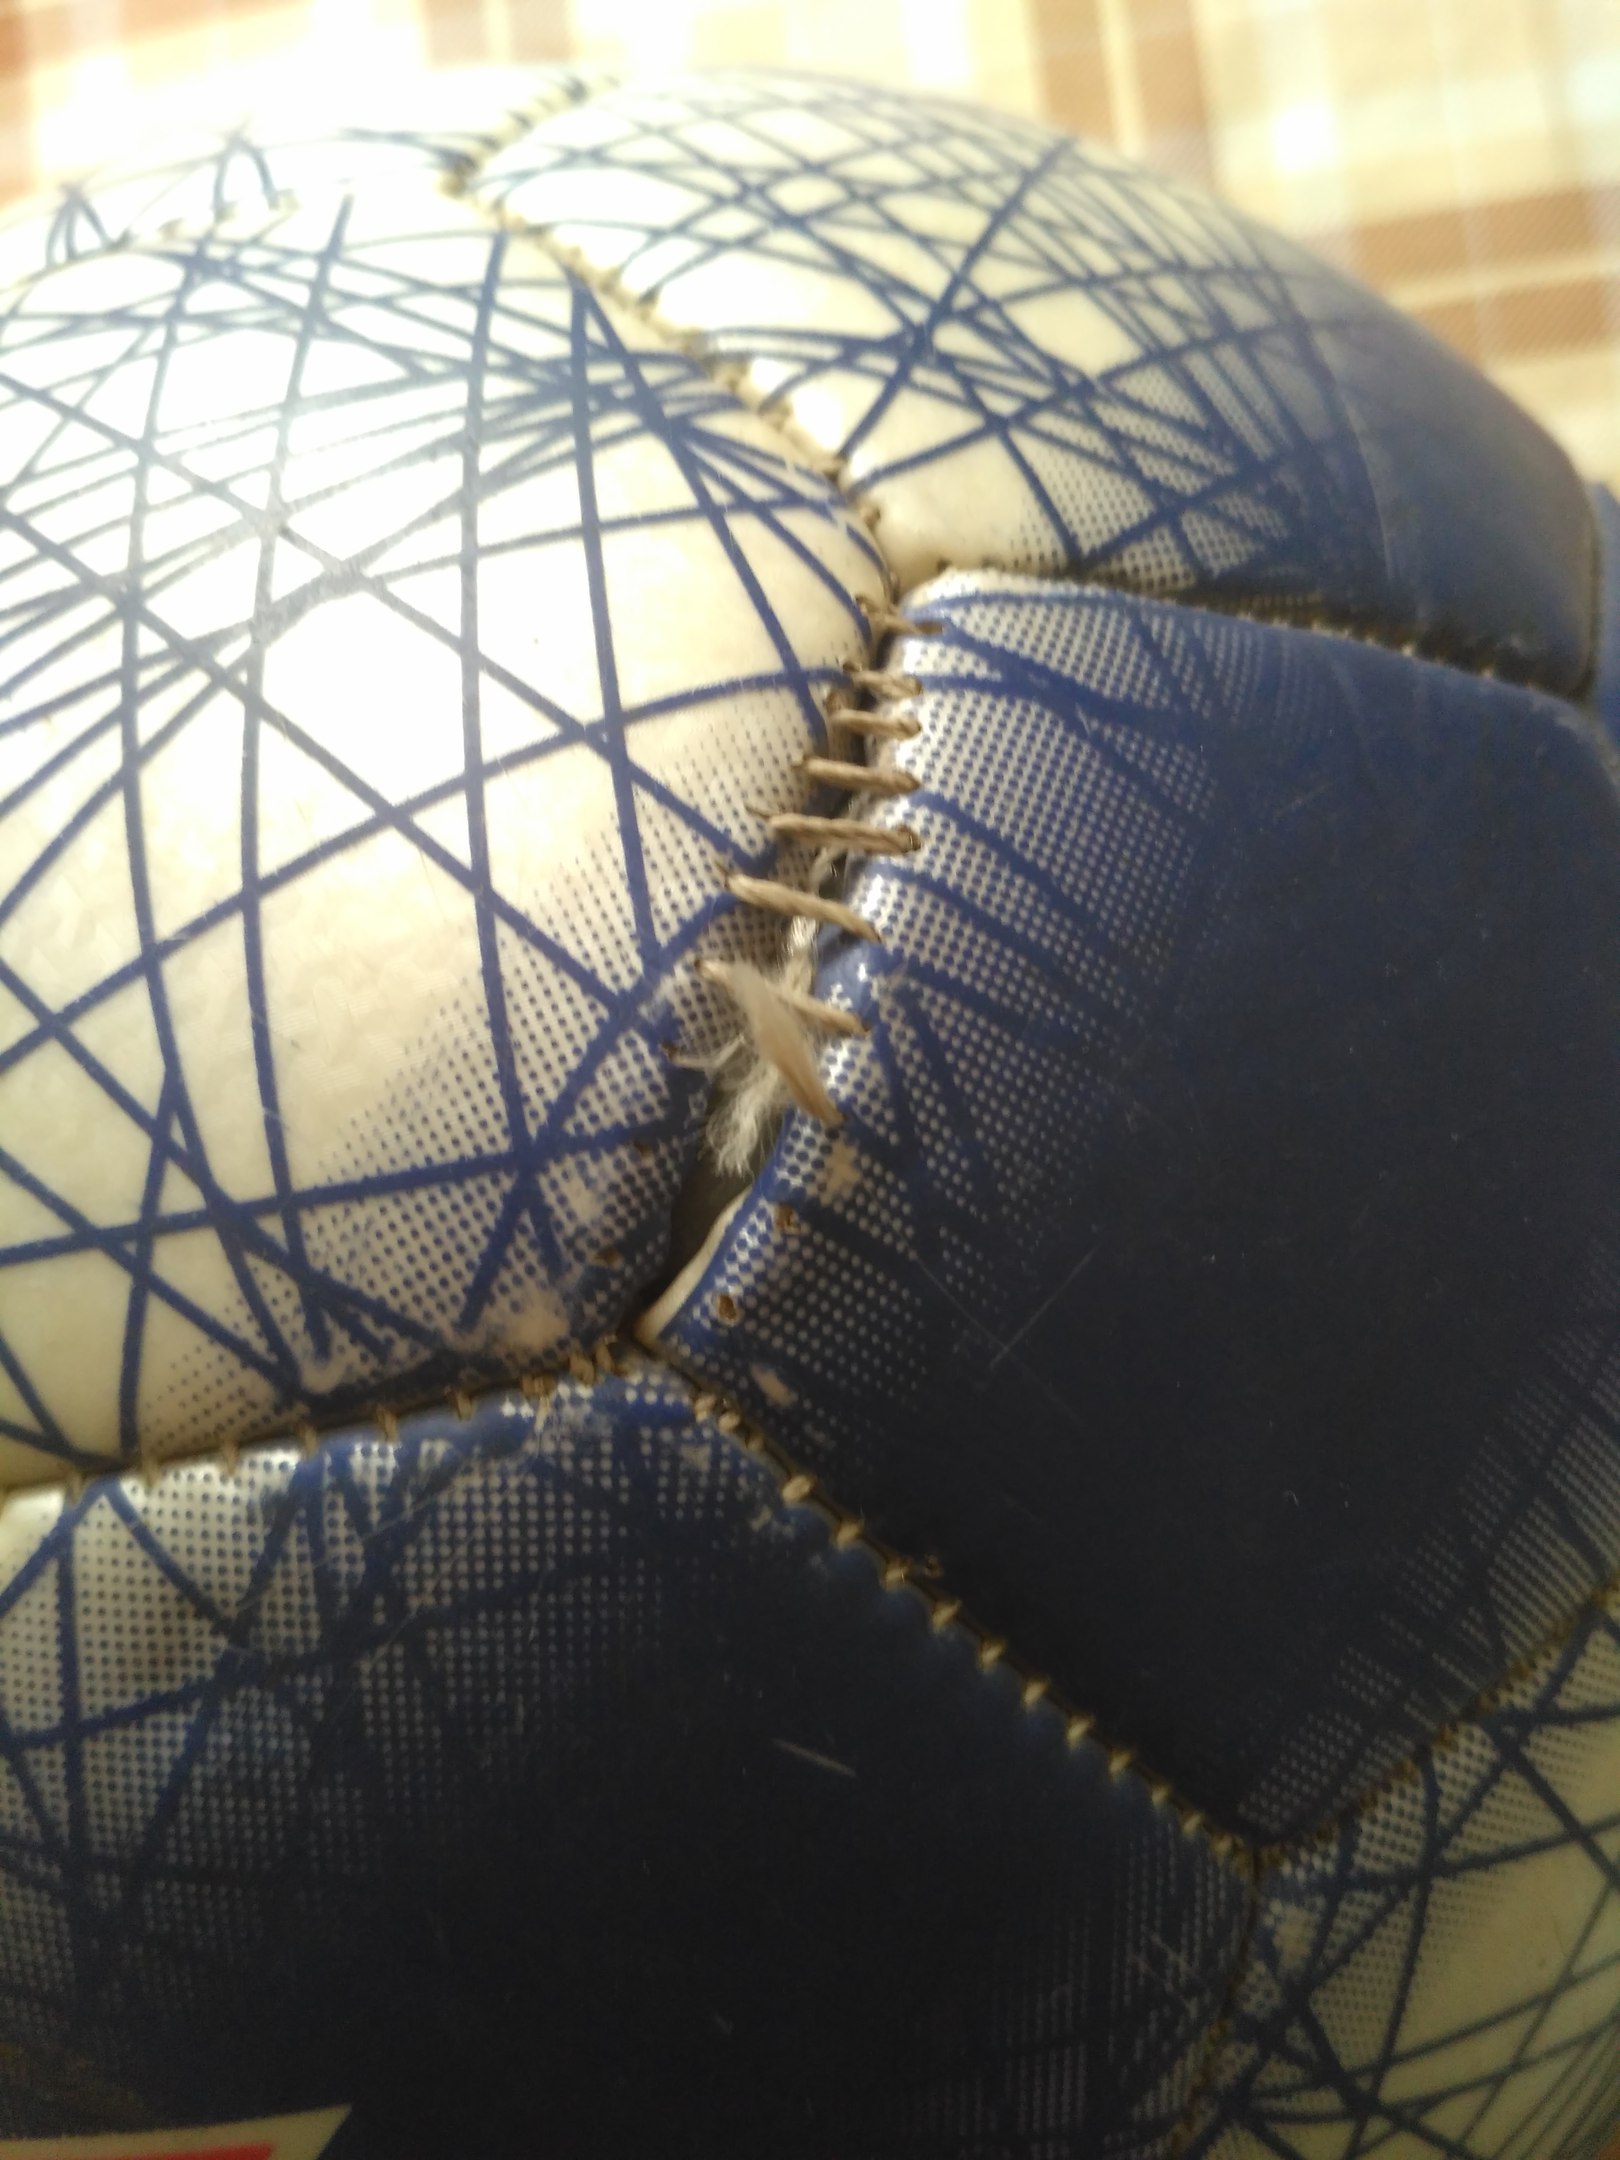
- mechanical wear or damage to the tire (manifested in the form of loosening of the seams).
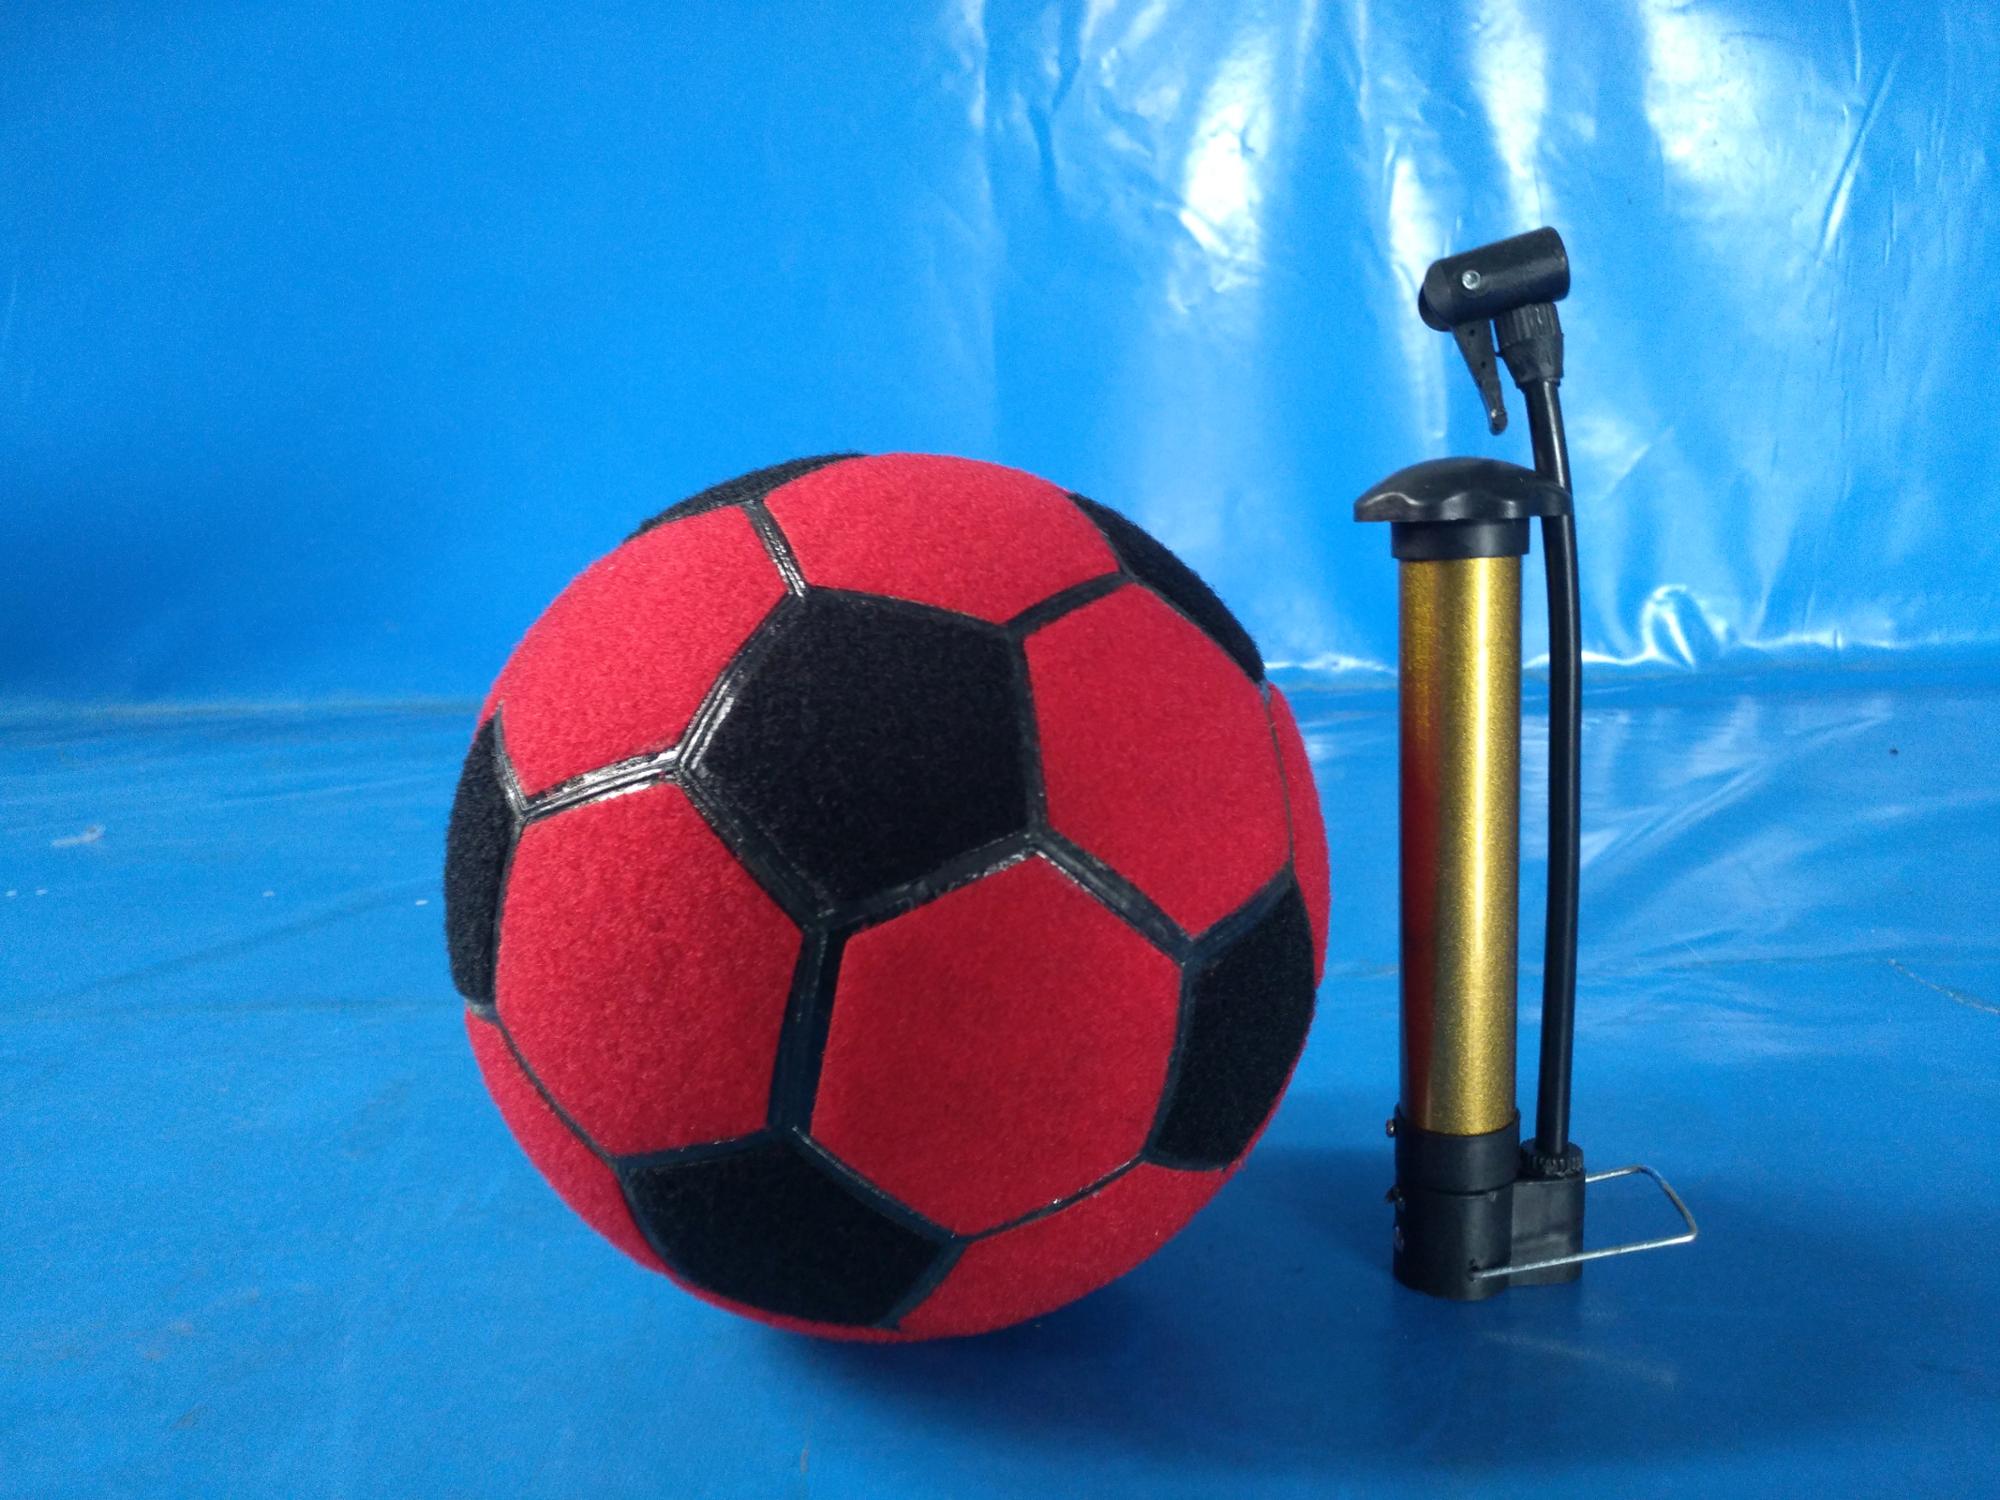
The optimal and working method to detect hidden damage is to pump a ball and dip it into a container of water. The same place will be manifested by the active release of air bubbles. In order not to lose it, take a toothpick in advance and stick it into the puncture site. This will be a kind of beacon for further repair activities.
Sometimes a newly formed hole in the chamber can be detected without water: if the air comes out quickly, finding a leak is not a problem. Circle the area with chalk.
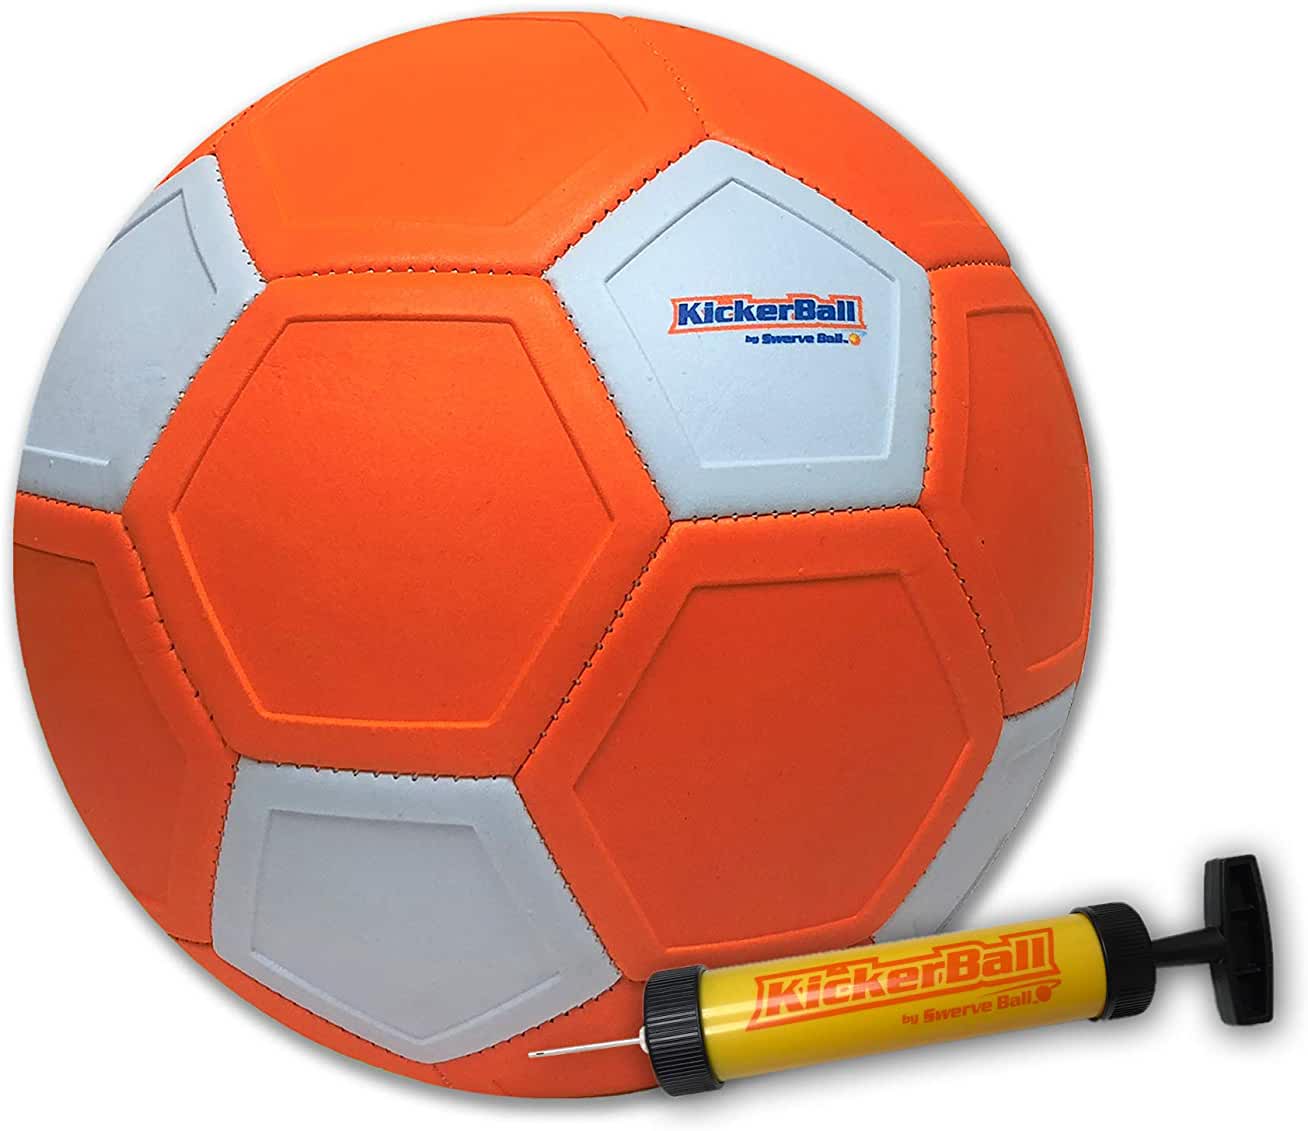
Required materials and tools
Before dealing with the question of how to glue a soccer ball, you need to understand what is needed for this. If you have experience in gluing car / bicycle cameras, then the principle of ball repair is clear to you.
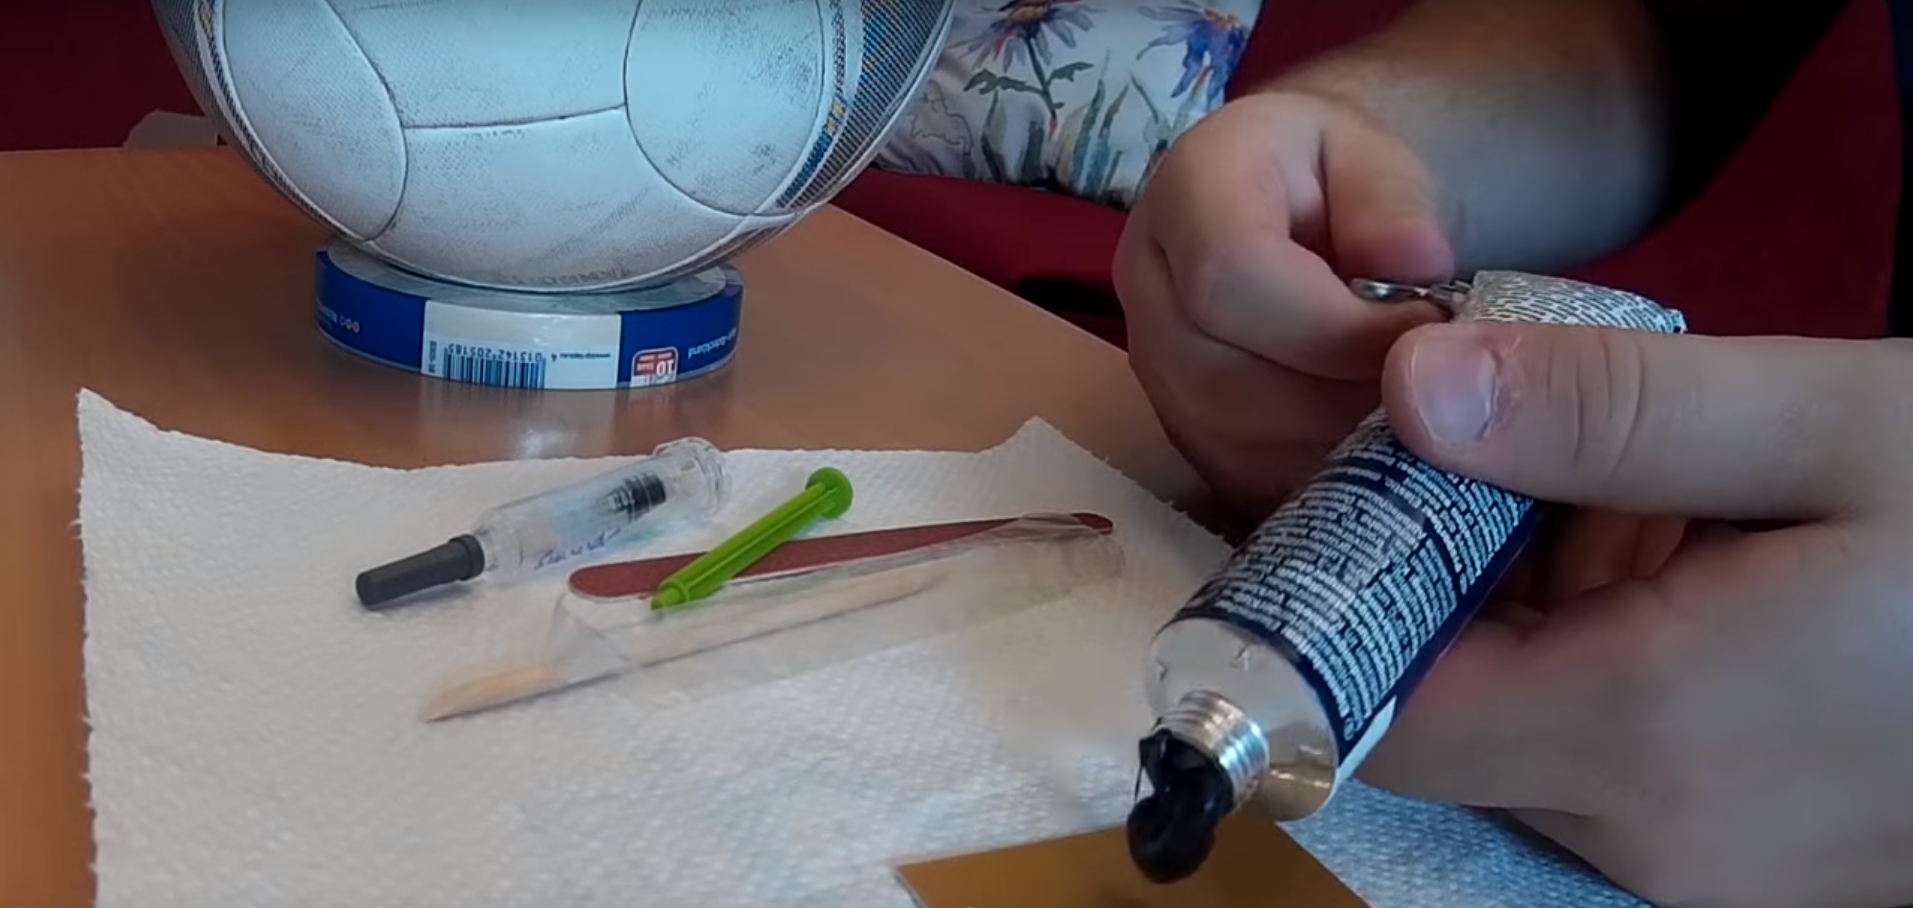
You need to purchase the following materials and tools:
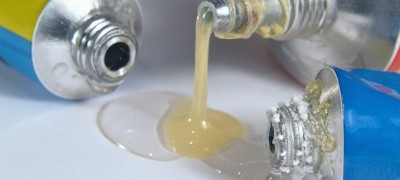
- Glue. There are a lot of options on the market, but rubber is the best in practice.
- Instant adhesive (fast drying). They are versatile, act almost instantly and effectively.
- A fragment of an elastic band can serve as a patch. Purchased patches can also be used.
- Scissors or knife (at your discretion).
- Degreaser (acetone is fine). It will be needed to prepare the rubber surface for gluing.
The surface of the ball is pre-cleaned.
NOTE! Use only sharp scissors or a knife, they may be needed both for preparing the rubber for the patch and for loosening the seams.
Step-by-step instructions for repairing a ball at home
The preparatory stage is over, it's time to move on to considering the issue of how to sew a soccer ball at home. We offer you step-by-step instructions.Familiarize yourself with the possible options for damage and the method of their elimination.
The easiest way to fix the ball is without a camera. In this case, there are fewer actions.
It is also important to understand the peculiarity of the material from which the repair object is made. This could be:
- leather (mainly with a camera) - the most durable, but expensive material;
- a leather substitute, depending on the quality, the price also fluctuates;
- synthetic materials (cheap, but short-lived, it doesn't always make sense to fix them).
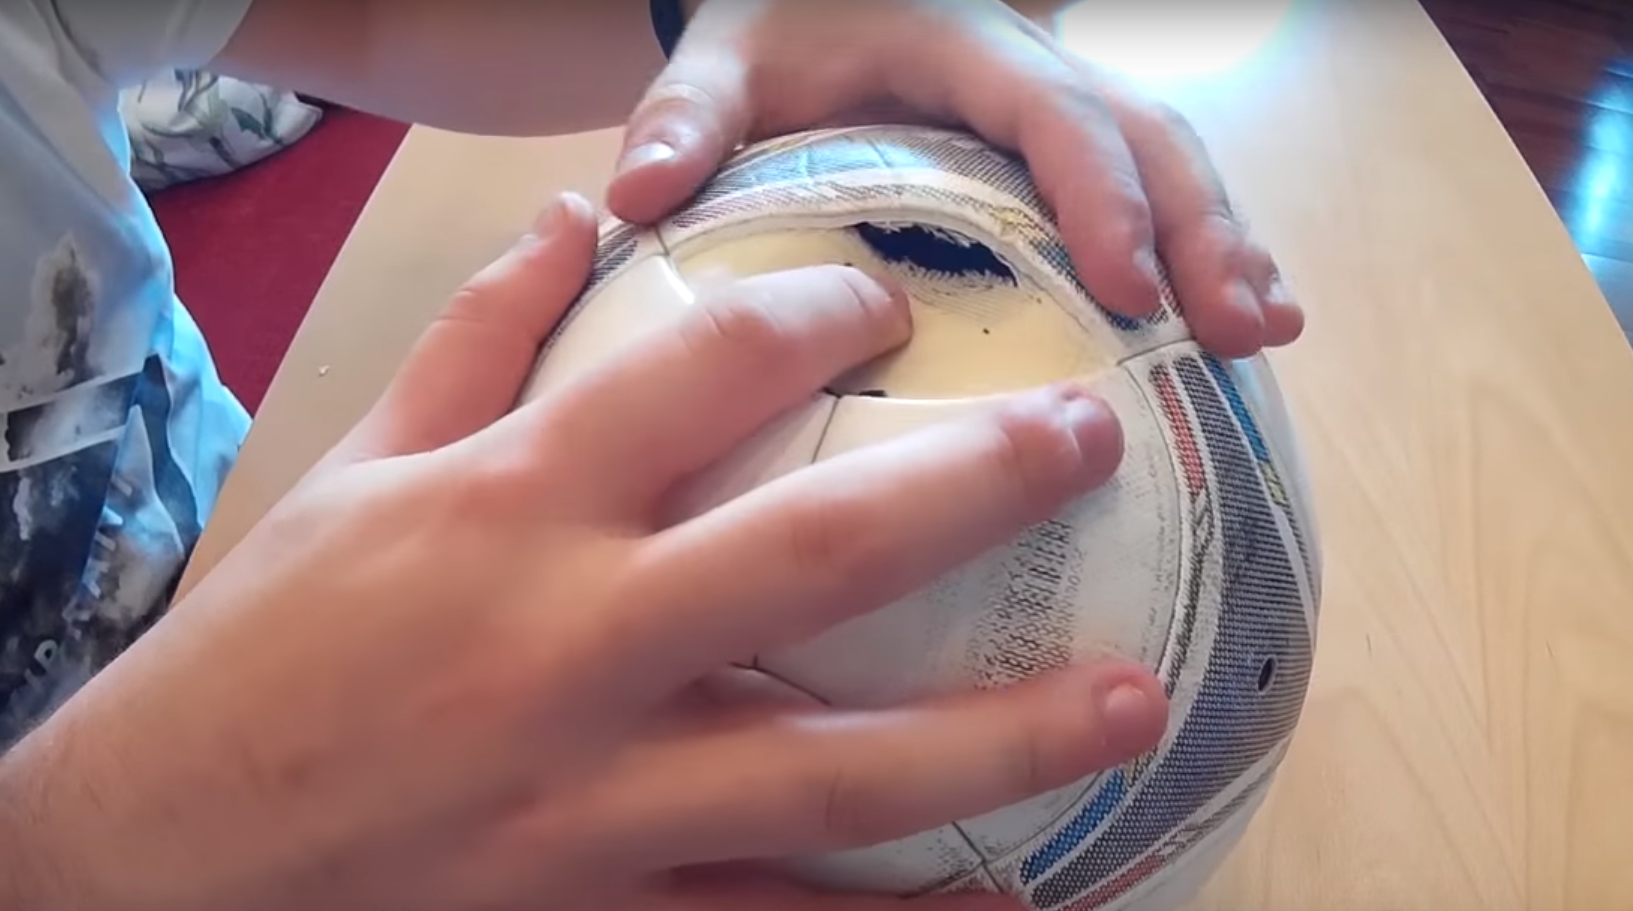
In any case, regardless of the casing material, the camera is always rubber. So, first things first.
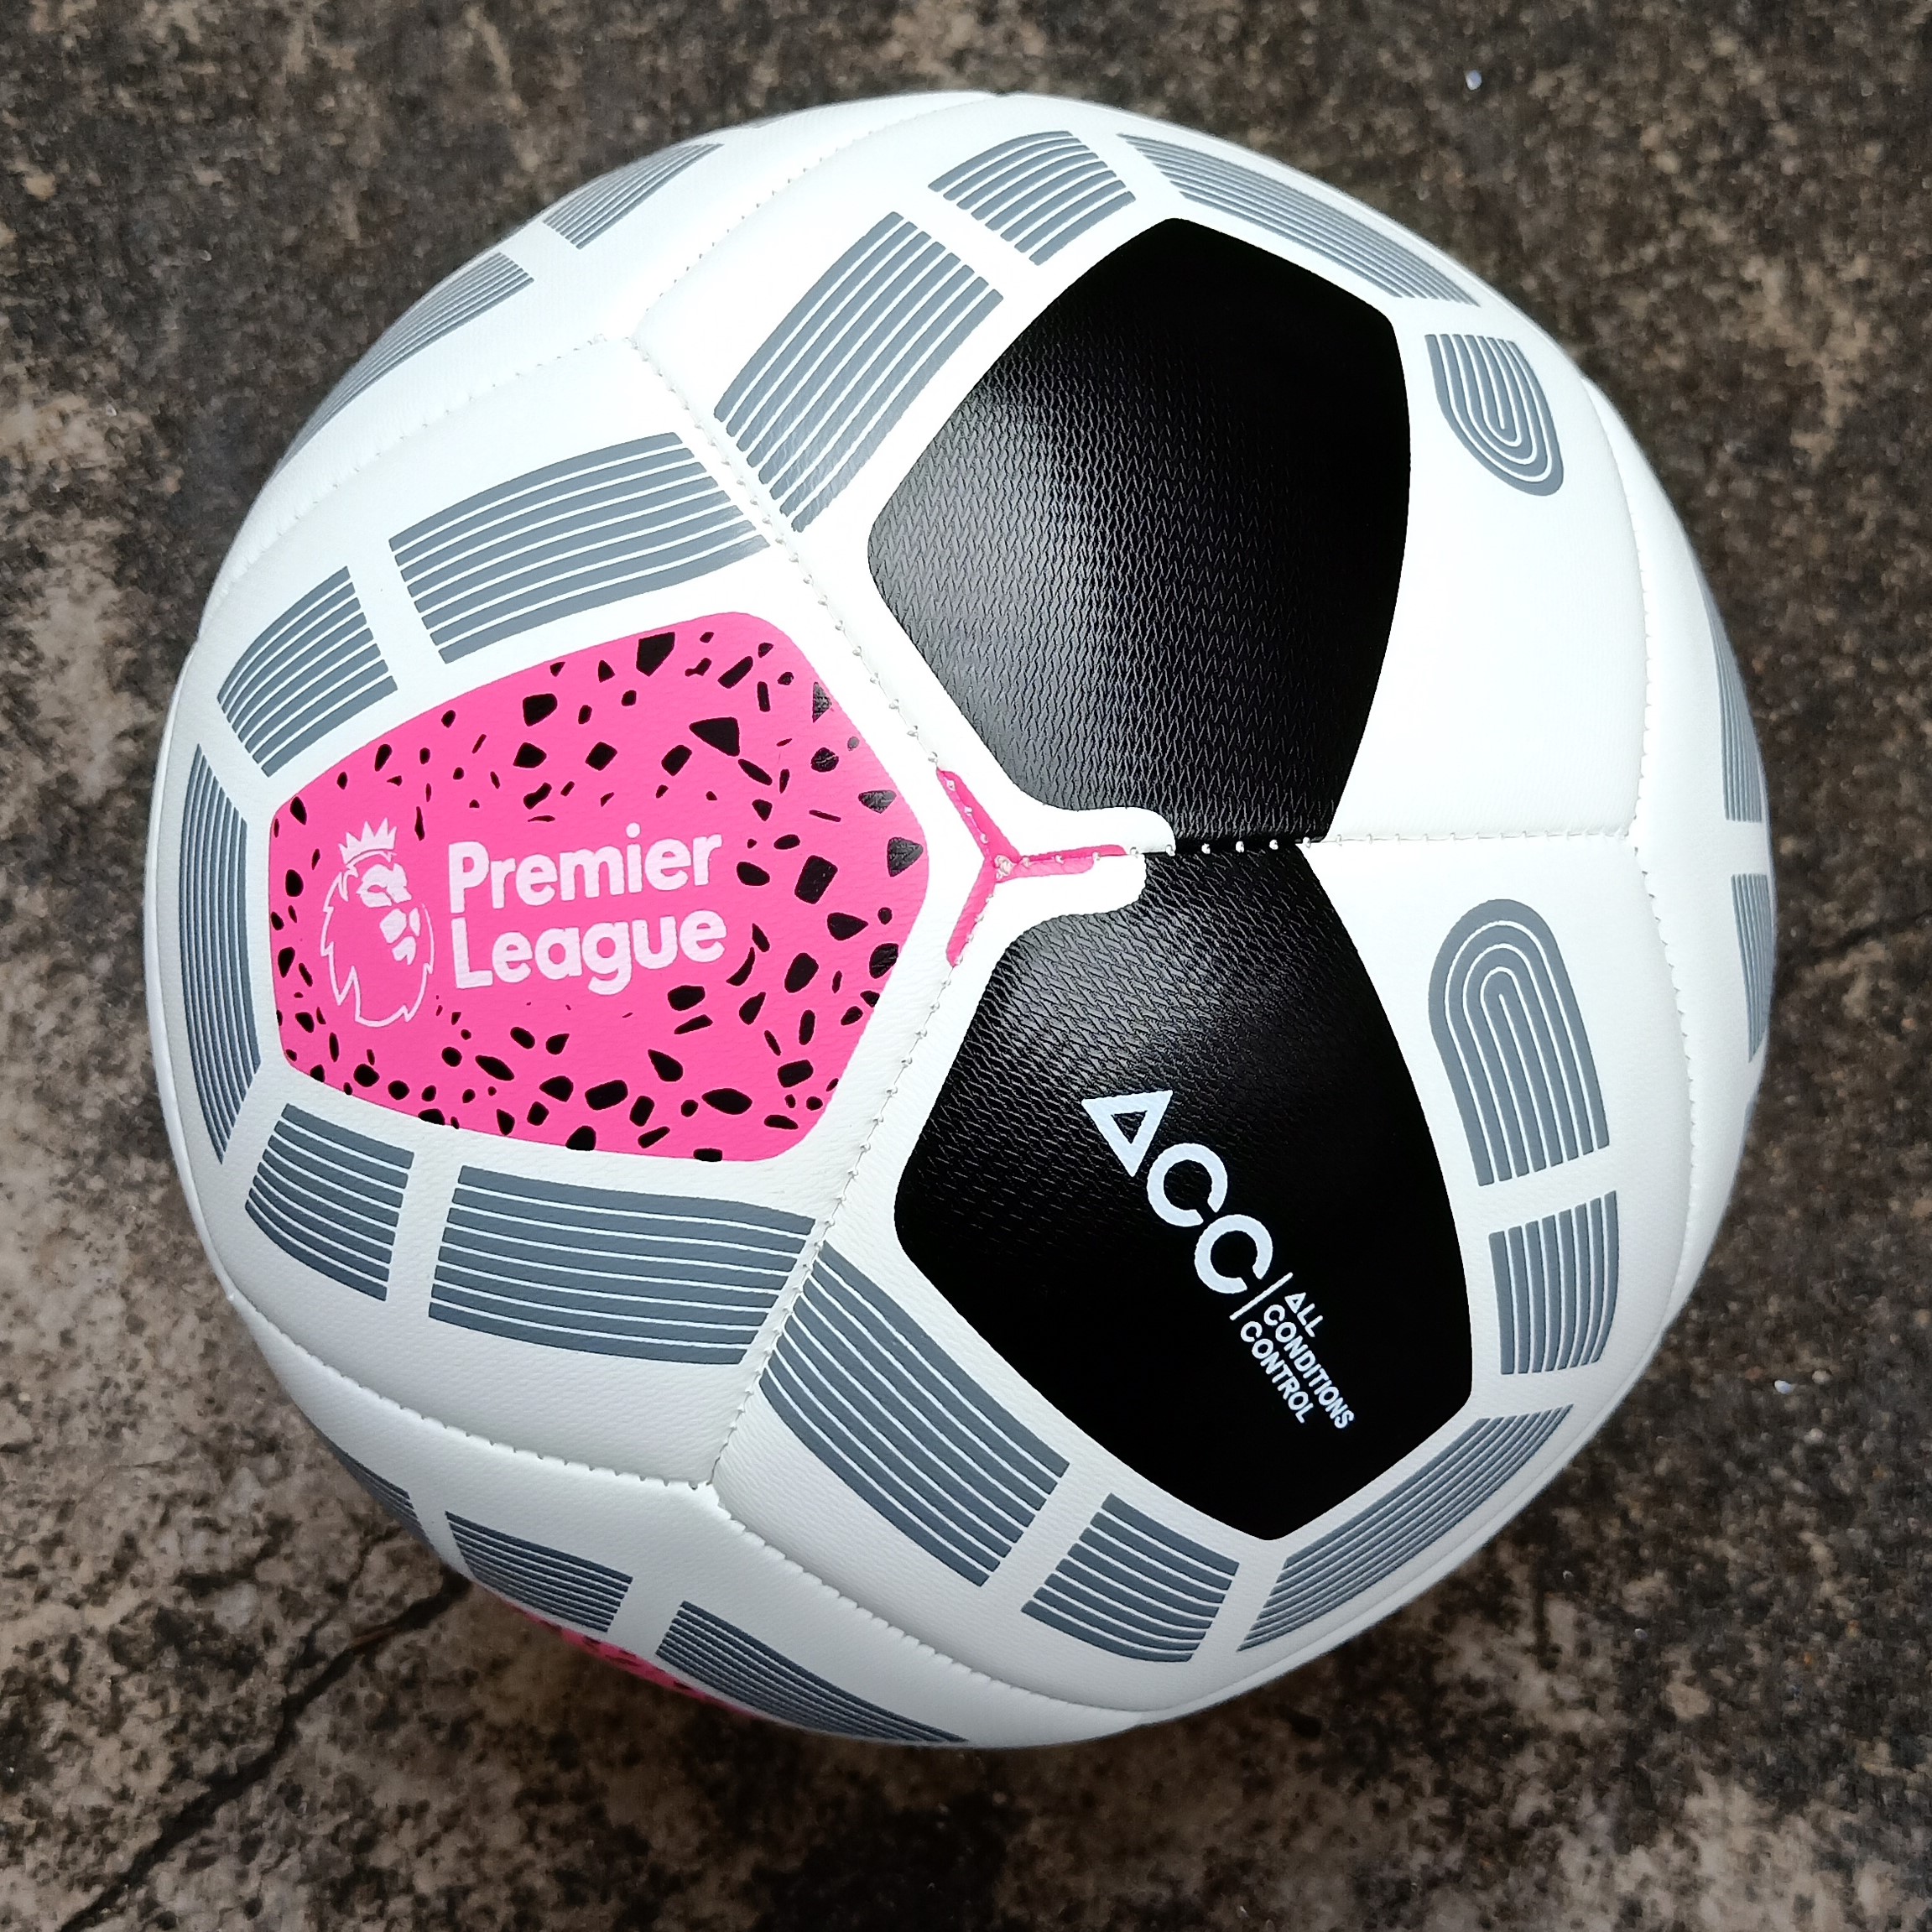
If the hole is small
Having established the puncture site, it is not difficult to understand what the size of the hole is. If it is insignificant, you will not have to put the patch. You can simply use a rubber glue applied to a pre-marked location. It dries, depending on the composition, from 20 minutes to 24 hours. But it is better to follow the manufacturer's recommendation.
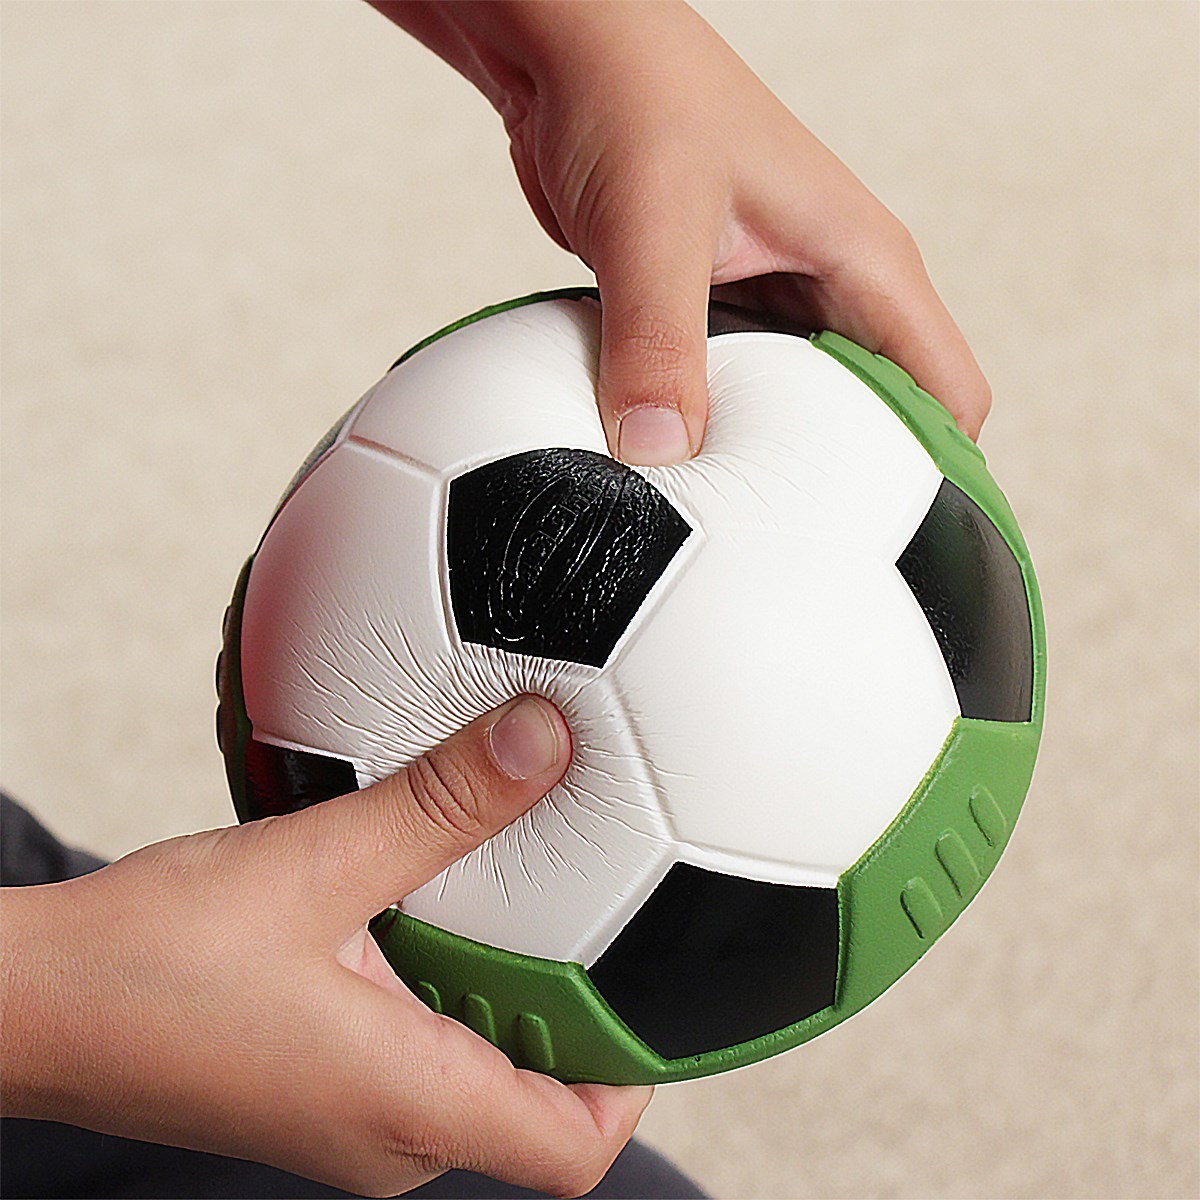
How to apply the glue:
- Degrease the surface. For these purposes, we use an ordinary ear stick and acetone. This should be done not only to clean the place, but also to improve the adhesive properties.
- Using a thin object (toothpick, kebab skewer, knitting needle, etc.), we apply glue in such a way that it covers not only the area of the hole, but also around it.
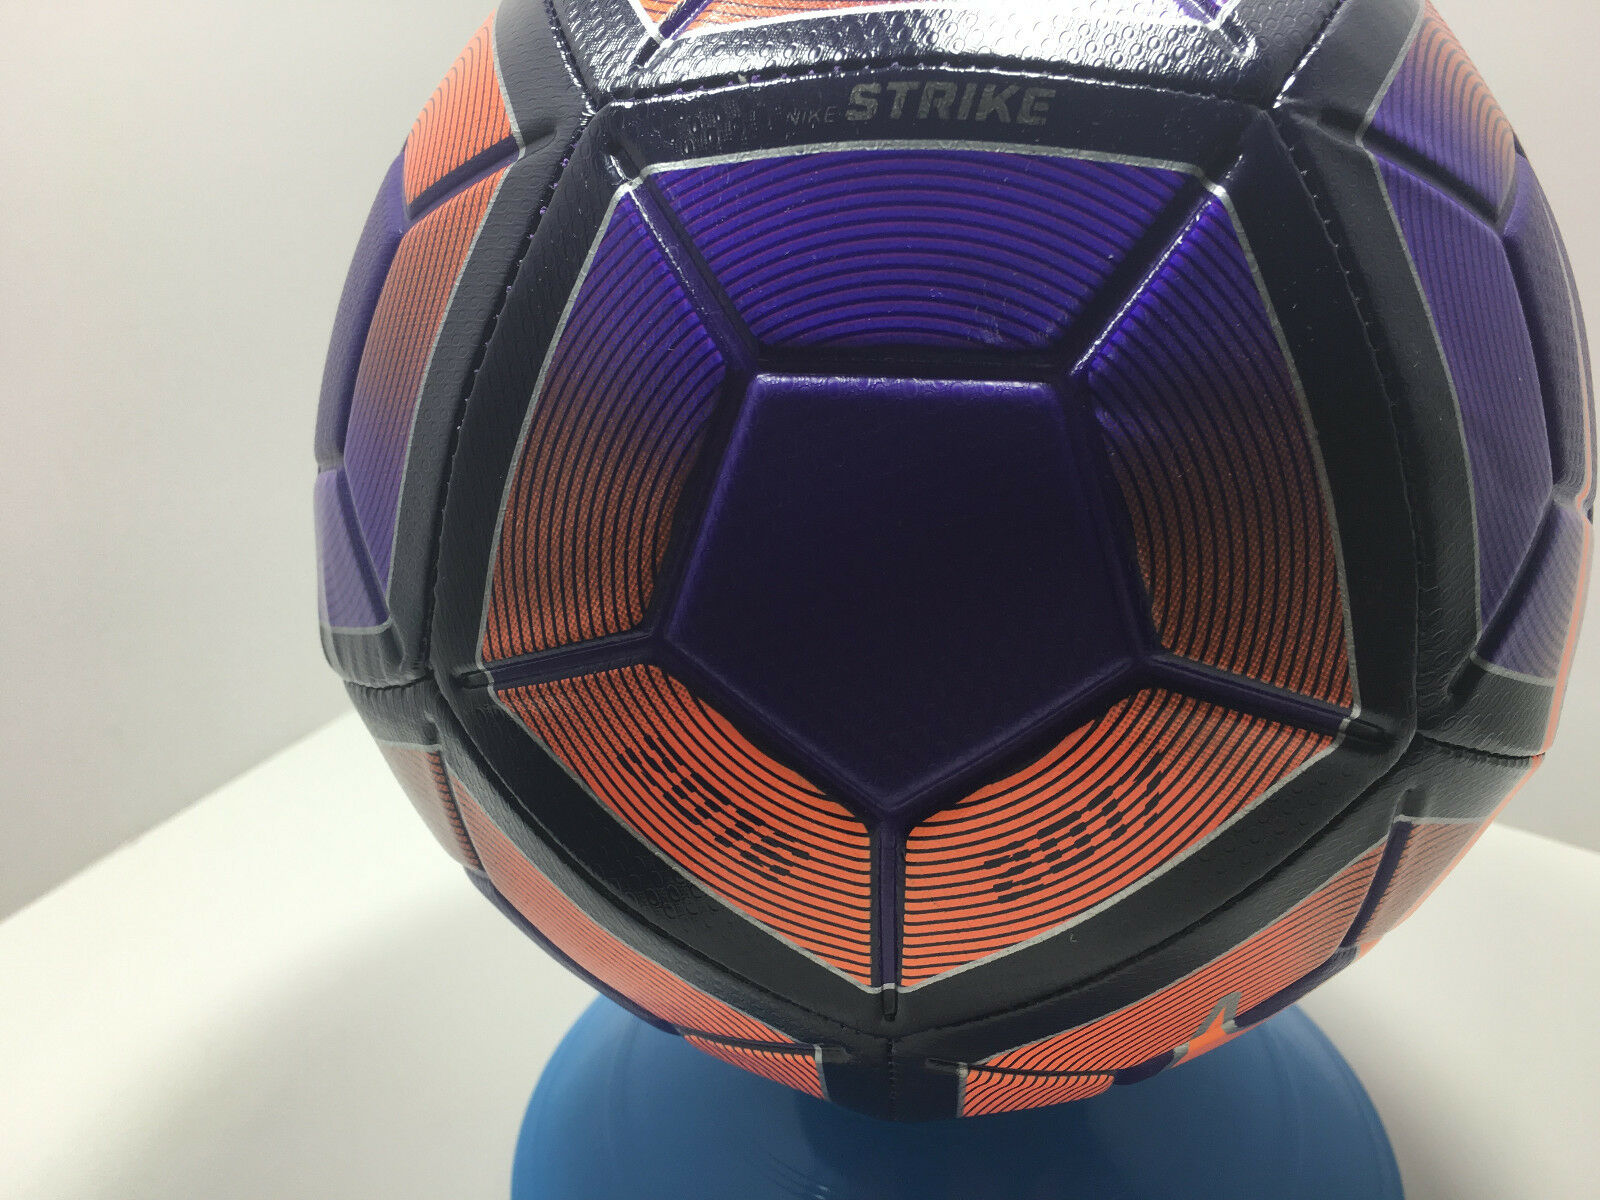
IMPORTANT! The ball must be deflated before gluing, otherwise the air will squeeze out the glue.
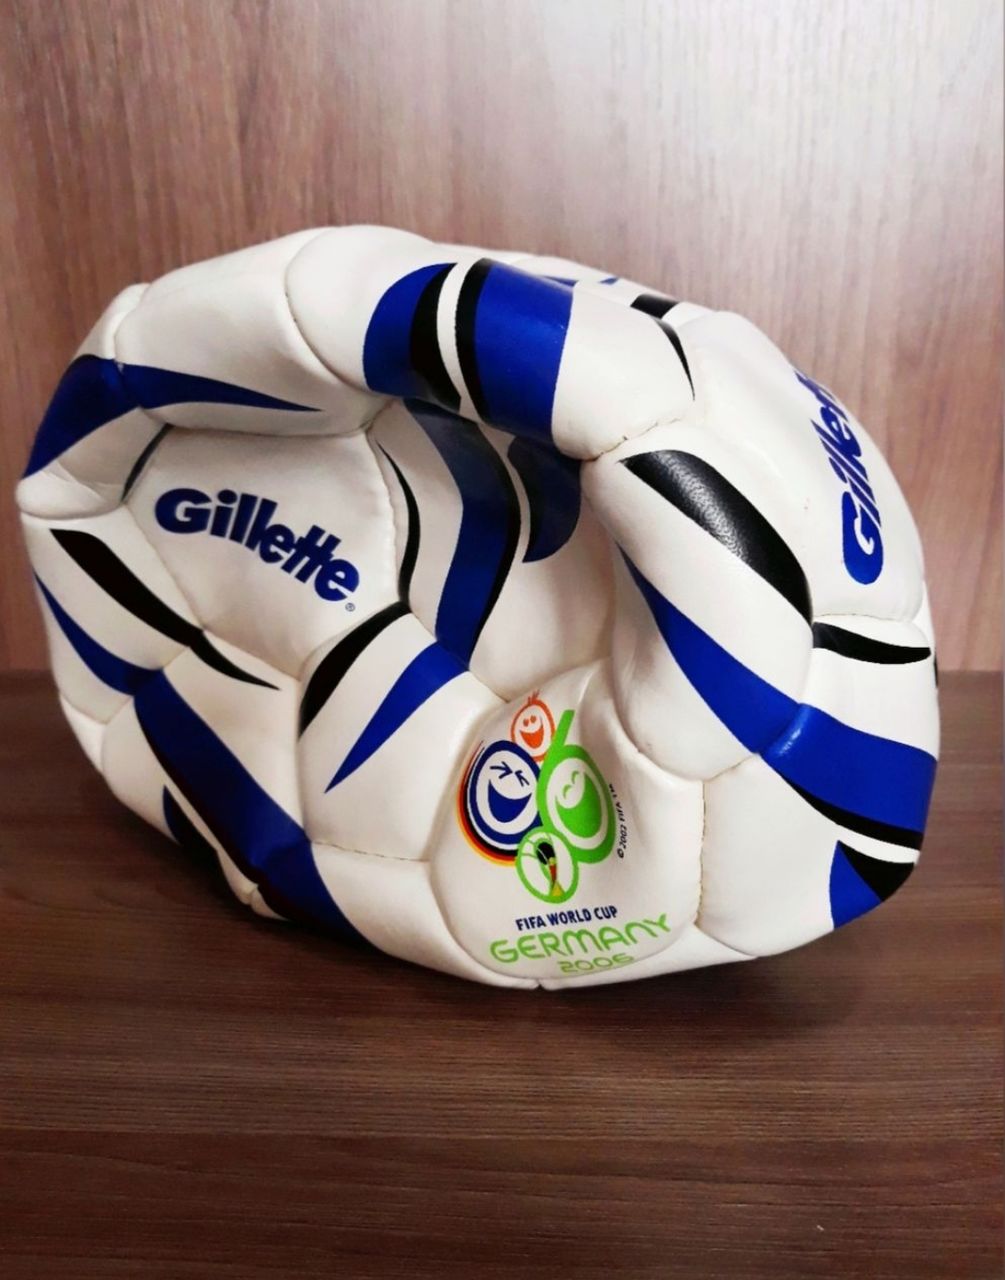
For the best effect, glue should be applied not only to the surface of the hole, but also inward. This will allow the glue to pull together and fix the puncture.
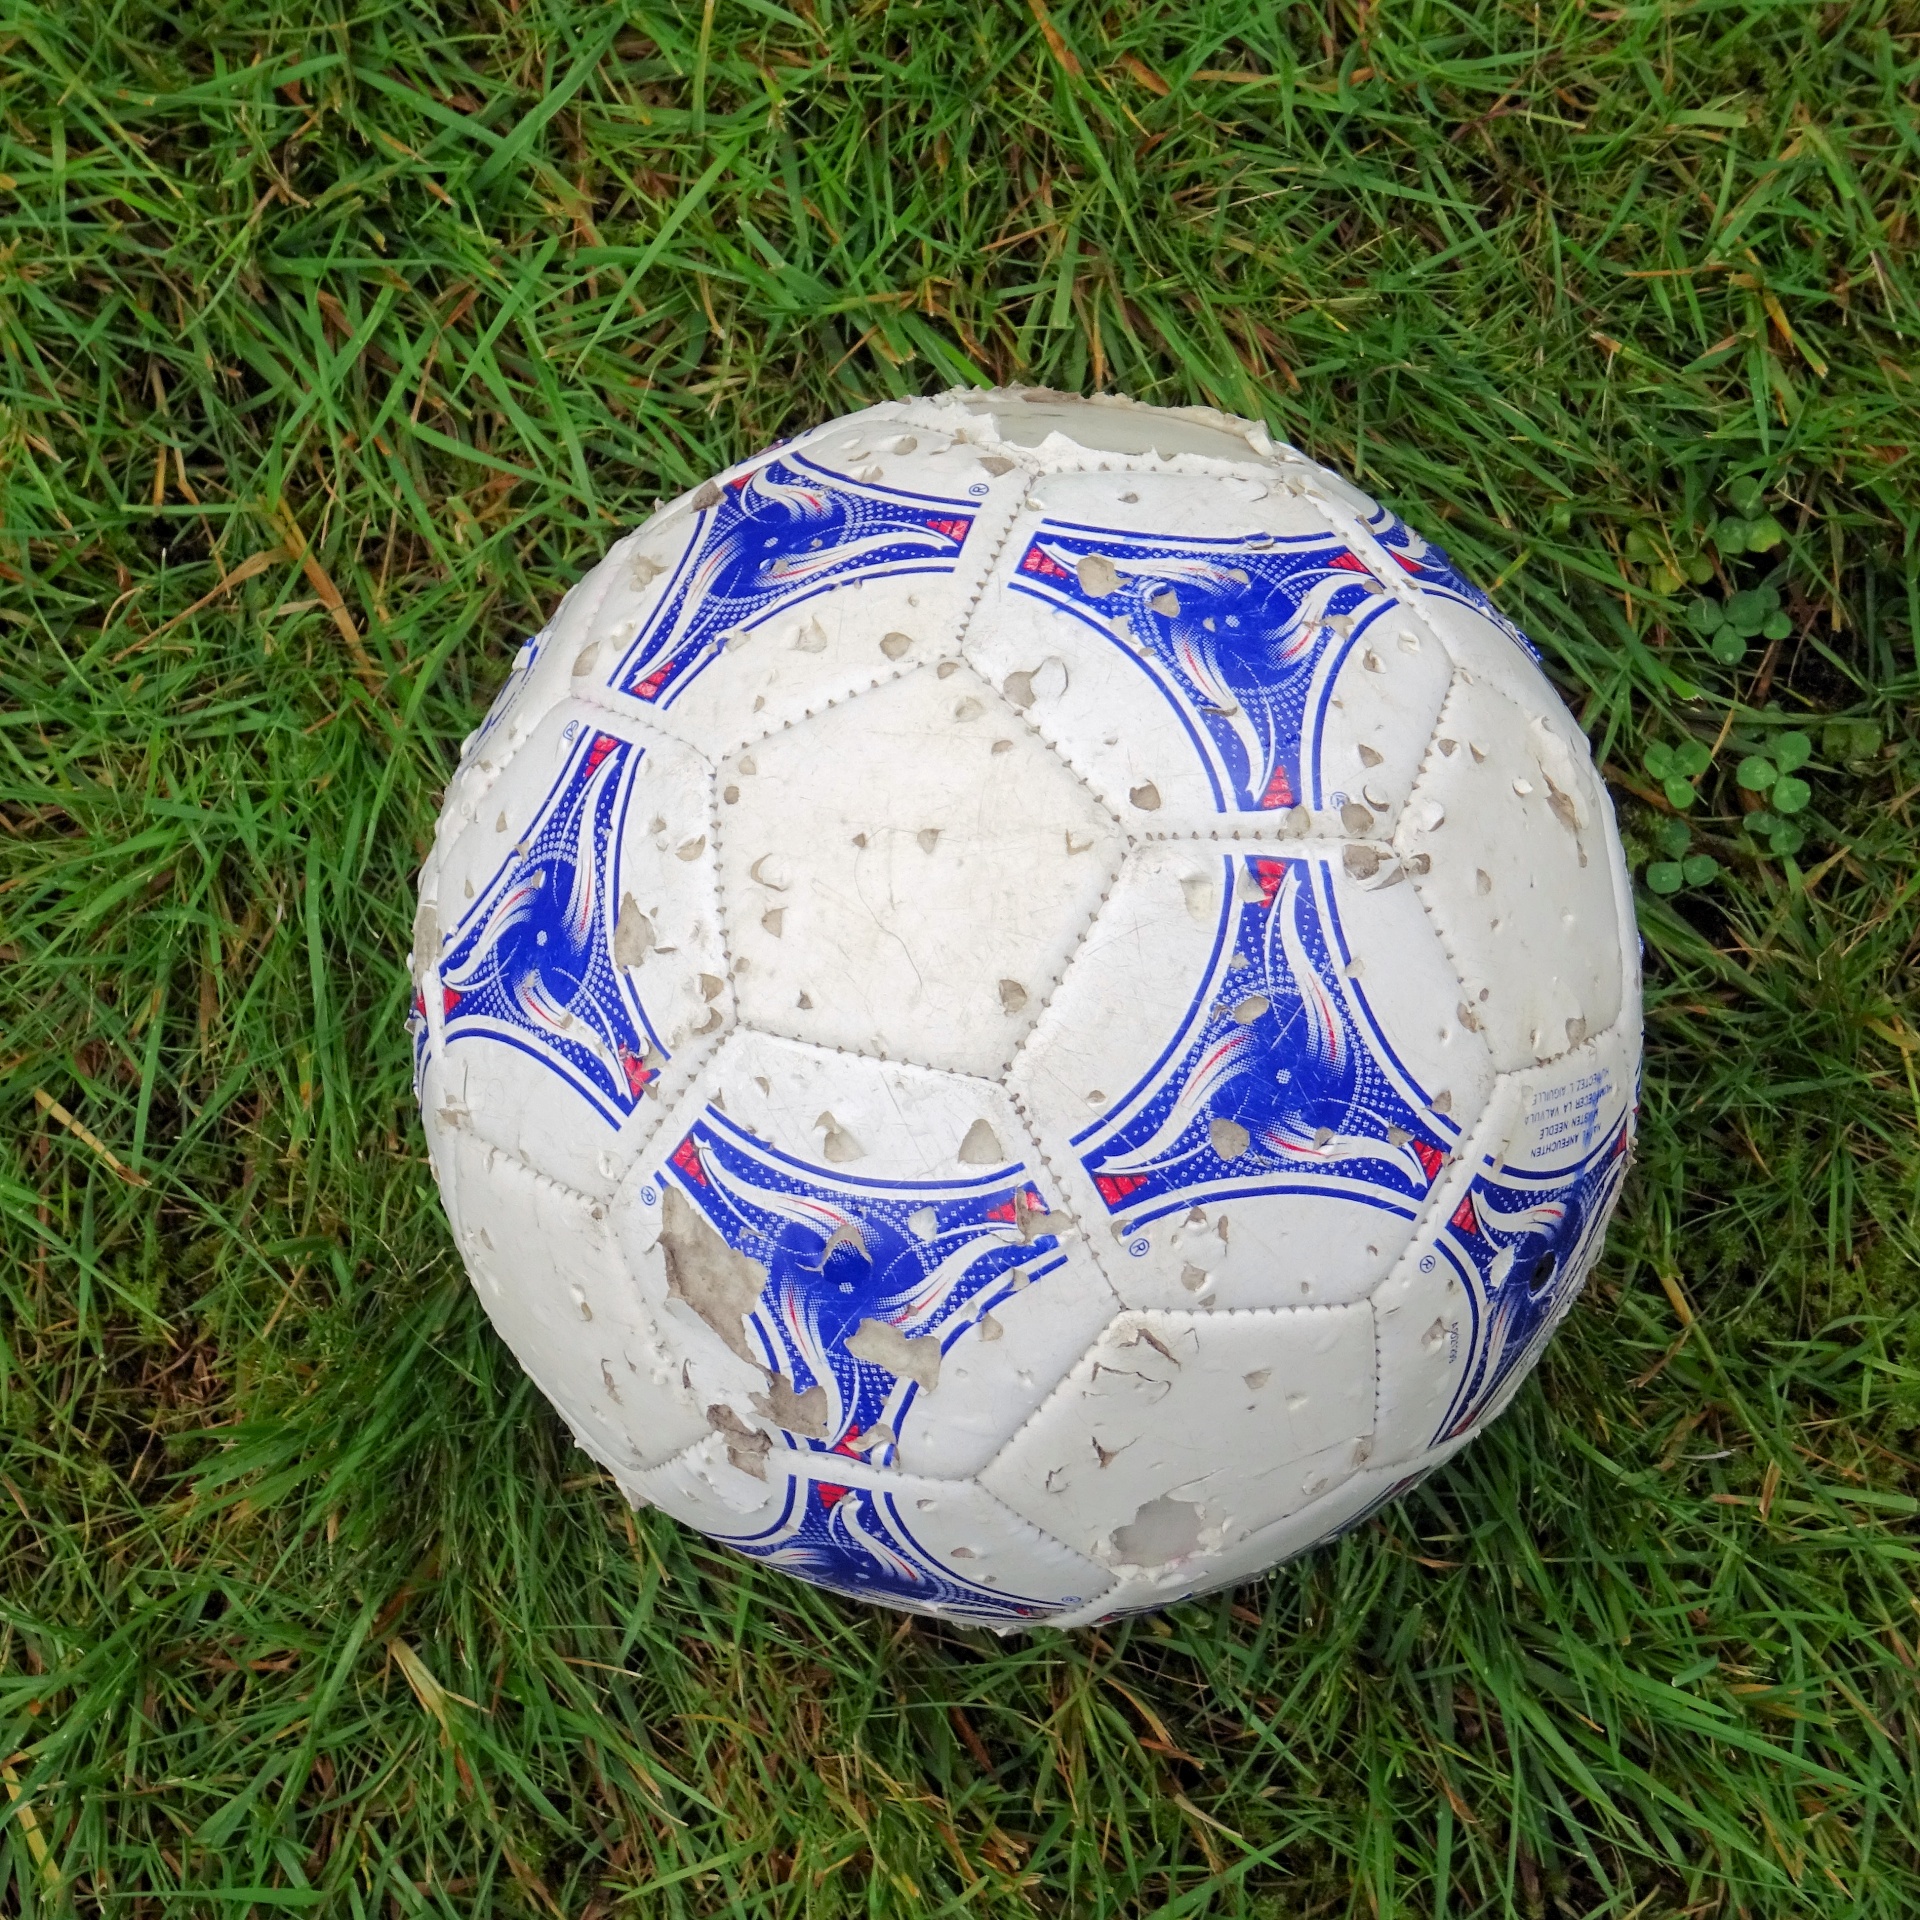
Sealant repair from the inside
The sealant got its name for a reason. It is a versatile product that provides a secure hold on a wide variety of materials, from glass to rubber. A sealant is used when the puncture is minor. It is used without the need to dissolve the seams and remove the casing. The productivity of this method is not always justified, in terms of effectiveness it is similar to rubber glue.
How to glue without cutting the surface
Damage may be minor. In this case, you can use a patch. The market is ready to offer ready-made materials for gluing, with a layer of special glue already applied.
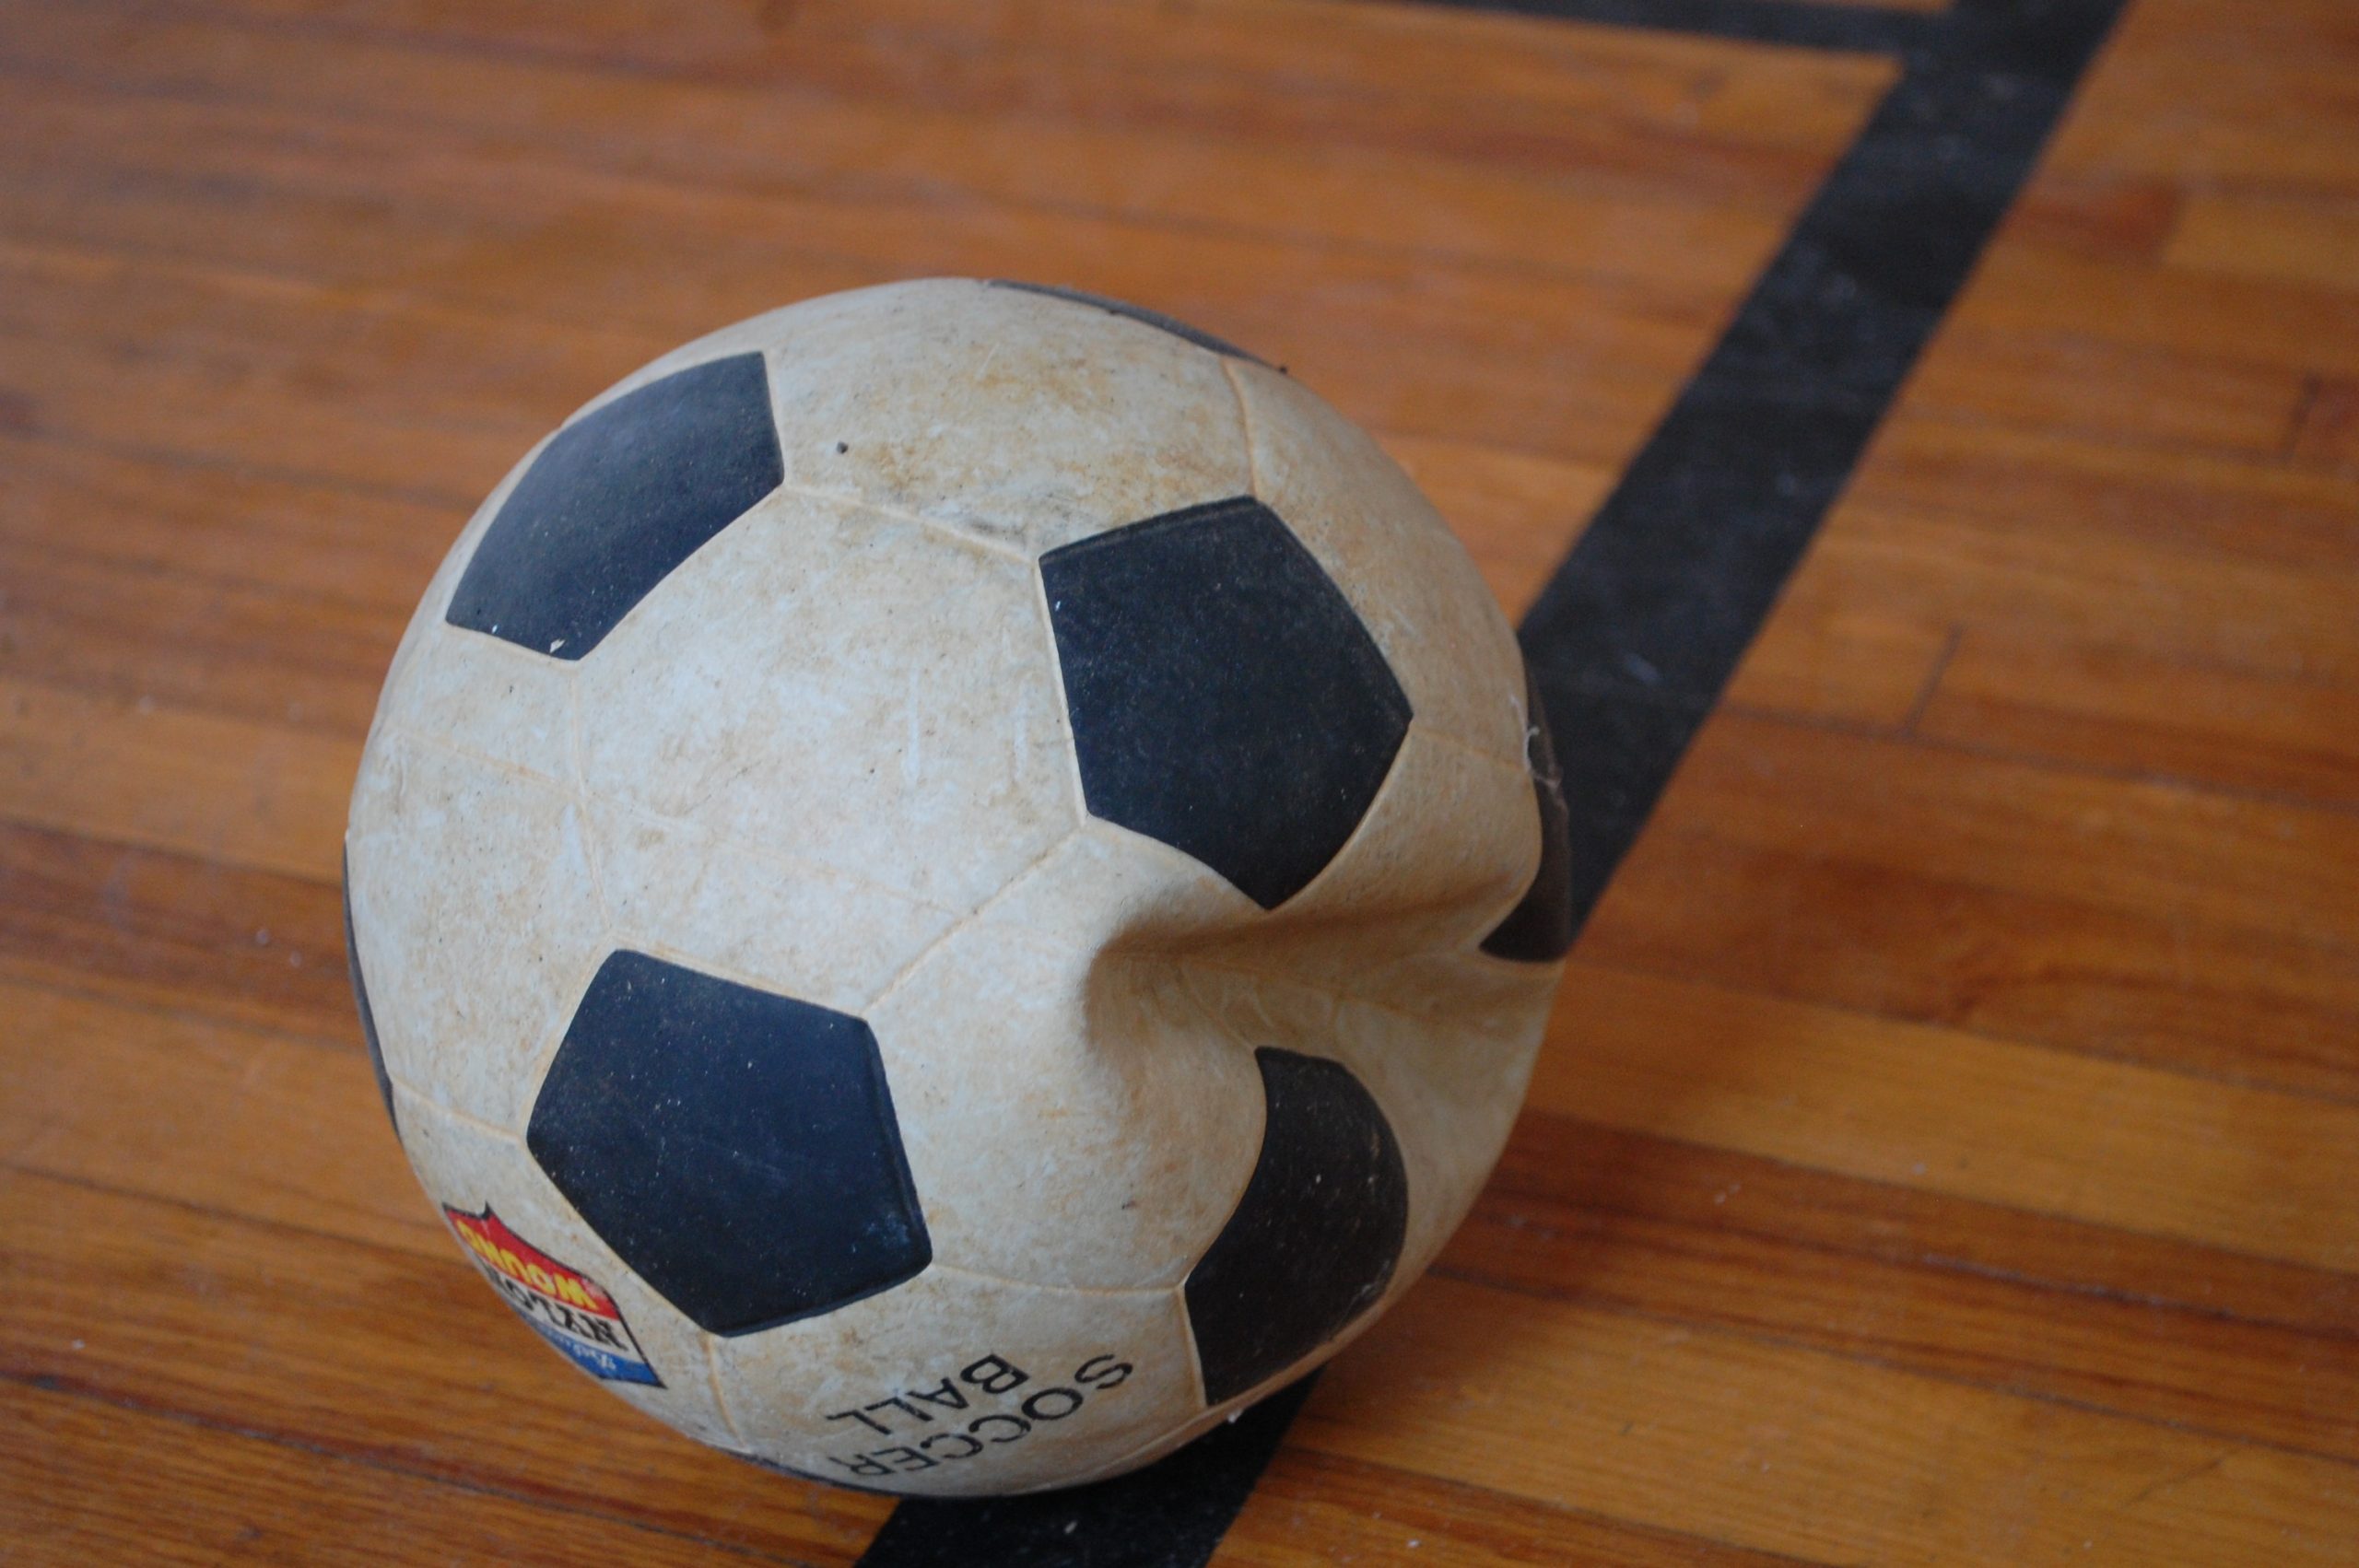
The algorithm is similar, looks like this:
- We clean the place of pasting. Without cutting the surface, damage is eliminated, as a rule, on tubeless models. Cleaning with regular rubbing alcohol will remove grease and dirt (even if not visible to the naked eye).
- Preparing a patch. If this is a ready-made version, you do not need to apply glue. But, if the situation happened somewhere outside the city, you can cut out a piece of rubber. The size of the patch is determined by the severity of the puncture. It should cover the damaged surface + 2-3 mm around.
- For emergency repair of a puncture, you will need to use instant glue.
Note! The surface for placing the patch must be absolutely dry, otherwise the glue may not work.
How to act if the camera is torn
It is almost impossible to fix cameras whose surface is covered with a layer of rope. It will need to be replaced. The same goes for significant cuts when most of the camera has lost its integrity. You can glue, but the duration of the effect is unlikely to be long.
In any case, you need to perform the actions in the following sequence:
- We find the place where the tightness is broken. The ways to do this are described above.
- We cut the casing of the ball. This should be done in the place where the ball is being inflated.
- Preparing a patch (see above).
- We glue it, eliminating the gap / puncture.
- We place the camera back into the casing, and sew up the incision. A nylon thread is best suited for this in view of its strength and elasticity.
It is not possible to use the ball in the game right away. It is better to let the glue show its maximum properties and reach the peak adhesion.
Helpful hints and tips
Like any product that is actively used, the ball requires a kind of care. And it concerns not only the repair procedure, but also the operation, storage, cleaning.
Here are some helpful tips to help keep the ball as long as possible:
- After each game, the surface is examined for pickets, small branches and thorns. If they did not reach the camera, then there is nothing to be afraid of, just delete them.
- Do not overload. The habit of putting his foot on the ball or sitting on it does not benefit him. Excessive pressure can cause gradual deformation.
- Washing using chemicals is undesirable.
Video: how to glue a soccer ball


