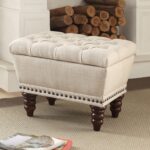
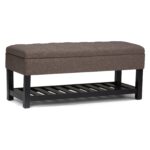
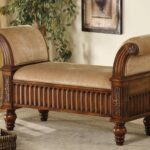
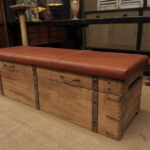
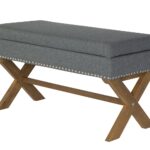
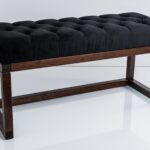
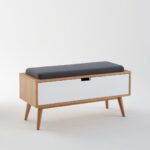
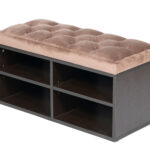
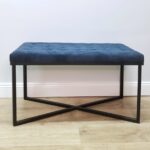
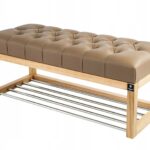
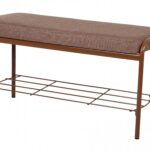
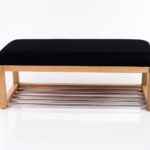
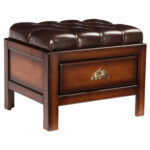
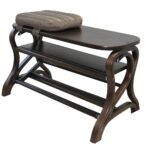
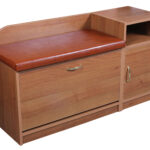
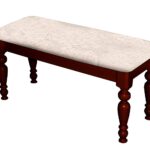
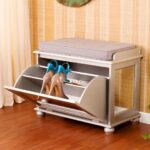
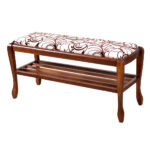
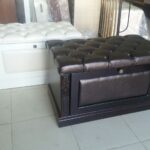
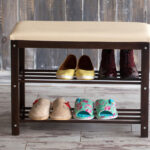
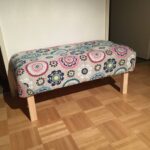
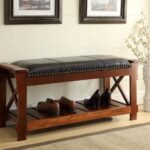
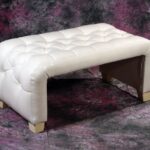
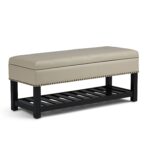
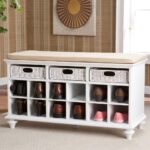
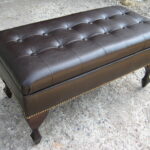
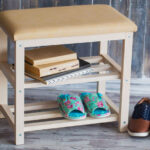
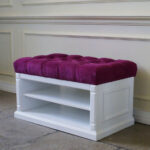
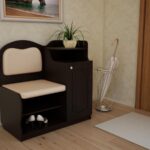
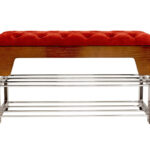
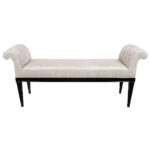
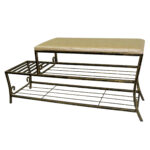
Do-it-yourself banquet hallway
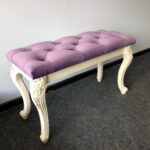
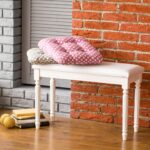
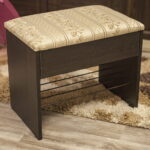
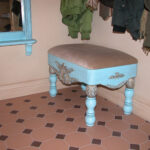
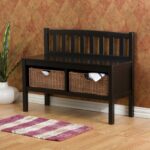
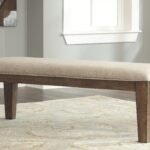
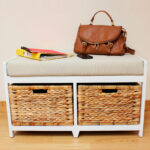
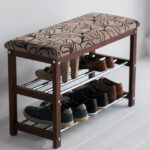
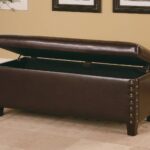
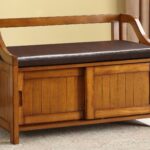
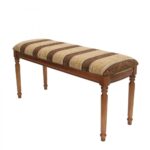
To make the hallway a little more cozy, you should use various decorative elements and furniture. A do-it-yourself bench is a great opportunity to add bright colors to the room, as well as make the room more functional. This product is versatile. It can be used for storing things, as a decor or as a seating area, which is especially convenient if the landlord is going somewhere.
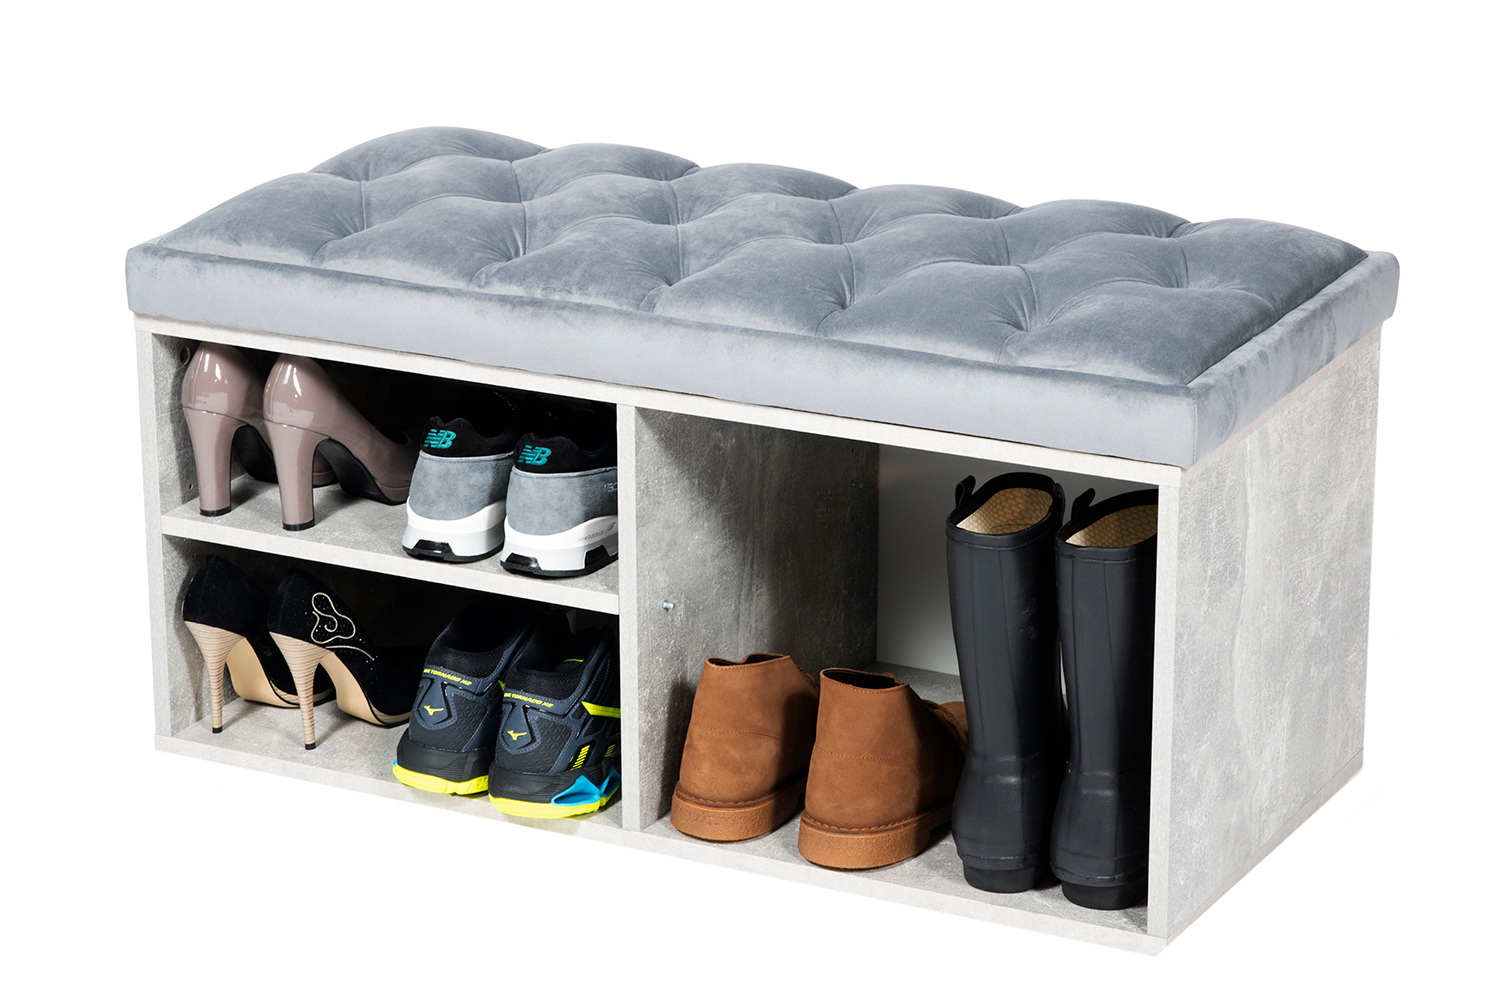
There are many ready-made solutions on the modern market. You can pick up a variety of models and modifications that fit into any design. At the same time, it is not necessary to buy ready-made furniture to decorate the room. It is enough to collect the necessary materials and tools to make an individual product that no one else will have. To get a good result, it is enough to know how to sew.
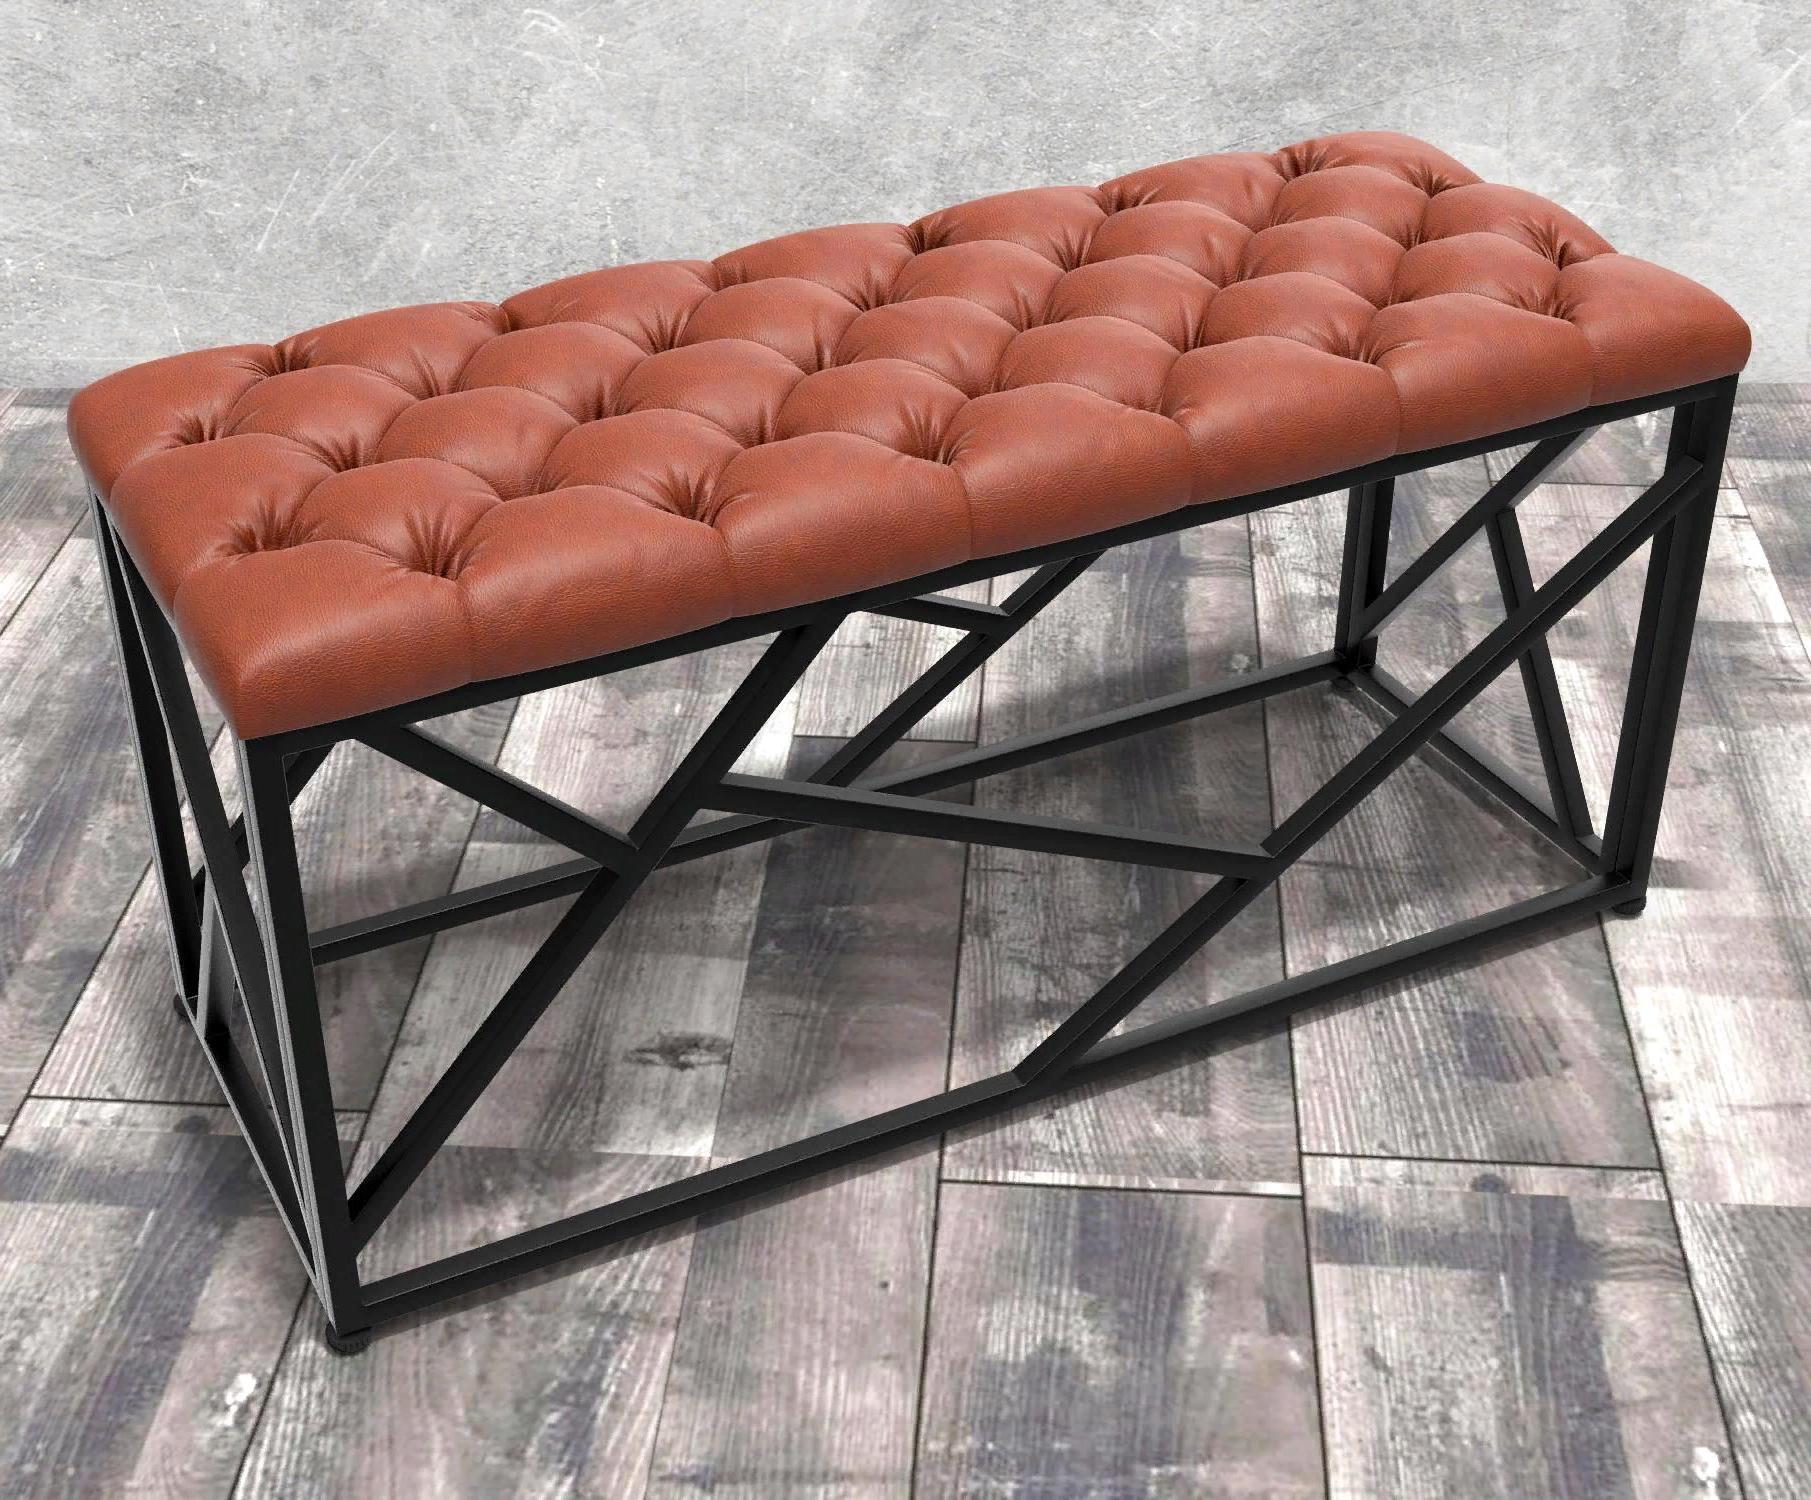
You should also study the basic steps on how to make a do-it-yourself bench at home. The process is quite simple. The main thing is to follow the instructions.
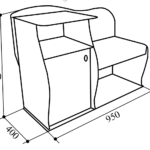
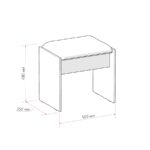
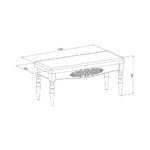
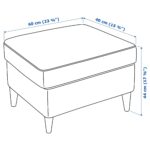
Bench size drawings
Note! To implement a project, you need to carefully prepare. To do this, it is important to follow the order of all actions. Then you will receive a high-quality and neat product that can be used in everyday life.
One of the important stages is preparation. It is necessary to draw up an accurate diagram of the future furniture. Using this data, you will assemble the structure. You need to think about the features, the presence of additional shelves, wheels for movement.
Dimensions and proportions are taken into account so that every detail looks harmonious. When calculating the length and width, it is necessary to take into account the amount of free space for one person.
You should also pay attention to the following nuances:
- Think over the main parameters. It is important to decide in advance on the functionality, as well as the necessary components of future furniture. This can be a seat with a backrest, built-in legs, castors, drawers, etc. In small rooms, the latter option is especially beneficial.
- Calculate the amount of materials. Depending on the number of seats, the dimensions of all parts and components are determined. To do this, it is enough to carry out calculations in the indicated proportional ratio.
- Decide on the frame. If a rather complex structure is planned with a large number of additional elements, it is necessary to prepare a template according to which the rest of the components will be fitted.
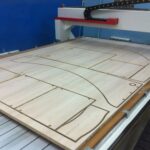
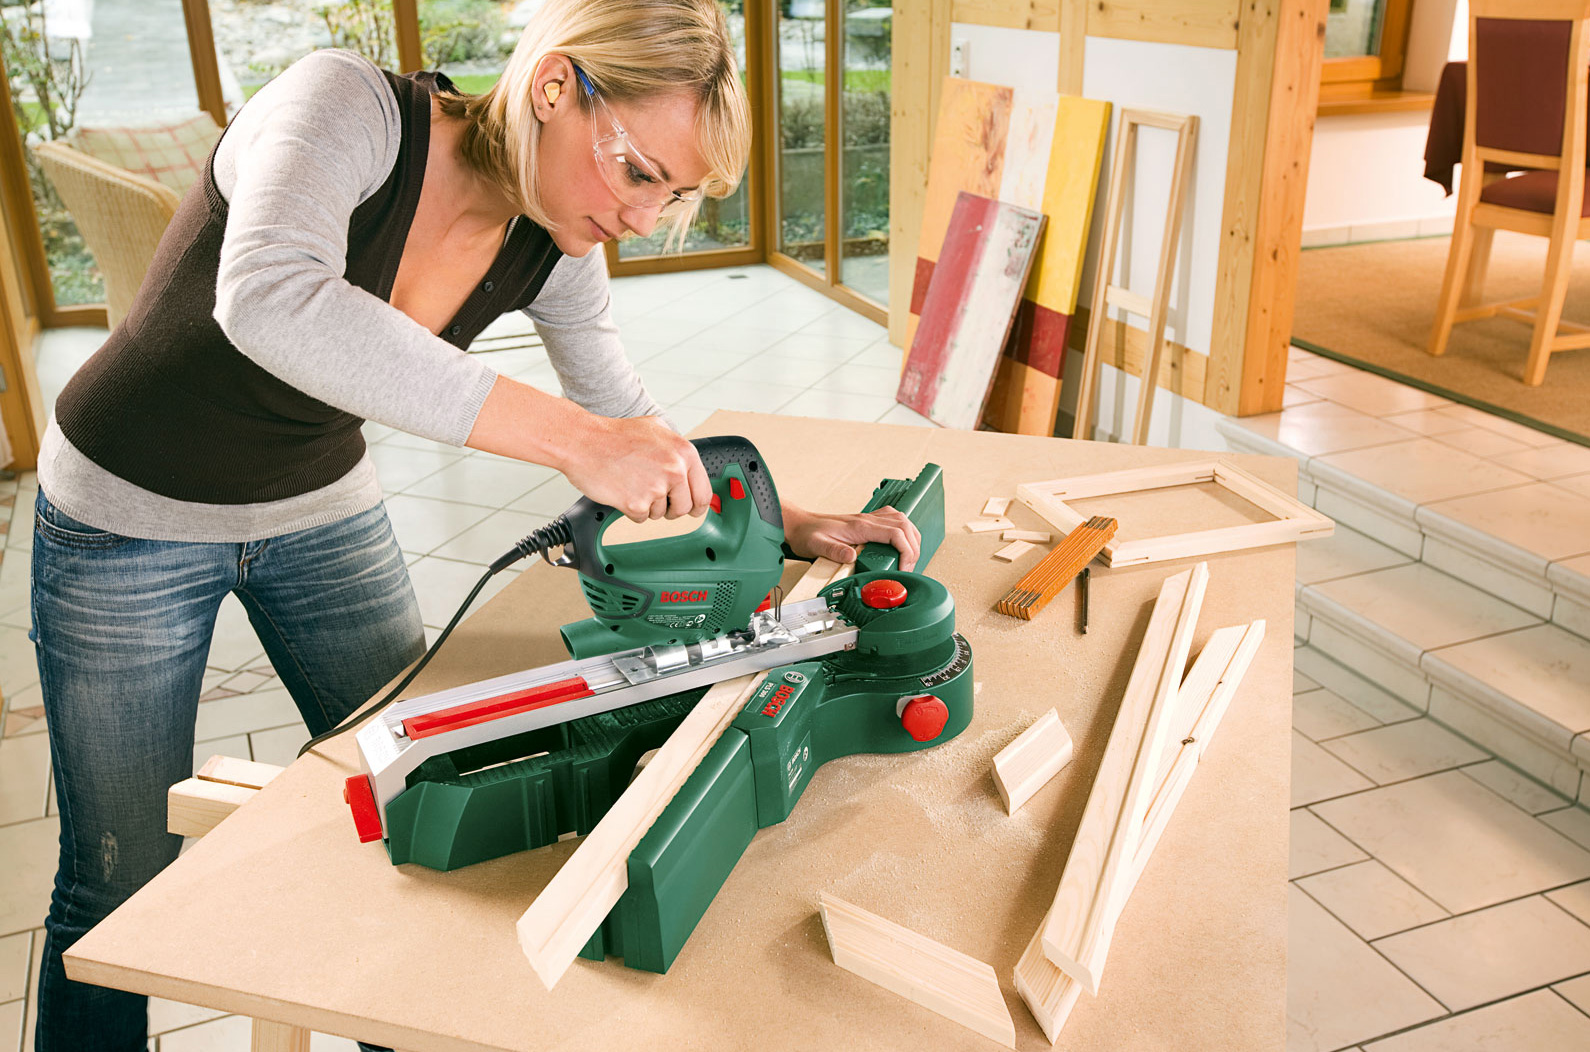
- You will need an electric jigsaw to cut the parts.
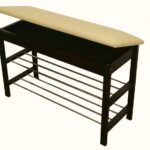
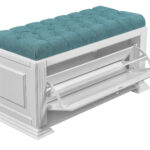
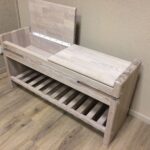
Note! If the project provides for various legs, additional drawers or shelves, you should decide in advance on their location. This will allow you to use the bench for storing shoes and other items in the hallway, which will save space for other items.
How to do it yourself?
All work is done in stages. It is necessary to follow the instructions clearly in order to achieve the set result.Experienced craftsmen recommend following the sequence in the process. It is not necessary to pre-cut all the wooden parts from the solid wood. Better to do it gradually. During assembly, inaccuracies can be found that are adjusted as the project progresses.
The furniture manufacturing procedure includes the following basic steps:
- First, a sitting place is cut out. This is the main element around which the rest of the decorative elements and other furniture sets are based.
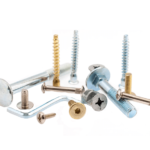
- To install the legs, the side strips are pre-mounted, to which they will be attached. Self-tapping screws are used to secure the part, as they guarantee a stronger and more reliable connection of all components. The cutters will give the legs a more attractive appearance. This fixture can be used to create a wide variety of protrusions, roundness and other decorative elements.
- The workpieces are processed with sandpaper to remove the rough outer layer, to level the surface for further processing.
- If solid solid blocks are used as a support, all parts for assembly are cut out at once. Next, it remains to secure the cut out components using pre-drilled holes and self-tapping screws.
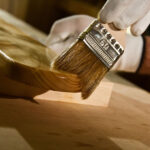
- Before completing the assembly of the structure, each part is varnished to improve the external characteristics and protect the wooden surface from damage.
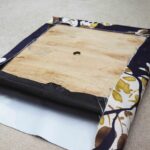
- When the entire frame is assembled, you can start laying the soft foam on the seat. It attaches in different ways. To do this, you can use a special adhesive or a stapler. Before laying the soft layer, a harder tissue is installed. This will extend the life of the product and improve its performance.
Important! The last step is upholstery. First, the fabric is cut according to the dimensions of the seat. After that, it is fixed in one of the selected ways.
What materials and tools are needed?
To assemble the bench, you need to choose the right materials. The easiest way to make a wooden product at home. Certain skills are required to create a metal frame. In general, the following materials will be required:
- solid wood with specified parameters (depending on the planned dimensions of future furniture);
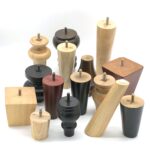
- legs - you can make yourself out of wood or use old ones from chairs, tables or other furniture;
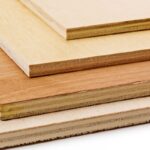
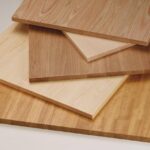
- plywood - one sheet of the corresponding width and length;
- fastening - self-tapping screws, special quick-drying glue, corners.
Note! For the upholstered part of the furniture, fabric and foam rubber padding are used.
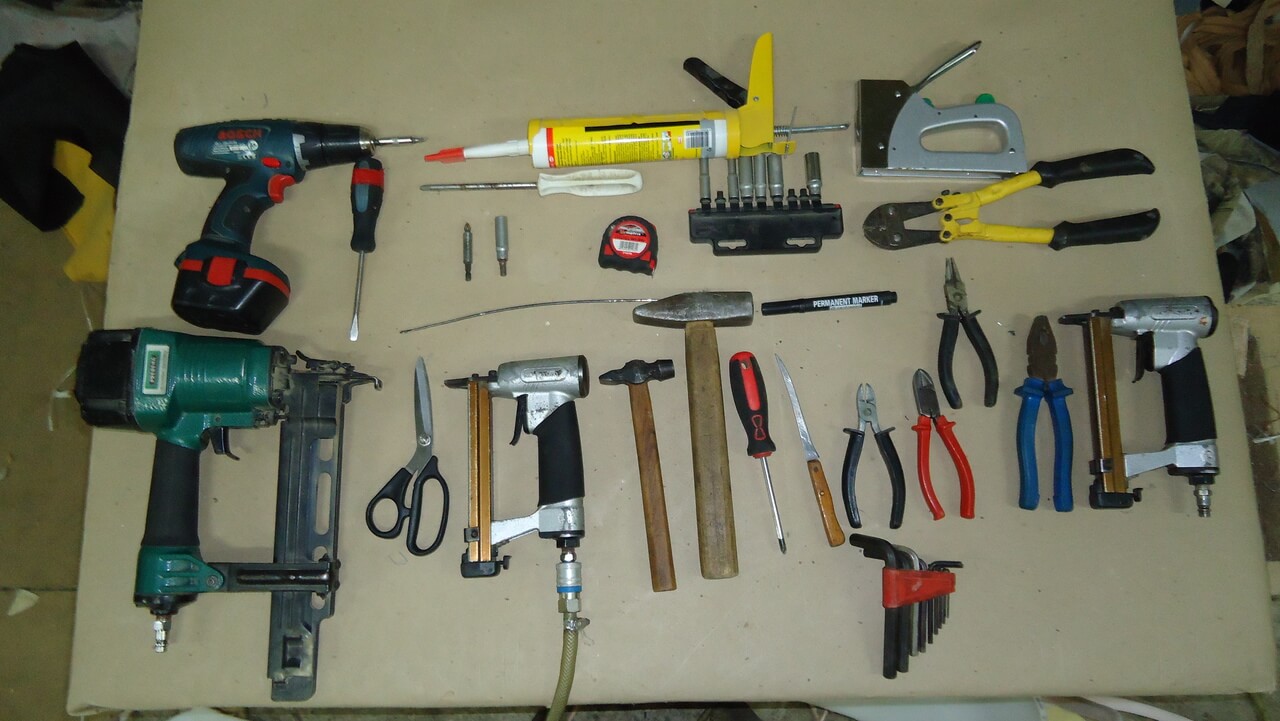
Of the tools you will need:
- sandpaper;
- roulette;
- screwdriver and screwdriver, hammer;
- drill, electric jigsaw;
- threads and needles;
- stapler.
Important! To cover the wooden surface, varnish is required. Paint can be used.
Build process
The procedure is performed in stages. Follow these steps:
- First, the seat of the required dimensions is made. The rest of the details will be customized.
- To make the legs, you need to install the planks, leaving small indents at the edges.
- The legs are made of solid timber. Using the tools, you can give the parts any shape you want.
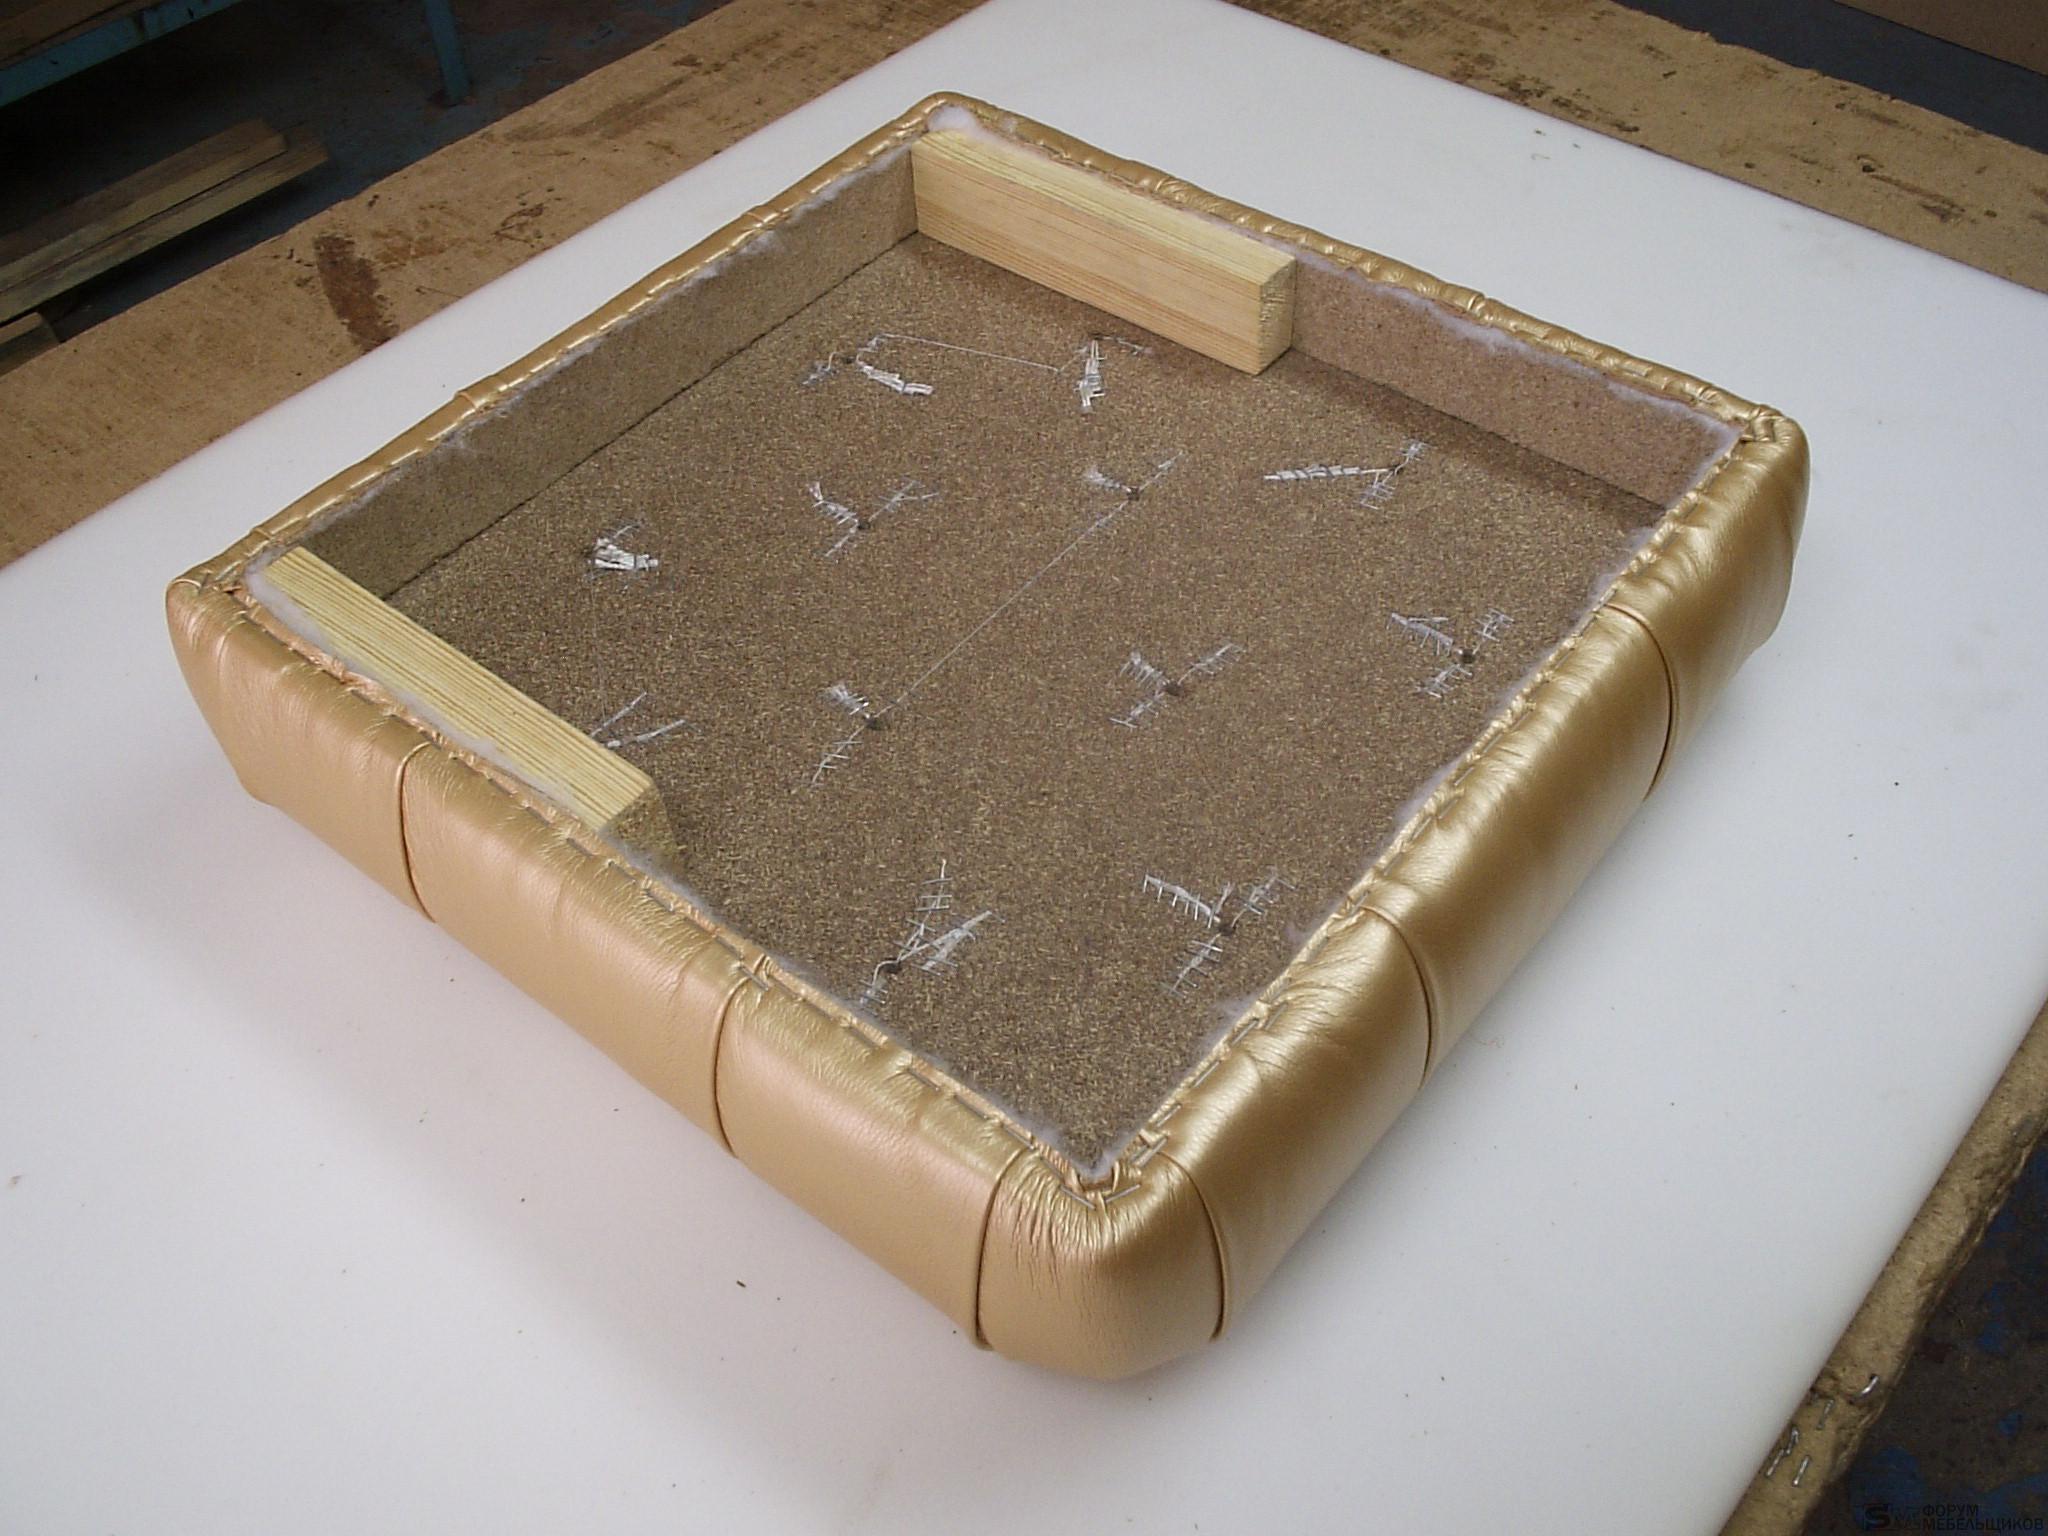
- Further, all the elements are collected. In order for the seat to be soft, it is necessary to lay the foam rubber. Burlap is pre-laid on the bottom to make the structure more durable.
- A piece of the desired size is cut out of the fabric. It is fixed with glue or a stapler.
After that, you can start creating decorations for the finished design. You should decide in advance on the design.
Decor and decoration
To make the item more attractive, you can decorate it. The main thing is that the decor is combined with the overall design of the room.For example, you can sew a cover with ruffles or buttons. In place of the seams, you can attach a bow or tape. To create a fashionable accessory, it is enough to knit the cover with your own hands - it always looks profitable and attractive.
Making a cover for a banquet
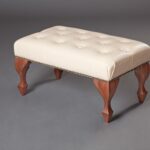
The cover is created in accordance with previously prepared drawings. It is necessary to measure the fabric according to the dimensions of the seat. After that, it is laid in such a way that it fits snugly to the surface, but does not overtighten. Next, it remains to secure the cover with buttons. They are neatly stitched into the pre-marked holes. The cover can be trimmed with braid, ribbons or other decor.
Master class on video: do-it-yourself banquet in the hallway
There are many different ideas on how to make a beautiful and multifunctional banquet in the hallway. The master classes provide step-by-step guides and the main features of creating beautiful exclusive furniture.
