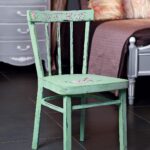
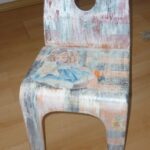
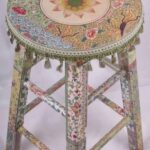
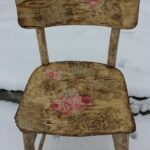
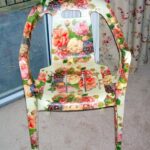
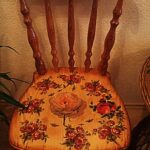
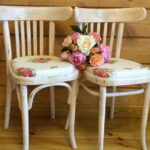
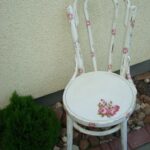
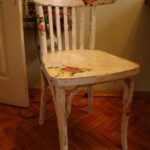
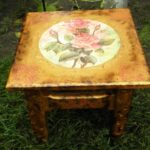
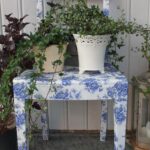
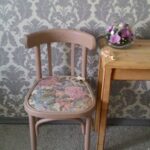
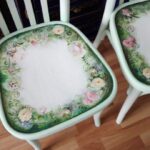
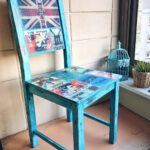
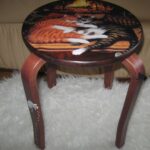
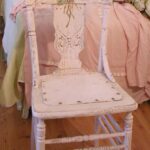
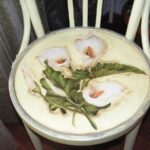
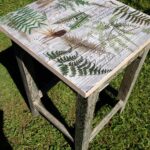
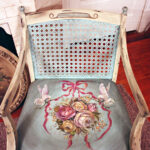
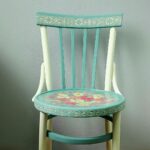
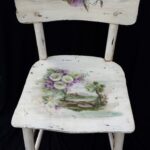
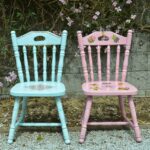
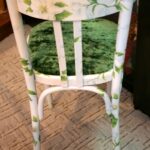
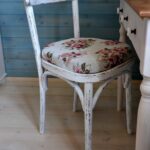
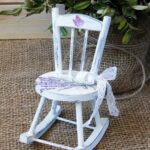
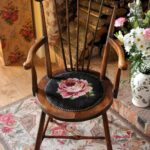
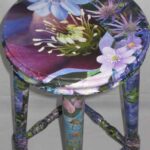
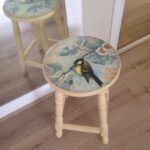
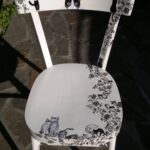
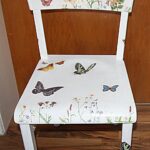
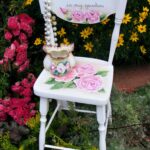
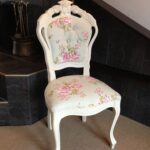
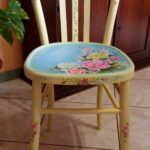
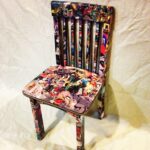
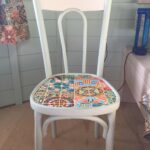
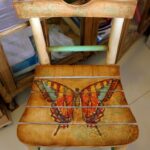
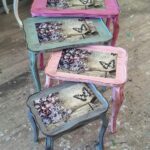
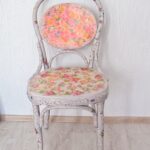
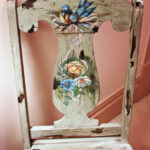
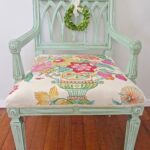
Decoupage a chair at home
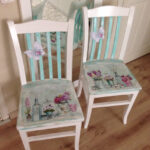
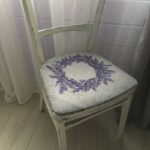
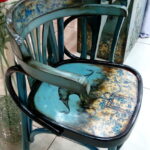
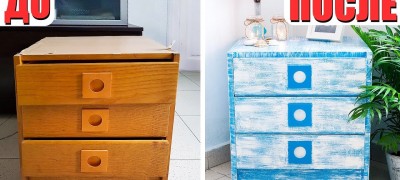
Decoupage technique is gaining more and more popularity over time. With its help, they decorate various interior items, refresh old furniture with a new look and make it unique. This technique does not require large costs and special knowledge. That is why decoupage of chairs is often done with your own hands using various materials at hand.
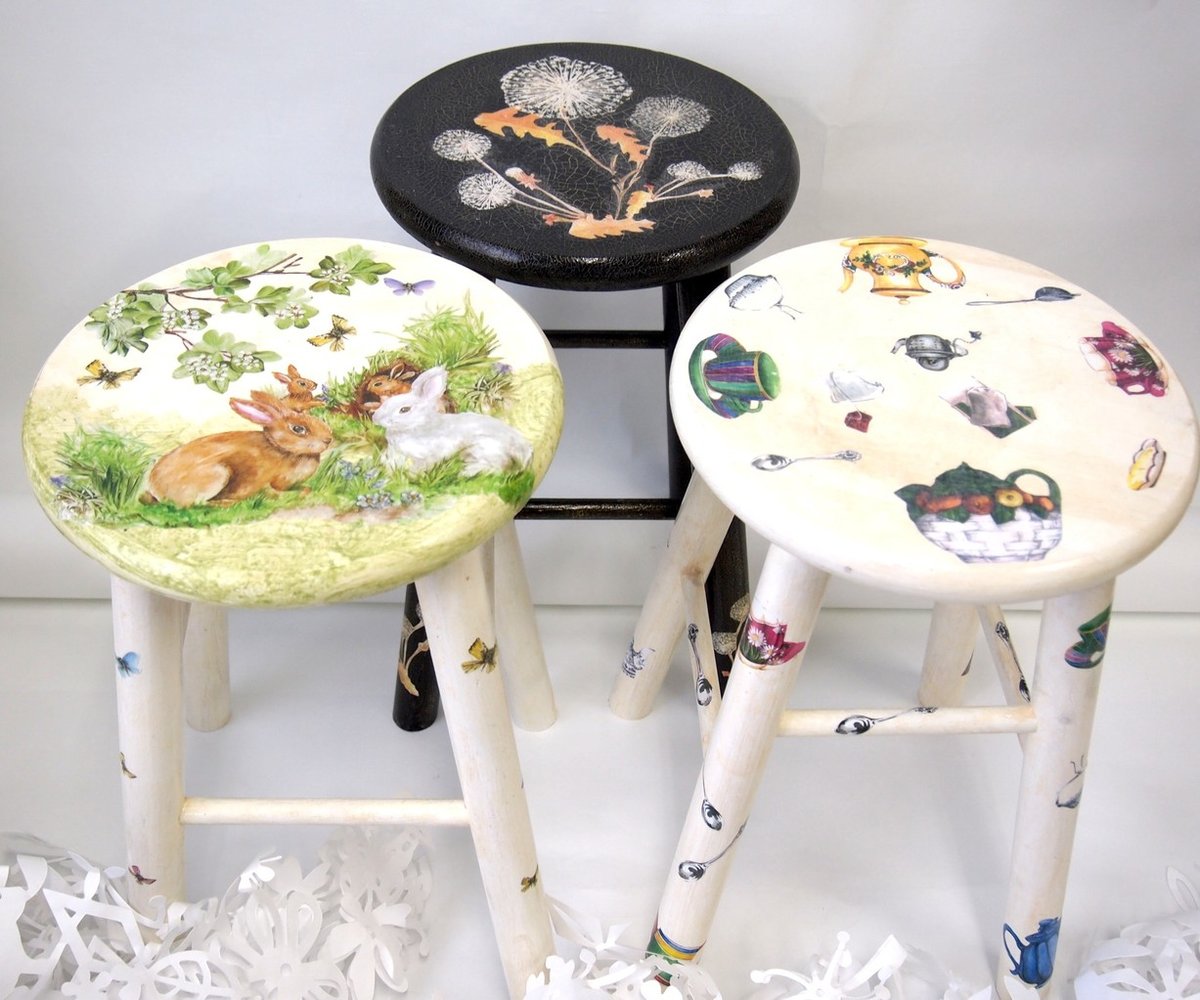
How to independently decoupage an old chair, and what is the peculiarity of this technique?
- What is decoupage (technical features)
- How to make a decoupage of a chair with your own hands
- Choice of style and design
- Surface preparation
- Selection of tools and materials
- Decoupage process
- How else can you decorate a chair
- Video: do-it-yourself chair decoupage
- Photo ideas for decoupage chairs at home
What is decoupage (technical features)
There are a huge number of ways to transform outdated interior items. With their help, a new life is given to old and shabby things. They do not require special costs, special materials or technology. One of these techniques is decoupage.
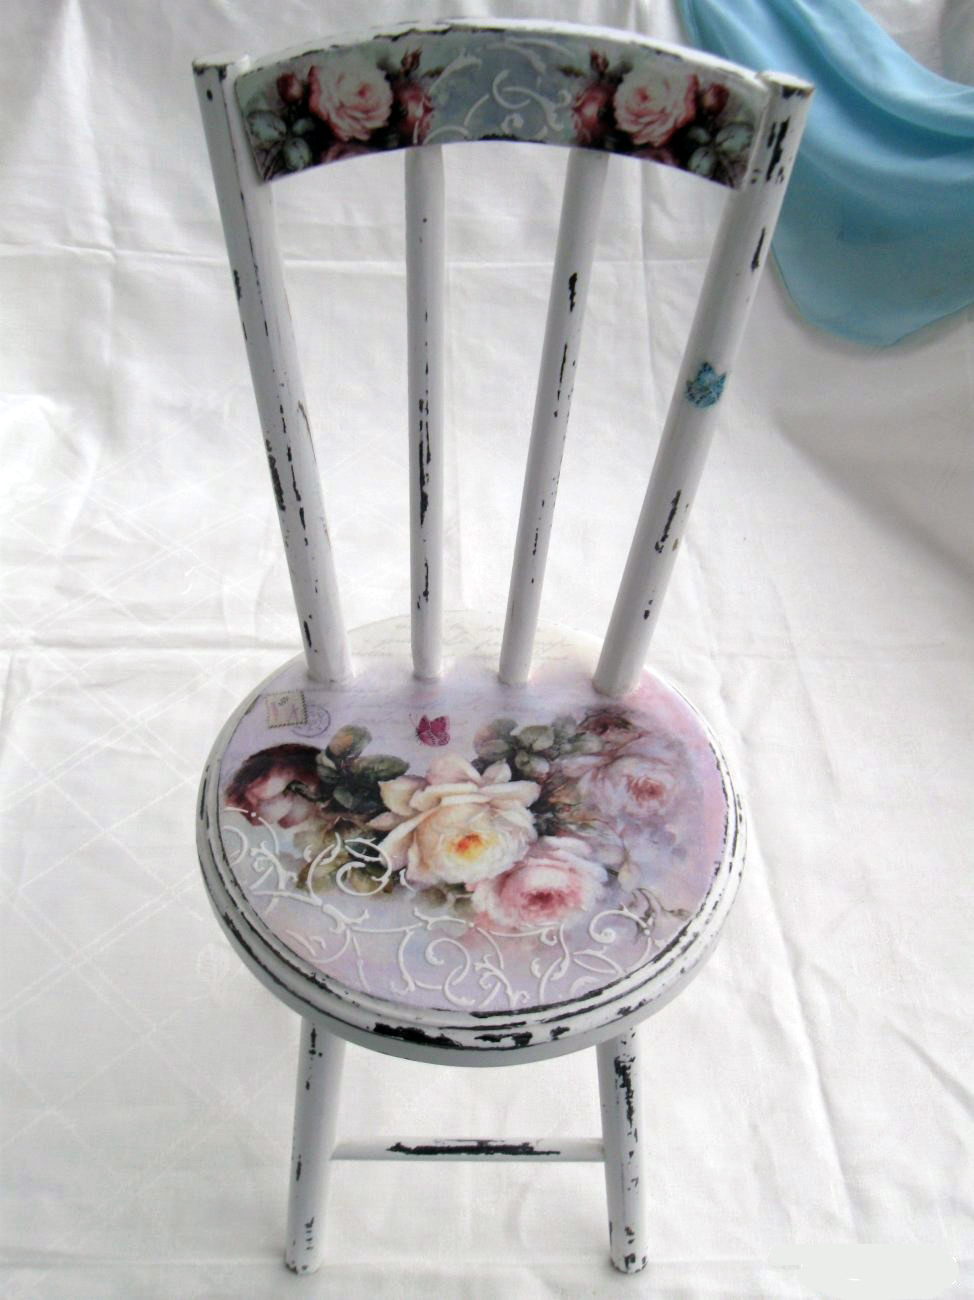
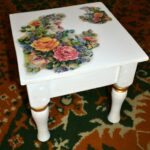
Decoupage technique is a unique way of decoration, which consists in cutting various pictures and patterns out of paper, and then pasting the furniture. Usually, strong three-layer napkins or special decoupage cards are used for this. The method is applicable to absolutely all items: boxes, notebooks, albums, photo frames, plates, mugs and shelves. In addition, you can often find chairs decorated in this way.
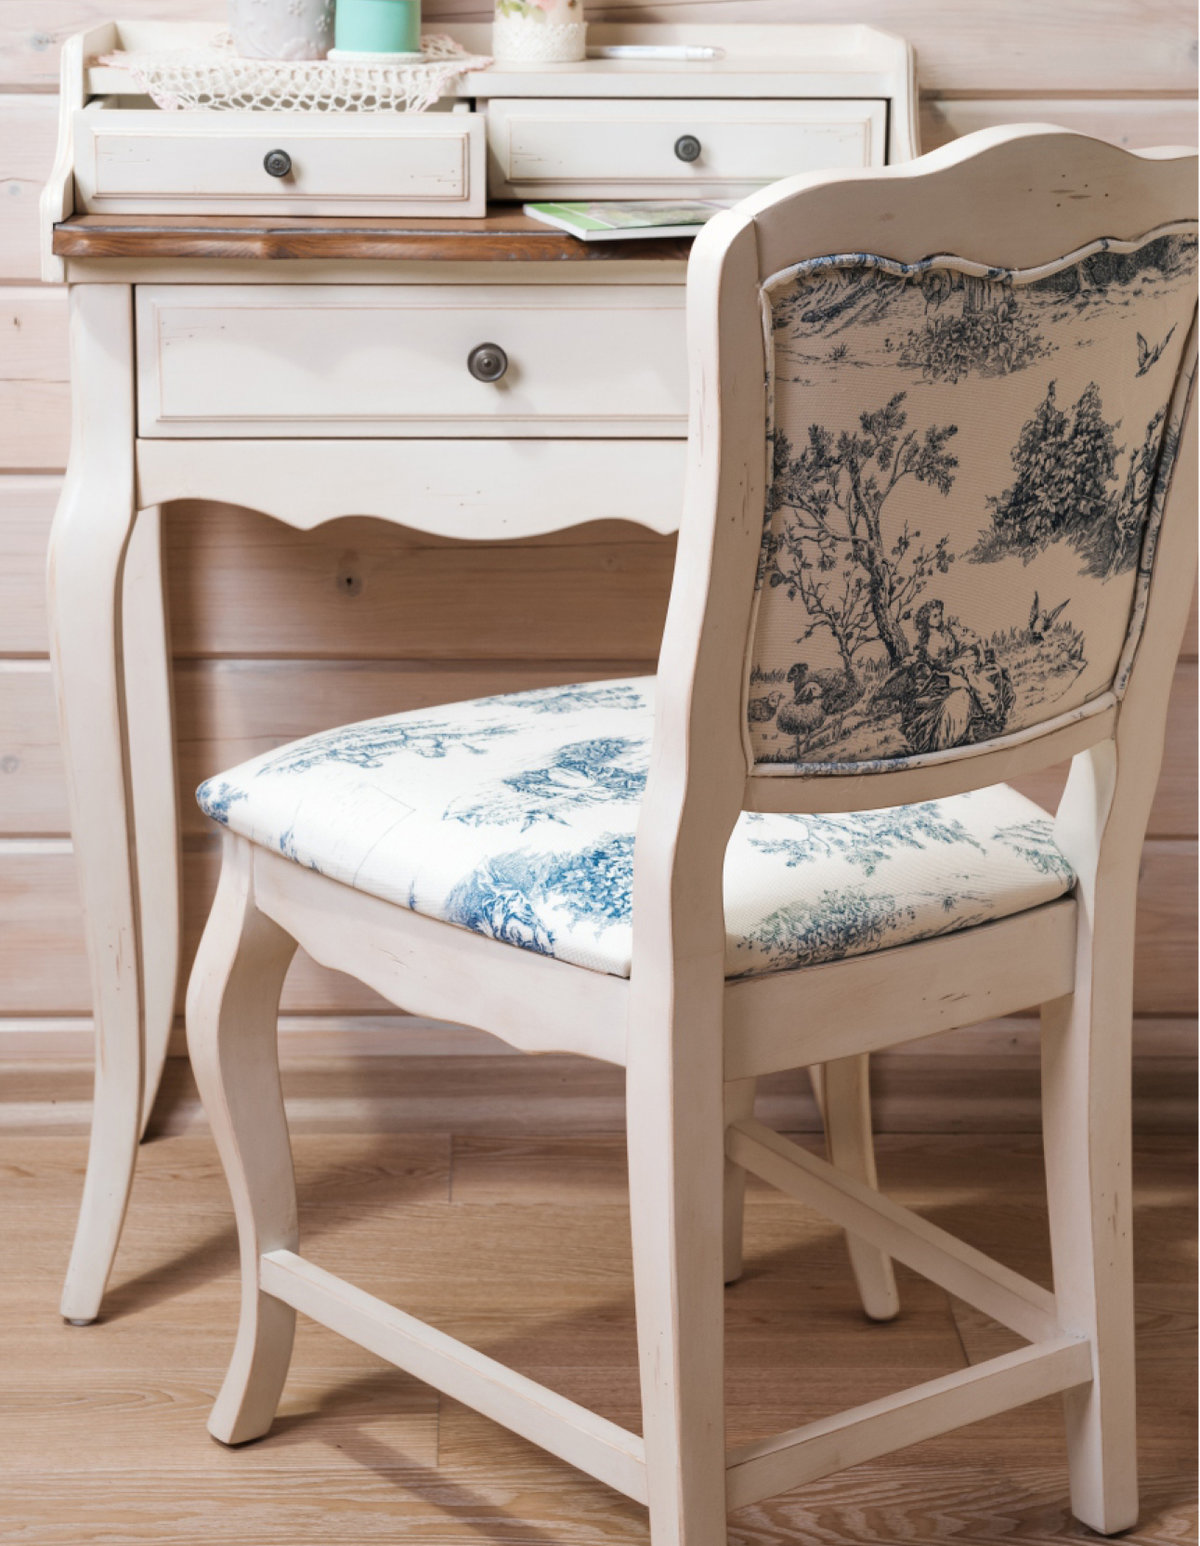
The main feature for which everyone is so fond of decoupage is that even people who cannot draw can do it. You don't have to draw interesting patterns. You just need to find a suitable picture and apply it.
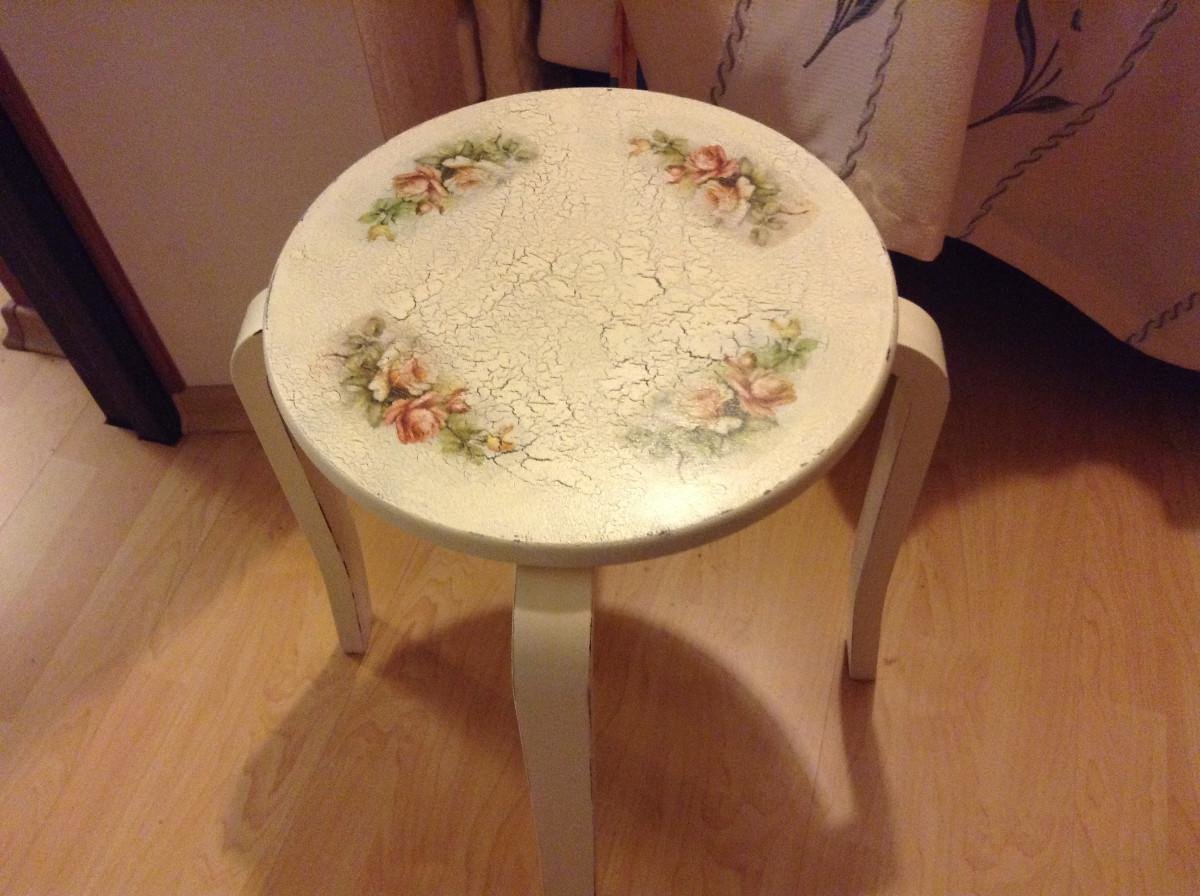
There are also several types of technology. You can add volumetric details or artificially visually age the object. Often this method of decoration can be found in the interior style of shabby chic or Provence.
How to make a decoupage of a chair with your own hands
Making decoupage of old chairs with your own hands is quite simple. The process consists of several stages. Each item must be fulfilled. Otherwise, the product will turn out to be of poor quality: the pattern will look ugly and the pattern will not last long.
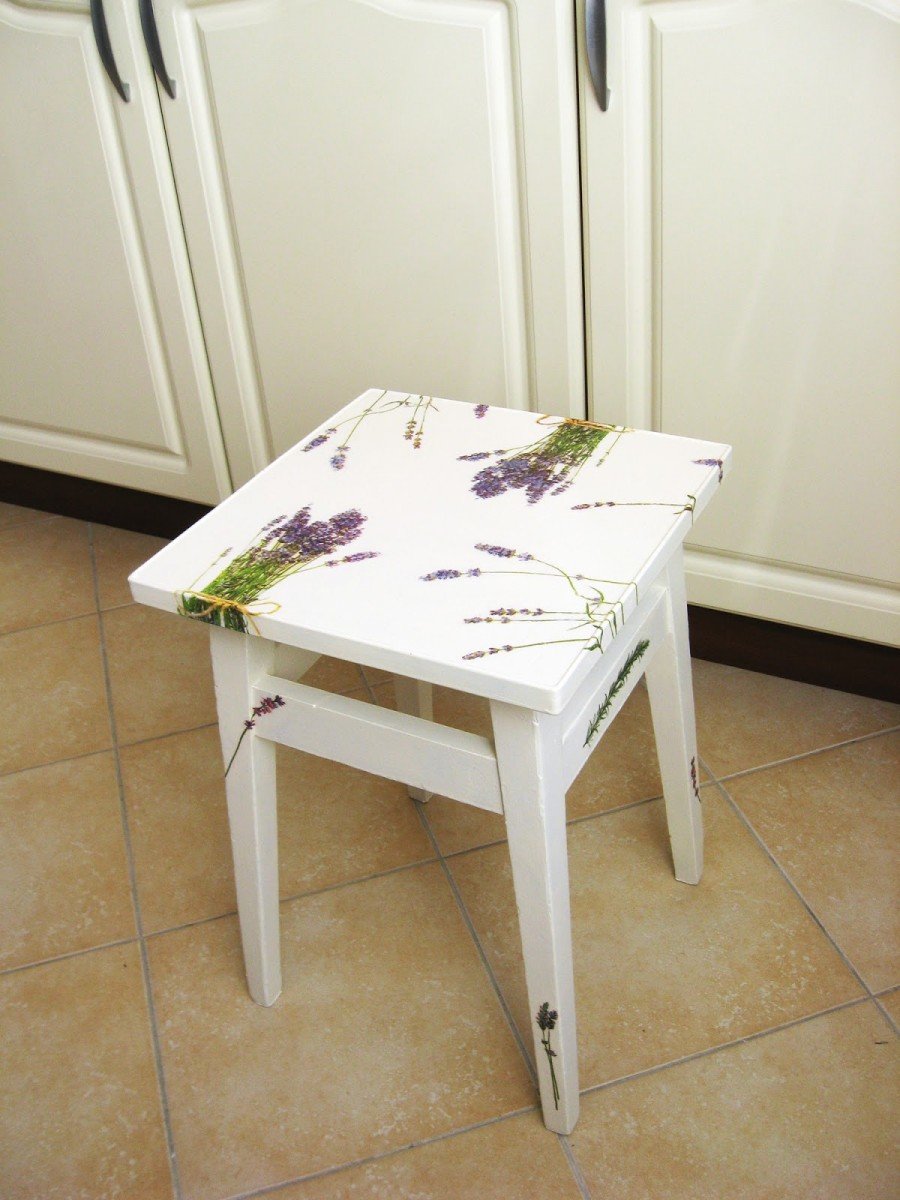
Choice of style and design
A master class on decoupage of an old chair begins with the selection of a suitable style and design. The technique is designed for several styles, in which it looks the most advantageous:
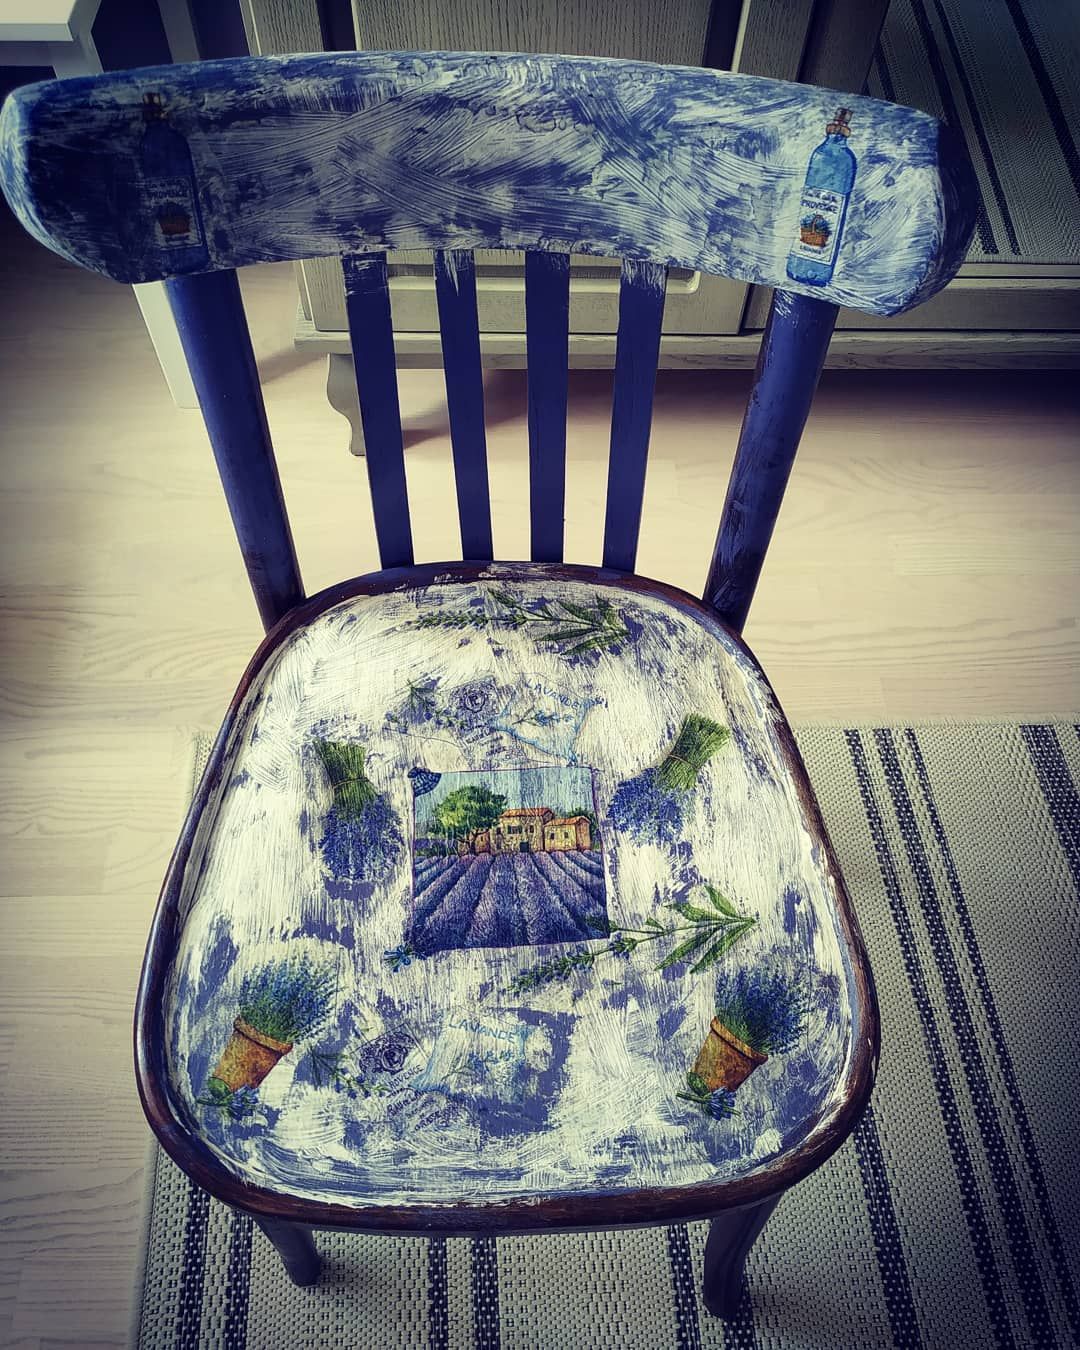
Provence
One of the country trends is performed in a rustic style with a touch of romanticism. The color range can be either warm or cold.
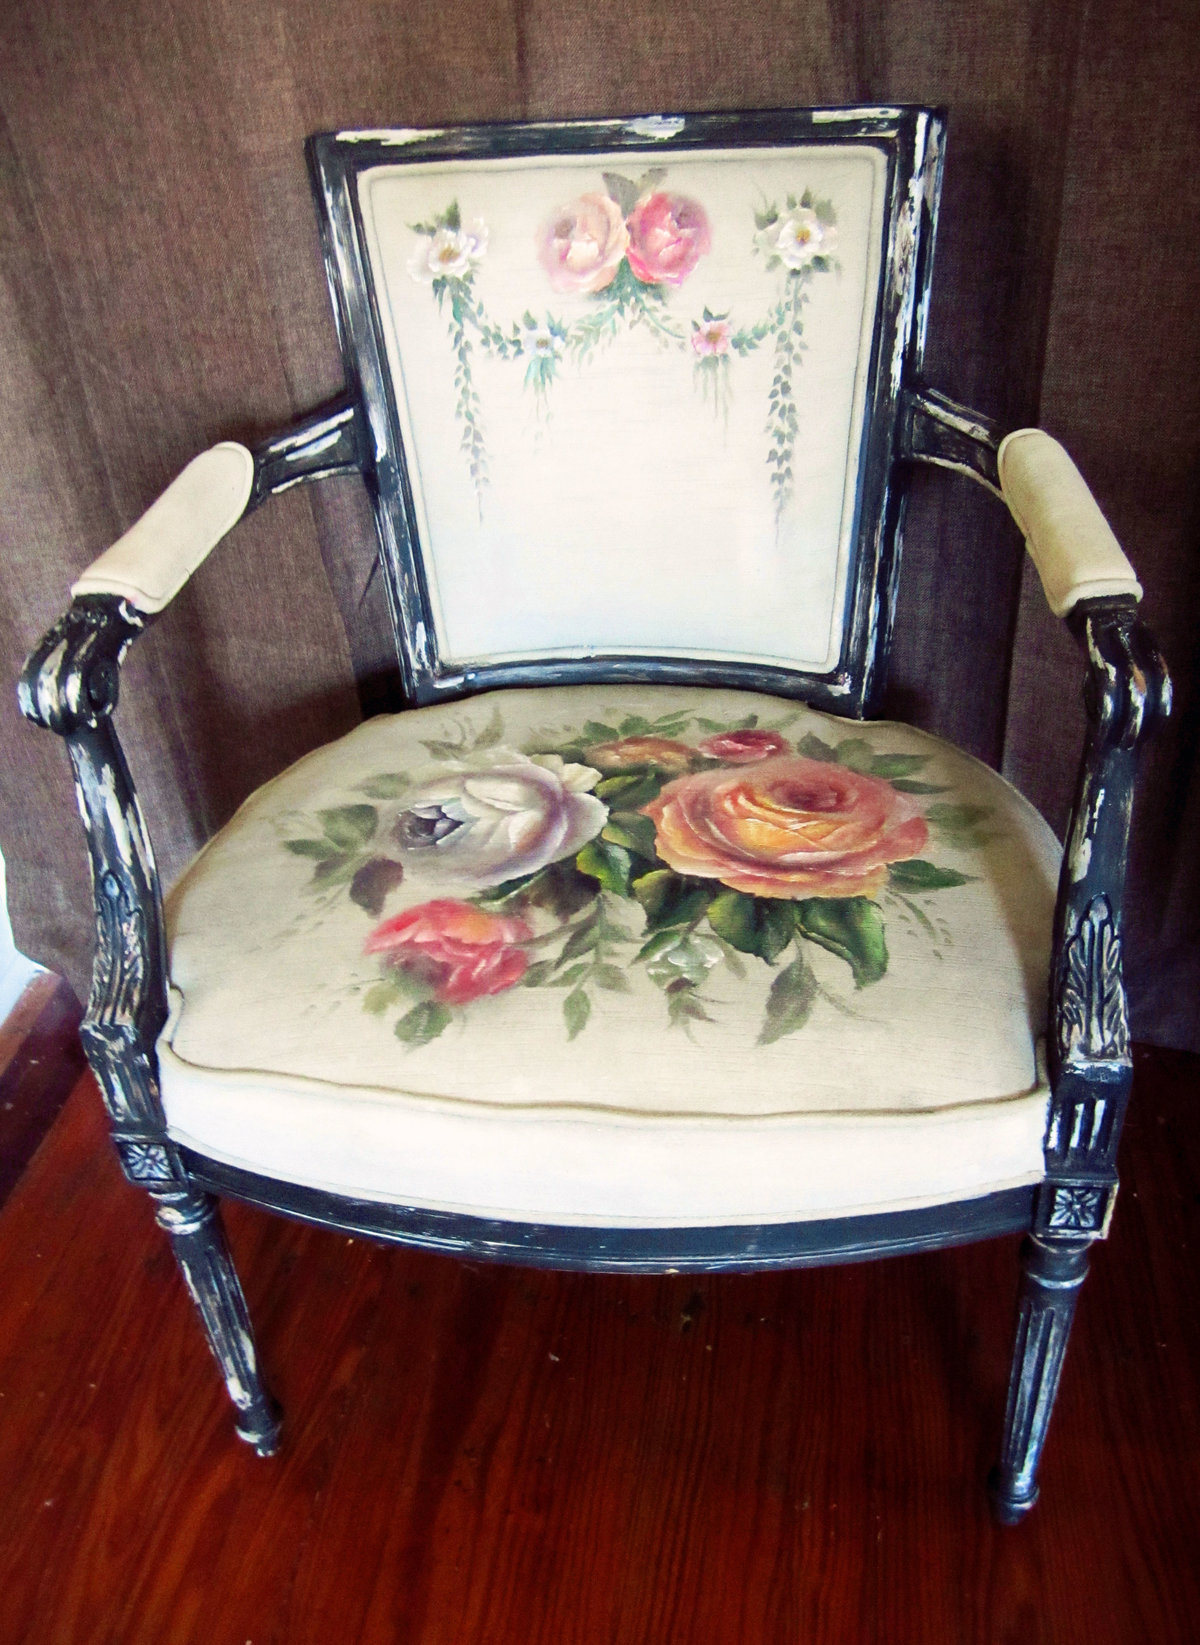
Shabby chic
An abundance of small cute details, colors and pastoral motifs. Differs in particular lightness and romance.
Surface preparation
For any type of decoration, the first step is to prepare the surface of the chair so that in the process there are no difficulties with drawing a pattern.It is worth starting preparation with a thorough cleaning of various dirt, and not just dust. The presence of exfoliated varnish is unacceptable.
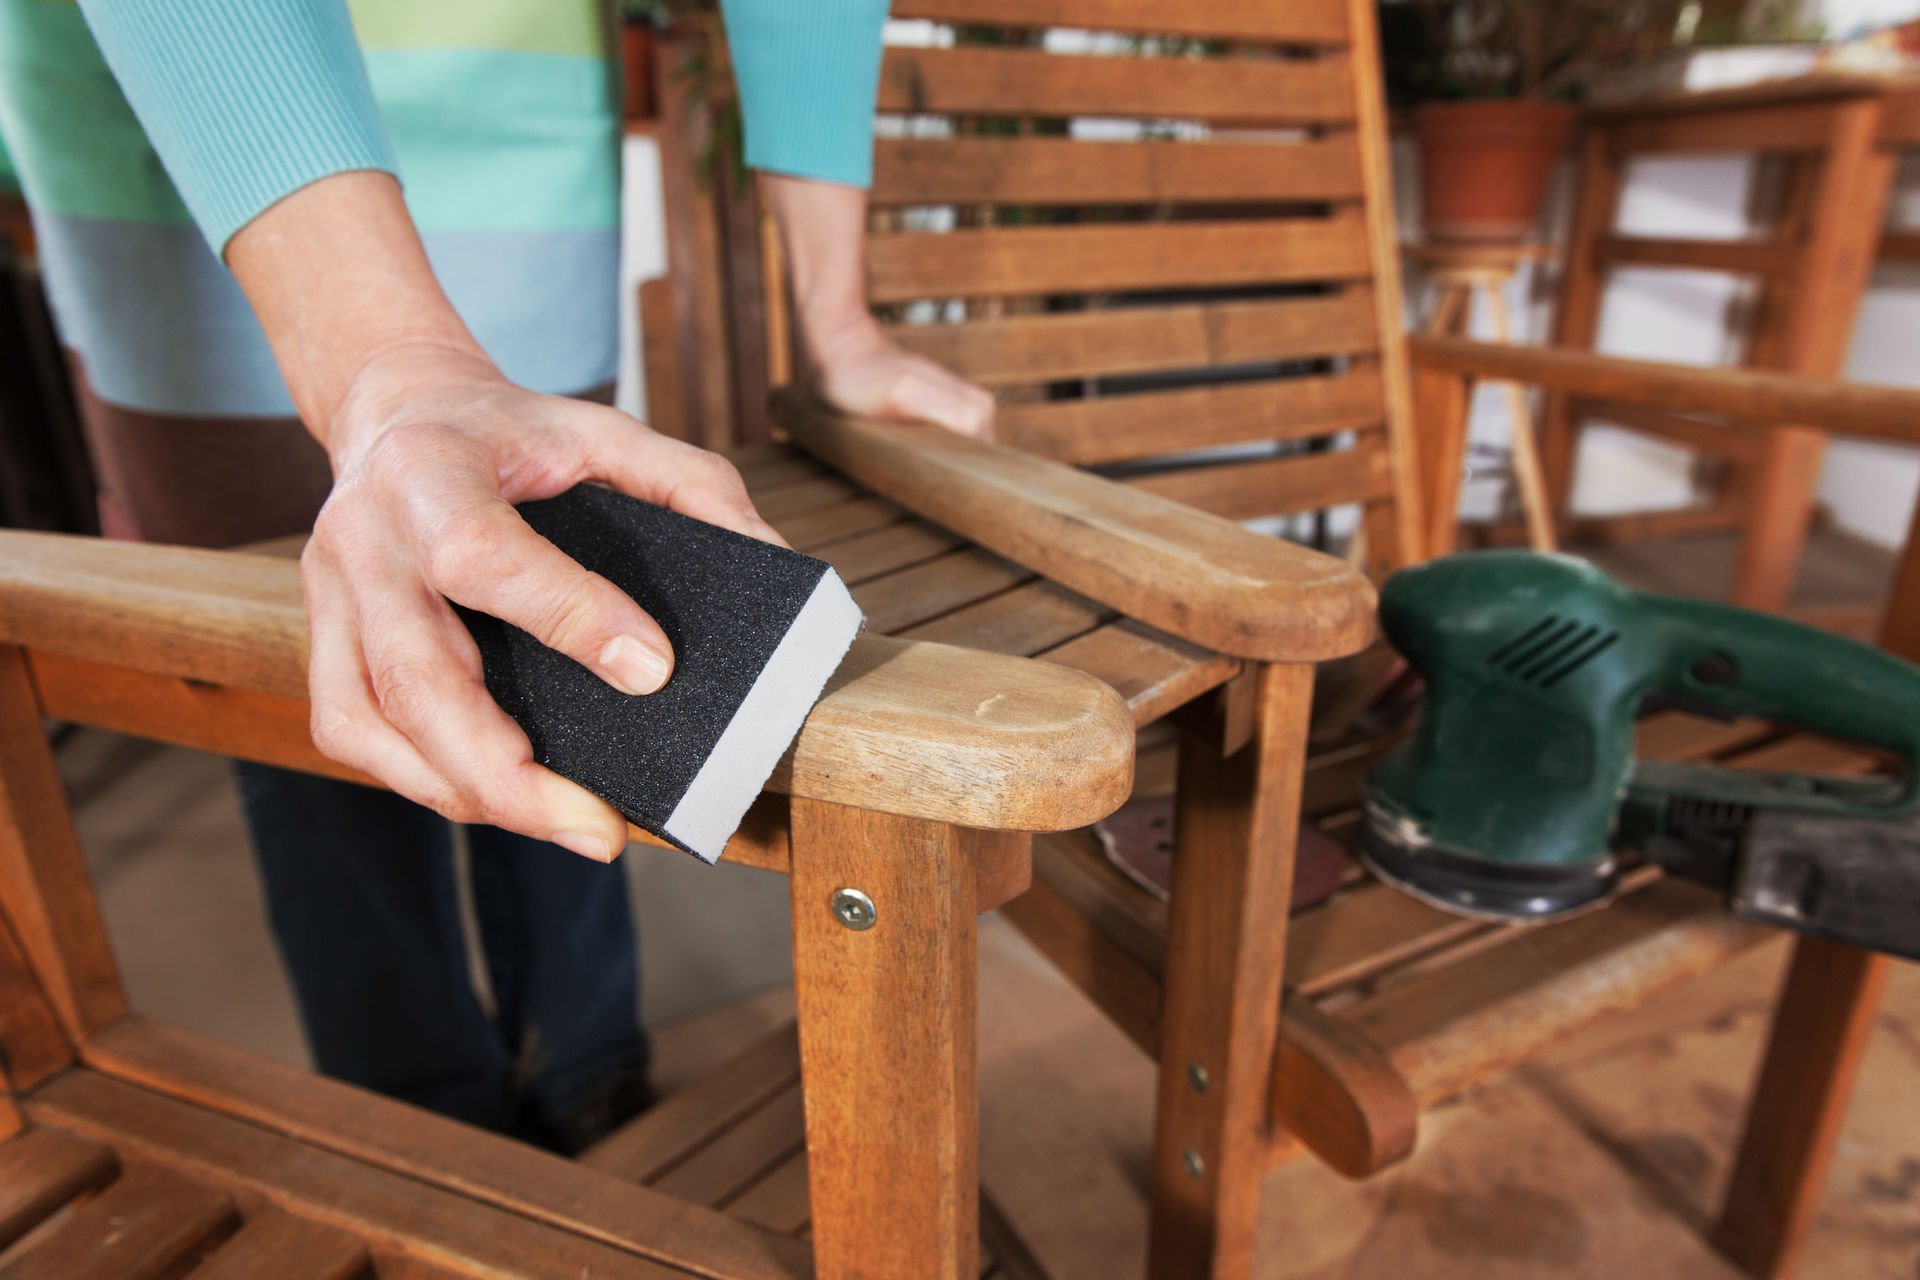
All greasy stains can be removed using safe detergents or cleaning agents. The main thing is not to remove the layer of wood if the chair is made of it. Then it is wiped dry or left to dry for a while. The material should not be wet.
Further, using sandpaper with a fine-grained surface, all irregularities are sanded. The surface is smoothed to a smooth state. There should be no old paint or varnish on it.
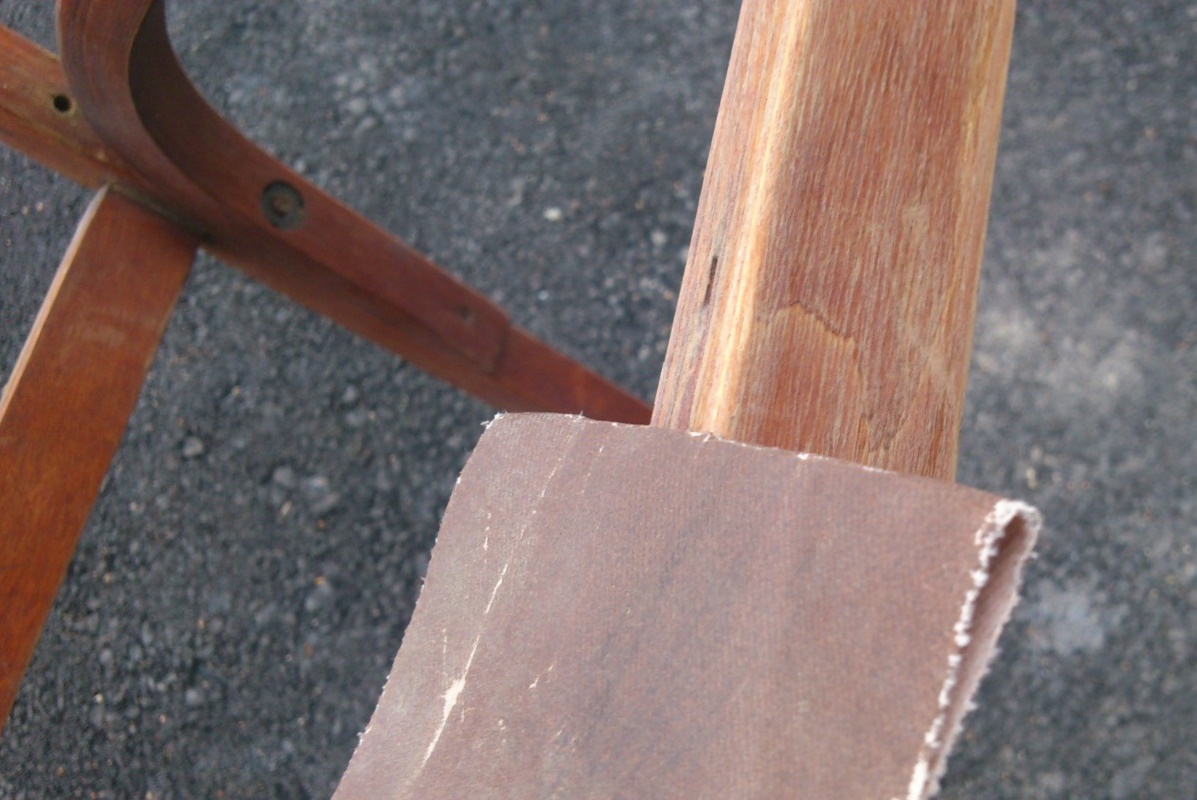
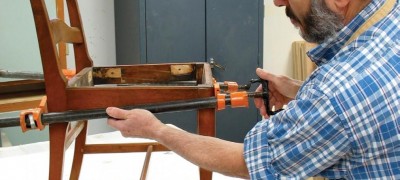
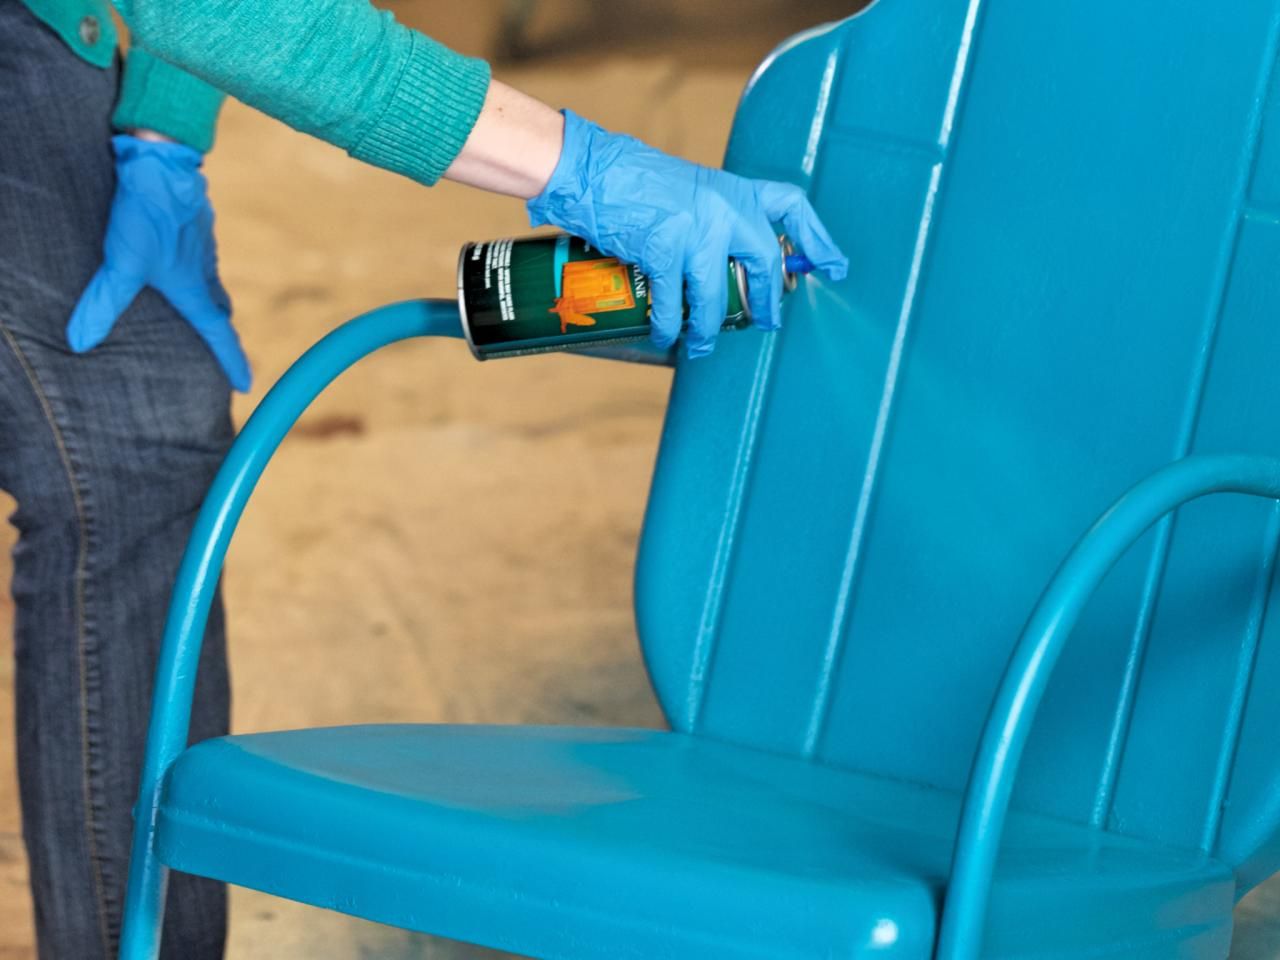
If there are cracks, they must be sealed with a putty (acrylic putty) according to the material that will be decorated. Then the stool is primed in the first, but not the main color. The paint should dry. Only then is the second main layer applied.
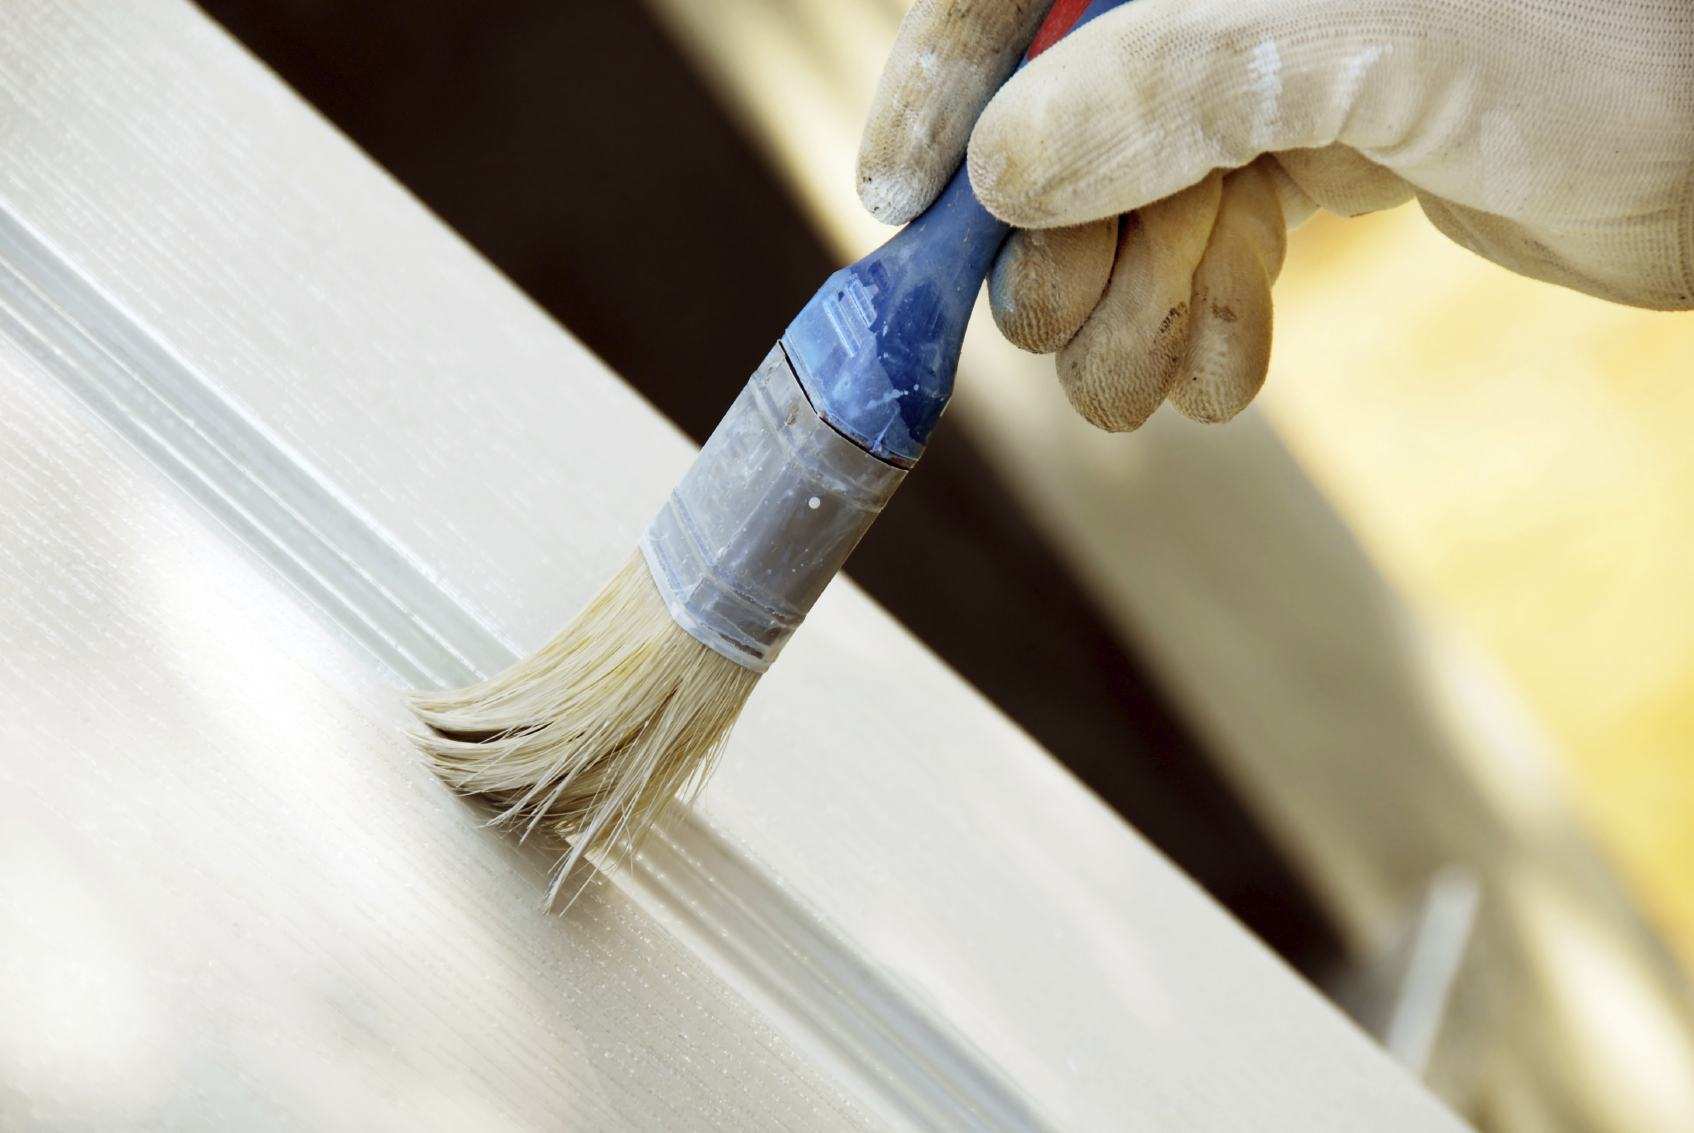
Important! To create a light-colored chair, it is better to use the first layer of white paint, and then the main one. For dark basic two times.
Selection of tools and materials
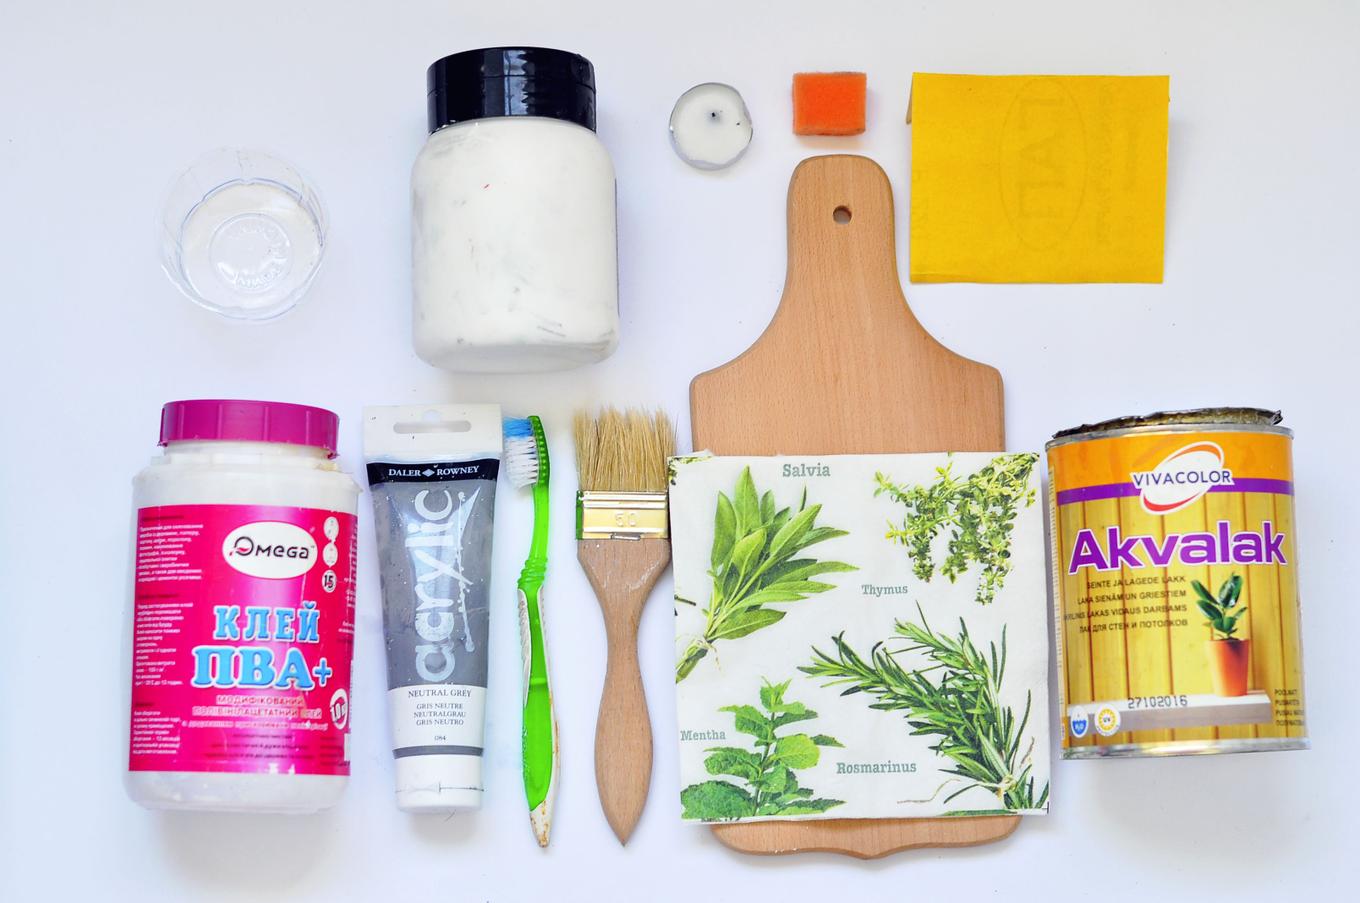
For a quality work process, it is necessary to prepare all materials and tools in advance. Namely:
- Thick napkins with a picture, wallpaper, clipping from a magazine or newspaper, old postcards, posters (you can choose any material, but it is better not to combine).
- Small pieces of suitable fabric or linen for finishing (if provided).
- Scissors.
- Stationery knife.
- Fine-grained sandpaper.
- Measuring tools (ruler, meter).
- Acrylic based paints.
- Topcoat varnish.
- Polyvinyl acetate adhesive (PVA). It should be a special decoupage or wallpaper.
- Brushes of different sizes and shapes.
- Additional decor (beads, crystals, stickers).
- Pencils or markers, if the contour of the drawings will be summed up.
Decoupage process
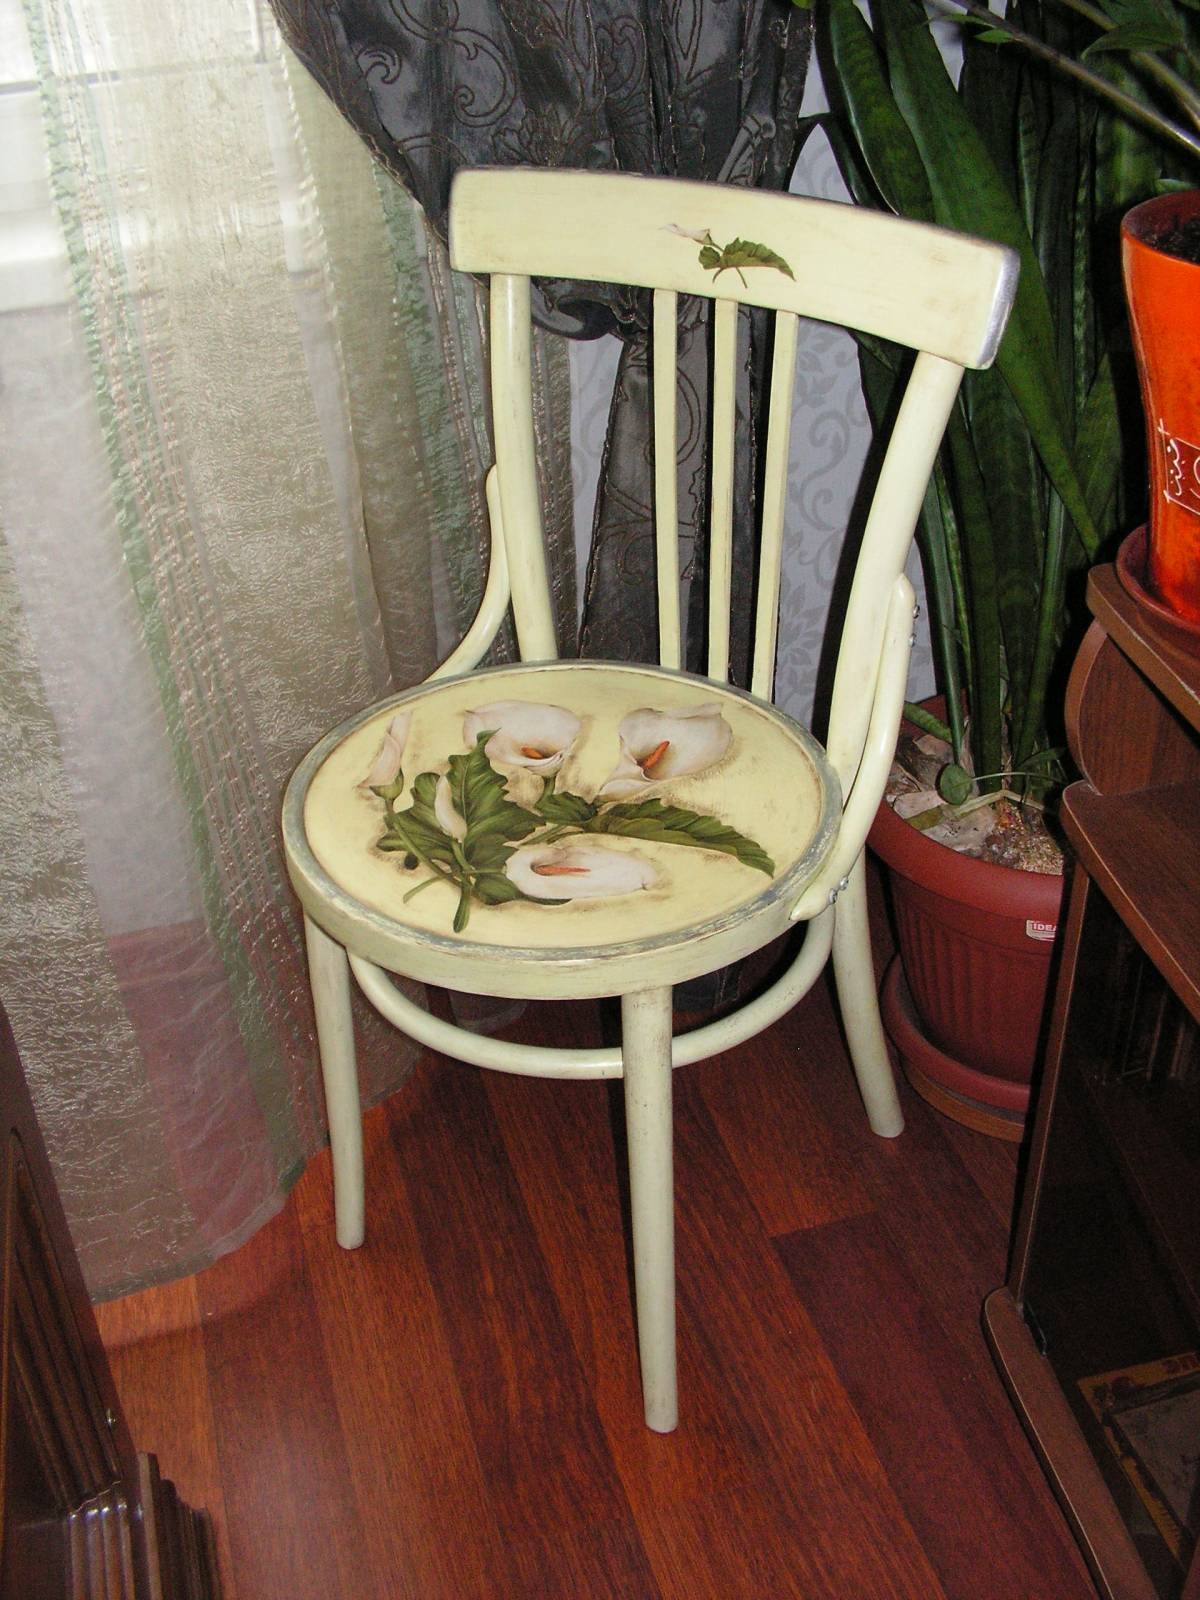
As already mentioned, the decoupage process can be performed using different drawings on paper. The most commonly used materials that will definitely look great are wallpaper, fabric and napkins. Since everyone has their own density, a different approach will be required. But in general, the work plan is very similar and will not cause any difficulties.
Wallpaper
Quite often, after renovation, pieces of wallpaper with beautiful patterns remain. They are no longer suitable for gluing, but it is a pity to throw them away.
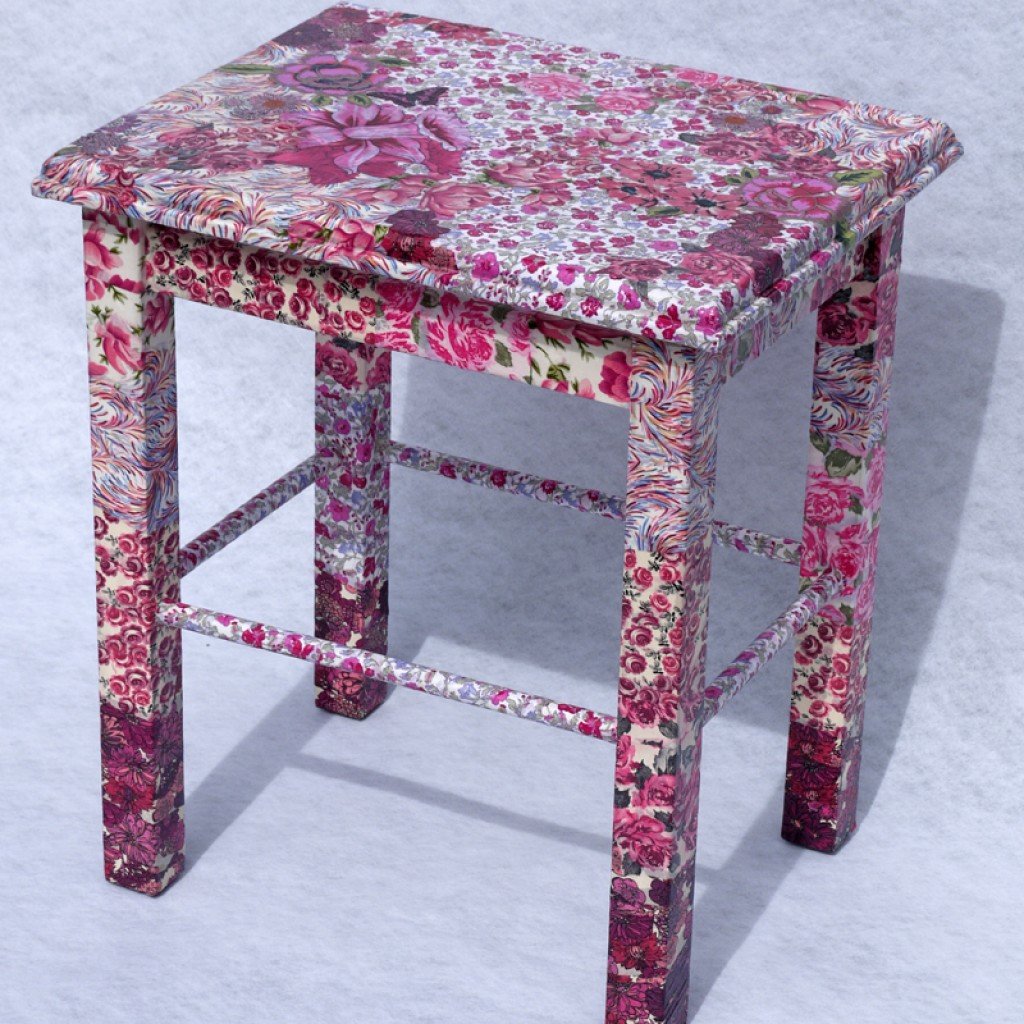
The remaining pieces of wallpaper can be integrated into the decoration of the chair. Plus, such furniture will definitely be combined with the interior, as it will repeat its main ornaments. The wallpapering technique will be a little similar to the use of napkins. For such a material, a special PVA glue is used. This will make it much more reliable to fix the patterns on the product.
The selected pattern is cut along the contour and coated with glue. Then it is carefully applied to the already prepared surface in the selected place. It is necessary to level the material with a brush with stiff bristles. You can use wallpaper, but small. After applying all the ornaments, the chair should dry well.
Note! If a large surface of the chair (back or seat) is pasted over, you must first cut out a suitable piece of wallpaper in order to avoid mistakes and not spoil the product.
Cloth
Fabric is a denser material than paper.The process of work retains the main points, but it will take more perseverance and patience, since it is a little more difficult to align the material.
Important! It is not very convenient to use large pieces of fabric. Therefore, if you want to decorate a large area, it is better to give preference to another material.
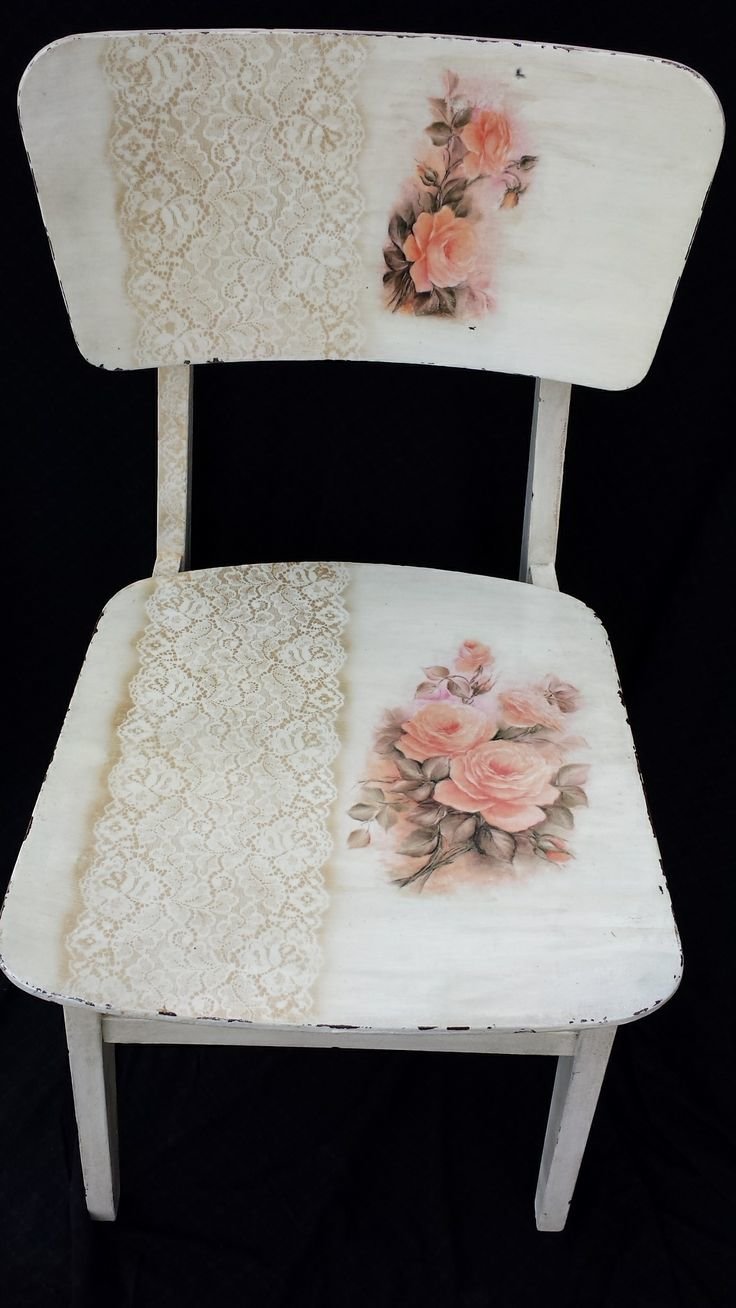
You can take any fabric, the main thing is not very dense. It can be cotton fabric, tulle, nylon, organza, chiffon or guipure. Satin ribbons or openwork lace look beautiful as an additional decor.
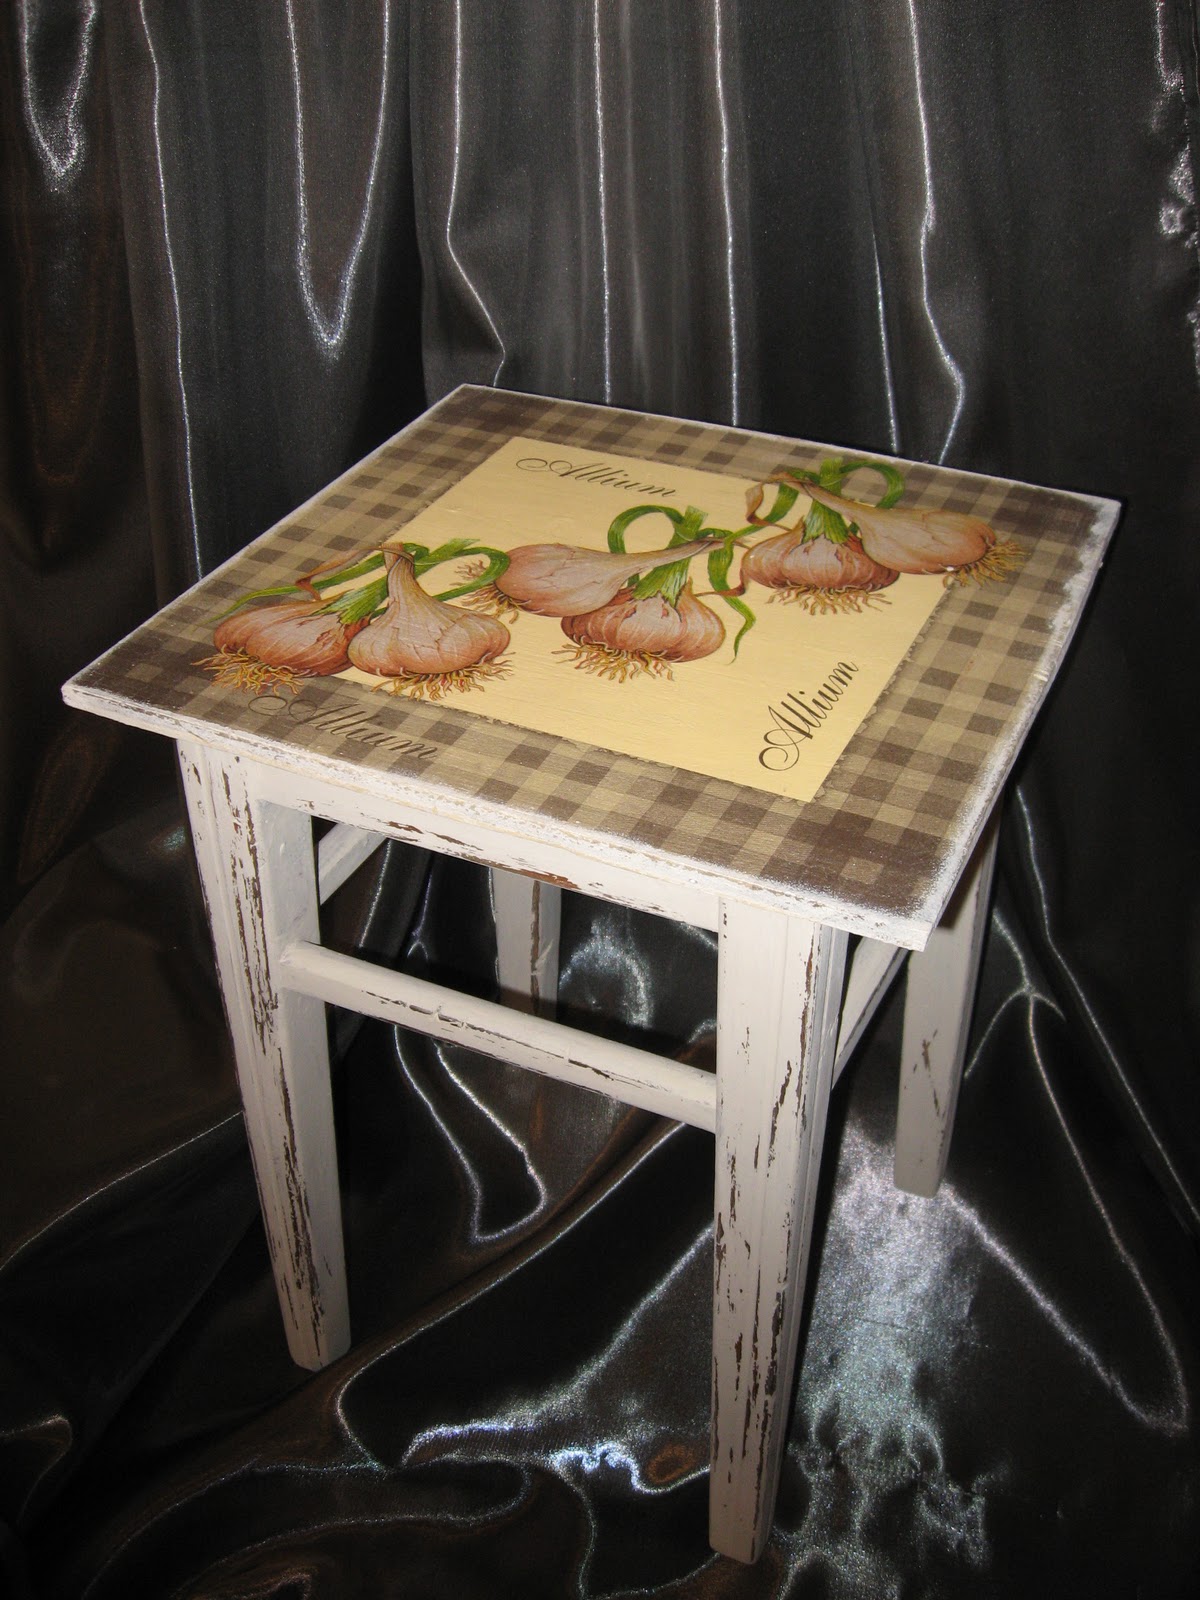
The selected pattern is cut out. The surface of the chair is worked out with PVA glue (for wallpaper). It should dry out a little, after which another layer is applied. The fabric is also smeared with glue. Placed on the selected area and smoothed out with a brush.
Napkins
Decoupage made with napkins can be found most often. This is the most popular and widespread method. It is used not only to revive old furniture, but also to give uniqueness to new ones.
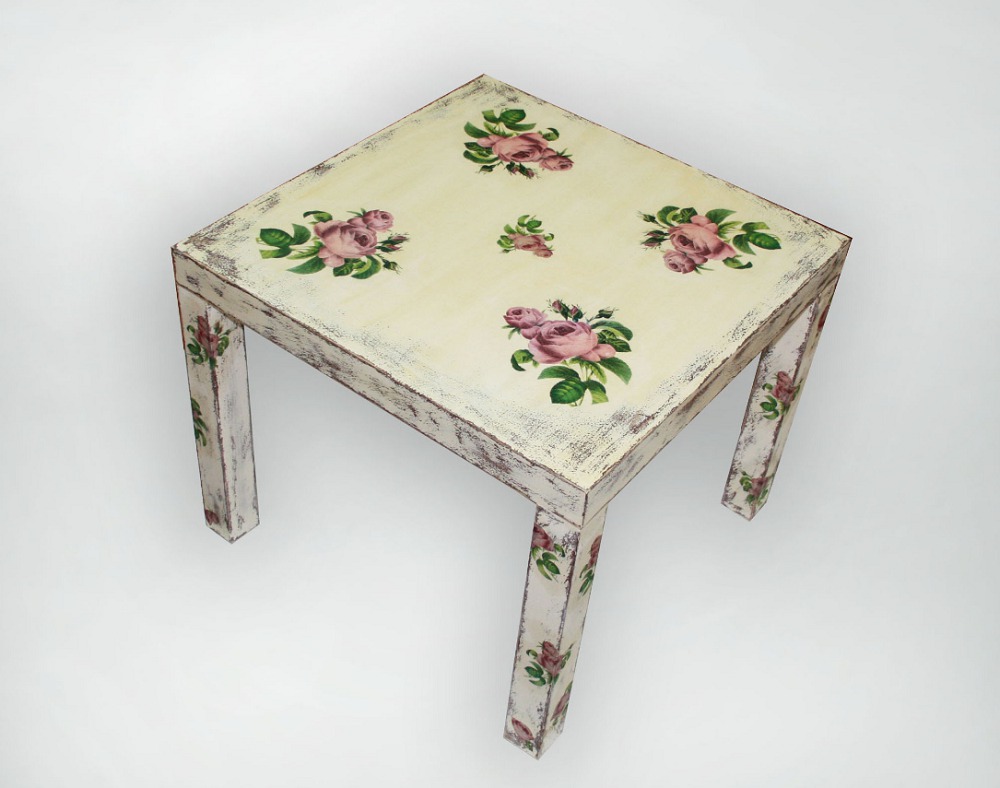
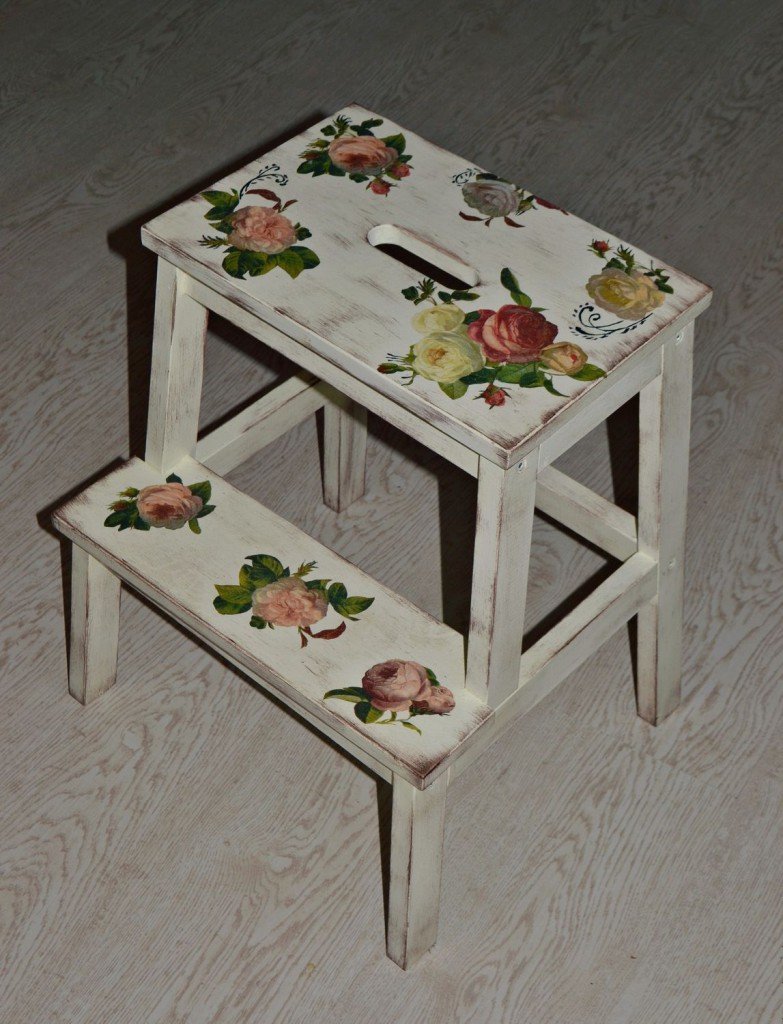
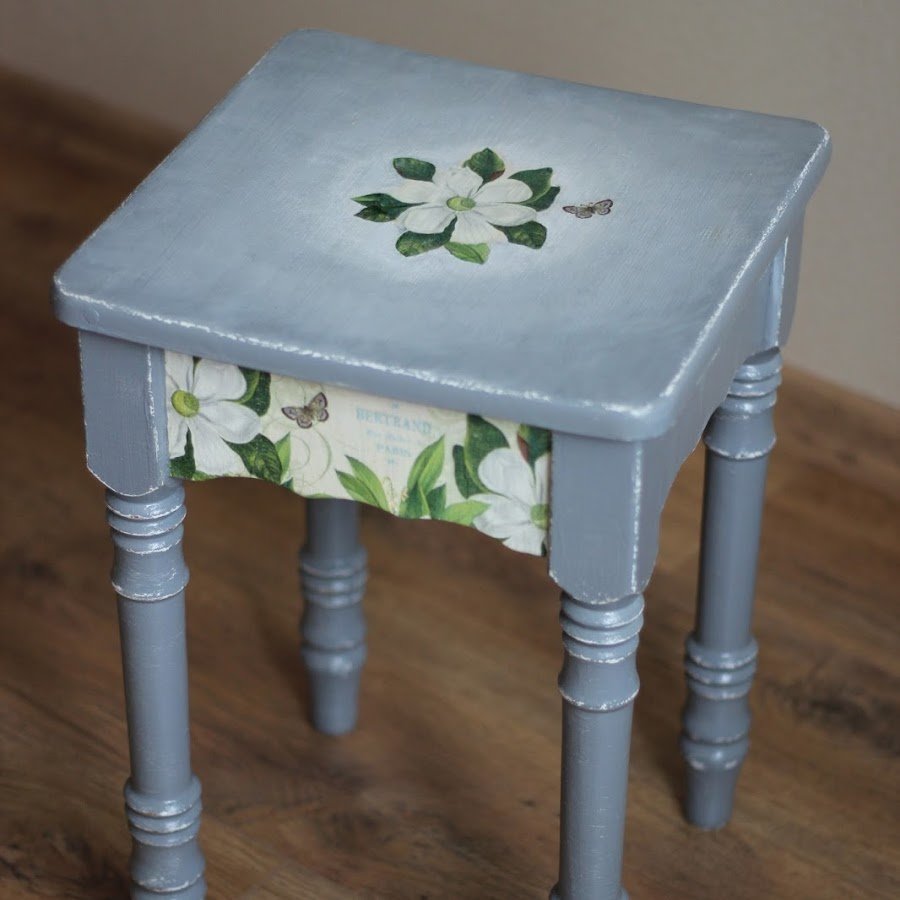
To implement the conceived decorating method, you need to choose the right napkins. It is important to consider that they must be dense, consisting of at least three layers. Otherwise, the drawing may break during alignment and all the work will have to start over. The selected pattern is carefully cut along the contour. Glued with PVA glue. Can be lubricated after it has been placed in the selected location.
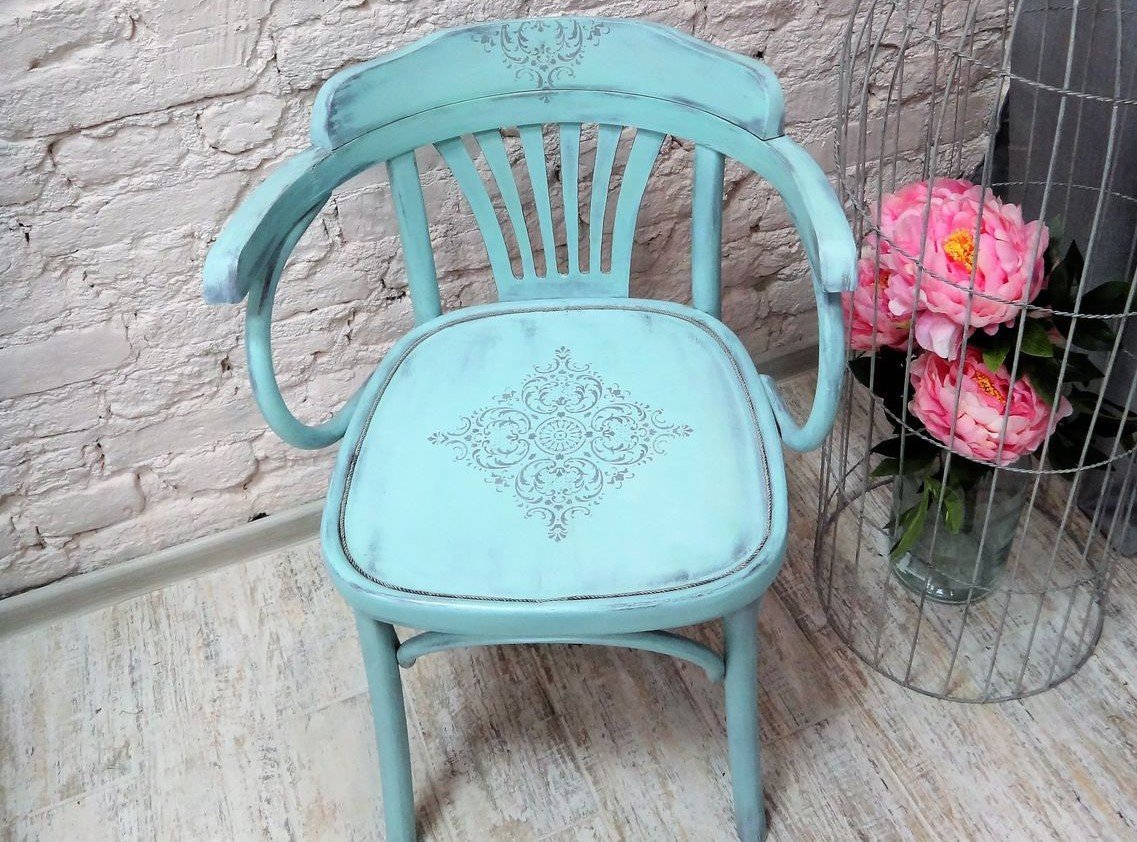
Additional Information! It is quite difficult to work with thin material like napkins. We'll have to be patient and have spare patterns. When leveling with a brush, do not apply too much pressure. If bubbles appear, they can be easily removed with a soft brush.
The final stage
The final stage is the same for all materials. If the surface was decorated with small pieces of material that were compiled into a single pattern, you can smooth out the edges with a brush or gently with your fingers. If you do not like the combination of colors in some place, it is easy to fix it with paint of a suitable shade. The same can be done with a translucent base.
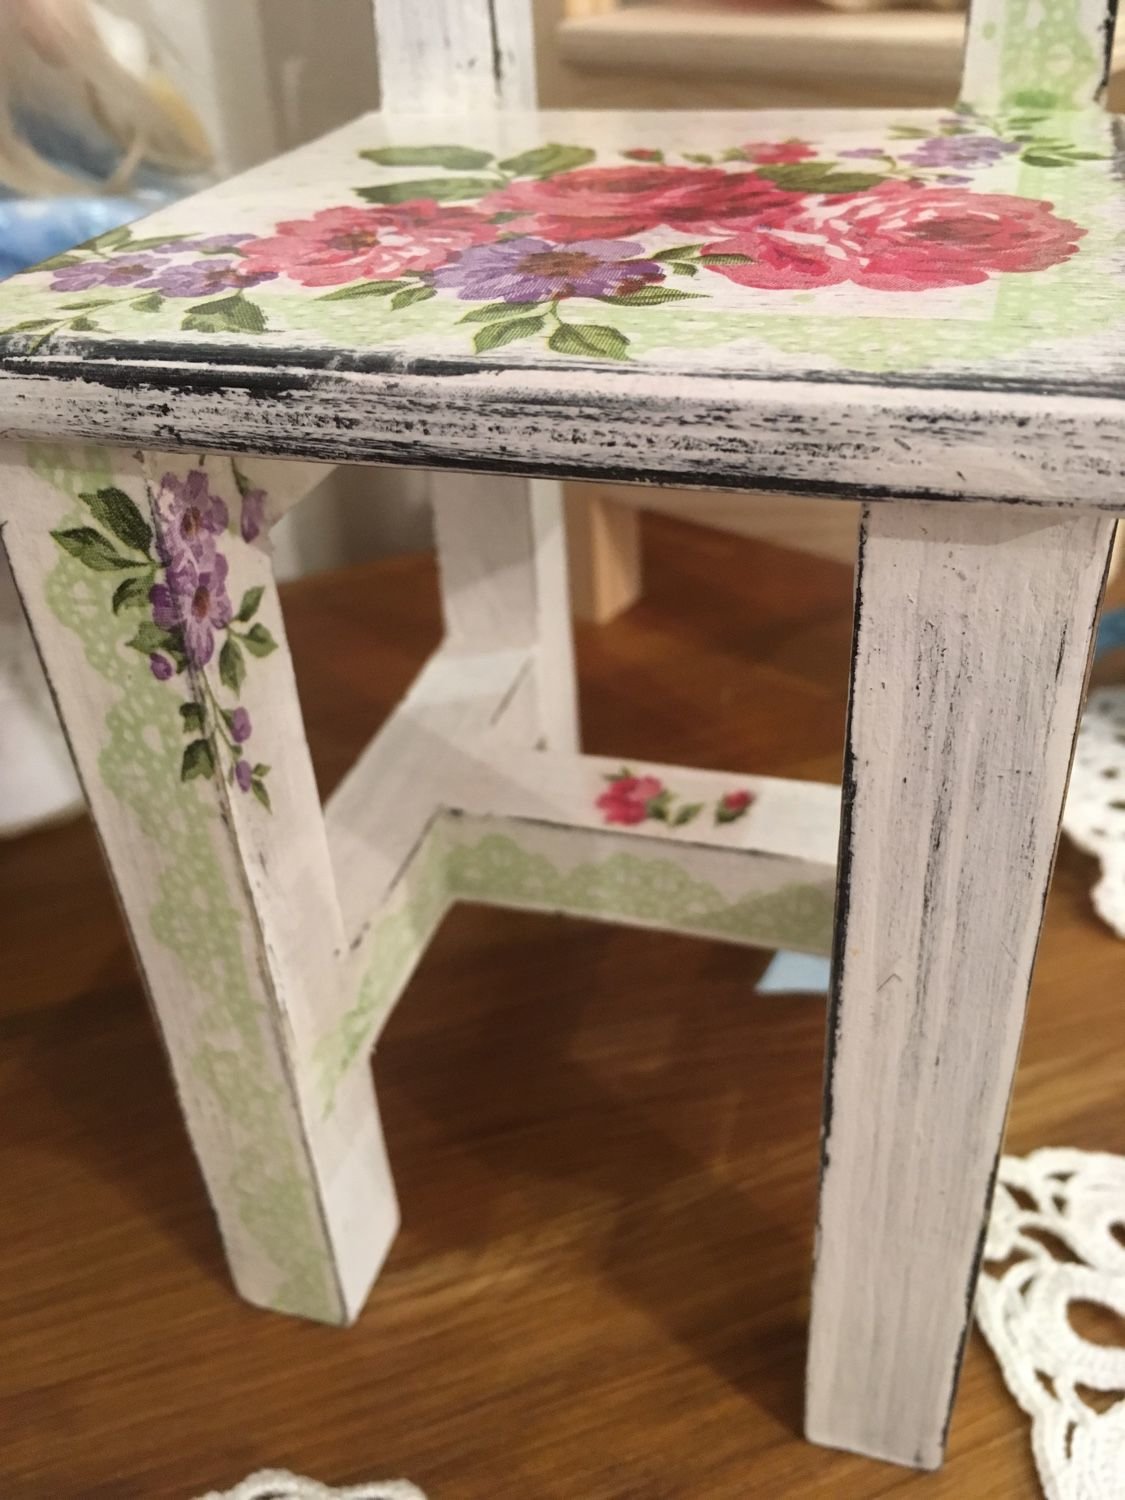
If there is a desire or need, then until the drawing is completely dry, it is drawn with additional paints. Usually they make a sharper outline or paint over minor defects. Only acrylic paints are used for this.
Then you need to arrange the edges of the pattern so that they look neat and beautiful. After all finishing work, the product must dry well. If you want to finish as soon as possible, you can use a hairdryer. But this is done carefully, since the flow of strong air can displace the not yet dried drawing. He keeps a distance from the chair.
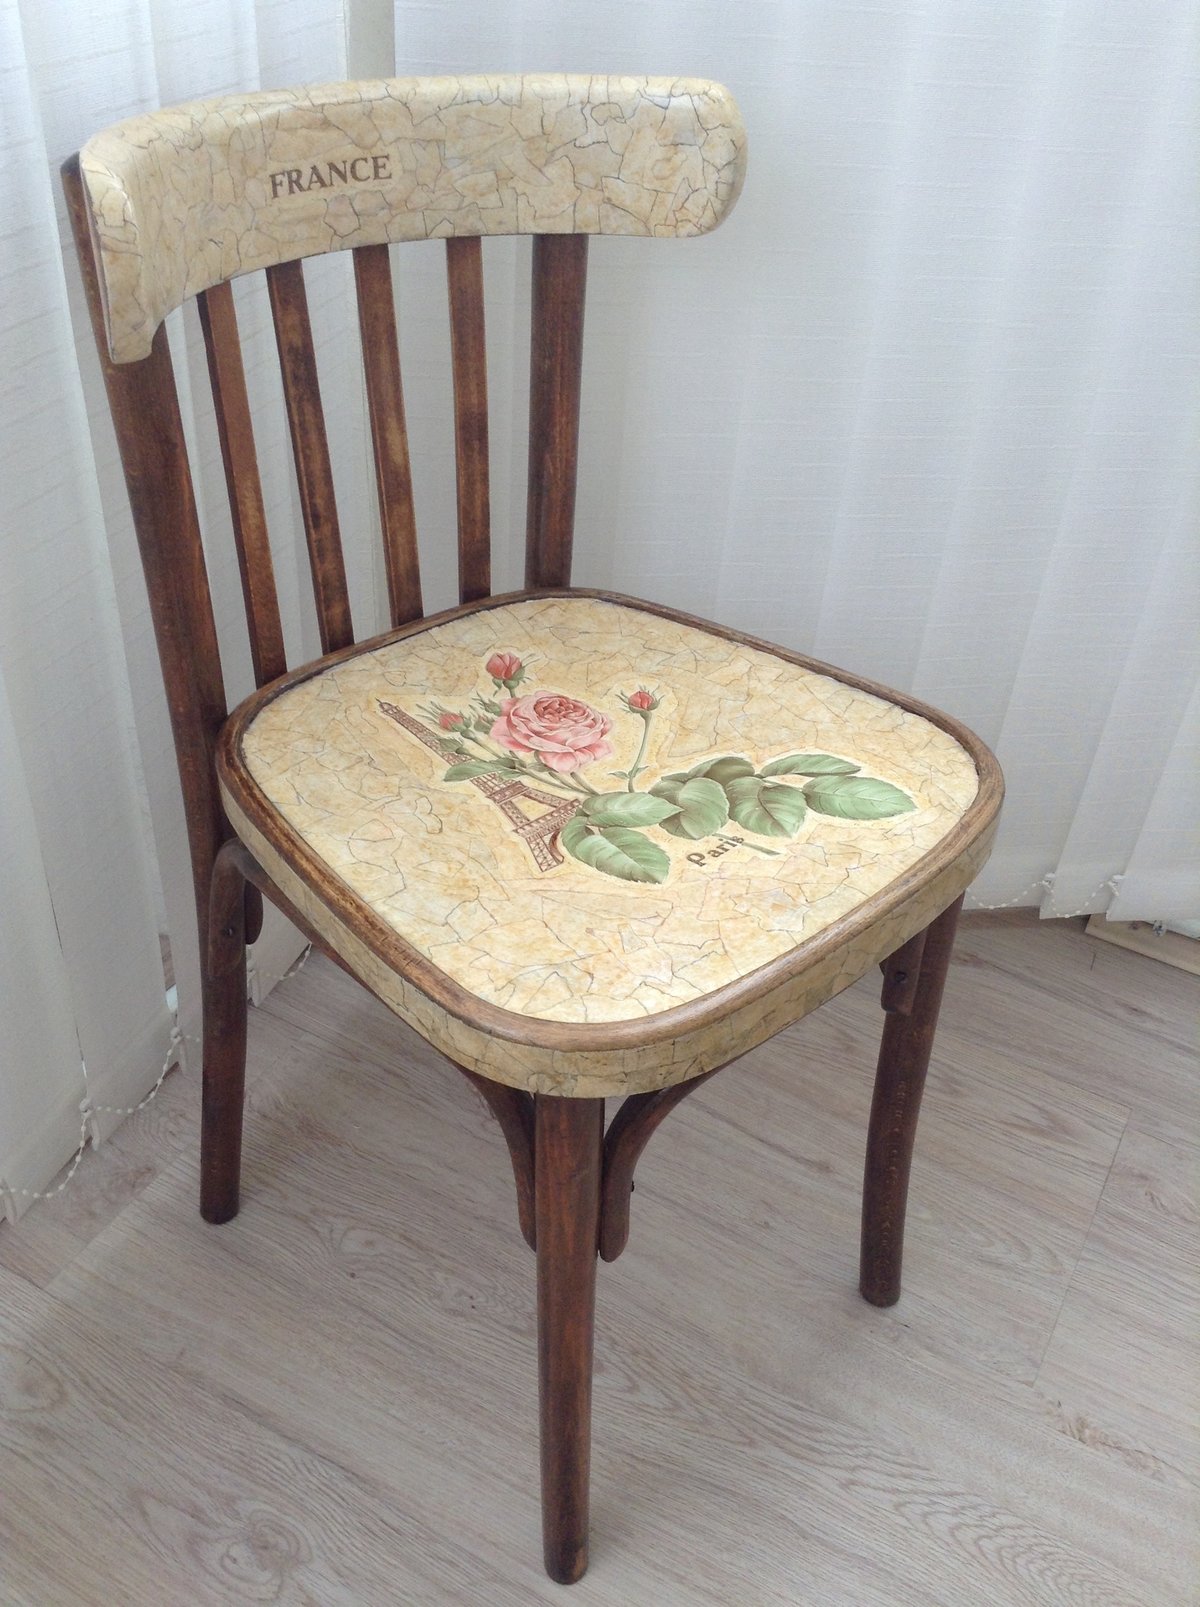
Note! If, during drying, in some places wrinkles have formed on the pattern, then do not worry. They can be easily removed. For this, sandpaper (fine-grained) is taken. It is necessary to carefully, barely pressing, sand the area. Do not press too hard, you can damage the entire drawing.
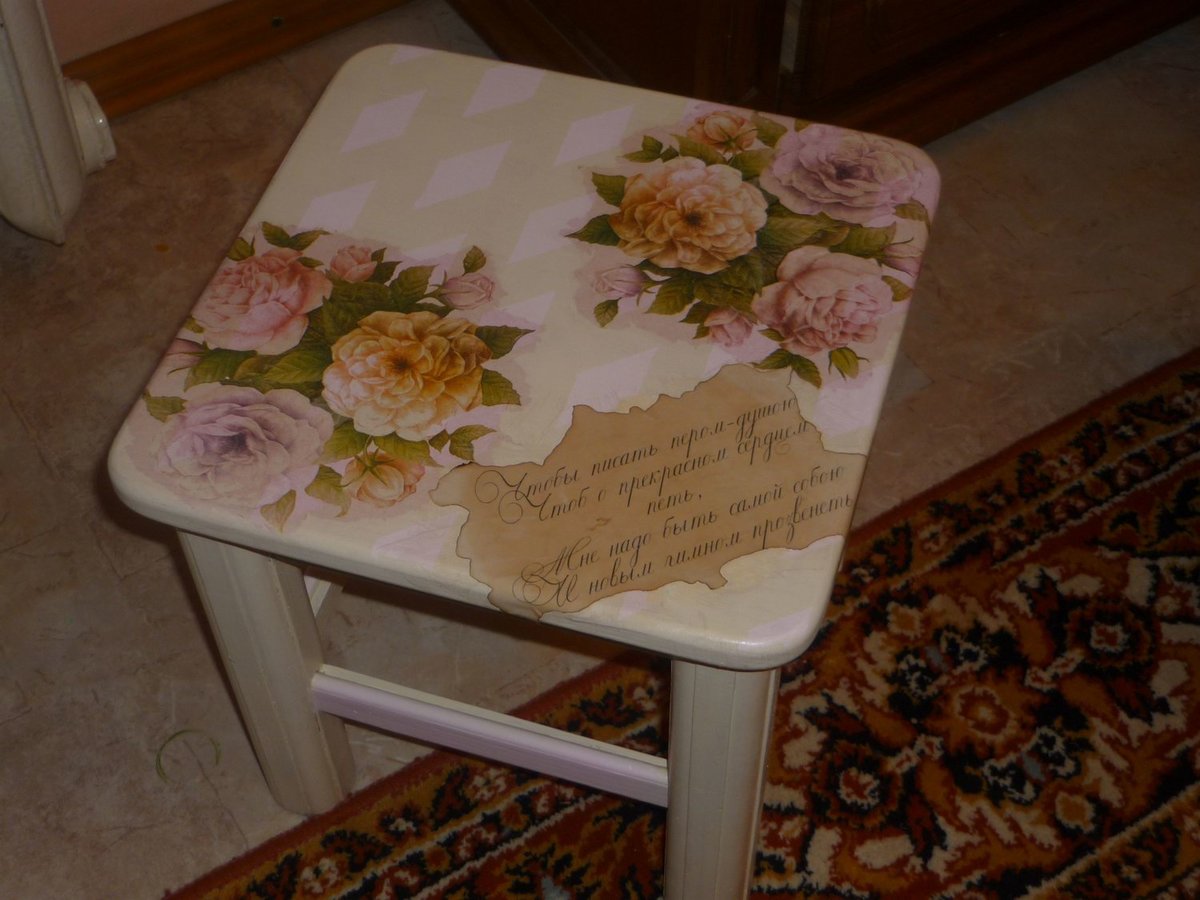
The dried up chair is varnished. Only water-based acrylic is used. Several layers are applied, about 2-4. Each is dried to the end, and only after that the next is applied.
How else can you decorate a chair
The design can be supplemented with some features. Let's say such as:
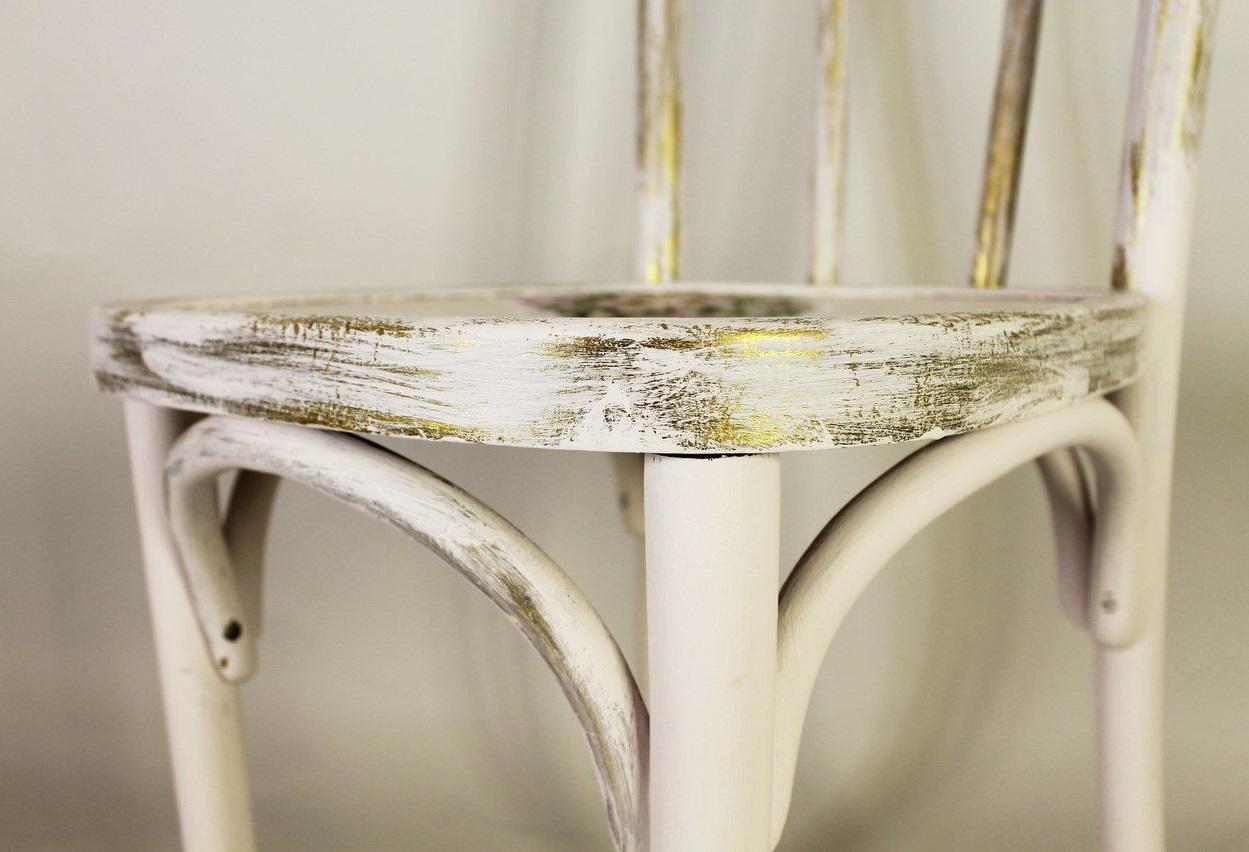
Scuffs
Fading is used to visually age furniture and add sophistication to it.
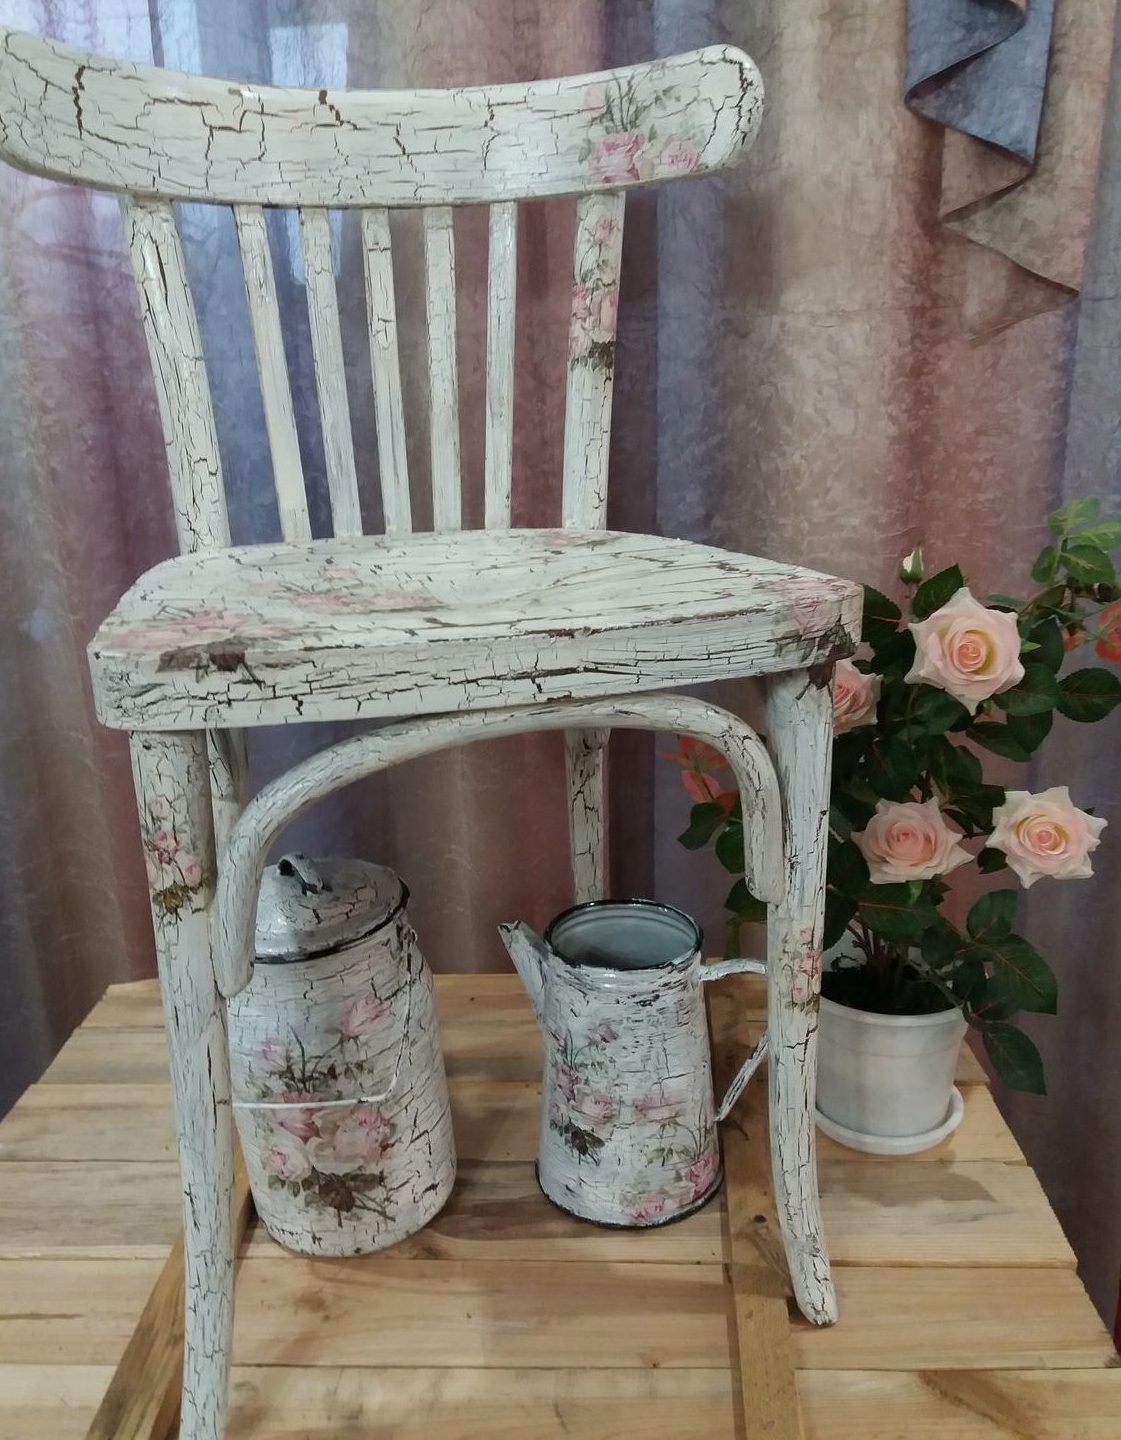
Craquelure application
This is the effect of creating small cracks in the furniture. This thing looks very interesting. Cracks and chips add a historical look, as if the thing has gone through many generations.
Decoupage a chair at home is an interesting and practically useful activity. Even a beginner can handle it, since the process does not require special skills.
Video: do-it-yourself chair decoupage
