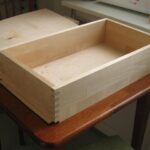
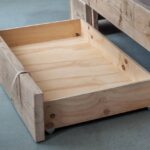
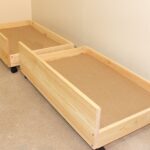
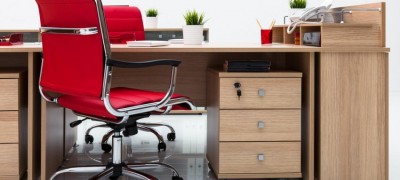
We make a drawer with our own hands
Self-production of furniture drawers for the home is an excellent alternative to purchased products. Thus, it will be possible not only to save money, but also to create a functional and durable structure. Having carefully read the theoretical information, prepared materials and simple equipment, you can easily get the desired result.
Pros and cons of drawers
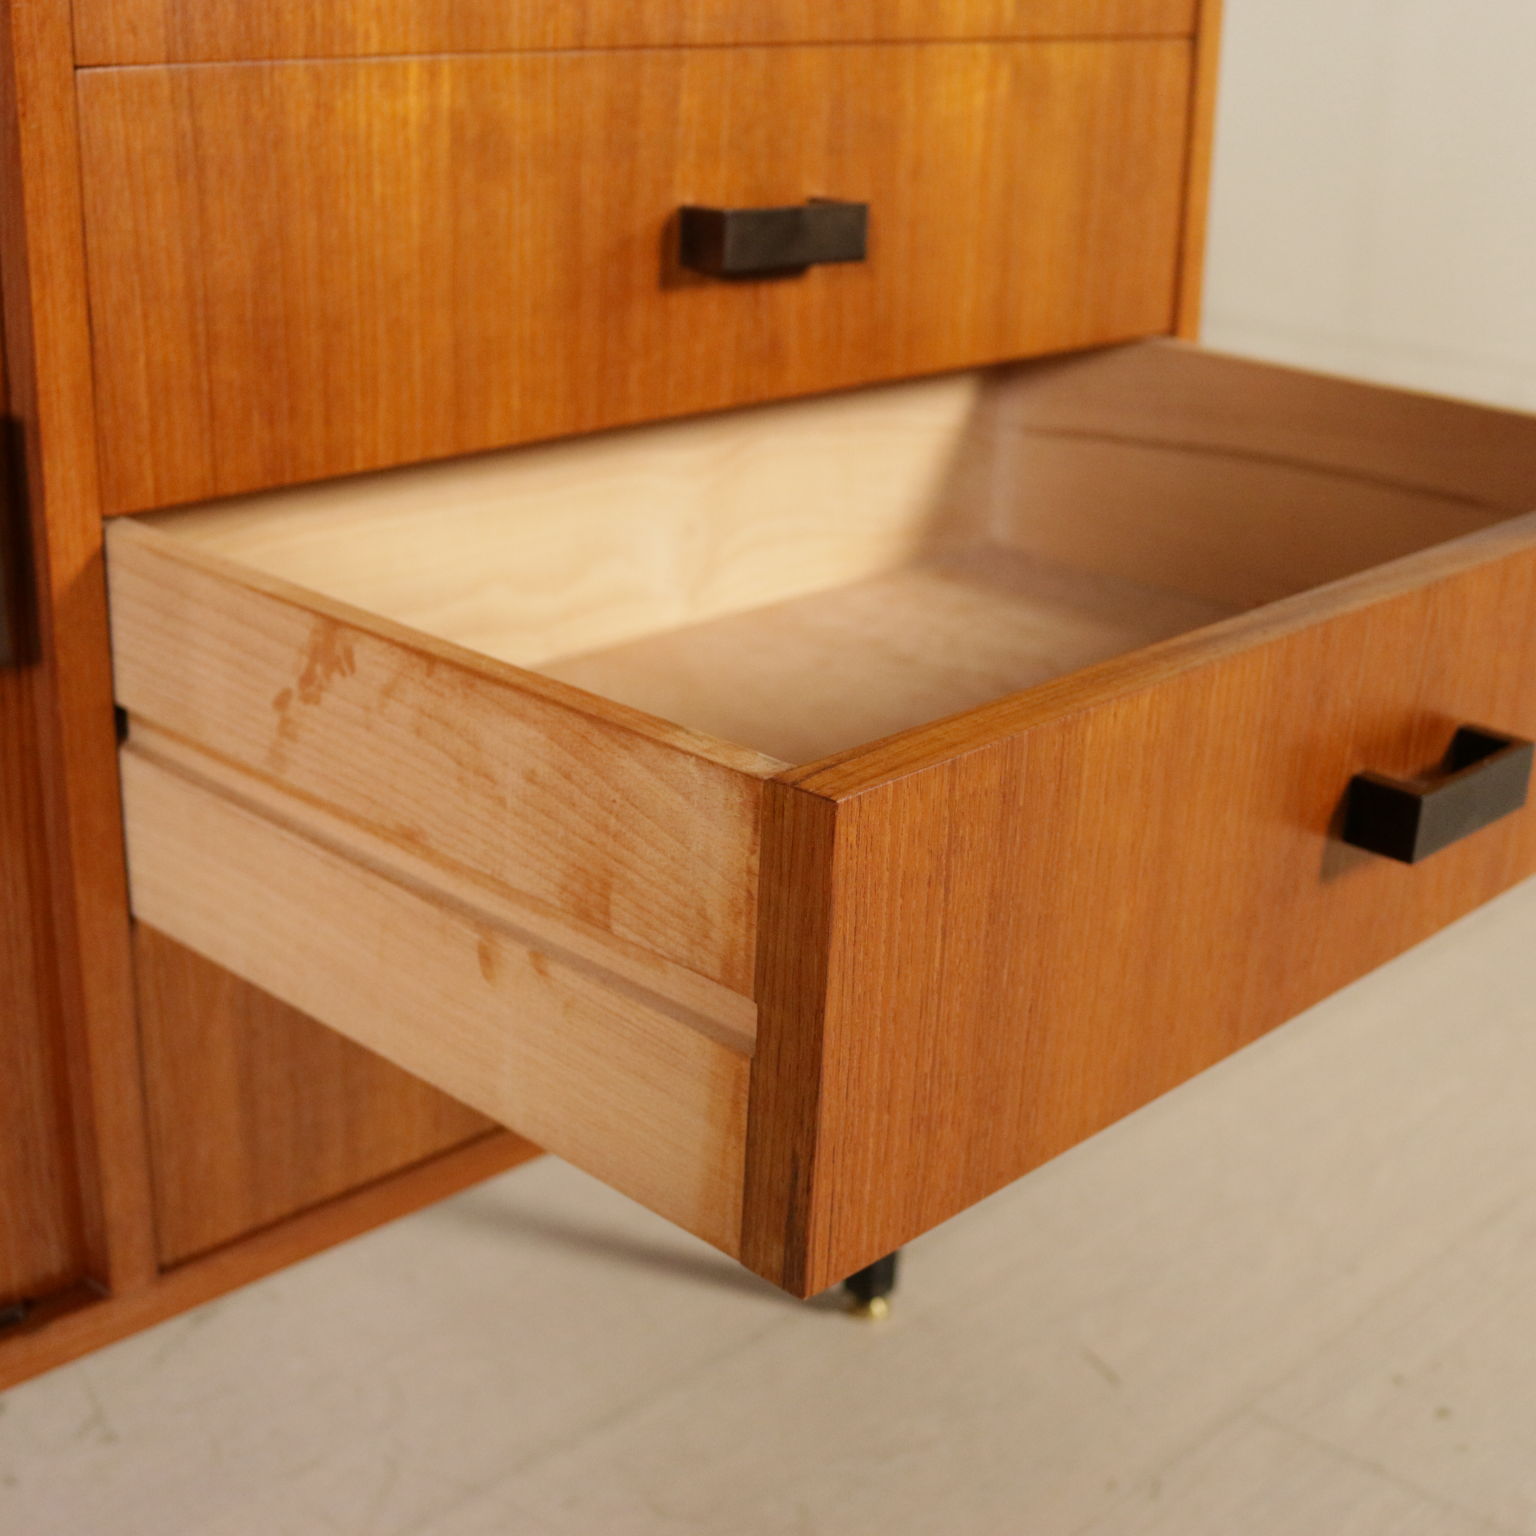
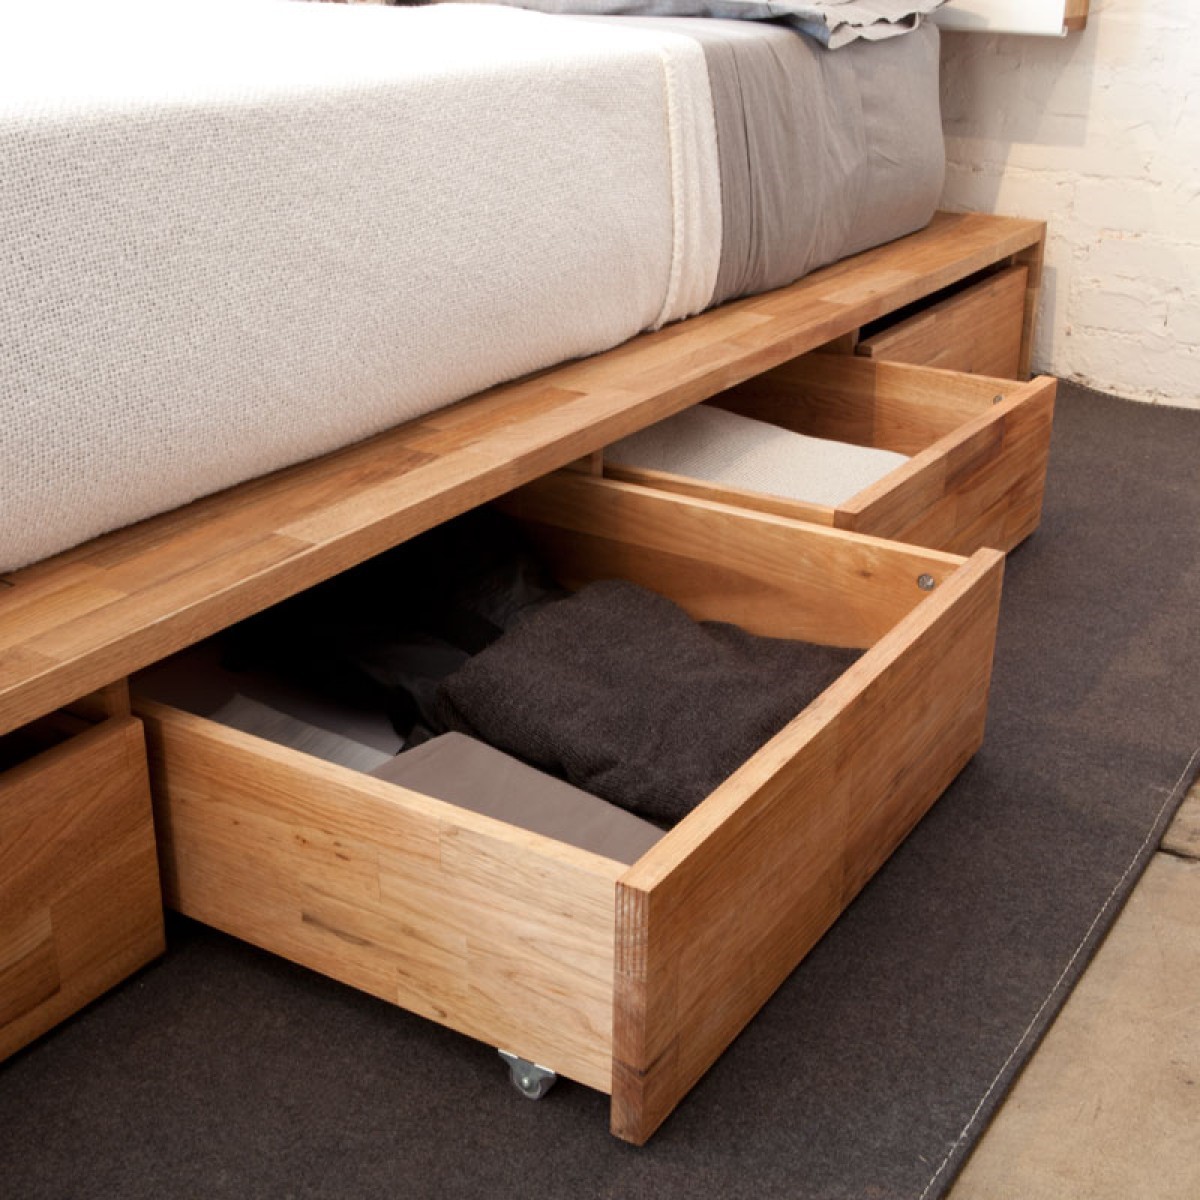
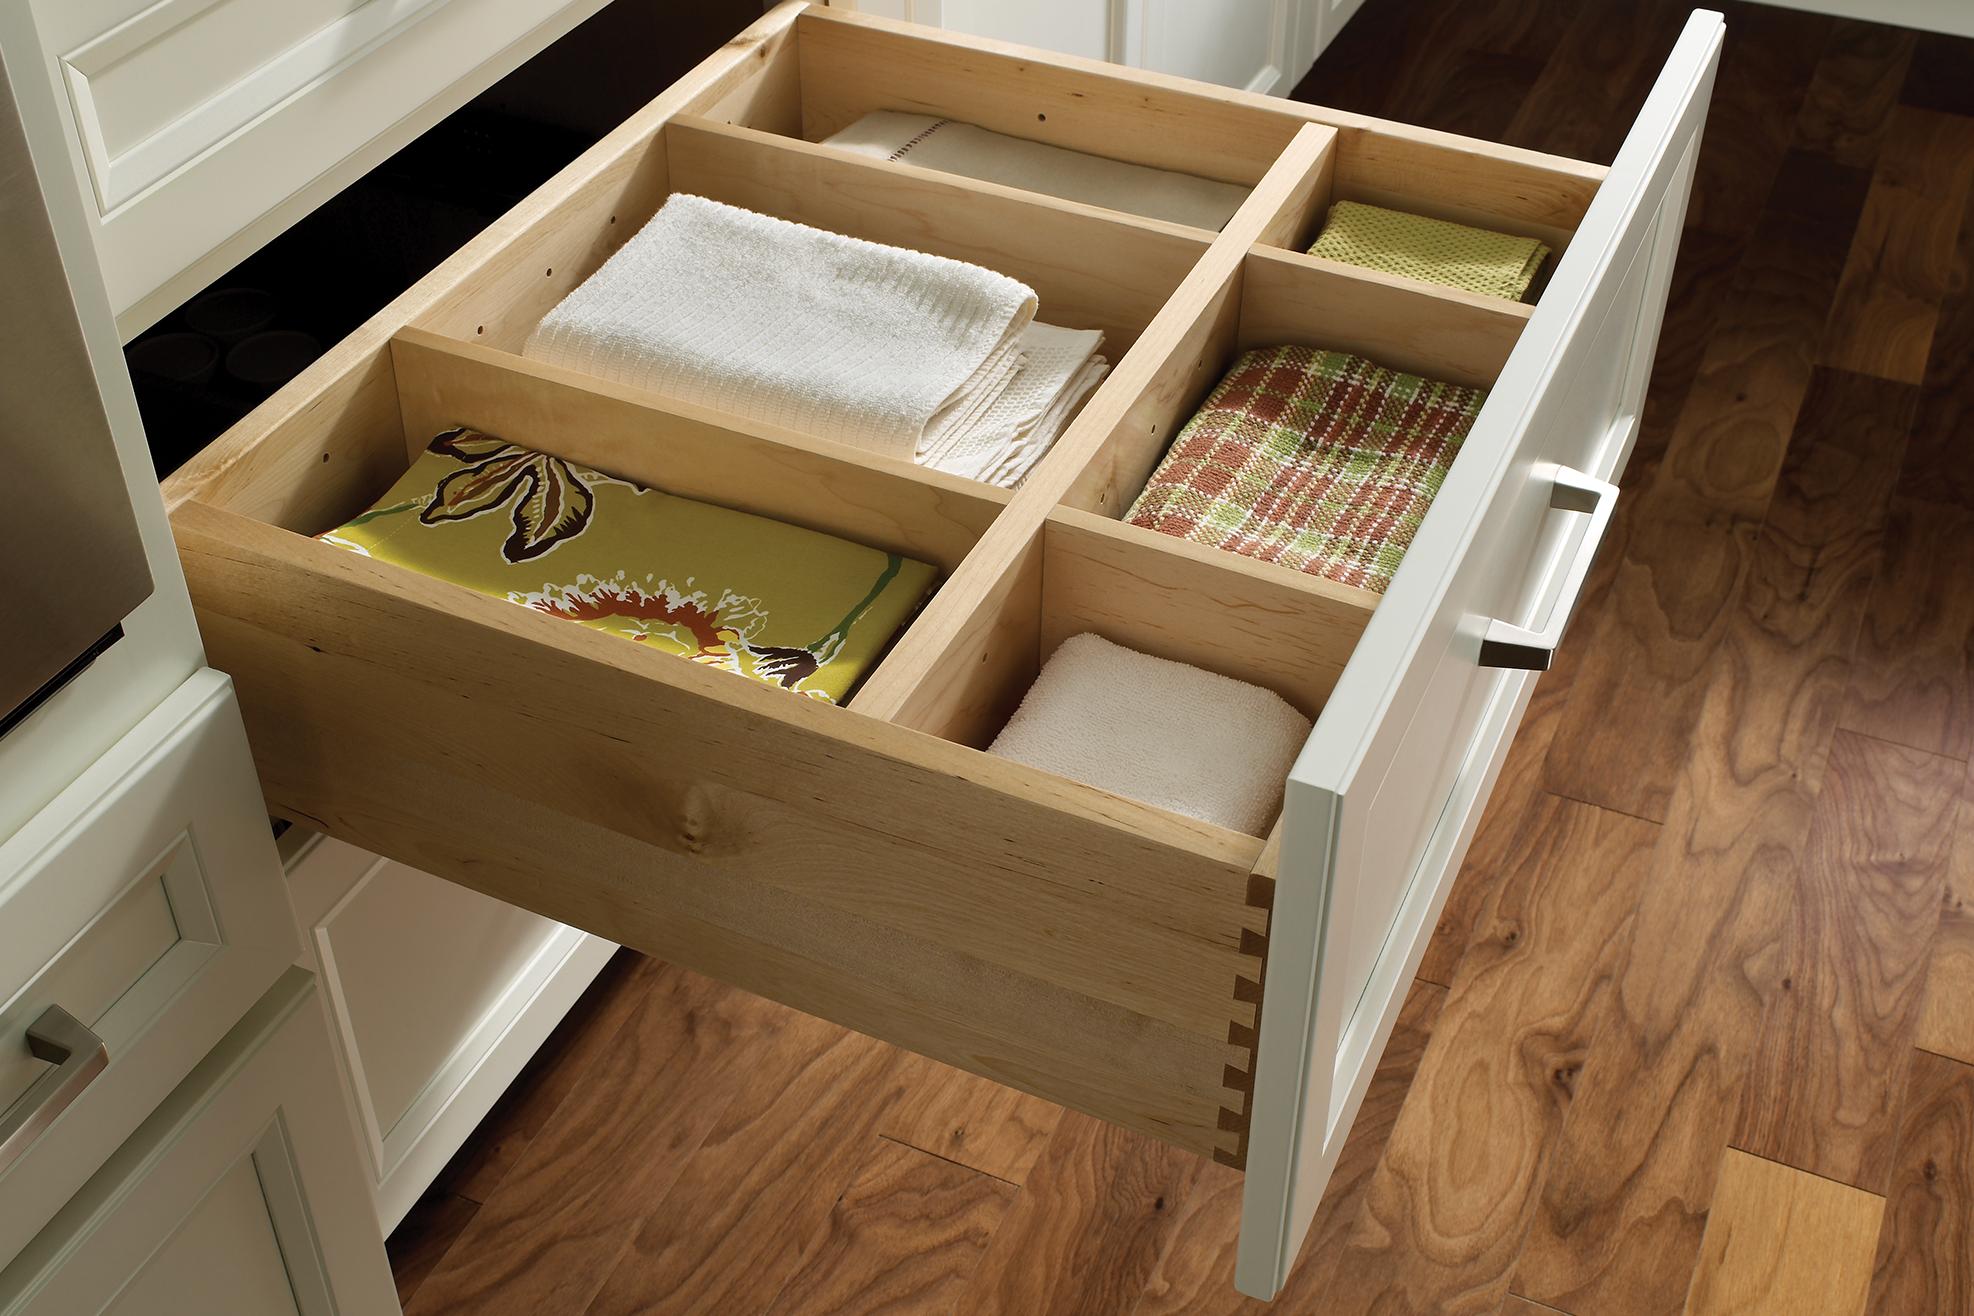
Roll-out furniture pieces are one of the most functional and convenient pieces of furniture for different types of furniture. With their help, you can store various things anywhere, be it a kitchen cabinet, dressing room, desk or cabinet.
The advantages of such boxes are obvious:
- To get some thing, you need to make a minimum of effort.
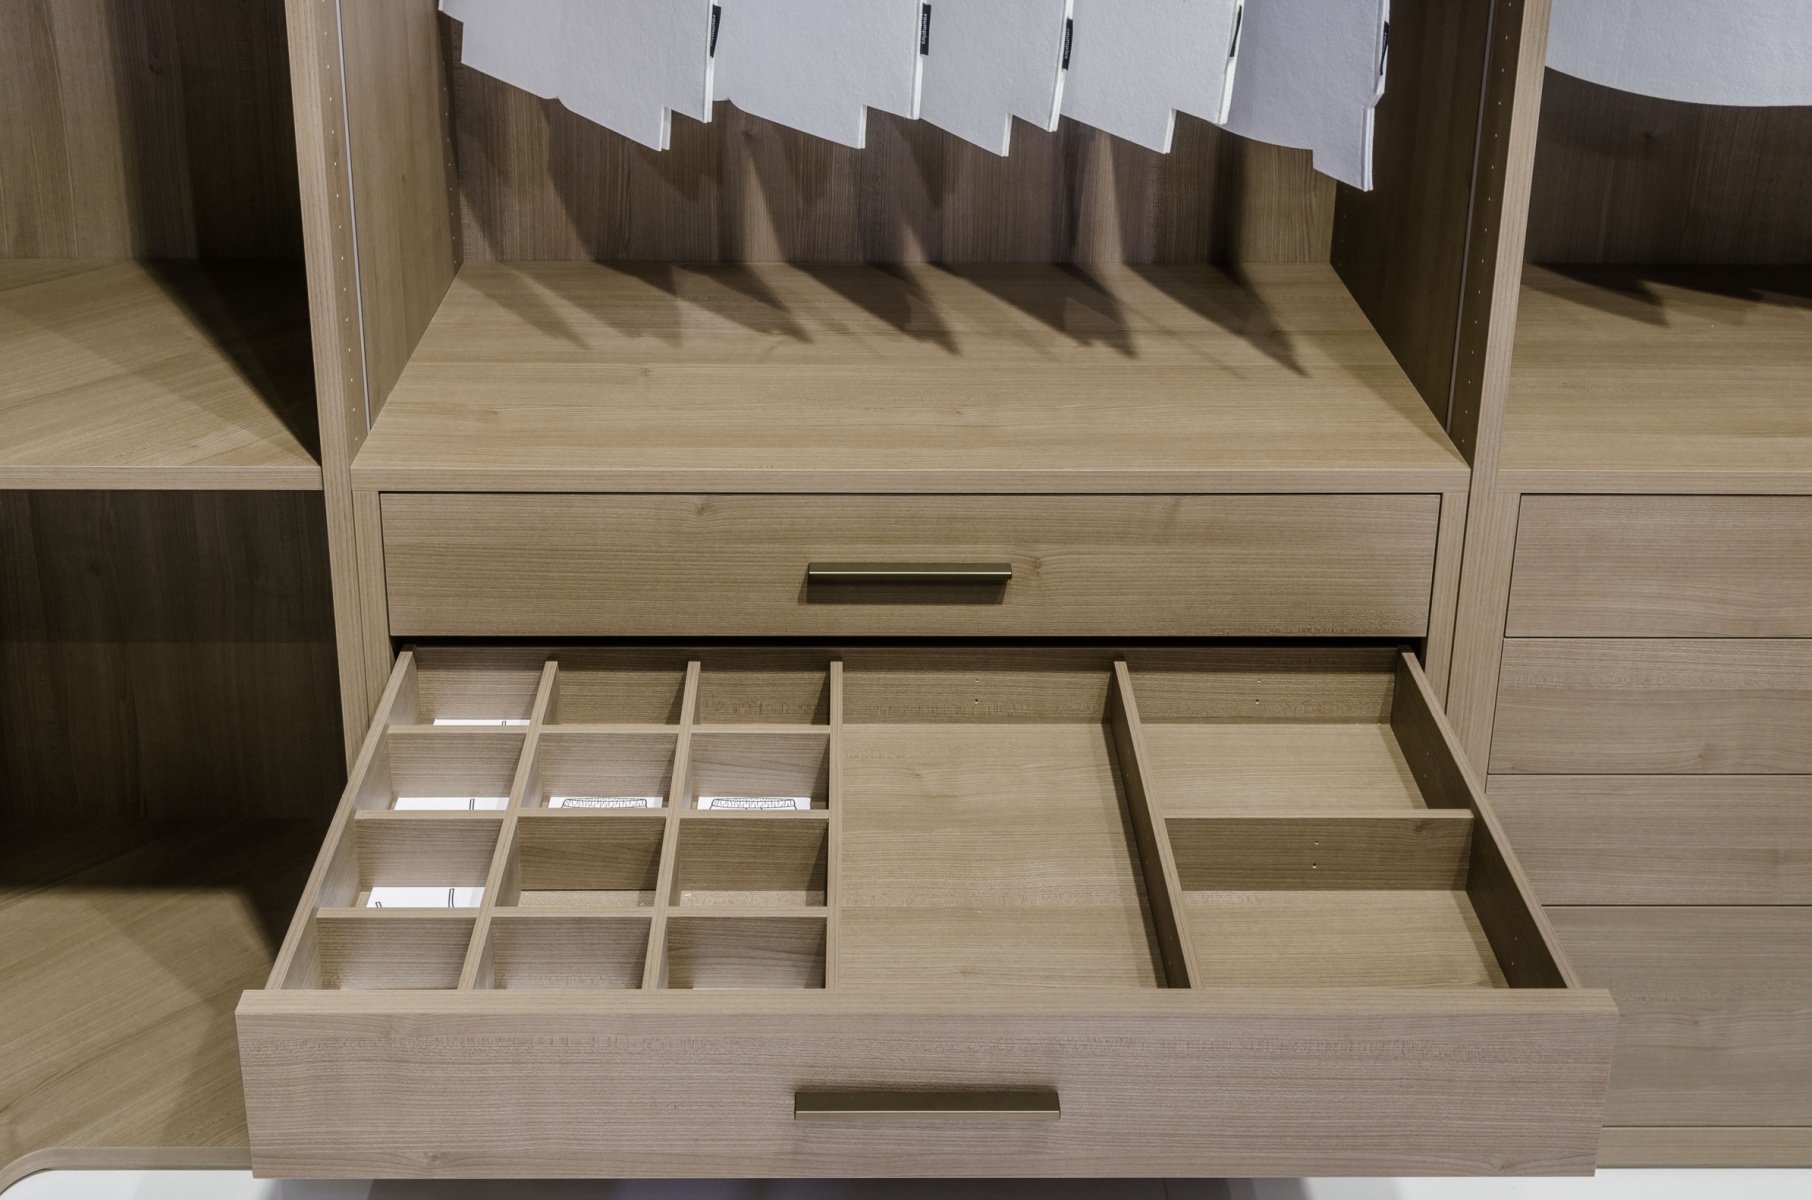
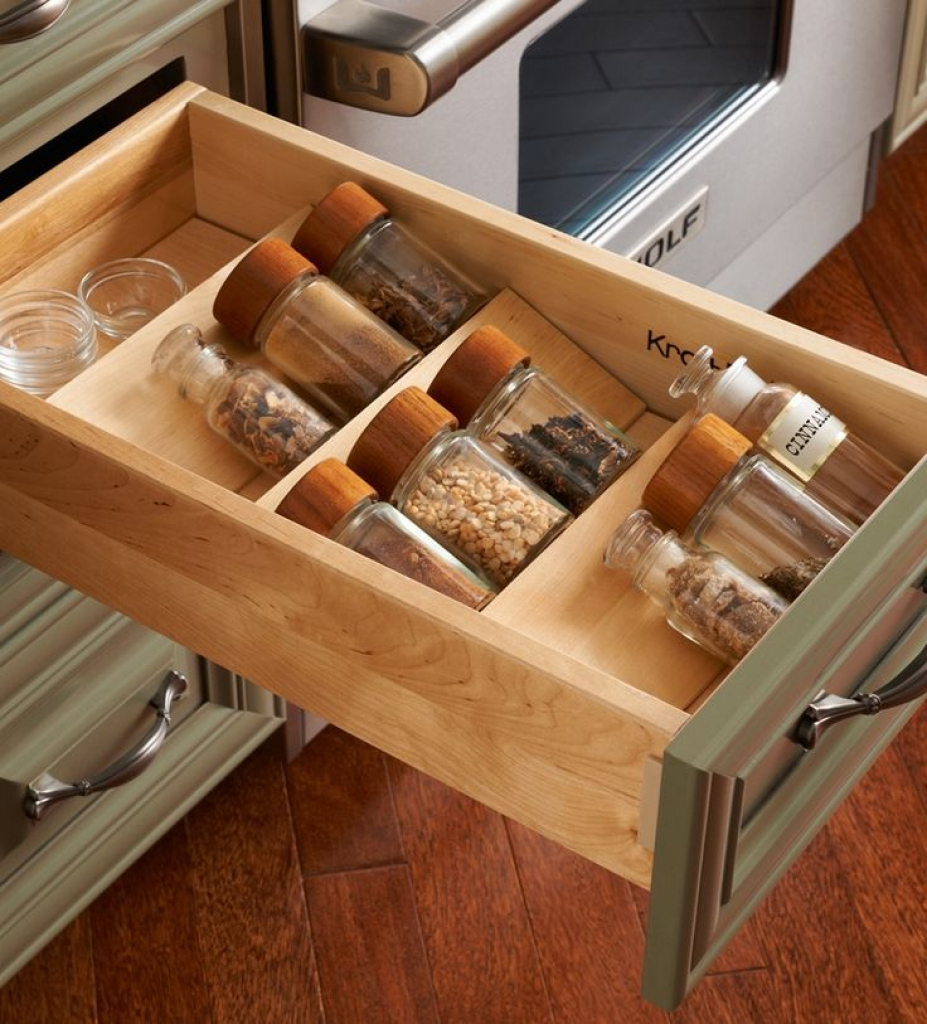
- Partitions can be installed in the boxes, allowing you to conveniently sort the contents.
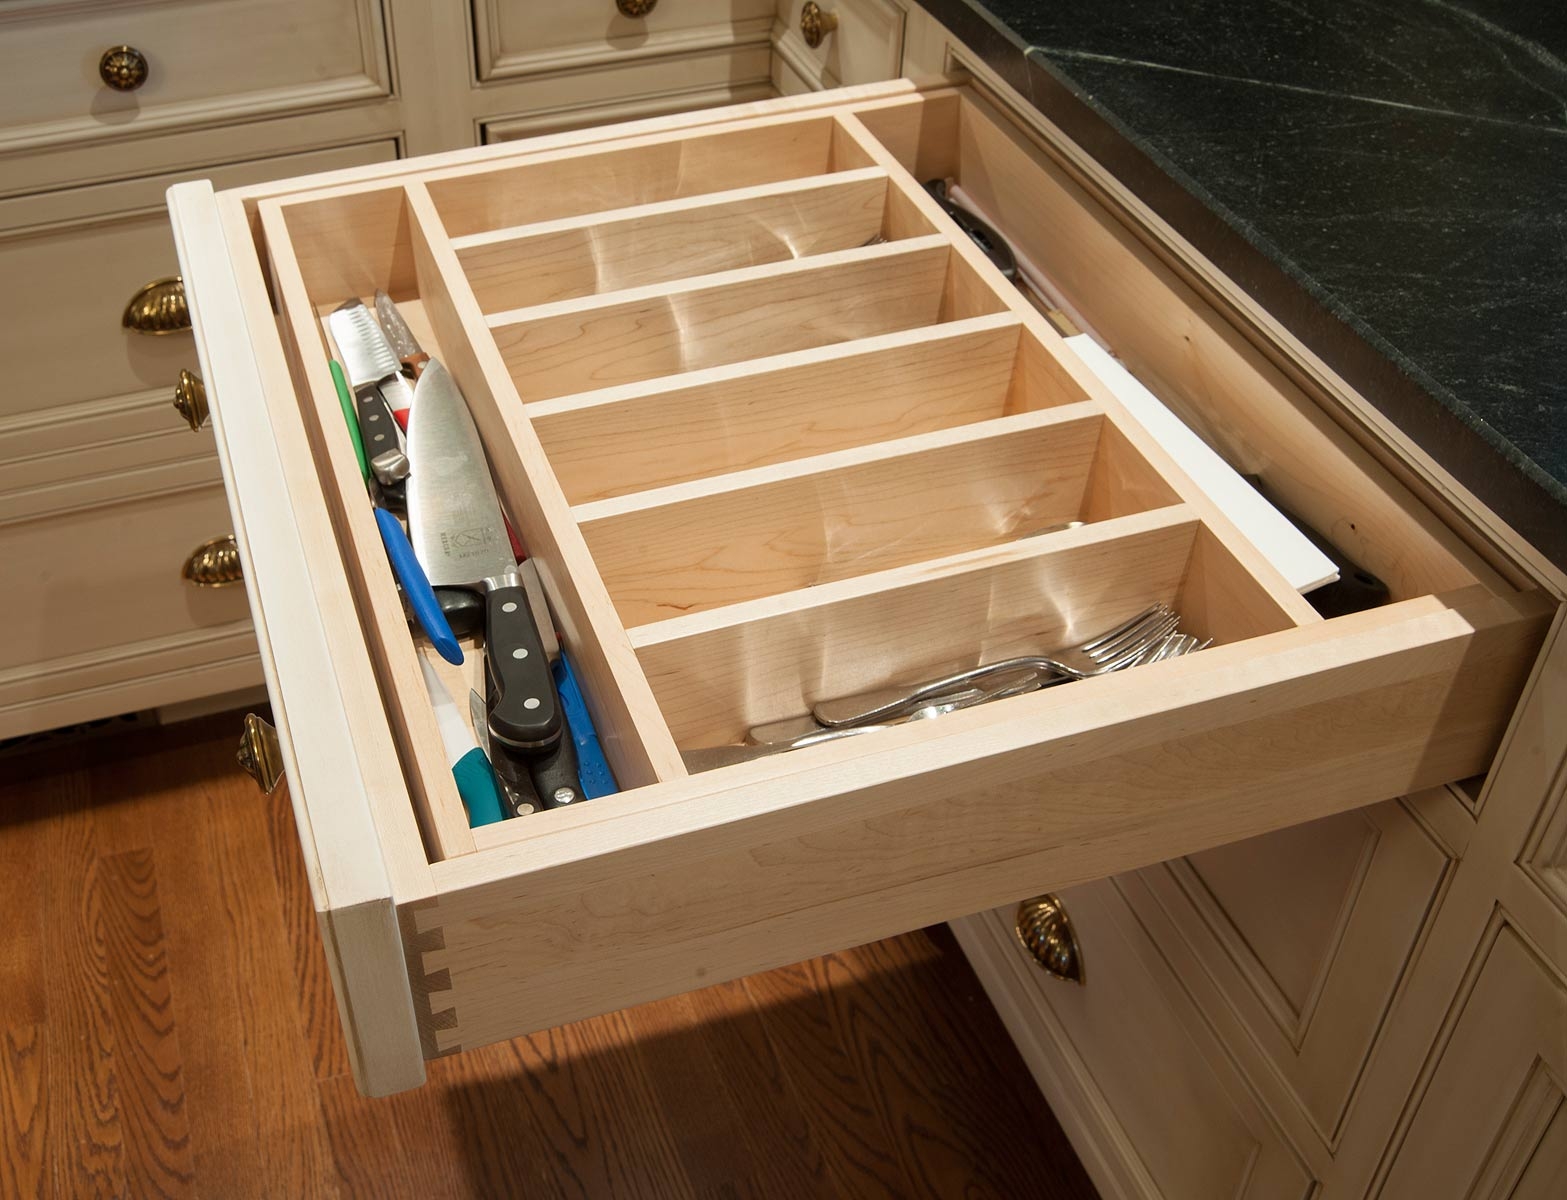
- It is the ideal fixture for vertical storage.
- You can make drawers with your own hands, it will not take a lot of resources or time, which is a big plus of this furniture part.
The disadvantages of the design include the possibility of quick littering, which makes it difficult to find things. But this question is more likely not to the design features, but to the habits of the users.
If you carefully approach all stages of product manufacturing (bottom fastening, durable fittings, installation of guides), then it will definitely please the owner with its quality, appearance and durability.
Varieties of drawer guides
Assembly and installation of components will not be difficult, even for a beginner, if you choose the right guides at the planning stage. There are several types of products on the modern market: roller, ball, telescopic. Each type has its own characteristics, advantages and disadvantages.
Roller system
The roller mechanism is the simplest and cheapest option for guides. However, such a system has a significant drawback: the box will not move out completely. Also, a structure equipped in this way does not withstand too heavy loads.
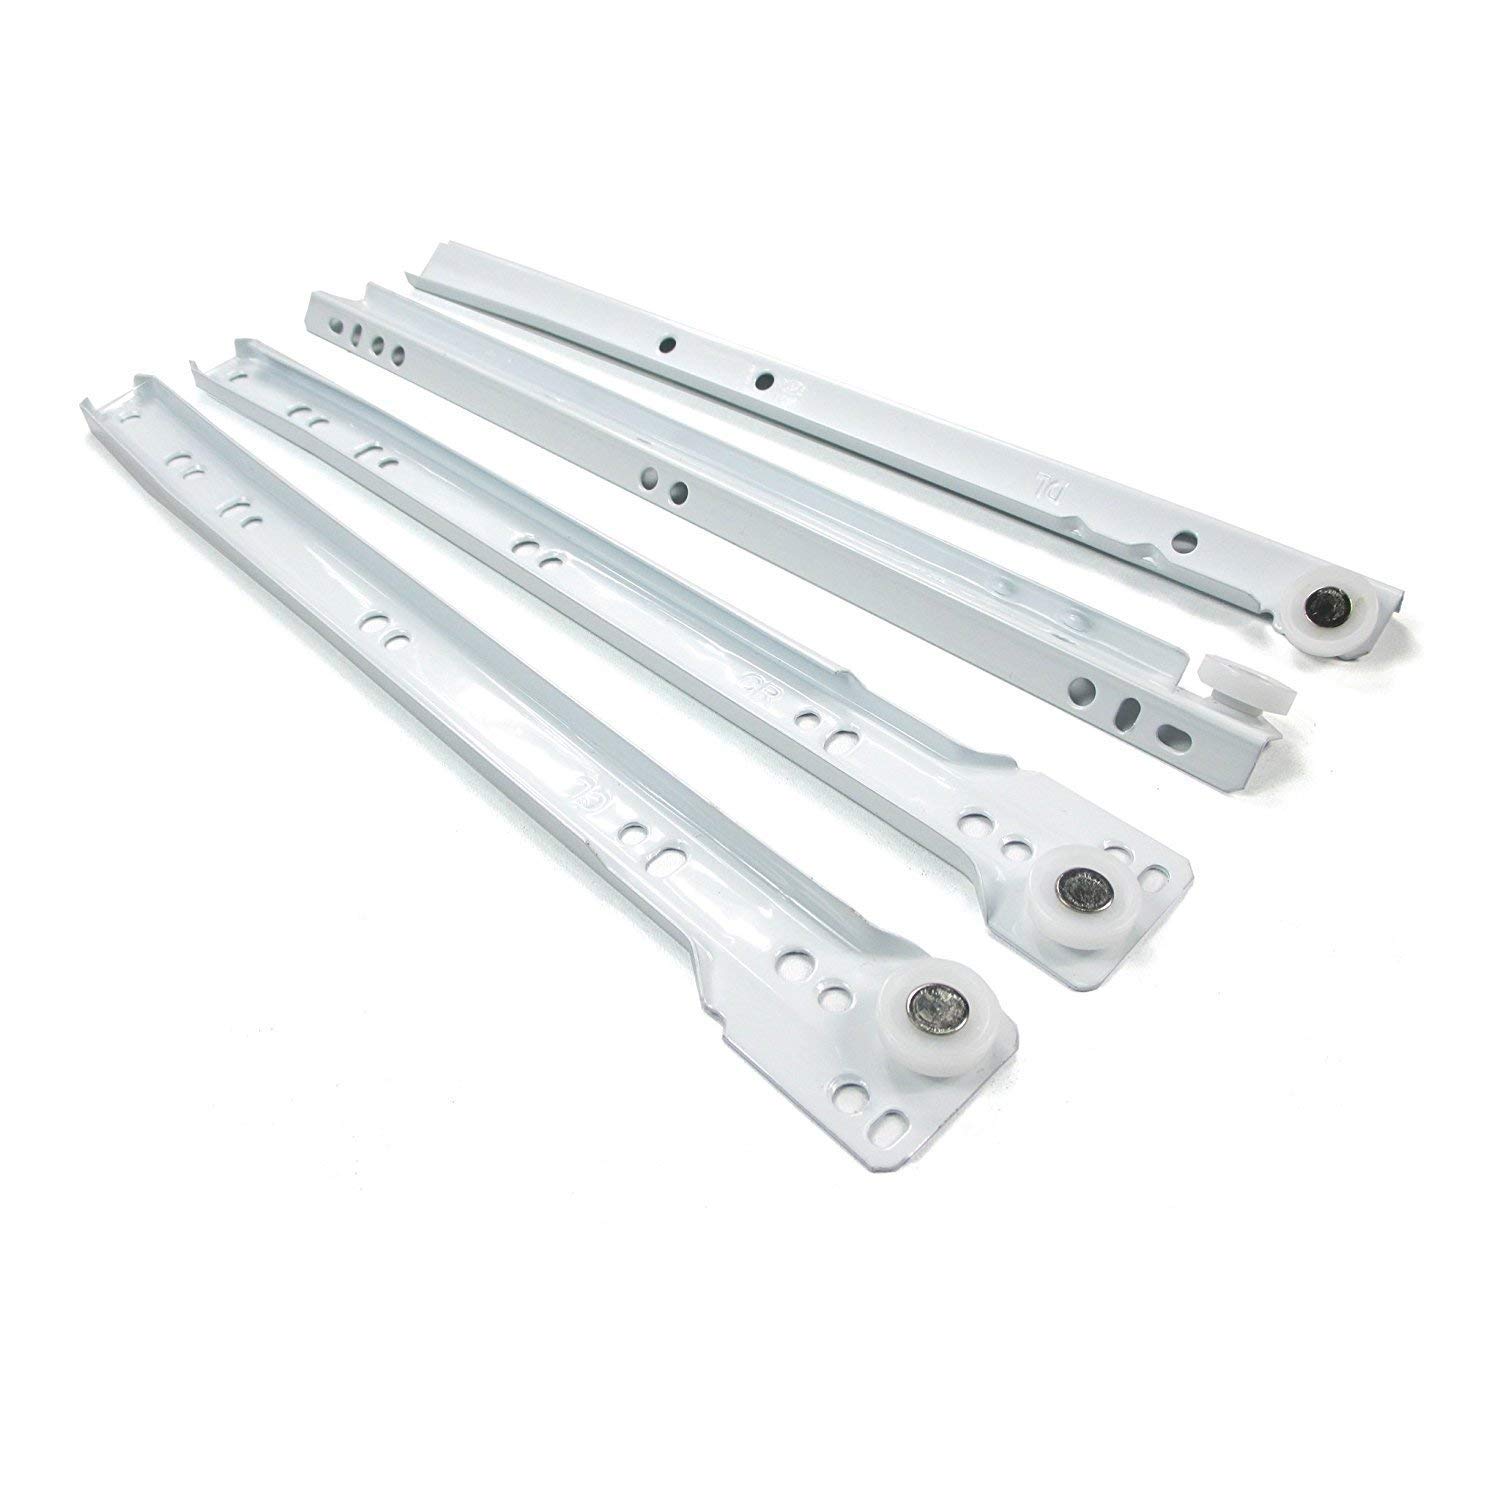
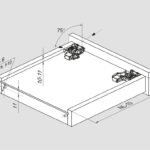
Roller systems consist of two parts, one of which is attached to the workpiece, the other to the frame of the main furniture. Plastic rollers are placed in the grooves of the component, which are responsible for the soft unhindered movement of the element.
Note!
In order to completely reach the box on casters, you need to push it as far as possible and slightly raise it by pulling it towards you. The element is installed back in the same way, in reverse order.
Ballpoint
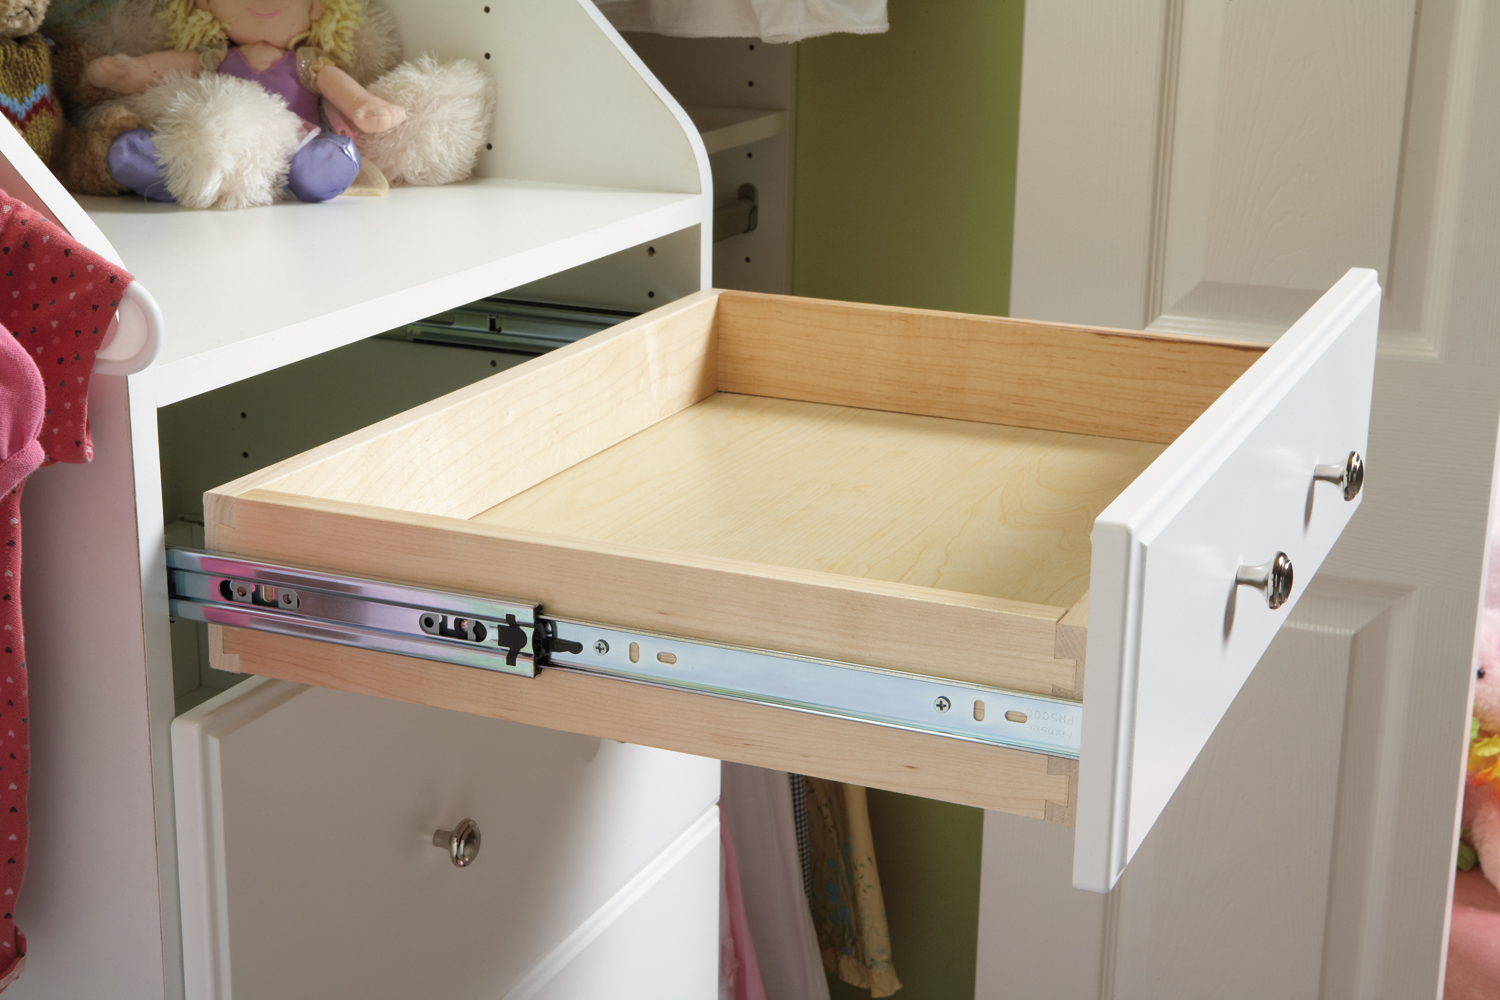
Parts of this type are more reliable, but also an expensive option. Their movement is provided by balls connected in a cage.The components are fixed in a movable position, allowing the drawer to be fully rolled out.
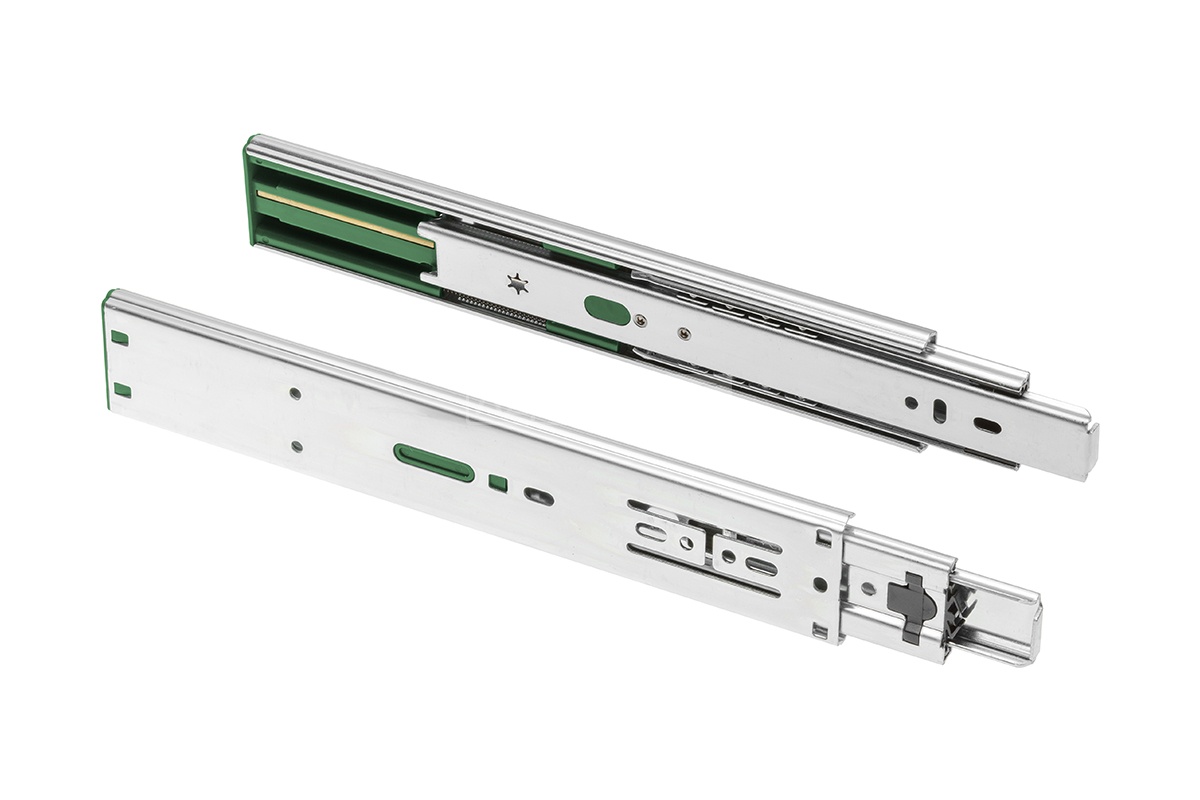
The ball mechanism is designed for heavy loads, it provides maximum access to the interior. This type of hardware has several advantages over the others:
- high strength, functionality and durability;
- movement does not require effort and does not create noise;
- unpretentious maintenance;
- the ability to store heavy items without harm to furniture.
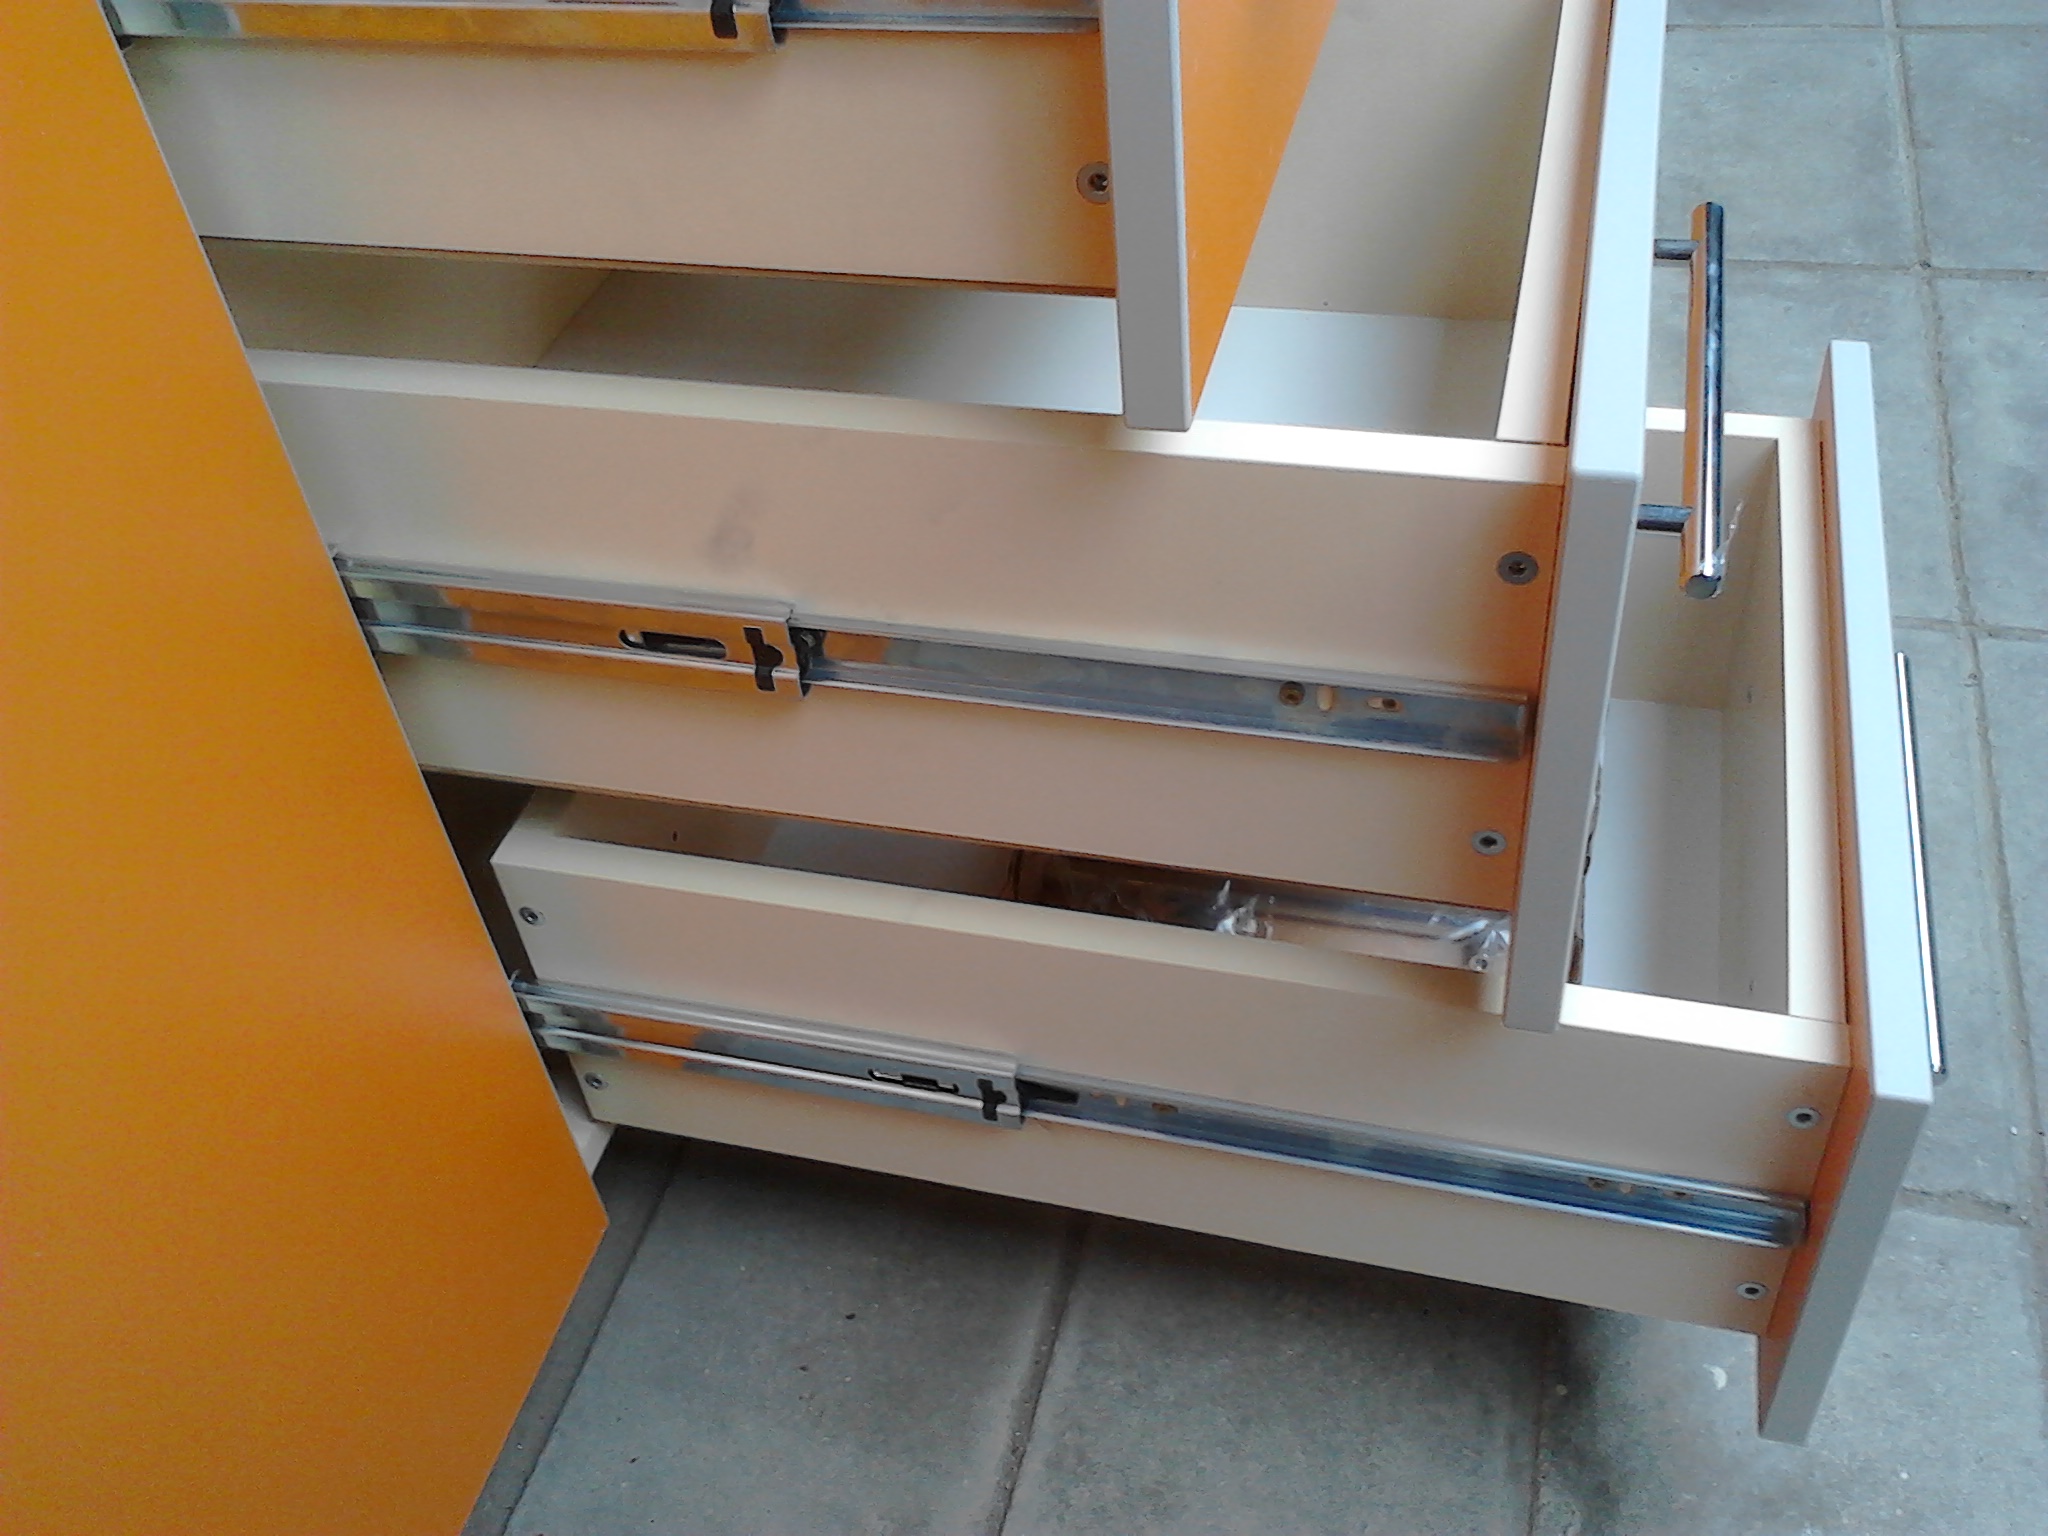
Ball products are more expensive than roller ones. But experience shows that its performance characteristics are much higher.
Telescopic
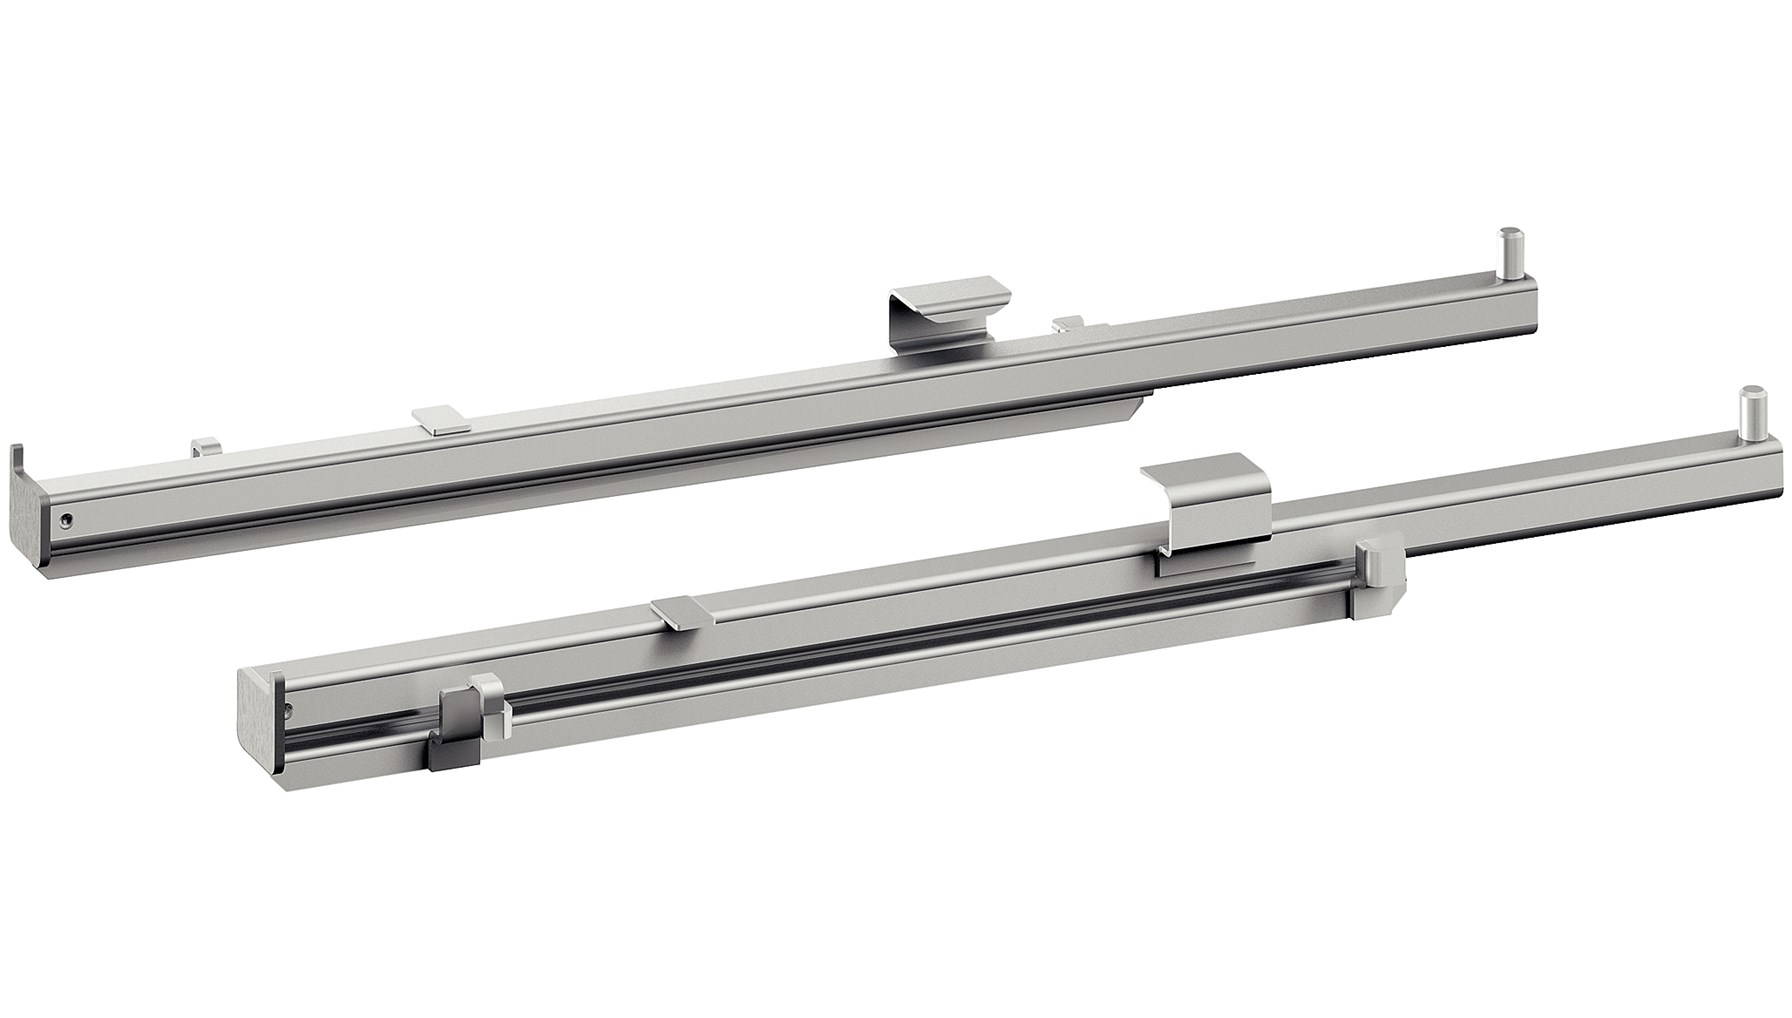
Fittings that can provide both full and partial roll-out of an element. It is a robust piece of equipment that can support a lot of weight. Telescopic elements allow you to create multi-level pull-out systems. Their use makes it possible to avoid distortions, jamming and other troubles that reduce the functionality of the furniture.
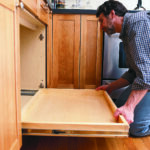
How to make a drawer with your own hands
Today it is not so difficult to make a piece of furniture yourself. Detailed instructions for making suitable do-it-yourself drawers consists of several points:
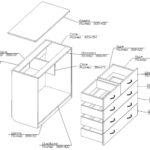
- Planning, calculation of product parameters.
- Selection of materials for work, guides.
- Assembling the workpiece.
- Installation of fittings on the product and the cabinet body.
Important!
In order for the drawer to turn out to be light and at the same time solid, materials such as chipboard (box walls) and fiberboard (bottom) are best suited.
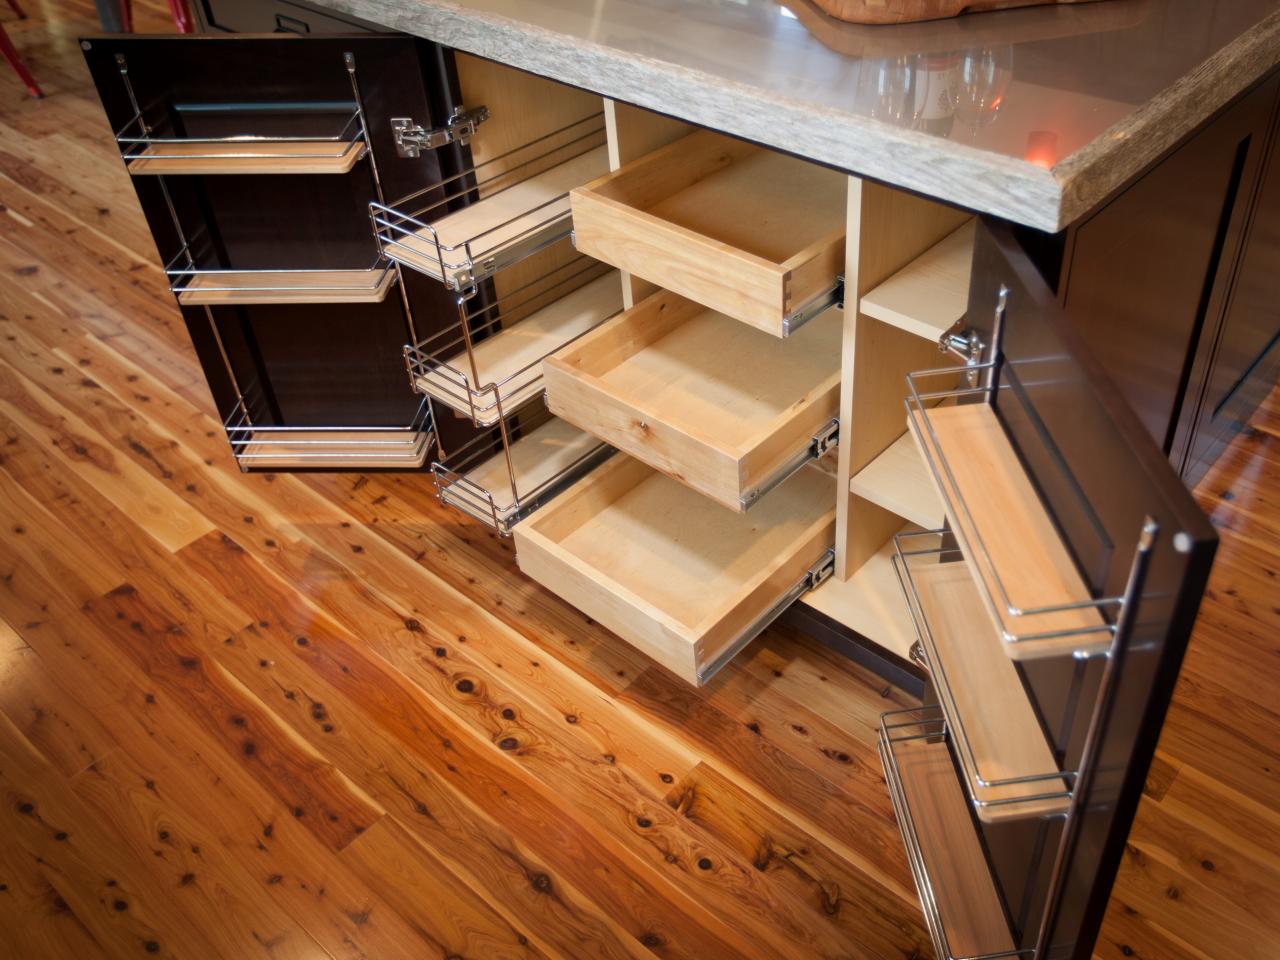
Calculating the size of the boxes
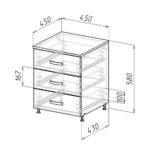
Before assembling the structure, you need to make a sketch of future work. Its size will depend on many factors: the general parameters of the furniture, the length and width of the guides. There are three main parameters that need to be carefully selected:
- Width. This figure must be 26 mm less than the inner width of the main body. Leave 13 mm on each side of the box for the guides.
- Length. By measuring the inner depth of the cabinet or cabinet with a tape measure and subtracting a couple of tens of millimeters from this number, you can get the required figure.
- Wall height. There are no mandatory standards for this, but furniture manufacturers make drawers 4-5 cm less than the height of the facade.
Careful calculations will allow you to create a plan on the basis of which even a beginner can create a suitable product the first time.
Choosing the guides you want
The choice of guides determines the functionality of the result. This is an important detail, which is designed not only to guide the drawer, but also to ensure maximum comfort in using the furniture. Easy movement, quiet operation, full roll-out - such requirements can be satisfied with suitable fittings.
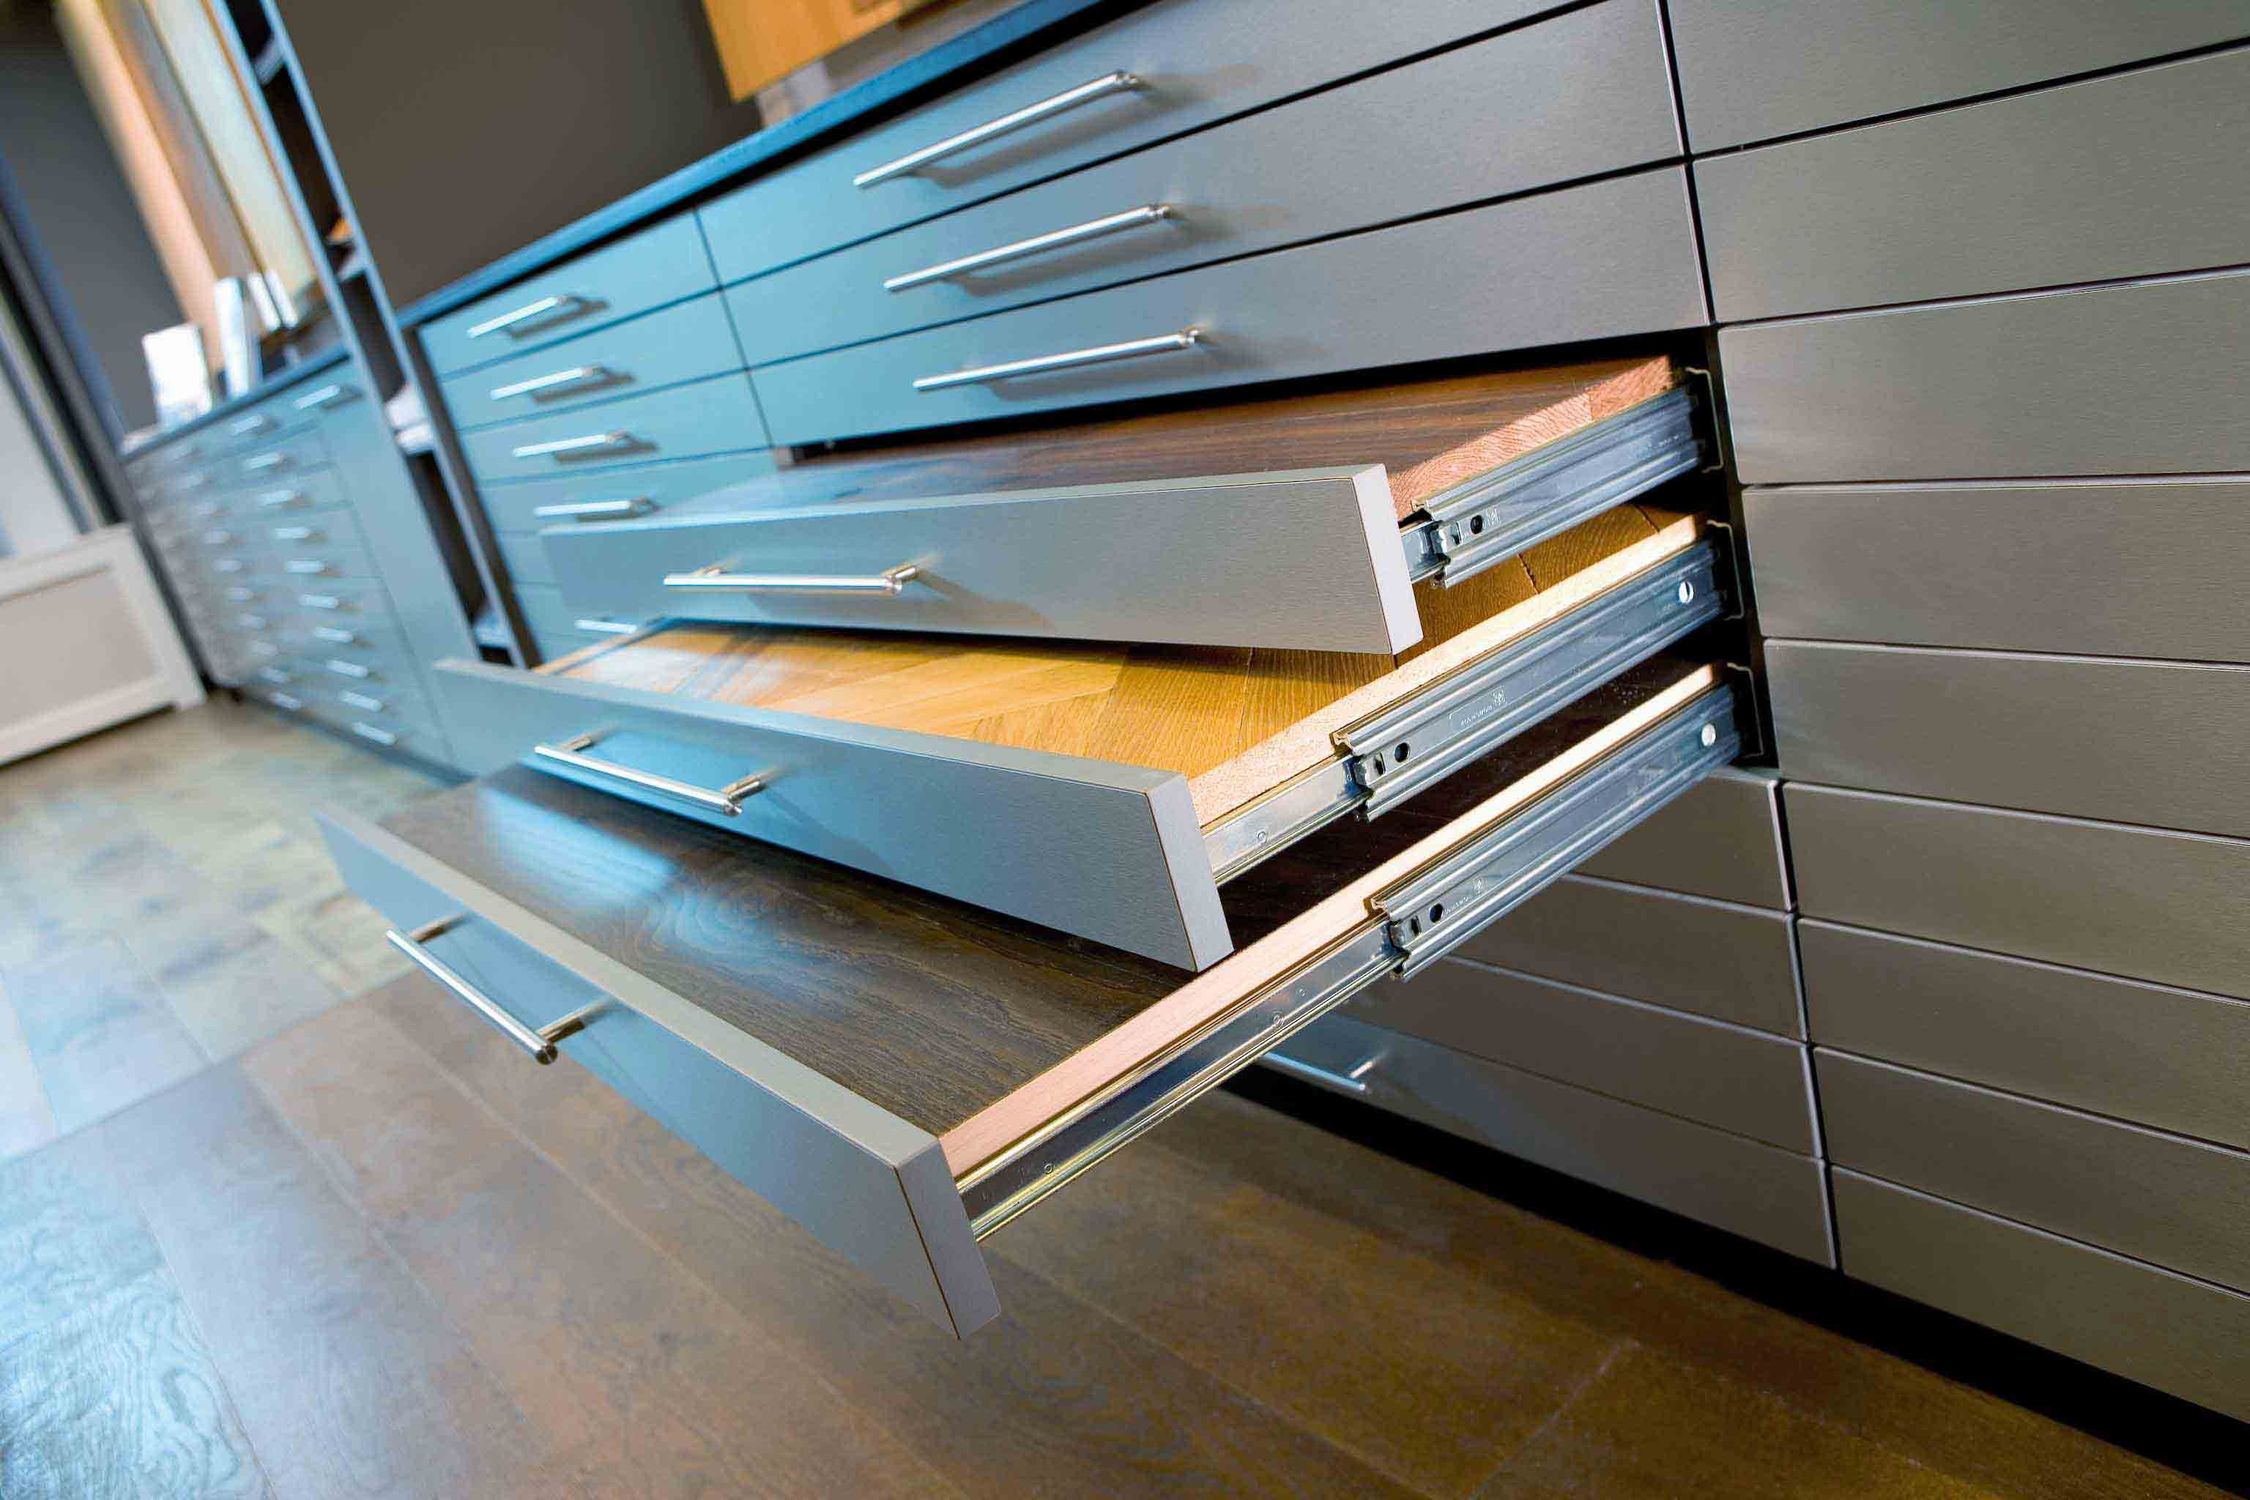
You can give one effective advice in this matter. If there is a financial opportunity, it is better to immediately give preference to ball telescopic products. If a more budgetary option is envisaged, you should pay attention to the video offers.
Note!
Whatever the type of guides, they all have a pitch of 50 mm. Therefore, you should buy parts that are less by this figure from the length of the box. These products are manufactured in standard sizes, which must also be taken into account when calculating the parameters of the craft.
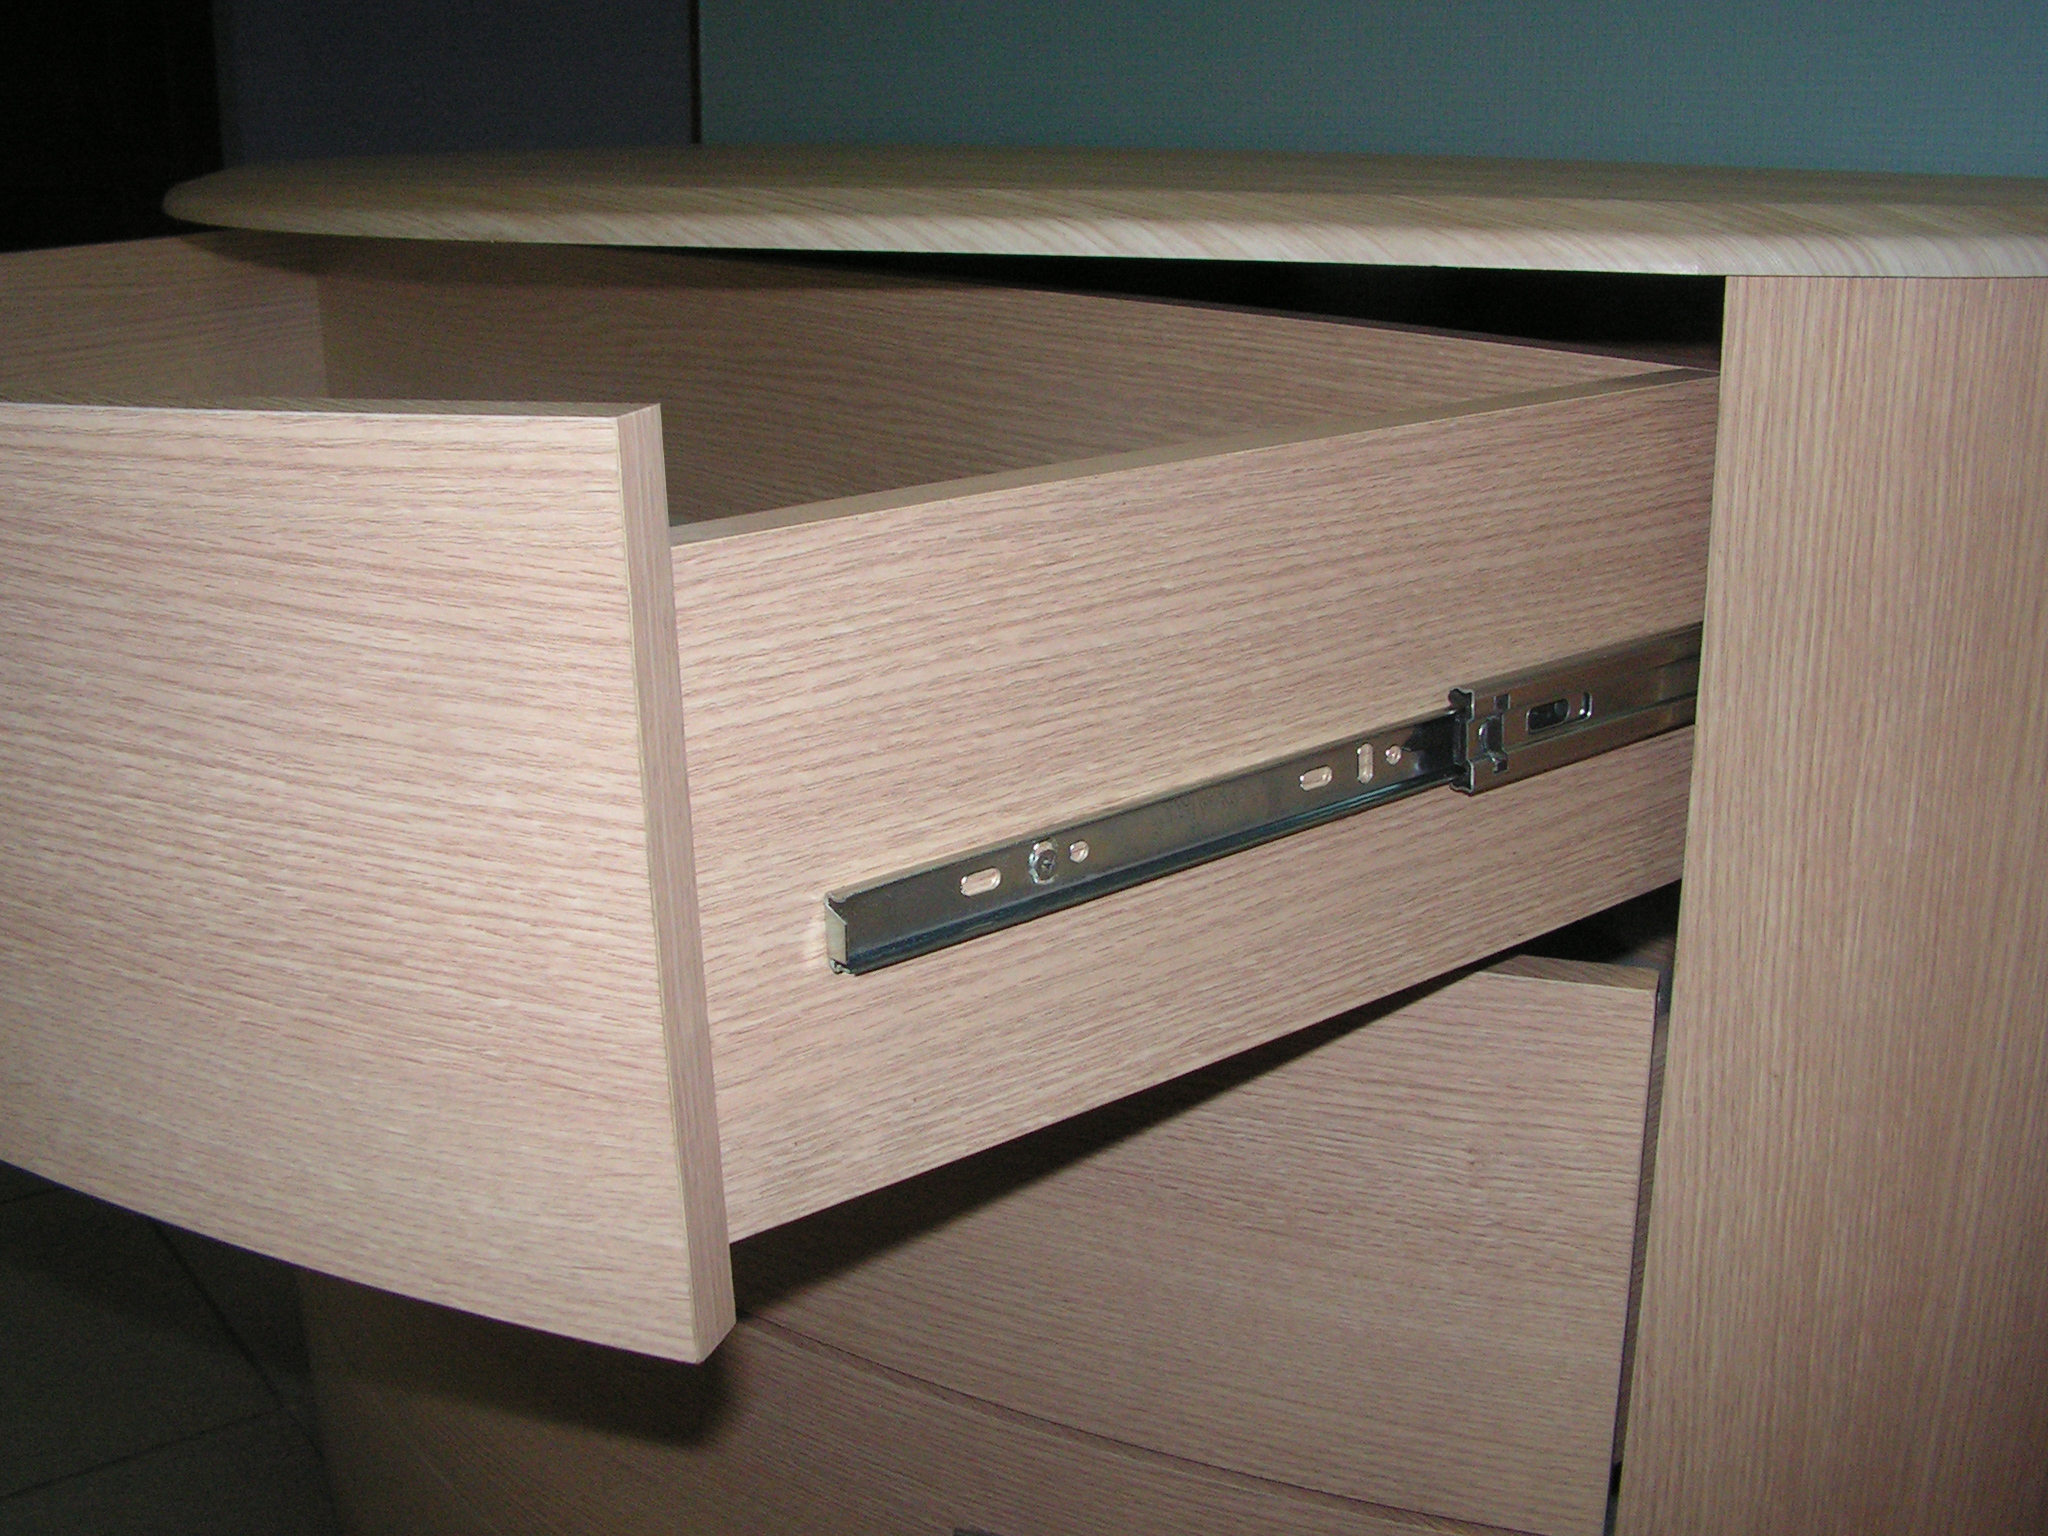
Box assembly process
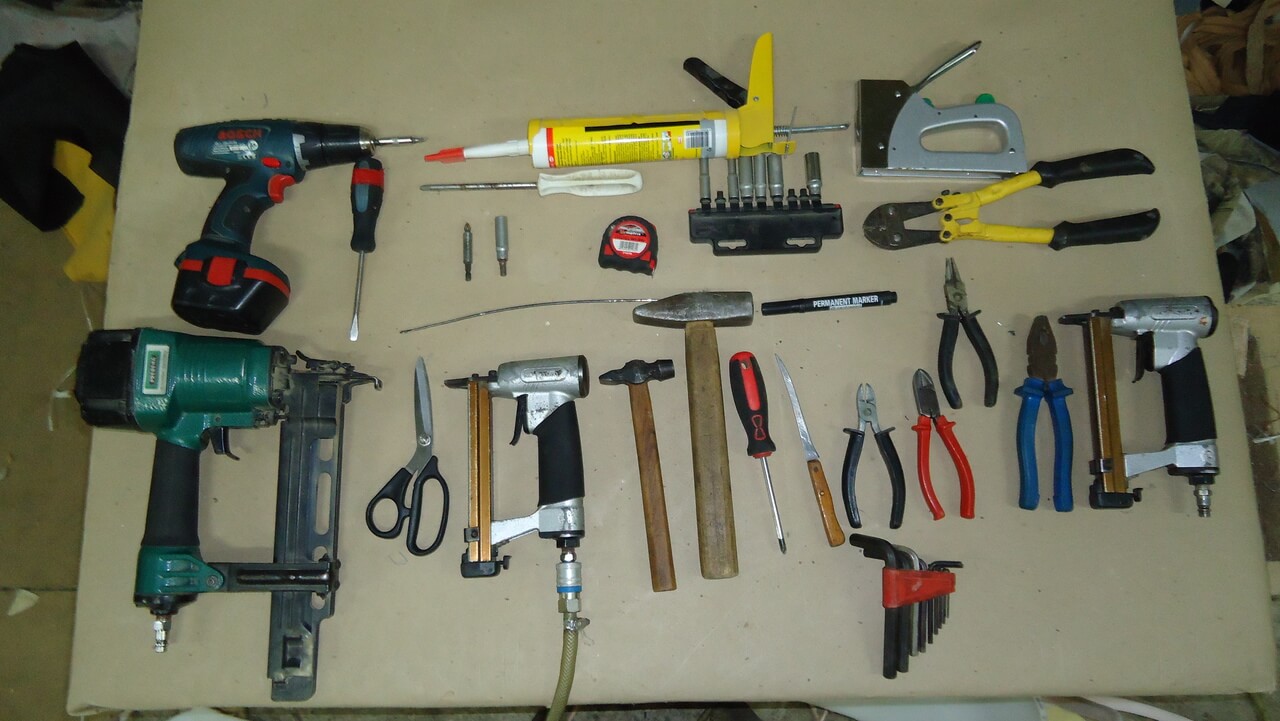
Before starting the execution, it is better to immediately prepare the entire tool for the job. These are hand-held equipment that can be found in every home. The following equipment is perfect for working with chipboard and fiberboard:
- electric drill or screwdriver;
- jigsaw, also better electric;
- measuring instruments (ruler, building angle, tape measure);
- pencil for drawings and marks;
- melamine tape for edgebanding;
- iron, dry cloth;
- confirmates, screws, nails;
- guides;
- the material itself, from which we will cut the bottom and walls of the box;
- drawing with the parameters of the future crafts.
Having prepared everything you need, you can get to work. The manufacturing process takes place in a clear sequence:
- Drawer detailing. We apply markings and cut out all the elements of the workpiece from the prepared materials, according to the drawings.
- We drill holes for fasteners.
- Assembling the frame using confirmations, one for each corner. If the height is more than 15 cm, it is better to use two screws.
- Attaching the bottom to the base. First, it is stuffed with nails, then reinforced with self-tapping screws.
- Bonding ends with cuts with melamine tape. This can be done with a dry cloth and iron. The appliance should be turned on at half power.
After examining the result, you can proceed to the last stage - attaching the guides. This is an important work that determines the functionality and durability of the product in the future.
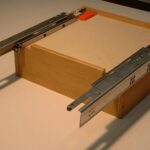
Fastening the guides
Whichever type of guides we choose, the installation of components for the roll-out will take place in the same sequence:
- Analysis of the purchased structure into two parts, one of which will be connected to the box, the other to the furniture body.
- Applying markings for fittings for fittings.
- Attaching runners to the sides of the box and the inner side of the pedestal.
After that, you can safely check the operation of the guides and the quality of the drawer extension from the cabinet.
By carefully following the instructions, you can easily make drawers at home. This does not require special equipment or expensive materials. But as a result, you can get a beautiful and comfortable product that will harmoniously complement the main furniture, expanding its functionality.
Video: how to make a drawer
