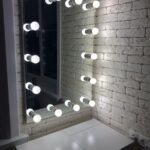
Making and types of make-up mirror with bulbs
More recently, a dressing room mirror was considered an invariable attribute of a makeup artist in a beauty salon or in dressing rooms for people of creative professions. However, the designers have found application of this idea in the interior of modern apartments. Every woman can place a convenient and useful accessory in a room or bathroom, and allow herself to enjoy the application of flawless makeup.
Varieties of dressing mirrors
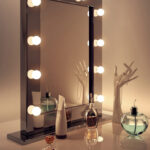
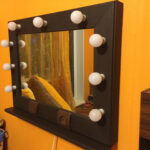
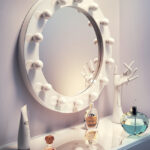
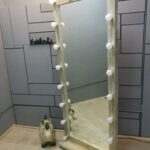
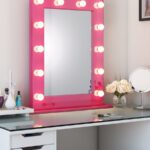
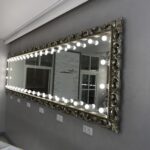
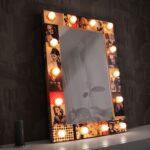
Many types of mirrors allow you to choose the model that best suits your particular design. Framed or not, of various shapes and sizes, with patterns and ornaments, they can harmoniously complement any style of room: country, Provence or high-tech. They can be conditionally divided into the following varieties:
By shape and size
Standard mirrors for a bathroom or bedroom are most often rectangular, square or round, measuring 50x50 cm or more, as well as up to half the height of a person and at full height.
In addition, non-standard solutions are also made to order - triangular, five-pointed, drop-shaped and any others, for which there is only enough imagination.
By materials used
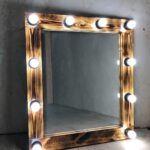
Various materials are used for the manufacture of the frame: plastic, metal, wood, marble and so on. Also often used canvases without a frame, with a decorative cut. For the reflecting part of the mirror, a solution of silver nitrate or aluminum is used.
By type and location of lamps
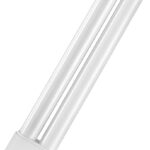
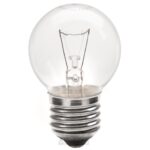
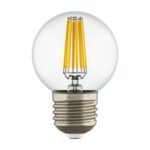
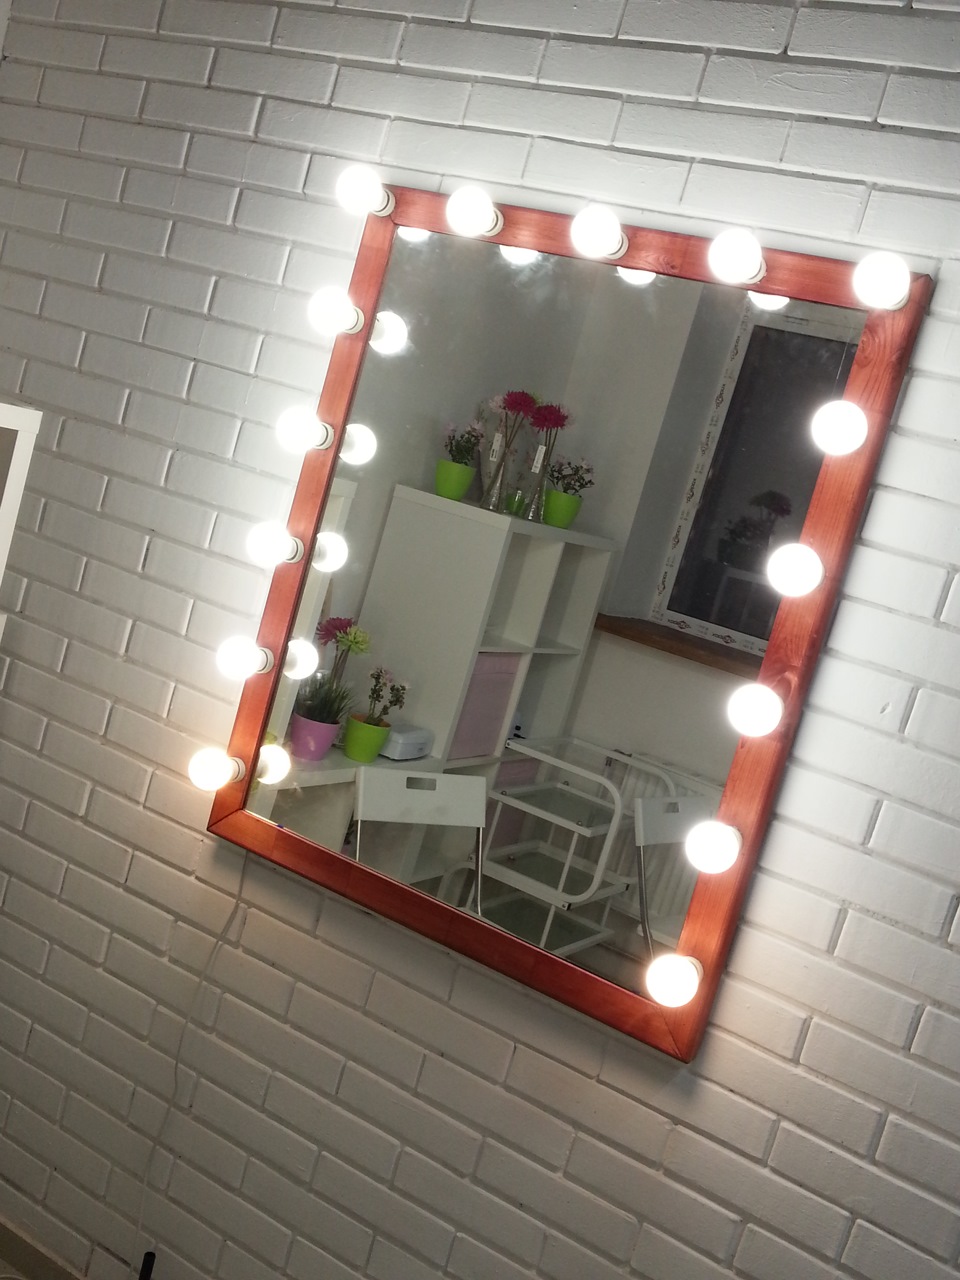
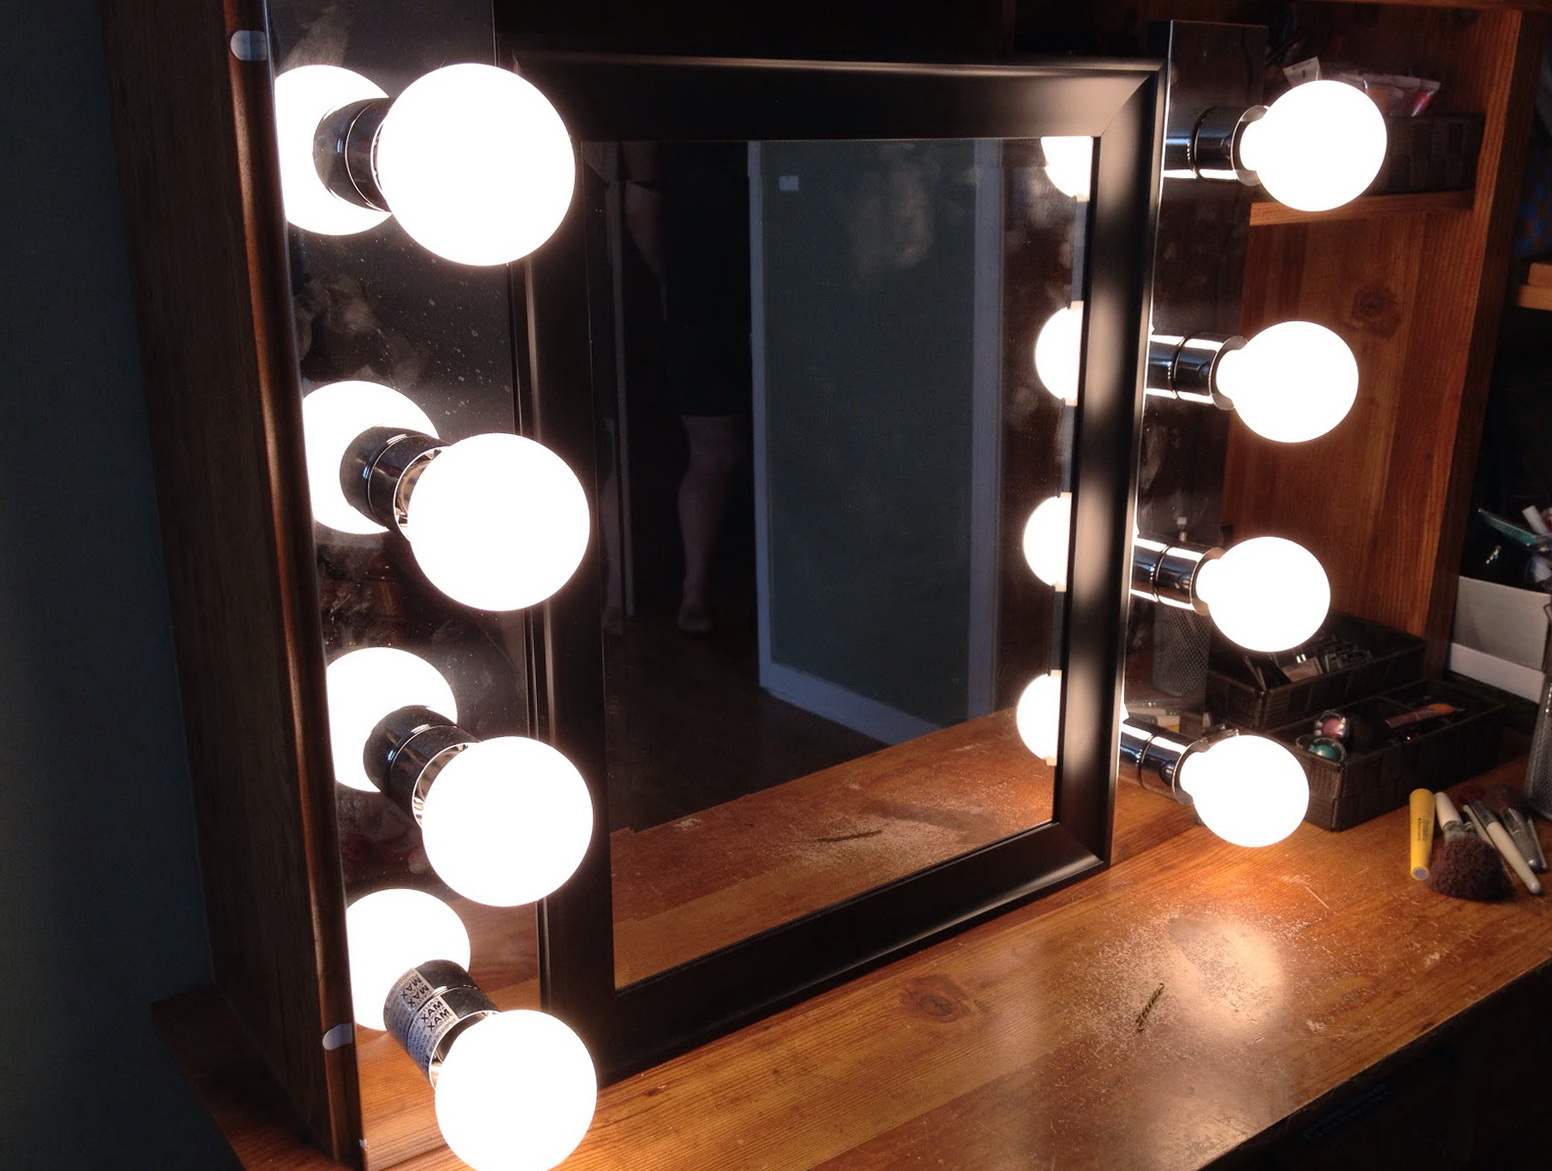
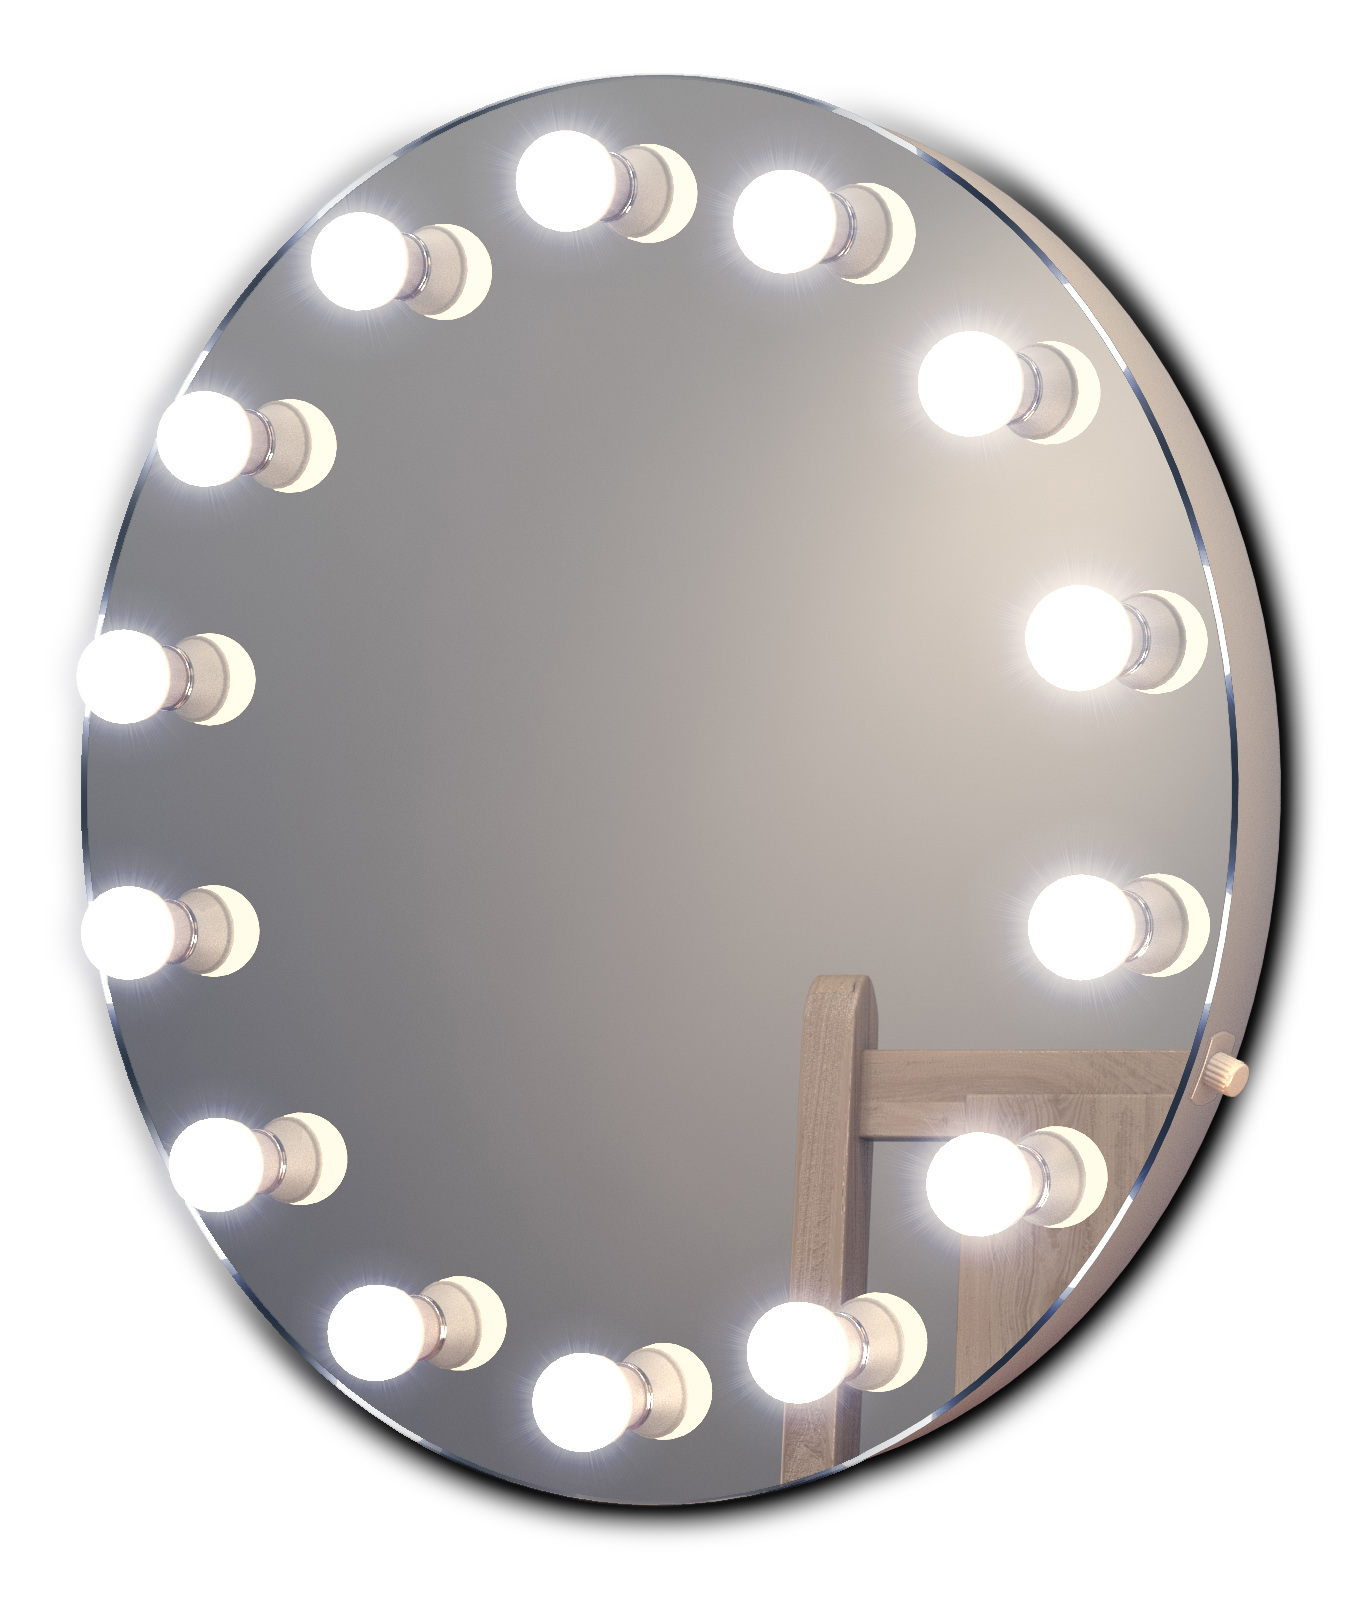
Fluorescent, LED and incandescent lamps are used. They can be mounted directly along the perimeter of the mirror sheet, or with built-in illumination.
By fastening method
Depending on the place of installation, mirrors can be wall, table, floor or built into furniture.
Additional Information. The optimal size of the makeup mirror is 40x60 cm. This is quite enough for a comfortable makeup application, as well as convenient placement at the dressing table or in the bathroom.
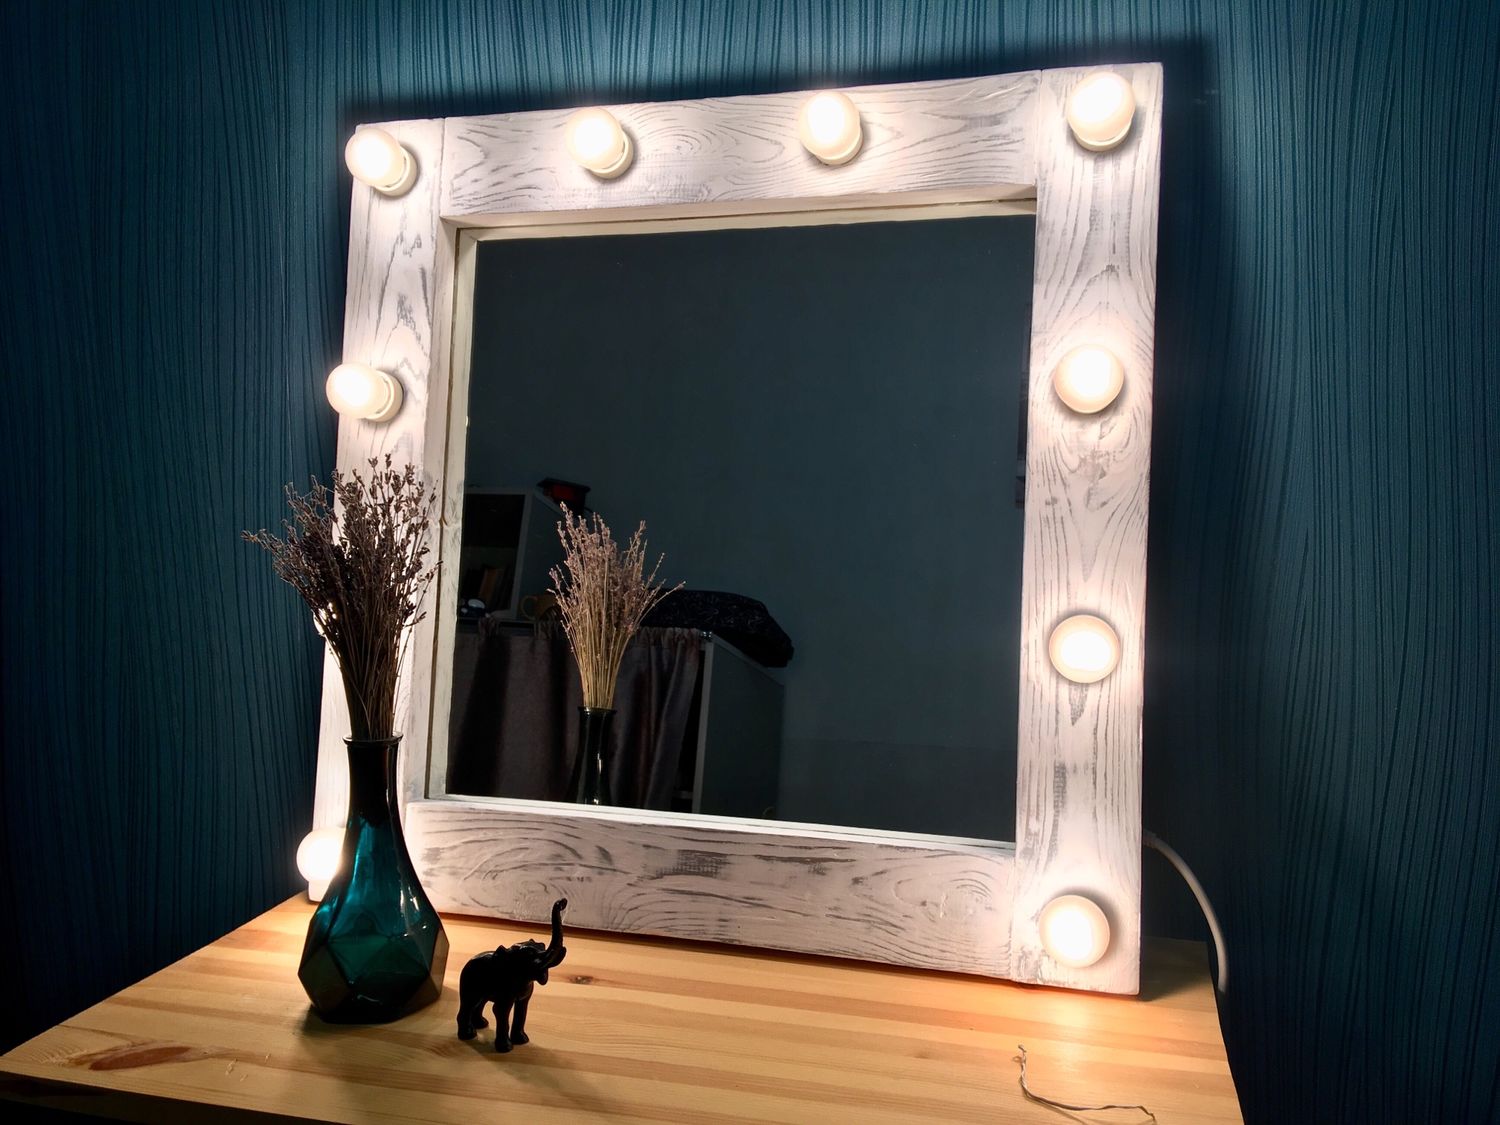
How to make a make-up mirror with bulbs around the perimeter with your own hands
Despite the chic assortment in supermarkets, you can make your own make-up mirror. With just a little time, basic tools, and a bit of patience, that's all it takes for such a task. At the same time, you can save money on an expensive accessory, as well as make a canvas in any style you like.
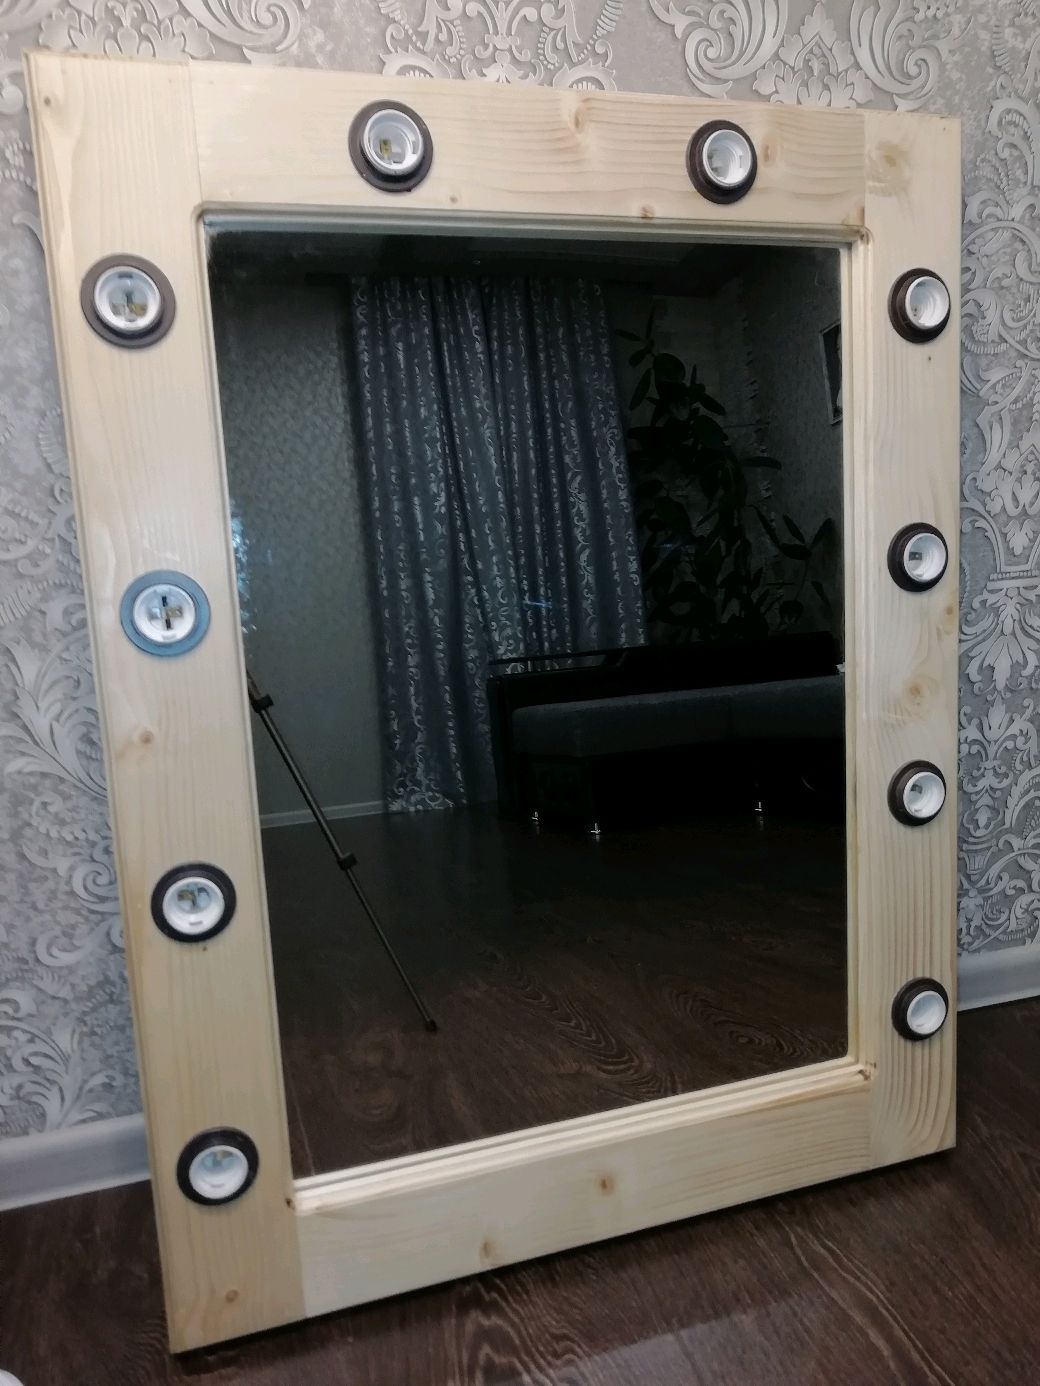
Step-by-step instructions on how to make a make-up mirror with bulbs with your own hands will allow you not only to quickly cope with the task, but also to enjoy the process. Before you start manufacturing, you should:
- Choose the design of the make-up mirror, its size and installation location.
- Decide on the material for the frame: wood, MDF or chipboard sheets.
- Think over and purchase the required number of bulbs.
- Draw up a preliminary drawing of the product, with an accurate indication of the dimensions and location of the wiring.
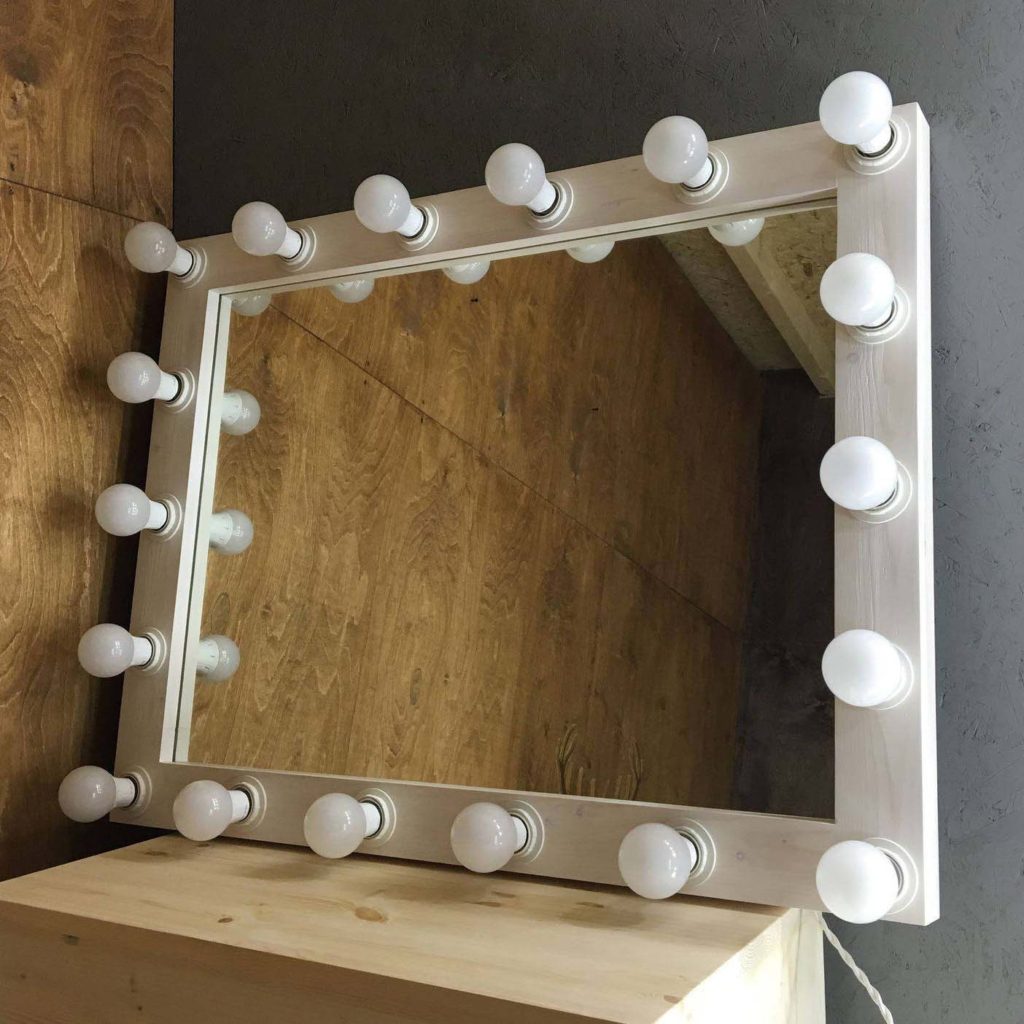
Note! The best long-lasting frame solution is wood, but it is difficult to finish and paint it. For inexperienced craftsmen who are just getting started, it is better to choose simple designs and inexpensive materials that are not difficult to process.
What materials are needed
The mirror can be placed in a frame or you can buy a canvas along the contour of which a drawing is applied. Making a frame does not require much effort, moreover, such a product will perfectly fit into any design. It is important to choose the right color scheme that will overlap with the interior of the room, or be combined with any details.
In order to make a dressing room mirror with light bulbs, you will need the following materials:
- A finished mirror of the required size. In our case, you can use 40x60 cm.
- Wooden board or other material for the frame.
- Slats for the box and a sheet of plywood for the back wall.
- Light bulbs, cable for their connection and connection.
- Ammo and fork.
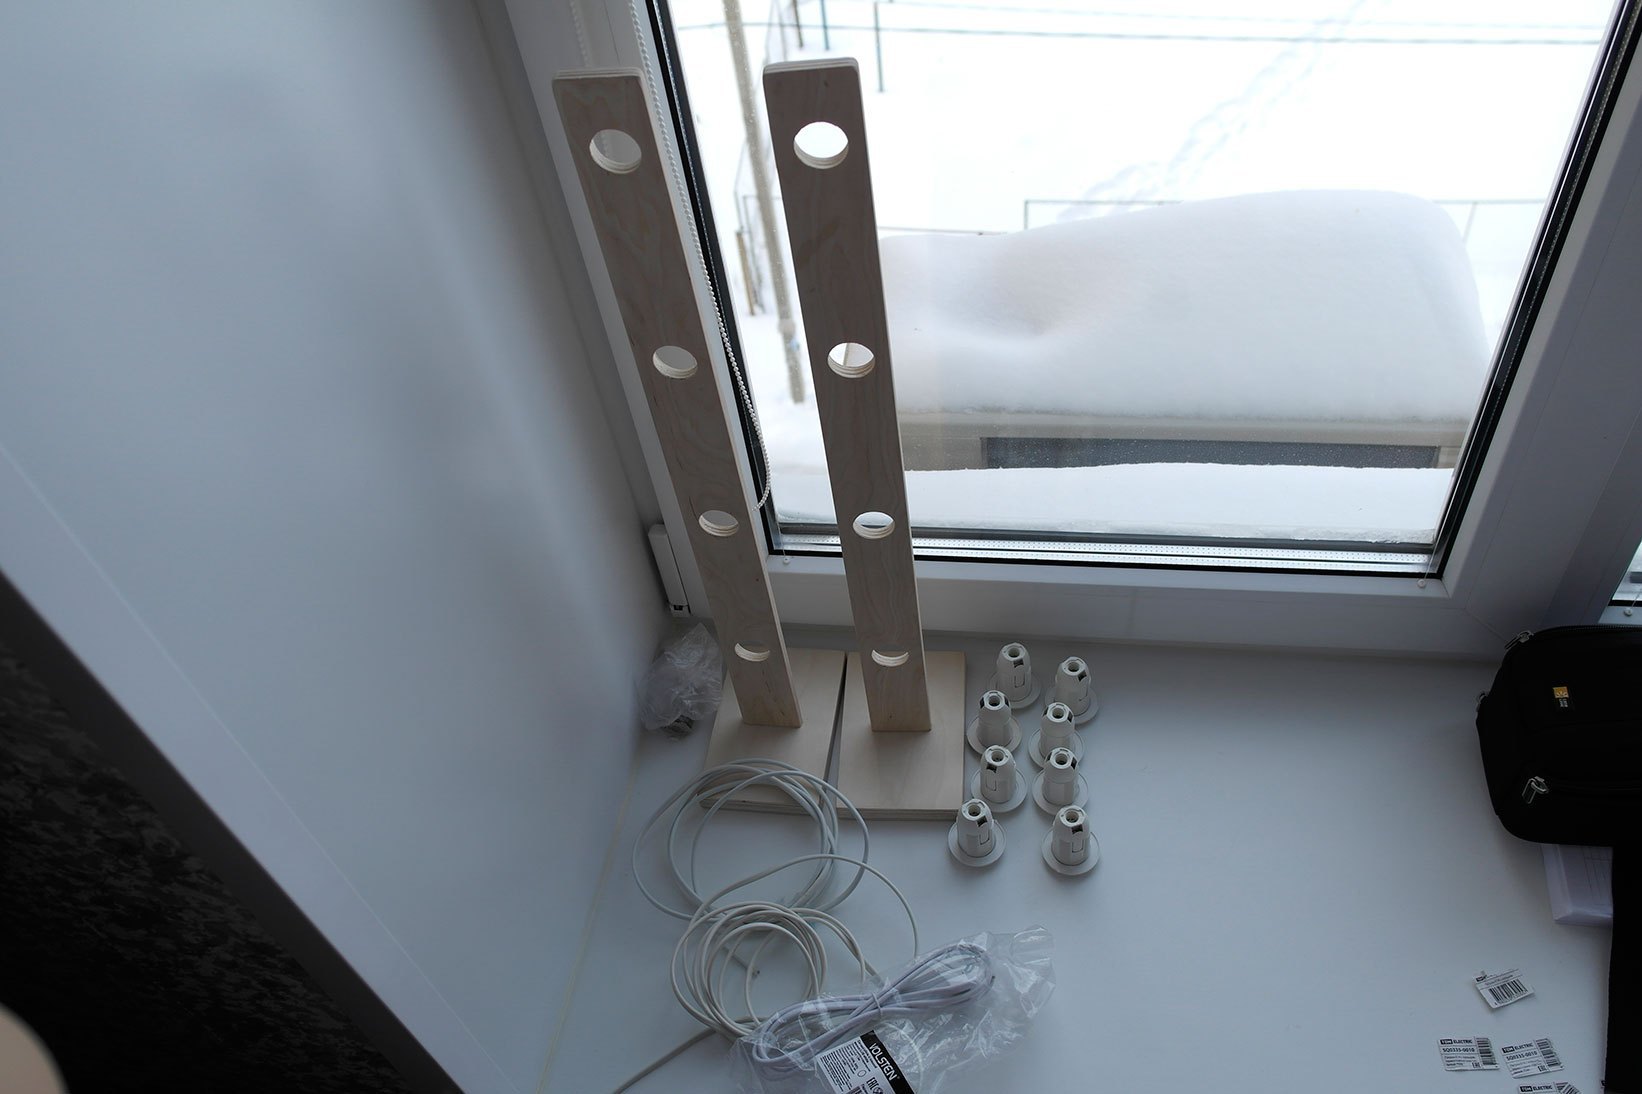
In addition, you will need improvised tools: self-tapping screws, wood glue, water-based paint to cover a wooden surface and sandpaper to clean the product.
What bulbs are needed
The quality of lighting depends on the choice of lamps, which is important for such a product. In addition, their symmetrical arrangement is important - this way correct reflection and absence of shadows will be achieved. The best option would be to place them on three sides or around the entire perimeter.
The most commonly used types of lamps are:
- Luminescent. Long-lasting, practical, and emitting calm pure light. They are efficient in terms of energy saving.
- Incandescent lamps. Inexpensive, but consume a lot of energy and quickly fail.
- LED. Economical and practical. They can also be conveniently attached in the form of a tape.
You can place lamps either directly on the mirror or frame, or behind the product or on the wall. A less common option is to mount LED lights on the wall.
Additional Information. It is recommended to install energy saving appliances. They will last up to 10 years without the need for replacement.
Required tools
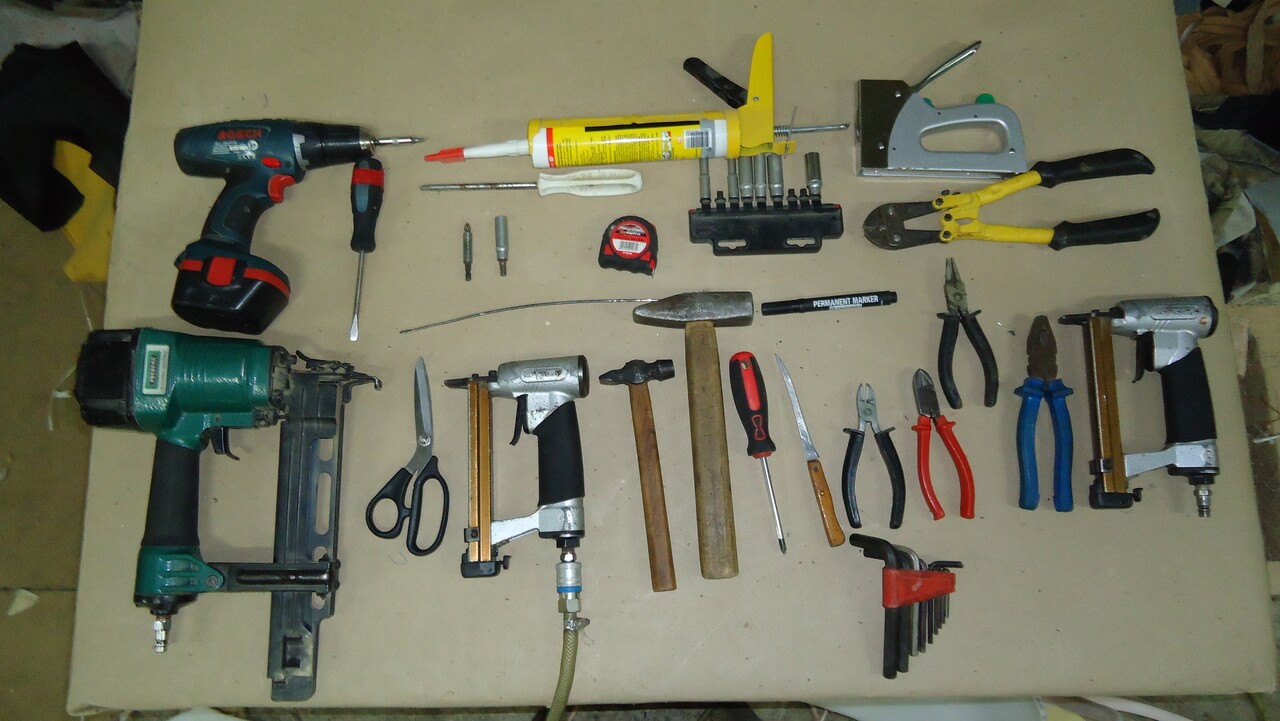
In order to create a high-quality mirror in a frame, you will need simple and inexpensive tools, most of them are in everyday life of every owner:
- electric drill;
- screwdriver;
- yardstick;
- screwdriver;
- paint brush;
- level.
Additional Information. For cleaning the frame, you can use a grinder - with its help, it is more convenient and quick to remove roughness. But if this is not possible, you can do it with sandpaper.
Manufacturing process
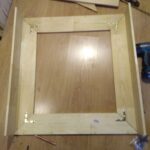
The initial stage is preparing the frame for the mirror. To cut wooden beams yourself, you will need a circular saw, so it is recommended to order ready-made material. You can also use a hacksaw for wood. Cutting should be done, observing safety measures, wearing goggles. The edges should form a 45 degree angle.
Next, I do the work in the following order:
- The finished bars are processed with coarse-grained emery paper until the roughness disappears. Then, to achieve perfect smoothness, rub with a fine-grained sandpaper.
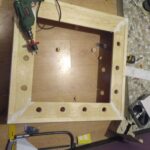
- At the same distance, pencil marks are made for the holes for the cartridges. Then they are drilled with a drill.
- Assemble the frame: connect the side parts and glue them with construction glue.
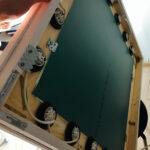
- The box for the rear wall is assembled from rails, fastened with self-tapping screws, and installed on the back of the frame.
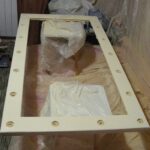
- The frame is covered with wood paint or wood stain and varnish.
- The wires are cut and led out into the holes for the light bulbs.
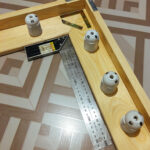
- Attach the bare ends of the wire to the corresponding screw of the lampholder and tighten it firmly onto the frame.
- The wires are divided into blue and white, in each of the holes there should be two of them. In the same way, they attach the wire to the plug, maintaining the appropriate color.
- A wire of sufficient length for connection to the socket is attached as follows: one end to the first lamp holder, and the other to the plug.
- They screw in the bulbs and check their work. If one is off, you need to swap the wires.
- At the end, a mirror is installed. It is attached to construction glue or liquid nails. A sheet of plywood is attached to the back wall.
- The finished make-up mirror is mounted on the wall. To do this, you can purchase special hinges, attach them to the frame and hang them on the self-tapping screws previously screwed into the wall. They also use metal suspension plates - they more reliably hold heavy products.
You can create real masterpieces with your own hands, even when choosing simple designs. Such a product will cost much less than buying in a store, and will also be a source of pride, a useful accessory and an original element of the interior.
Video: how to make a make-up mirror with bulbs with your own hands
