Making a shoe rack with your own hands
To create comfortable living conditions in an apartment or a private house, you need to buy a lot of furniture. But what if there is no way to spend? Then the ability to make one or another piece of furniture with your own hands comes to the rescue.
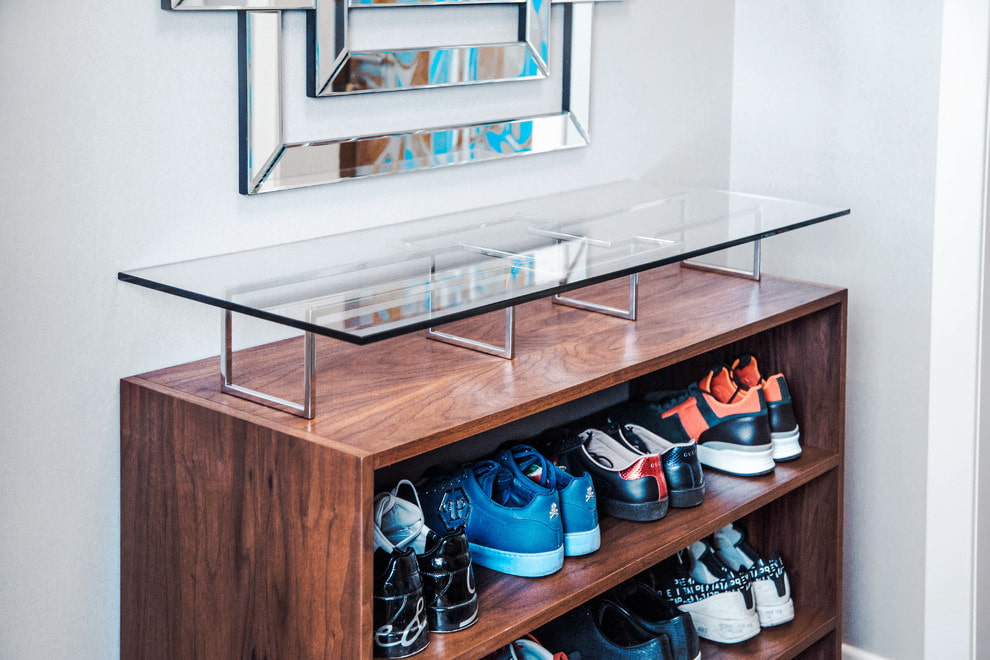
This review is devoted to the manufacture of such an interior item as a shoe rack with your own hands. How to choose a material? How to draw up drawings? What is suitable from the materials at hand? You will find the answers to these questions by reading this article.
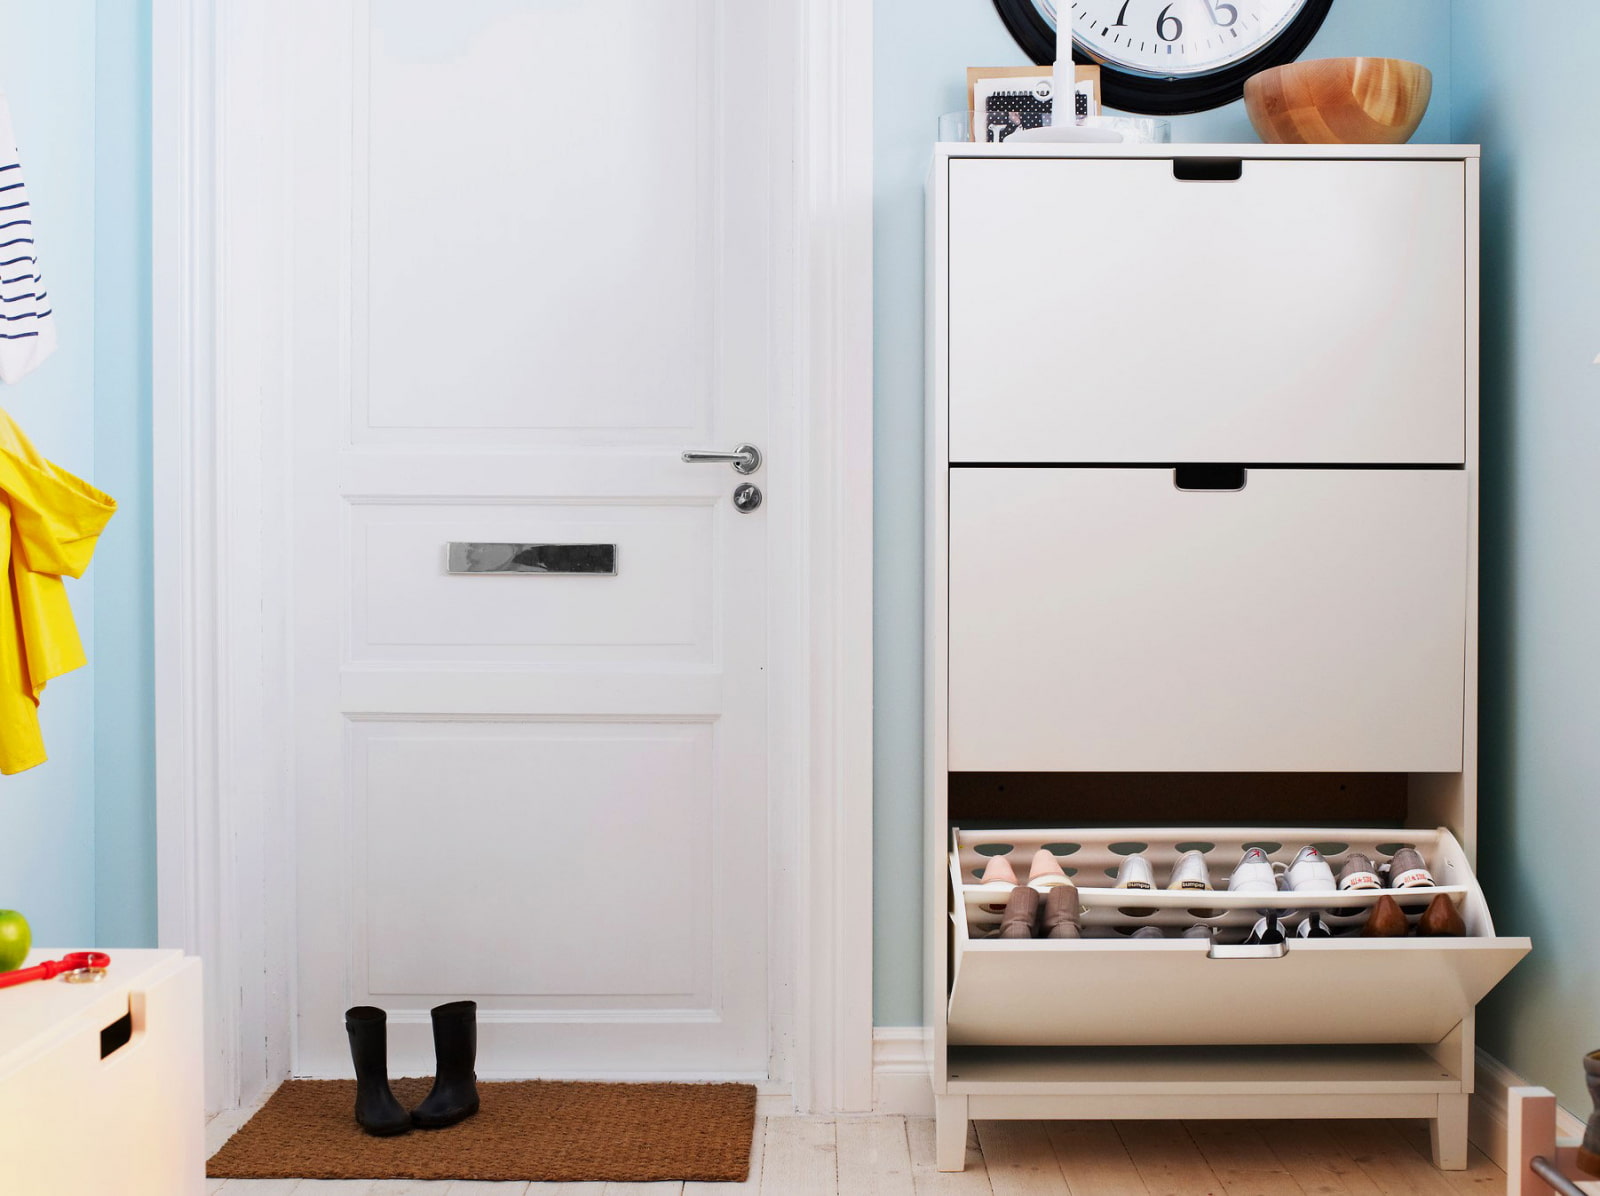
Shoe rack - is it necessary?
In order not to clutter up the hallway with a large number of shoes, it is necessary to install a shoe rack. If relatives, acquaintances and friends often come to visit, the presence of a shelf for storing shoes is a must.
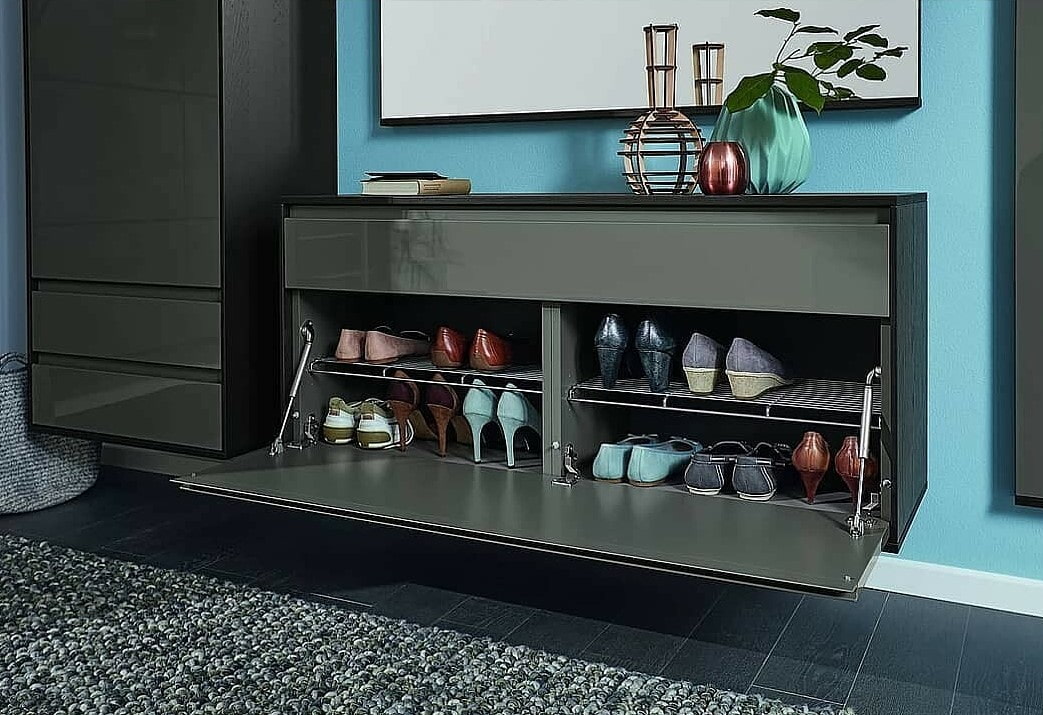
Installing a shoe rack helps to maintain the cleanliness of the floor covering, maintain the required level of hygiene and increase the immunity of health. In addition, a properly made shoe rack can successfully transform the interior design of the hallway.
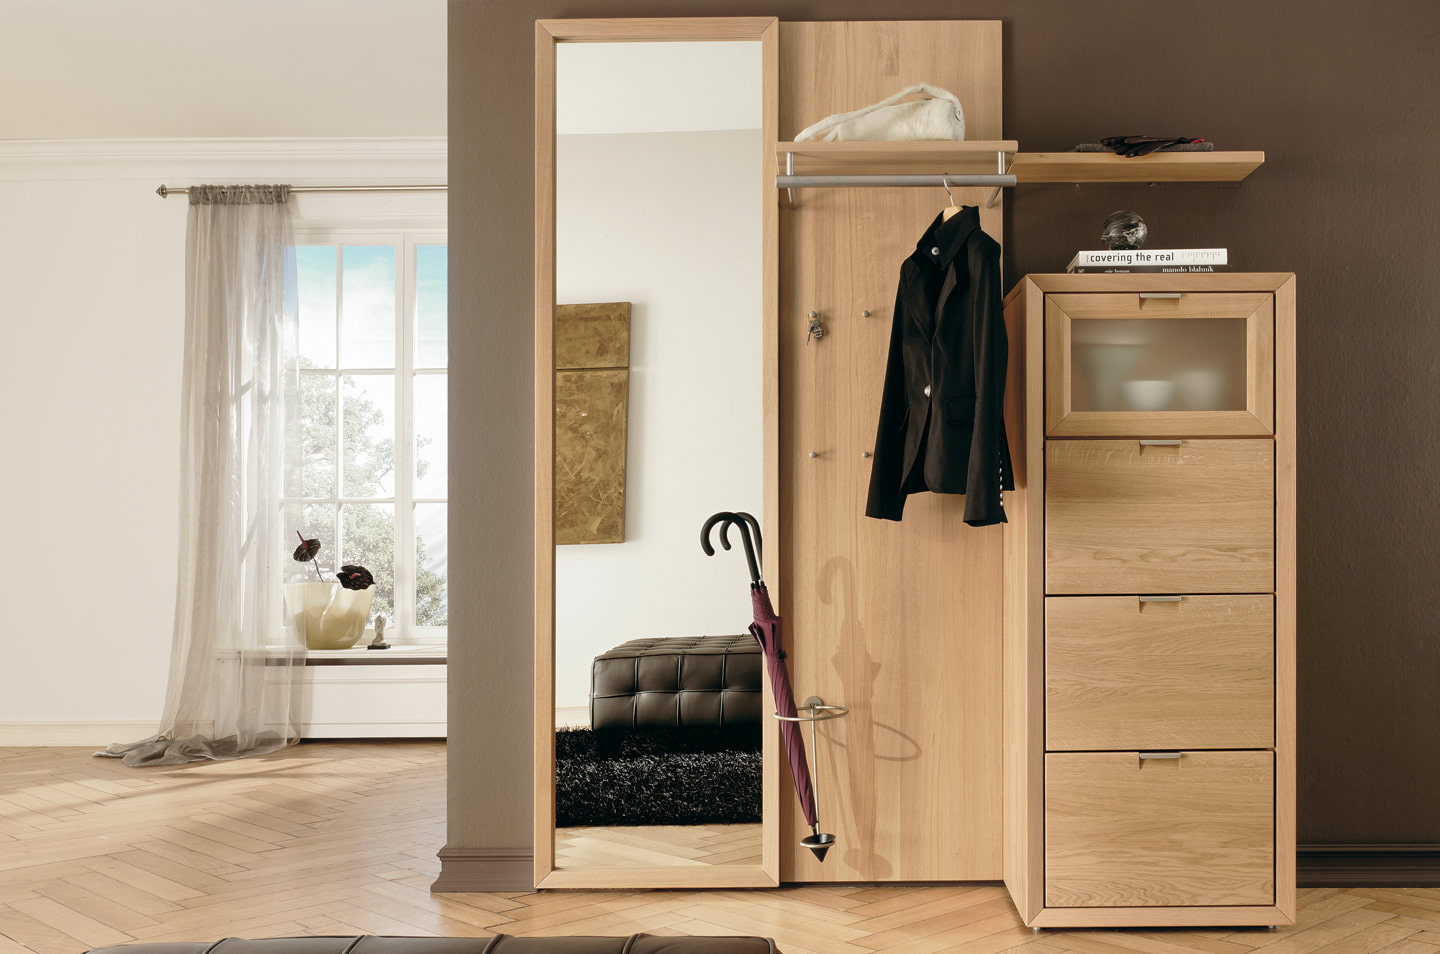
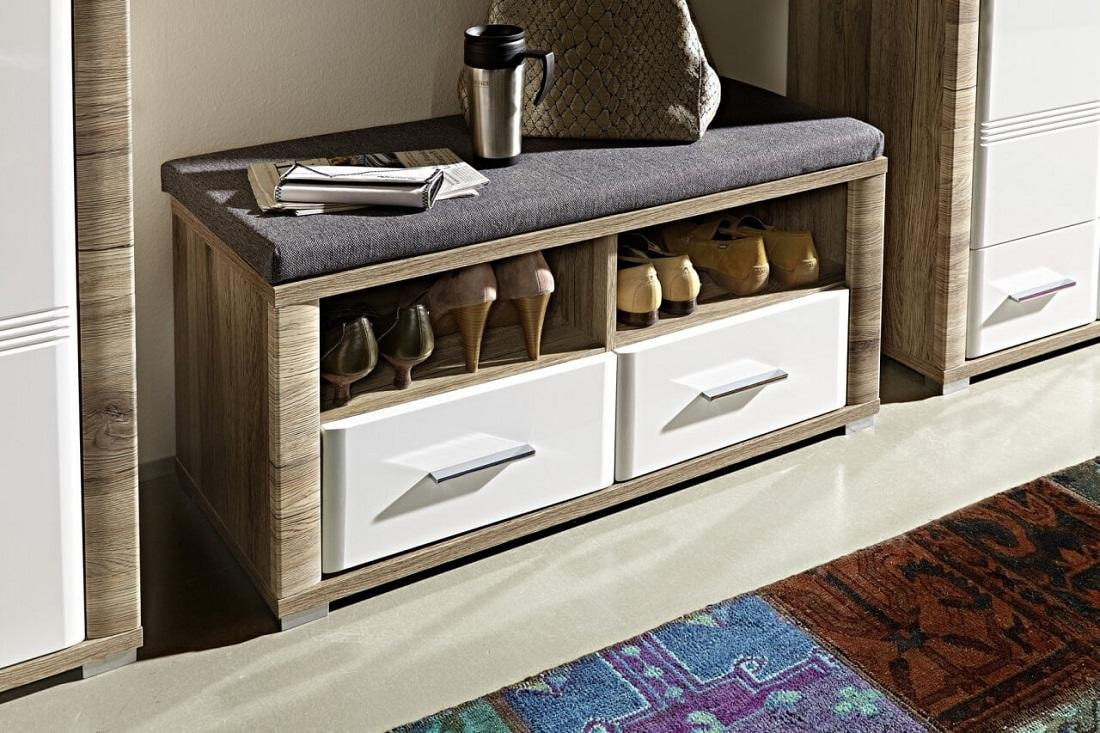
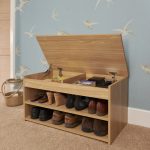
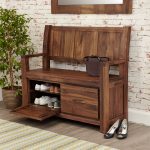
For convenience, the shoe rack is complemented with a soft seat on top. When you come home from work, you can sit down and carefully take off your shoes, put them on the shelf. The presence of such an interior item for small apartments, where there is little extra space, is a must.
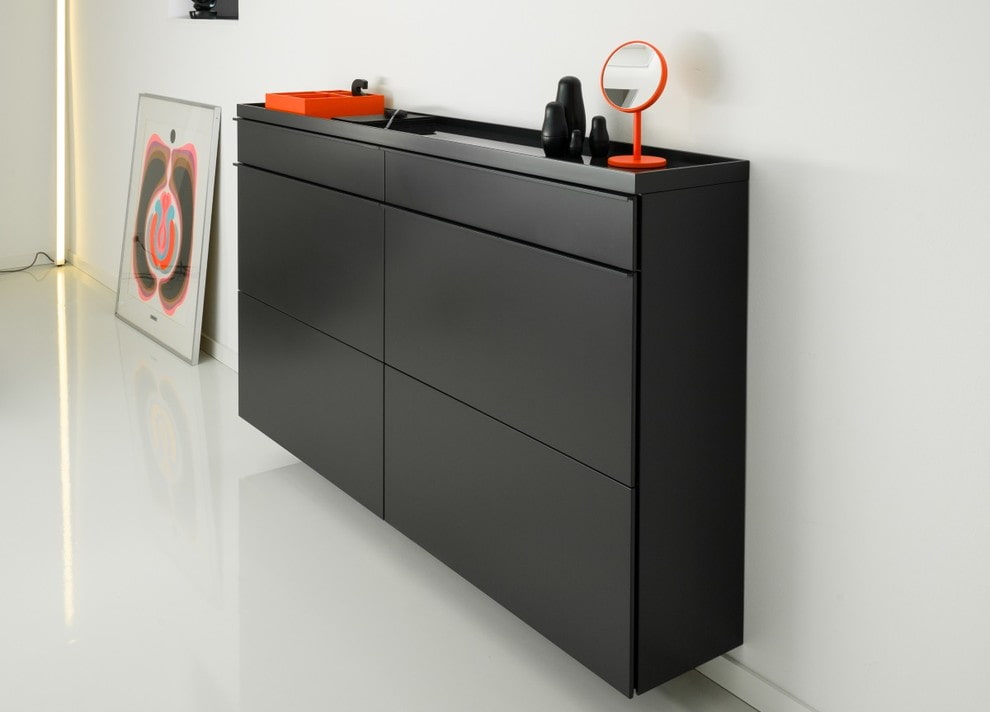
DIY making
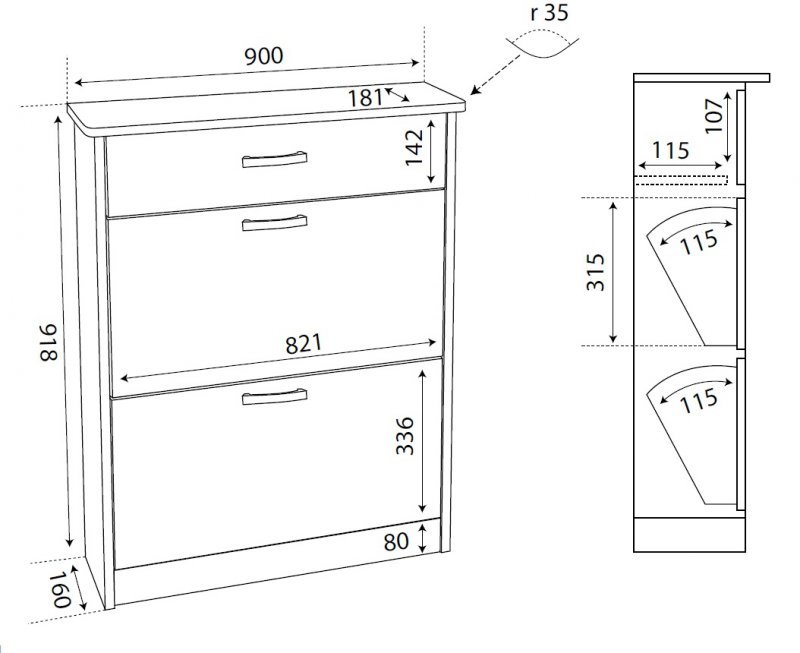
Before making a shoe rack with your own hands, drawings are drawn up. This is a prerequisite. It is important to correctly take all measurements in the hallway. After the drawings are drawn up, the material cutting scheme is assembled. This step is the most important, as your costs for boards, plywood, chipboard or other material will depend on it.
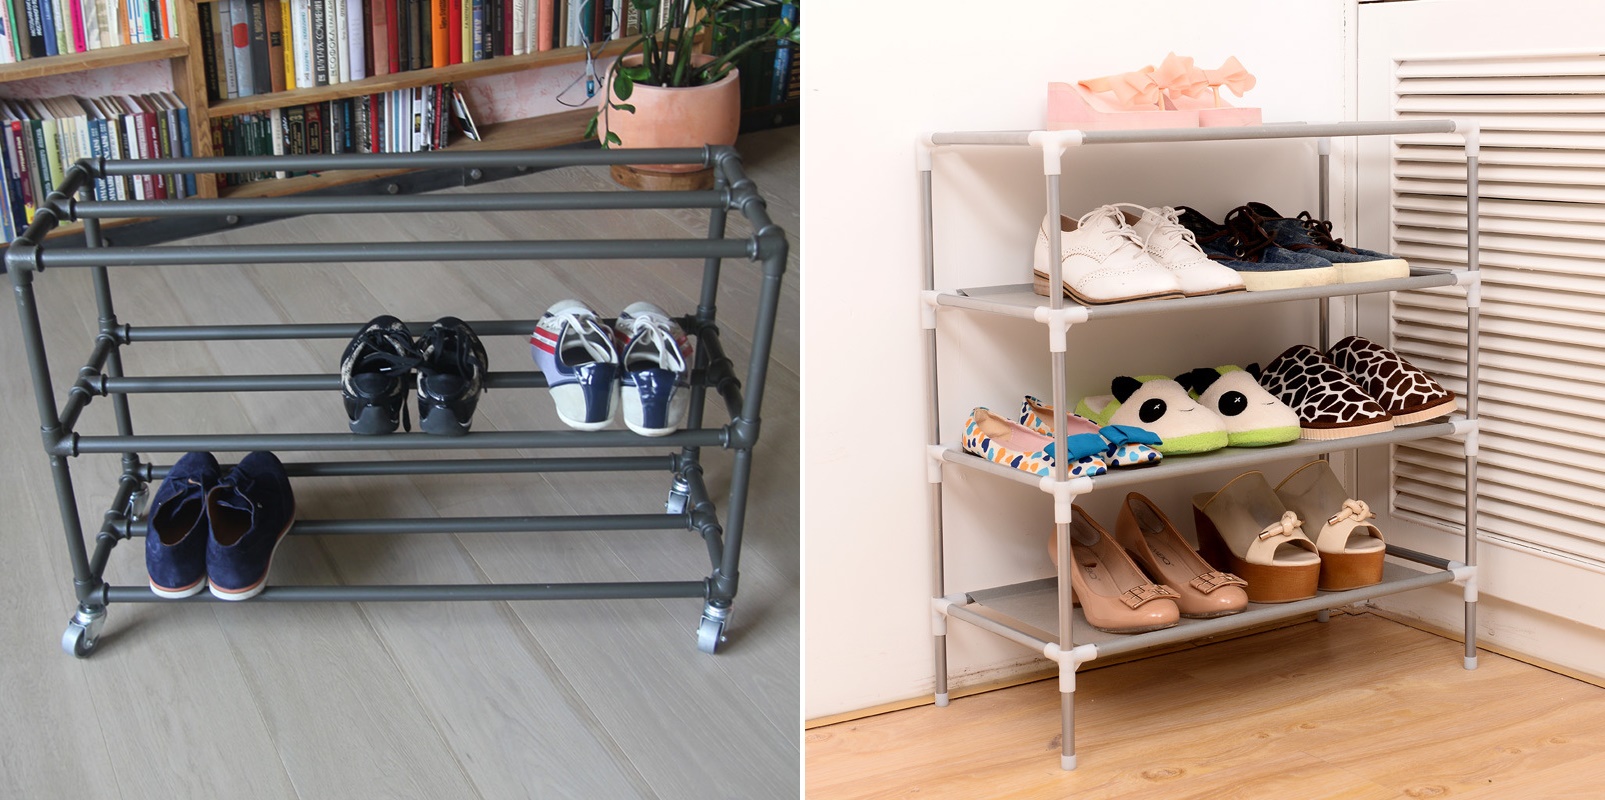
But from what materials you can assemble a shoe rack for the hallway with your own hands.
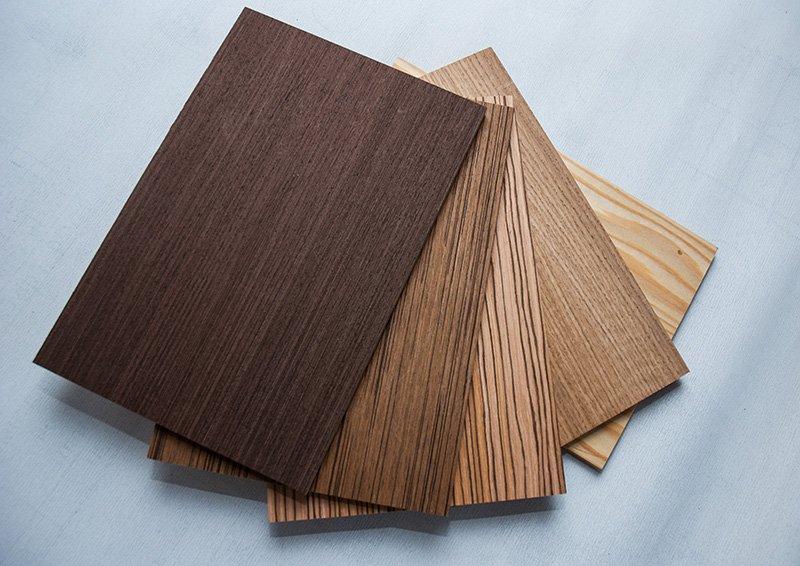
- Chipboard, MDF, plywood. The only drawback when choosing is the susceptibility of sheets to moisture. Therefore, it is necessary to choose with a protective plastic coating.
- Natural wood. Oak, ash, pine, birch and other species are well suited for fabrication and layout. It is worth remembering that the tree must be impregnated with special compounds against moisture, dirt, mechanical damage and other possible adverse factors.
- Metal. Making a metal shelf for shoes with your own hands is a little difficult in terms of applying paint and varnish. If you do not have the skills to work with a welding inverter machine, then you will not be able to accurately make a shelf. If you know how to cook, use the thinnest electrodes (2 mm) for welding and work carefully.
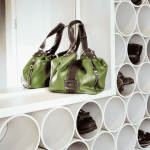
You can also use plastic. Ordinary water pipes, welded at the right angle, will serve you for a long time as a place to store your shoes.
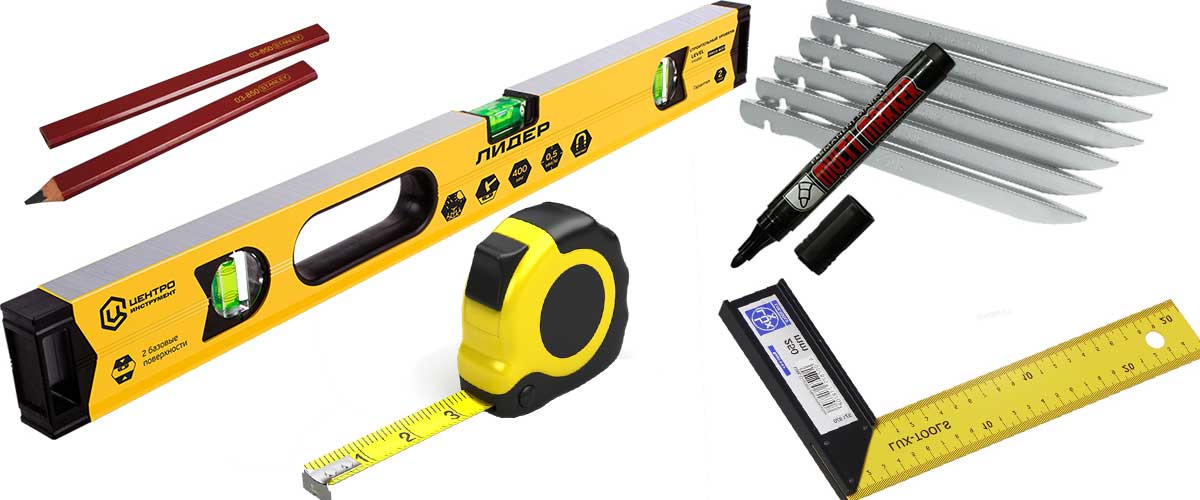
Instruments
When choosing natural wood as a material, you will need the following tool:
- jigsaw;
- a circular saw;
- manual milling cutter;
- Sander;
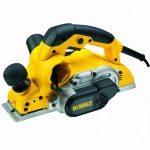
- electric planer.
The process of processing boards is accompanied by the release of a large amount of dust and sawdust into the surrounding atmosphere. Therefore, be sure to use personal protective equipment for the respiratory and visual organs, or mechanisms for forced dust removal (cyclone, construction vacuum cleaner).
To work with chipboard, MDF or plywood, you will need the same tools as for wood.
Pay attention to the choice of fasteners. This must be a specialized fastener. For wood - confirmations, self-tapping screws with rare carvings. For chipboard - a completely different fastener.
After drawing up a drawing of a shoe rack, applying all sizes, indicating communications, aisles, as well as places for swing doors, a scheme for cutting blanks is drawn up. All allowances of 1-2 mm must be indicated. This is necessary to leave a stock of the length of the workpieces when cutting. The thickness of the saw blade is taken into account. It can be recognized by measuring with a ruler. Some manufacturers of consumables indicate the thickness of the cut on the packaging.
Manufacturing of a pull-out shelf mechanism
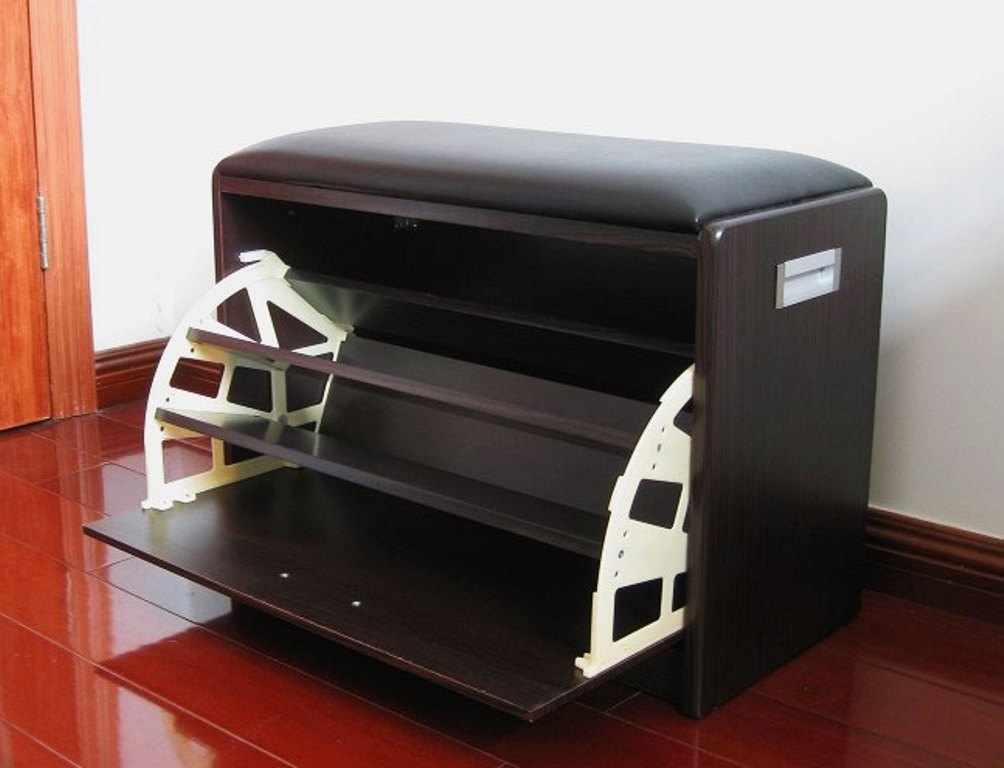
When making a shoe shelf from sheet material, a folding shelf can be provided. This design is both functional and aesthetic. With the help of it, several compartments are mounted at once for laying boots, shoes and sneakers.
The easiest way is to buy a ready-made structure. But independent installation is also possible. To do this, a mark is made on the sidewall with a pencil under the groove, which is drilled with an electric drill or selected by a milling cutter. Additionally, the groove is reinforced with an anti-friction bushing, which excludes material deformation under the influence of constant friction.
Further, a thorn is made on the folding shelf. It can be made from hard wood (oak, beech, hornbeam, ash). A hole of the appropriate diameter is drilled in the sidewall into which a hardwood part is inserted. To strengthen and prevent cranking, it must be planted on a special adhesive.
Assembling a shoe rack with a seat
To make a shoe rack with a seat in the hallway with your own hands, you must follow the assembly sequence.
The seat is manufactured separately from the general structure. Any suitable filler available at home can be used as packing. Classic foam is perfect. And in the presence of an old unnecessary orthopedic pillow made of latex, or other filler, the choice of padding is simplified.
The filler is laid on the plywood sheet. Additionally, it can be glued. For beauty, tightening can be provided. To do this, it is necessary to pierce the foam rubber evenly over the entire area with a stapler. Next, a piece of fabric must be attached to each bracket, to which the top layer of the covering will subsequently be sewn.
For a perfect design, you can sew furniture buttons on the seat.
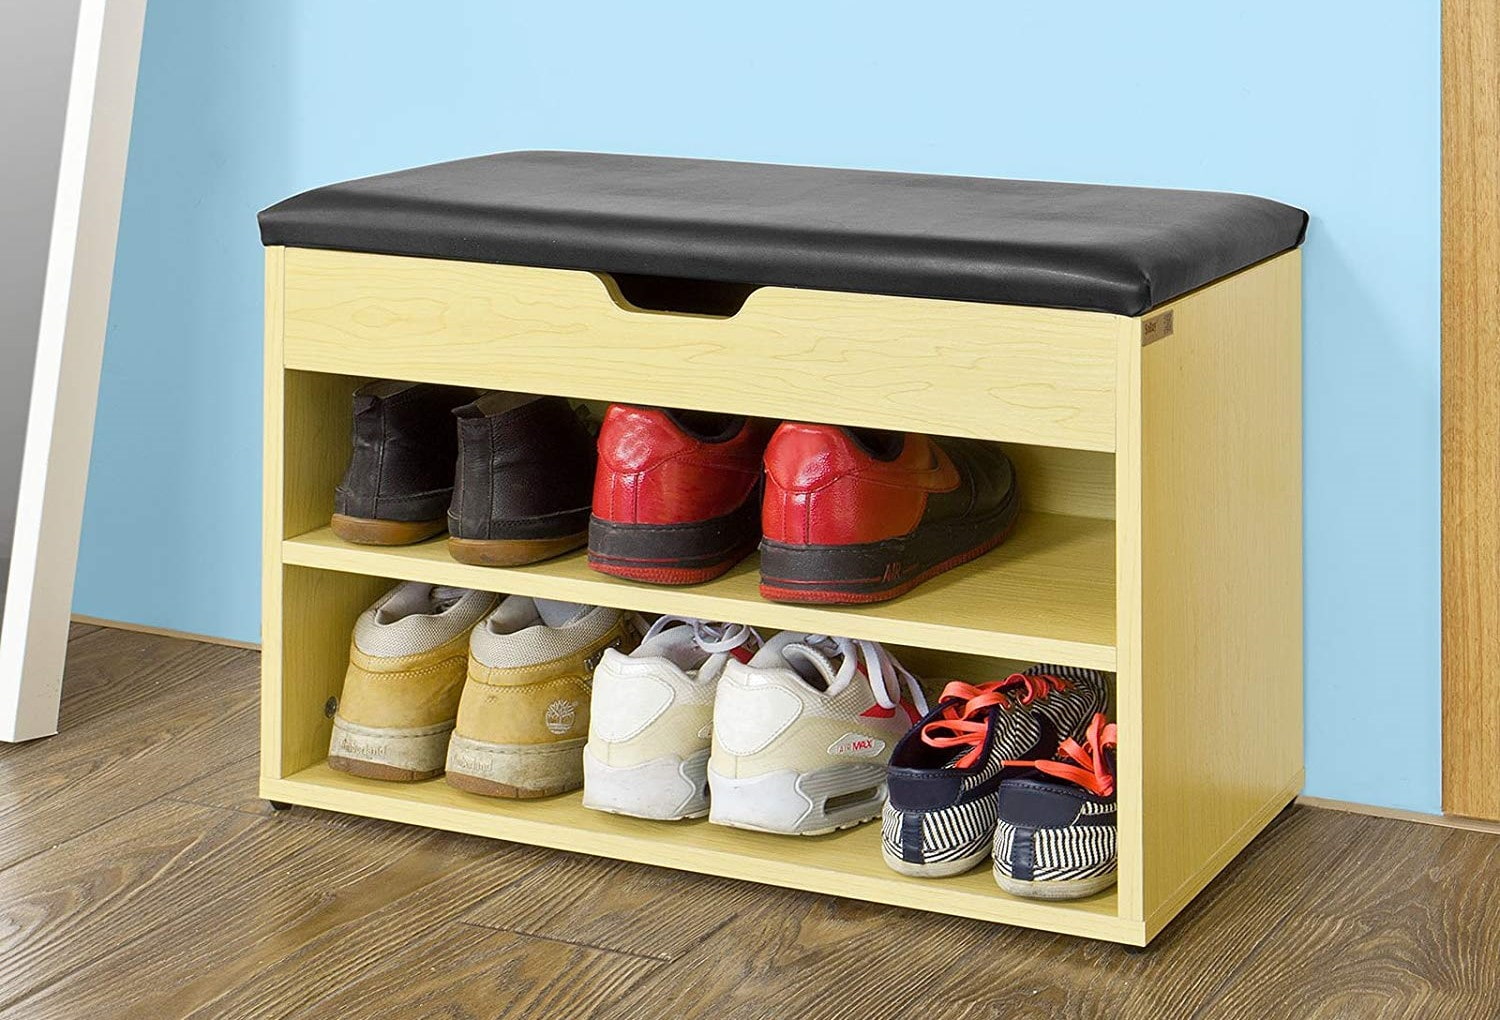
The assembly of the shoe rack takes place in the following order.
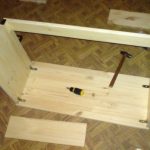
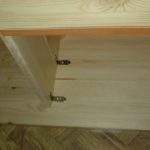
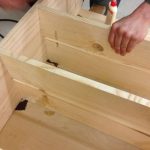
- First, the side posts are connected to the intermediate shelves.
- Further, transverse jumpers are installed on the fasteners.
- After that, a pull-out shelf is mounted (if any).
- At the end, the upper soft seat is attached.
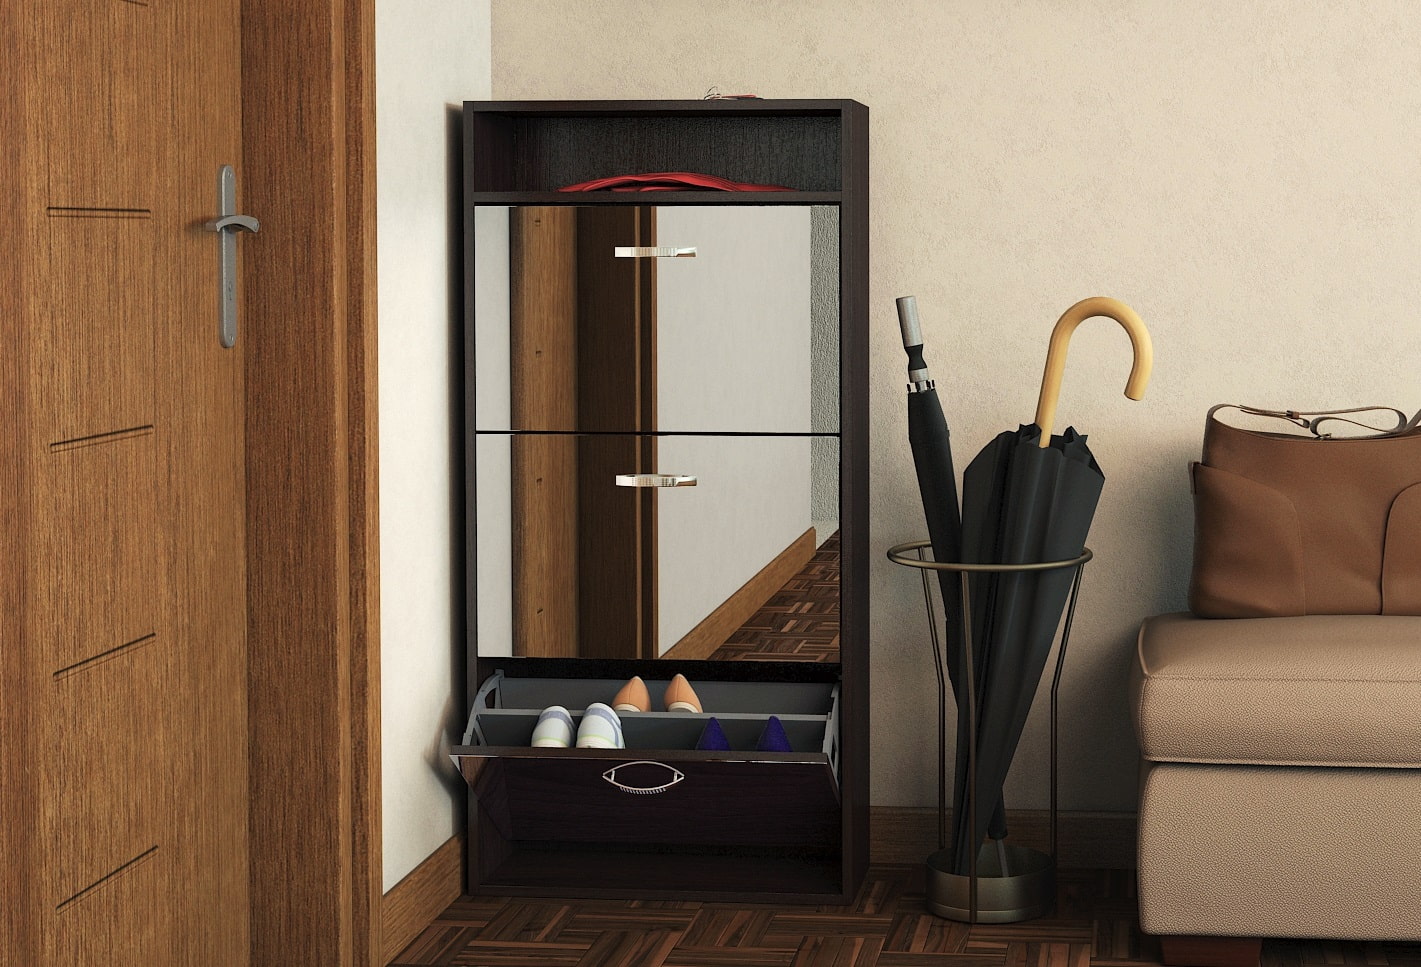
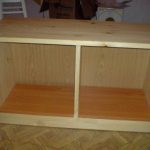
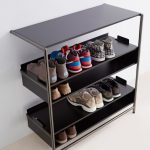
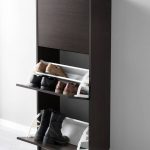
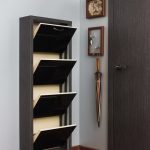
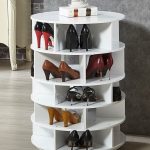
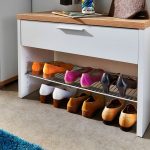
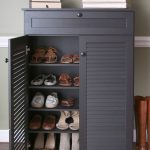
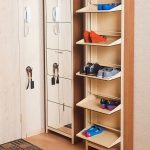
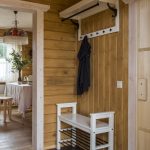
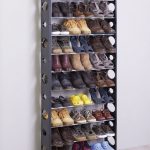
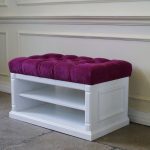
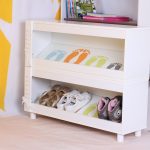
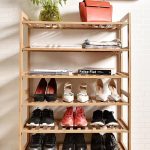
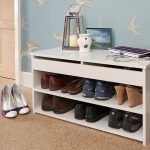
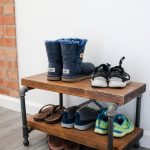
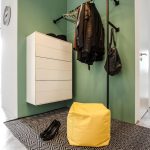
Check out a selection of photographs of shoe shelves. Here you will definitely find something for yourself.
Video: do-it-yourself shoe rack in the hallway





























Discussions
The best option for making such a product plan