Making a rack for clothes with your own hands
Storage space for everyday clothing must be well ventilated and accessible. It is convenient to place only off-season and rarely worn things in closed wardrobes. Whereas suits and dresses for daily use should be easily removed from their places of storage.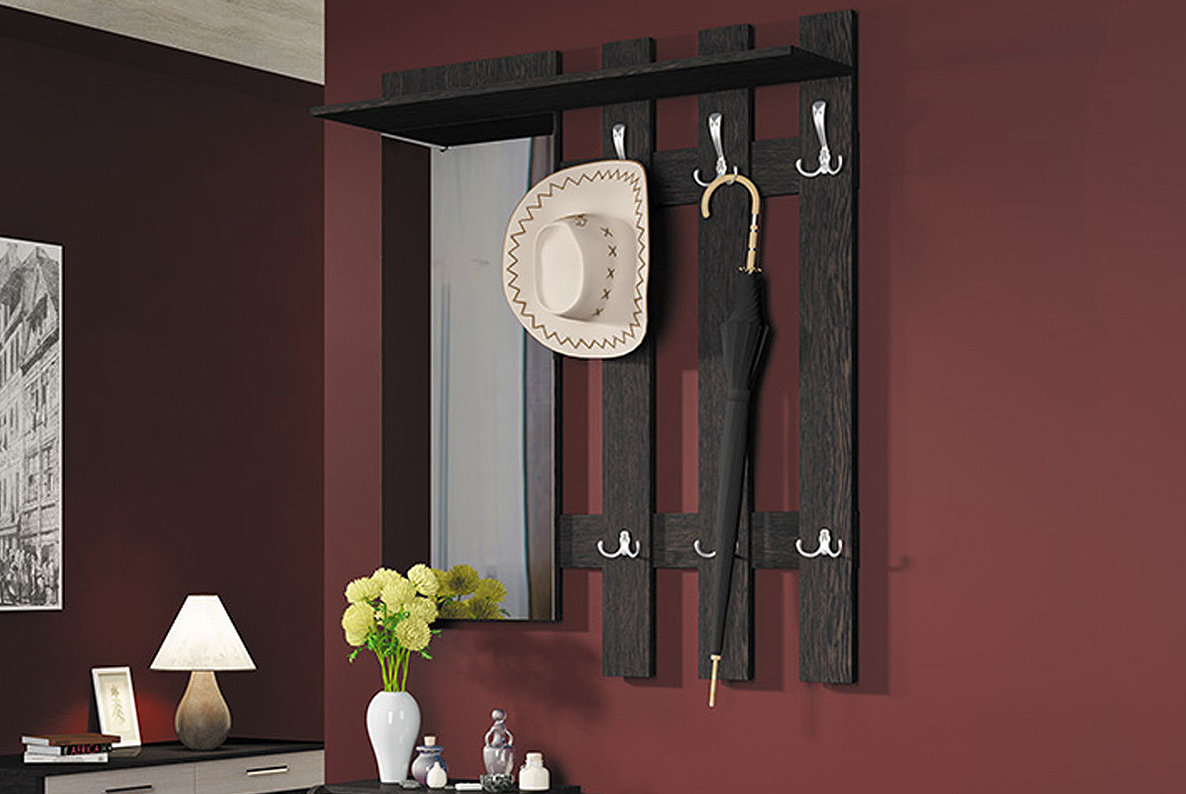
Therefore, when decorating the interior style of the hallway, such an irreplaceable attribute as a clothes hanger is always used. According to their design features, hangers are usually divided into types:
- Outdoor.
- Wall.
- Suspended.
The design of all hangers is distinguished by its simplicity and ease of assembly, which allows you to make it yourself from scrap materials. A do-it-yourself hanger is available even to those who do not have much experience in design and installation.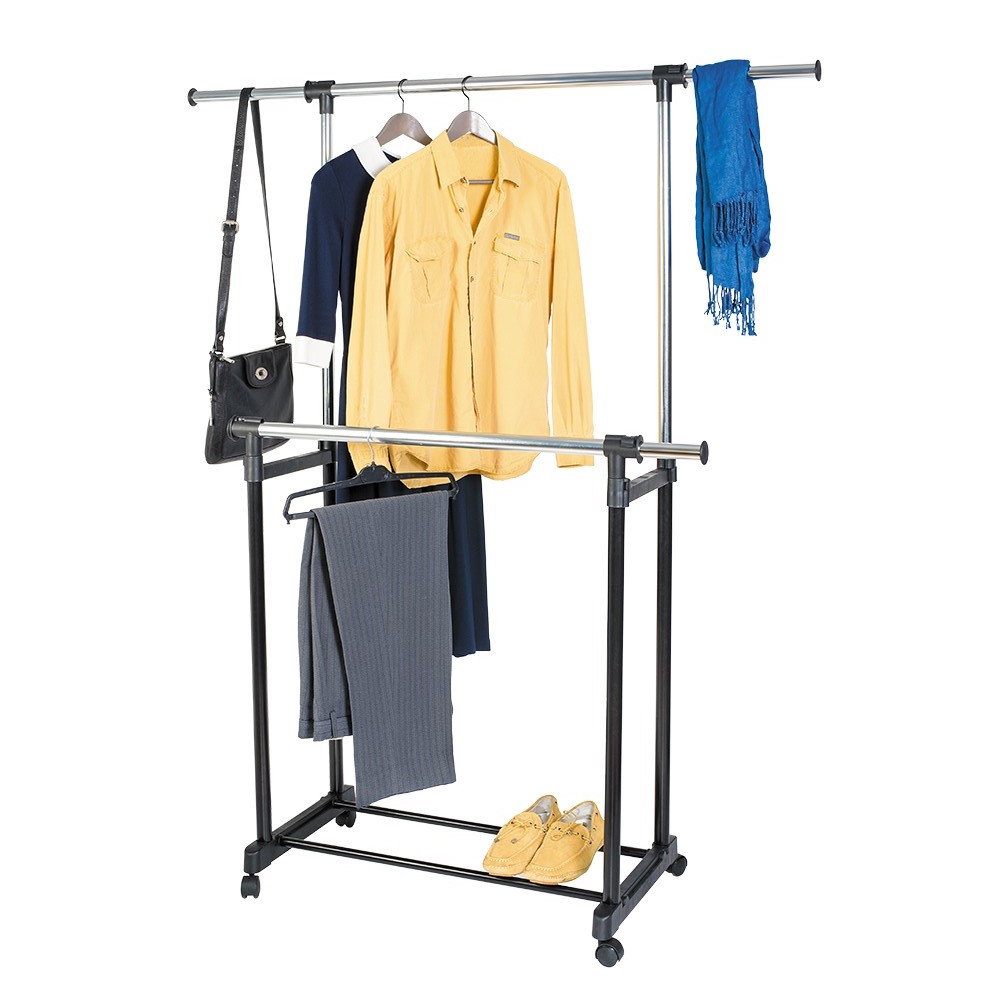
Outdoor
In the case of a floor hanger, the floor acts as a reference plane. The most common type of such products is a vertical bar structure on a round base or on a tripod support. Hooks are firmly attached to the rod, on which you can hang things and accessories.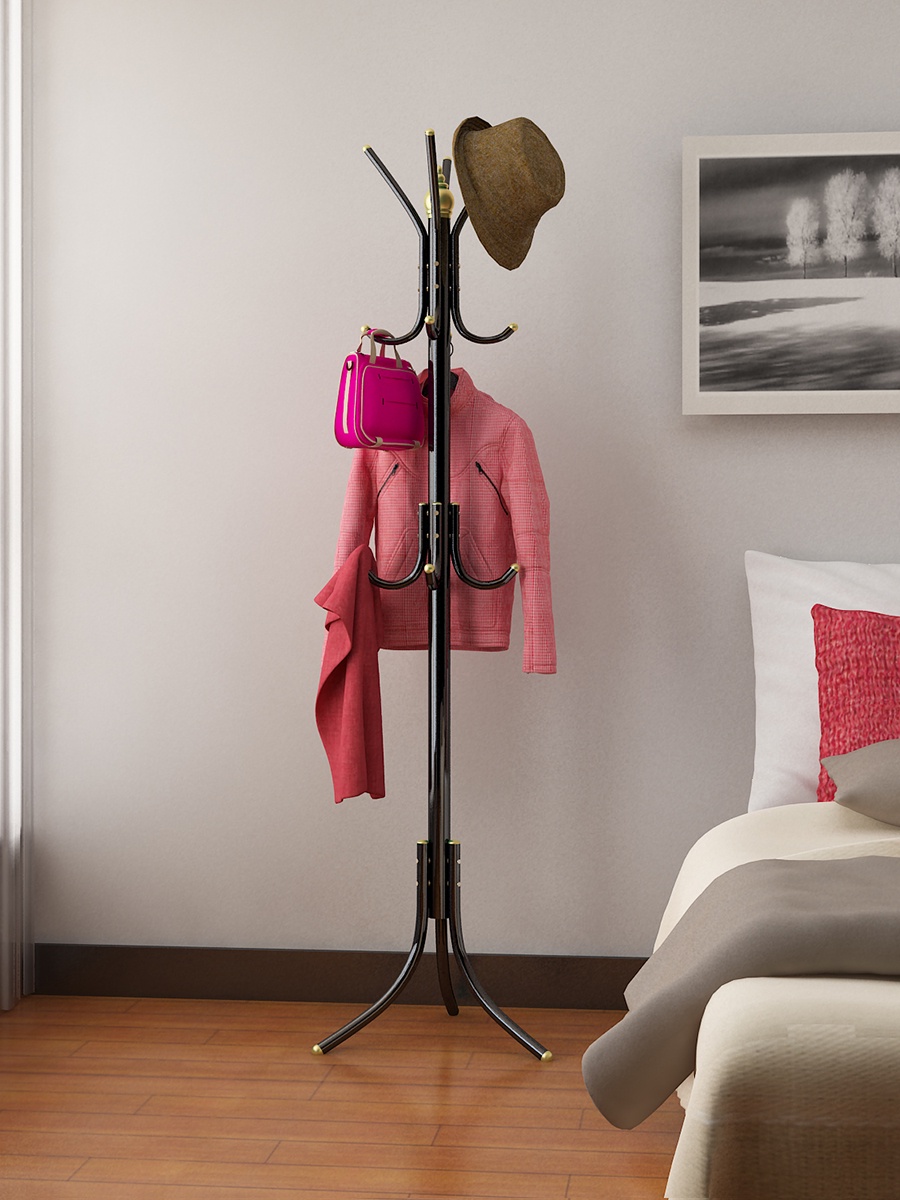
Genuine products may have a rotating bar and a mobile stand with wheels. But for homemade assembly, simplified types of floor hangers are better suited. Hook-free structures are the best option for installation. The main element is a horizontal pipe, on which hangers with clothes are hung.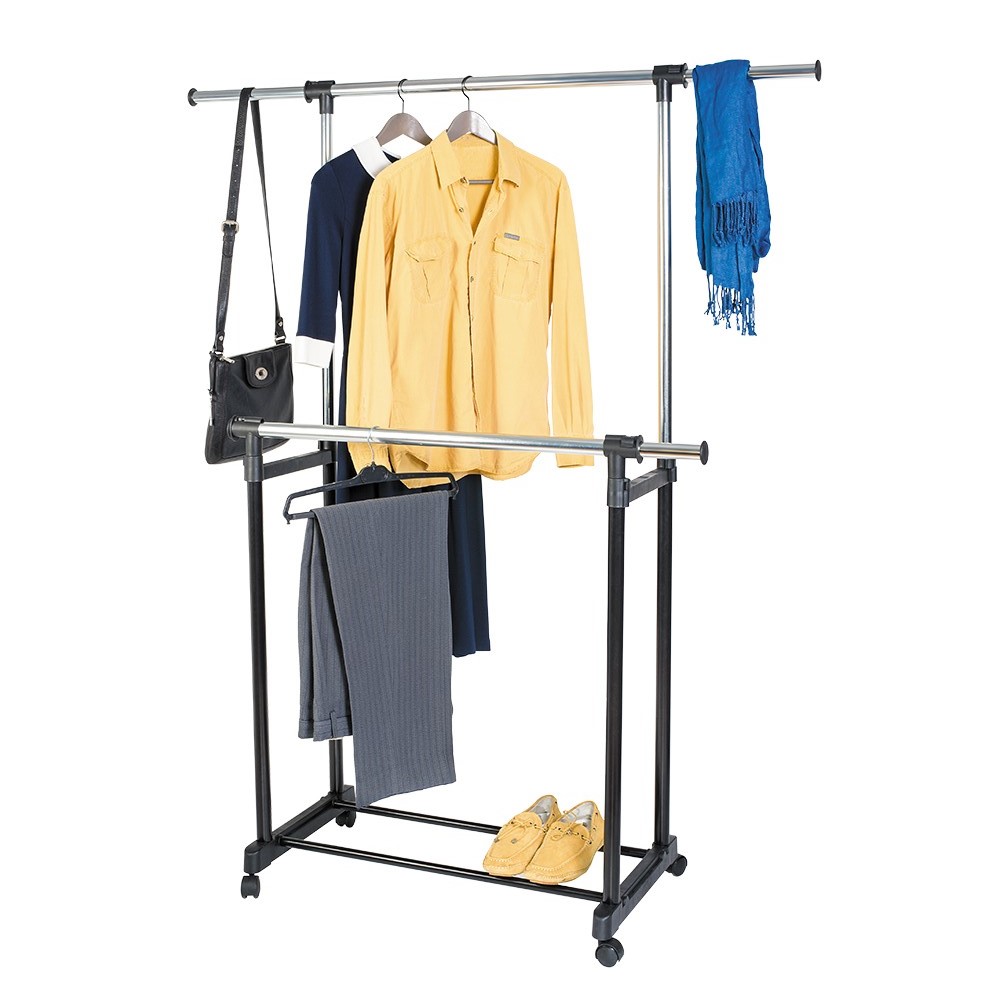
The support body can be anything from a rack base with bottom shelves to primitive frames made of pipes or timber beams. With your own hands, a floor hanger for clothes made of wood can be made in a short time and without any special financial costs.
Wall
A wall hanger differs from other types in that a vertical surface (usually a wall) acts as a reference plane for it.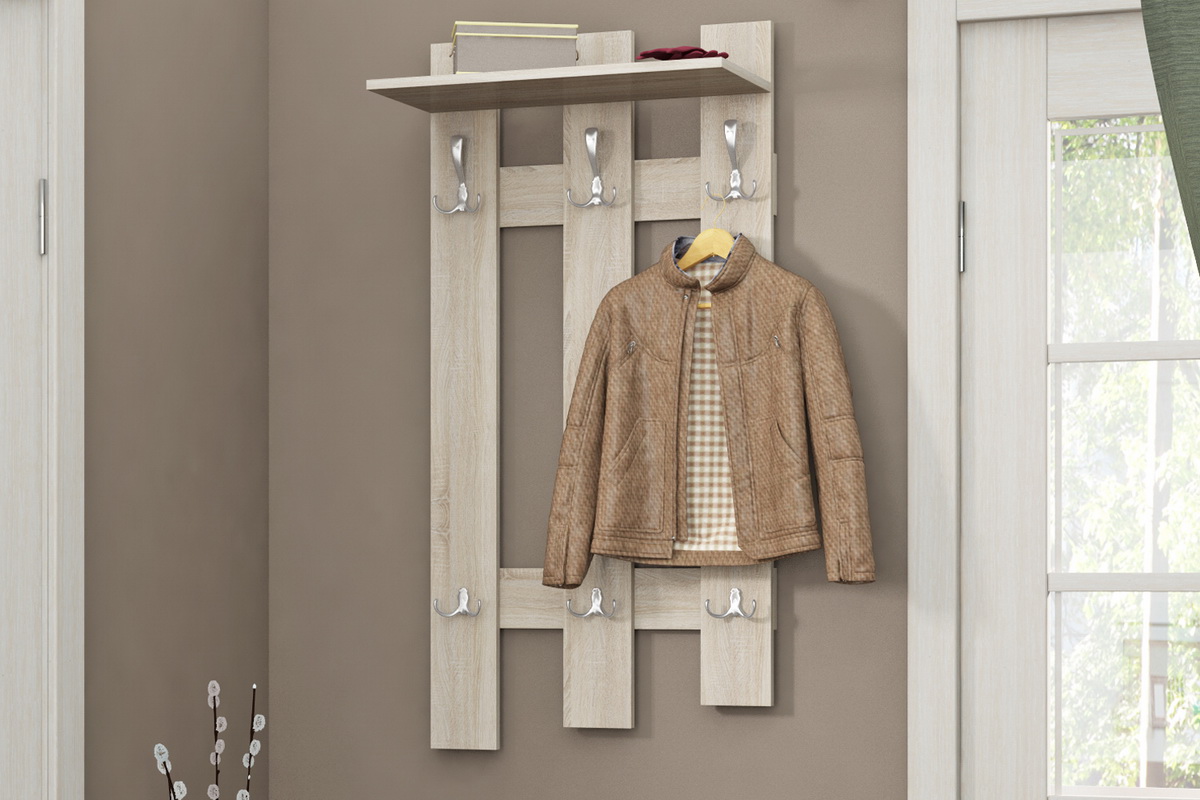
It is customary to distinguish between the following types of similar hangers:
- With direct installation of the main elements into the wall. The hooks are attached directly to the wall using anchors and special brackets.
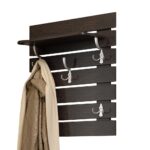
- With fastening of the main elements to the supporting structure. Hooks are installed on frames, profiles or wood planks mounted in the wall.
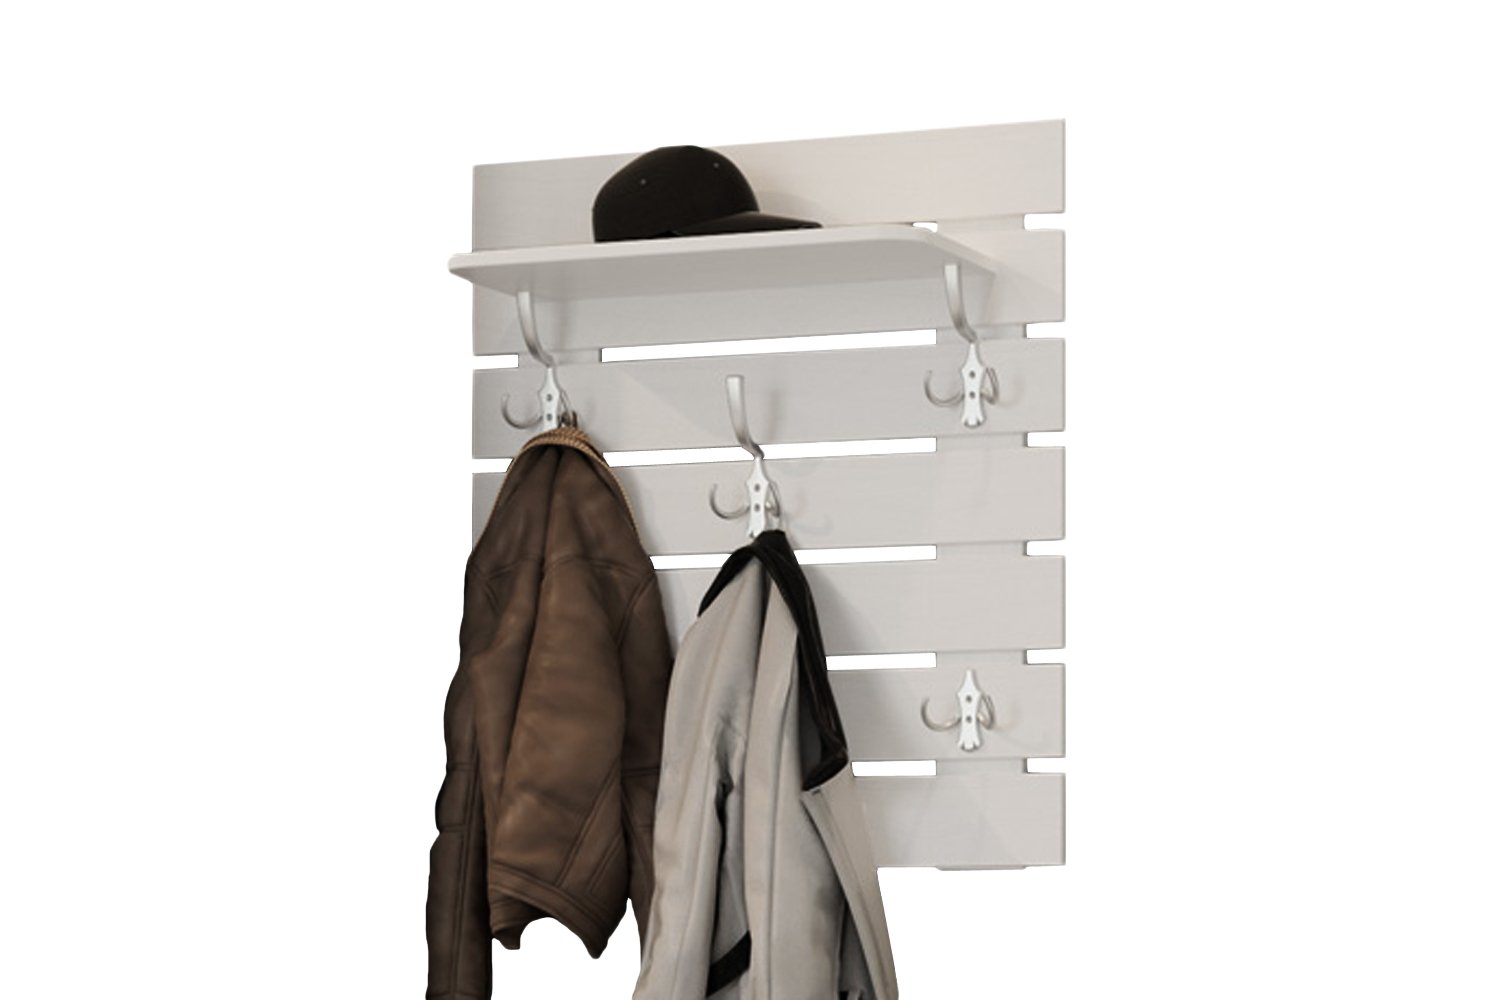
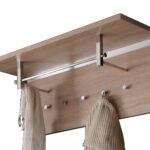
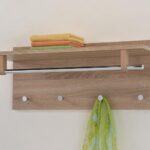
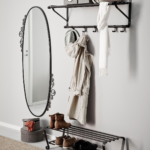
Wall hangers can be placed in the hallway, in the bedroom, in the bathroom, in the nursery. At the moment, this is the most popular type of hanger.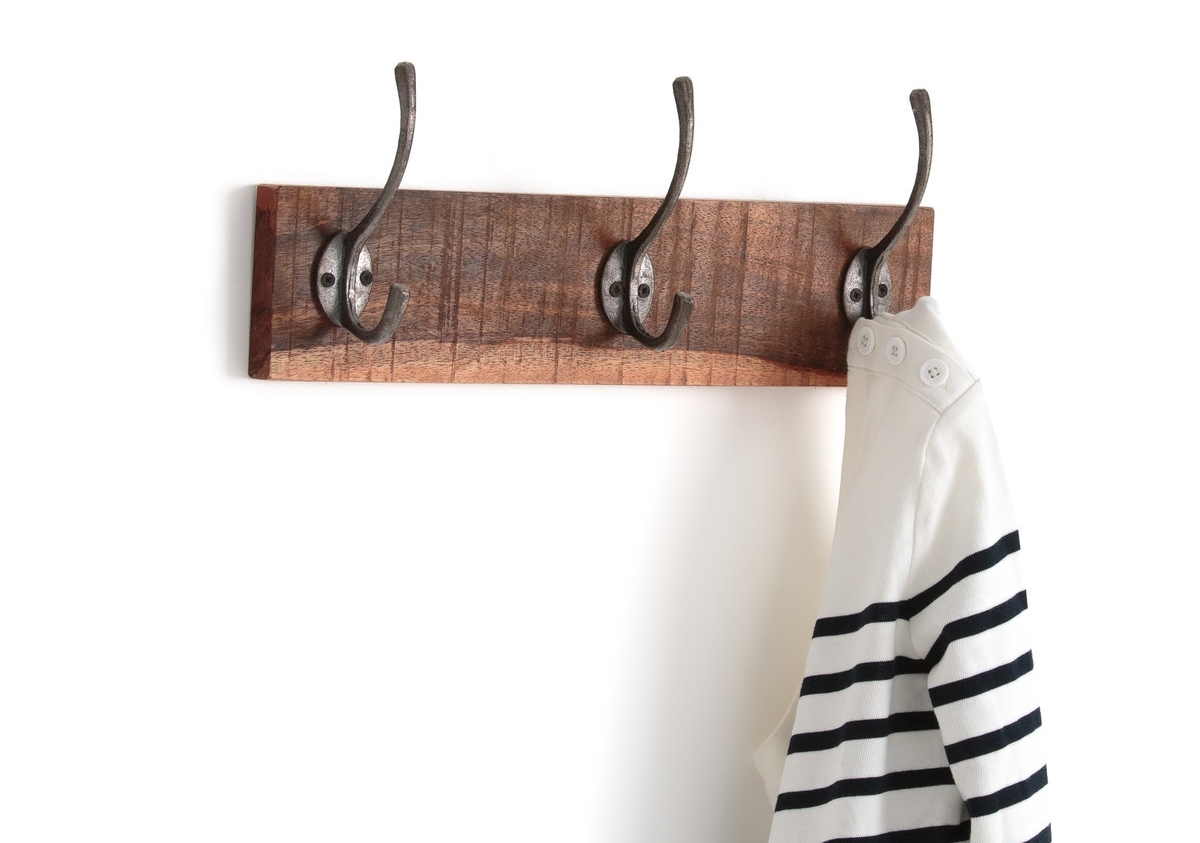
Suspended
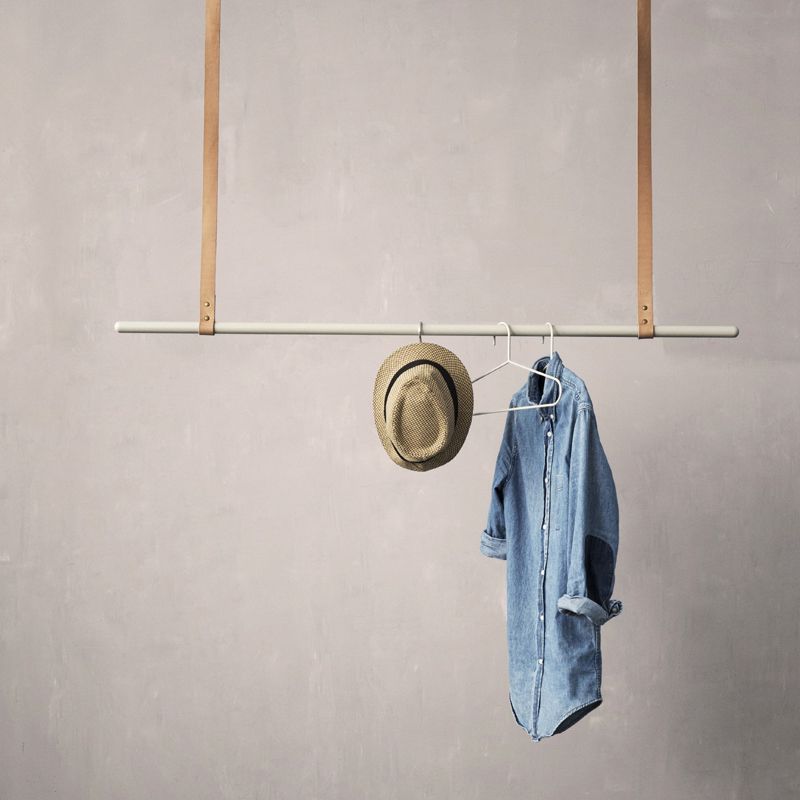
This type is non-standard, but the ease of assembly of the hanger allows you to make it yourself. The basis of the structure is a horizontal pipe for the hanger, suspended from ropes, cables or chains.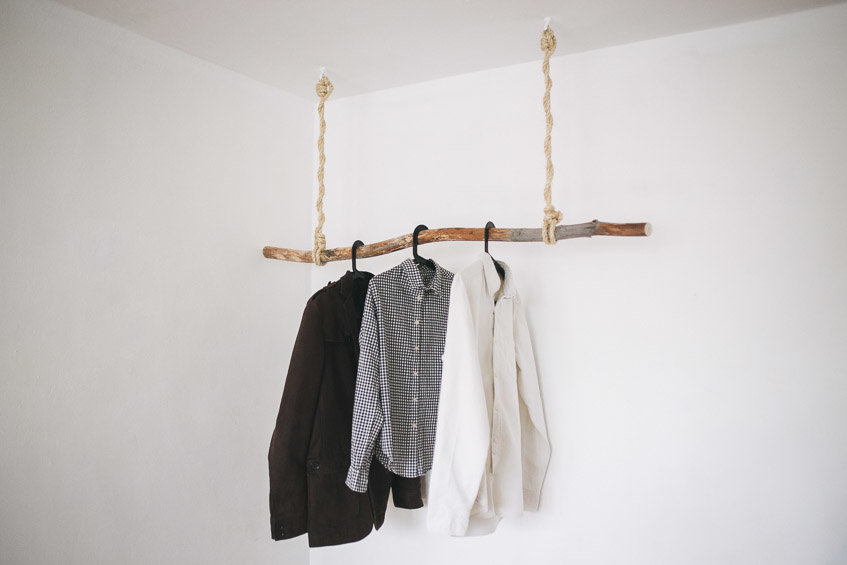
For stability, the crossbeam is often mounted in a frame supported by furniture or a wall.
Characteristics and drawings of homemade hangers
Once a finished product is available, assembling it according to the instructions usually does not cause problems.
When creating your own project for a future hanger, you need to balance your professional and material capabilities. When developing a product drawing, it is important to know that, according to the standards, the rack of a floor hanger must withstand a total weight of up to 50 kg.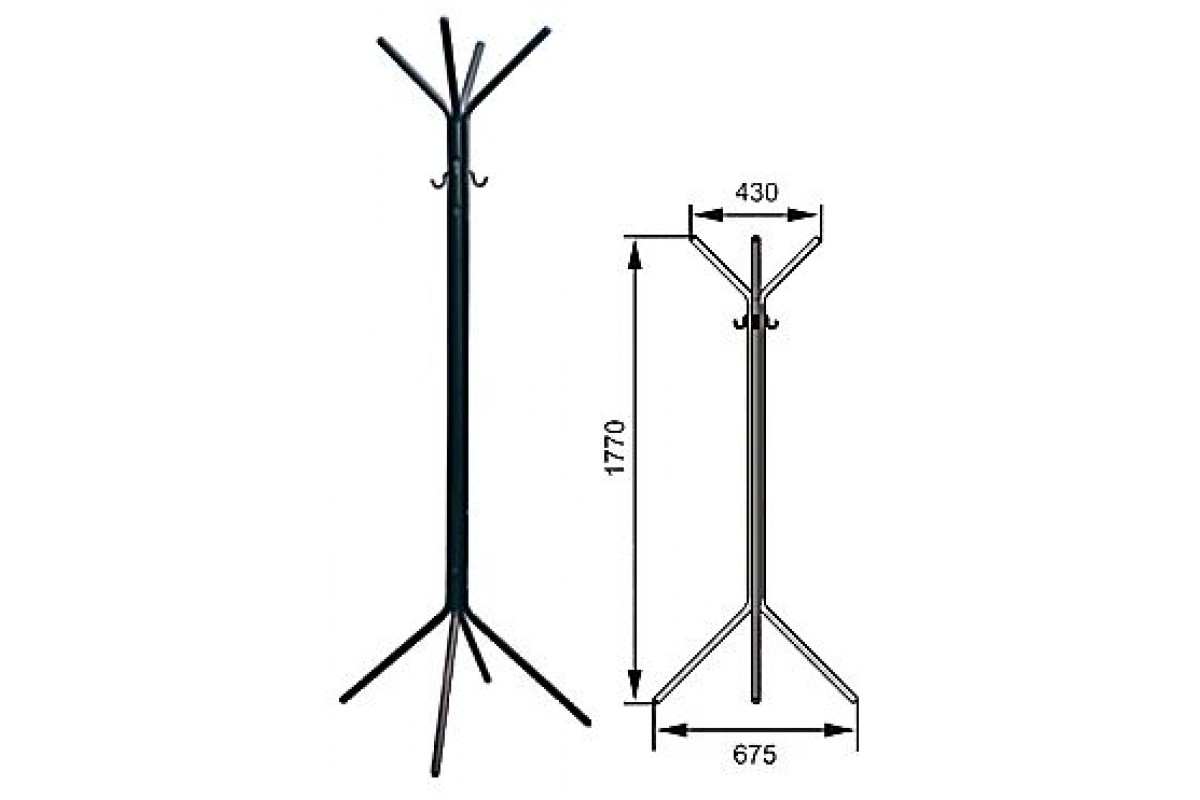
When choosing wall structures with hooks, you need to carefully consider the methods of vertical fastening of elements. Otherwise, the hooks may simply not support the weight of heavy clothing (fur coats, sheepskin coats, coats, winter overalls).
If a frame structure is selected, all crossbeams and load-bearing beams (pipes) must have a certain strength. In practice, it is quite easy to check the reliability of the hanger bar. It must support the weight of the heaviest clothing placed exactly in its center. In this case, the pipe should not bend.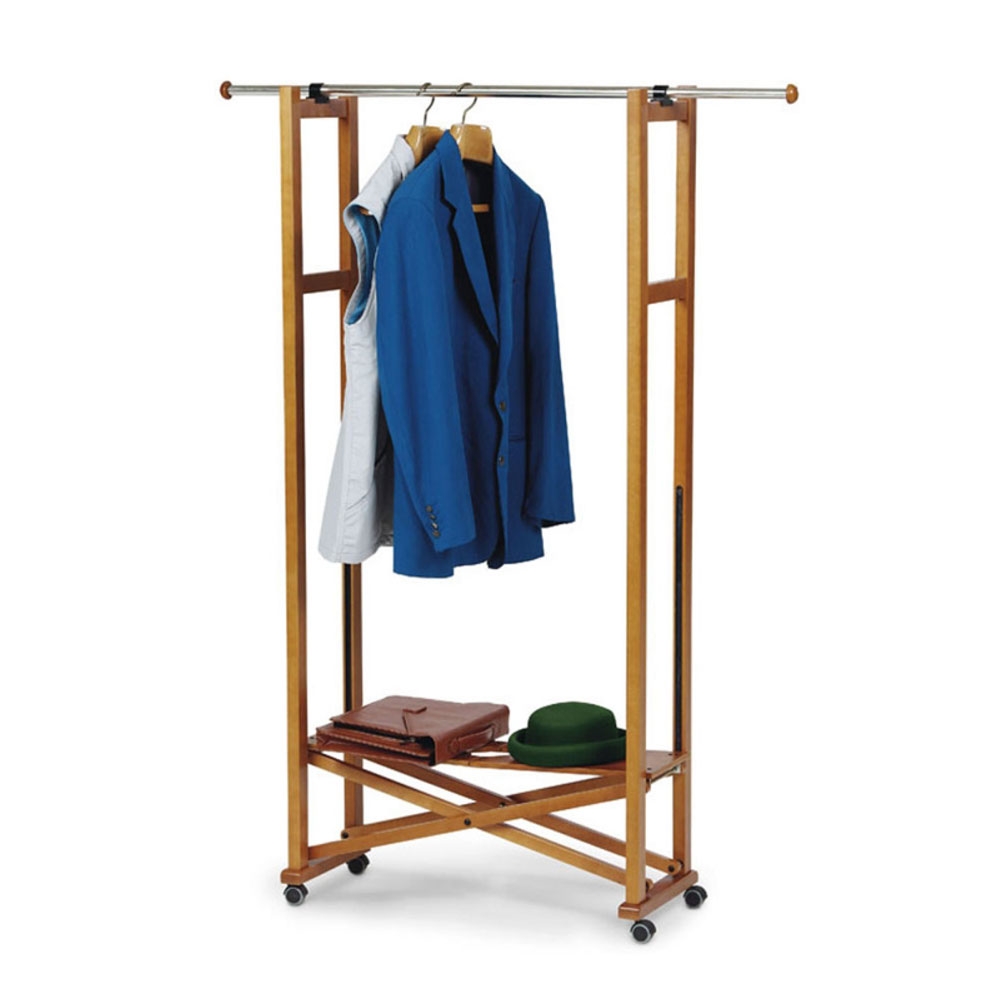
For a home project, it is recommended to choose one of the following hanger options:
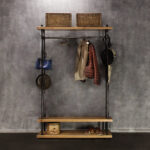
- Frame hanger made of metal pipes without hooks.
- Made of metal pipe and frame made of wooden beams.
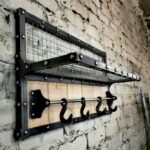
- Wall board with hooks.
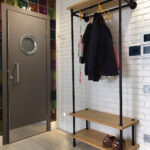
- With shelving body. A low shelving unit will do, to which you will need to attach a vertical frame.
- In the style of "wigwam" (Indian hanger). Four or more cuttings (or pipes) are tied to each other in the form of a pyramid with the ends of the cuttings sticking out at the top. These ends are used for hanging various accessories and small items on them.
- L-shaped frame, leaning against the wall at a slope. The shoulders are hung on the top bar.
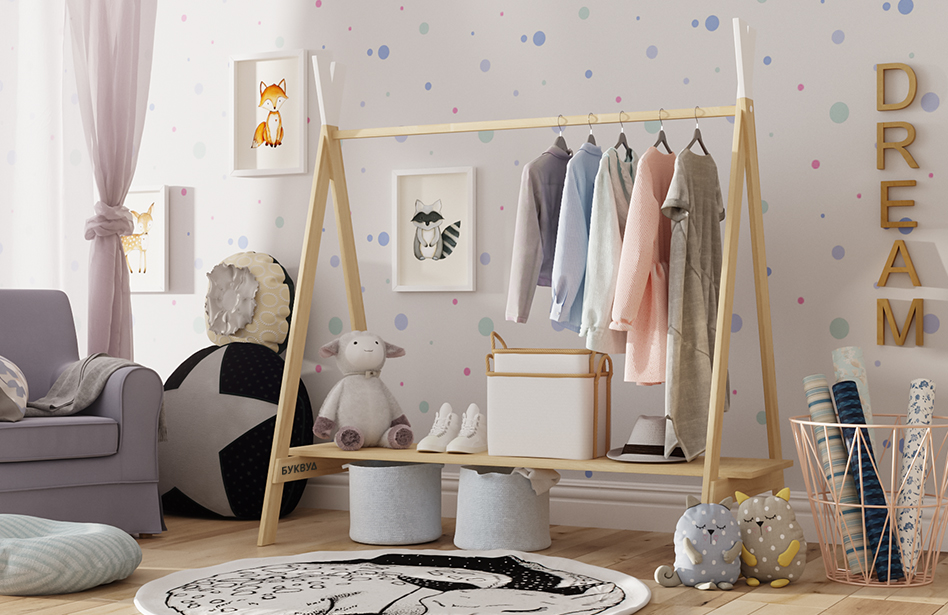
At the stage of theoretical development, you should not take on the complicated hanger housings and add fasteners to the drawing that require special skill during installation.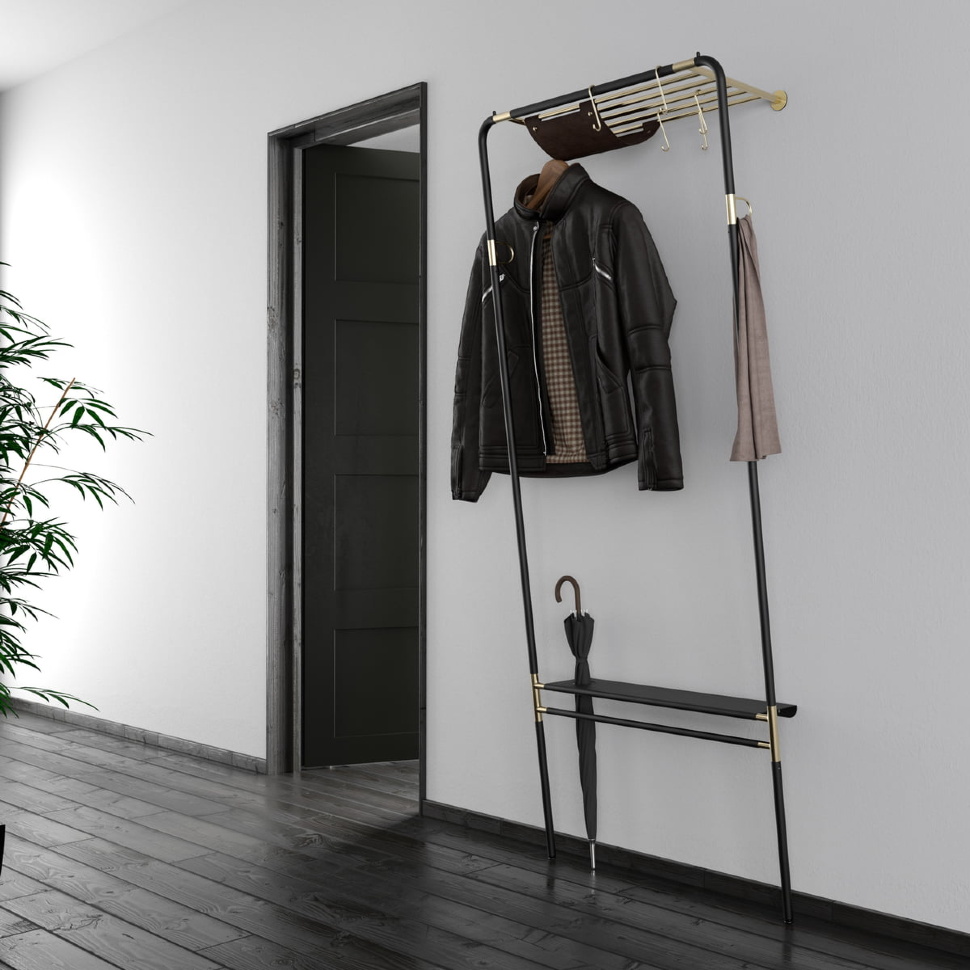
How to choose material for making hangers
Even at the development stage, the master must decide in advance which materials are best suited for the hanger. For example, hooks can be easily mounted to wooden surfaces and beams.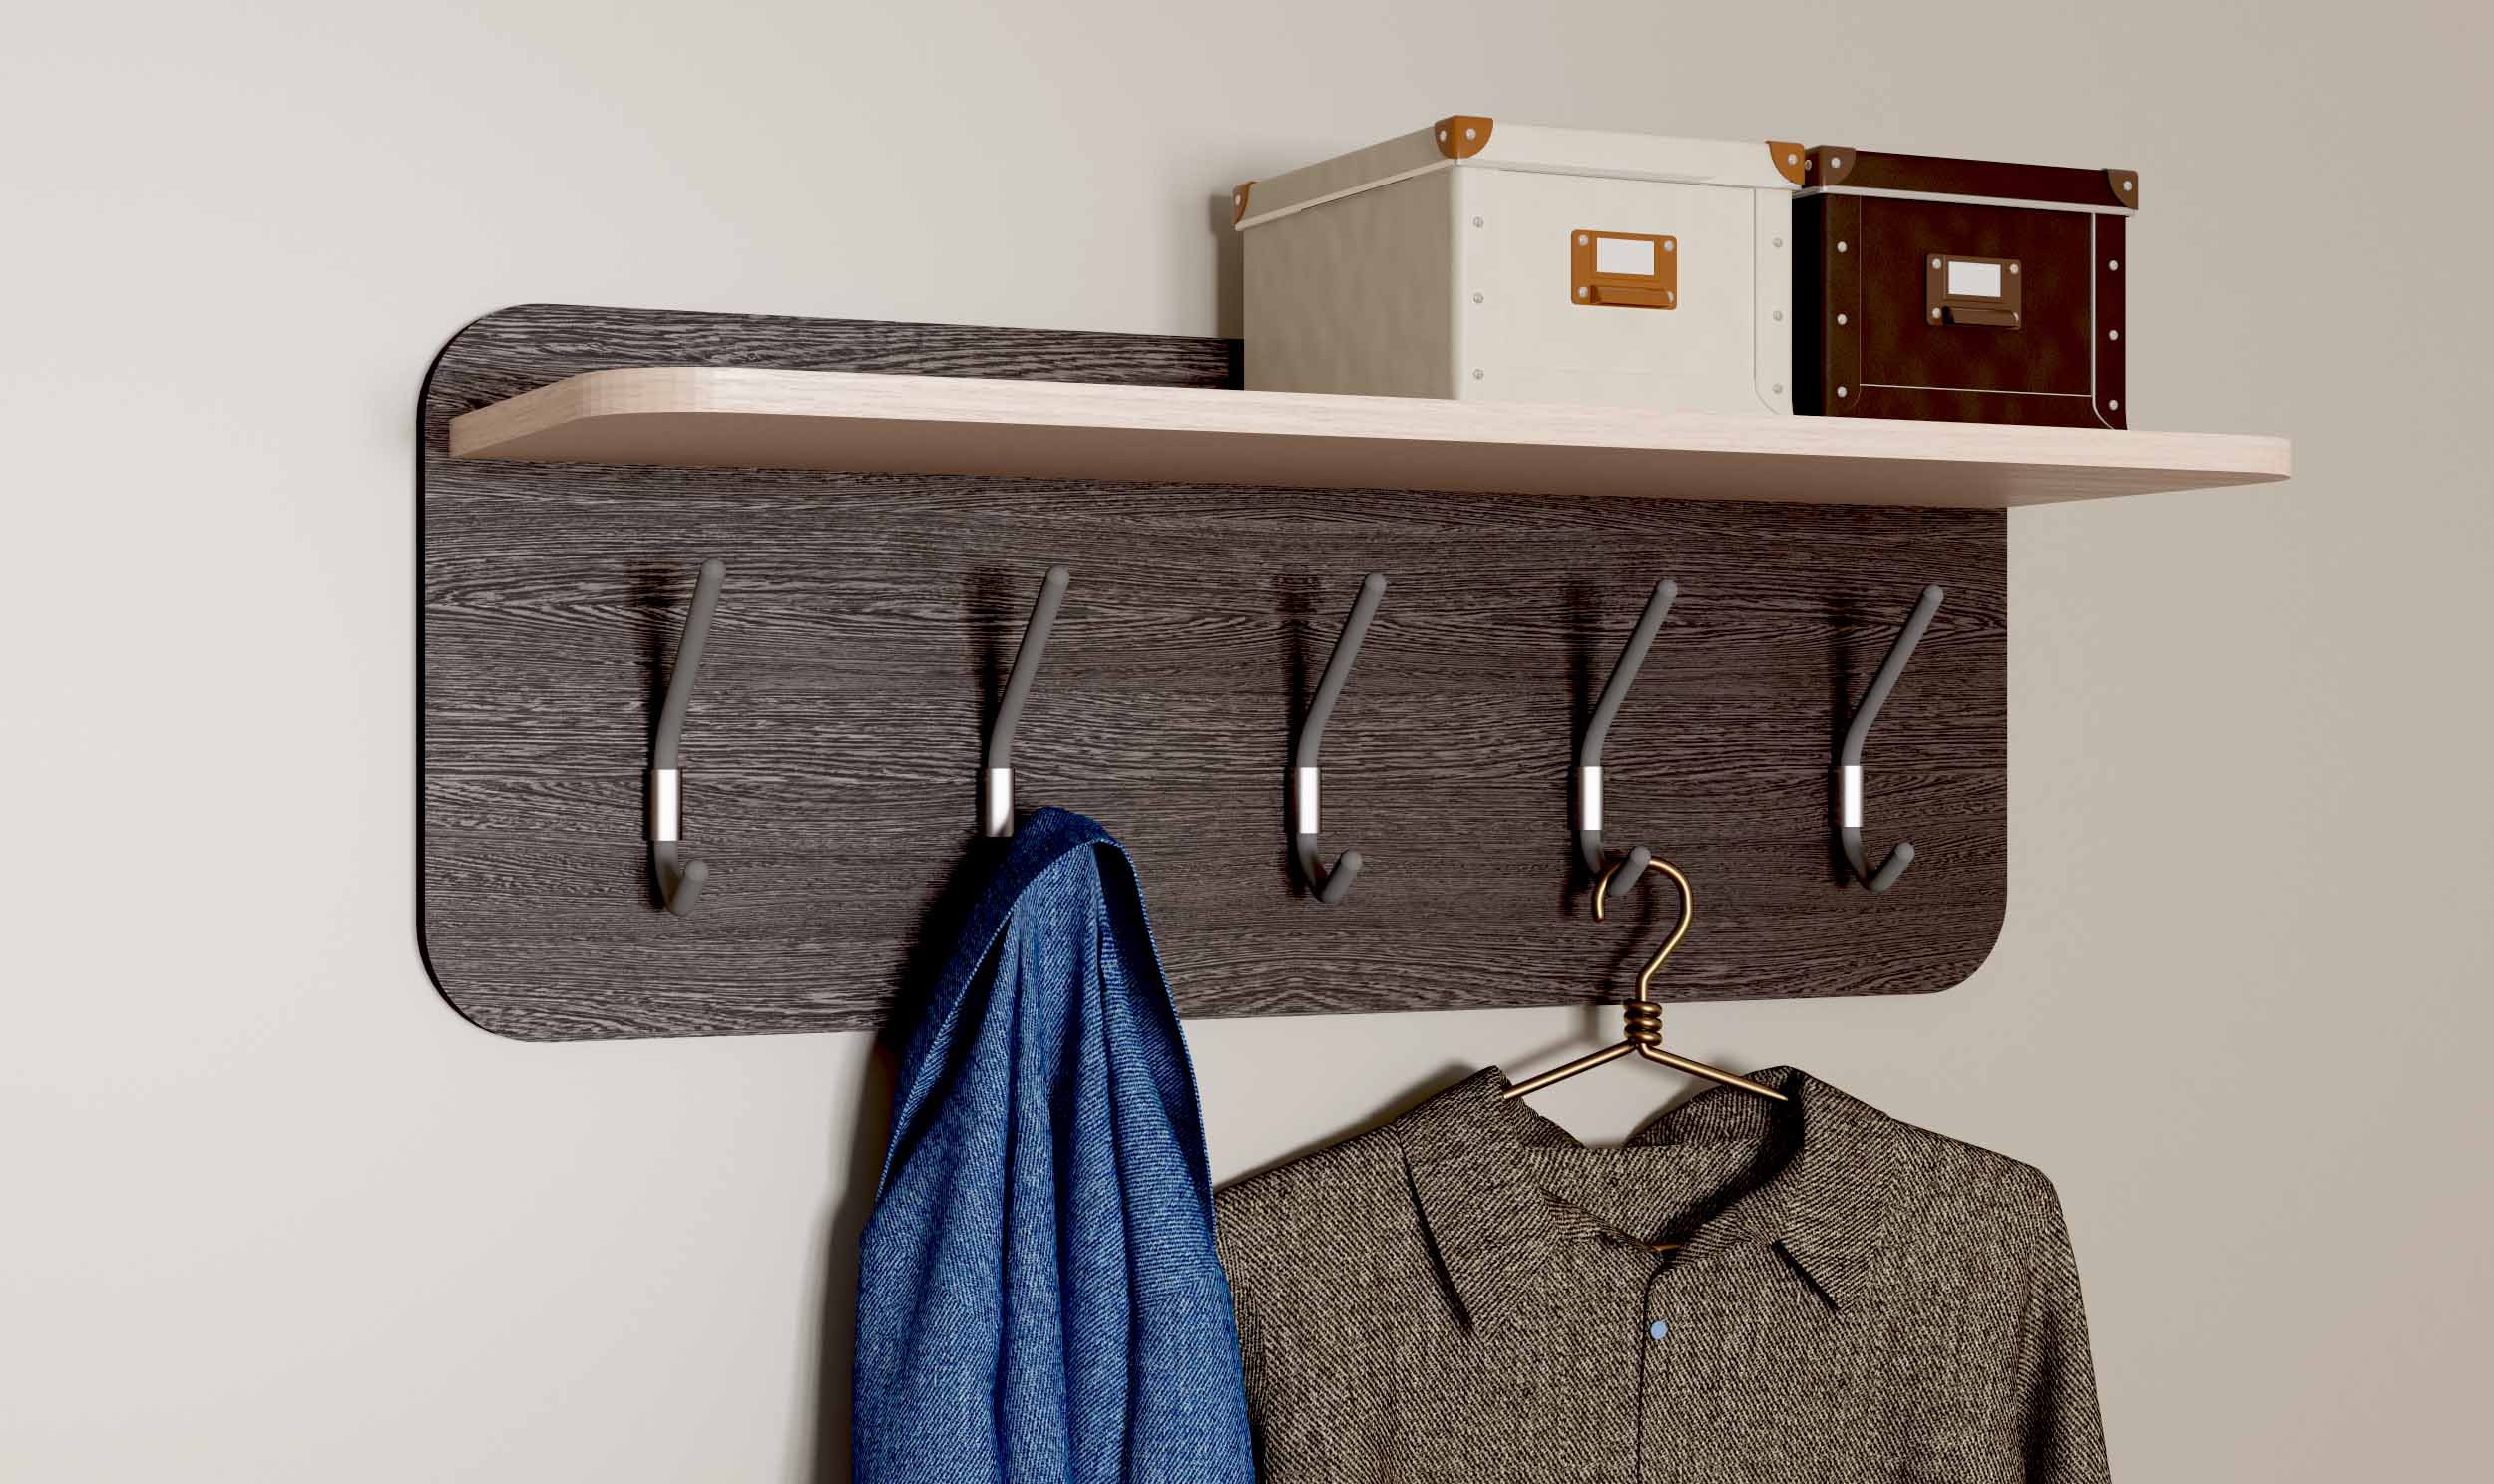
In metal cases and rods, you will have to carefully drill through holes for fastening the hooks or weld them.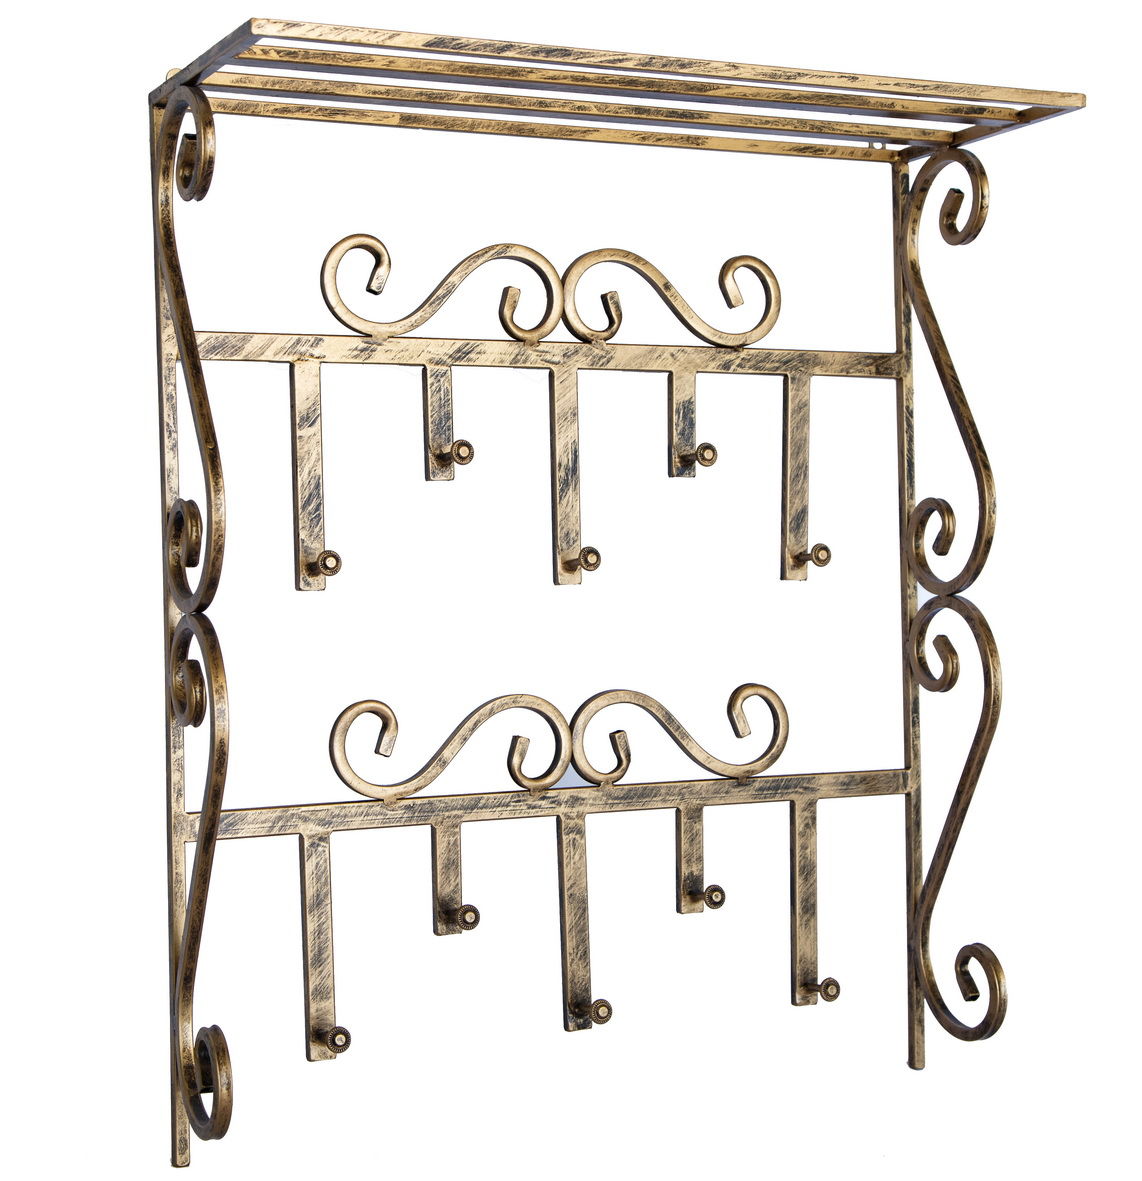
Plastic elements (hooks, crossbars) are well suited for the bathroom. They are able to withstand the light weight of towels, but at the same time plastic is indifferent to the conditions of a humid environment. In contrast, wood and rusting metal are afraid of moisture.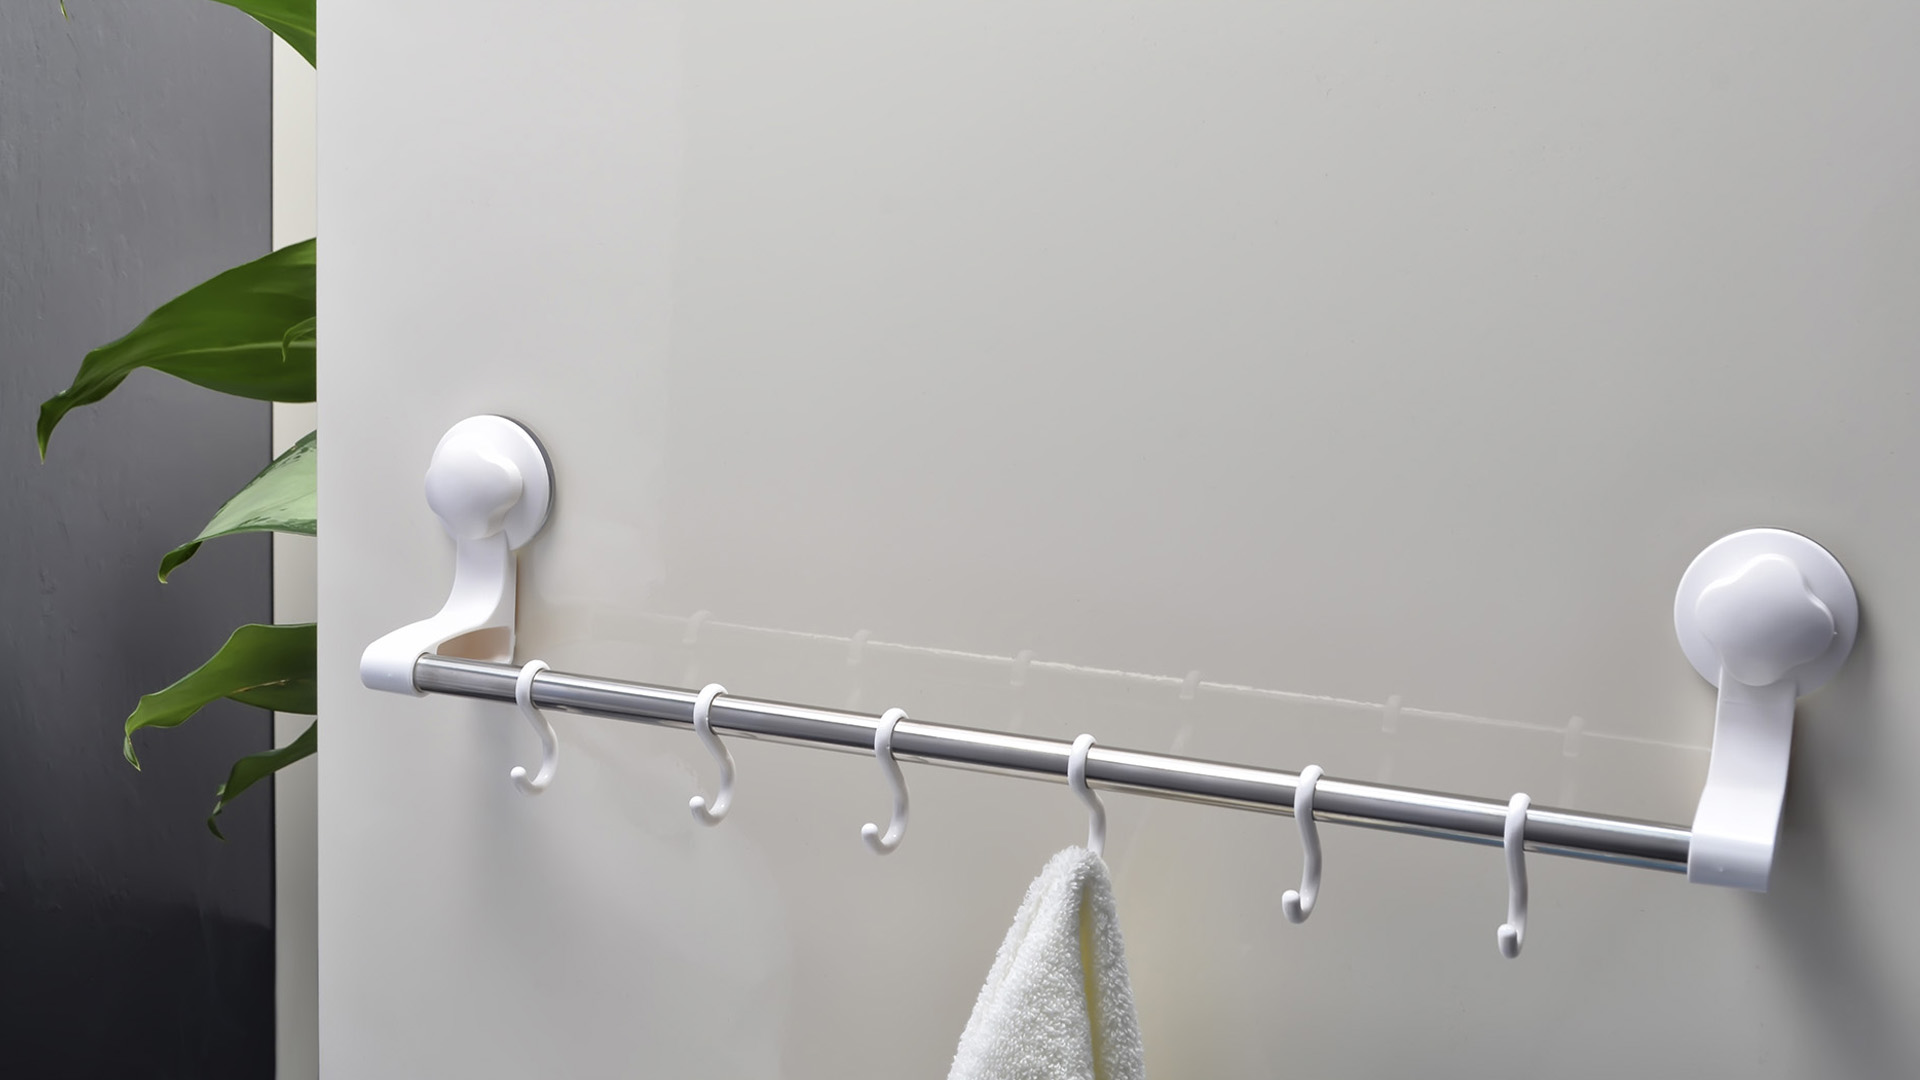
Instrument preparation
The choice of tools directly depends on the material from which the hanger will be assembled. The installation of some primitive structures (Indian hanger) does not require any tools at all. From the universal set required for the construction of structures of medium complexity, the following tools are selected:
- Yardstick.
- Level. To find imbalances.
- Hammer.
- Saw for metal or wood. If there is a grinder, a disc corresponding to the material is selected.
- Pliers.
- Screwdriver with bits that can be replaced with a Phillips screwdriver.
- Drill with drill.
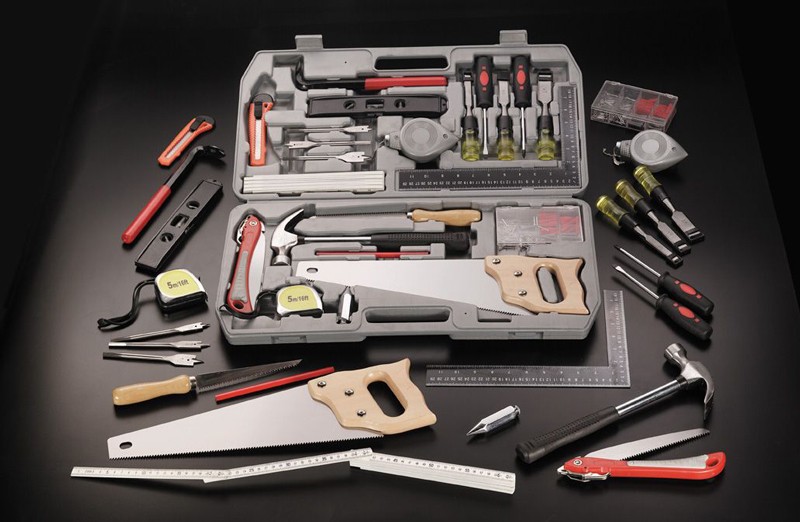
Before starting assembly, it is important to ensure that all tools are in working order.After that, the presence of consumables (nails, furniture screws) is checked. At the final stage, the safety and convenience of the workplace are examined.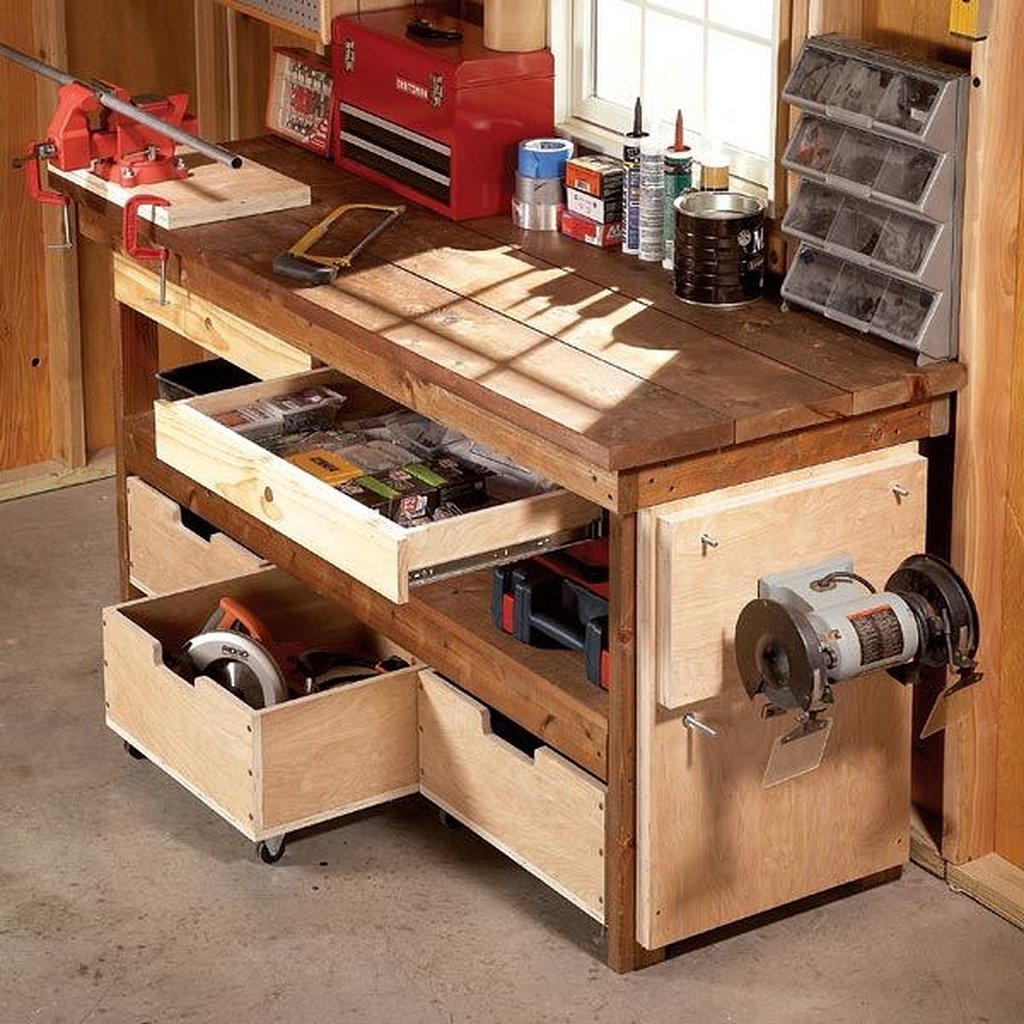
DIY hanger assembly process
Each type of hanger requires a different assembly procedure. The installation process depends on many conditions. Below we will consider the stages of creating two of the most popular types of homemade hangers: a floor frame and a wall hook.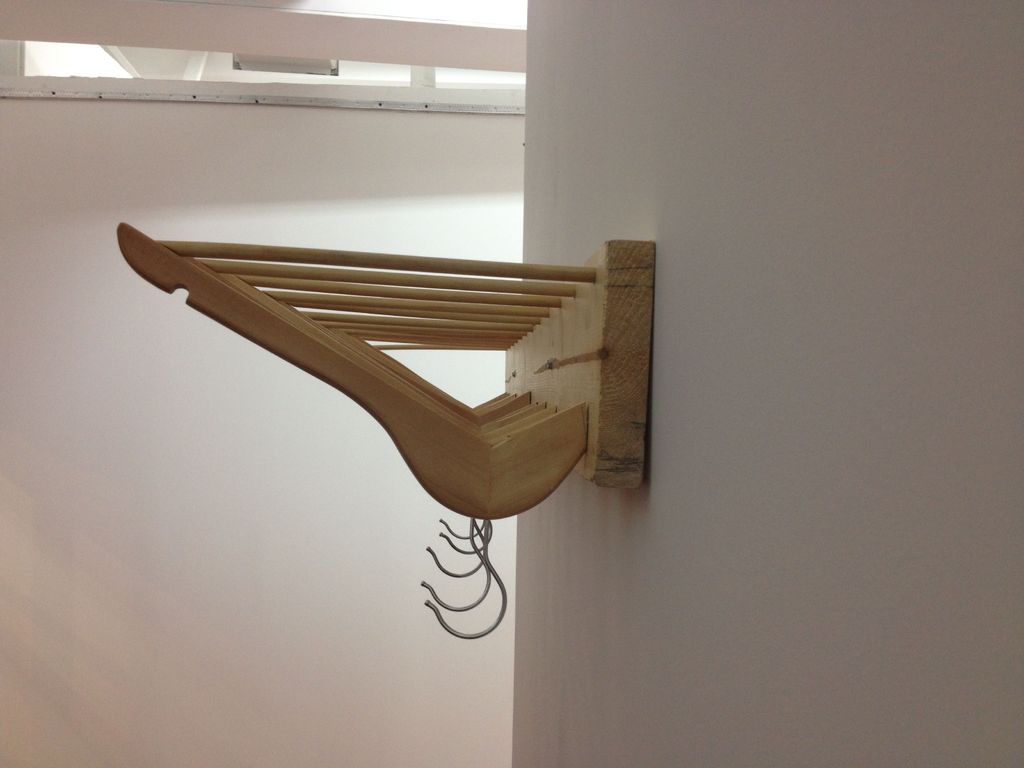
Frame structure made of metal pipes
You will need: 4 corners bent at 90 degrees, three pipes (copper or metal), a prepared wooden base with through holes, fasteners that firmly fix the lower ends of the frame, placed in the holes in the base.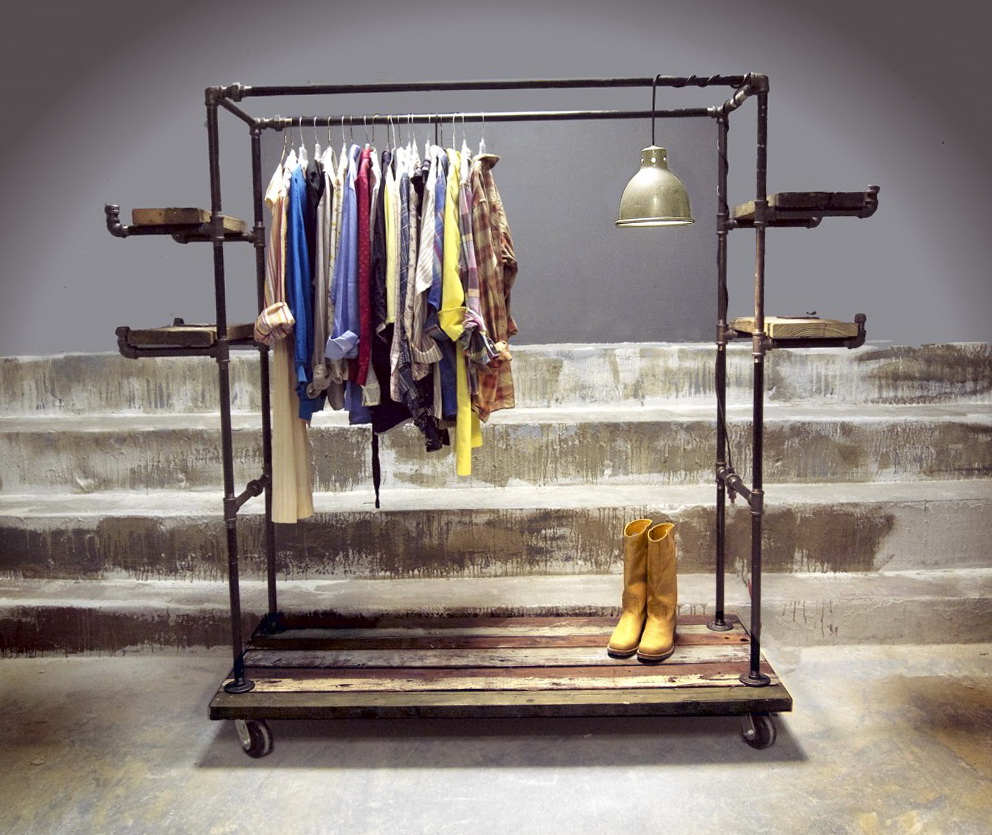
Instructions:
- Pipes are fastened with corners in a U-shape.
- The ends of the vertical frame are threaded into the holes of the horizontal base, which is raised above the floor.
- The pipes are slightly fixed. The hanger is checked by the building level for the curvature of the rungs.
The pipes are pulled up to the optimum ratio. When the end of one of them protrudes through the bottom of the base, the extra segment is marked. The hanger is disassembled to cut the pipe. Corrected parts are reassembled and inspected. In the absence of deficiencies, the lower ends of the frame are rigidly fixed to the base.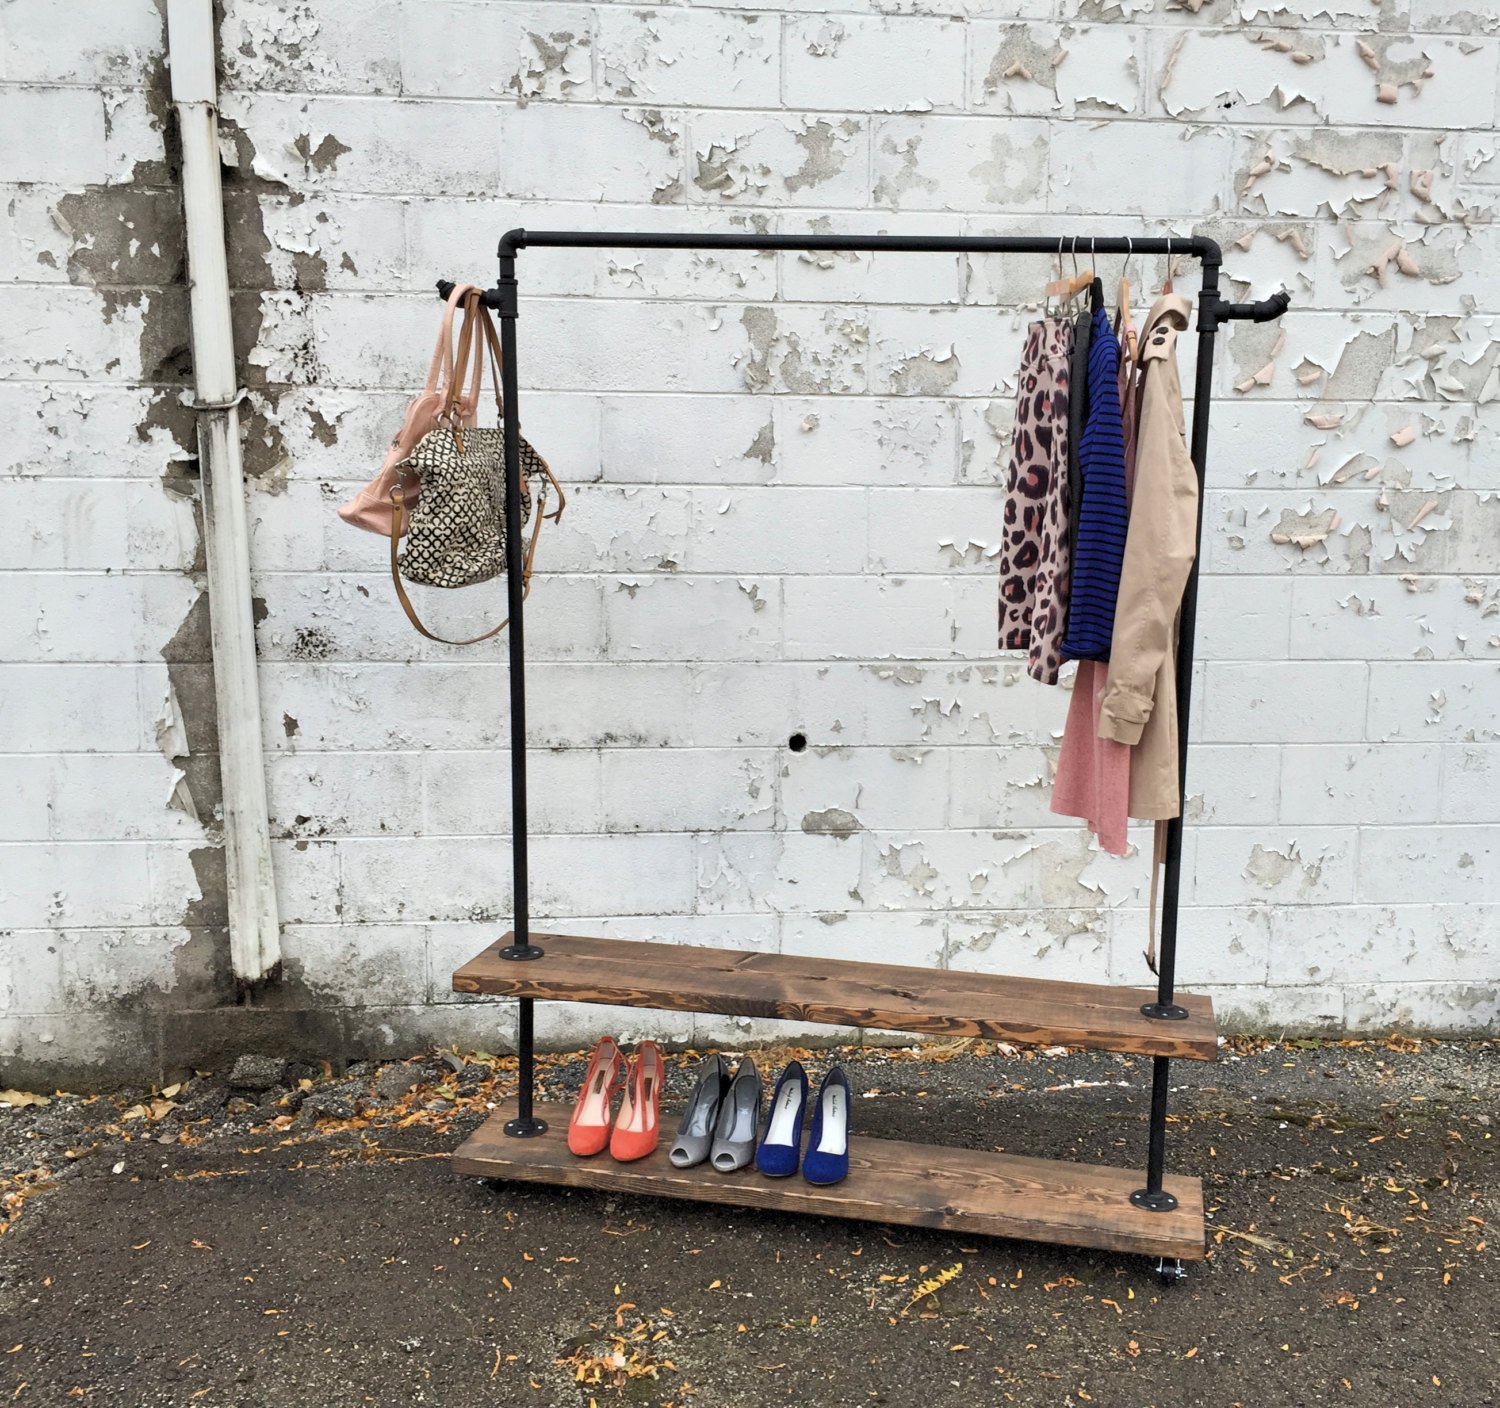
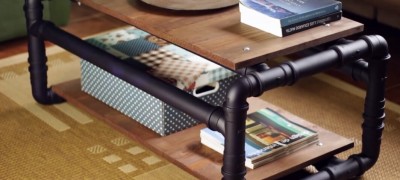
Sometimes, instead of a flat stand, the hanger has a tubular base in the form of a rectangular frame. As a rule, such products involve the presence of two vertical U-shaped ones. The frames are first installed in the grooves on the base pipes, and then they are connected with crossbeams to each other. The rest of the frame hangers have a similar assembly procedure.
Wall board with hooks
You will need: a wooden board, hooks with holes for screws at a flat base, brackets.
A chipboard board is not a reliable material for screws under a constantly changing load.
Instructions:
- On the wall, a line is measured for installing the board and points for drilling under the brackets are marked.
- Brackets are installed. A board is placed on them and rigidly fixed.
- The hooks are attached to the board with furniture screws.
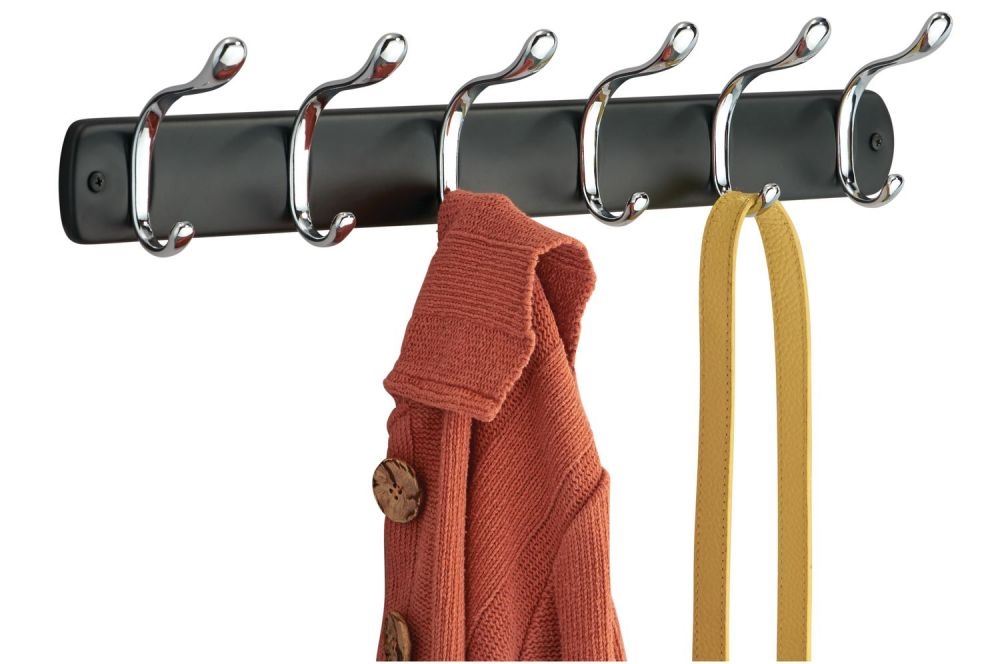
Often, for convenience, craftsmen first install hooks on the board and only then put it on the brackets. This is fraught with various minor troubles in the form of intersecting the base of the hooks with the brackets or the lost geometry of the hook line.
Video: how to make a stylish and unusual hanger yourself


