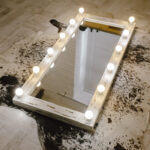
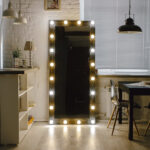
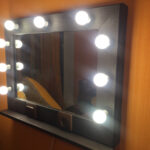
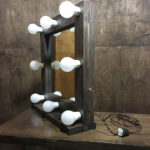
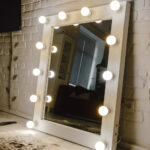
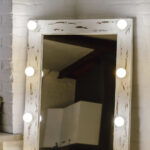
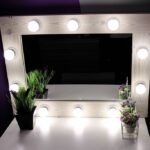
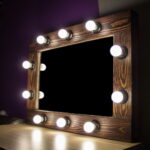
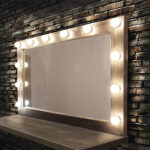
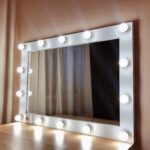
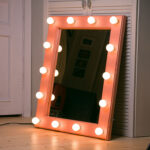
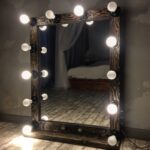
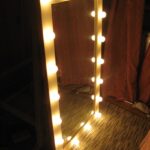
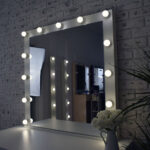
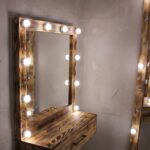
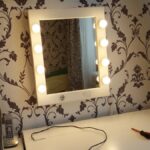
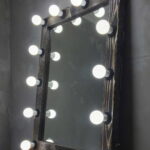
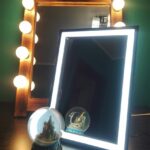
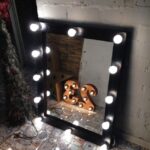
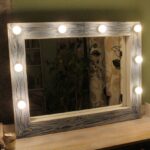
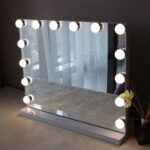
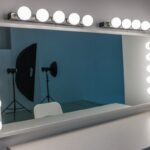
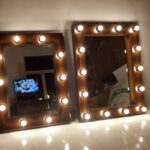
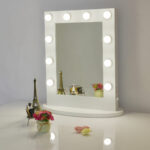
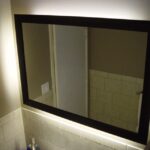
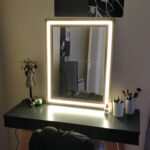
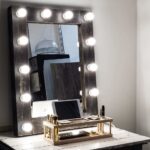
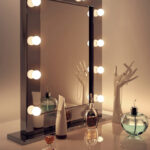
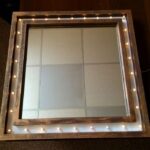
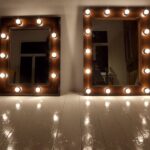
Making a backlit mirror with your own hands
The illuminated mirror is one of the most popular home furnishings. Thanks to him, you can perform the perfect make-up. Most often it is hung in the bathroom, but it can also be part of the dressing table.
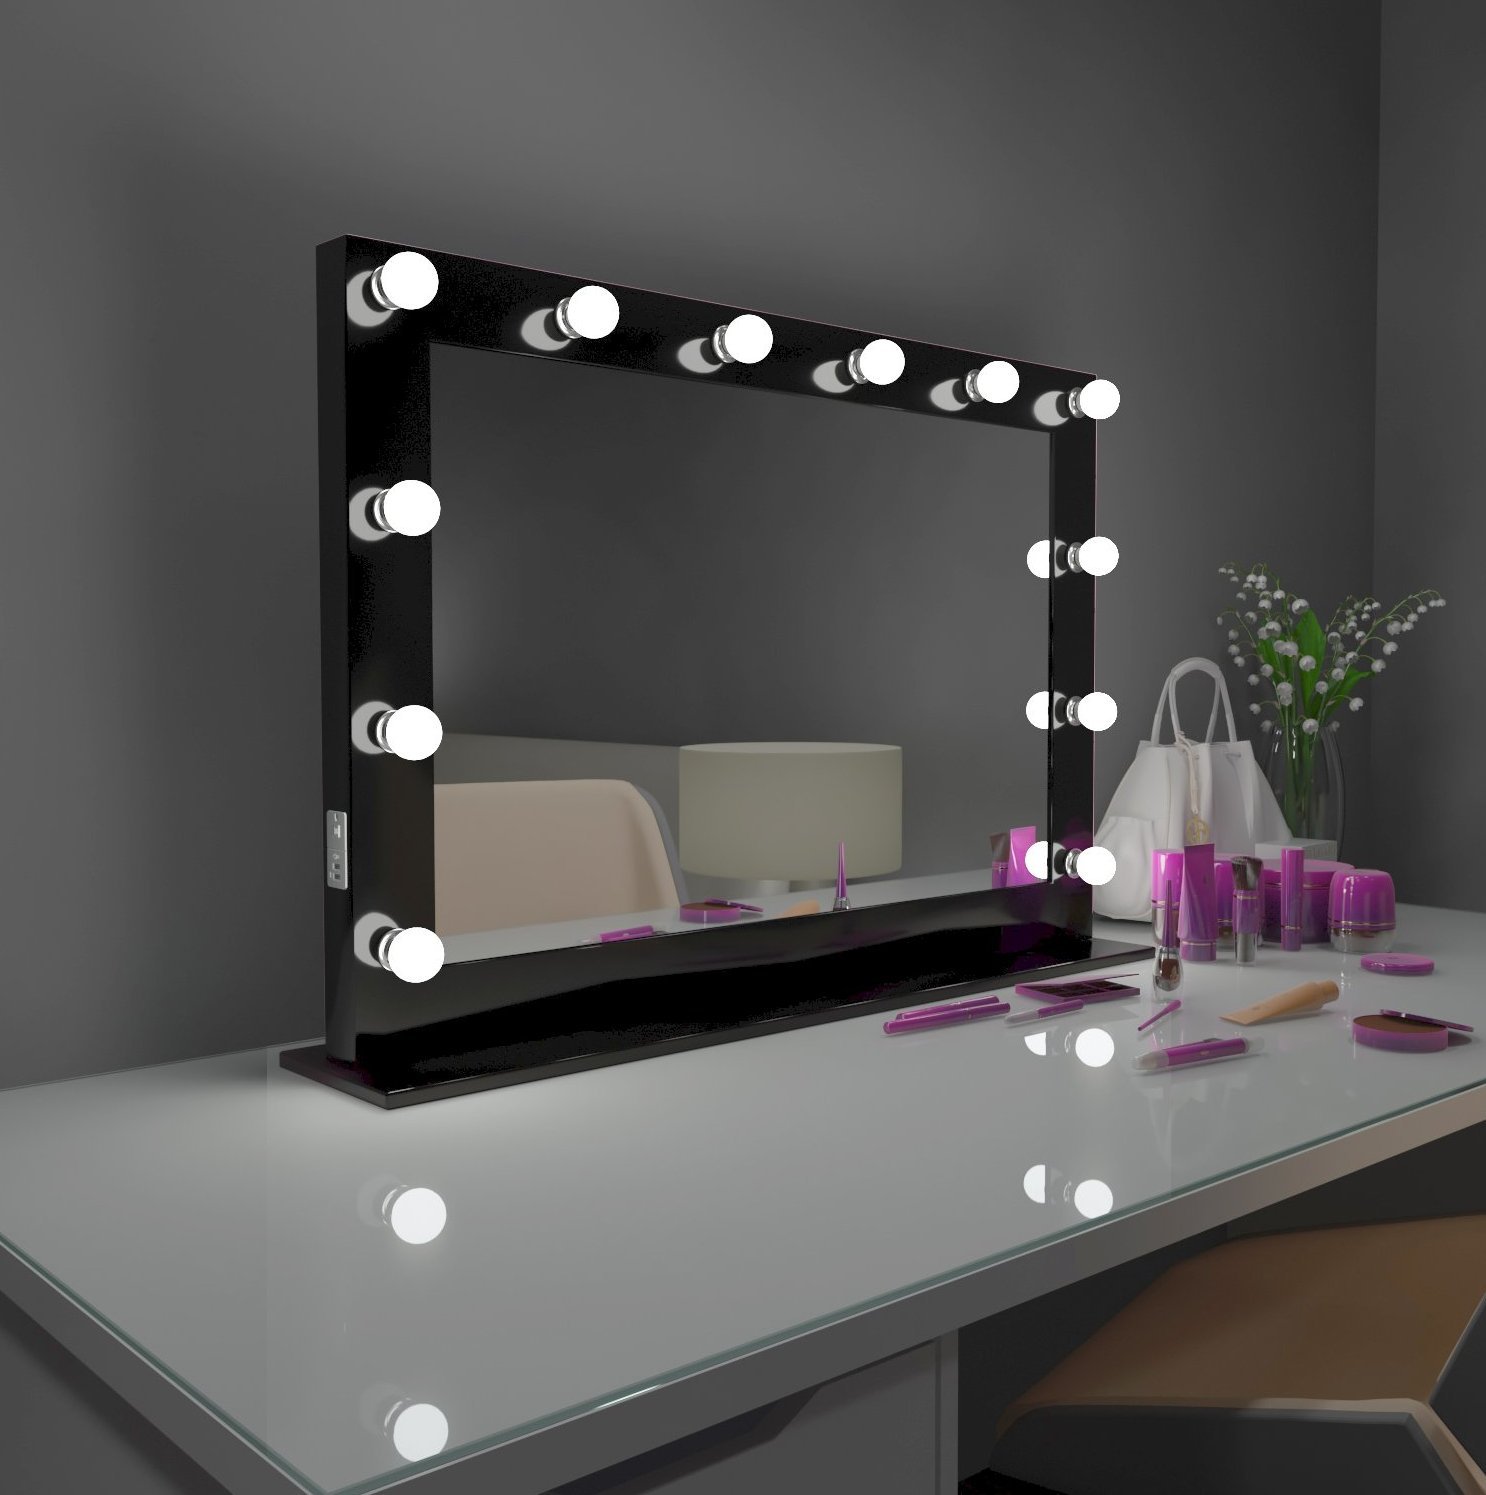
Illumination functionality on the mirror
The mirror can visually expand the parameters of the room. Thanks to him, the room will visually become larger and much more attractive. It can illuminate, reflect and serve as a decoration. Also, the product performs two more functions that are worth paying attention to.
Decorative
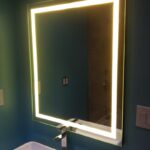
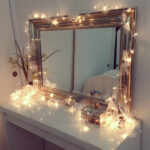
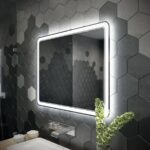
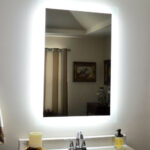
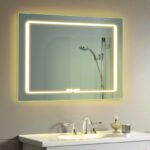
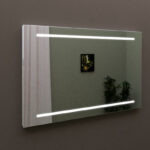
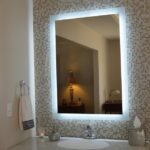
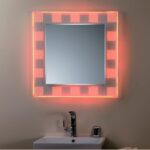
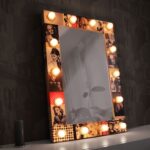
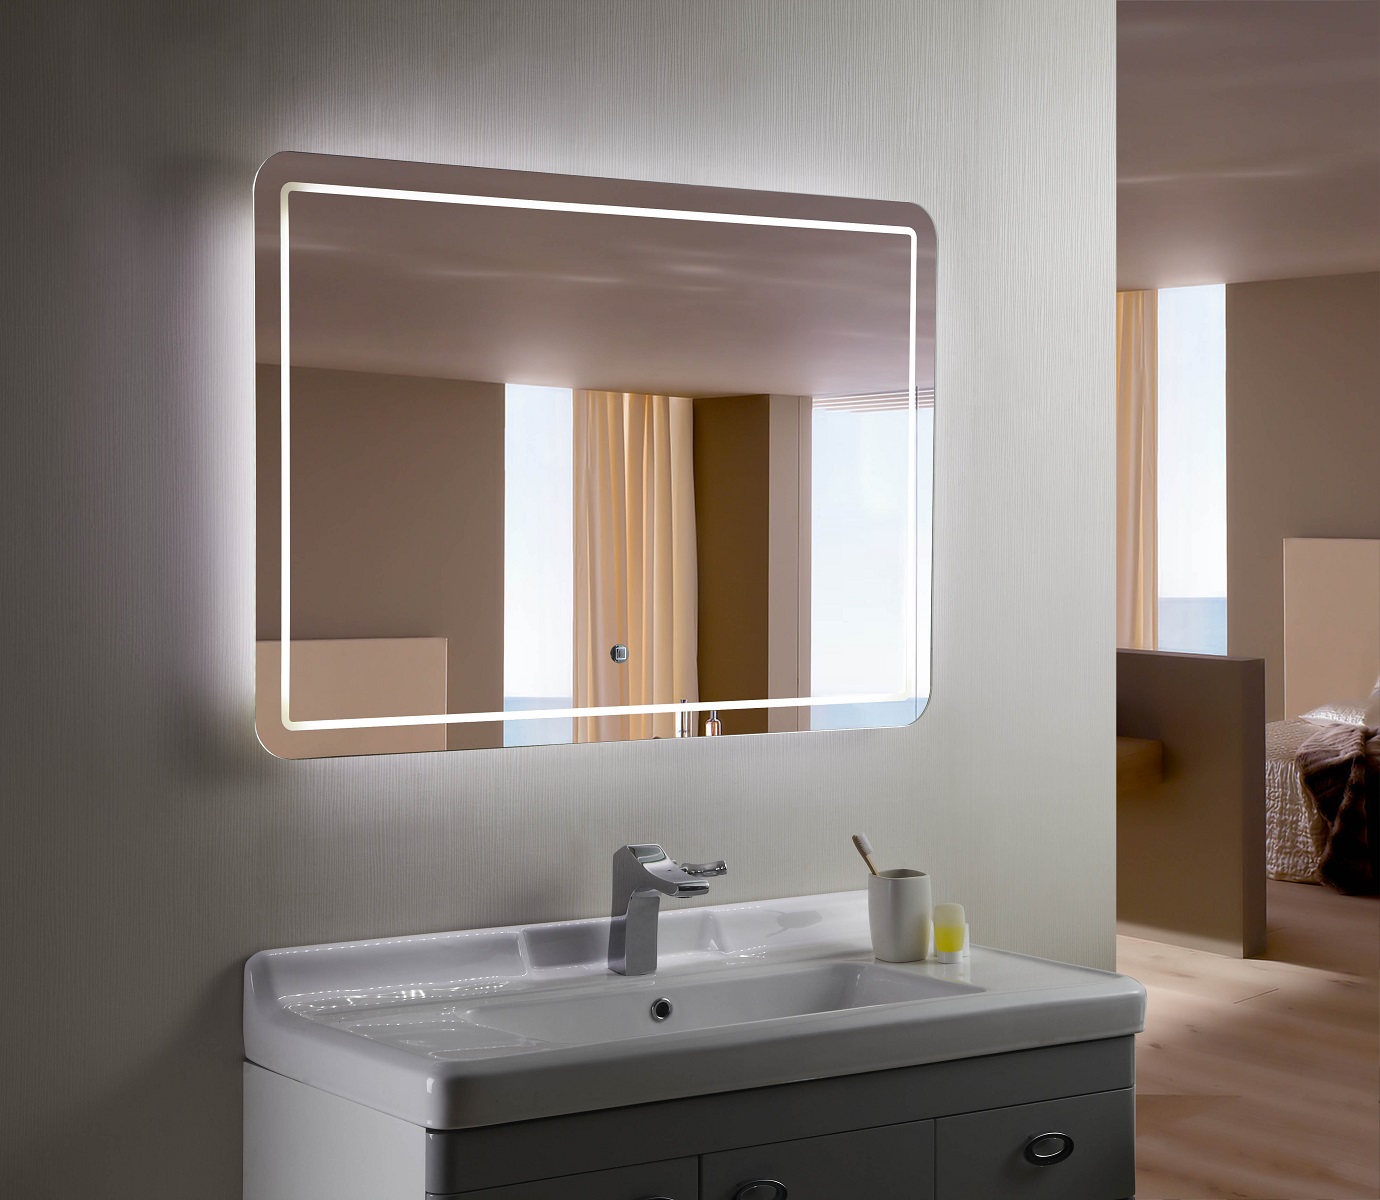
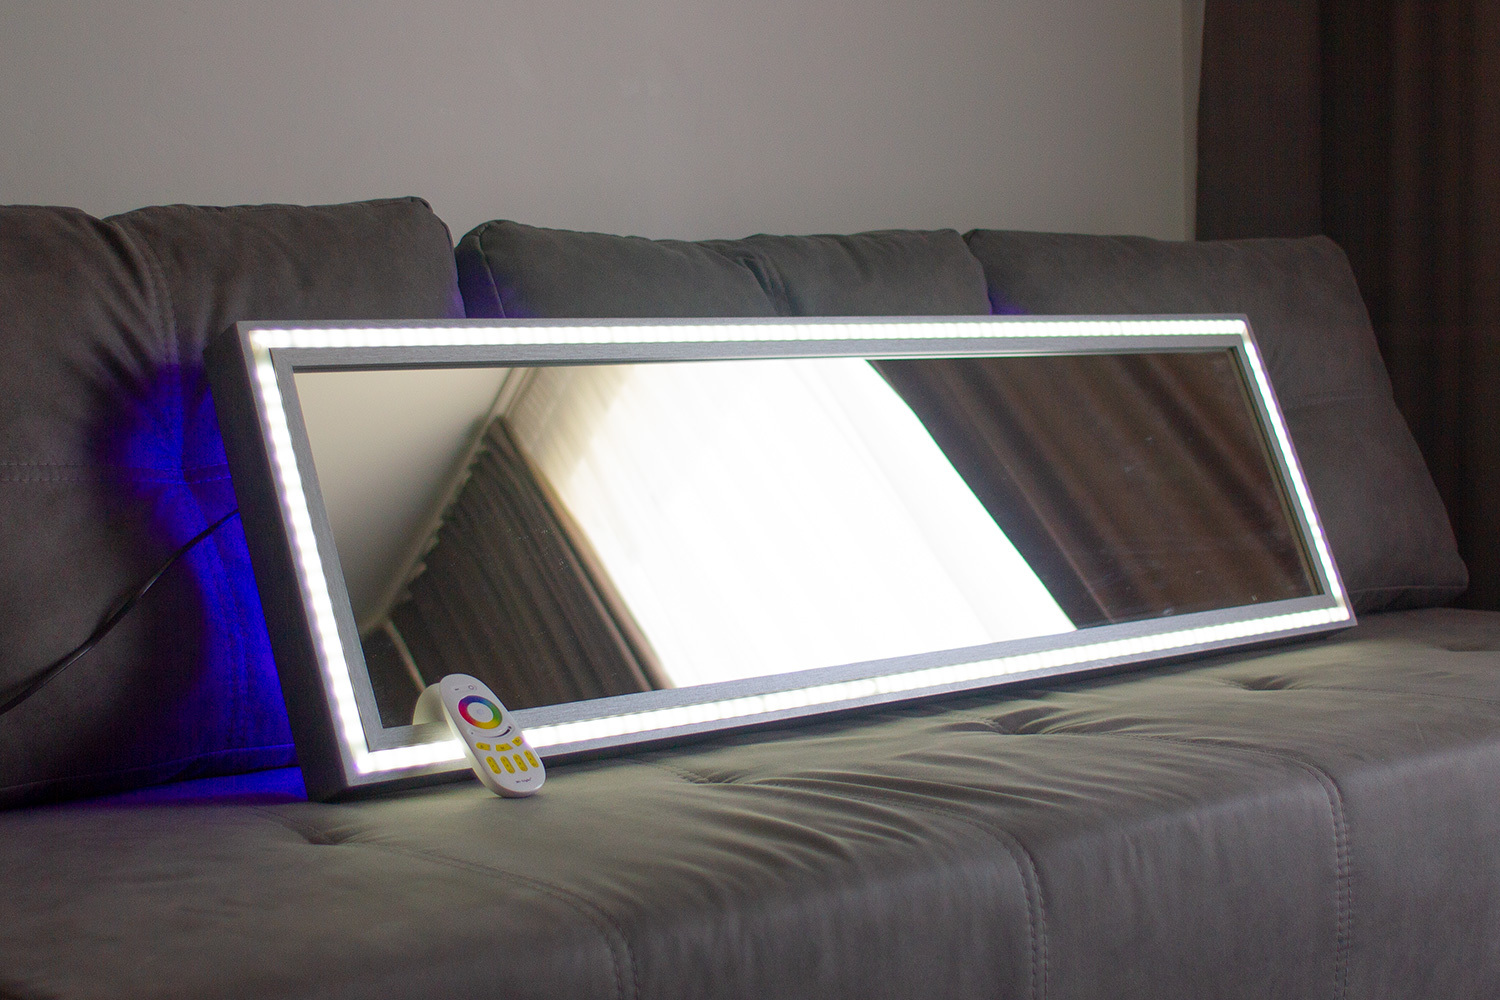
The main task of this function is to complement the style of the room. This option does not guarantee high-quality lighting, but it can add a touch of romance. The LED strip is located around the entire perimeter of the bezel. They can be of various colors and shapes. Also, it can be turned off at any time, due to this it is possible to avoid distorted reflection.
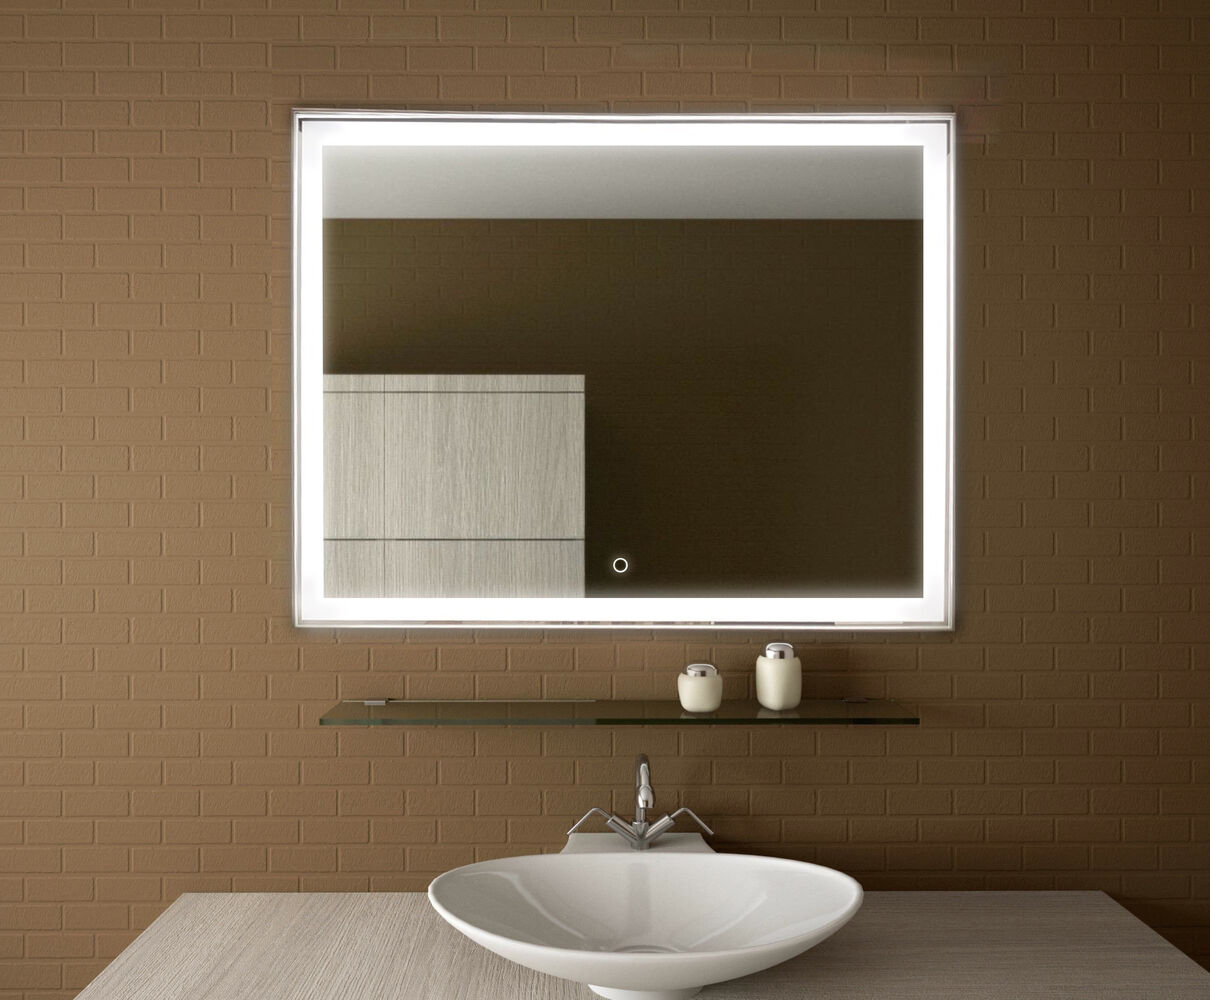
In this version, the light is scattered not on the person, but on the wall. Therefore, it is optimal to use it in a room where there is already enough light. The mirror sheet serves only as a decoration.
For makeup
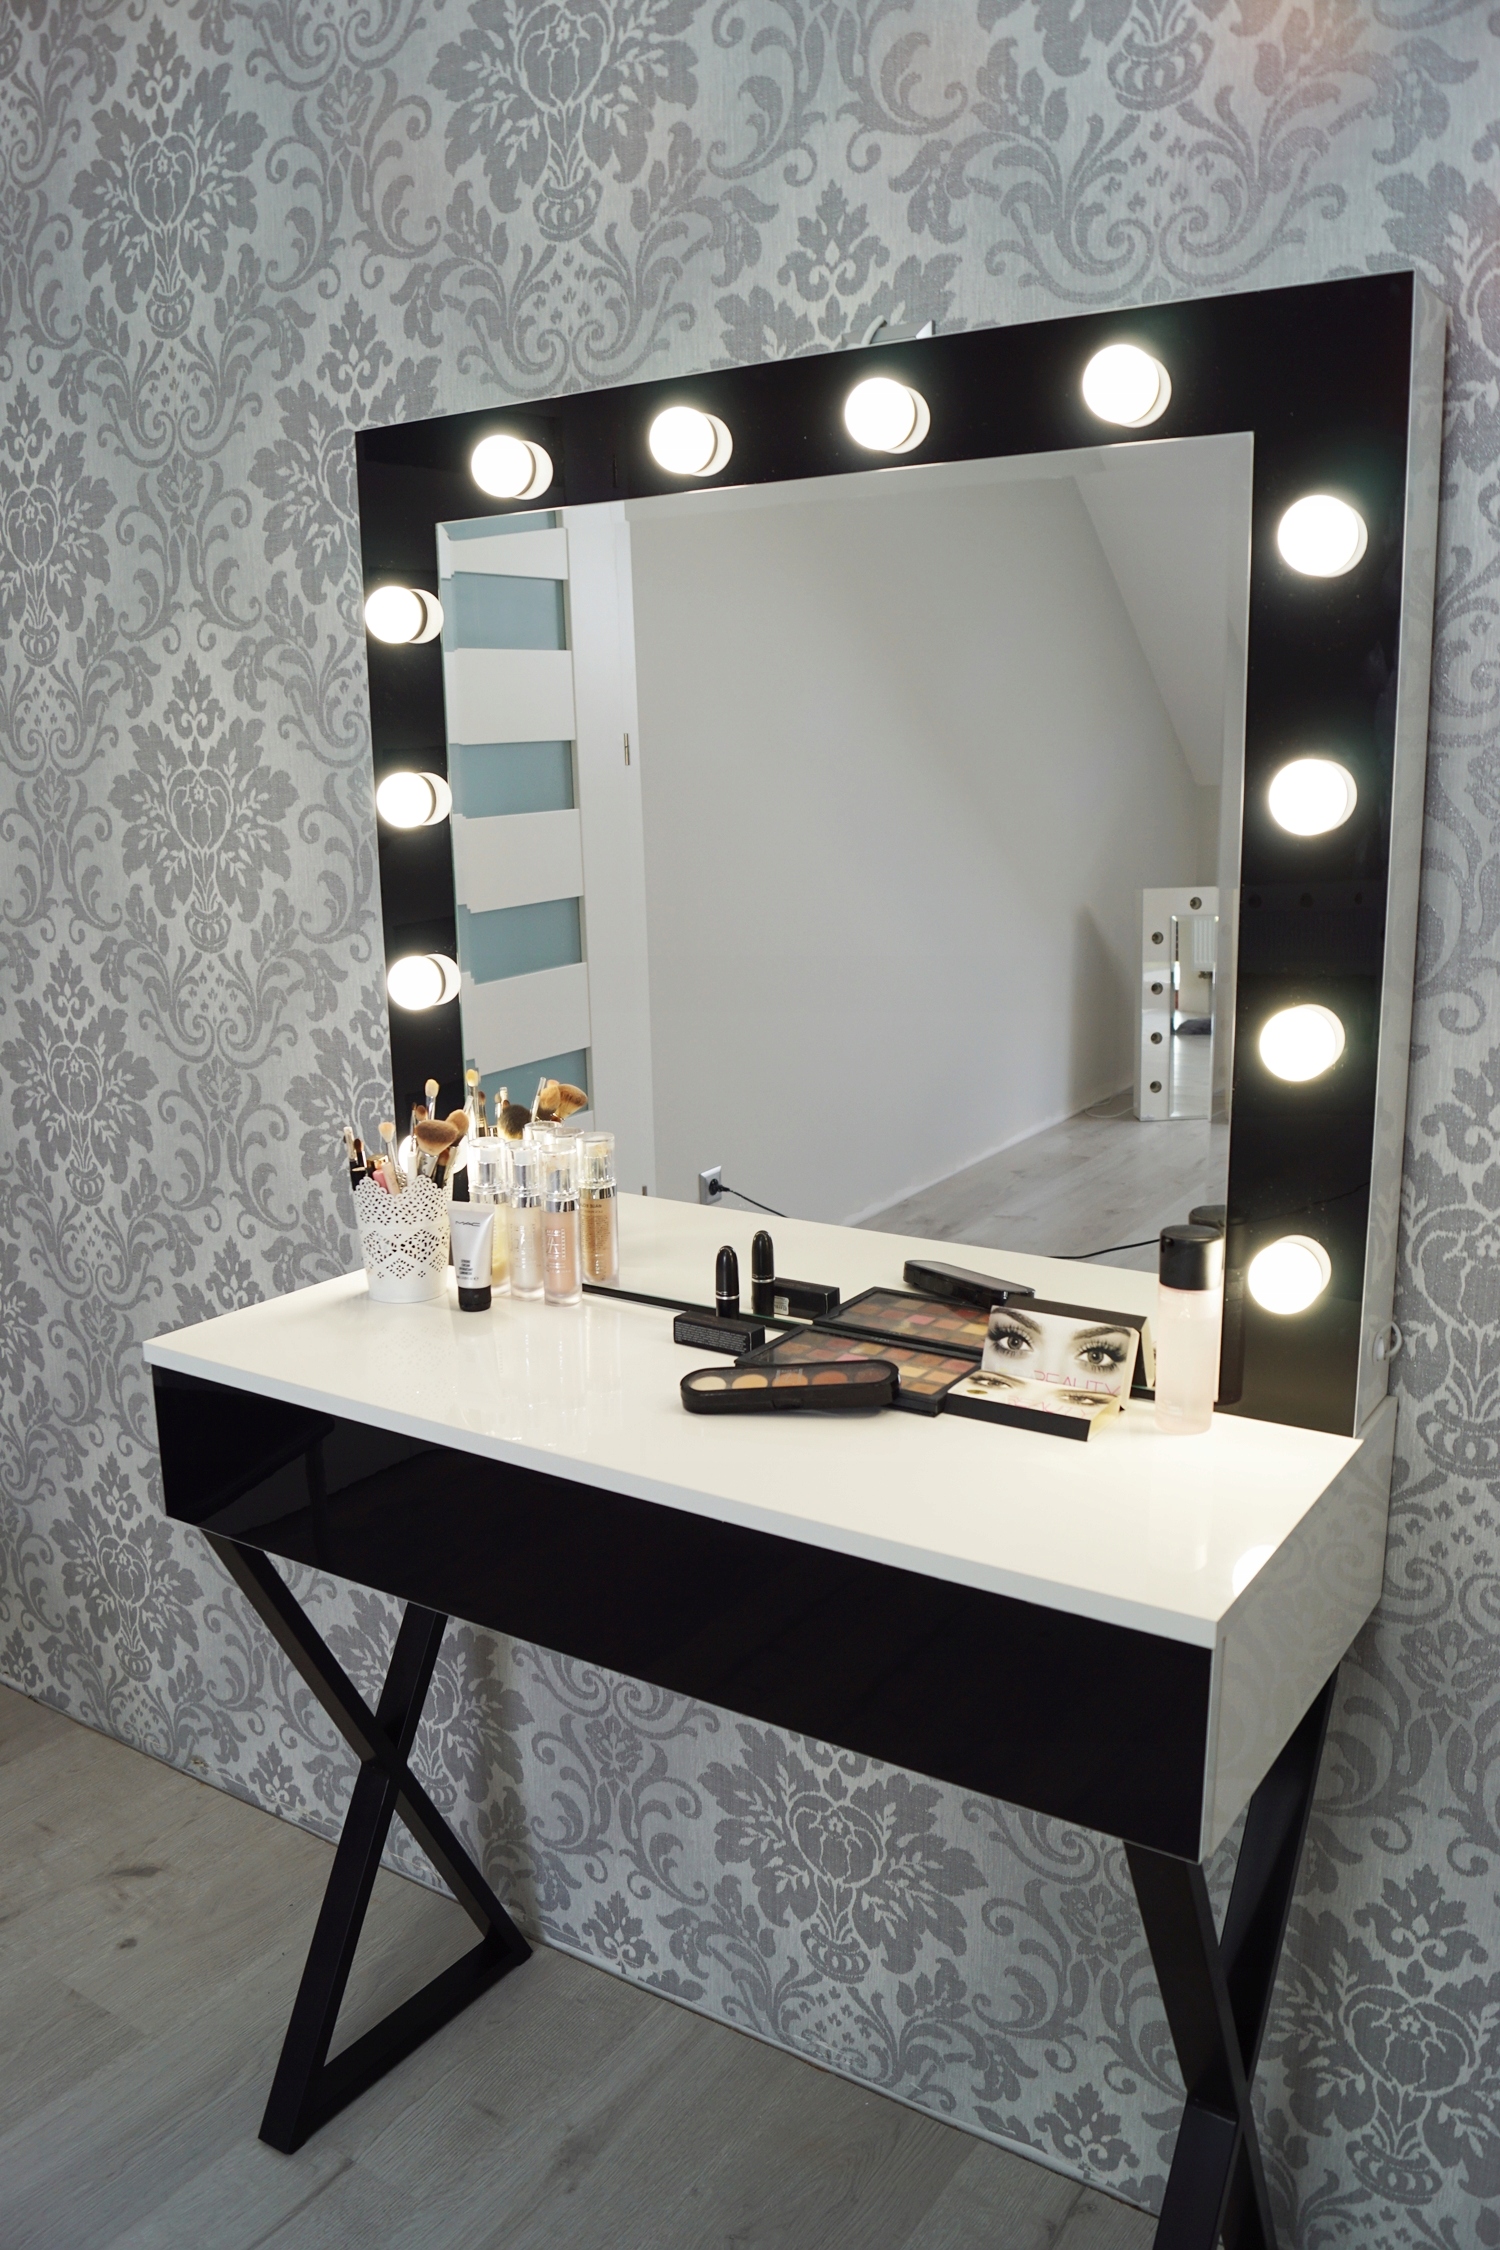
In this version, the main task of the mirror canvas is to correctly convey all the details of the human canvas. A woman should see herself clearly, while not straining her eyes. Too harsh or blurry reflections will result in unsightly makeup.
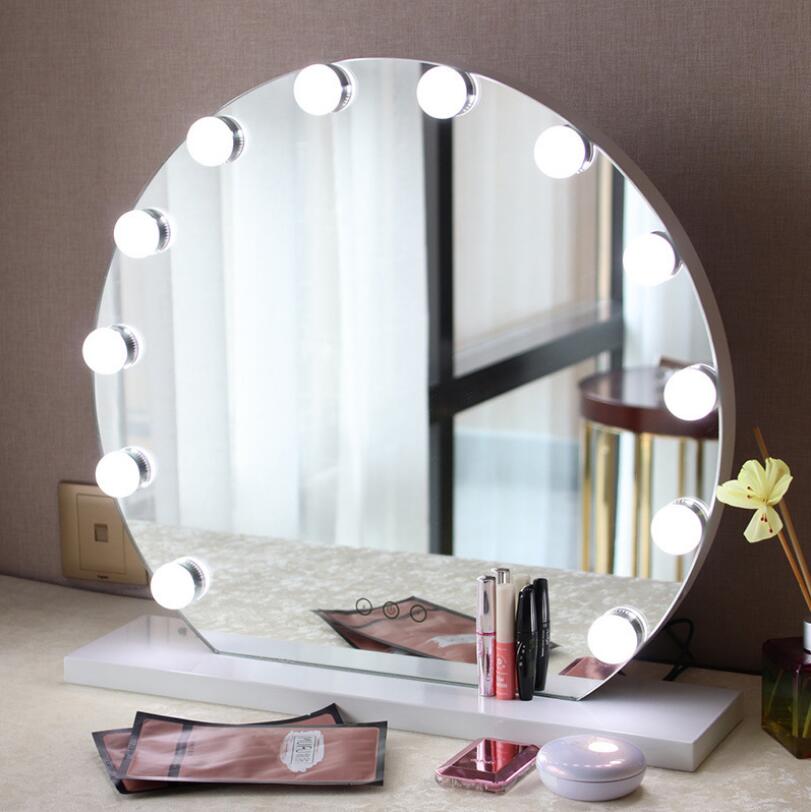
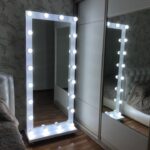
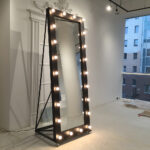
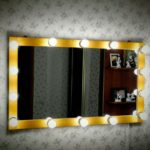
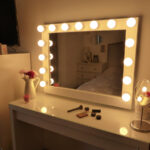
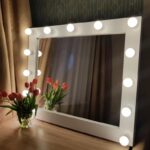
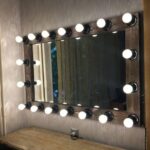
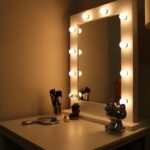
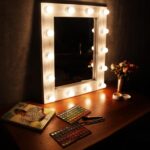
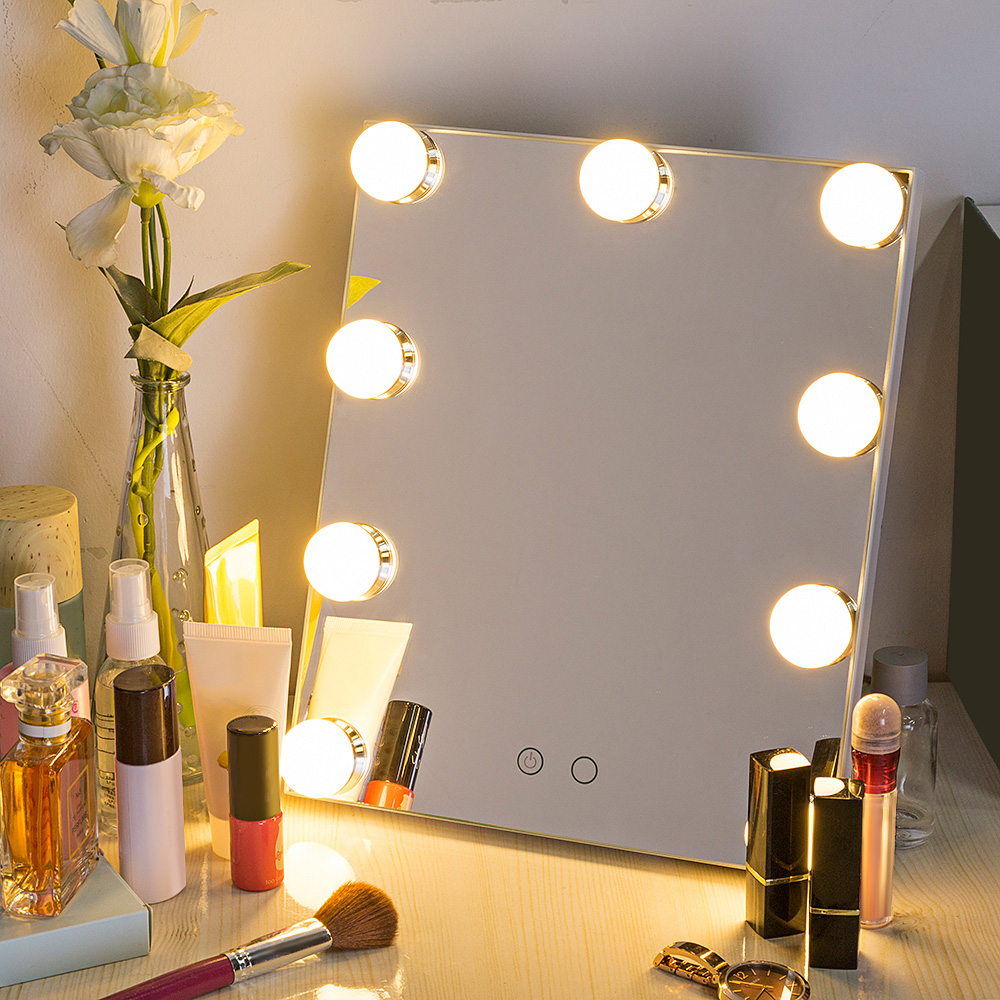
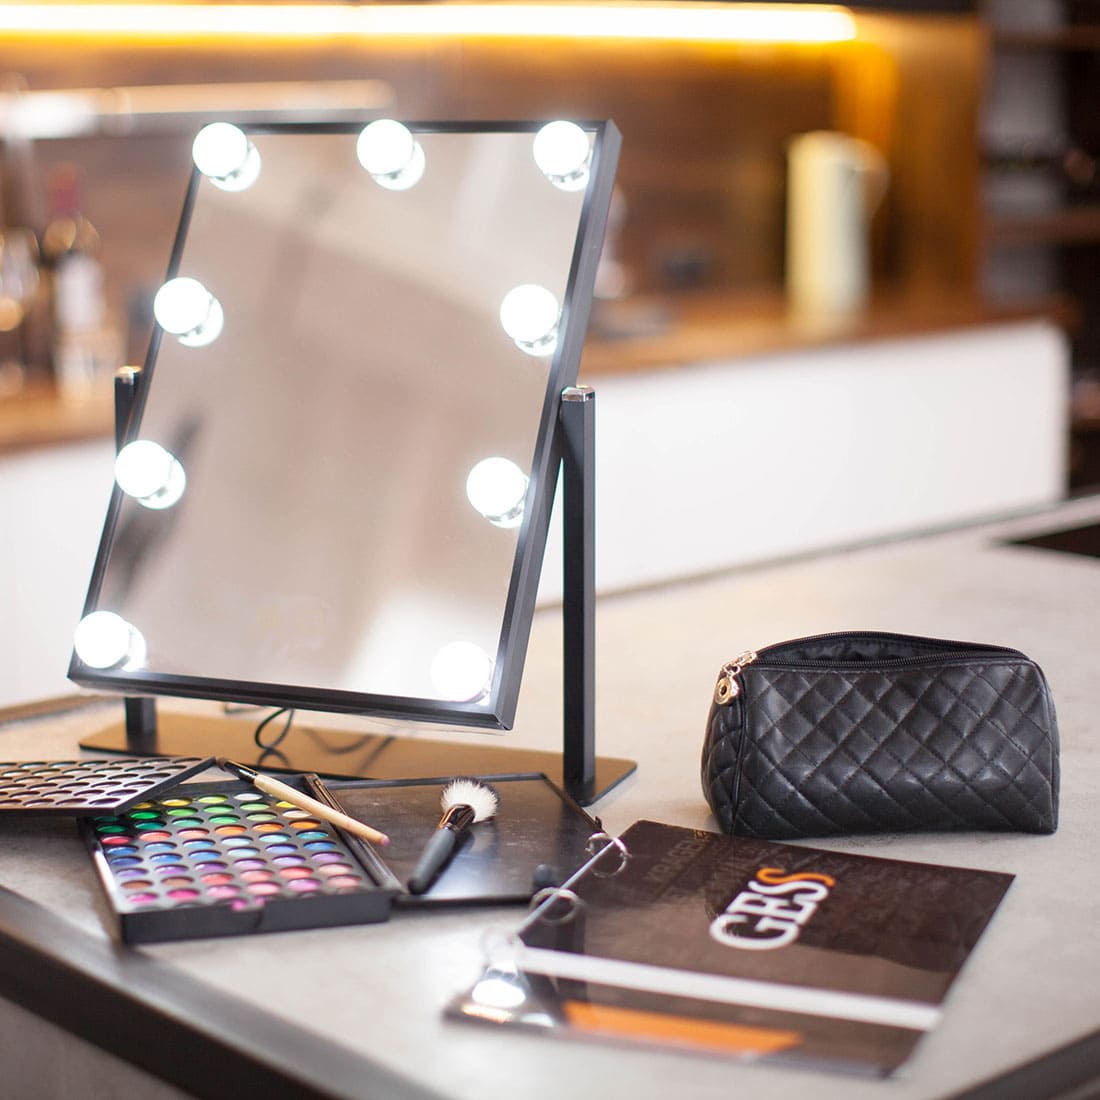
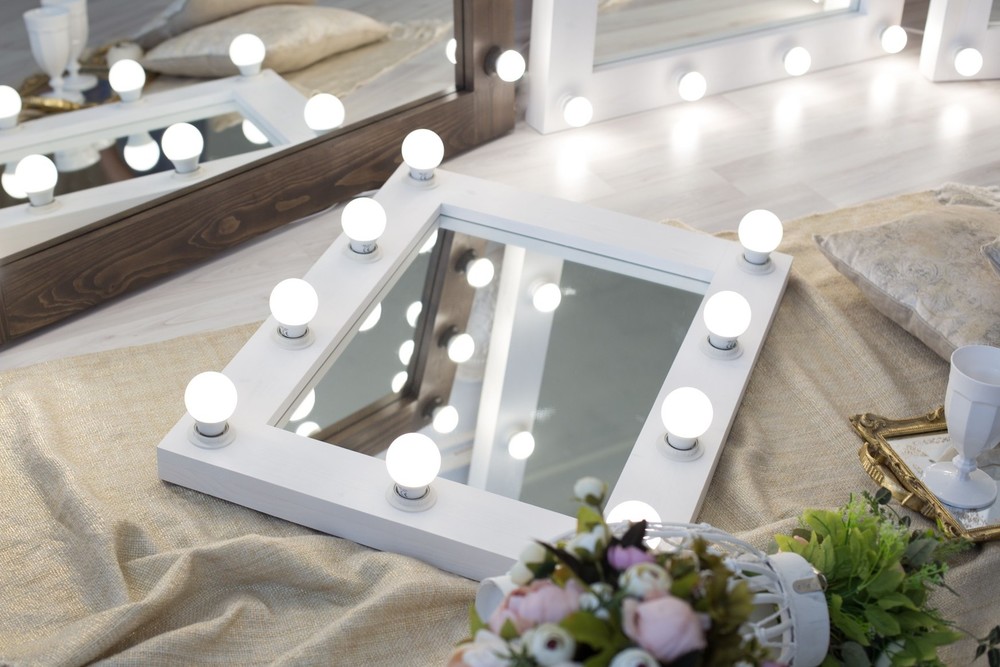
Lamps should be located on three sides. This method is best for performing a flawless make-up. It allows you to examine the face, see not only the positive features that need to be emphasized, but also the negative ones, they should be masked as much as possible. It is recommended to place the LED pointwise on the sides, and install one long lamp in the center. In this case, the backlighting will be just perfect.
Varieties of backlighting
Several types of lamps are used to illuminate the mirror sheet. These include halogen, LED and neon. The former have a long service life, are not afraid of water and may seem too bright. The second ones are considered the most flawless: they do not harm eyesight, are economical and give diffused light. Still others - they are close to natural lighting, durable and economical, but they can start to flicker. It is worth dwelling in more detail on each type.
Halogen lamps
Inside such a product there is an inert gas, and not a vacuum, inside which halogens are placed. The light is soft, even and quite bright. Also, the option applies to energy-saving devices. An important advantage is that all furniture and fabrics are completely protected from fading. The disadvantages include the fact that if the lamp burns for a long time, it will start to get very hot. Therefore, it is advised to purchase lamps with a double bulb.
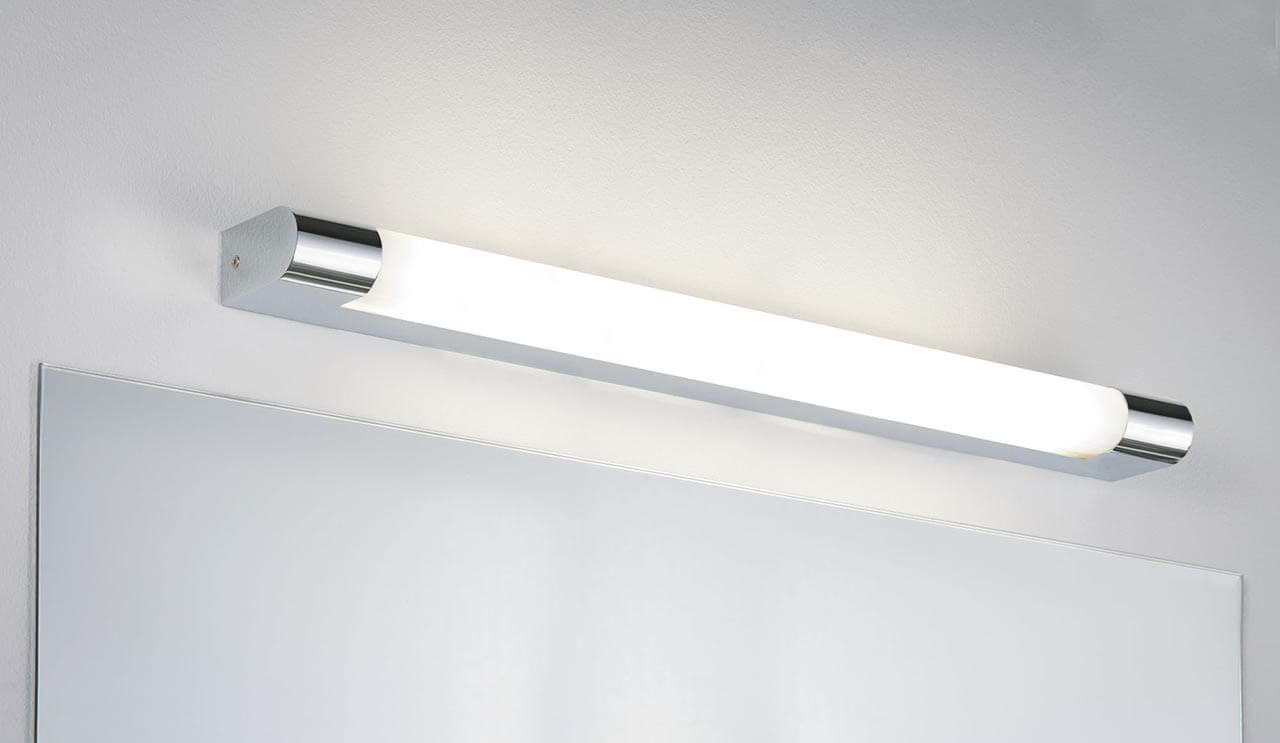
LED lamp
The LED option has a huge number of advantages. It provides uniform illumination, provides the ability to direct the required direction, has a long service life, does not allow fabrics to fade and does not emit harmful ultraviolet light. Such lamps are capable of operating even at low temperatures and vibration. The product is ideal for backlighting and will make the reflection as clear as possible, which will have a positive effect on the girl's appearance.
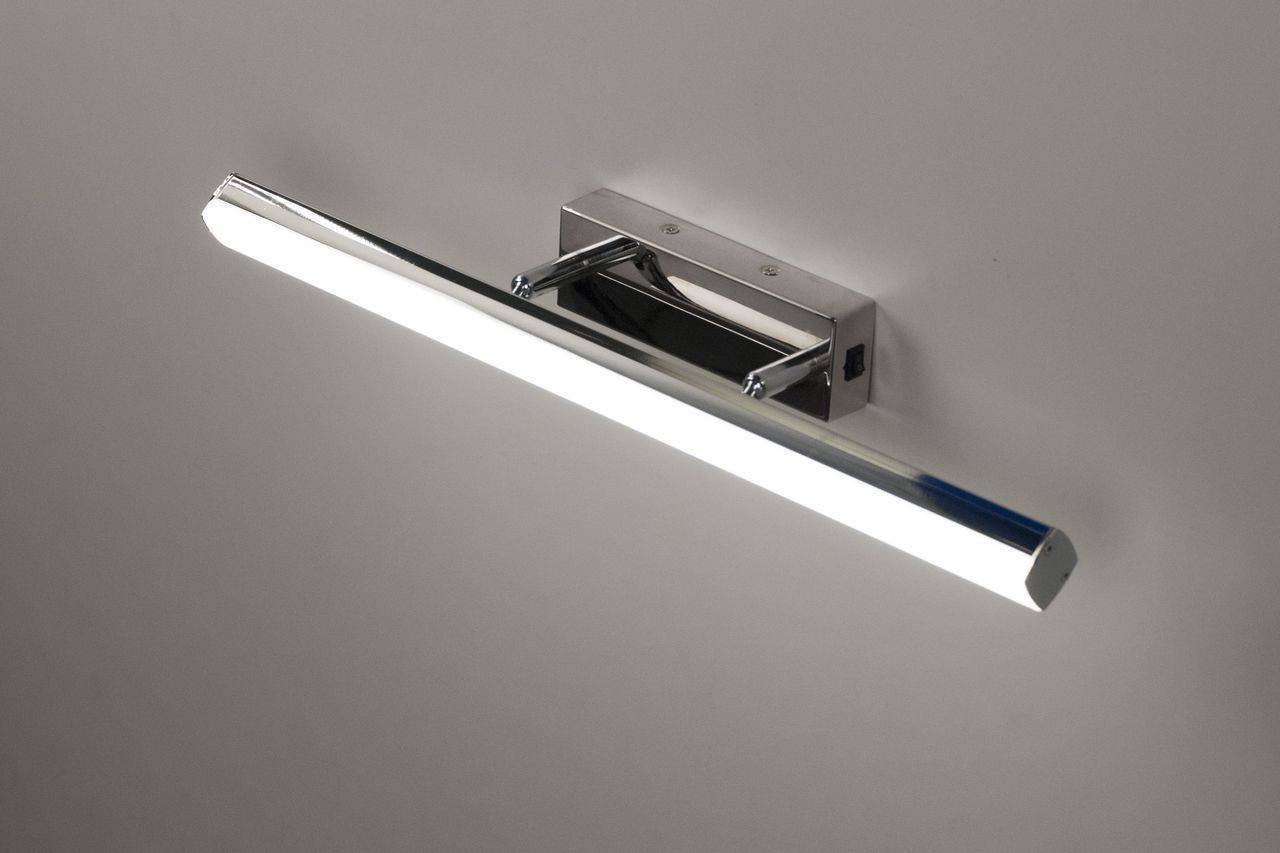
Neon
Their main advantage is bright and catchy light. It is visible from afar, but it does not blind the eyes. It can be of various colors and shades. Does not heat up to high temperatures. At the same time, they are not particularly suitable for applying make-up, rather they play a decorative role. With their help, the room can be given any atmosphere.
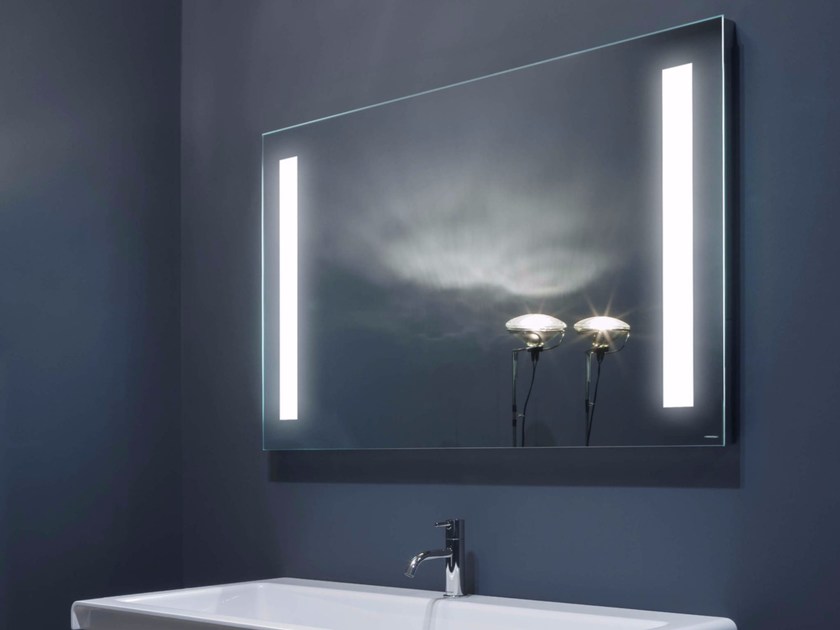
How to properly place lamps on a mirror
Lamps on the mirror can be positioned in different ways based on the function they are supposed to carry. For example, when shaving, styling or applying makeup, the lighting should be frontal.
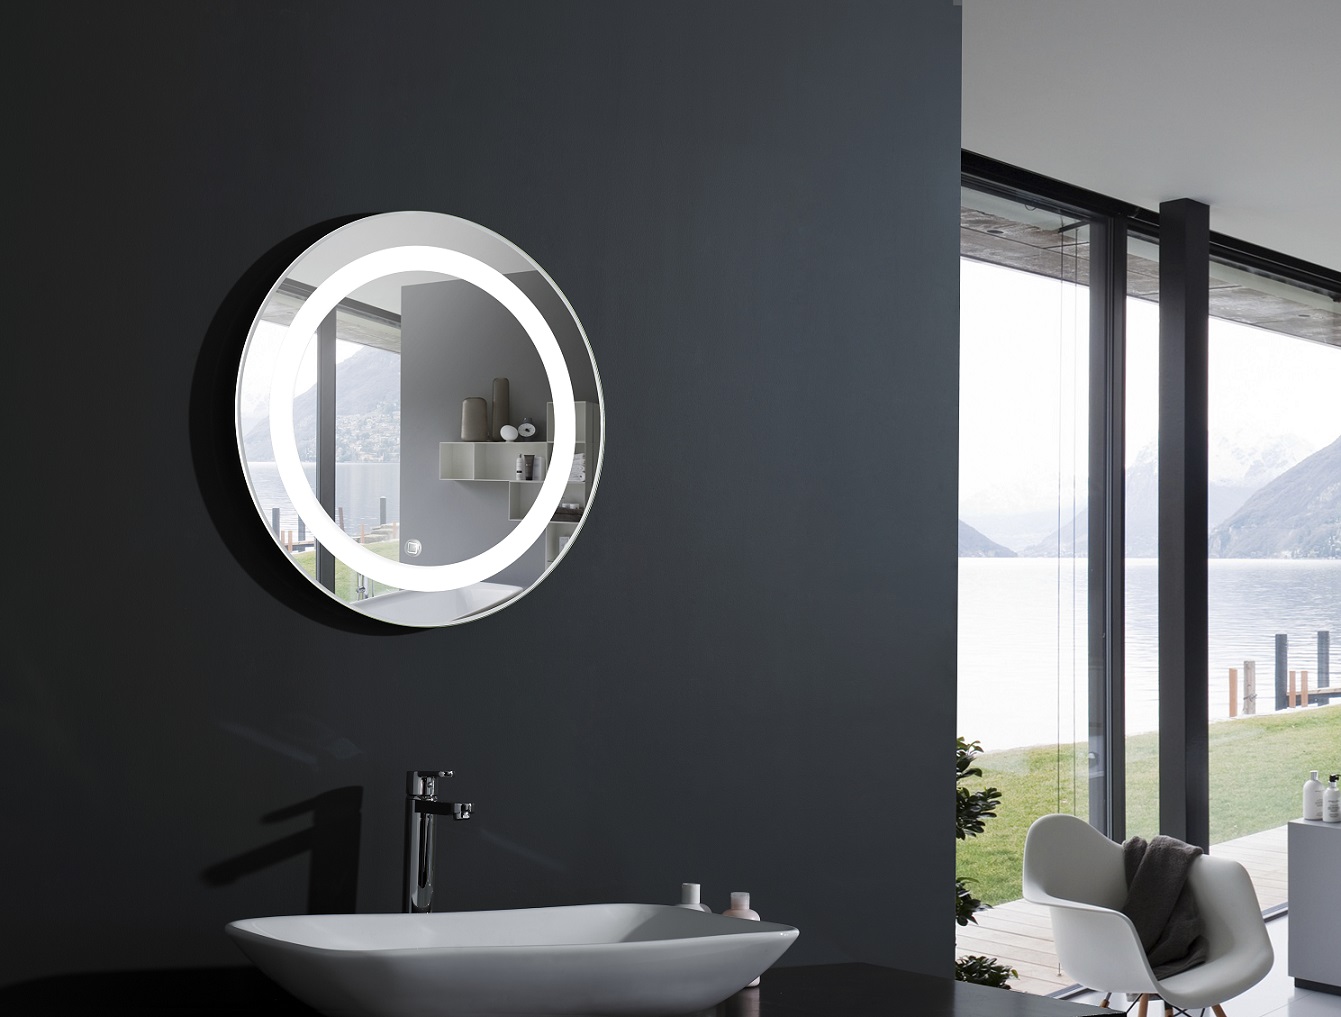
If the lamps are located above the mirror, this option will save space. Situated on the sides will provide natural light. The brightness emanating from the LEDs reduces eye strain, as there is no need to peer into your reflection in order to carefully examine it. The light should not blind a person, but at the same time it must illuminate the work surface well.
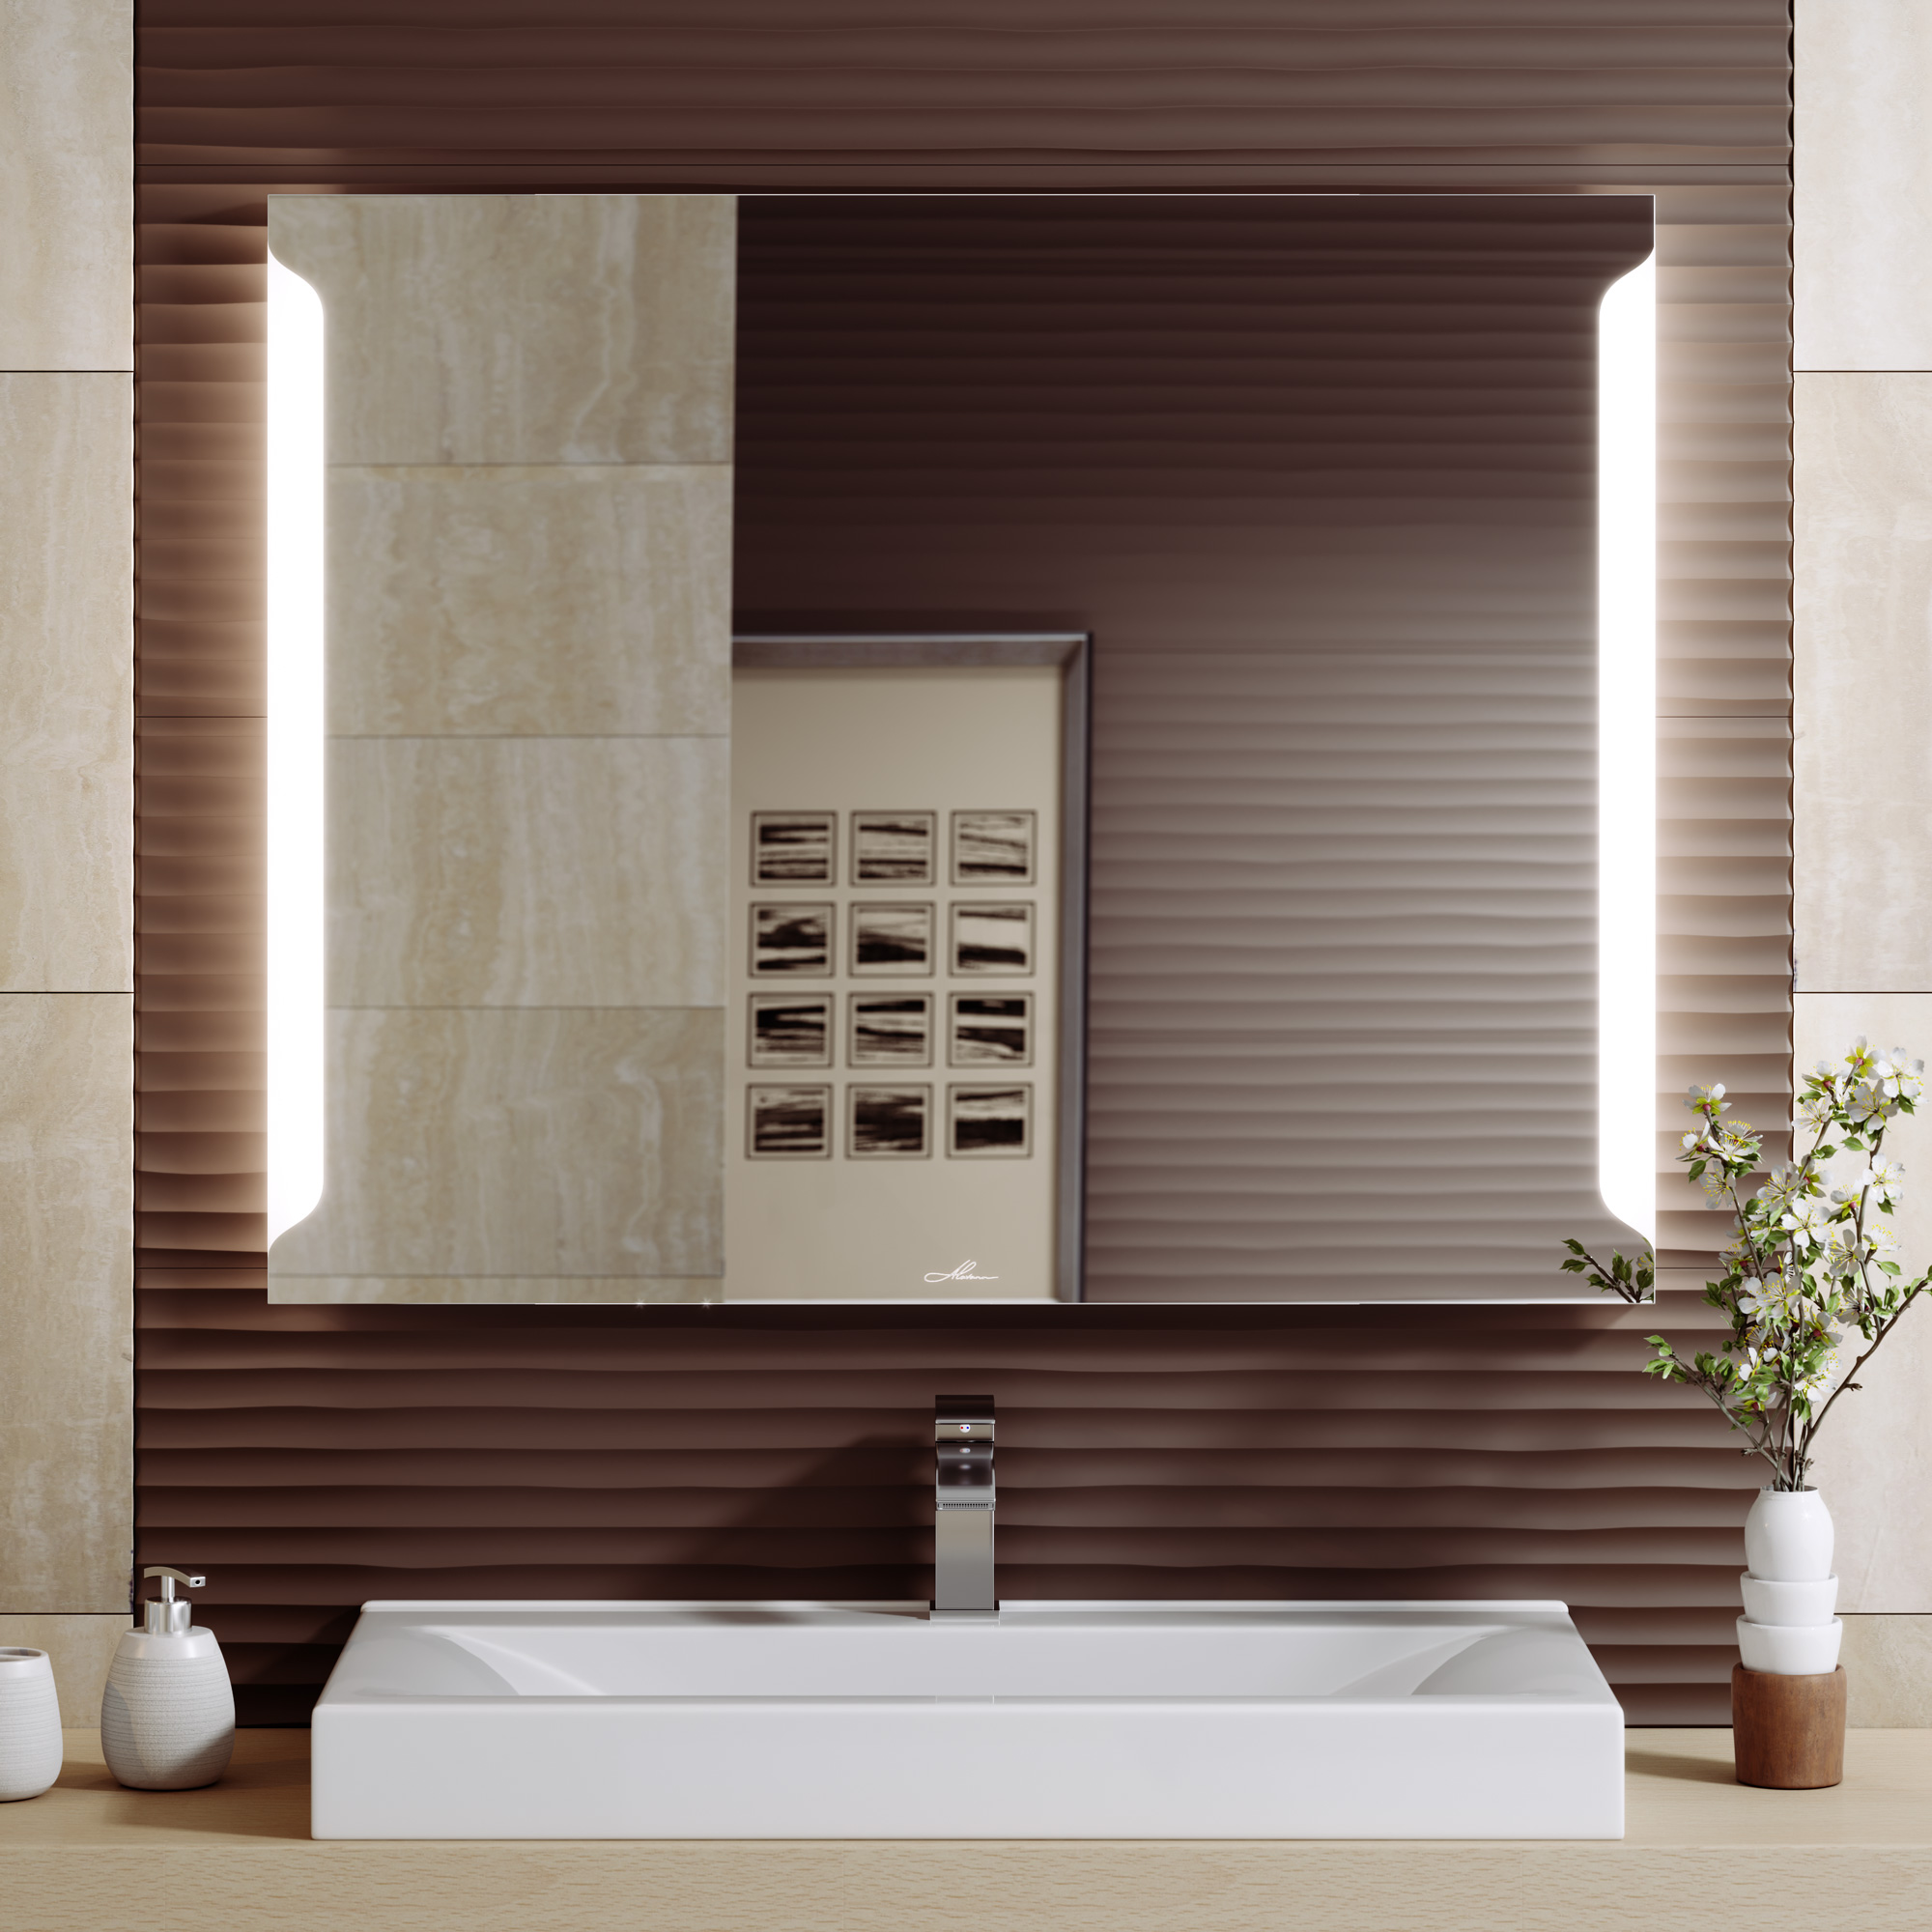
When placing the luminaires, it is worth considering the shape and size of the mirror sheet:
- If it is small, then a pair of sconces is perfect. Their location must be performed symmetrically relative to the product frame. They are able to highlight the contours of the face and get rid of possible shadows.
- In the presence of a wide plane, it is advised to opt for several lamps located a couple of meters from the floor. They can be wall-mounted or hanging from the ceiling.
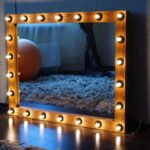
- On a medium-sized mirror, it is best to place light bulbs around the perimeter of its frame. If a fluorescent version is used, then the luminaire should be in the top center.
Additional Information! For products of a round or oval shape, LED lamps are optimal. If the mirror sheet is in a niche, then it is better to give preference to directional lighting. When you want the light to be more diffused, it is recommended to use white shades.
How to make a backlit mirror
To make a backlit mirror with your own hands, you will need the mirror sheet itself, material for making the frame, fasteners, surface degreaser, glue, power supply, lamps and connecting elements, a grinding machine or sandpaper.
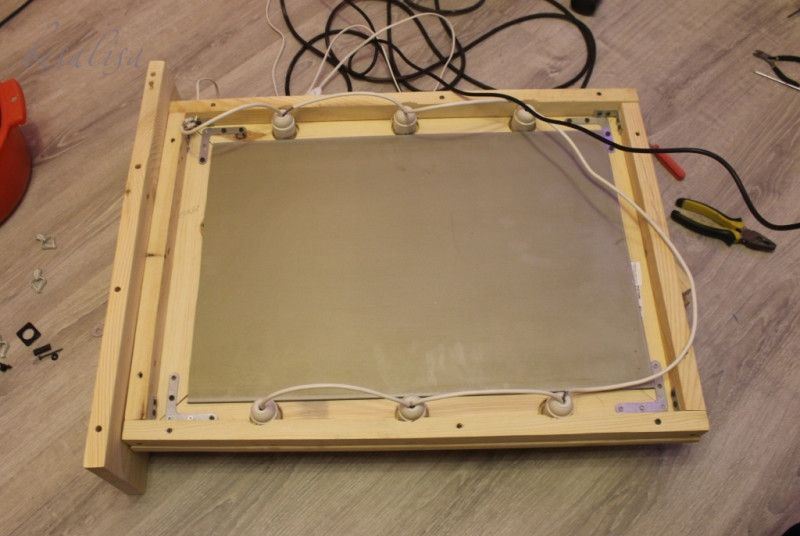
You can choose one of three types of material for the frame:
- Wood - has durability, strength, reliability, is environmentally friendly.
- MDF - has an attractive appearance, reliability and durability.
- Particleboard - the advantages include easy and simple installation, low cost and low weight.
Making a frame is a painstaking, but in principle not complicated process. First of all, the blocks are prepared (it is ideal to take a ready-made version with grooves, purchased at a furniture store). At this stage, they are processed with furniture varnish or protective paint.
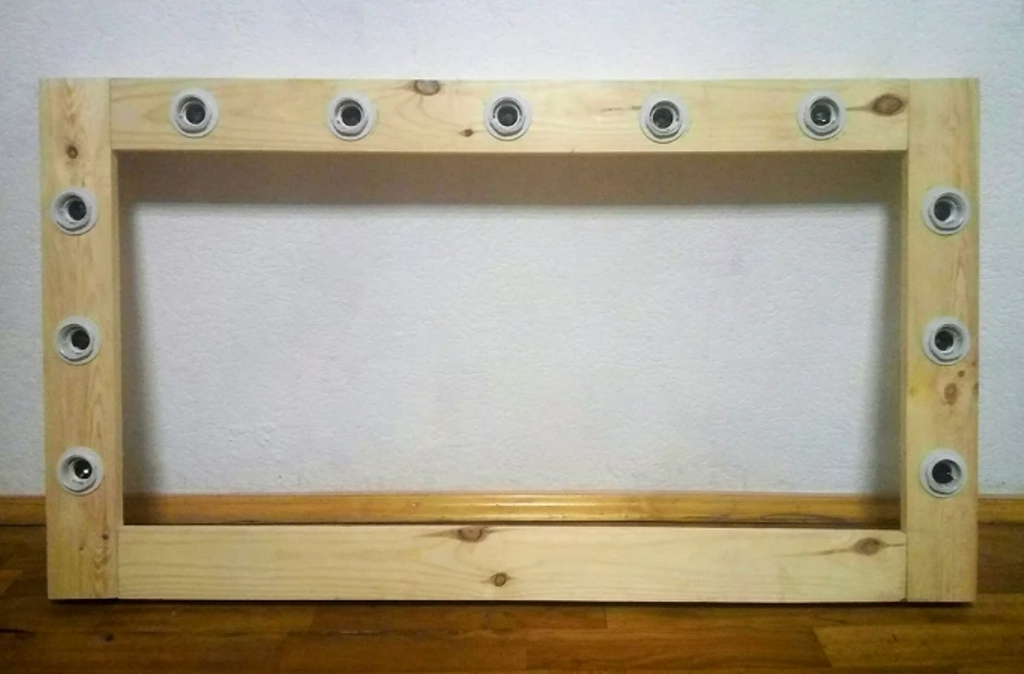
Then a mirror glass is attached to the fabricated frame. This can be done with glue. If it will be hung on the wall, then it is immediately advised to provide for fastening methods (hooks, loops, etc.). Fixation methods should be considered even if it will be mounted on a makeup table.
Note! It is worth remembering that before starting fastening with glue, all surfaces must be degreased. Otherwise, if the product will be in the bathroom, but will lose its reliability in a short period of time.
The required length of the LED strip is marked and fixed in the designated places. After the final drying of the glue, it is assembled into a single circuit in combination with the power supply unit using connectors. The final stage is attaching the finished product to the dressing table, you can also simply hang it on the wall.
Bulb selection
Most often, mirrors for personal use are compact and close to a person. Therefore, the need for too powerful lamps completely disappears, otherwise they will simply dazzle. The ideal option is three and a half watts. For professional makeup, the power should be at least five watts. That is, this criterion completely depends on the parameters of the mirror sheet: the larger it is, the more power should be.
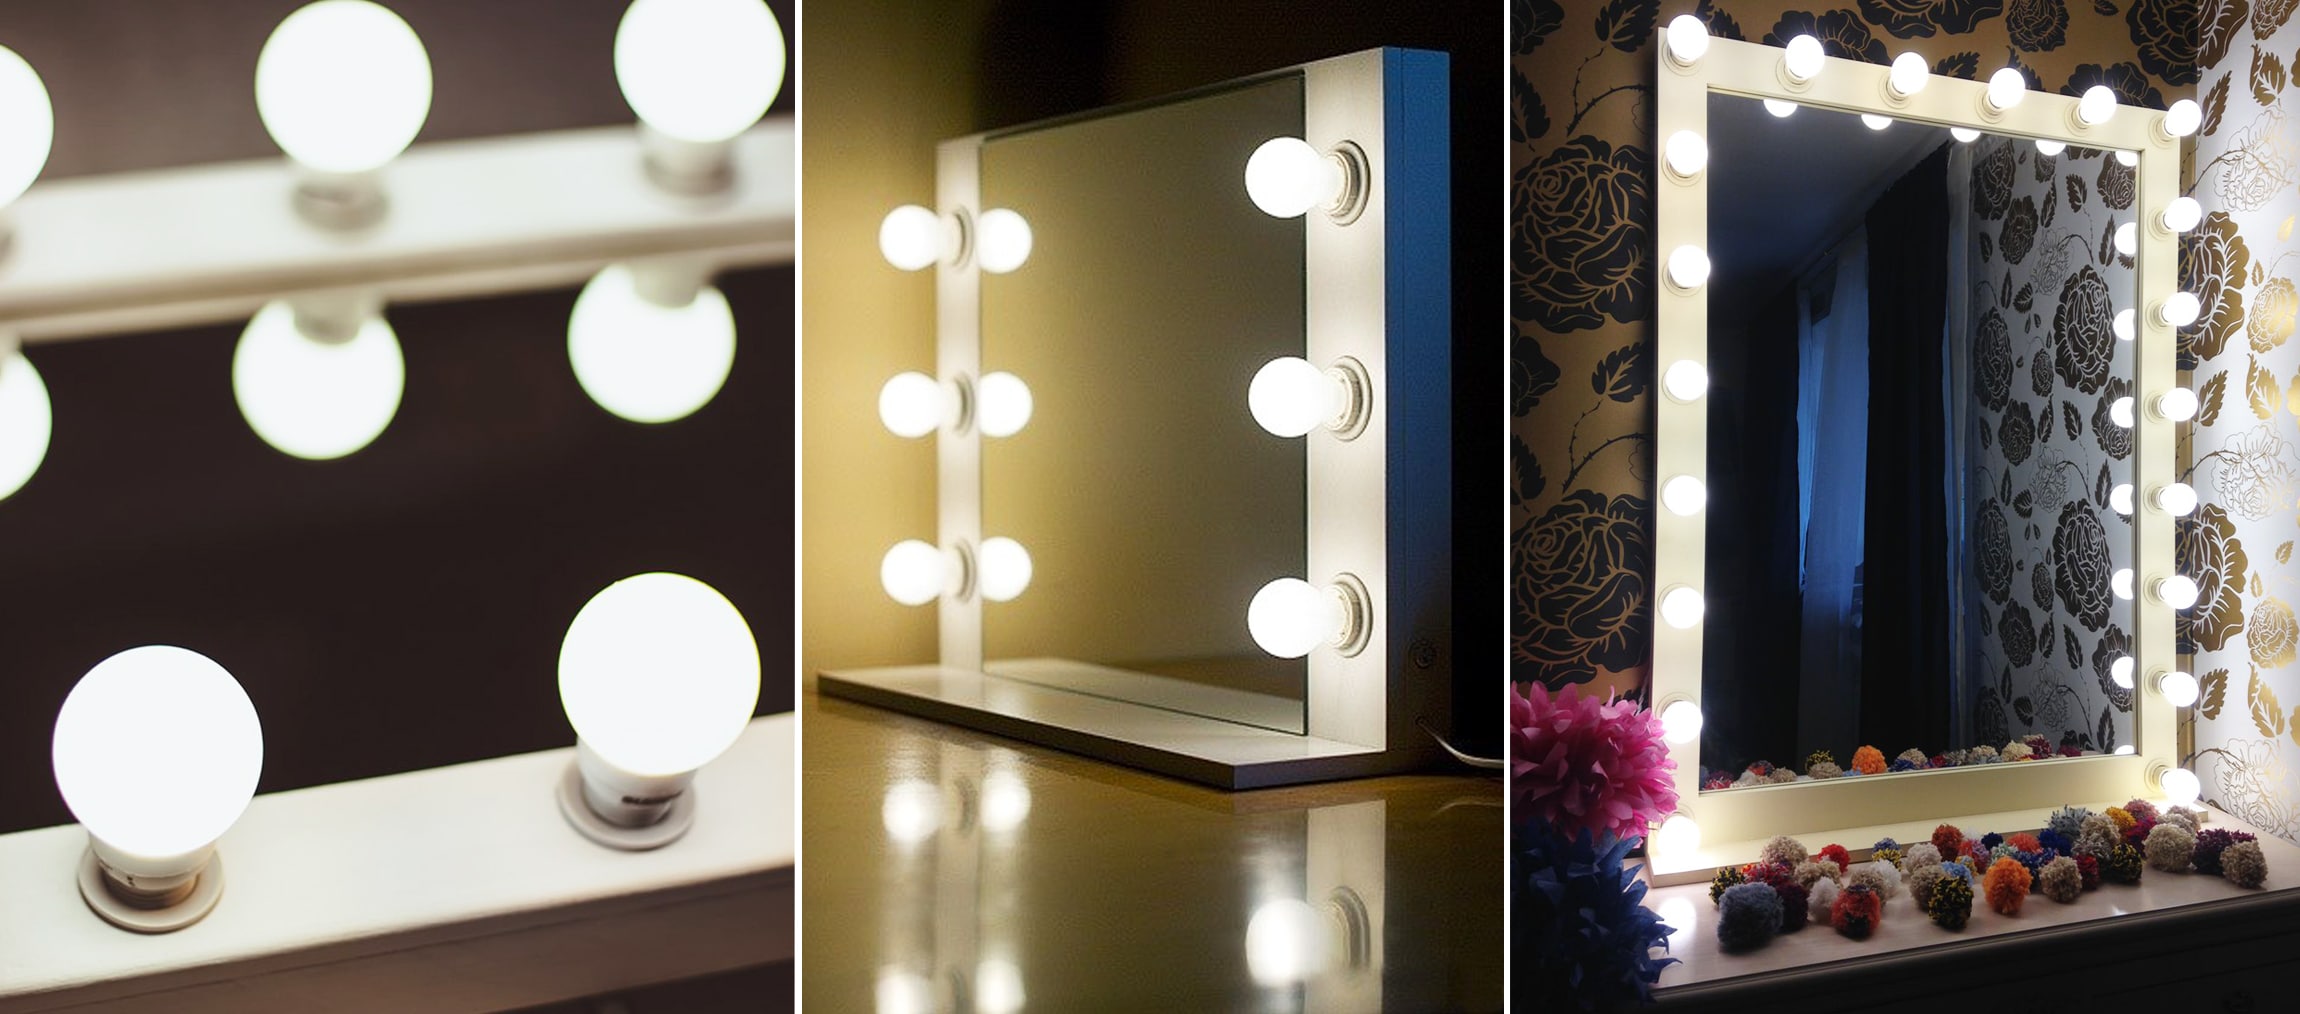
When choosing bulbs, it is advised to stop at LEDs. First, they have a very long service life. Secondly, usually their bulb is made of plastic, even if the product falls, it will not break or be damaged. Thirdly, the lamp practically does not heat up. Another advantage is that it is possible to choose the light: warm, cold or neutral.
Mounting options
You can hang a mirror using hardware. To do this, several holes must be drilled in the partition. You will need a drill, fasteners, a screwdriver and screws, as well as drills. If the illumination is located above the mirror, then the fixings are made along its perimeter:
- make holes not only in the product, but also in the wall, fastening with screws;
- install rubber gaskets and dowels;
- install fasteners in the form of brackets, fix.
With a product weighing less than ten kilograms, butterfly dowels, which are used for drywall, are optimal. If the mass of the mirror sheet is higher, then it is advised to use screws or ordinary dowels. For the suspended version, installation takes place at the top of the frame.
Connecting bulbs to the network
The scheme for connecting the backlight to the network includes a special diode bridge. It serves as a voltage rectifier. The peculiarity is that all lamps are connected in one single circuit. This process can be performed sequentially or in pairs. It is desirable to cut the tape into pieces from fifty centimeters to one meter long.
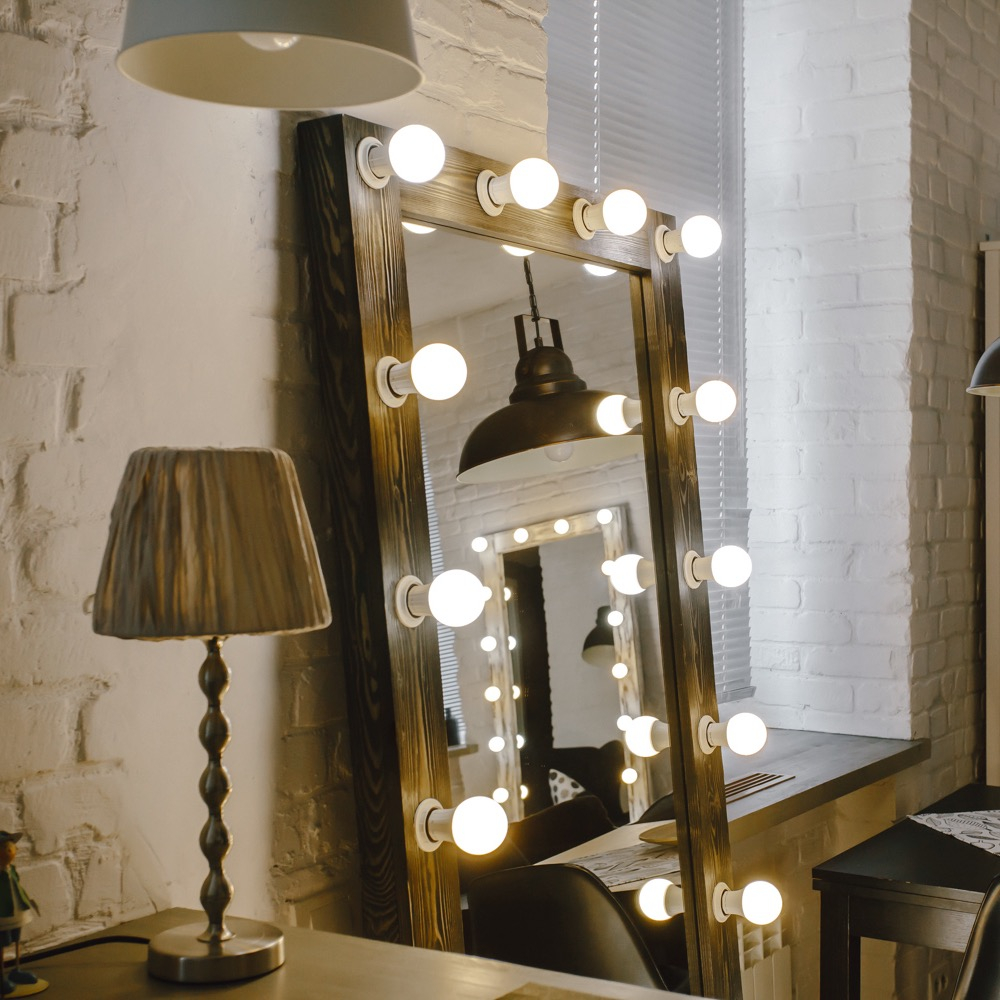
During installation, it is worth monitoring the current that passes through all the lamps. If its measurement shows a figure that is more than the permissible norm, one more segment should be attached. The soldering points are bare, therefore, safety measures must be observed, otherwise there is a risk of getting an electric discharge.
When connecting, you should adhere to the following instructions:
- cut the tape to the required length;
- prepare the cables with which the connection will take place;
- keep a rosin and a soldering iron on hand;
- degrease the area of the LEDs;
- strip wires;
- apply a thin layer of tin to the surface of the cable;
- connect the tape to the cable by soldering;
- insulate the junction;
- connect to the power supply;
- connect the wire to the network.
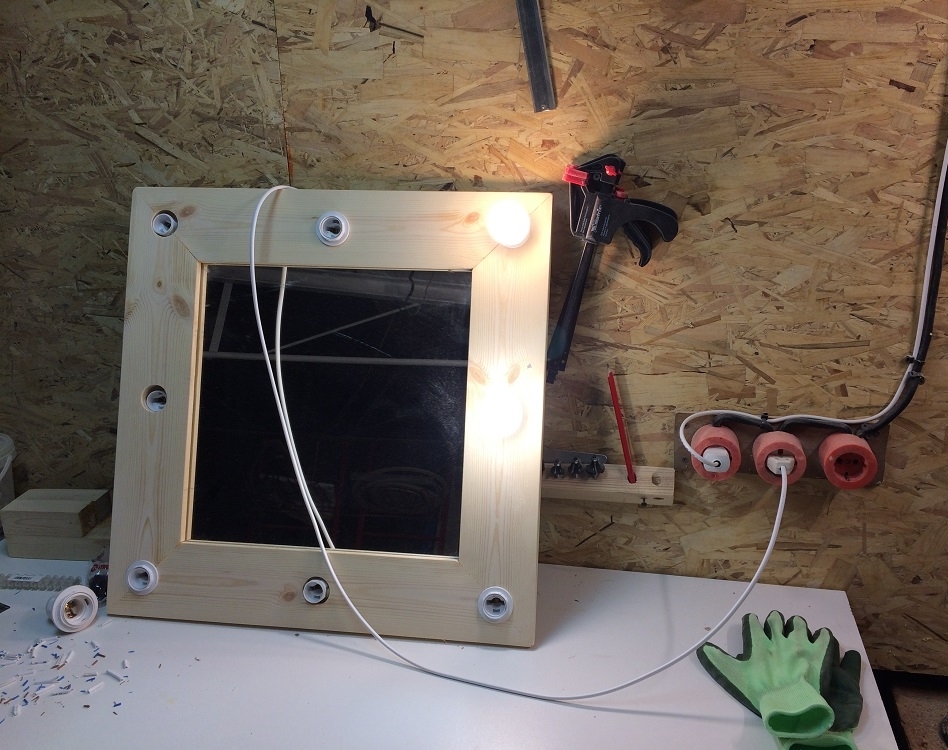
A step-by-step implementation of all the above steps will lead to the correct connection. Thus, this process does not take much time and it is quite possible to complete it on your own, without outside help.
Important! When connecting the wire to the network, it is necessary to turn off the electricity throughout the house. You should also follow all precautions when making connections.
Functional check
To check the performance of the backlight, the first step is to visually inspect the entire structure. Check that all parts are correctly connected to each other. Then connect (the method is described above) to the power supply, turn on the device. If the lamps do not light up, it is necessary to review the entire system from the very beginning, perhaps a mistake was made somewhere. Correct it, then reconnect the device.
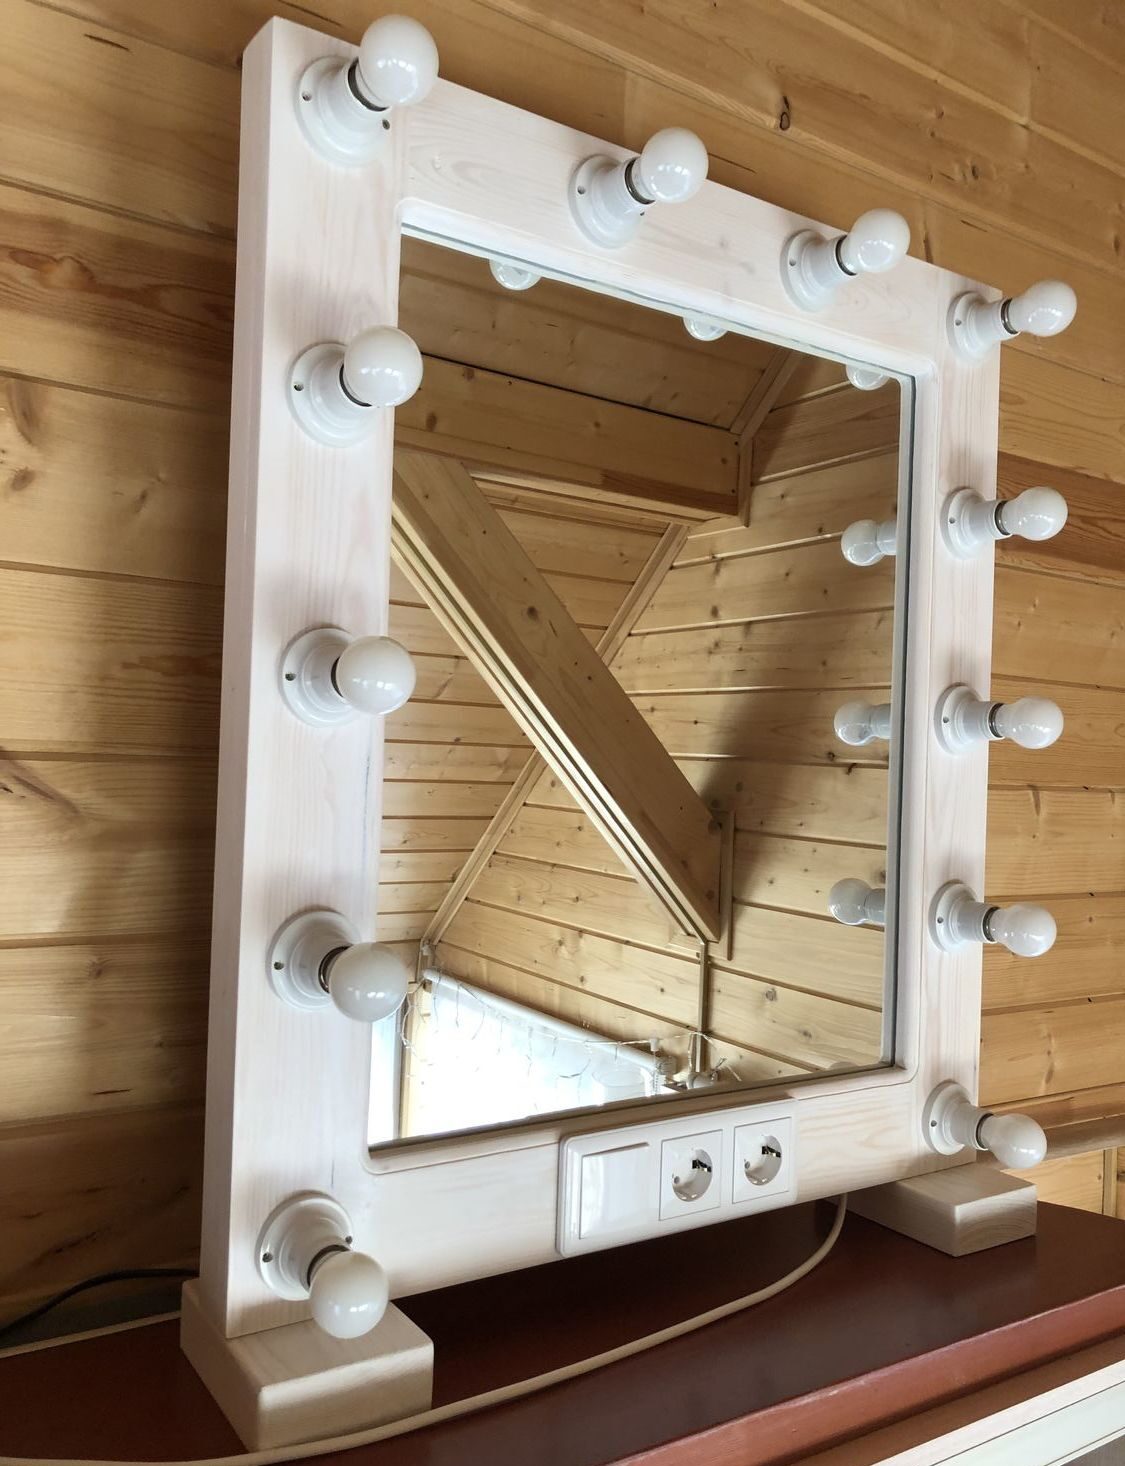
It is not difficult to make a backlit makeup mirror with your own hands. It will harmoniously fit into any interior. It is also possible to use it as a separate item, hang it in the bathroom or in any room.
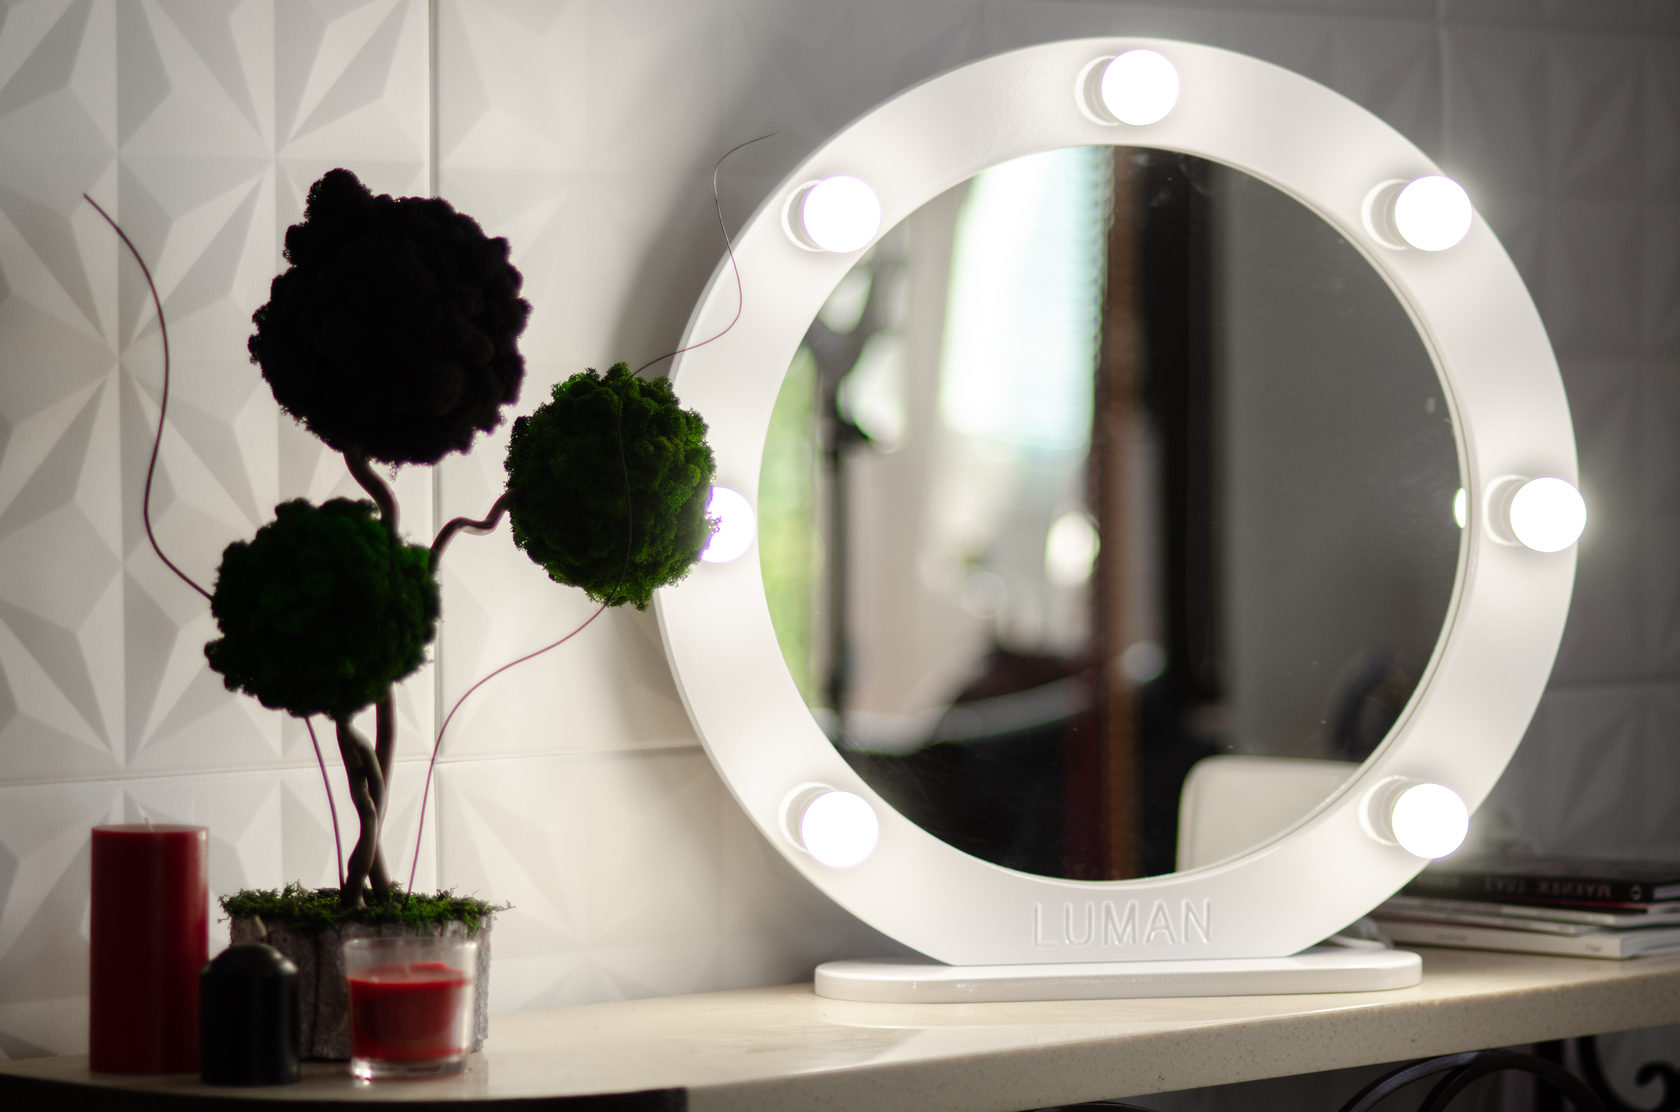
Video: DIY illuminated mirror
