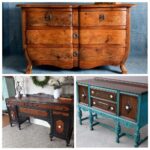
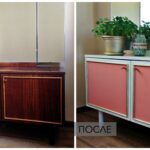
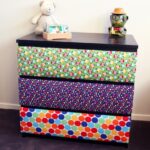
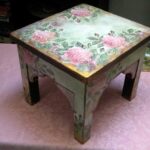
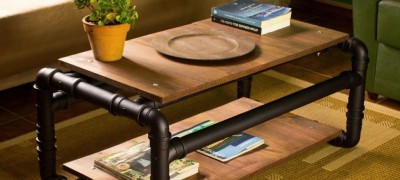
How to decorate old furniture with your own hands
Do not rush to throw old furniture in the trash. She can be given a second chance. How to do it? Very simple. DIY furniture decoration is the solution to the problem.
In this article, you will learn the basic methods of decorating furniture surfaces, the nuances and subtleties of decor.
Types of decor
To give old furniture a great look, experts advise using different methods of finishing facades and surfaces. The choice of a particular method will depend on the desired style of decoration, as well as on the design of the room where the bedside table, cabinet or other piece of furniture is located.
But what are the ways to decorate home furniture.
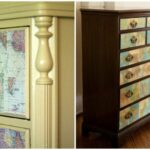
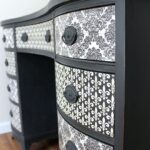
- Decoupage. The most common method for finishing the surfaces of old furniture. Special napkins are used here as material.
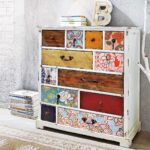
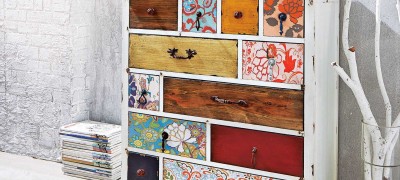
- Decopatch. Similar to decoupage. The difference here is that during deco-patching, the surface is pasted over with small pieces of paper. In the end, a kind of mosaic is obtained, assembled from small particles.
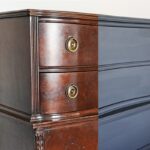
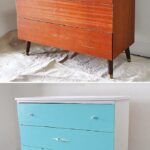
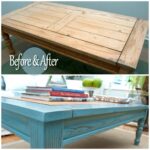
- The use of paints and varnishes.
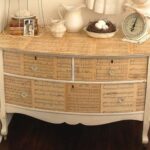
- Surface finishing with fabric.
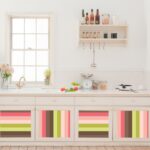
- Wallpapering of countertops and facades.
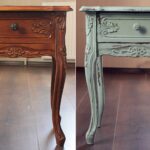
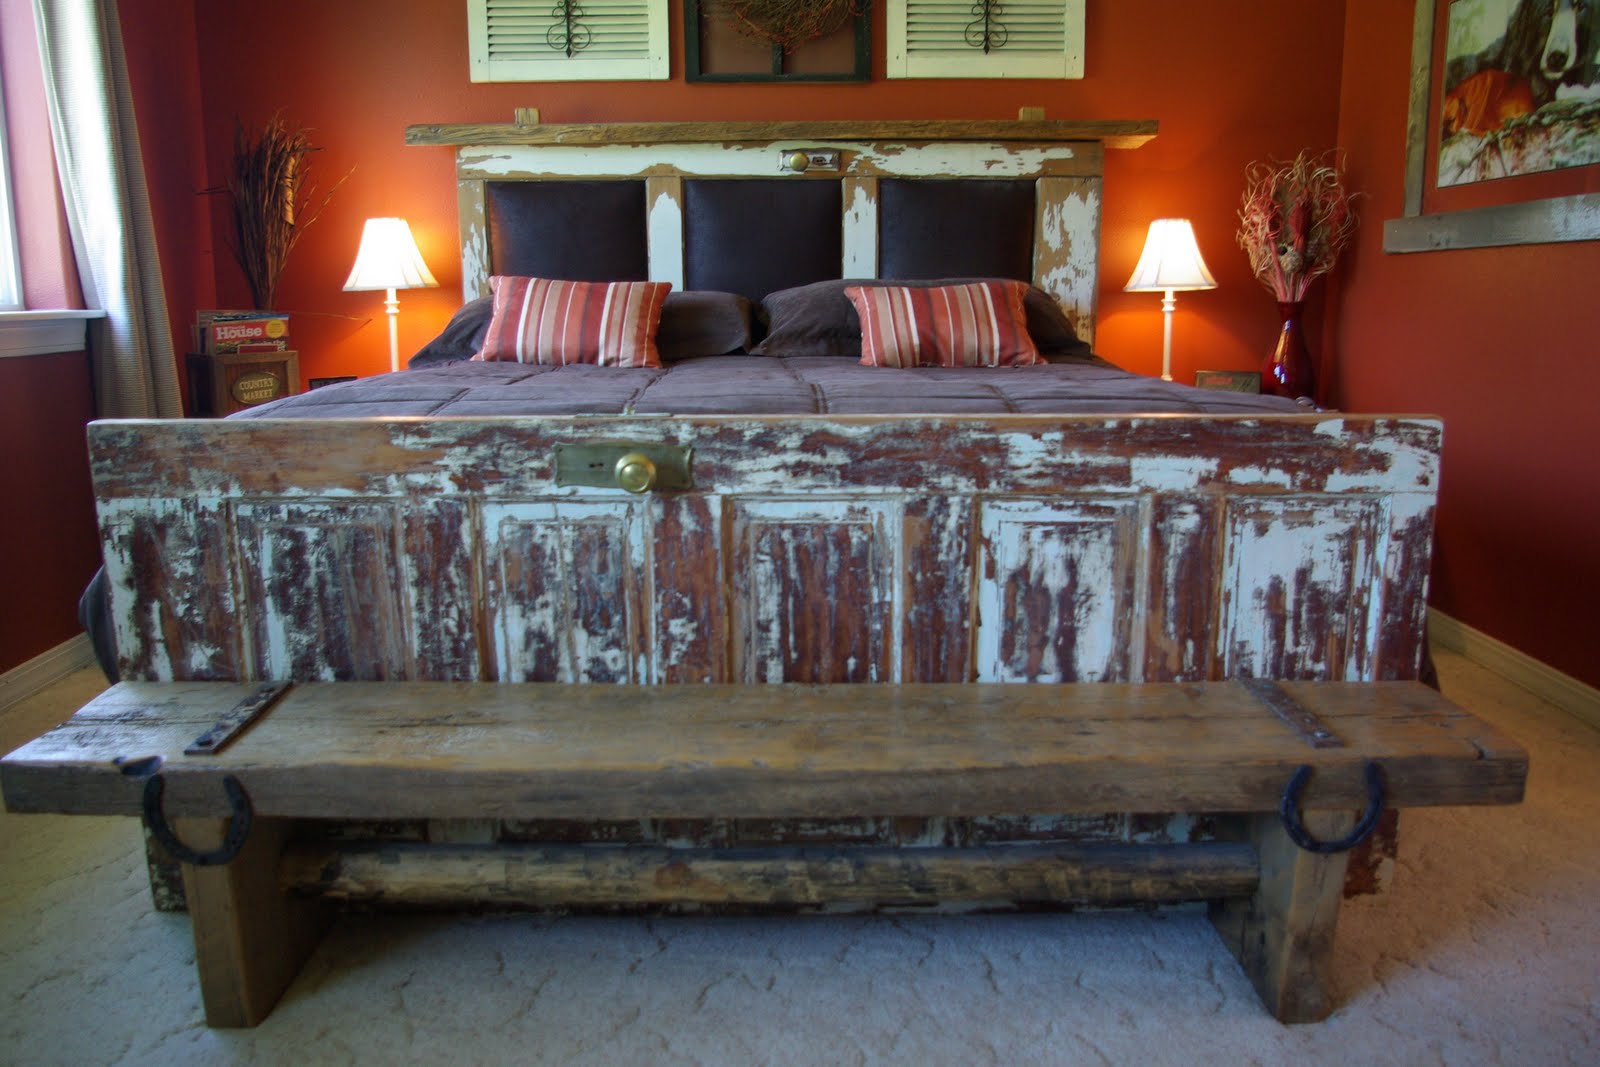
- Artificial aging of wood.
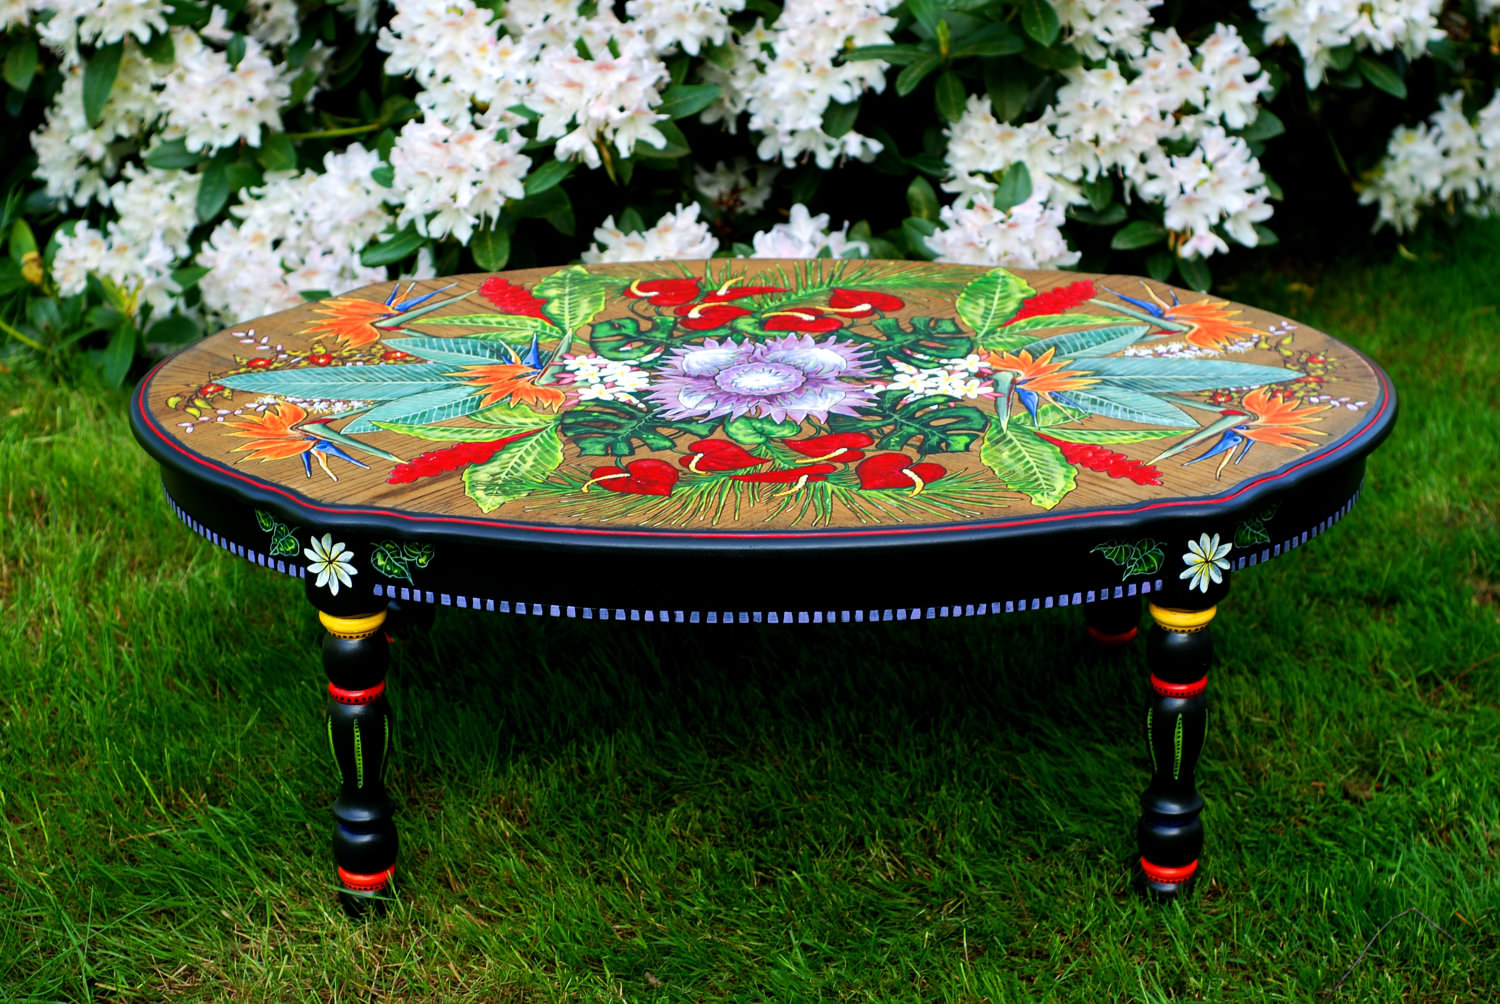
- Hand drawing patterns and pictures.
- Facade decoration with ceramic tiles.
Speaking in detail, all decoration of old furniture can be divided into two types: painting with special paints and varnishes and pasting with special paper.
Decoupage
This method is used everywhere.
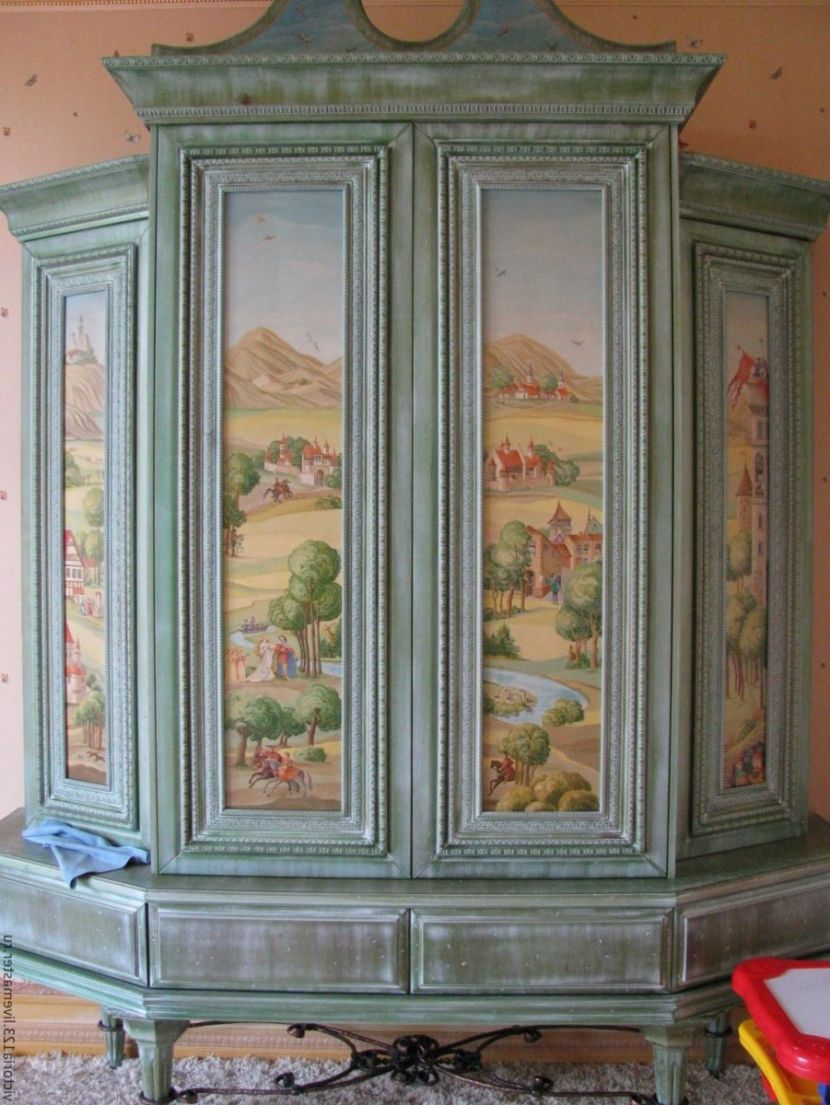
Due to its comparative simplicity, efficiency and low resource costs, decoupage is the most popular way to give old furniture an aesthetic look.
For finishing, you will need to buy special colored napkins, PVA glue, and varnish (yacht is suitable). The decoupage process takes place in stages:
- The first step is to clean the surfaces of old furniture from layers of varnish, paint, paper formulations and other foreign objects to a layer of wood.
- Next, the surface is cleaned with fine-grain emery paper. This is necessary to give a smooth surface.
- To make decorative napkins better lay down on the surface, it is pre-treated with a primer.
- Further, with the help of glue and a spatula, the bedside table or wardrobe is glued with subsequent alignment.
- At the final stage, the surface is coated with varnish.
Before applying a layer of varnish, the glued napkins must be allowed to dry. Therefore, apply the varnish after a 24 hour pause.
Decopatch
Decorating in this way involves the use of small-sized multi-colored paper. Decopatch is suitable for the restoration of old bedside tables, wardrobes and dressers in children's rooms. The resulting products by this method will have a modern, fresh design.
As a material for pasting, various colorful pieces of paper, children's stickers, candy wrappers and more are suitable. The main criterion here is the presence of a flat furniture surface.There is also a requirement for candy wrappers: they must be made of more or less thick paper. This is necessary, since after applying the adhesive, the material can get very wet and tear.
In order for the decopatch to be successful, the colored candy wrappers must first be smoothed out with an iron. Be sure to use a paper backing when ironing candy wrappers. Decorating furniture with your own hands is a master class you see in the video and you can do it too. The main thing is not to rush and approach work with trepidation.
Aging
The artificial aging process of wood allows to give old furniture a vintage effect. But doing this kind of finishing is not an easy task. To age wood, you need to have a special inventory.
You will need:
- a set of special brushes for aging;
- stain;
- tourist gas canister with a nozzle;
- multi-colored impregnation;
- coarse to fine sandpaper;
- felt cloth for sanding.
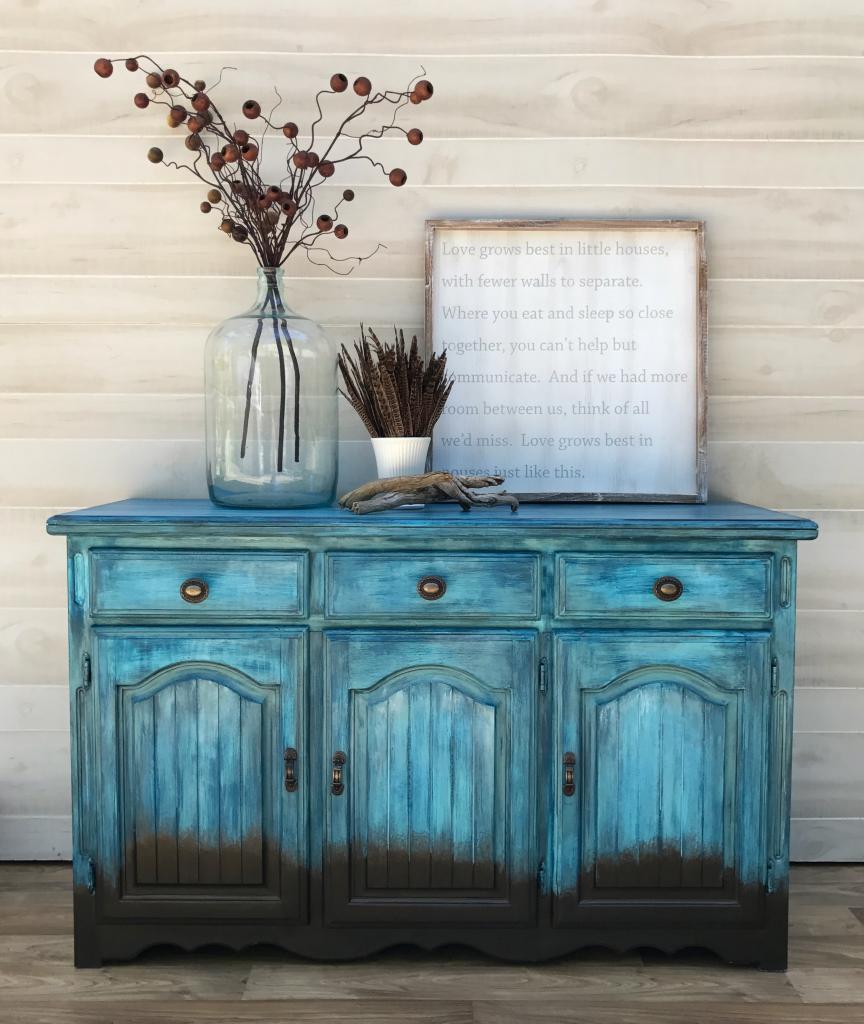
The set of brushes must contain metal and nylon. Coarse surface treatment is carried out with a metal brush. Nylon is used to give a relief to wood by sampling a soft core. At the same time, the solid part of the bar remains intact.
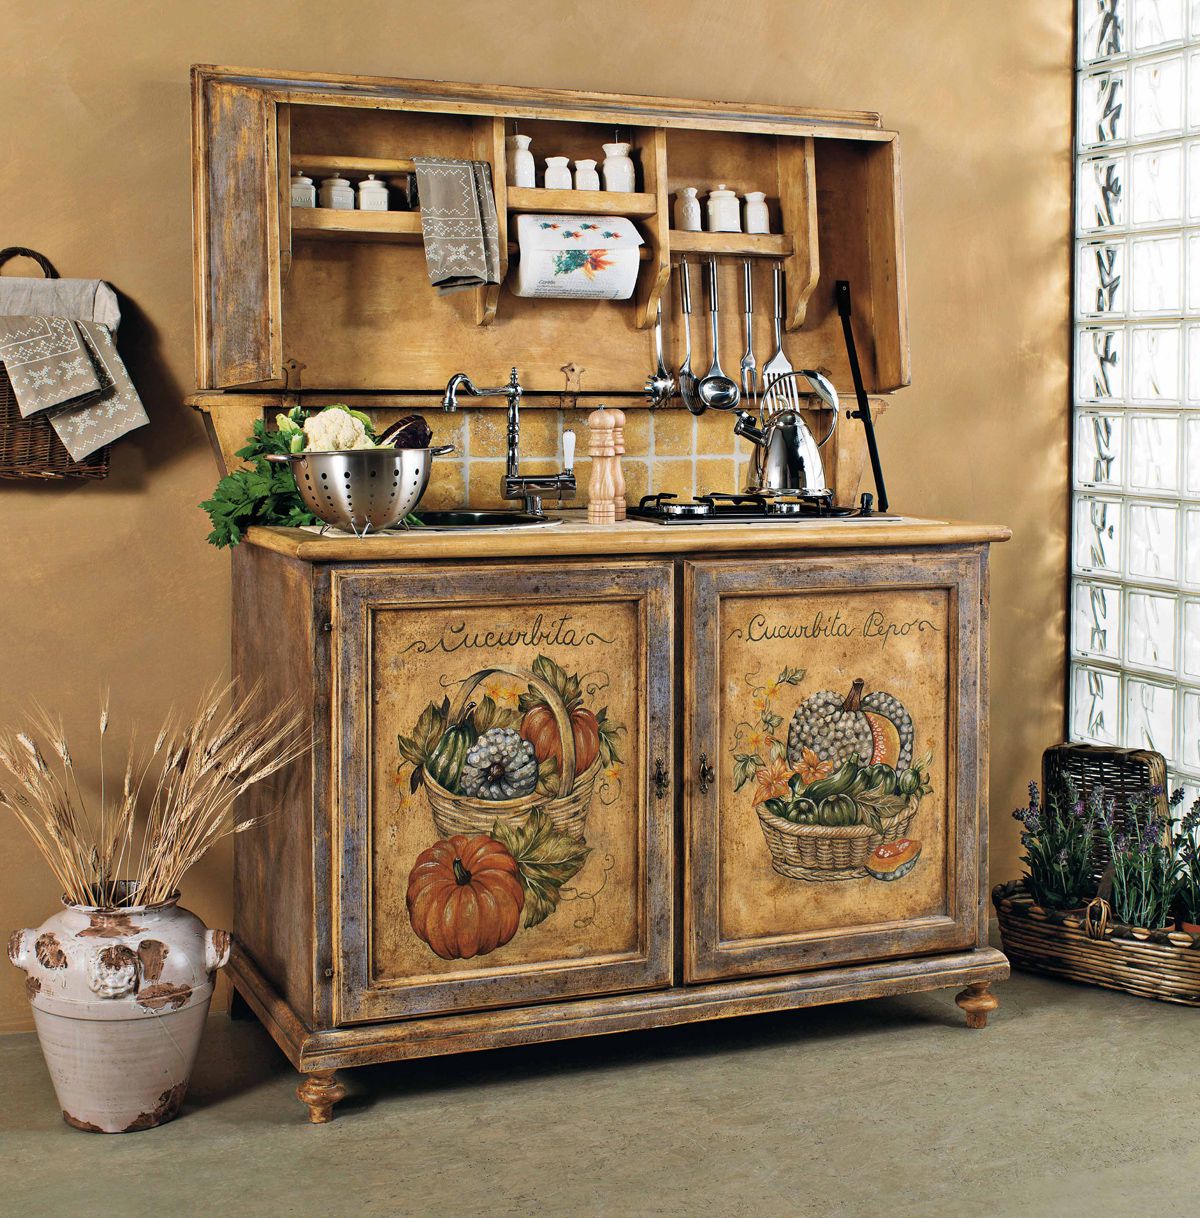
The aging process involves not only sampling the soft core. The facades are also fired with subsequent grinding. The surface can be stained, impregnated, or treated with acidic compounds. The latter give the wood a dark shade.
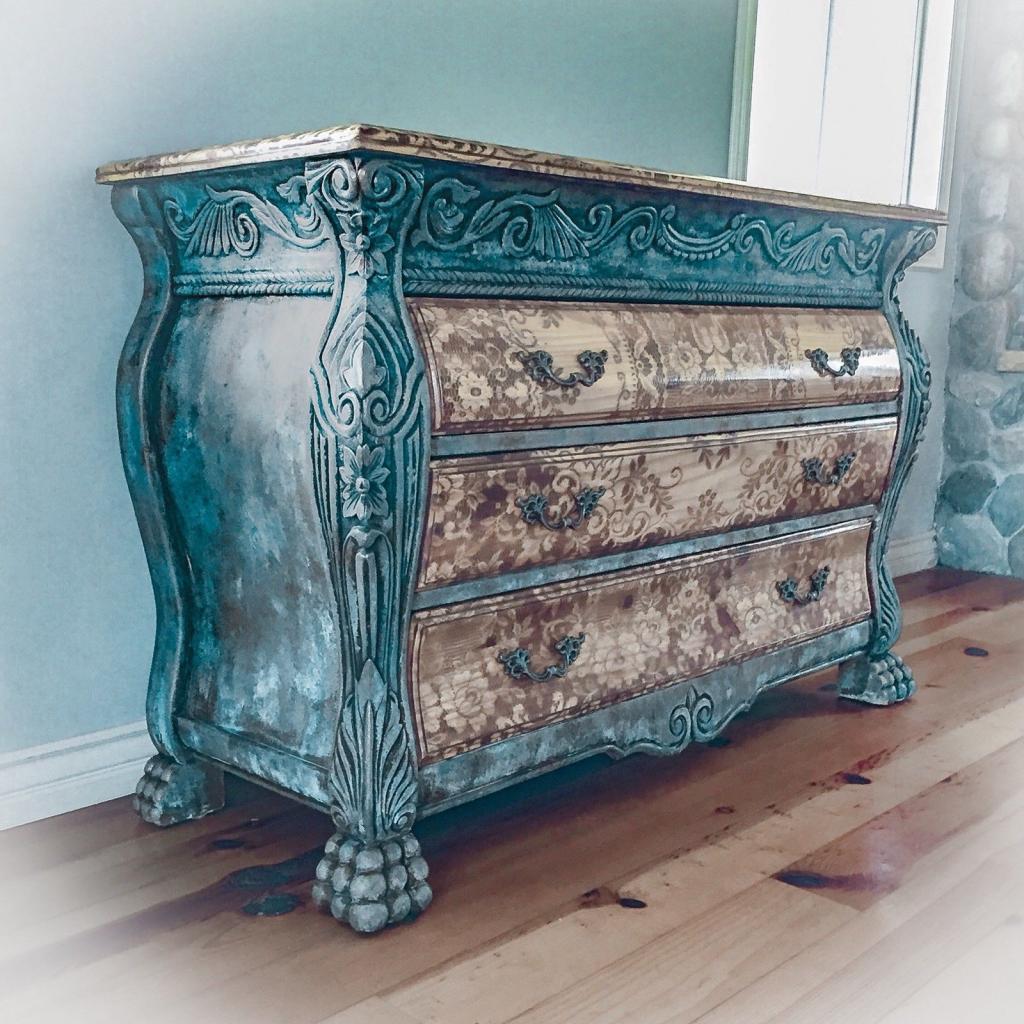
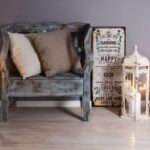
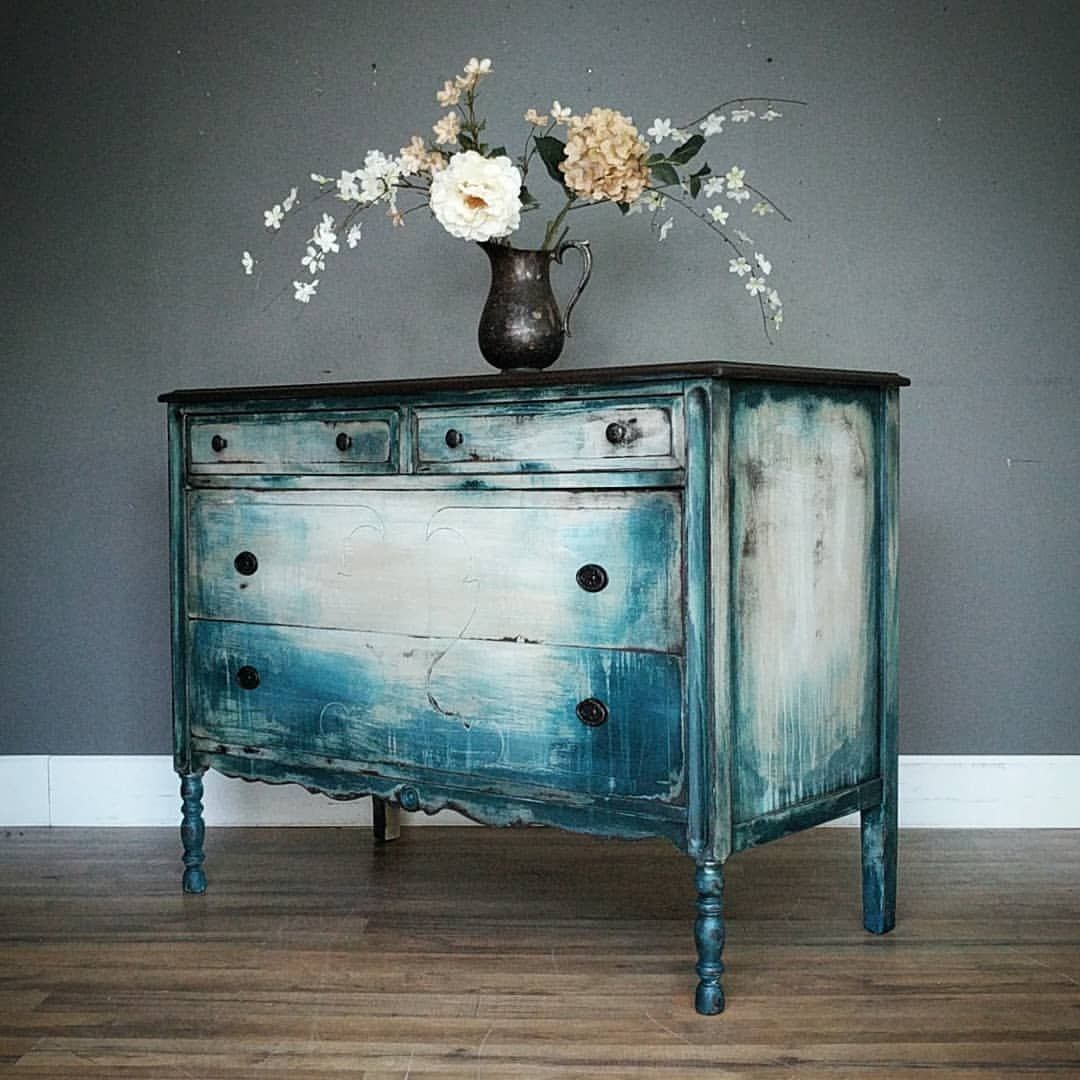
Decorating with aging is suitable for wardrobes, dressers, nightstands, chairs, tables. Any furniture that has gone out of fashion, has aged, is damaged, after such processing, an unusual look and charm is obtained. Most often, aging is applied in the Provence style.
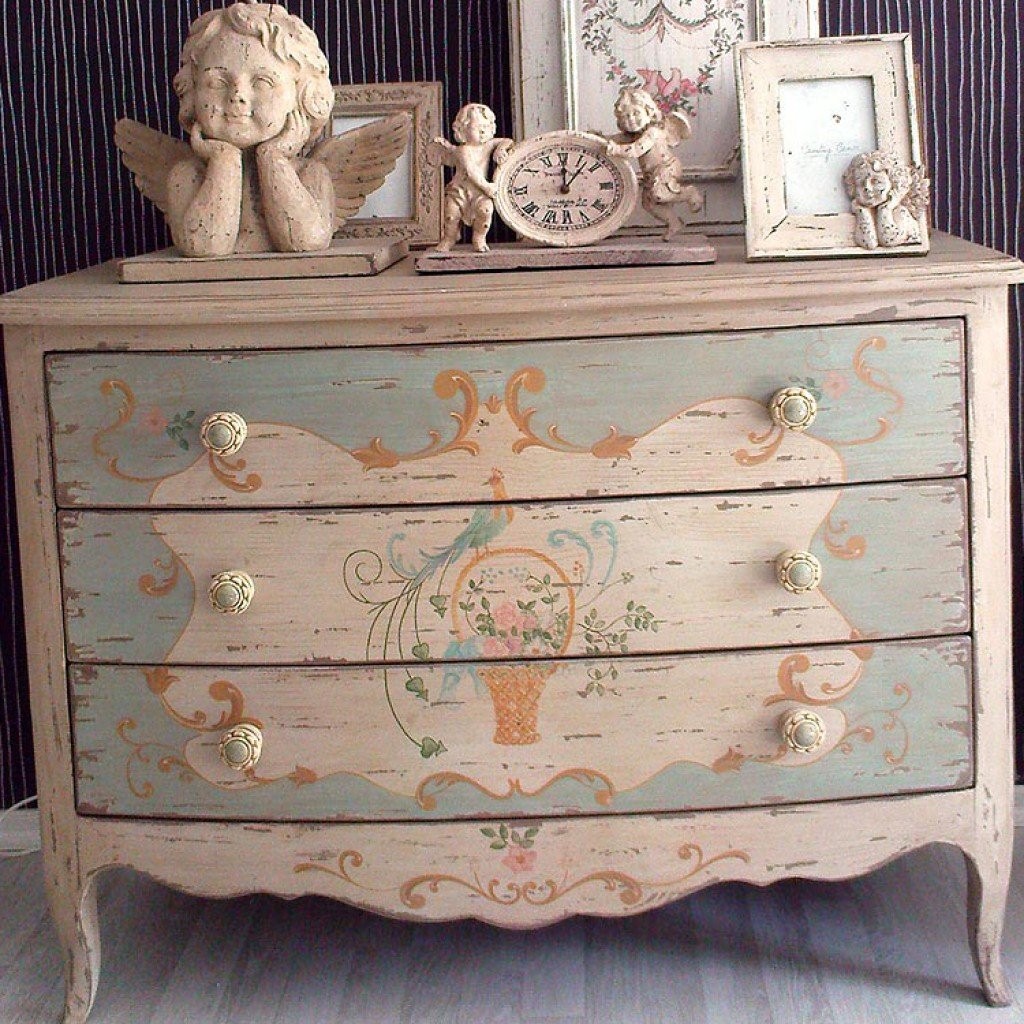
Stencils
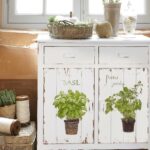
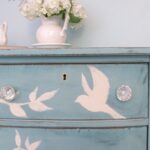
The easiest way to give your antique furnishings a second life. Stencils are used in conjunction with paints and varnishes.
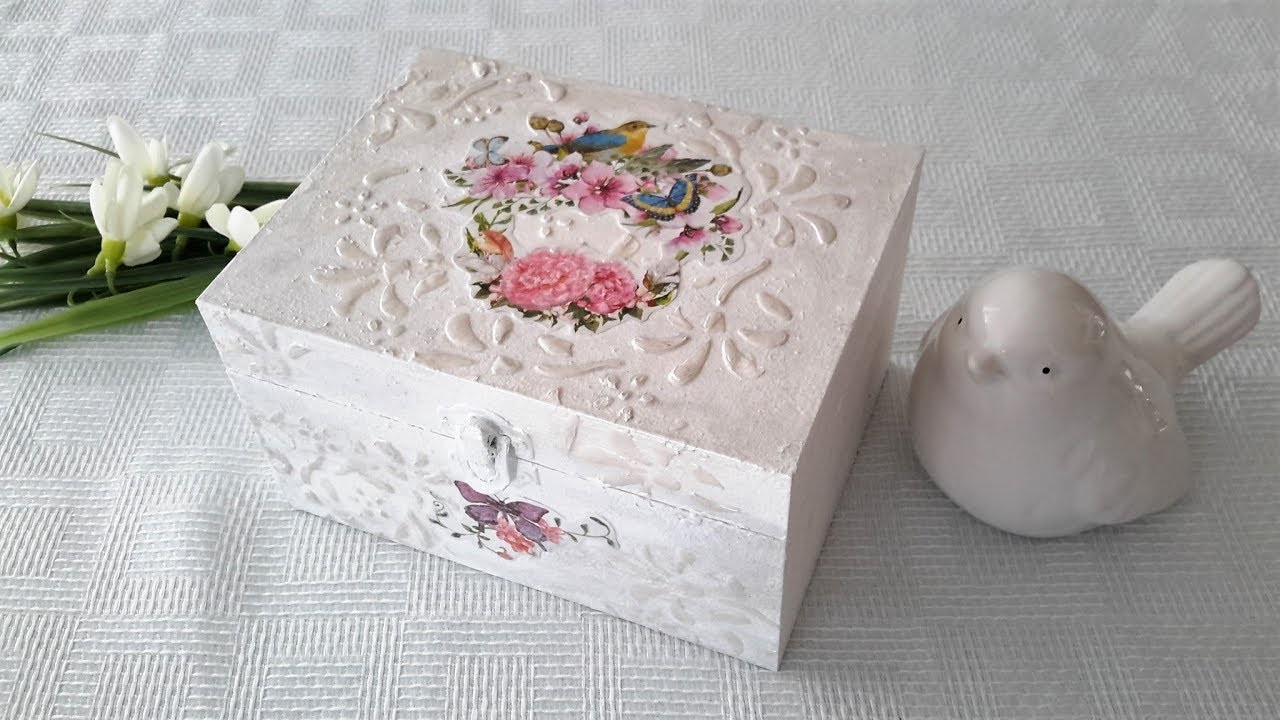
The order of work is as follows.
- Removal of old coatings (varnish, paint, glued paper, putty, etc.).
- Sanding wood with sandpaper.
- Impregnation of facades with wood primer.
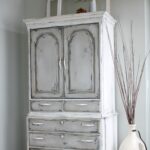
- Painting with acrylic or chalk paint.
- Making a stencil from cardboard, thin plywood or plastic.
- Attaching the stencil to the place that is planned for painting.
- Application of a layer of paint.
- Strengthening with a layer of varnish.
The good thing about using a stencil is that you can get completely identical patterns on the doors, sides and back walls of cabinets, cabinets and chests of drawers.
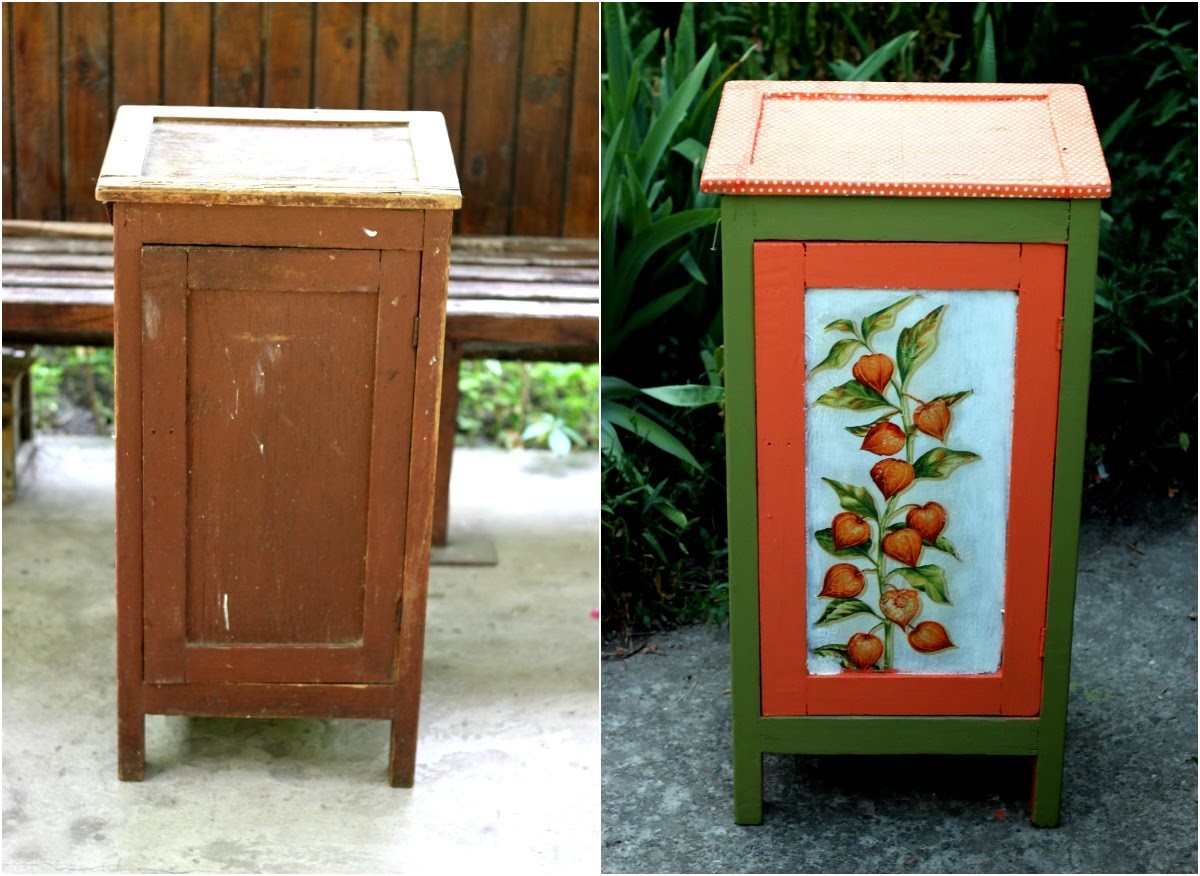
The use of acrylic and chalk paint will ensure health safety. These compositions do not contain harmful formaldehydes and other additives that are toxic to humans.
If there is no desire or time to make stencils, they can be purchased at the store.
Wallpaper decor
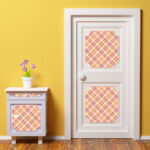
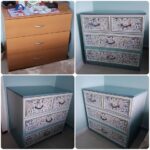
Pasting old furniture with wallpaper is a good solution. If you need to save money, time, while giving furniture a fresh design - choose this decorating method. For finishing sidewalls, doors, facades and other elements, it is better to choose wallpaper made of thick paper. For example, non-woven fabrics are well suited for such purposes.
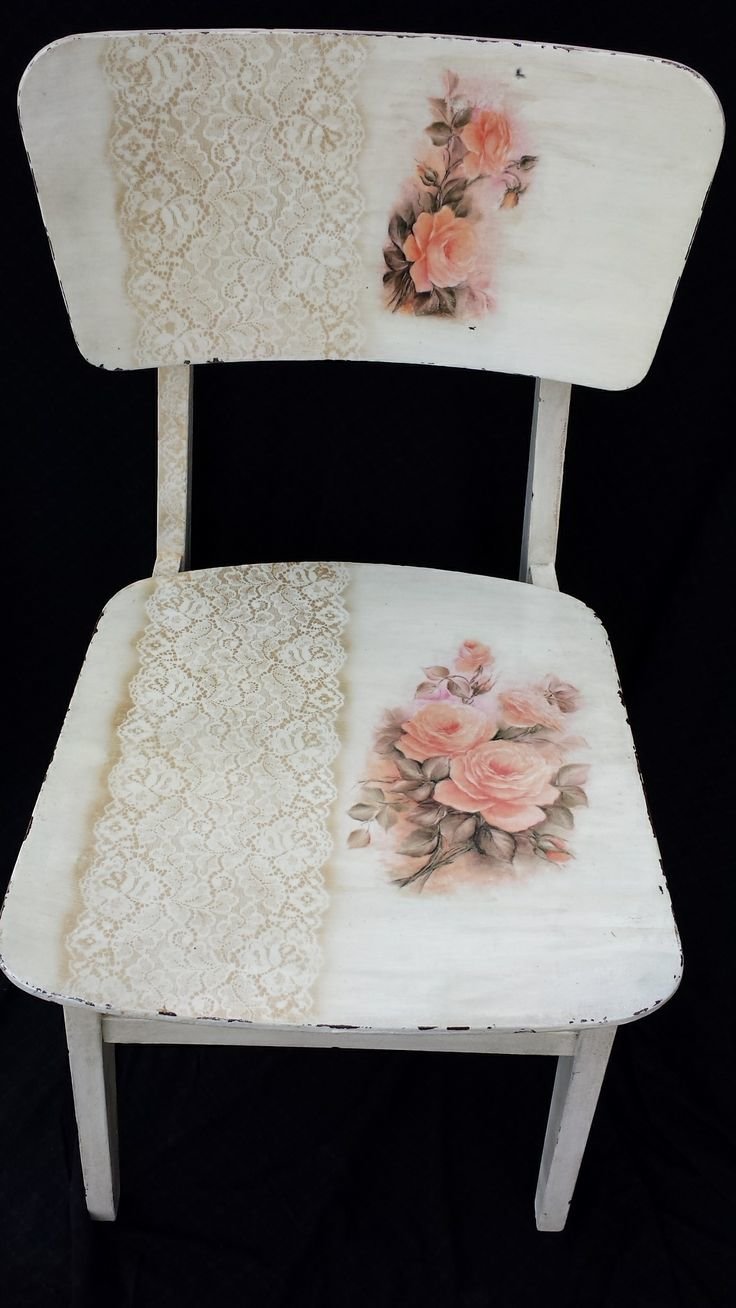
It is necessary to glue the wallpaper only on a pre-prepared base. Here you will also have to completely remove the old paintwork and carefully sand the wood with sandpaper.If this is not done, the layer of glue will not absorb into the wood, which means that the wallpaper will not stick.
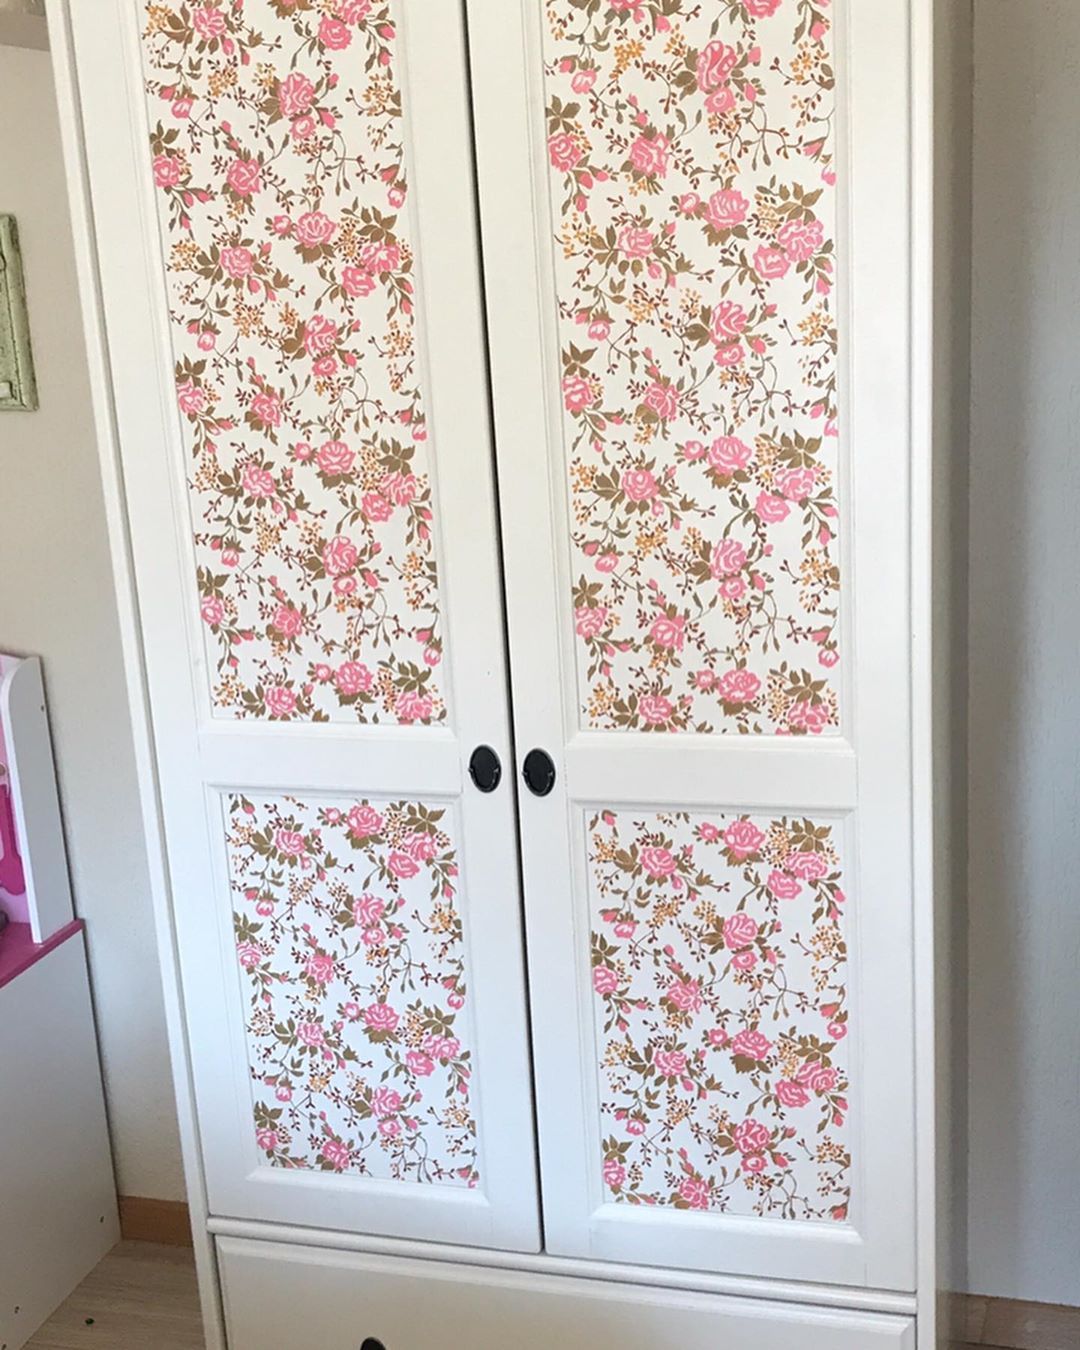
Wallpaper decorating is good because you can choose any design. You go to a wallpaper store, select the desired color, texture and create a truly skillful product at home. To work with wallpaper, you need scissors and glue. A pencil and ruler will also come in handy for marking.
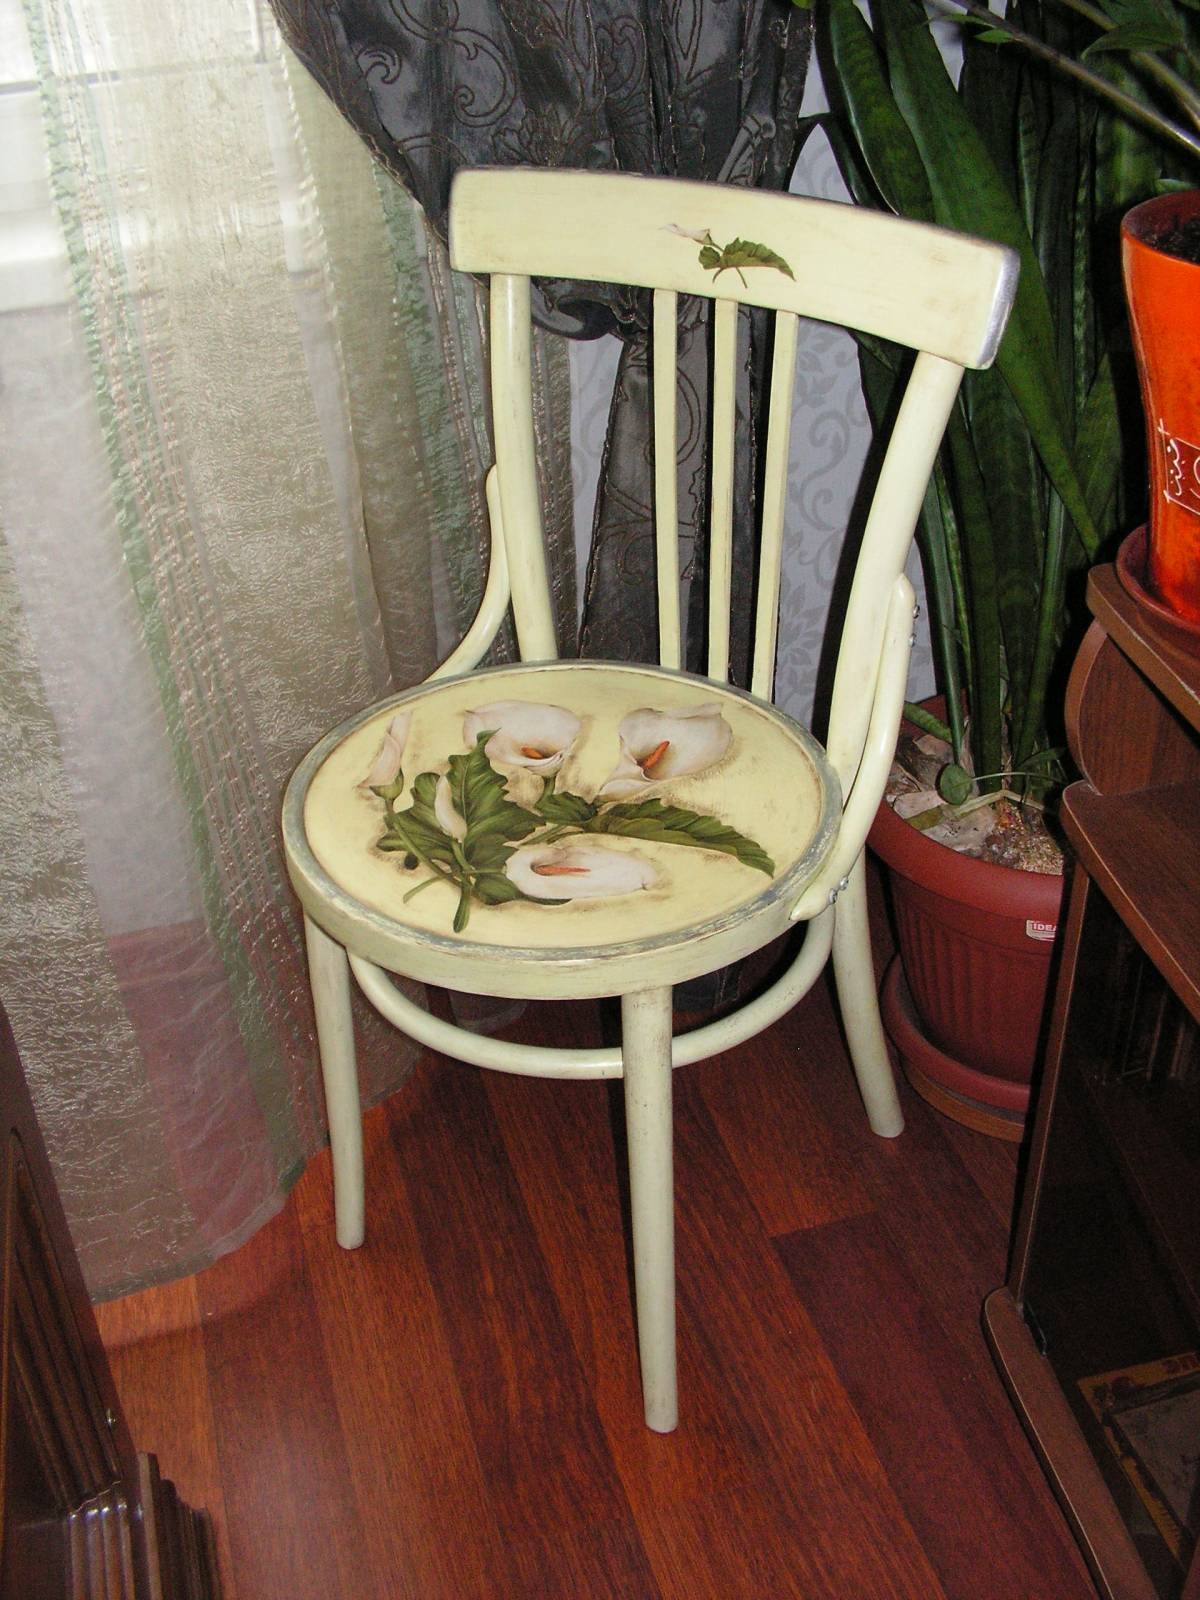
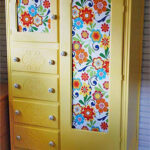
Cabinets with glass front doors look very nice, the back walls of which are pasted over with bright, floral wallpaper.
Craquelure
In simple words, craquelure is a crack in the paint layer. In the decor, such an element is used to obtain a unique effect. To achieve the appearance of such a crack, after applying a layer of varnish and its minimum hardening, another layer is applied on top with a special composition that causes the appearance of cracks.
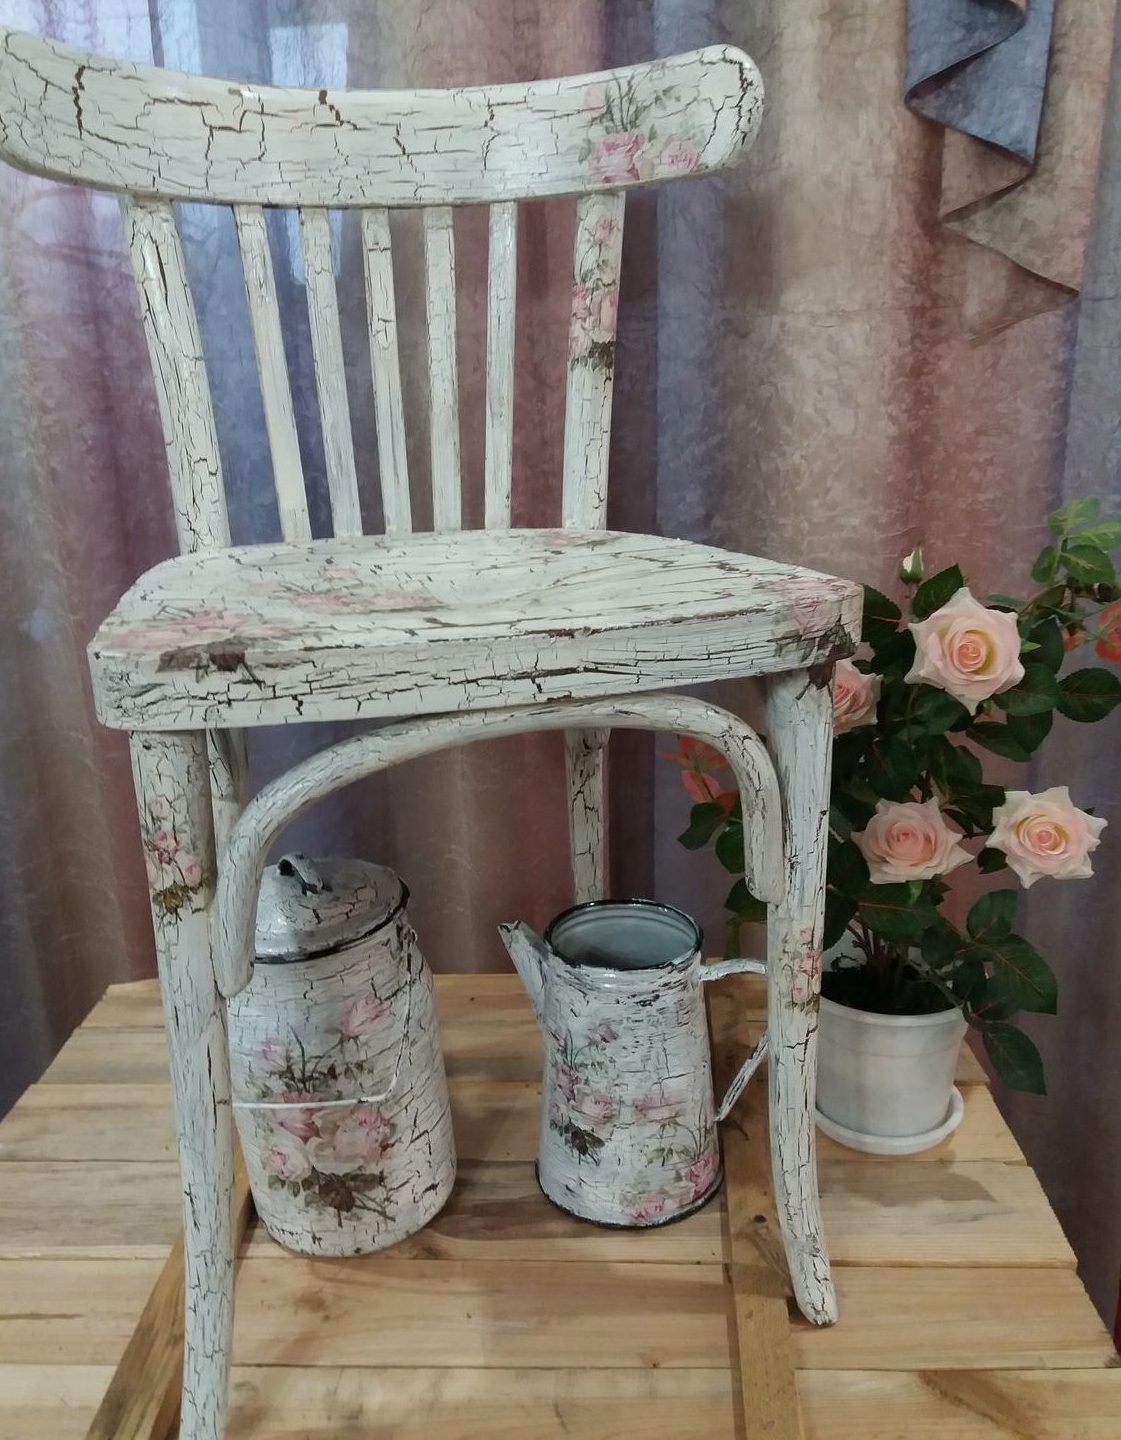
When using a single-layer craquelure, ordinary cracks are formed, indicating that this piece of furniture belongs to antiquity. In addition to one-layer, there is a two-layer craquelure.
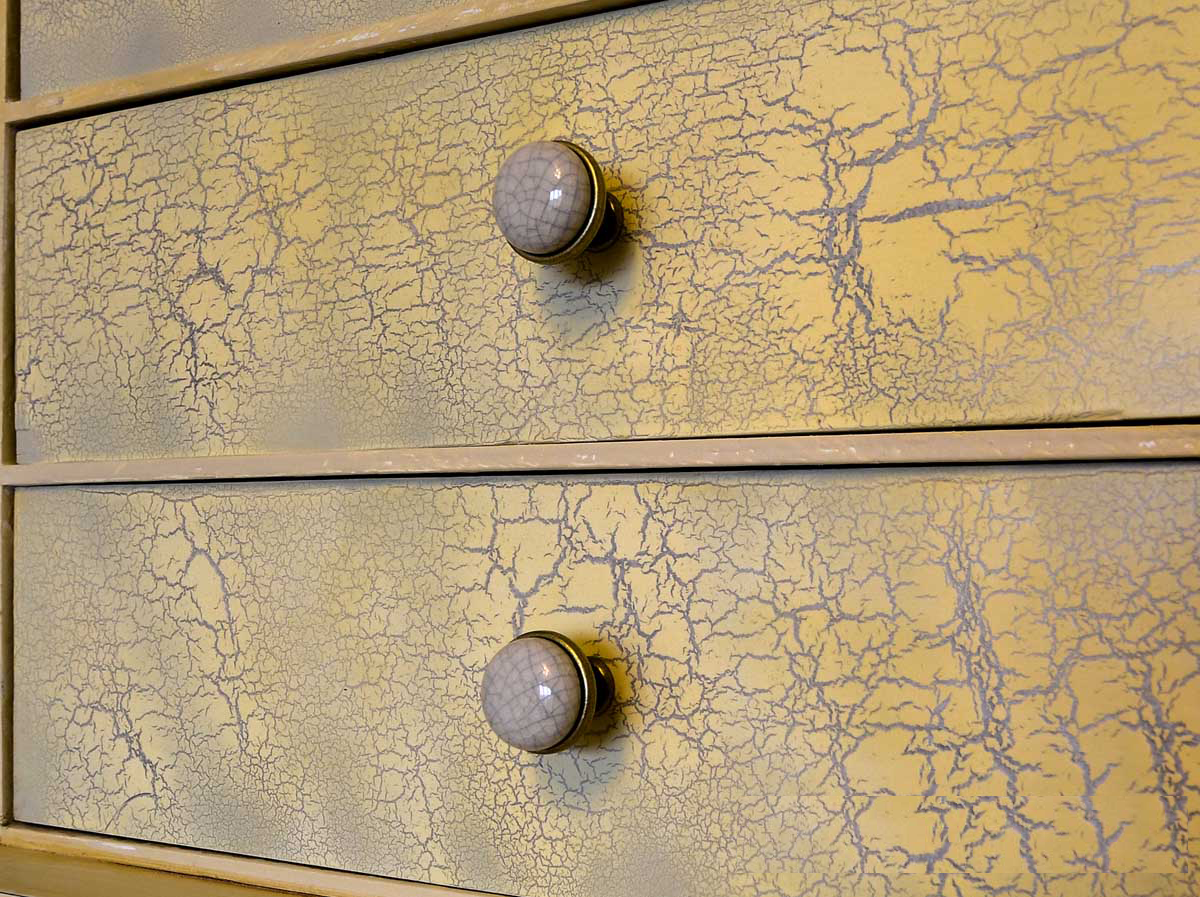
Its difference is the presence of paint in the crack, which has shiny inclusions (silver, gold or other compositions). It should be noted that craquelure is made only in a fresh paint and varnish layer.
Decor with fabric and ceramics
In addition to the above methods for decorating old home furnishings, there are two more unusual methods.
- Cloth covering.
- Finishing with ceramic tiles.
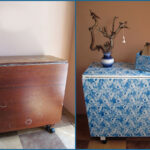
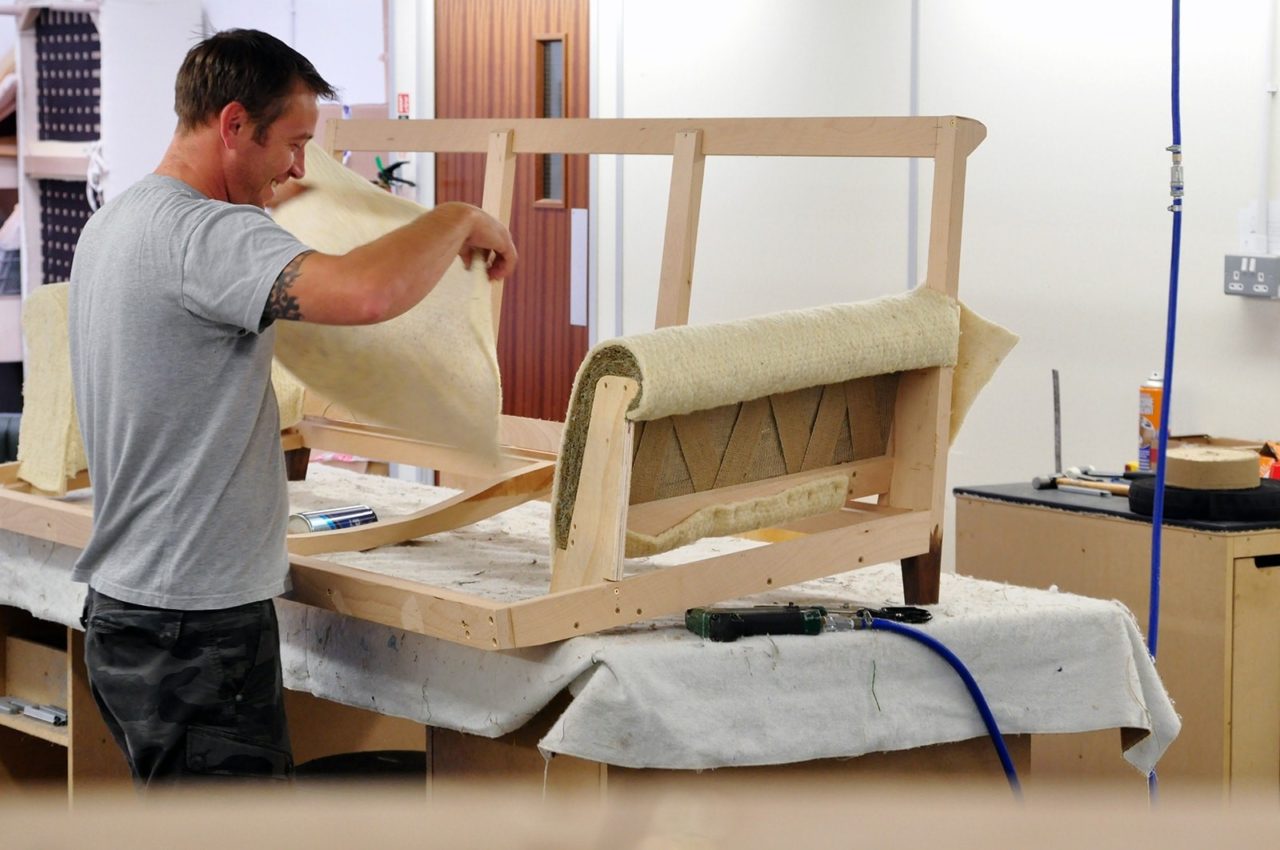
The procedure for carrying out work when tightening with a cloth is similar to gluing wallpaper on doors, sidewalls and other parts. The difference lies in the mounting method. The fabric is fixed on bedside tables and cabinets with a construction stapler from the back side. Pasting with PVA glue is also possible. In this case, the fabric must be dense, and after gluing it must be smoothed out with a soft roller.
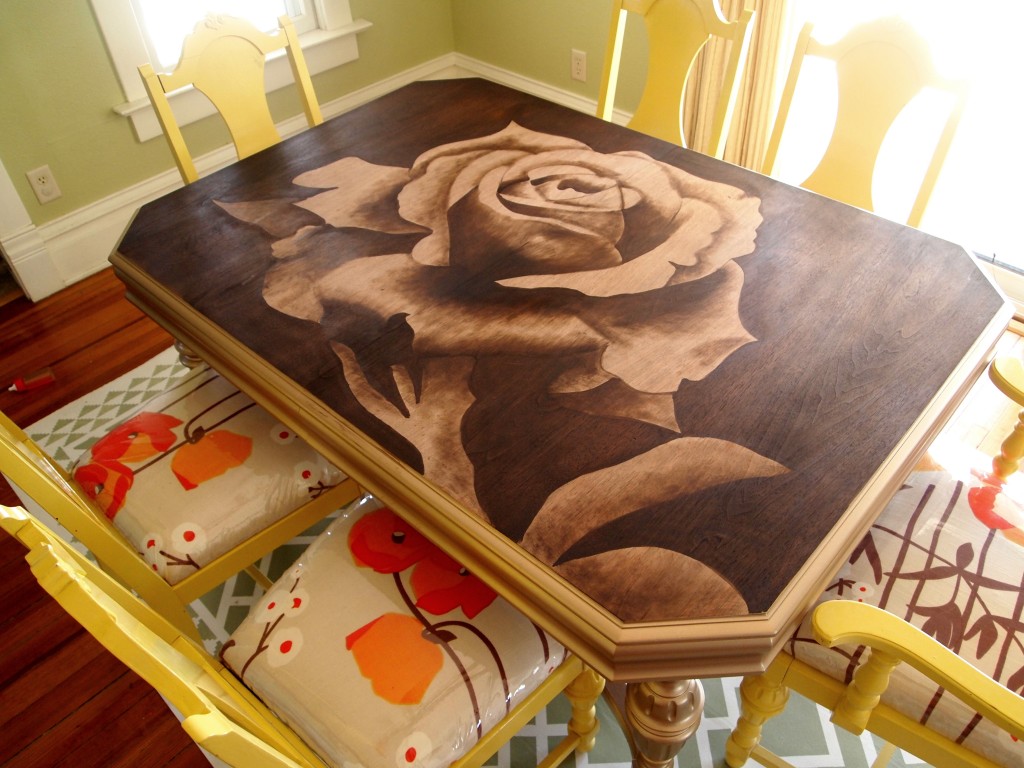
Decorating furniture with ceramic tiles has been known since ancient times. The so-called tiles were practiced on Russian stoves. The same can be done with home furnishings. Ceramic tiles must be fixed to doors, sides and back walls with special glue. At the same time, the minimum tile thickness is selected.
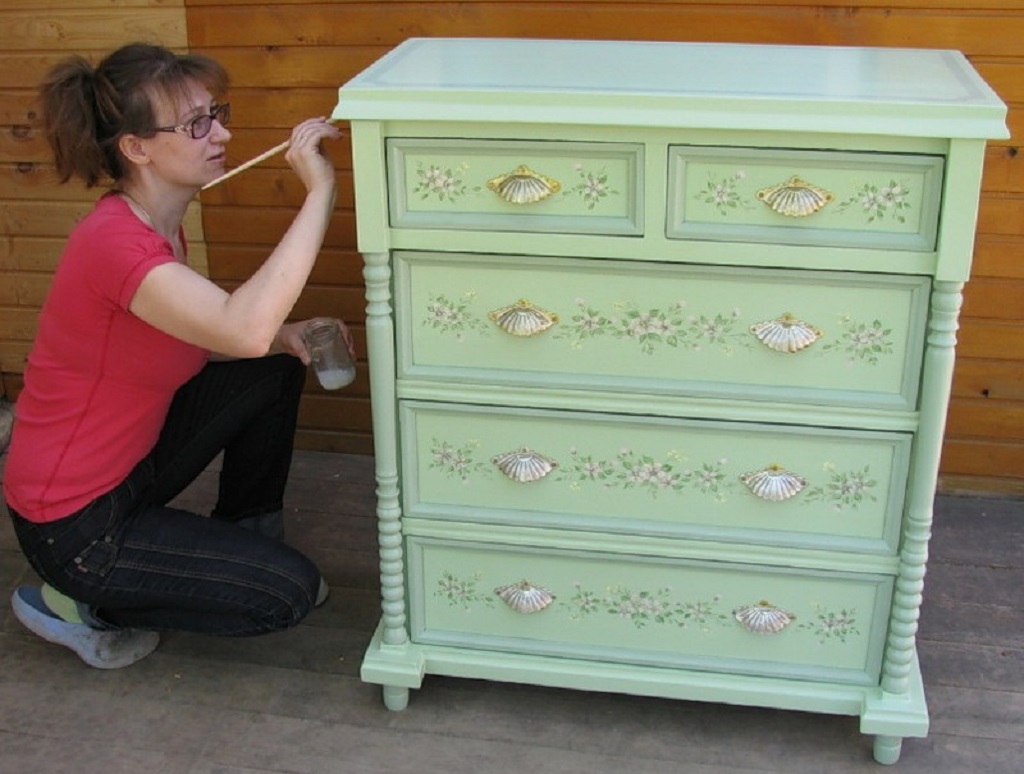
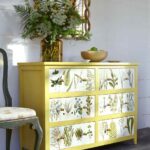
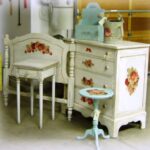
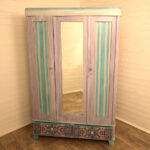
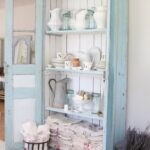
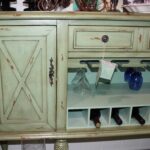
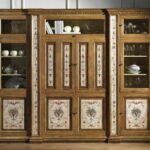
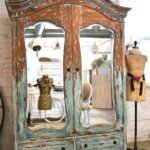
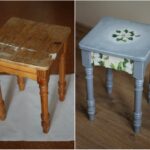
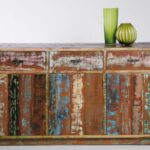
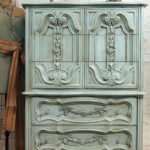
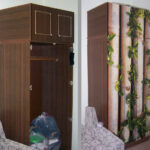
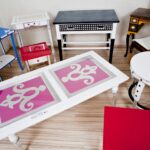
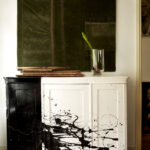
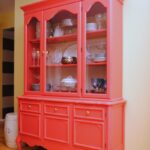
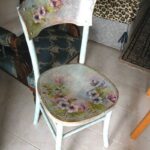
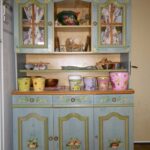
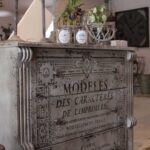
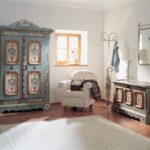
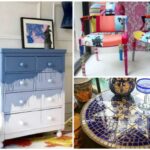
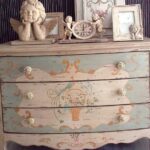
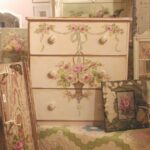
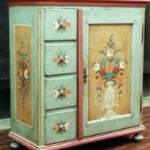
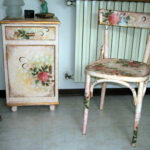
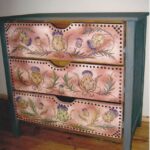
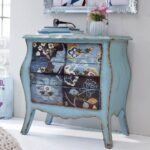
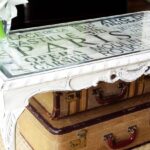
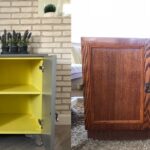
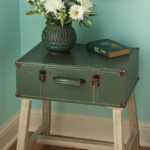
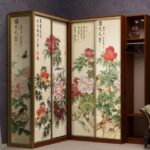
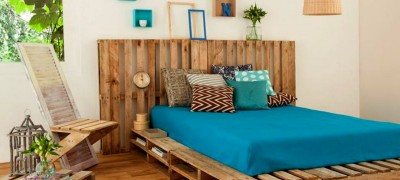
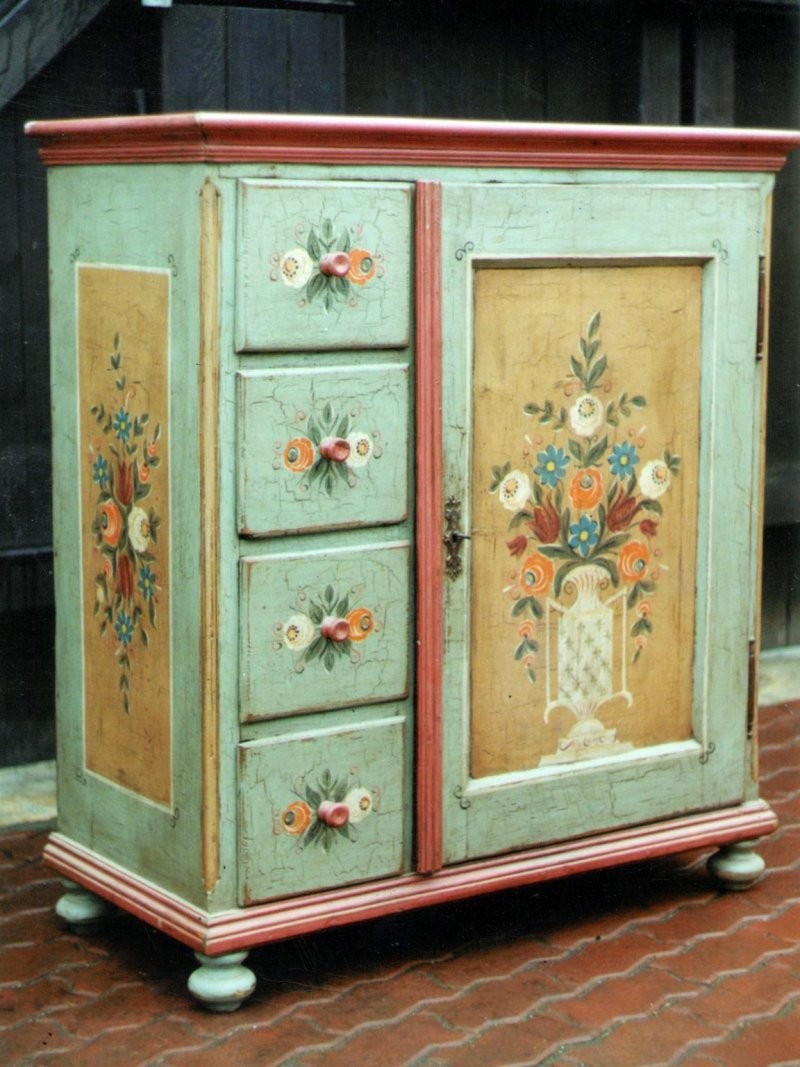
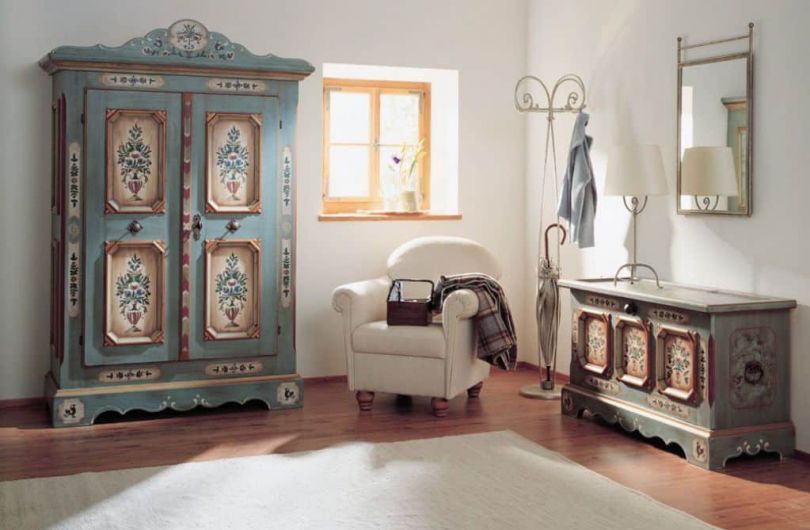
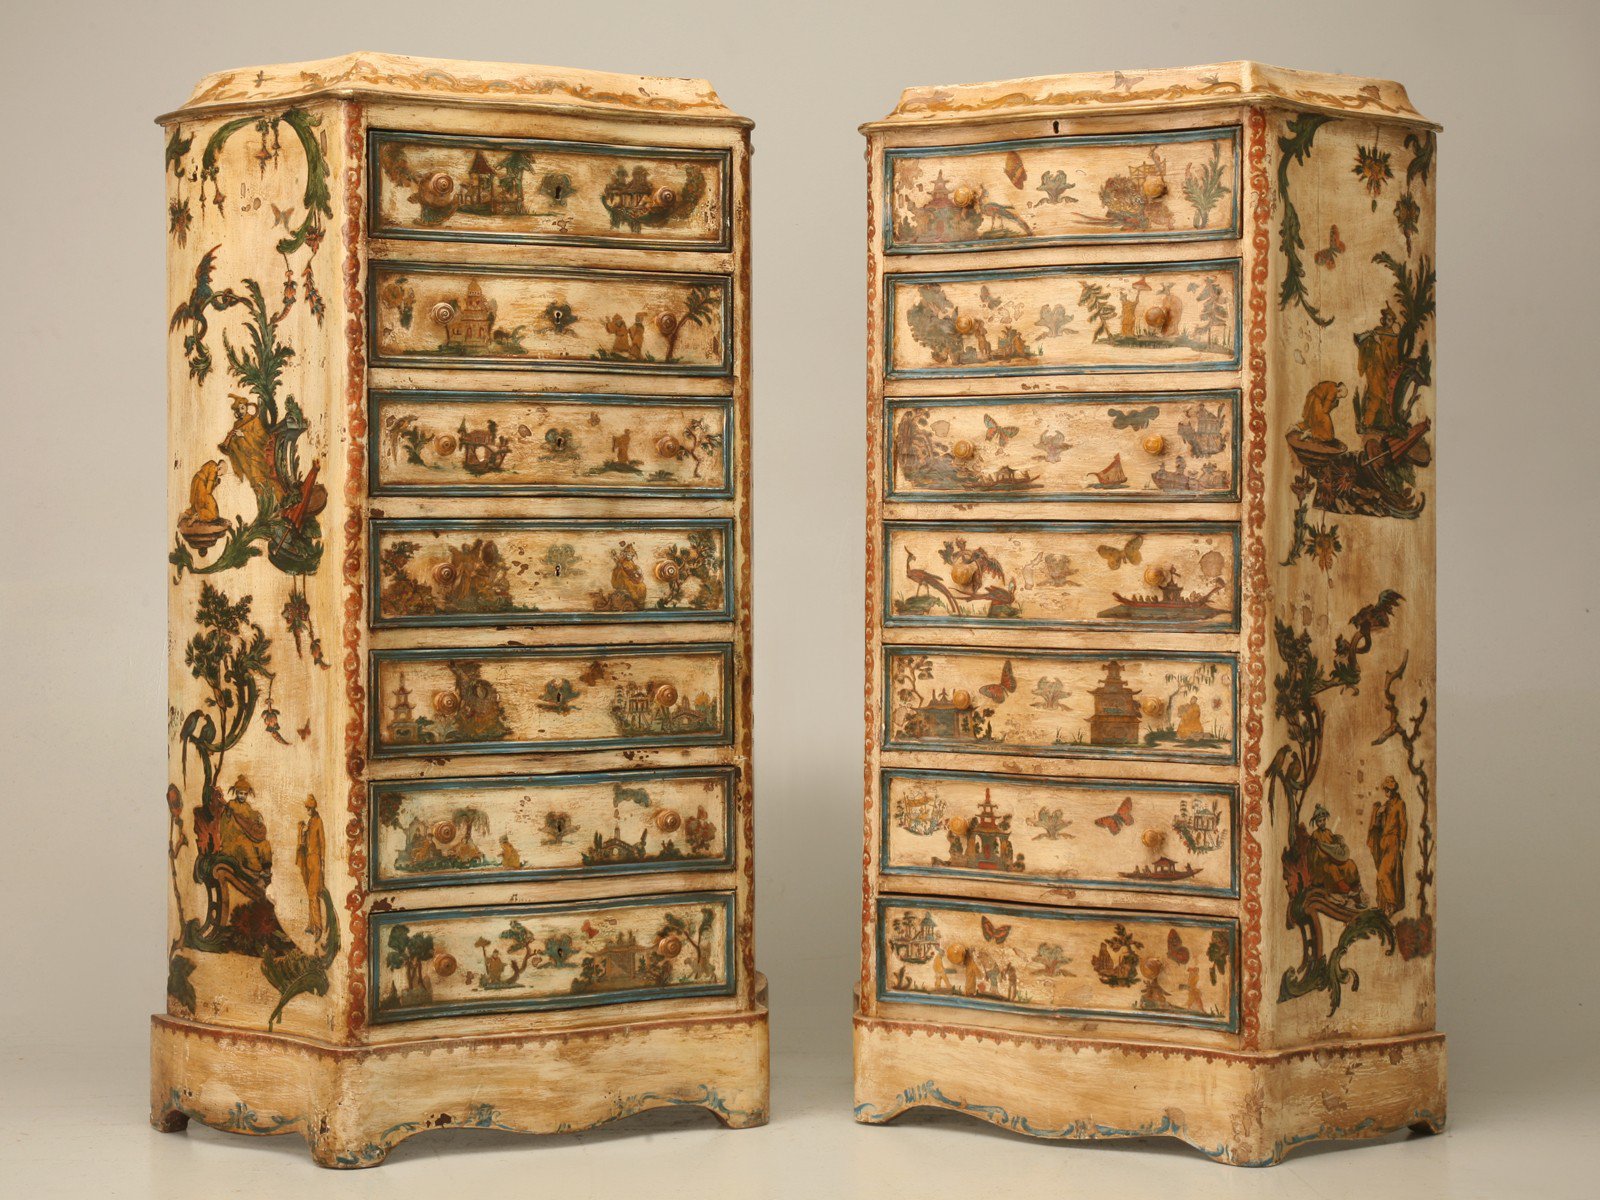
View a selection of photographs of decorated home furnishings. Here are some great options that you will love.
Video: how to remodel old furniture with your own hands


