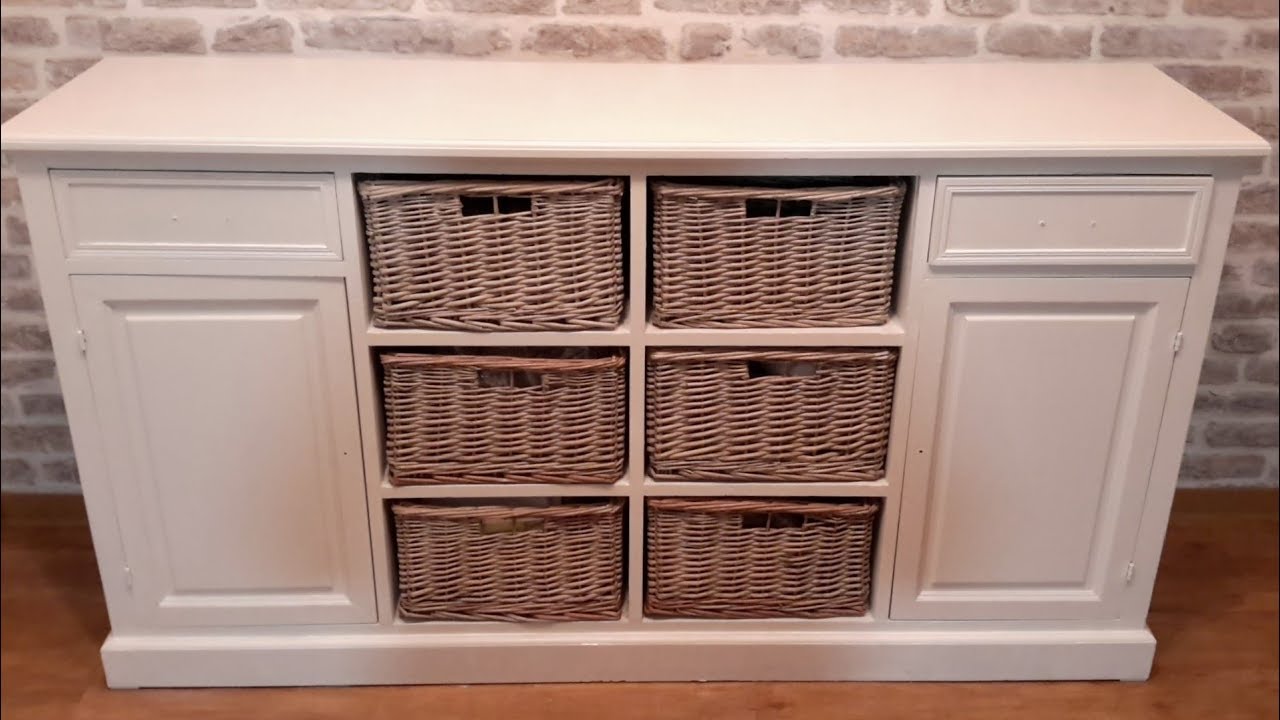
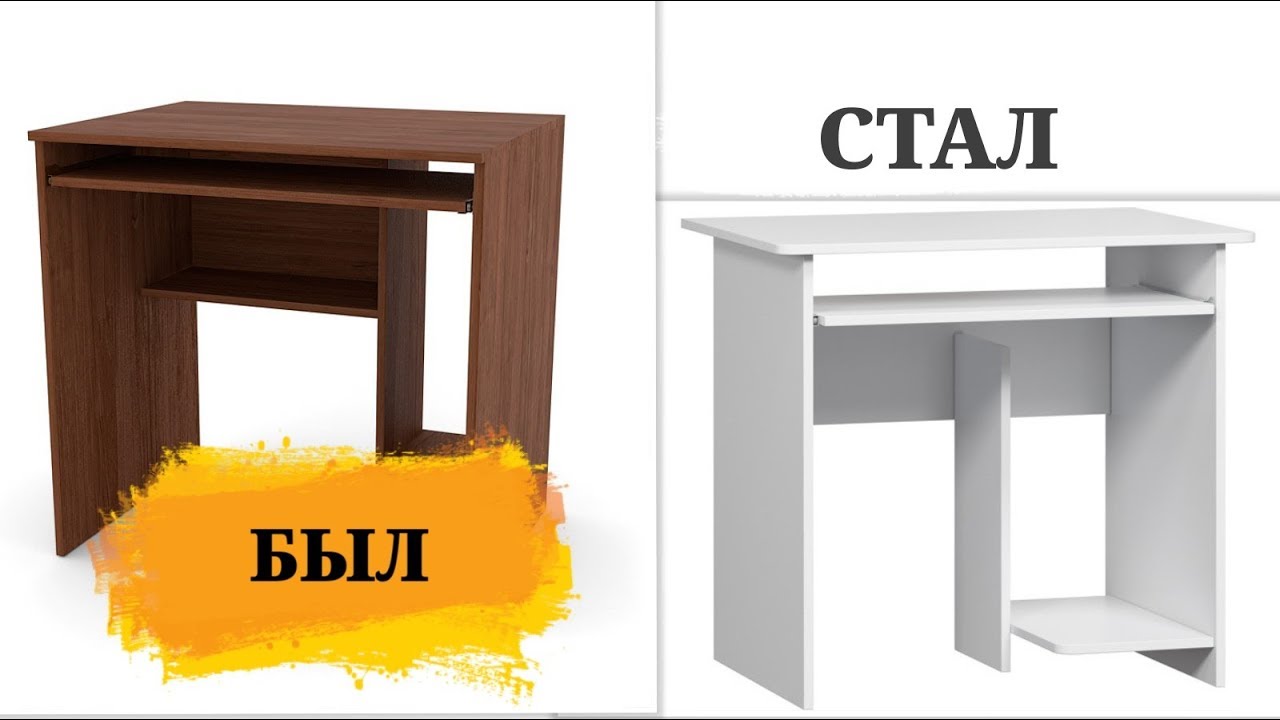
How to change the color of a chipboard cabinet to white
Each house has pieces of furniture that are very necessary: a table, chairs, a wardrobe. However, in addition to being practical, these interior items can fill your space with comfort and style.
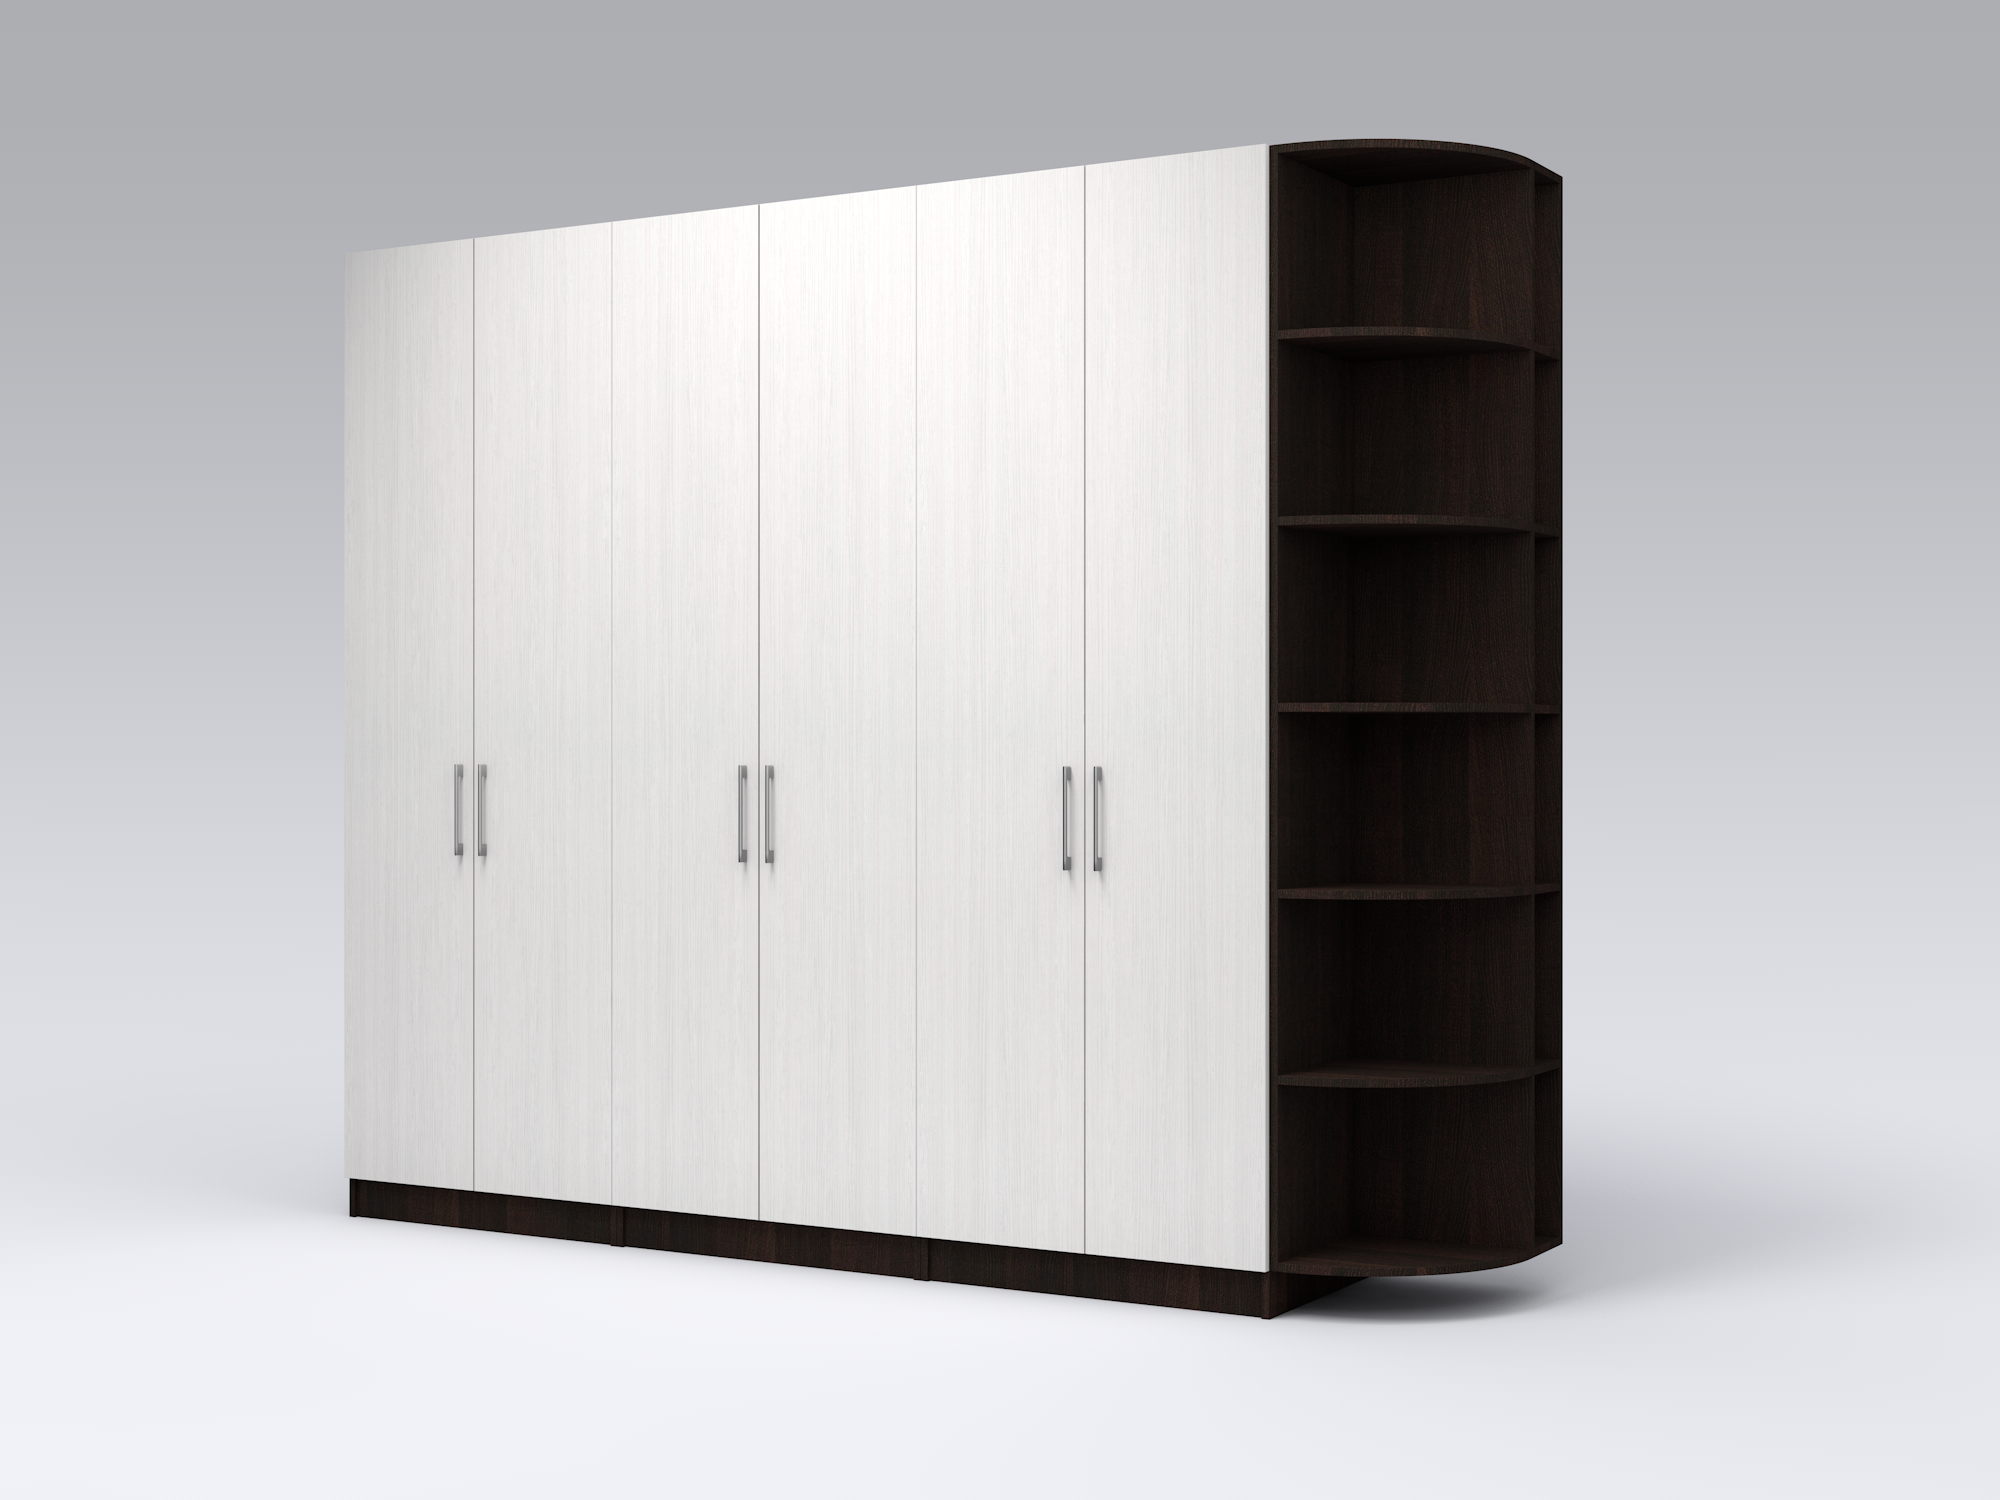
How can this be achieved? Is it possible to make the interior more creative with your own hands?
Choosing paint
Before starting work, you need to choose a paint. At home, it is better to paint with acrylic dyes. They are easily diluted with water, and you can get the desired shade by adding the desired pigment.
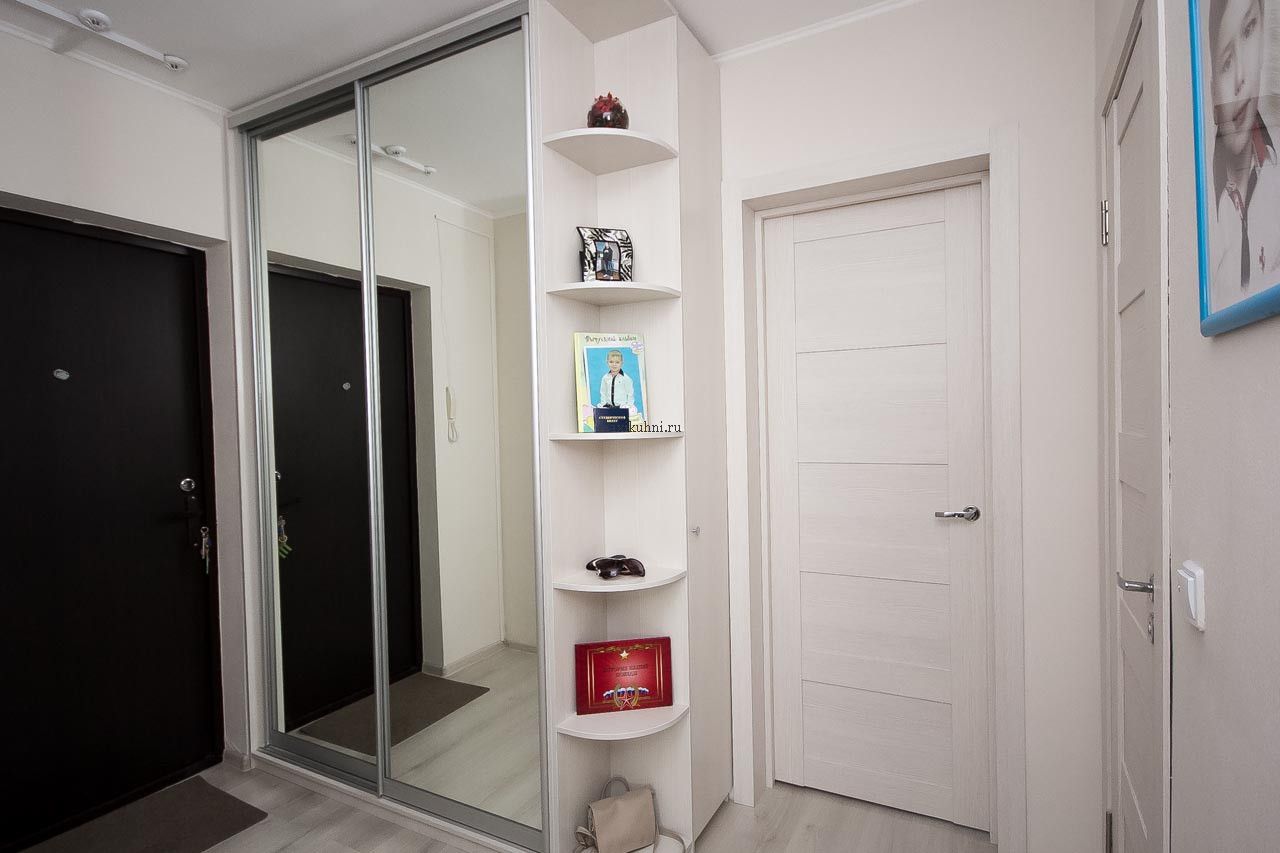
The main advantage of acrylic paint over oil or alkyd is the absence of a pungent odor. Do not think that only professionals can change the color of furniture, even a beginner can do it. Remember that the applied layer can be washed off only in the first hours after staining. Once the surface is dry, you cannot change anything.
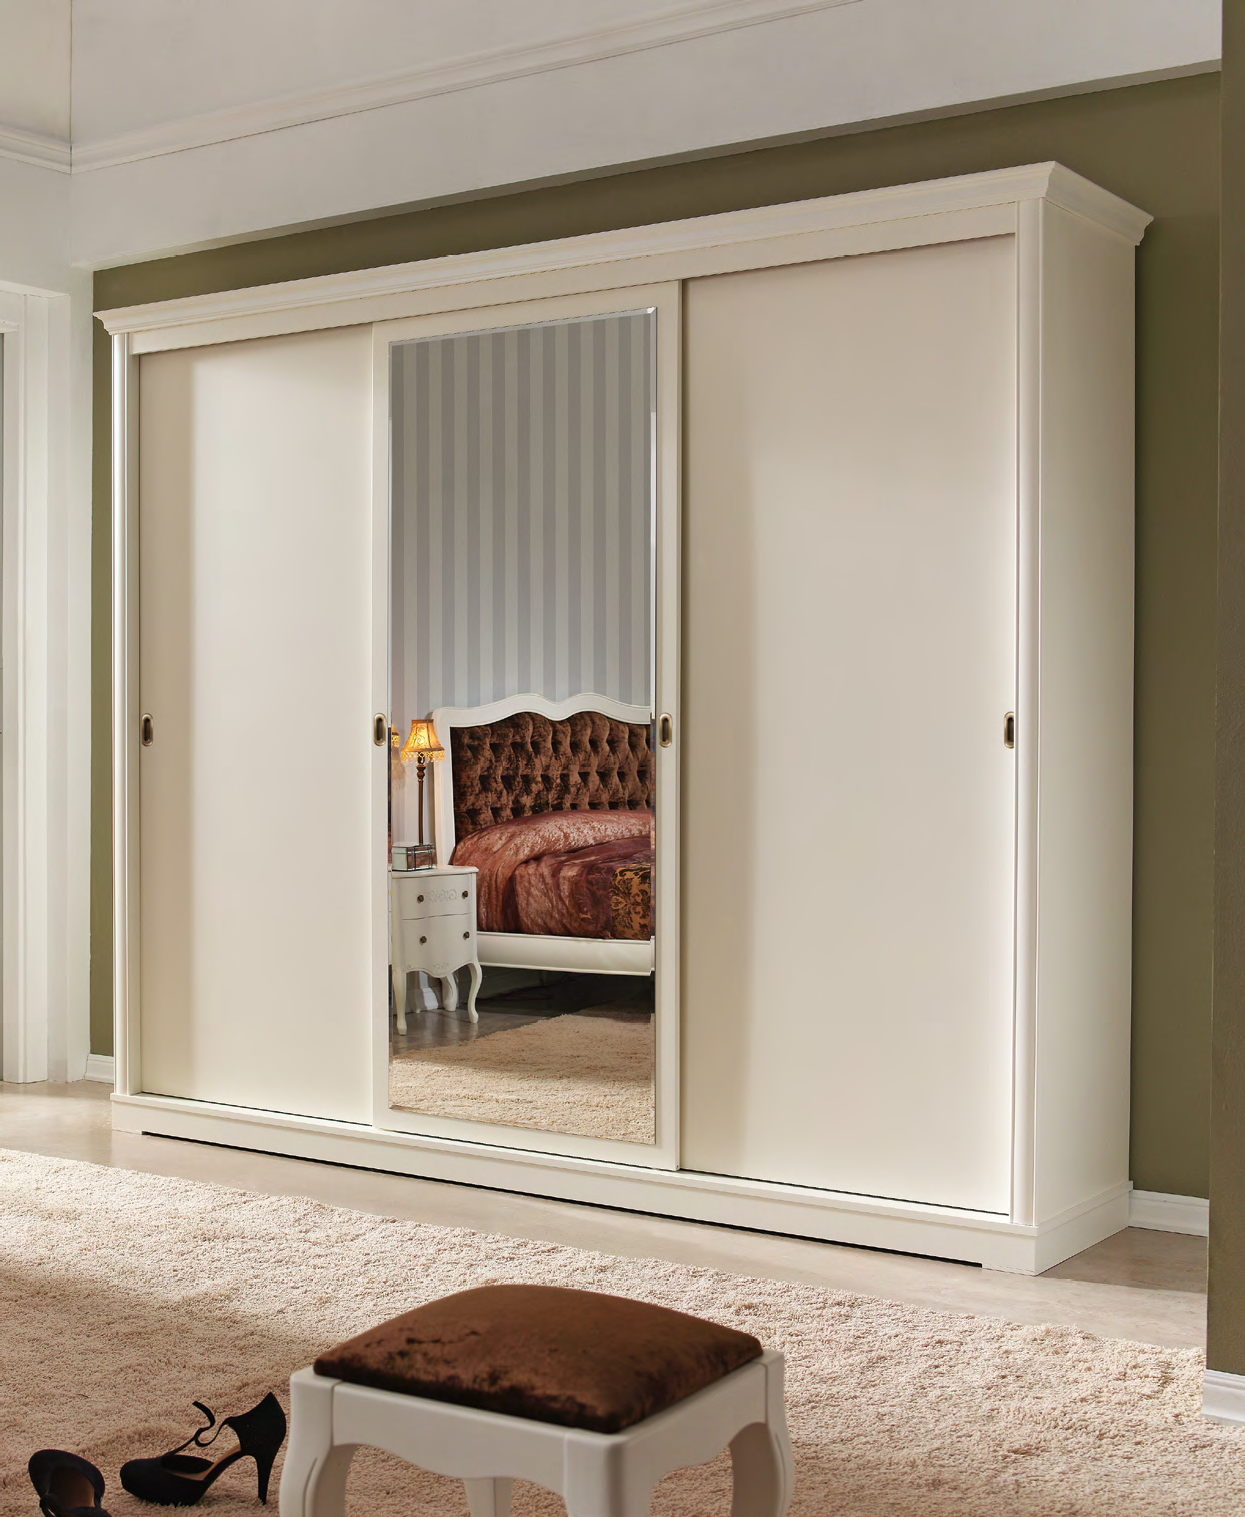
A wooden cabinet in the living room or a kitchen set made of MDF and chipboard can also be repainted with alkyd enamel. It is available in glossy, matte and semi-matte. Fits flat on the surface, has a rich palette of shades. True, it has a weak unpleasant odor, so it is better to paint in a well-ventilated area.
Materials and tools
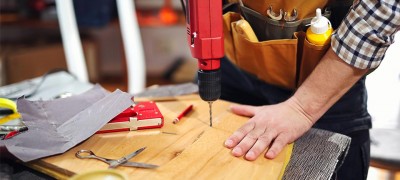
To repaint the cabinet, as well as to prepare for work, you will need the following tools:
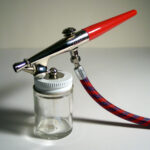
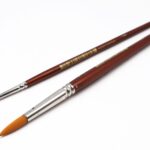
- Paint roller, spray gun or brush;
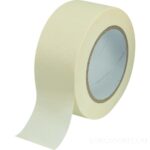
- Paper tape;
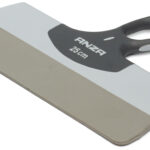
- Putty knife;
- Sandpaper with an abrasive layer of fine or medium fraction;
- A block for fixing sandpaper.
If you have a grinder or drill with special attachments, then this will significantly speed up the process of preparing surfaces for painting. In addition, you will need a wide container of water and soft cloths to dry and clean surfaces.
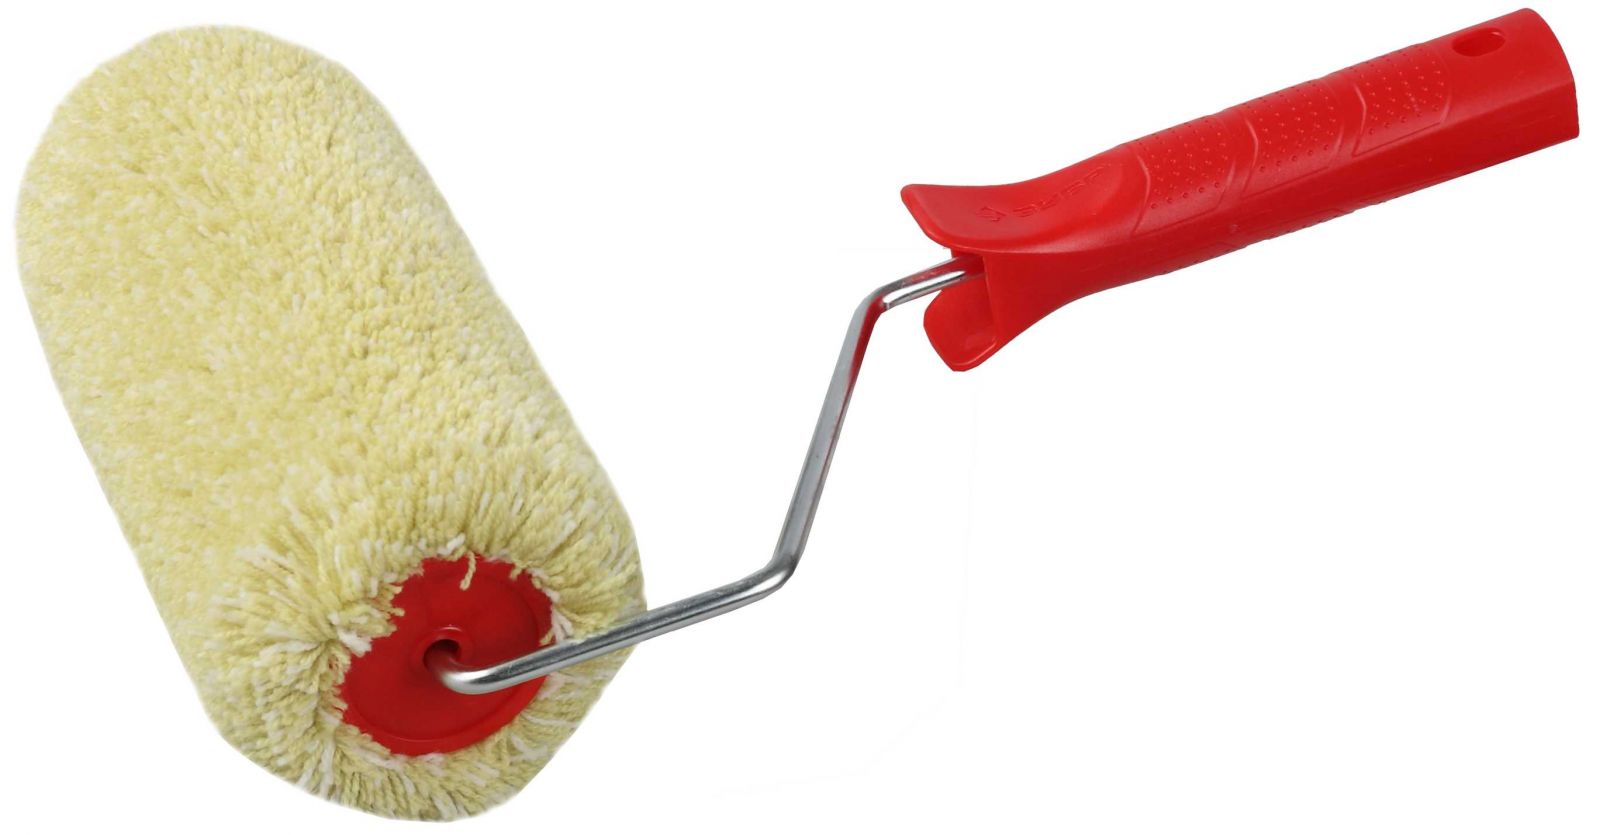
Should I use a roller or a brush? This question does not have, and there can be no definite answer. Much depends on the habits of the master: someone works exclusively with a brush, and another - only with a roller. And also on the area of the painted surface. It is clear that it is easier to paint a large area with a roller. On the other hand, when painting small details and decorative elements, you simply cannot do without a brush.

It allows you to feel the process, evenly distribute the paint over the product. If you prefer to work with a brush, have several options at hand: larger, smaller, and with different bristles. Regardless of whether you prefer to paint with a brush or a roller, the tool must be of high quality. Otherwise, the fluff will remain on the painted parts, and the paint will not lie in an even layer.
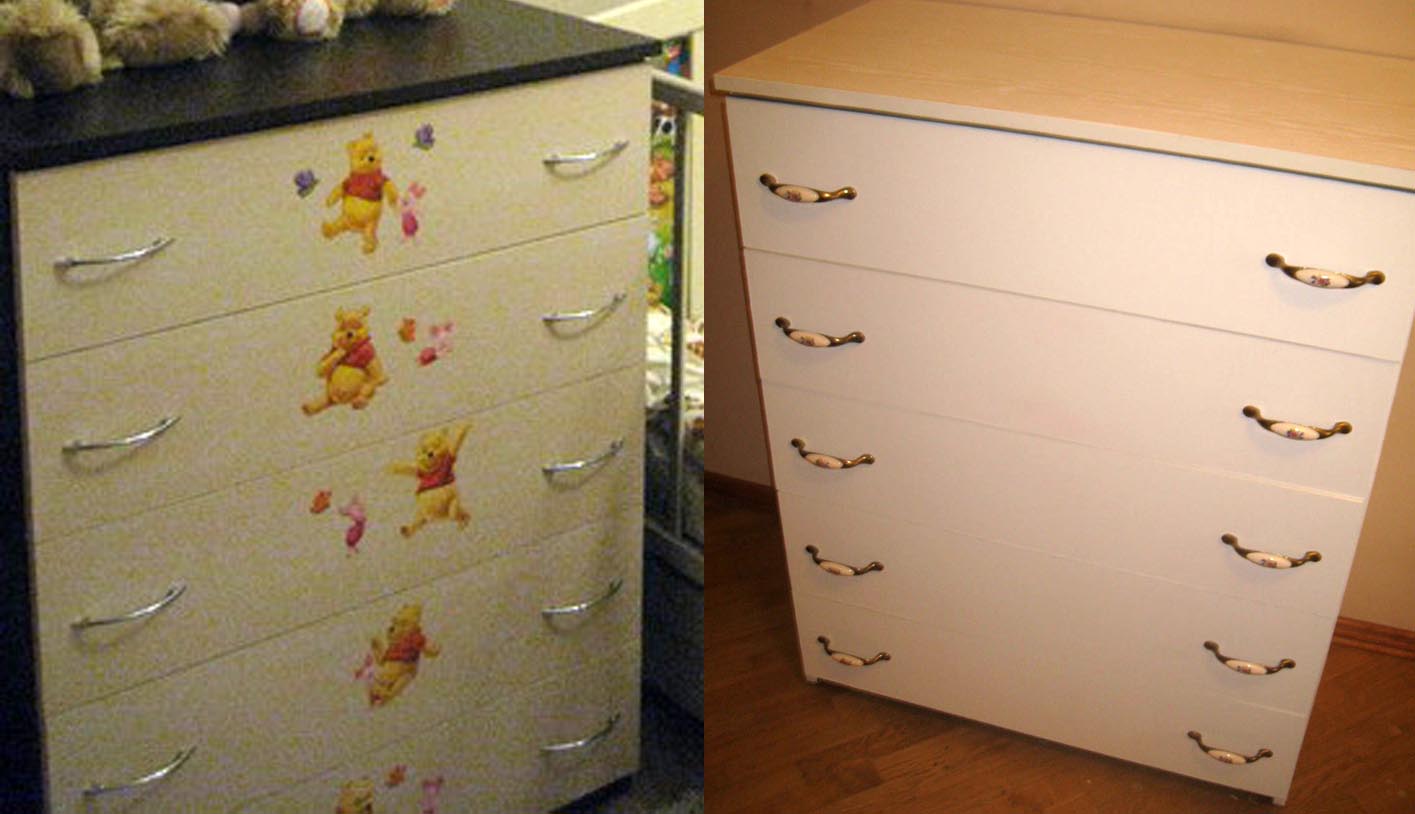
You can also purchase furniture spray enamel. Spray paint is very convenient for painting corners, hard-to-reach places and protruding decorative elements.
When deciding on the amount of paint, remember that you need to cover the surface with two or three coats.
And in addition to the paint itself, you will also need:
- Solvent;
- Putty;
- Primer.
Surface preparation
A lacquered cabinet made of solid wood, or a set of MDF, first need to be sanded. If you plan to do it manually, without special machines, then be prepared for a laborious process. If you have a sander at your disposal, it will save both time and effort.
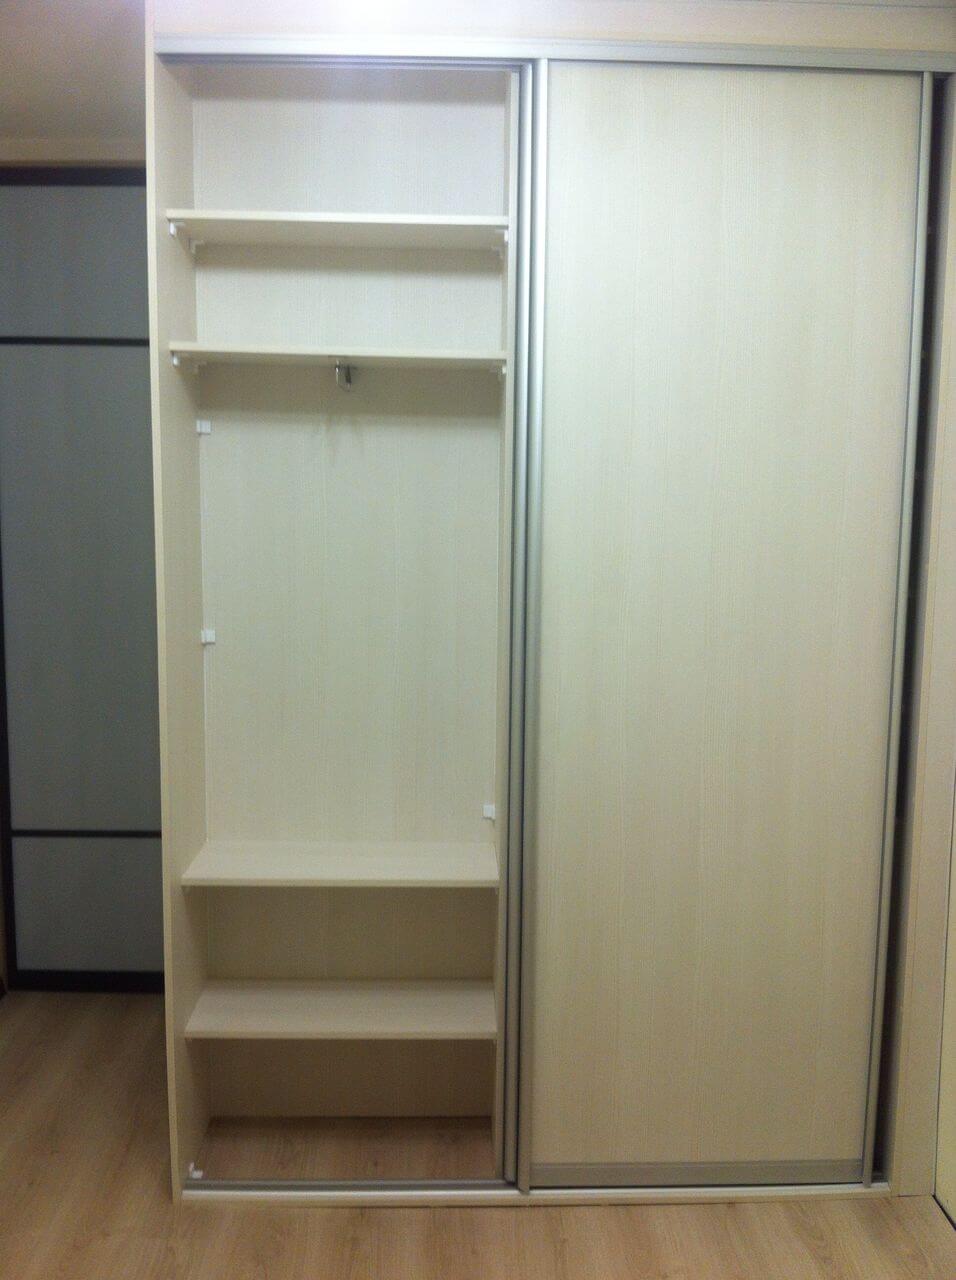
After processing, the surface becomes rough, and thanks to this, the paint penetrates deeper into the wood, lays down evenly and stays on the surface of the furniture for a long time. Remove the old varnish layer with medium-grained abrasives.
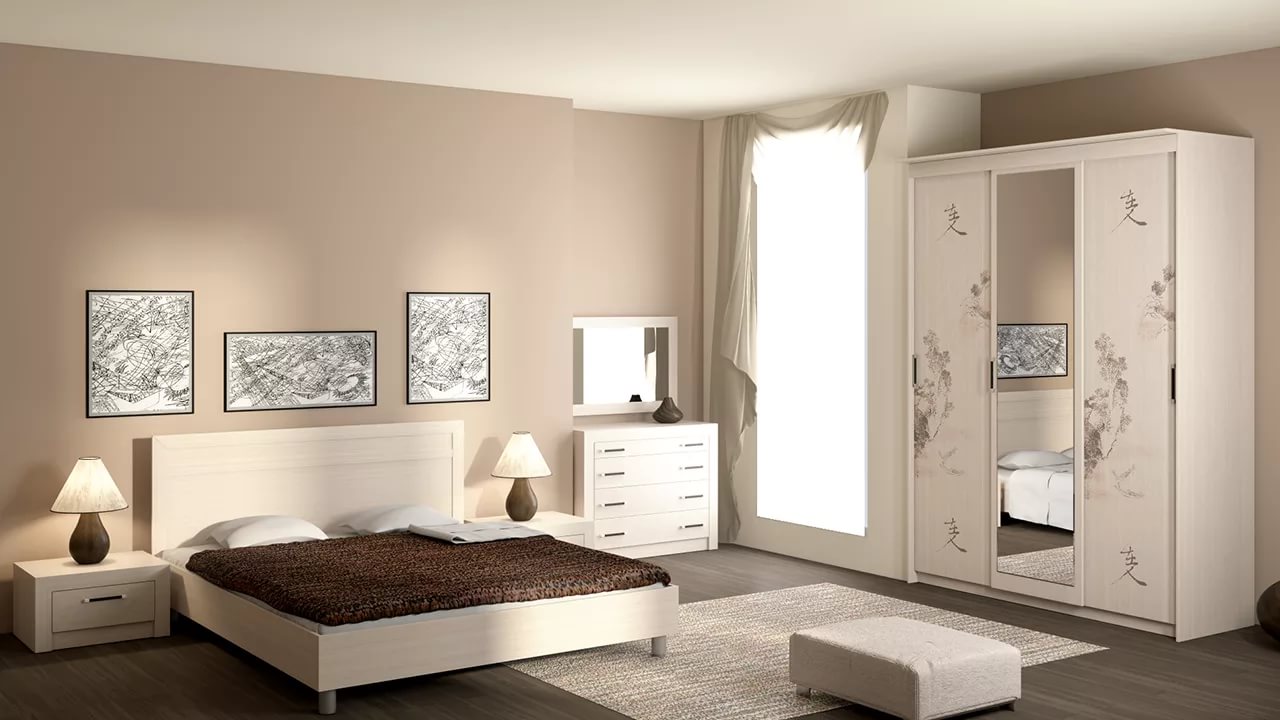
And after processing the entire surface with fine abrasive fractions, the final stage of sanding is carried out. Then dust and dirt are carefully removed from the surface. In the process of cleaning, do not use damp rags or sponges - the old layer of Farba will eat into the wood, and the new one will lie unevenly.
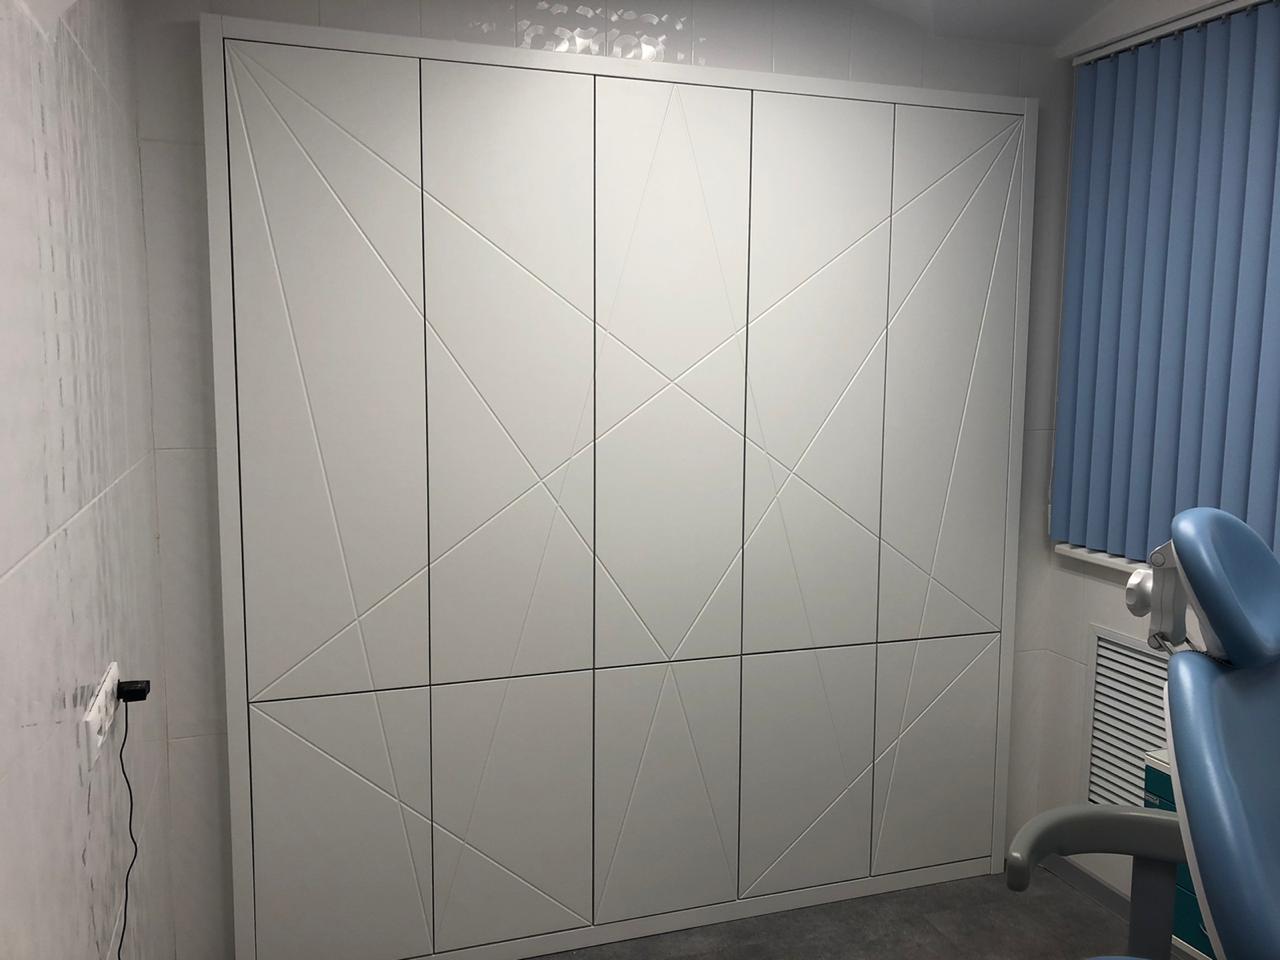
After abrasive treatment, the surface is degreased. This is a required step. Alcohol or acetone is used for degreasing. If you don't want to mess with abrasives, then you can skip the sanding stage, but in this case you need to use only high-quality spray paint.
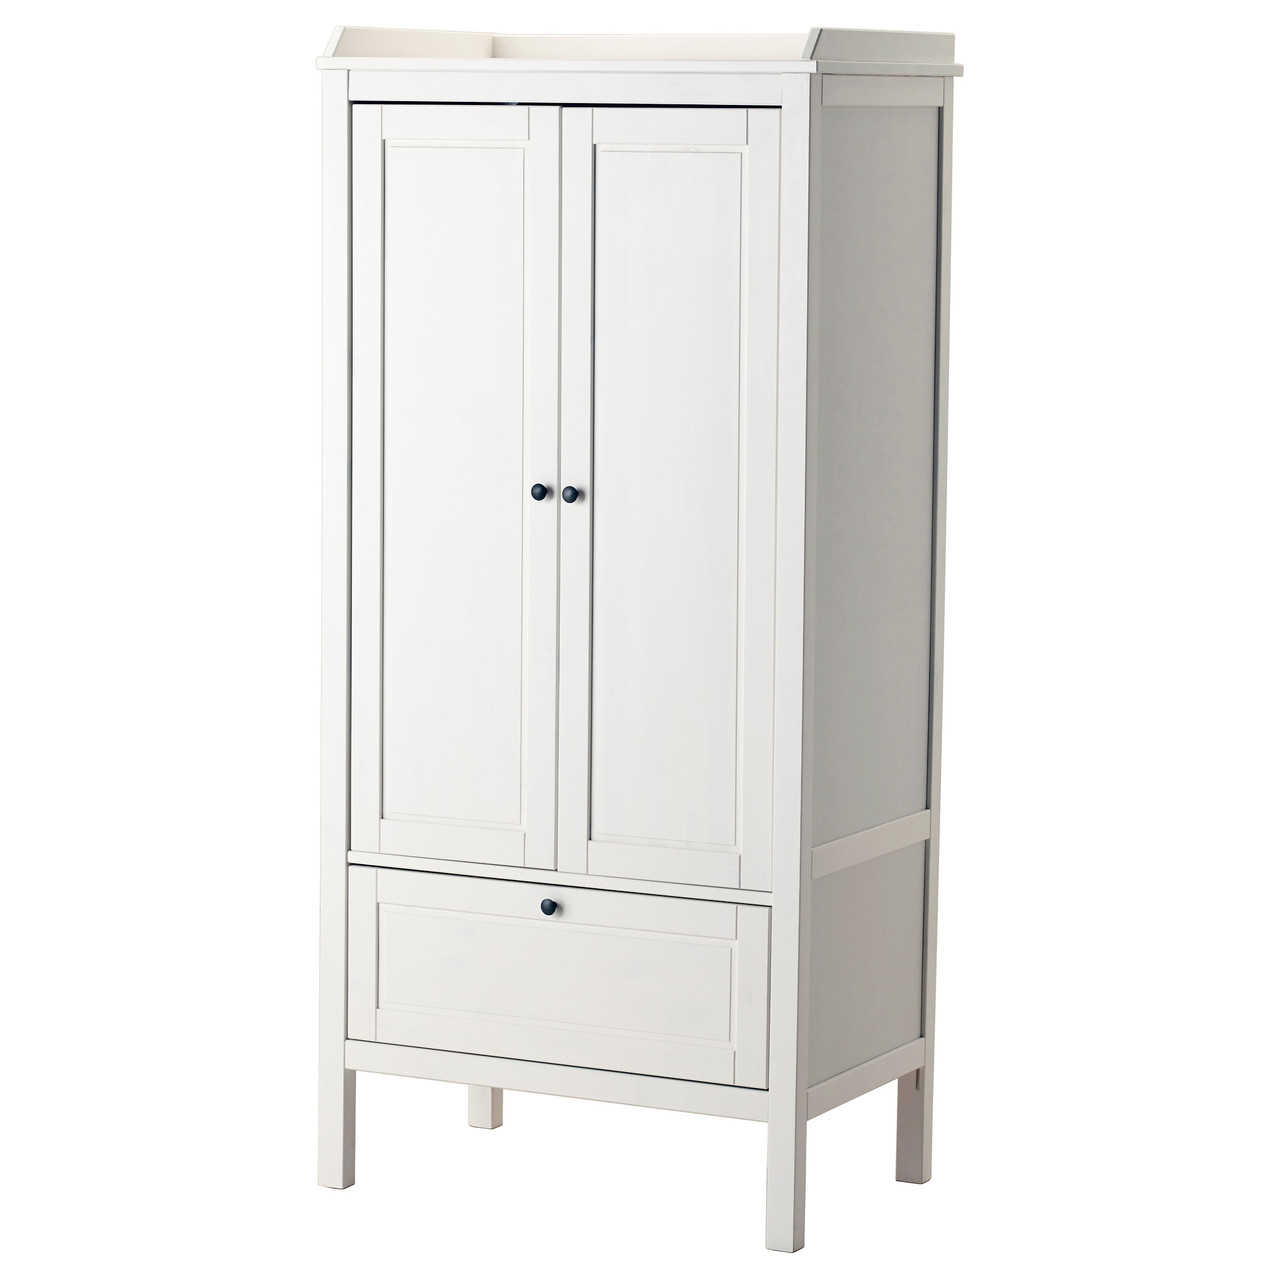
Then the wardrobe (cabinet, table) is simply treated with a degreaser (it is better to use white spirit), then a primer is applied and after that they start painting.
Restoration
Of course, without special skills, materials and tools, you are unlikely to be able to restore antique furniture or restore damaged decor on newer interior items. However, you are quite capable of patching up small cracks and chips.
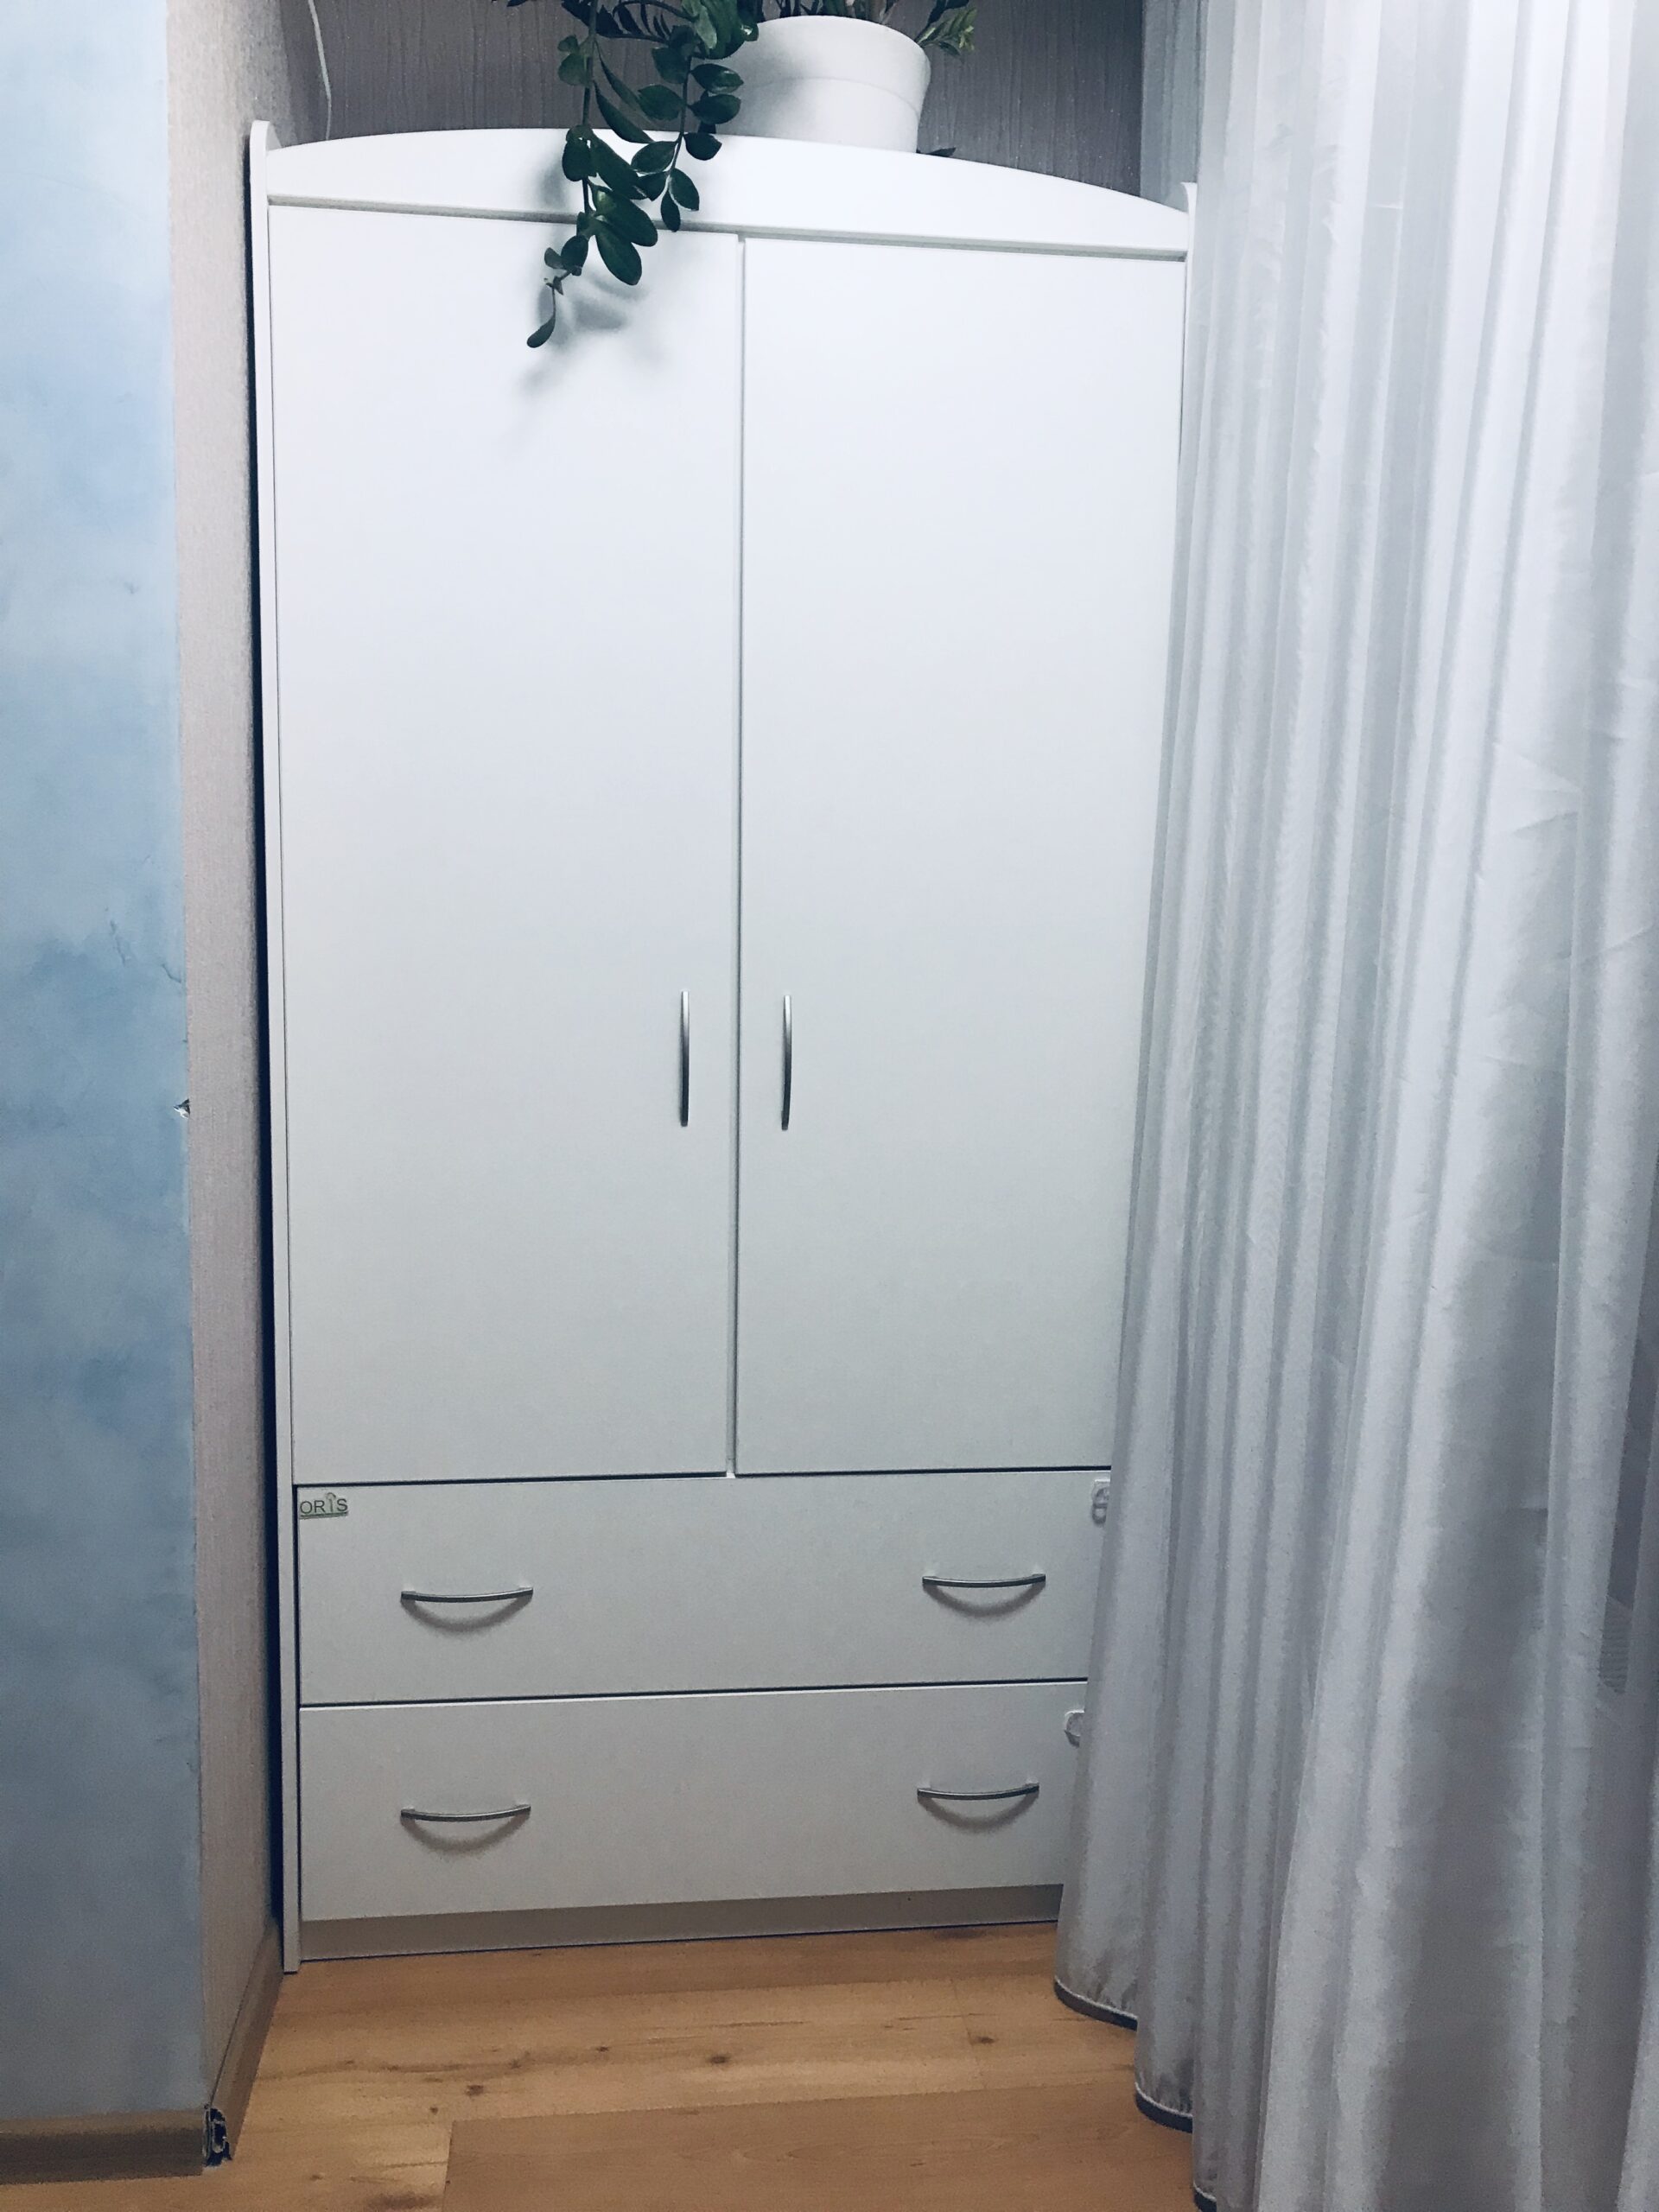
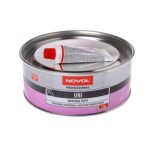
A putty is used to eliminate chips, scratches and cracks. And so that later the material for restoration does not fall out of the crack, the damaged area must first be treated with a primer.
Experts recommend using an automotive primer to restore hardwood furniture.
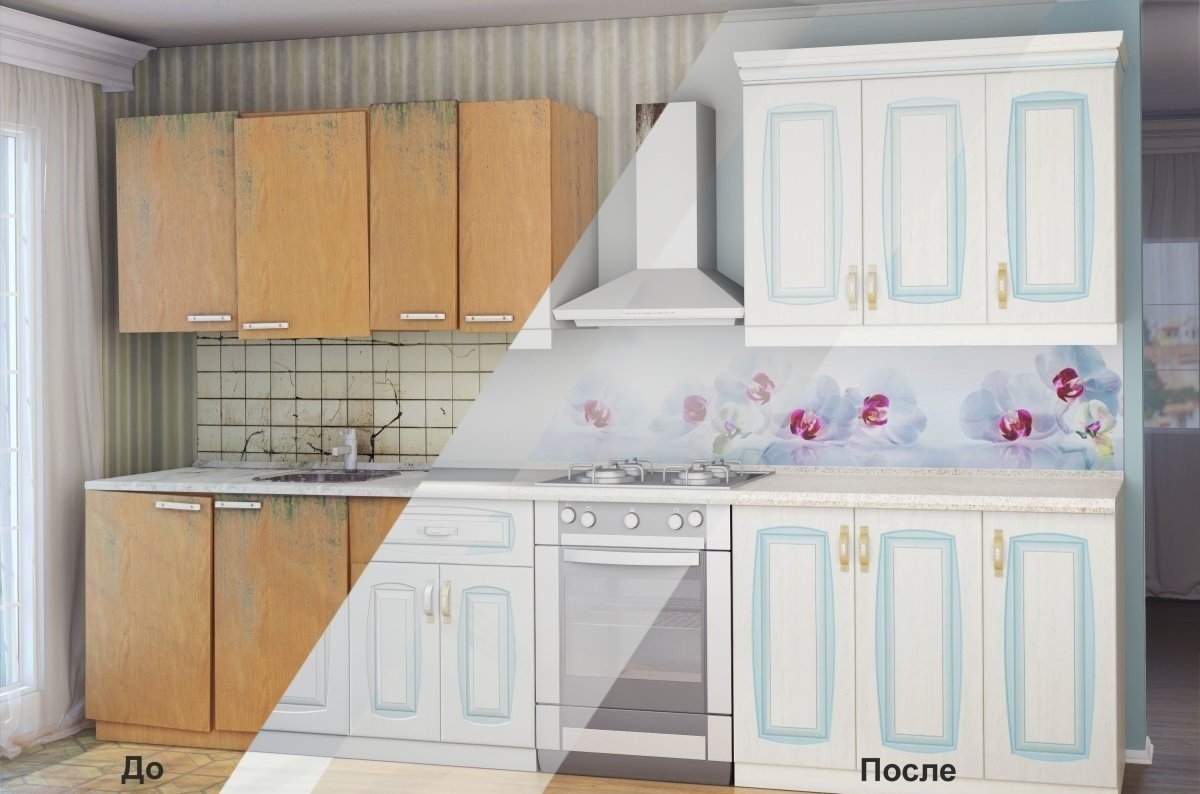
A high quality product will provide a secure adhesion of the putty and wood. After applying the putty, the surface is gently sanded. Remove dust and filler residues with a damp cloth.
Practical advice
- It is better to paint the cabinet outdoors or in a well-ventilated area. Place all the necessary tools and materials near the place of work. Remove all fittings from the cabinet.
- The enamel should have a liquid consistency. If the paint has thickened, it must be diluted.
- When deciding to change the color of the cabinet, remember that the first coat of paint applied will have a lighter shade. Therefore, if after applying the first layer you notice that the furniture has become lighter than you would like, do not rush to draw conclusions.
- A thicker layer of paint gives a richer color. By the way, this is also true for white paint. Multiple coats will give a superb crisp white finish.
- Masking tape will help prevent paint from staining individual cabinet elements.
White furniture in the interior is an unusual and stylish solution. You can change the color of the cabinet to white, or, conversely, make it unusually bright and non-standard, you can yourself. This will require a minimum investment of time and effort.
Video: how to repaint old furniture white
