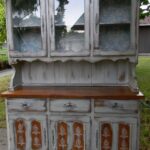
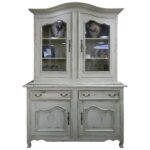
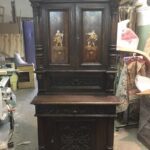
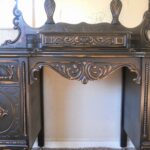
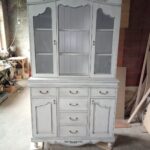
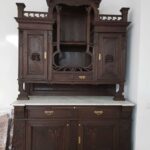
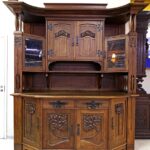
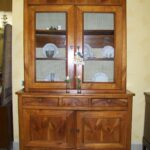
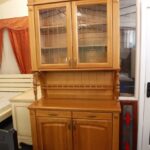
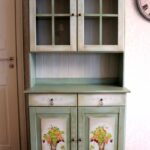
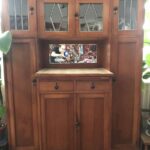
How to restore a buffet with your own hands
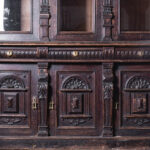
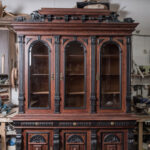
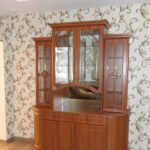
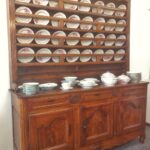
When you decide to throw away the old, inherited buffet, think about the fact that many, in pursuit of antiquity, overpay a lot of money. It turns out that you are going to throw into the landfill not only a piece of your family's history, but also a small fortune.
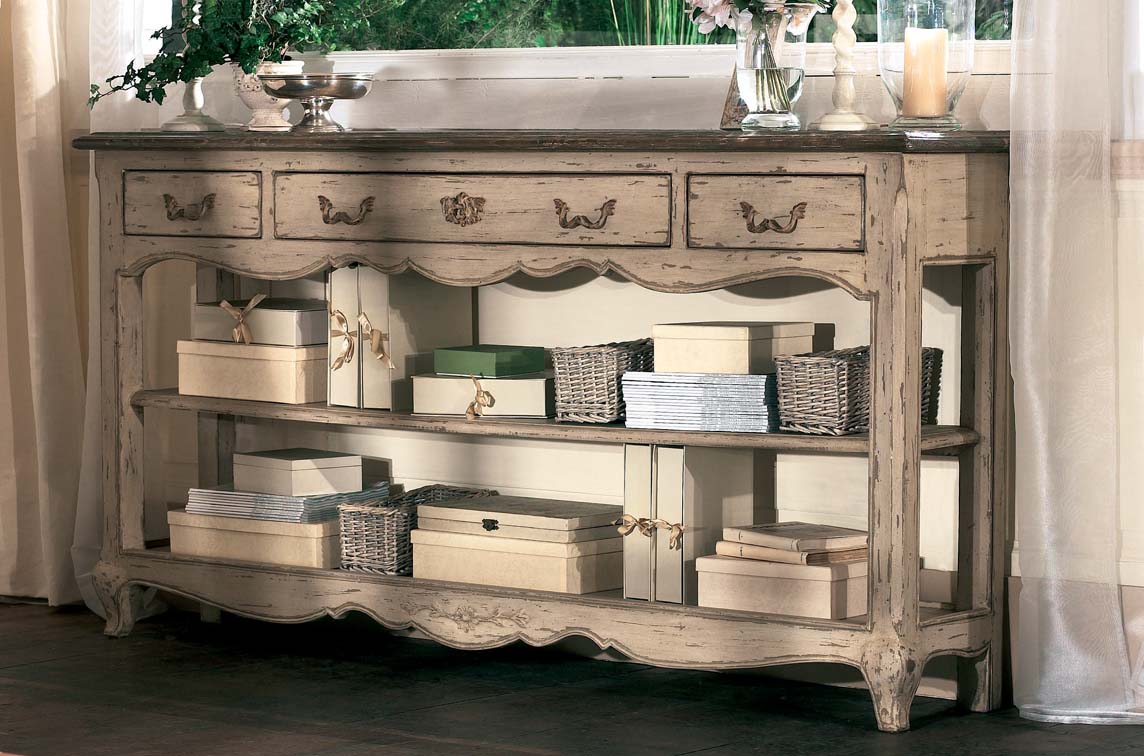
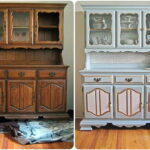
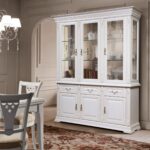
Maybe the best solution would be to restore the buffet. Believe me, when the renovated, with your own hands, the locker will sparkle with fresh colors, you, not for what money, will not want to part with it.
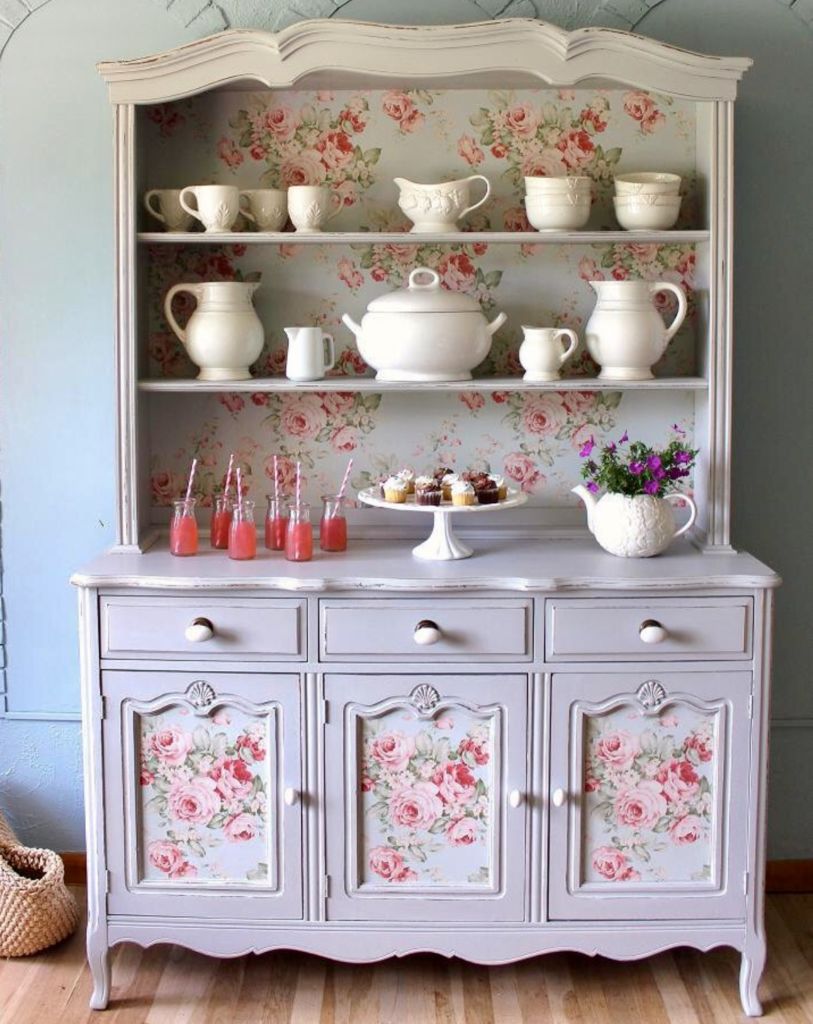
It will not be easy to cope with the task, but perhaps you will like it, and you will open a workshop for the restoration of old furniture.
How to disassemble the buffet
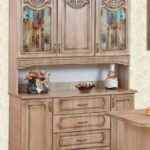
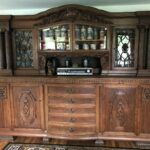
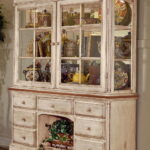
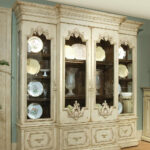
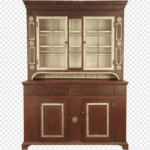
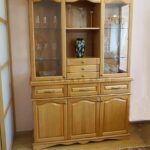
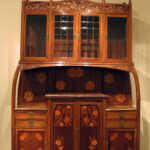
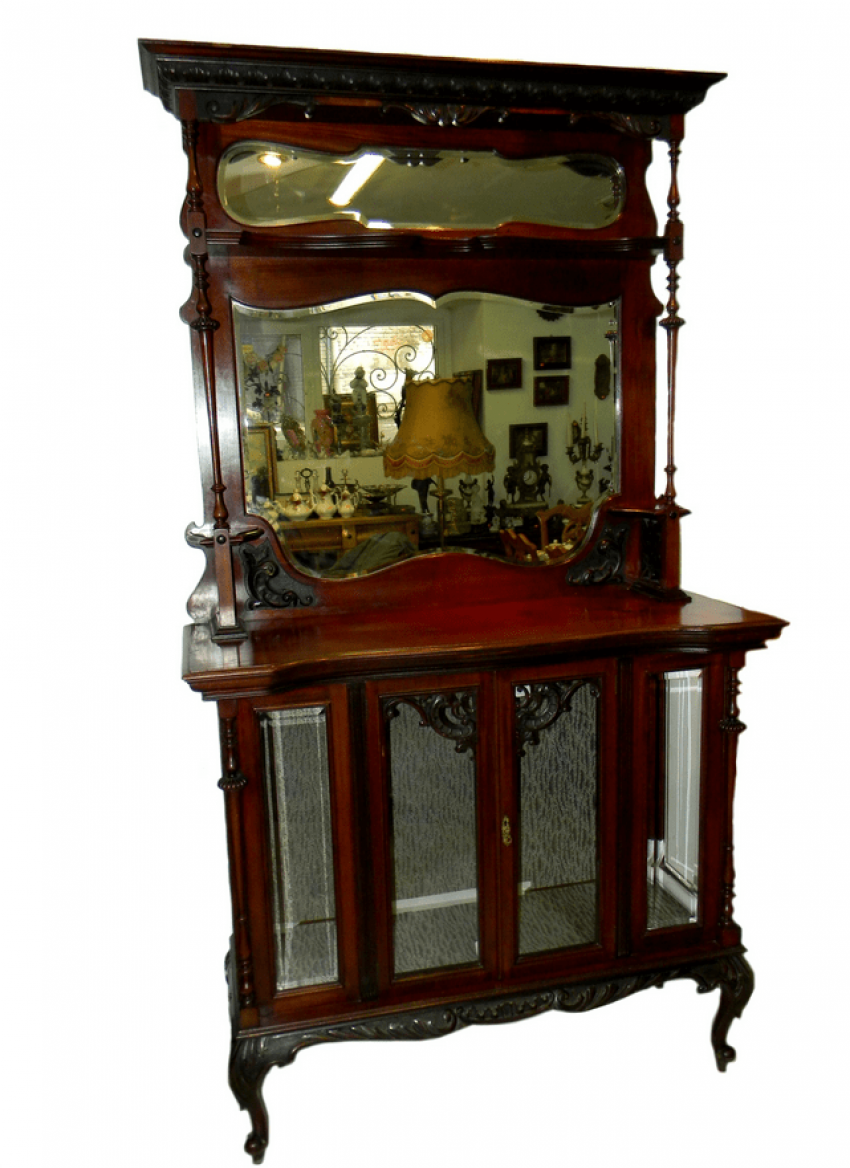
I must say right away that the work is not easy and will take a lot of free time from you, but, as they say, the eyes are afraid, but the hands are doing. This antique piece is a hybrid of a kitchen cabinet and a nightstand.
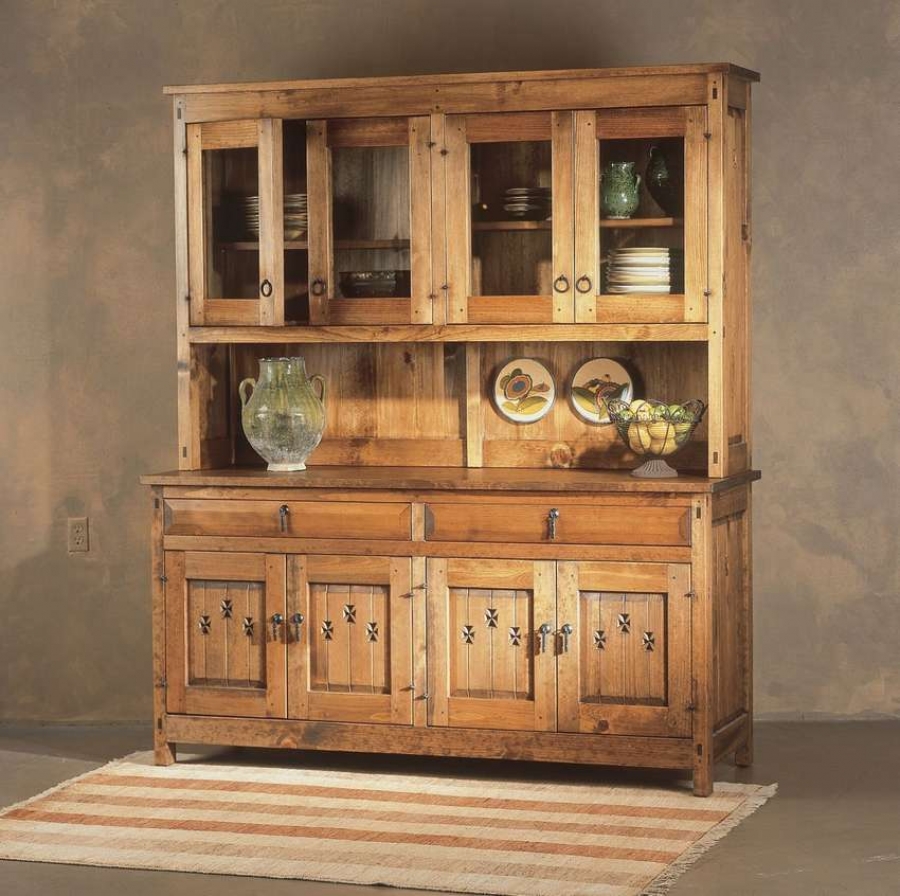
The sideboard is designed to store dishes, bulk ingredients for cooking, kitchen and table linen. Before restoration, the surface of the old sideboard requires preliminary preparation.
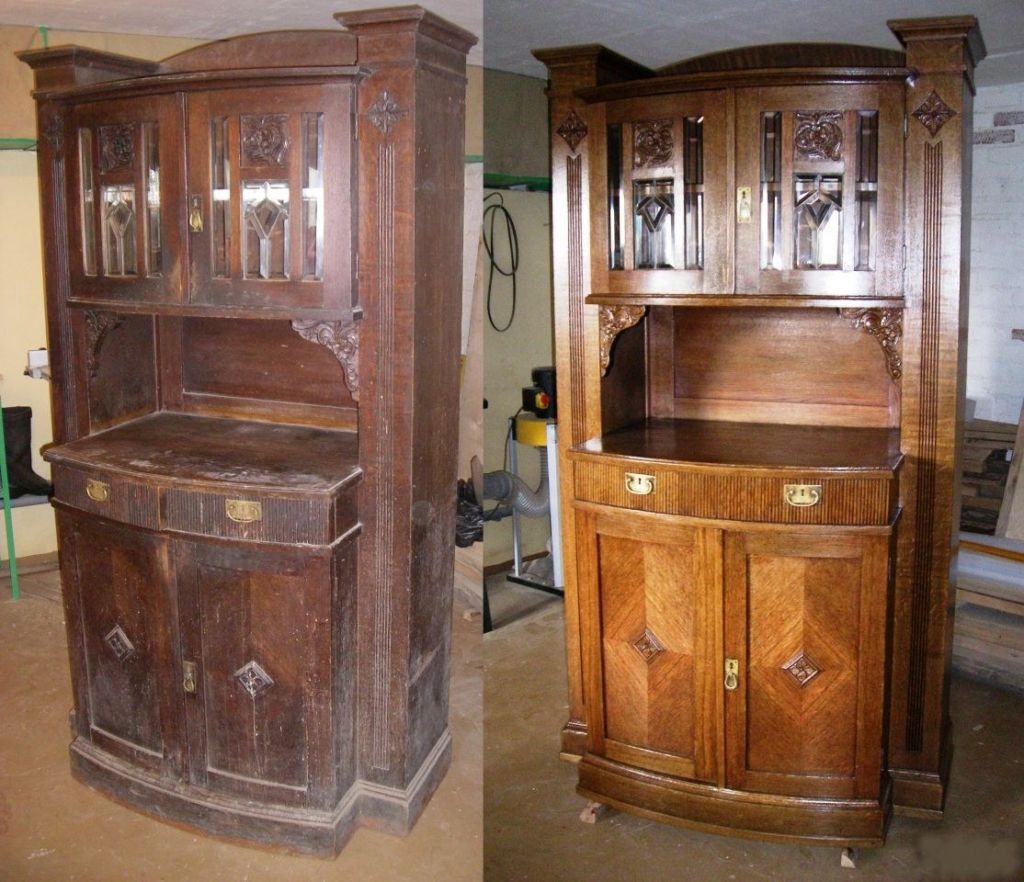
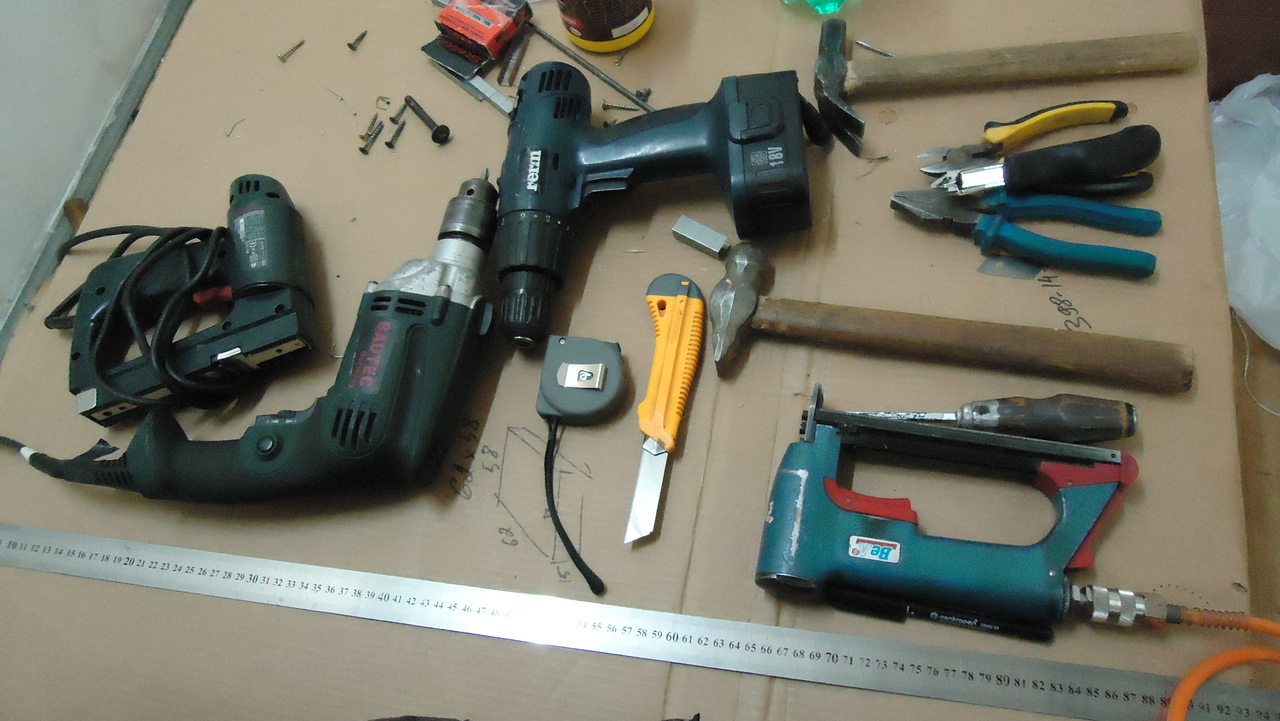
At the first stage, you need to disassemble it as much as possible, that is, free it from all separating elements:
- We remove the shelves that are not fixed from the shelf supports.
- We disassemble the fasteners of the fixed shelves and take them out.
- We take out all the boxes. If it is planned to install sliding elements on roller guides, then it is necessary to remove the old support bars made of wood, having previously unscrewed the fastening screws from them.
- Unscrew the handles from the doors and fronts of the boxes.
- We remove the doors of the lockers. To do this, use a screwdriver to unscrew the screws from the awnings on the doors and sidewalls of the case.
- We take out the glass from the door grilles. If they do not give in, we leave it in place, but we glue the surface with paper and masking tape to protect it from varnish, paint and mechanical damage.
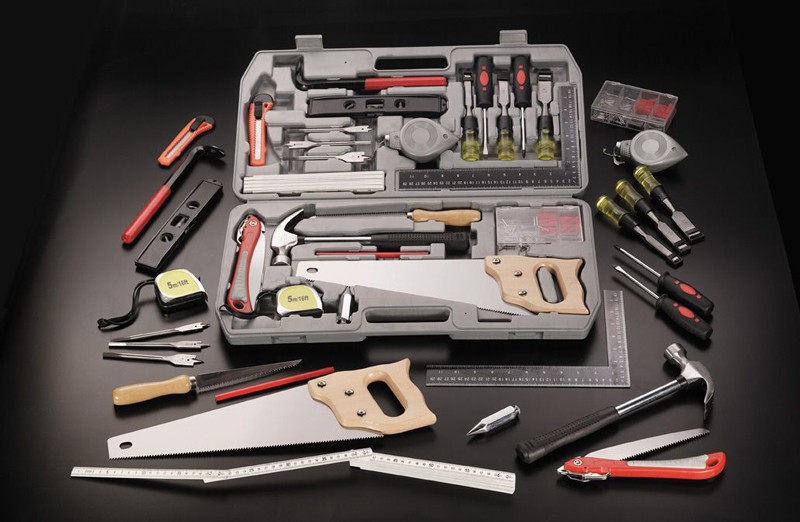
Removing veneers
Veneer is a thin sheet of wood that is glued to the surface of wood furniture to give it strength and attractiveness. Over time, it ages, cracks and flakes off.
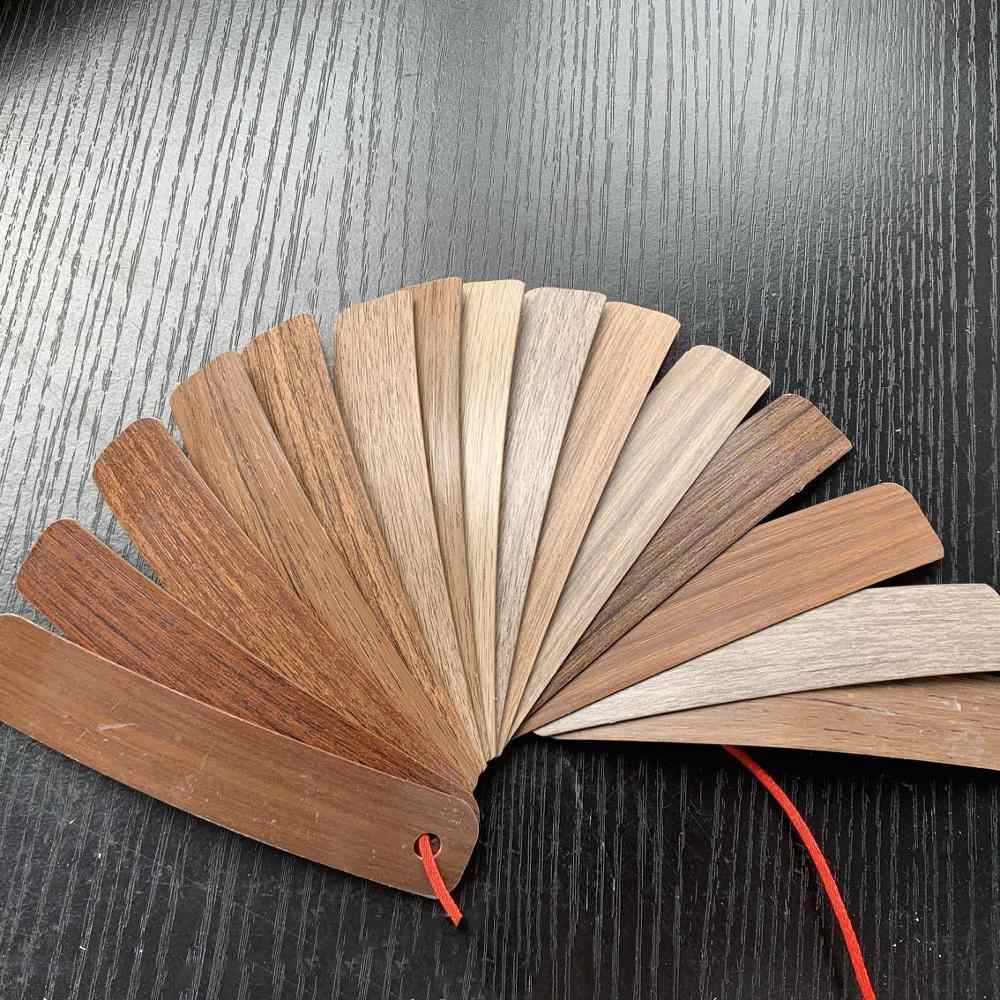
The following steps are required to remove the old veneer:
- To facilitate the operation, the surface to be cleaned should be well moistened. Liberally moisten a piece of soft cloth in warm water, wring it out and spread it over the entire stripping area. Leave for 2-3 hours to loosen the material.
- We arm ourselves with a spatula and begin to clean from the places where cracks, swellings, or the edge is wrapped. The tool must be moved parallel to the surface.
- Old veneers can peel off in strips if pulled upward on the edge.
Bonding broken and old parts
Since we are restoring a buffet, a product worn by time, it is possible that its individual elements may be damaged. Fractures, cracks, cracked and loose joints, all this can be glued together, and after processing such parts will serve no worse than new ones.
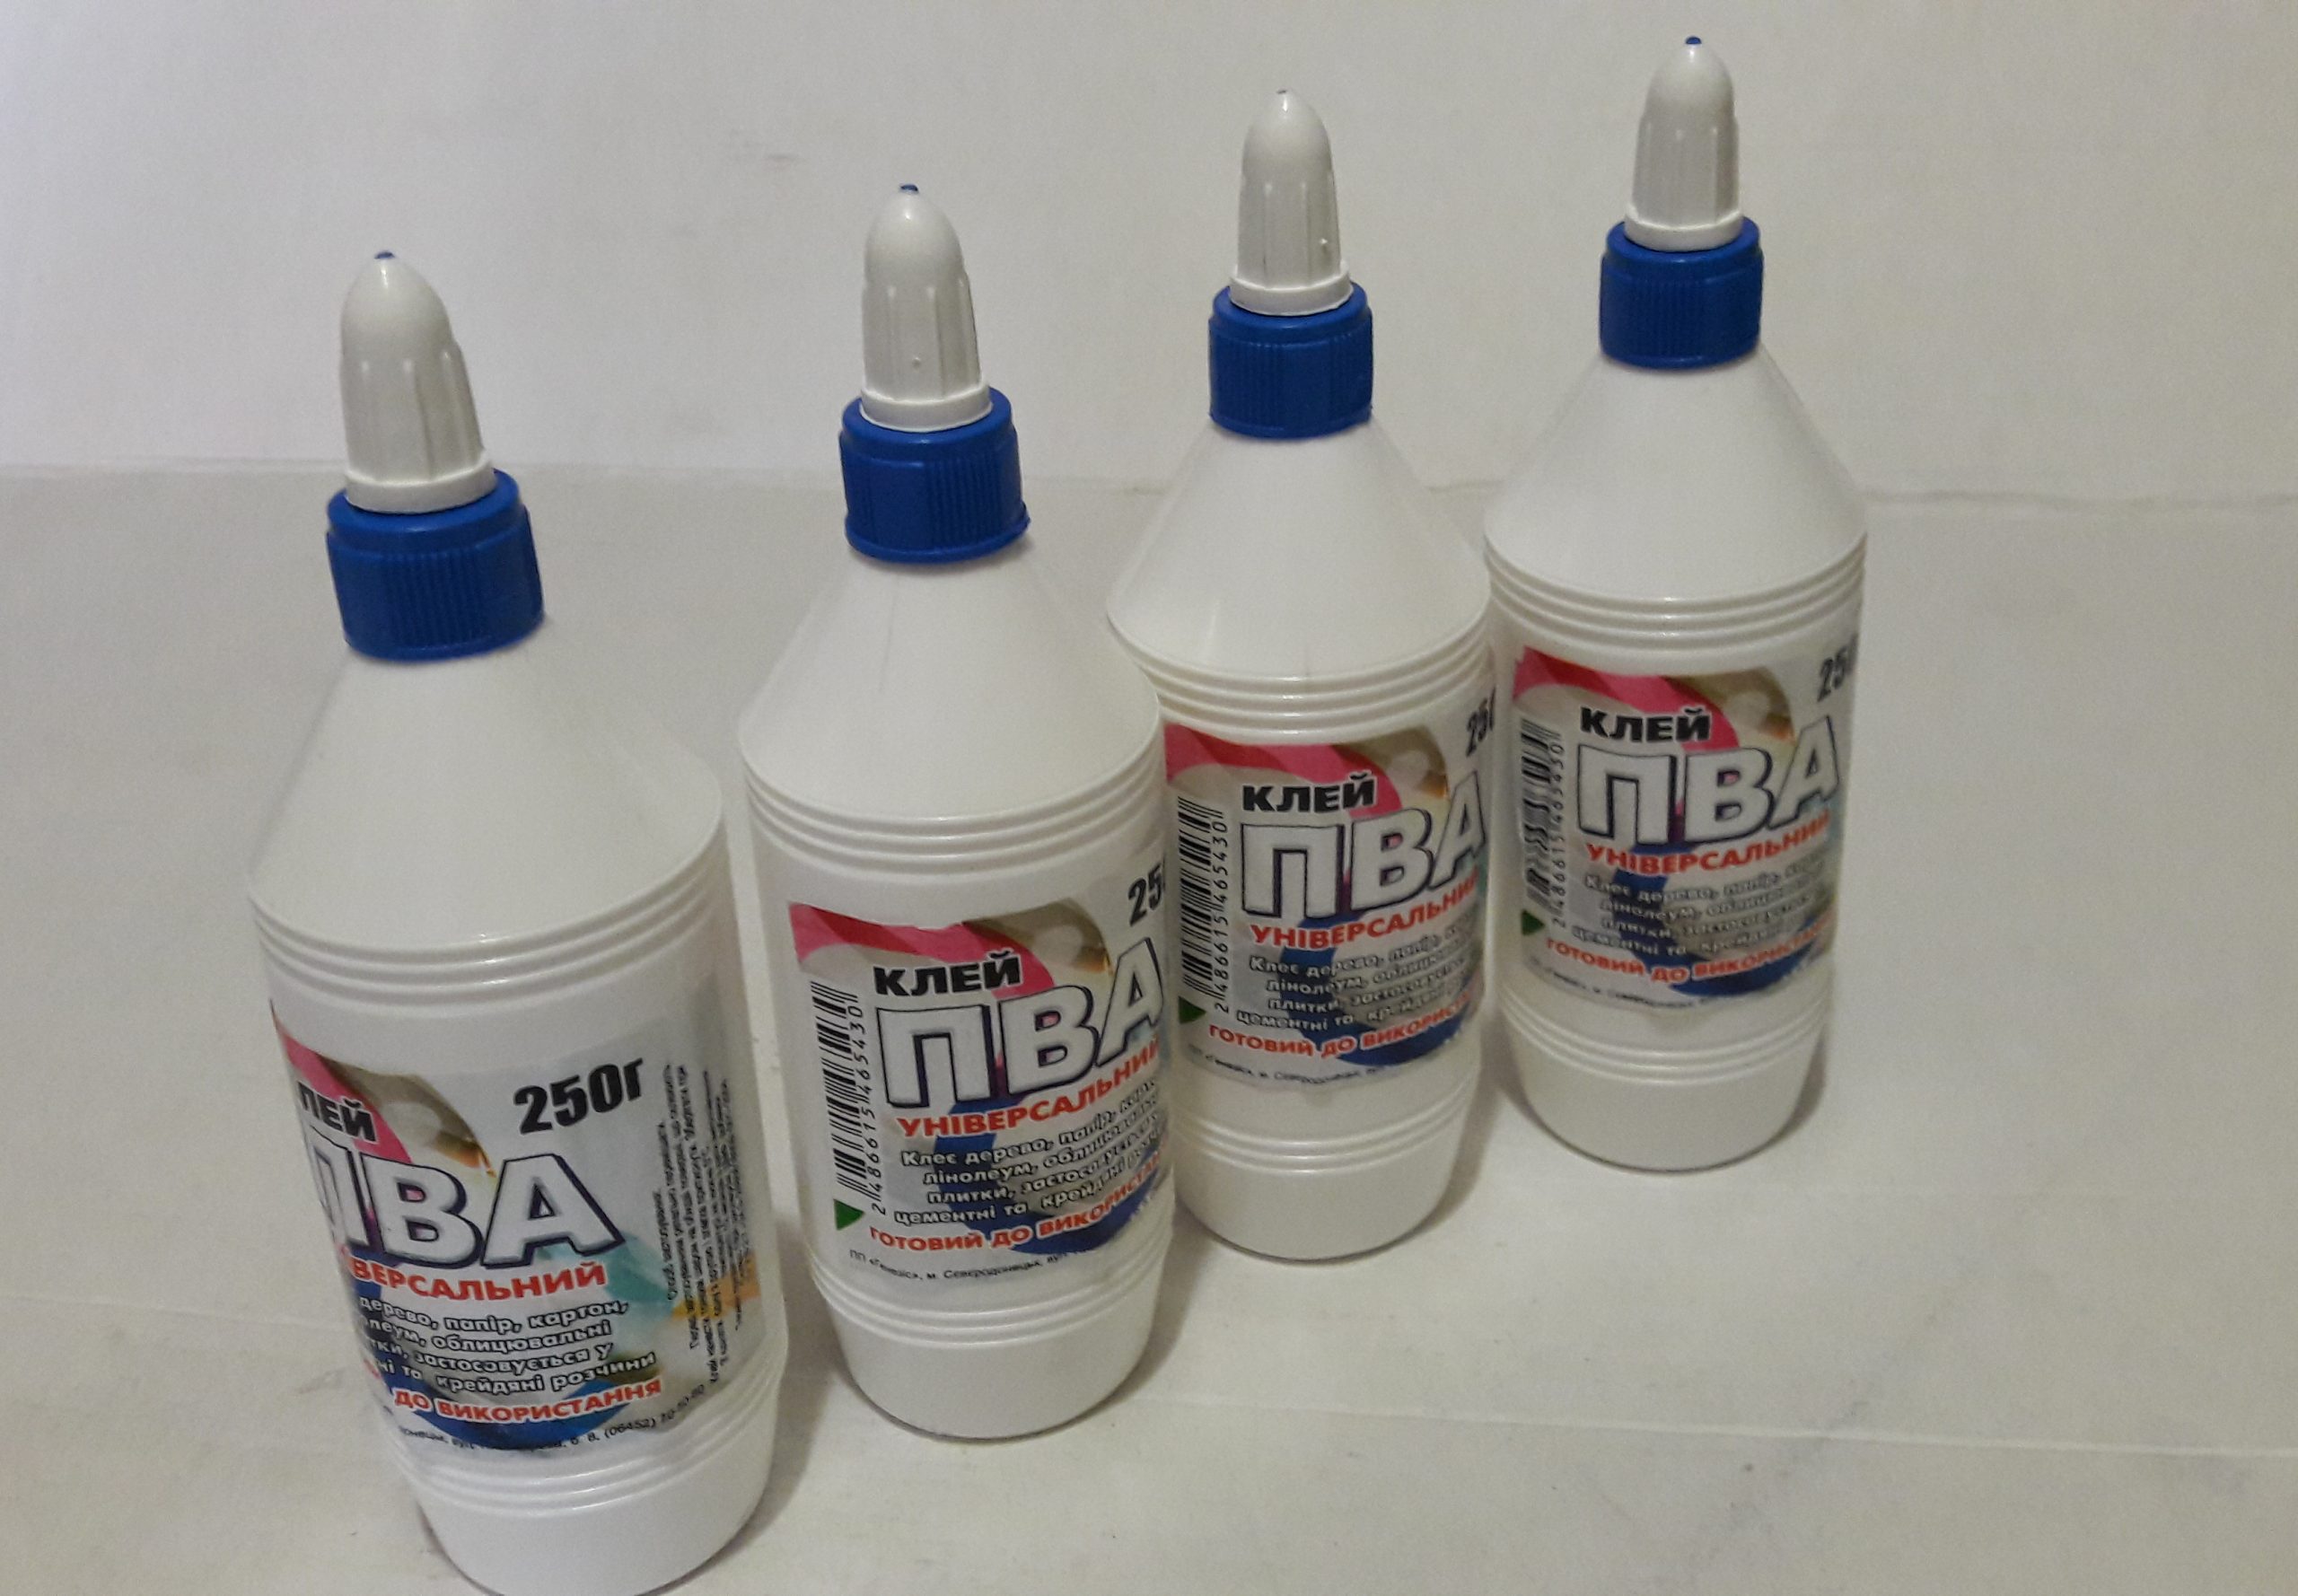
The main types of adhesives that can be used to restore the integrity of wood products:
- based on epoxy resin;
- polyvinyl acetate (PVA) emulsion;
- glue BF-2;
- carpentry, syndeticone glue;
- on a polyurethane base.

Master class - the technology of gluing wood parts:
- Carefully clean the fracture site with an abrasive material from the remnants of old glue, varnish or paint.
- We clean the glued surfaces from dust and degrease.
- We apply glue to the parts of the fracture or, cracked joint. We compose them or insert them into the groove.
- The bonding site must be firmly pressed to enhance the adhesion effect. For this purpose, you can use a press, tightening belts, clamp or other devices.
Removing old varnish
Not new furniture requires gentle treatment, so the best option for cleaning the surface is to use a solvent remover. For this, acetone, special soluble powders, gels or denatured alcohol are suitable.
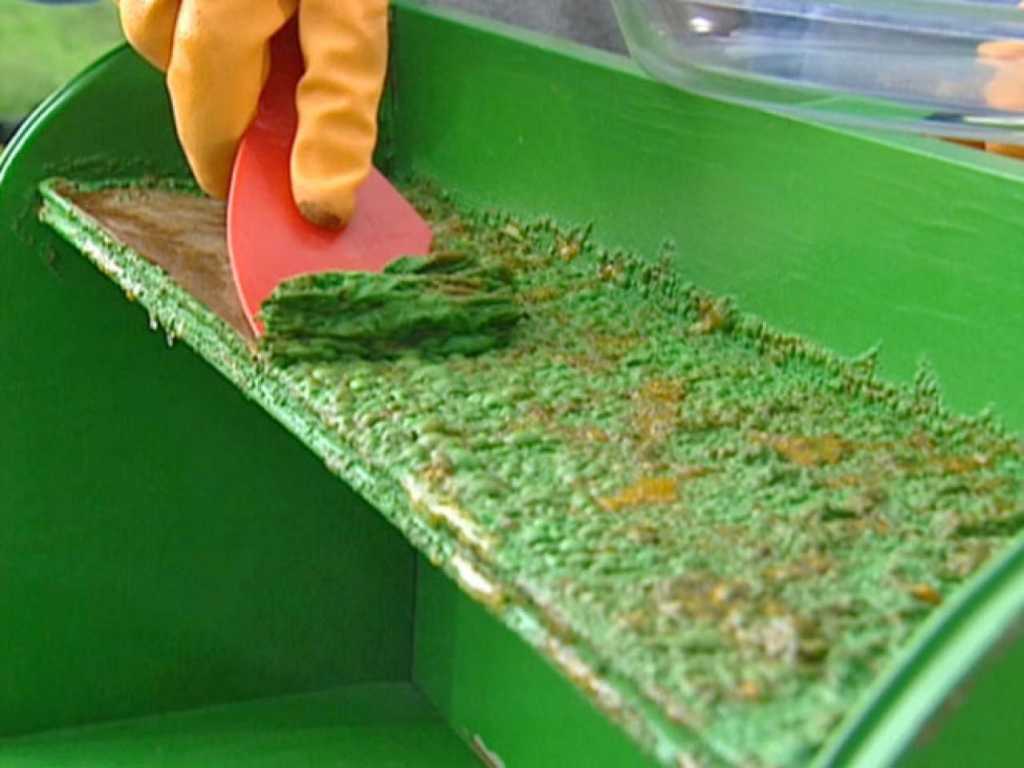
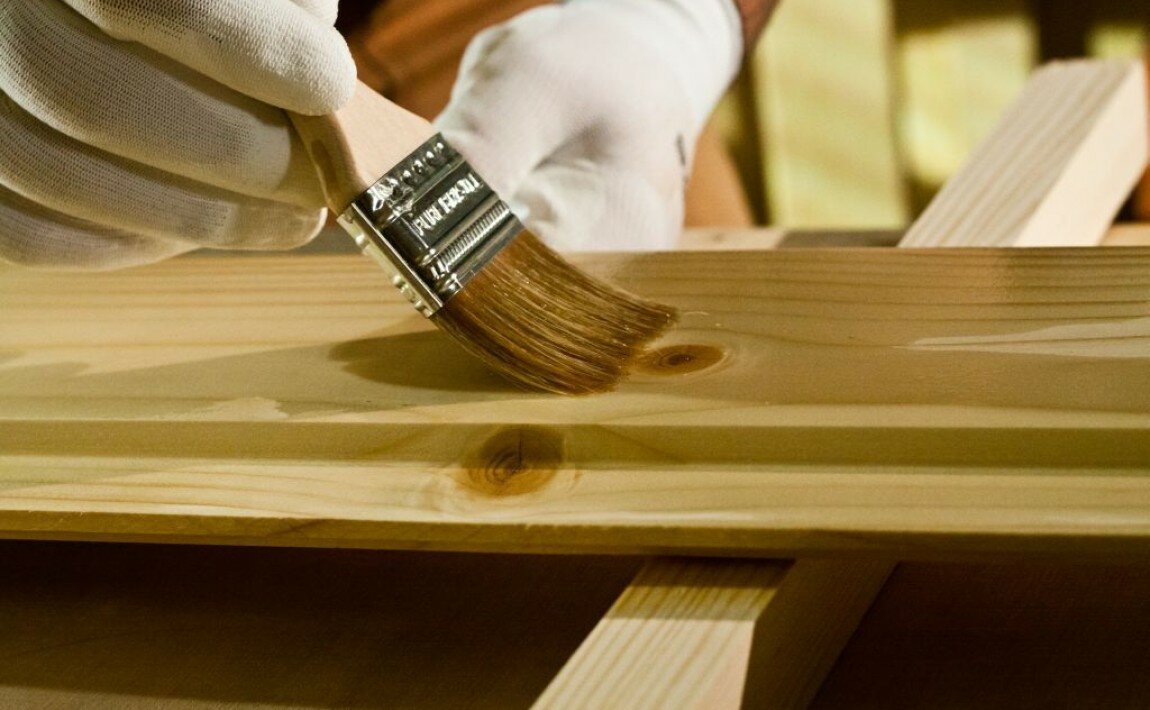
Armed with a brush, spatula and sponge, let's get down to work:
- Using a brush, apply the flushing liquid to the surface.
- So that the liquid does not evaporate quickly and affects the coating as long as possible, cover the surface with plastic wrap and leave it for several hours.
- Over time, swelling should appear on the surface, and the liquid will turn dark brown.
- We clean the old varnish with a spatula or scraper. The cleaning should be done in the direction of the grain of the texture.
- Wash off the rest of the product with a sponge and water with the addition of vinegar, in a ratio of 1: 5.
- Wipe the part with a soft, lint-free cloth and dry.
Replacement of fittings
Old furniture is distinguished not only by the originality of the facade decoration, but also by the elegance of handles, decorative overlays, and locks on the doors. Unfortunately, time is ruthless, the locks stop working, the shiny coating fades and peels off, the hinges loosen and creak.
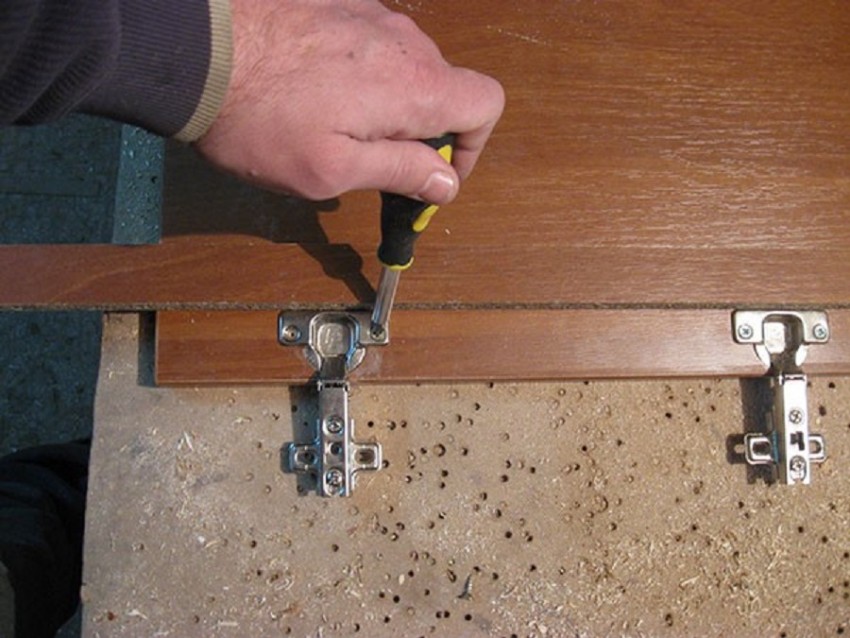
To restore old furniture, the fittings will most likely need to be replaced. The main thing is new elements, they should not radically change the style of the sideboard and help it fit into the home interior. Specialized furniture stores offer a wide range of handles, from modern designs to antique baroque or modern designs.
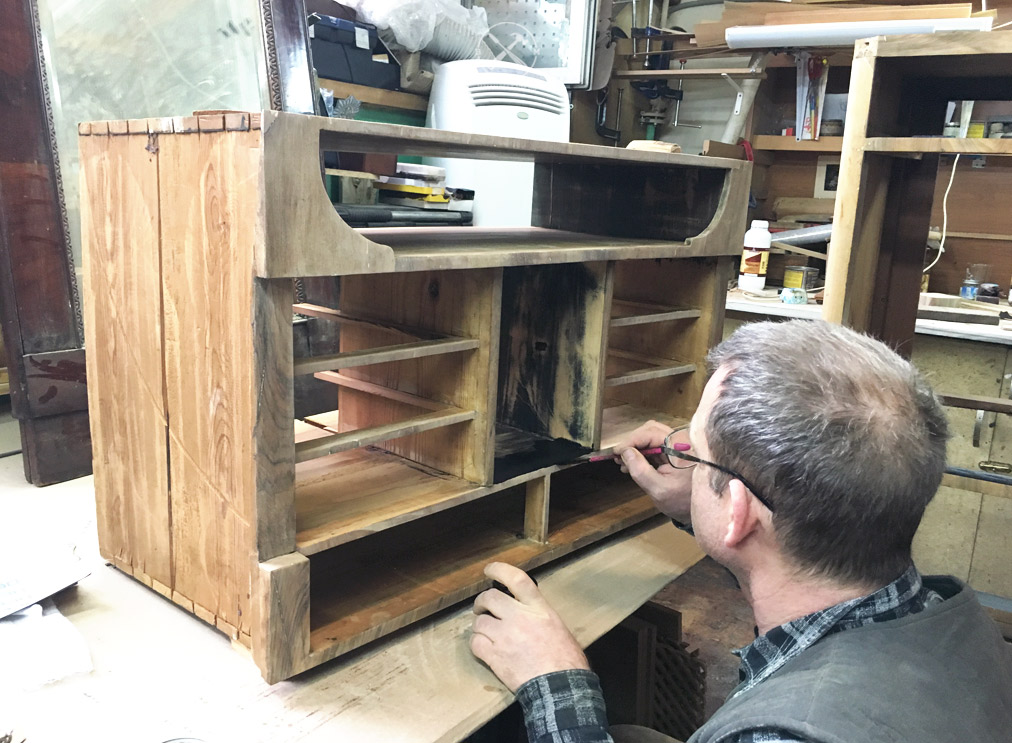
Replacement will not create difficulties, you only need a screwdriver to unscrew the fastening screws. When purchasing, pay attention to the condition that on the handles of the "bracket" type, with two fastening screws, the distance between the mounting holes coincides with the old ones on the doors or drawers of the sideboard.
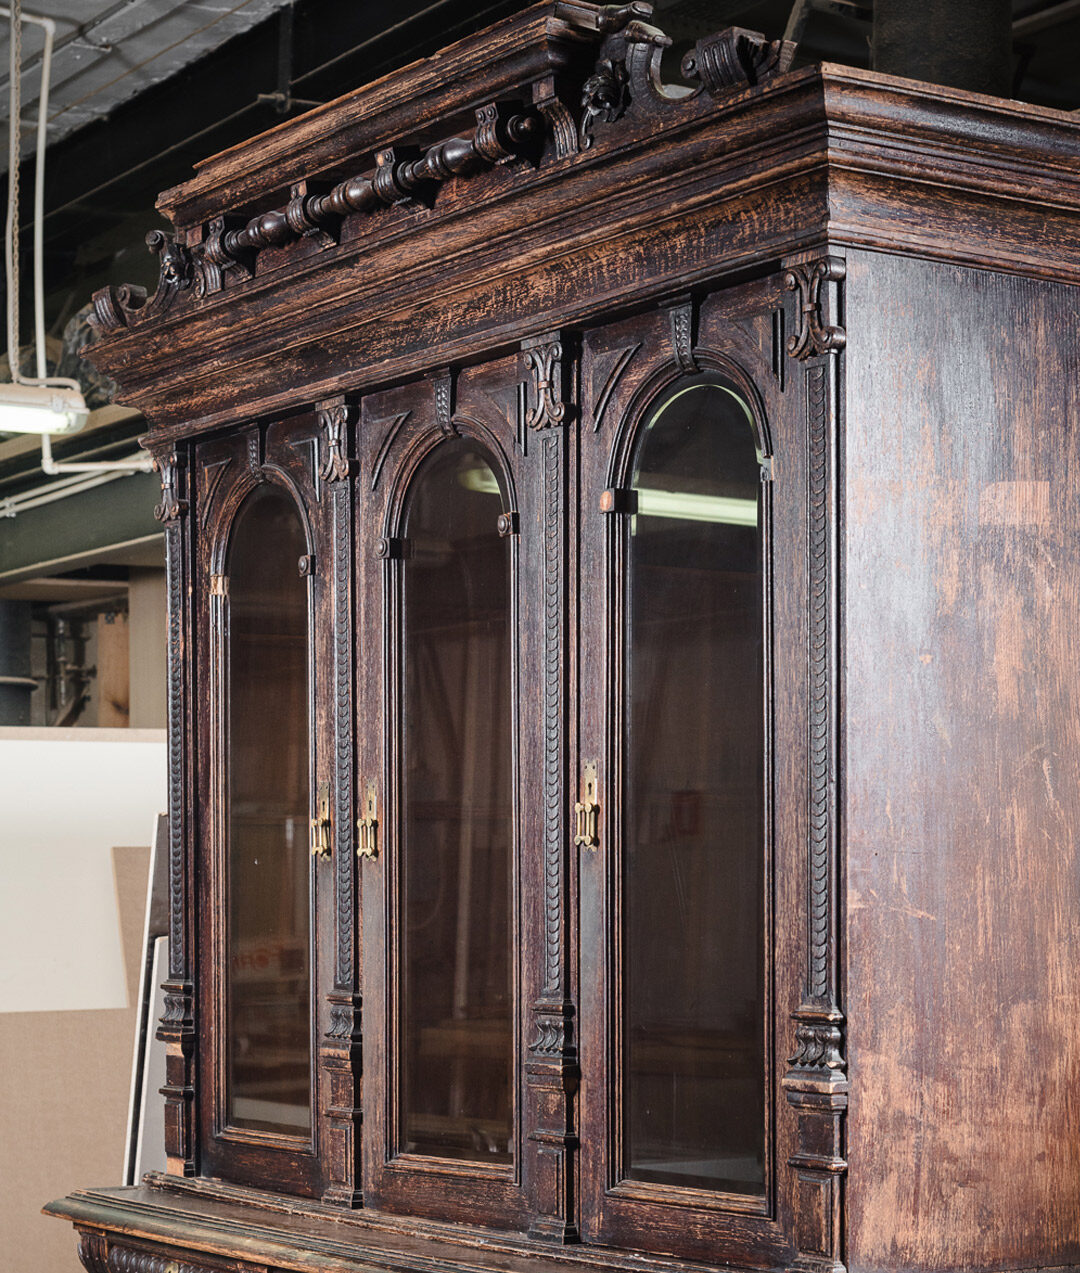
Broken awnings also do not add grace, the doors of the facade sag, do not close tightly. The choice of hinges is huge, but if we are talking about replacement, then for swing doors of the cabinet it is better to use suspensions with the ability to adjust.
Decorating
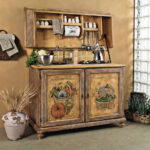
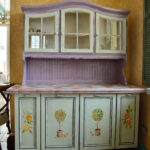
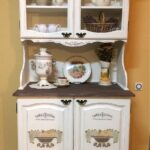
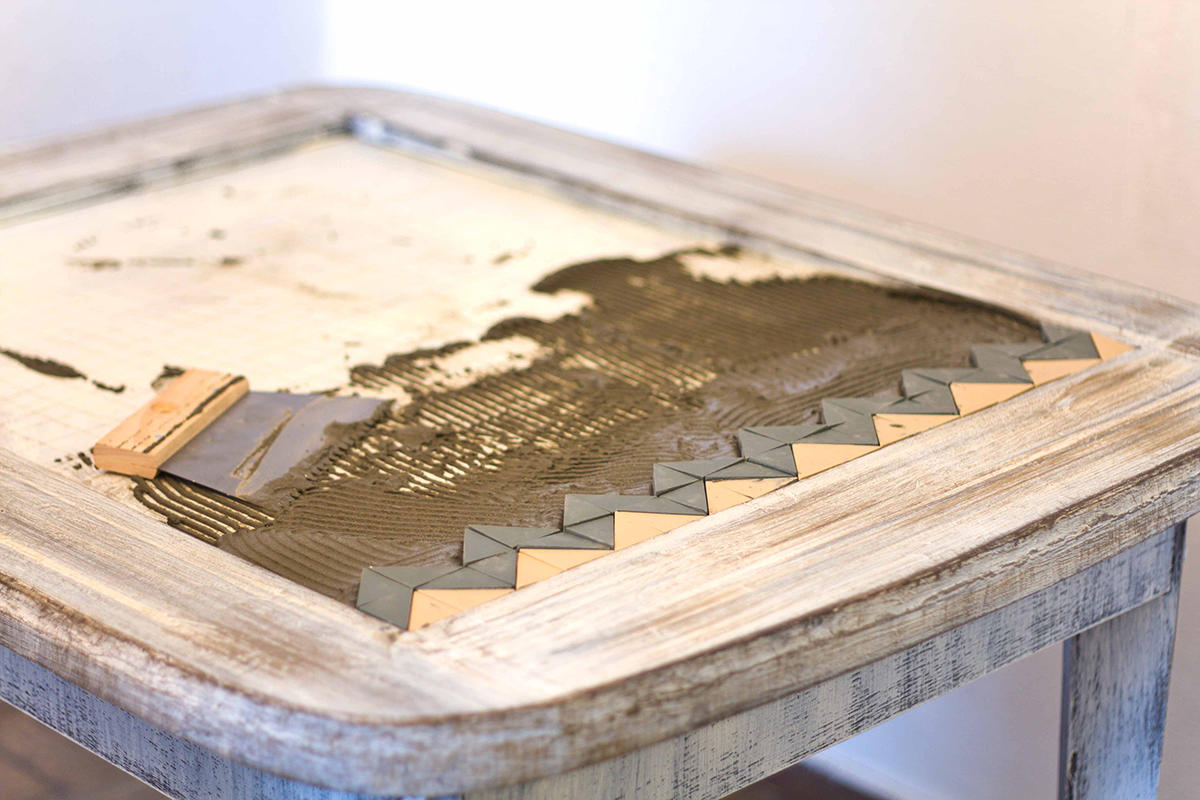
To liven up your kitchen interior, you can resort to decorating the sideboards and facade with drawings. This decor is applied using stencils.The color of the paint is matched to the tone of the furniture, perhaps a little darker or lighter. The stencil is placed on the surface, at the place where the pattern is applied.
It should fit snugly so that the paint does not spread beyond the contours; you can use masking tape for fastening. The consistency of the paint should not be liquid; it should be applied in an even thin layer with a foam sponge. After the paint has dried, the stencil is removed and the drawing is varnished.
We paint and varnish
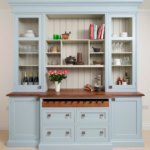
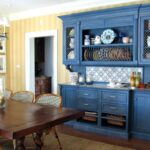
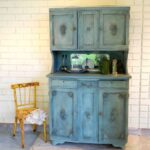
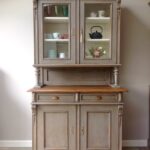
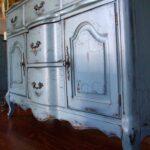
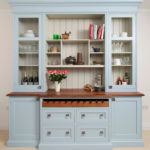
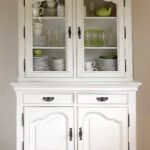
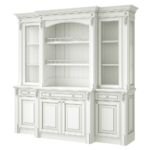
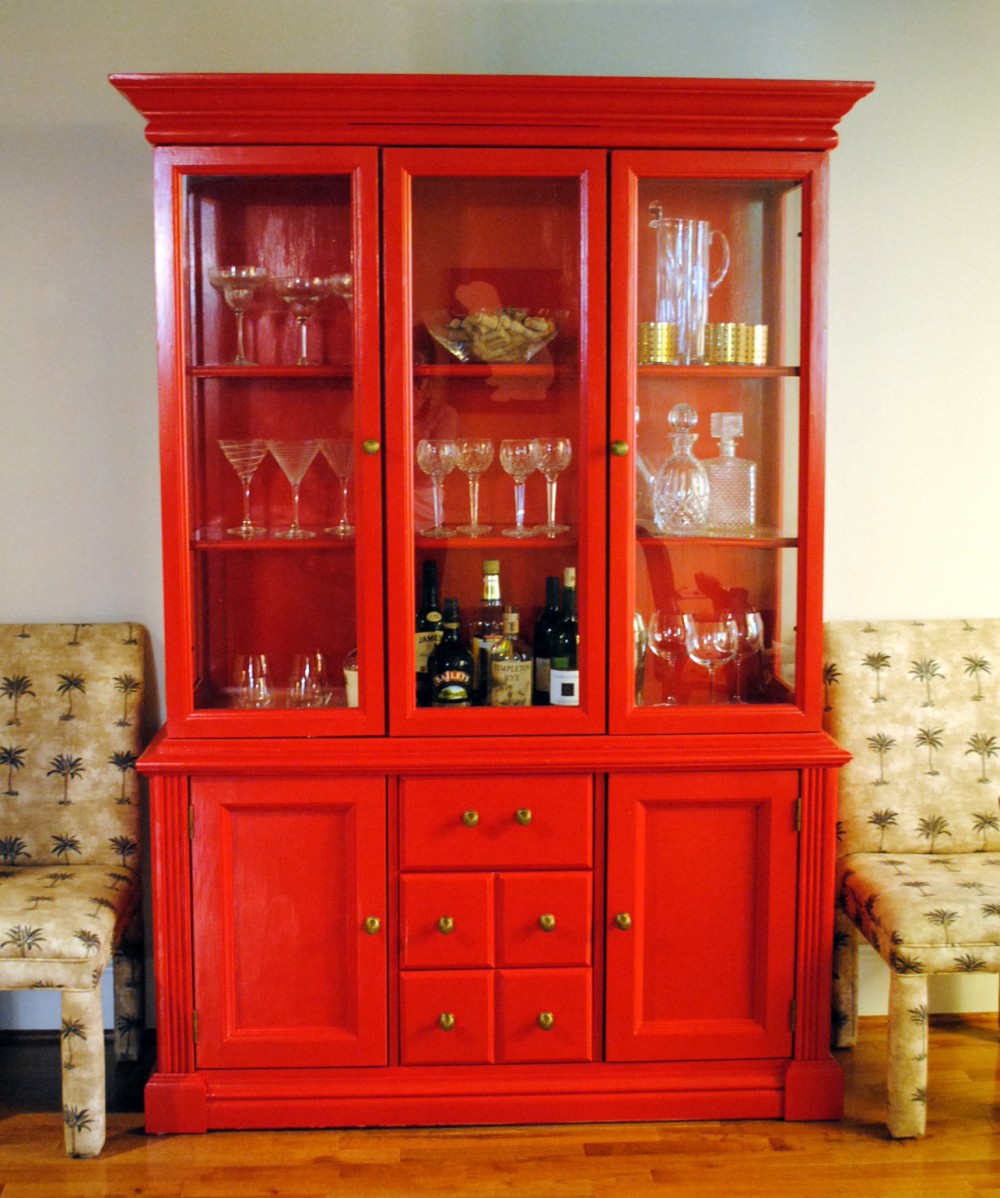
You can add freshness to the furniture by changing the paintwork. The original will be the color scheme of the time of the sideboard manufacture. Then the trend was blue, blue or white.
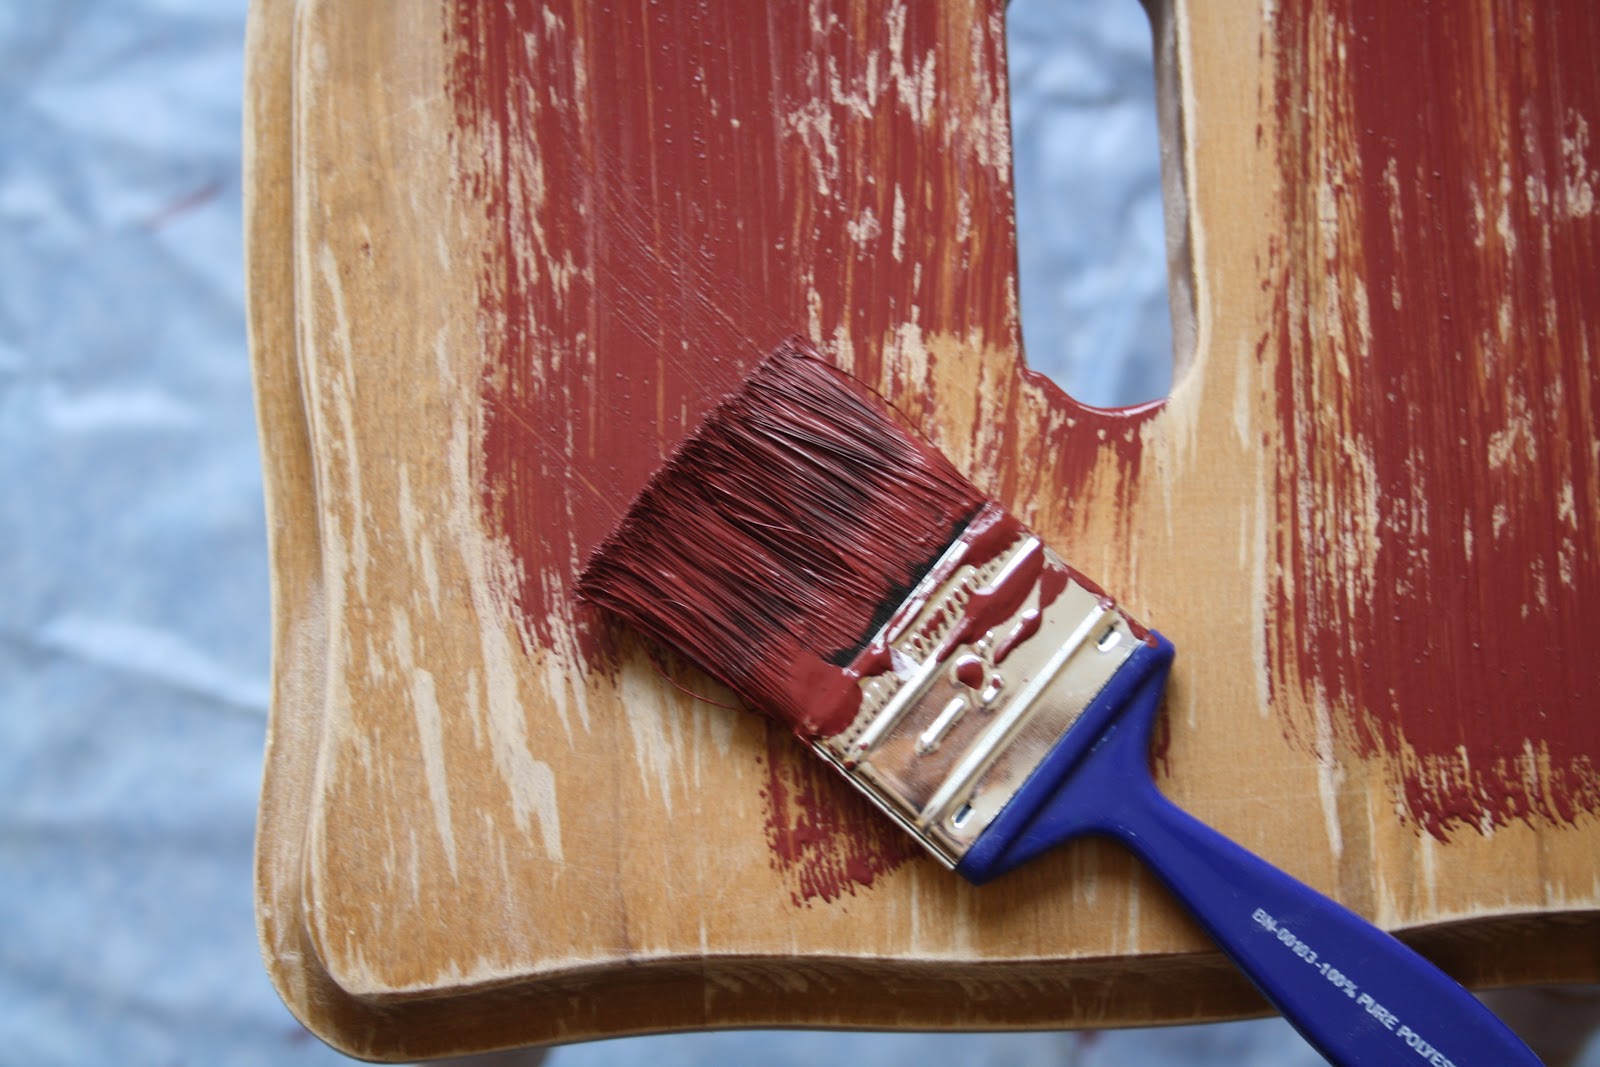
Oil paint is suitable for staining. It should be applied on a prepared surface, cleaned of old layers of coating, sanded and degreased.
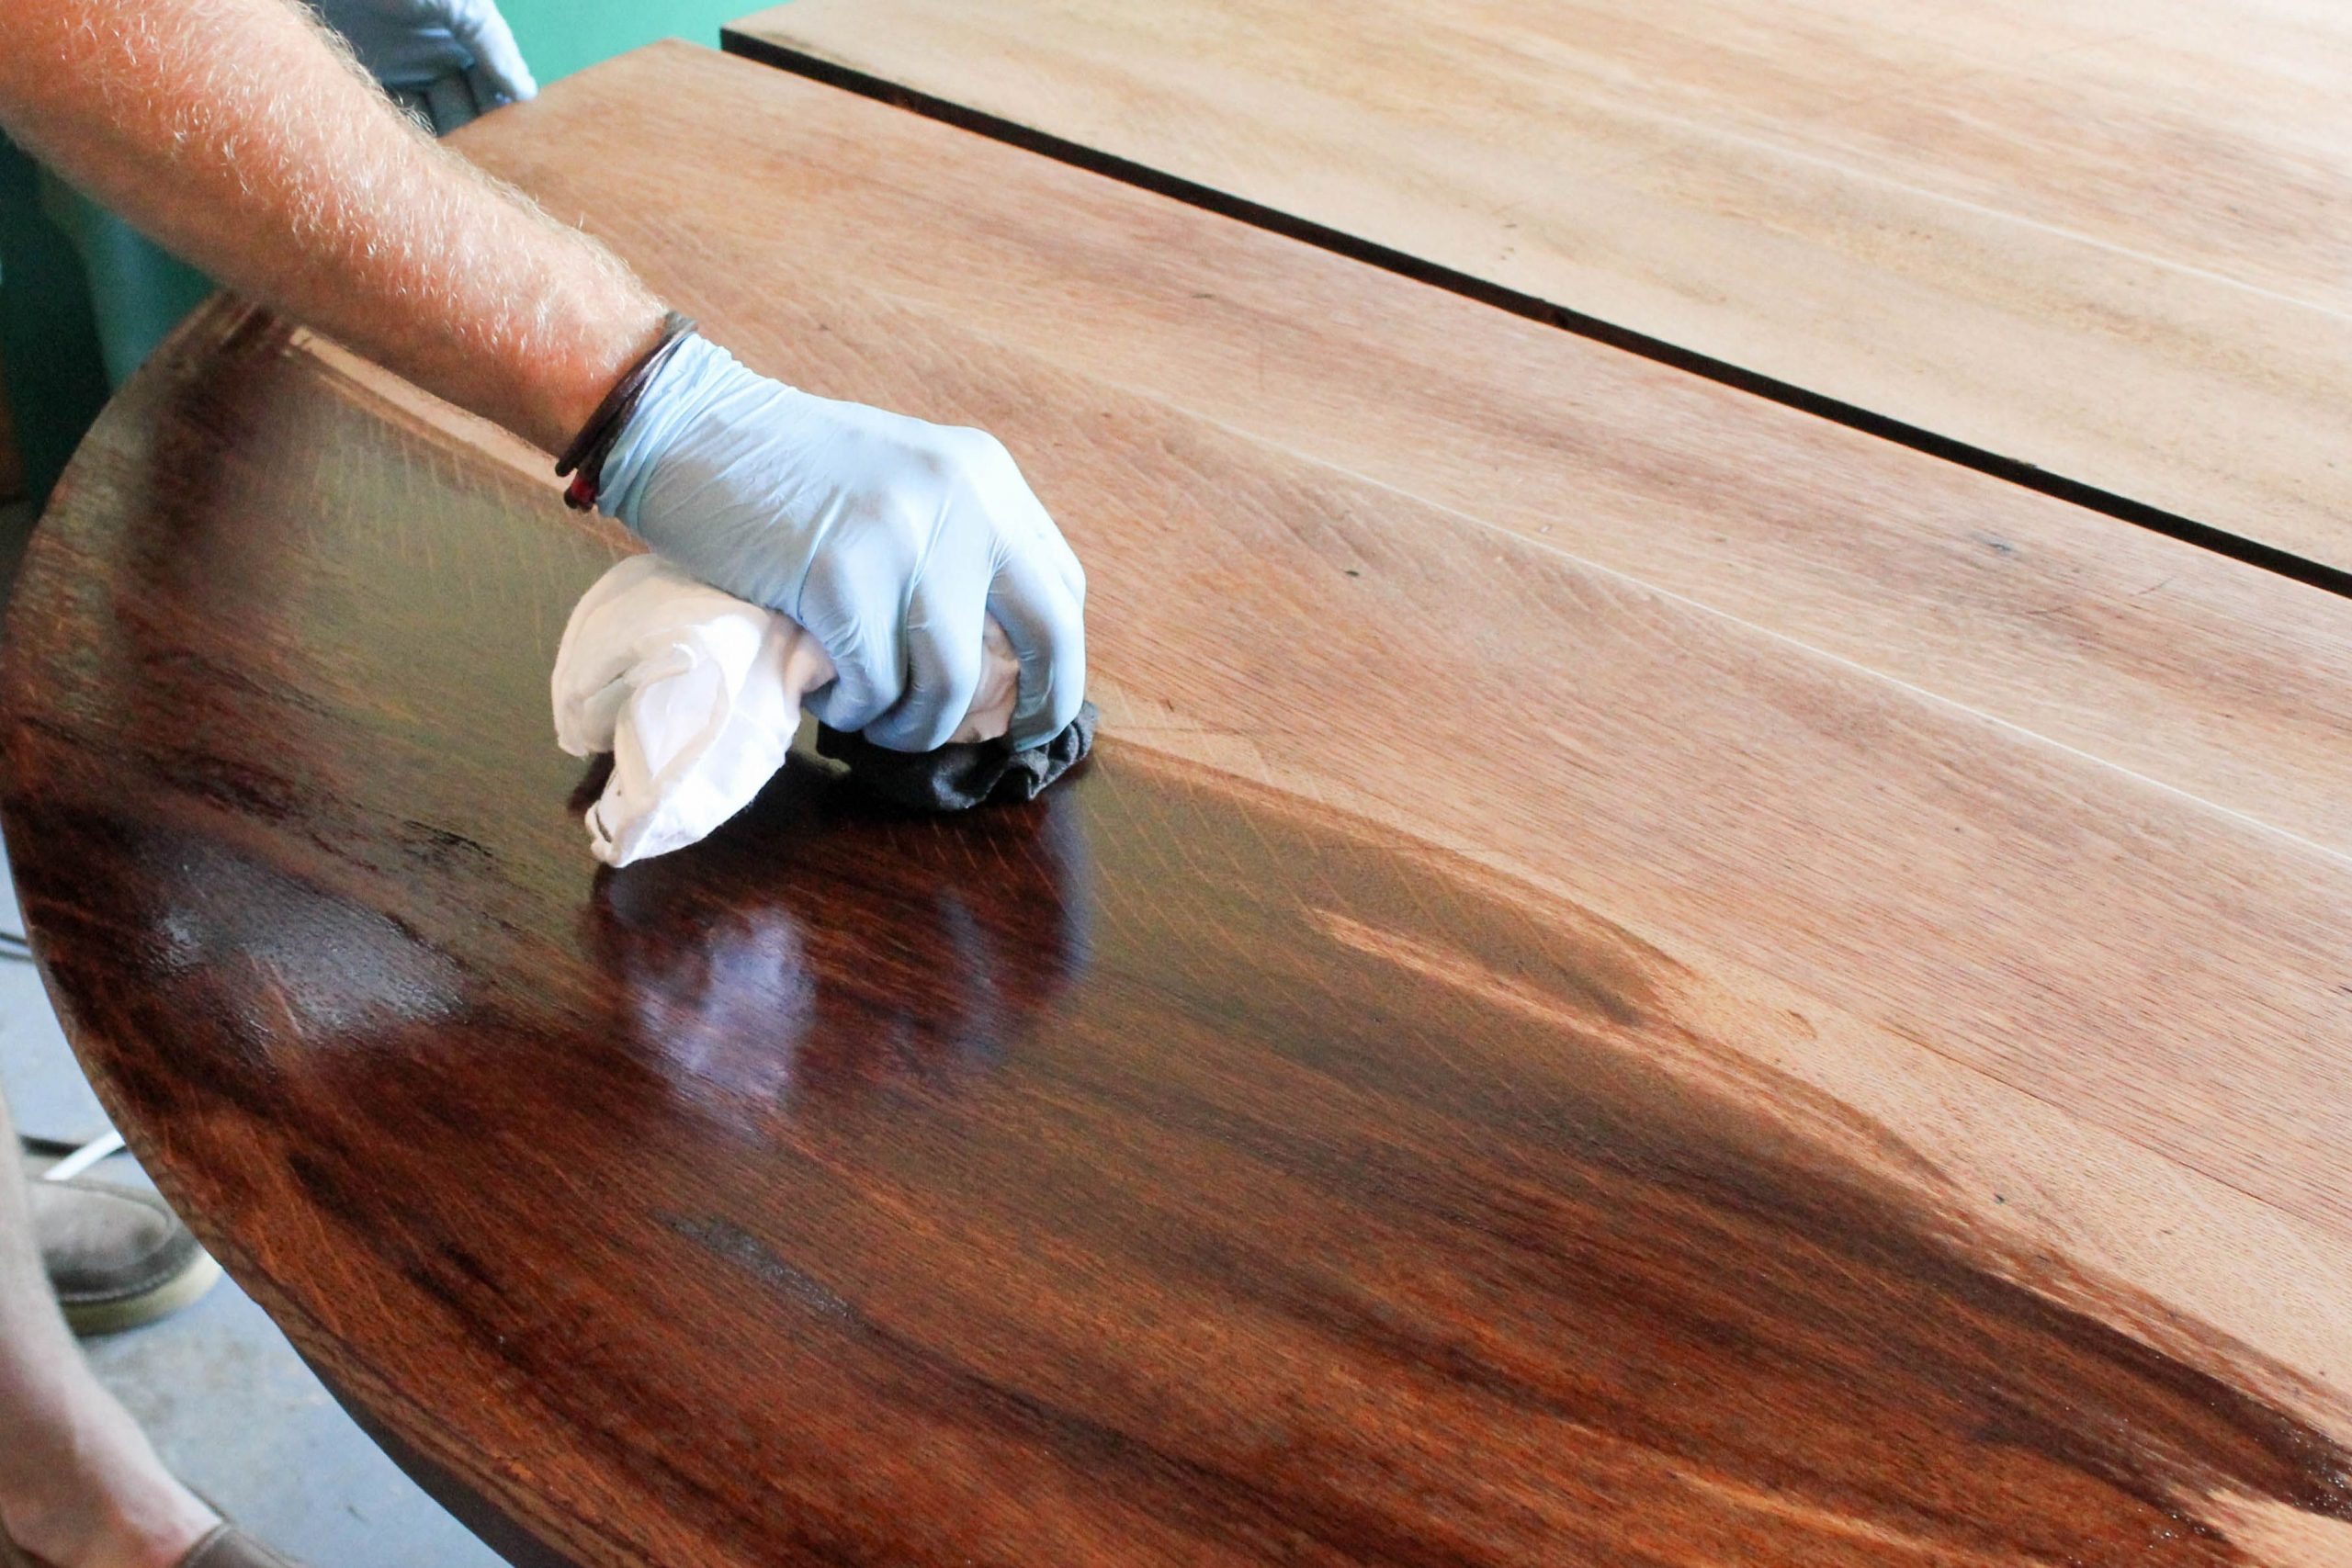
In order for the paint to lay down in an even layer, without smudges, it is best to spray it from a spray bottle. After the first coat of paint has dried, a second pass is required. Dried sideboard, covered with two coats of clear furniture varnish.
Master classes and ideas
We offer you, before restoring the old sideboard with your own hands, a master class on the technique of restoring old furniture:
- In order to make it more convenient to work, the sideboard must be dismantled, to free it as much as possible from the hinged and plug-in elements. Ideally, every detail of the buffet should be handled separately.
- Remove old varnish and paint from surfaces, clean from dirt and dust.
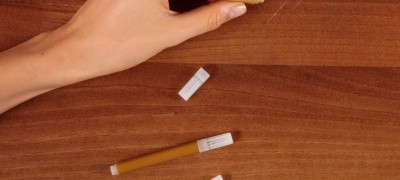
- Restore broken parts, fill in chipped and deep scratches, sand the surface.
- Replace fittings other than handles.
- Apply a base coat with oil paint.
- Paint with at least two coats of paint.
- After the paint is completely dry, varnish the elements.
- Wait for the varnish to dry, assemble the sideboard and install the handles.
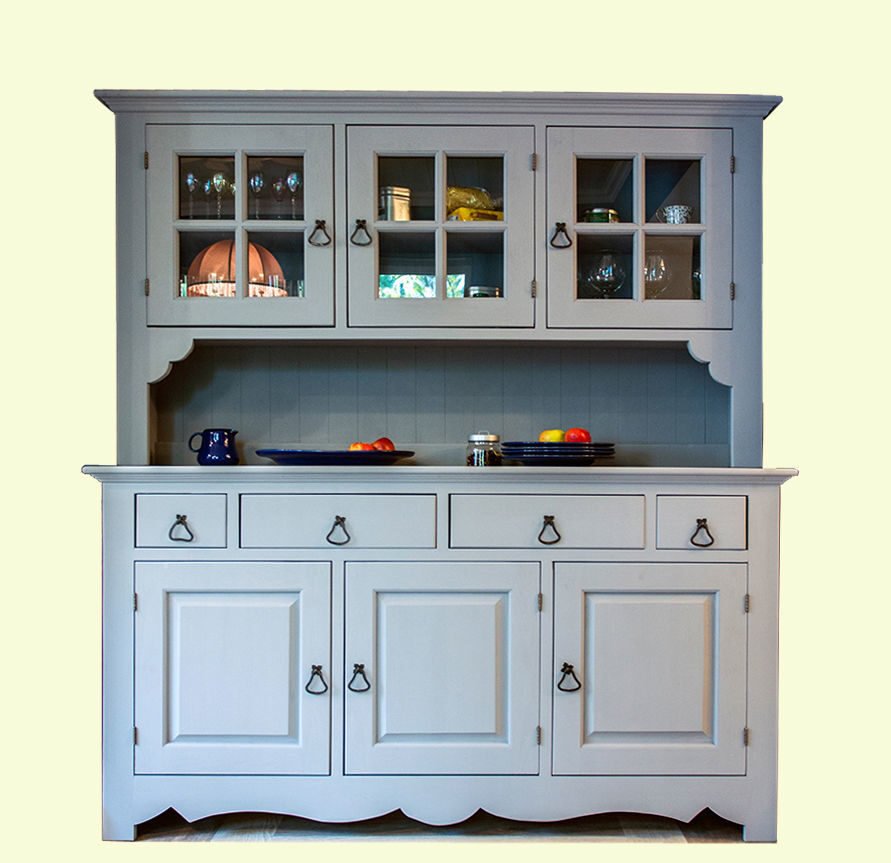
Here are a few more ideas on how to give a second life to outdated interior items:
- painting the surface of the sideboard with gilding is an interesting solution for the living room;
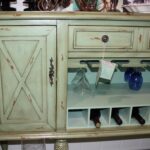
- the study will decorate the sideboard with the effect of mechanical aging;
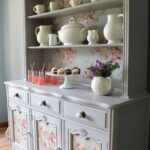
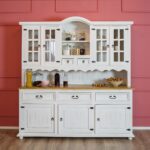
- decoupage will create the atmosphere of Provence.
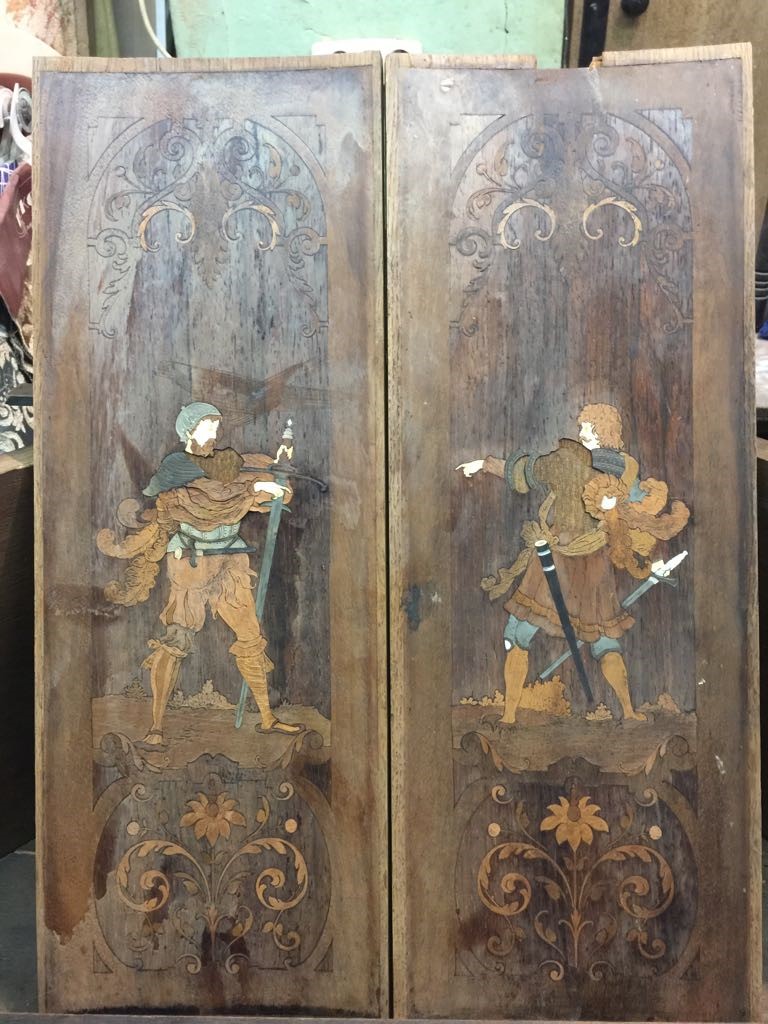
Do-it-yourself restoration will allow, at the lowest cost, to become the owner of a luxurious semi-antique interior. Try to combine several techniques or come up with your own. Do not be afraid to experiment, you can do anything.
Video: restoring an old sideboard

