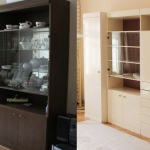
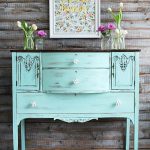
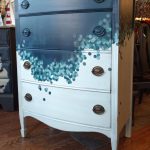
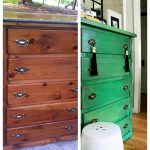
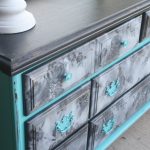
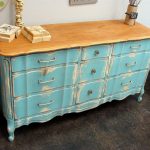
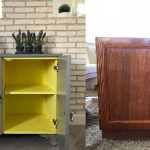
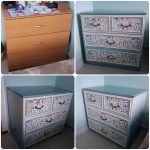
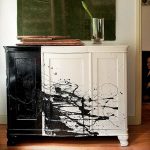
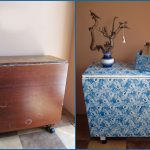
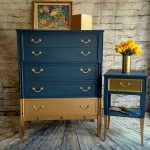
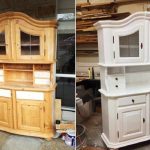
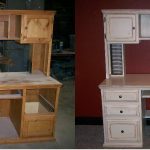
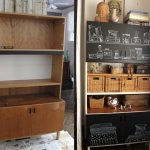
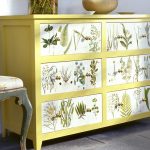
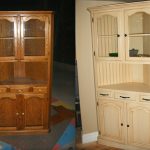
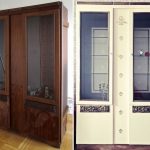
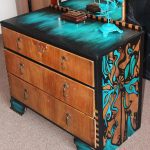
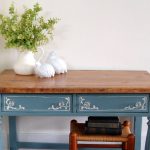
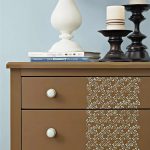
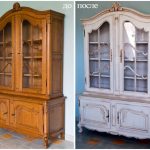
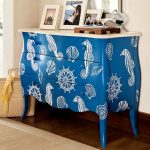
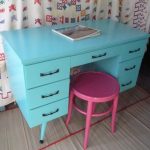
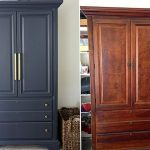
How to repaint lacquered furniture with your own hands
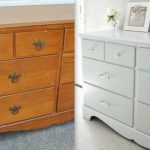
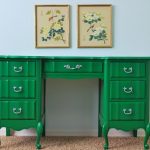
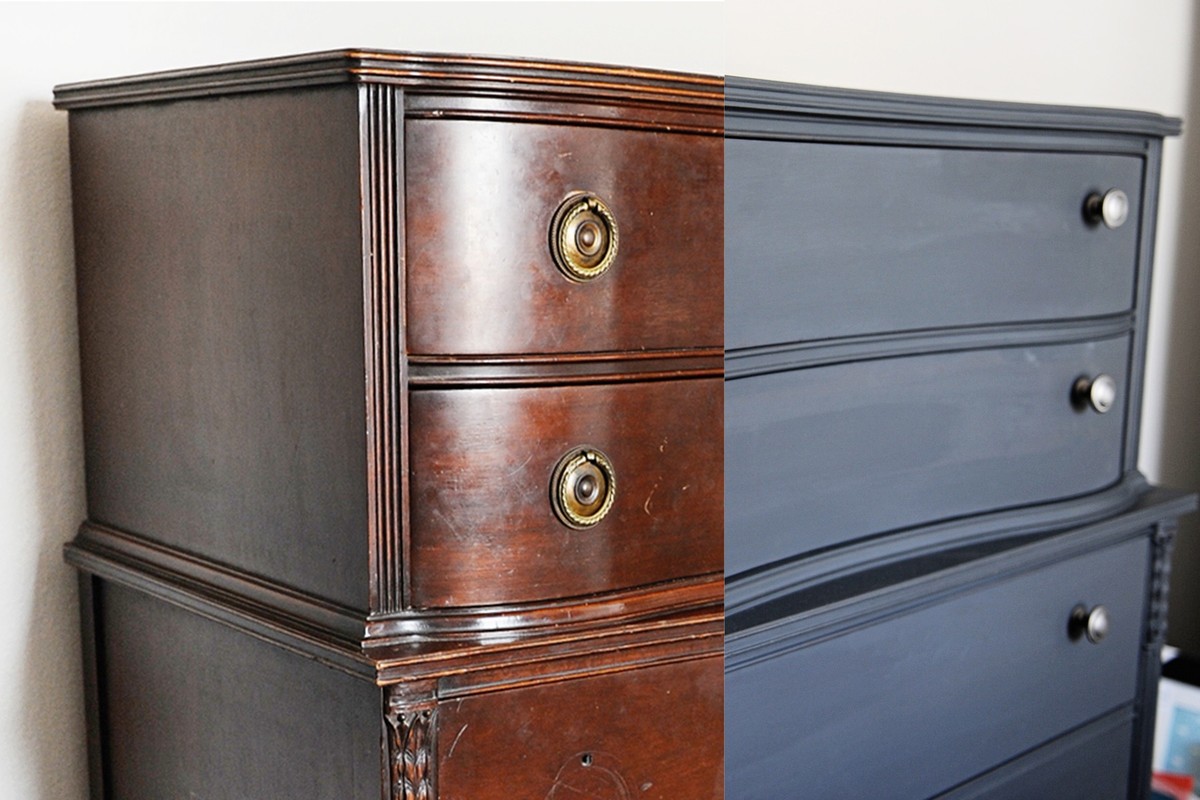
Painting furniture a different color is a budget-friendly way to spice things up, change your home environment, and update your suite. What does a master need to know to repaint a table or cabinet with his own hands?
Prerequisites for painting furniture
Old furniture becomes visually unattractive and dilapidated over time. The surface of the headset becomes rough, the paint peels off, and the polish peels off. Gradually, the varnish cracks, dust and dirt get clogged into the damage, the places begin to become greasy, deformed and even chipped.
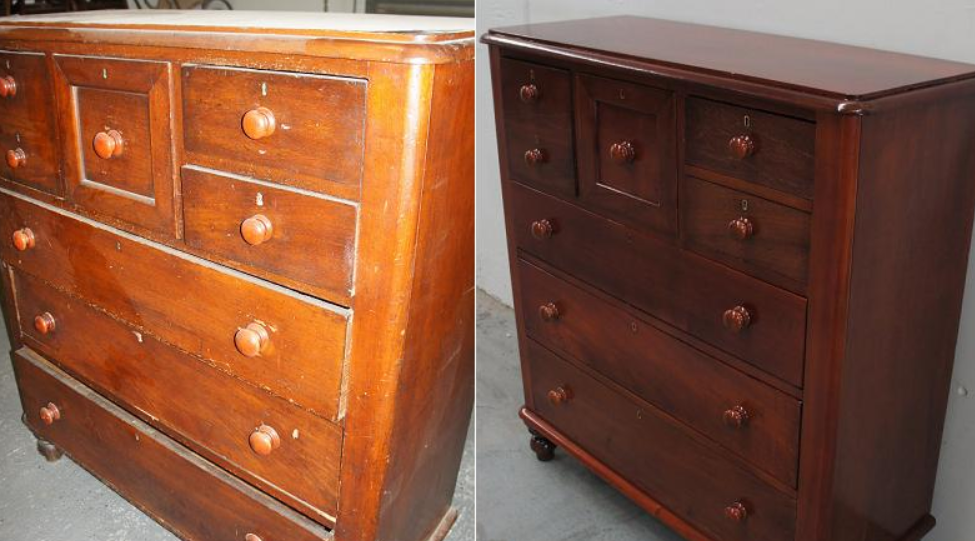
Outdated furniture loses its attractive appearance and stands out noticeably against the background of the rest of the interior of the room. You can contact a furniture restoration specialist. But it costs a lot. Or you can figure out how to repaint lacquered furniture on your own. If you follow all the rules for preparing, painting and drying a wooden surface, you will become an experienced master in the restoration of your own furniture.
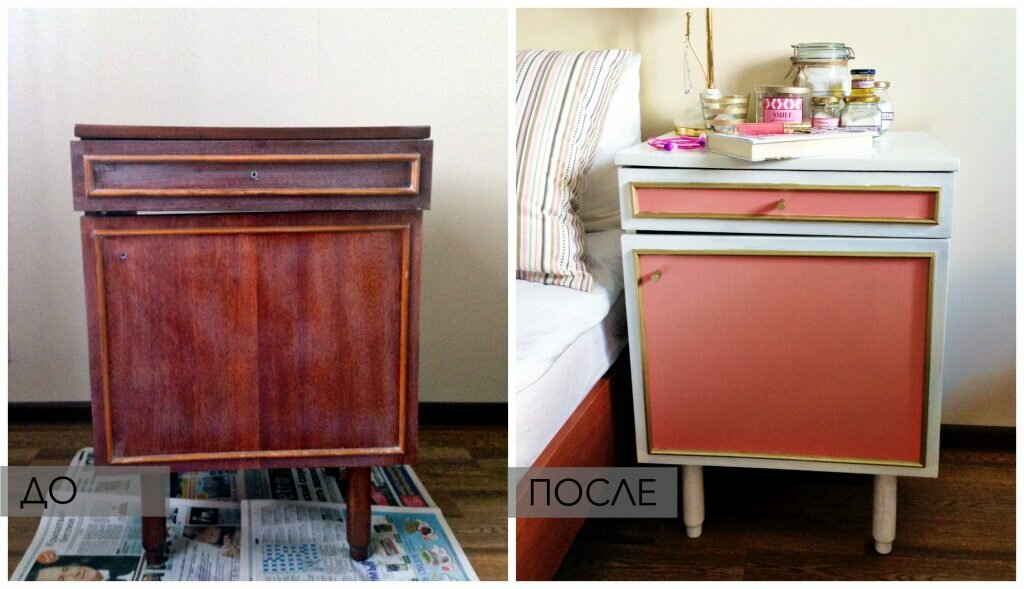
How to choose the right paint
The appearance and durability of the paintwork directly depends on the quality of the material. But it is not enough to buy good paint. It is also necessary that it is intended for painting just wooden surfaces, is resistant to moisture, does not absorb dirt and dust, and does not crack at cold temperatures. And this is not a complete list of the advantages of high-quality paint.
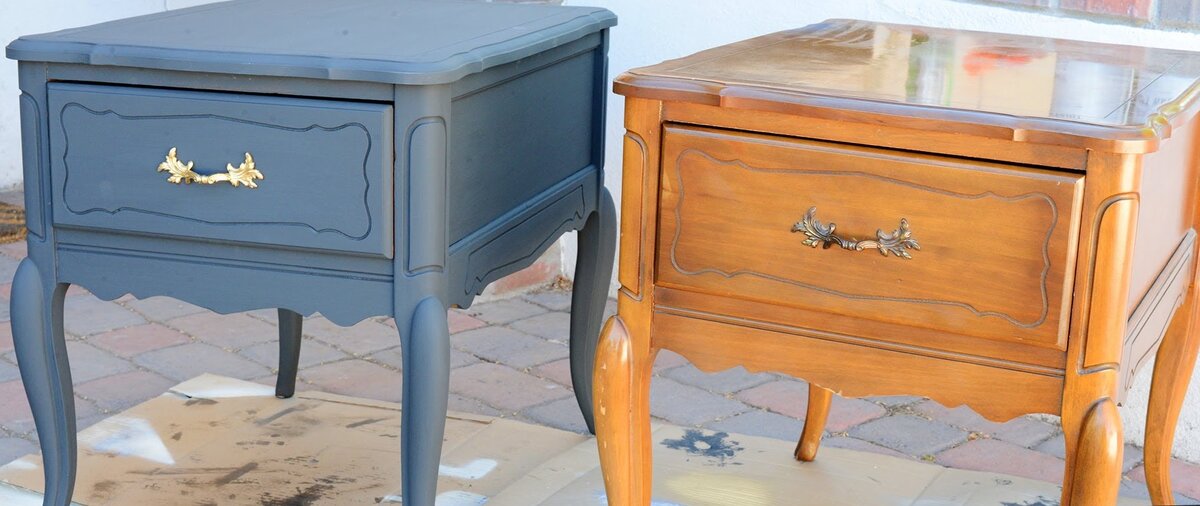
Conventionally, paints and varnishes are divided into several types:
- Acrylic paint is the most common. It is water-based, which gives it fluidity and good coverage. Coloring occurs evenly, the product easily penetrates into all cracks and cracks. The paint is suitable for transforming natural wood and plywood surfaces. You can also paint laminate and veneer with acrylic.
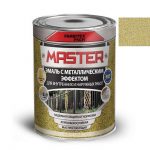
- Enamel with a metallic sheen is an excellent solution for decorating furniture parts, painting handles and frames. A large selection of shades allows you to create unusual combinations and transform old furniture beyond recognition.
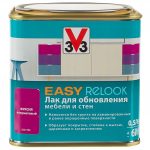
- The varnish is intended for updating the top layers of the coating. You can varnish freshly painted furniture or give an old interior a new and attractive look.
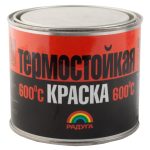
- Fire-resistant paint is used in cases where furniture will be located in high-risk areas. This paint improves the fire resistance and heat resistance of the surface.
How to paint polished furniture
How to paint polished furniture so that the coating lasts a long time, does not fade or crack over time? The process is divided into stages. Compliance with the rules of each of them is important for the high quality of your paintwork.
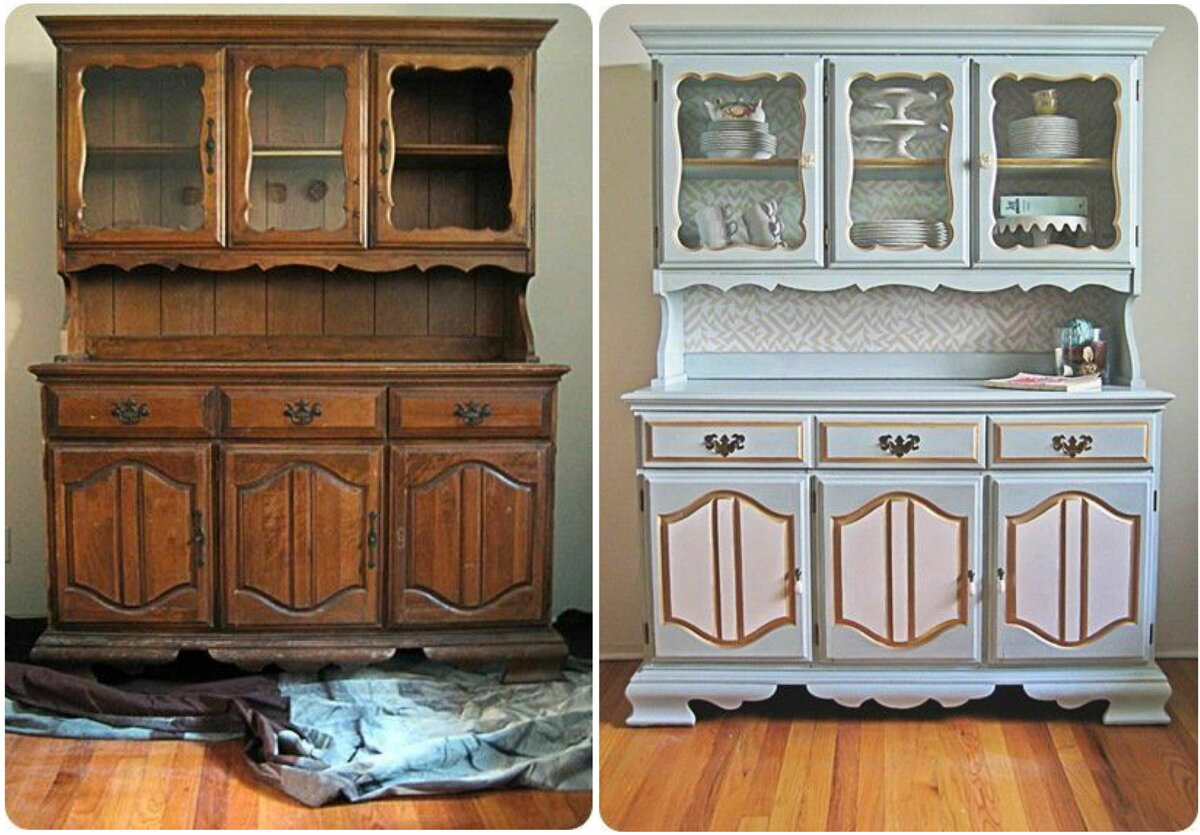
Preparing for the procedure
Preparing furniture for transformation and painting sometimes takes more time than other processes. It is necessary to carefully remove all decorative layers of the interior item so that the new coating gets a good adhesion to the wood.
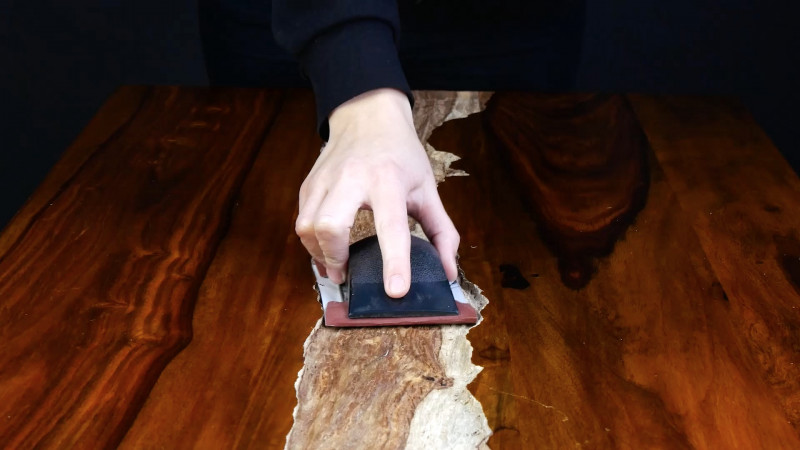
First, clean the furniture from accumulated dirt, dust and dirt. If necessary, wipe especially soiled areas with soapy water and dry. Elimination of old coating is carried out in several ways:
- The mechanical method is the most time consuming, but effective and economical. Using an emery cloth, metal brush or grinder, the top layer of paint is removed step by step. Treat hard-to-reach or small areas with sandpaper or sandpaper. As a result, you get a smooth, cleaned and sanded surface, ready for the second stage of the procedure.
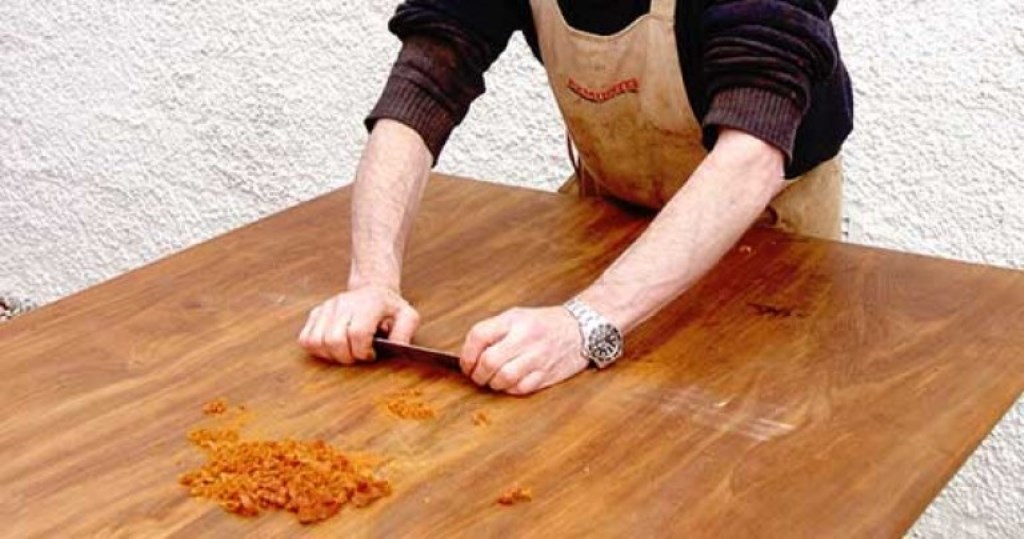
- The heat method is good in that the heated old varnish literally peels off and you do not need to make an effort to remove it. The old paint-and-lacquer layer is heated with a construction hairdryer or blowtorch, which is then scraped off with a spatula or spatula.
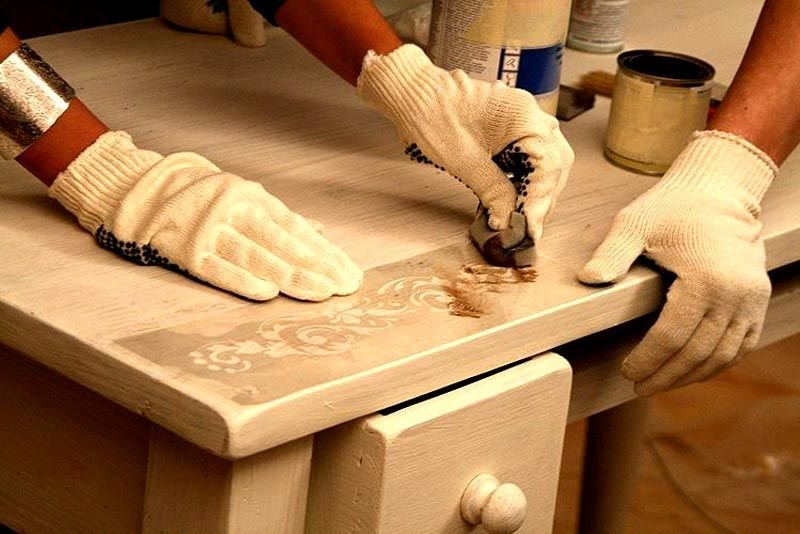
- The chemical method is good for its simplicity and affordability. This is not a budget option, but requires minimal physical effort. In a specialized store, a product is bought, applied to the varnished surface and kept under the film for a certain time specified in the instructions. Old varnish starts to come off and is easy to remove.
Required tools and materials
All tools and materials must be purchased in advance. This will make your work fast and efficient:
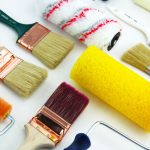
- It is recommended to buy rollers and brushes in several sizes at once. For large areas, tools with a wide working surface are suitable. Hard-to-reach areas can be easily painted with thin, small brushes.
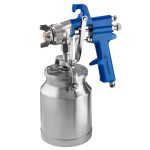
- Spray gun if you plan to work in large volumes.
- Emery sheets in various grit sizes help sand and sand small areas of wood. If you are going to restore, for example, a cabinet, it makes sense to purchase a sander.
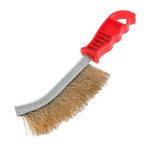
- A metal brush removes old paint or varnish mechanically. It is a handy helper when you have no access to electricity and the sander is helpless.
- The building hair dryer is an excellent, long-term purchase for the home craftsman. Do not use household appliances to heat paint and varnish surfaces. It does not have sufficient heating power and temperature.
- Purchase a putty from a hardware store. With its help, you can restore damaged and deformed wooden surfaces, mask holes and cracks.
- Primer. It is the first layer for painting, which evens the surface of the furniture and provides a secure adhesion between the coating and the wood.
- Special varnish for wood surfaces if you plan to varnish furniture.
- A paint thinner to remove unwanted stains and smudges.
- Etchant, detergent and insect repellent.
Stages of staining
The staining process is divided into stages that cannot be skipped or ignored:
- preliminary preparation of the surface for painting or varnishing;
- elimination of defects, filling of cracks and holes, cleaning, leveling, priming and filling;
- degreasing the surface;
- painting and varnishing furniture;
- correct drying after staining.
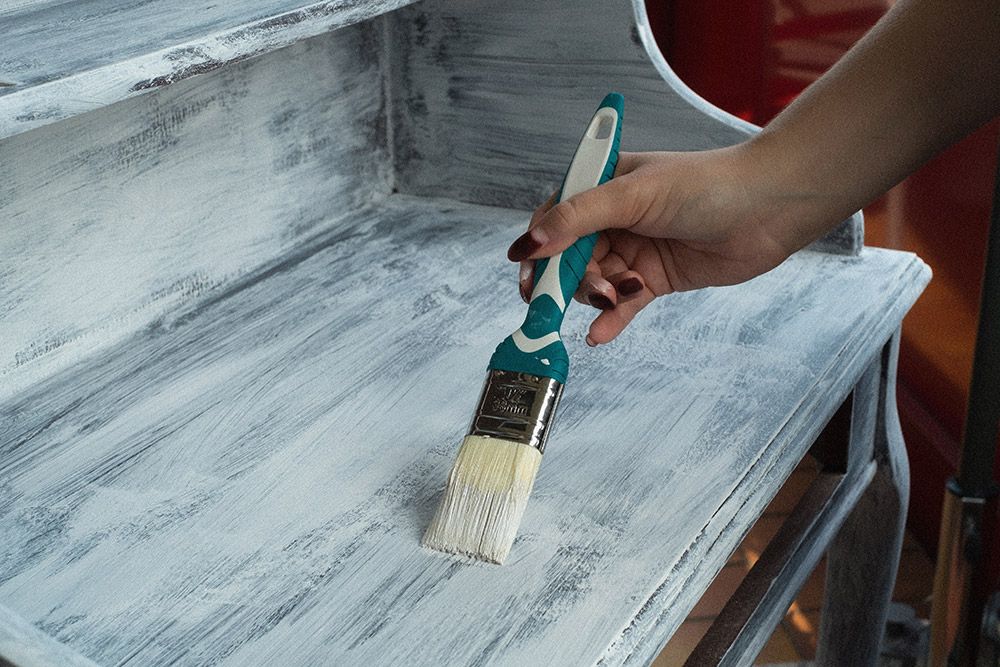
If you decide, for example, not to remove the old paint from the furniture, but apply a new layer on top, this will immediately affect the quality of the work. Such staining will quickly crack and be short-lived. It is better to paint in several thin layers. One dense, rough coating then forms streaks, bumps and irregularities. Dry each layer before applying a new one. It is also recommended to tape those parts of the furniture that do not need to be painted or varnished with tape.
The final stage
After painting all furniture parts, dry all surfaces thoroughly. And then assemble the furniture, screw on all the parts and handles, glue the decor.
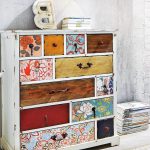
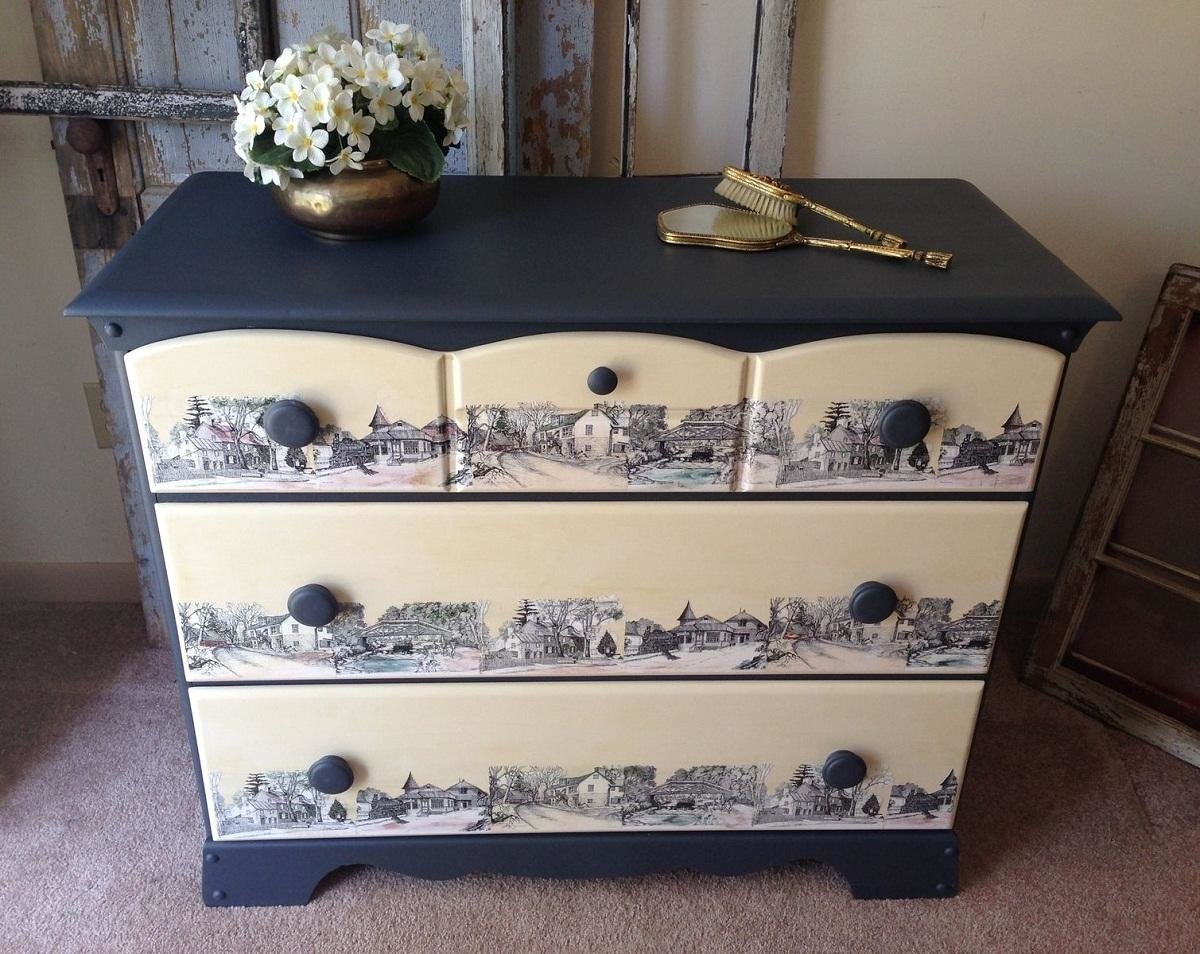
Decorating is an important step in furniture restoration. It will breathe new life into the piece of furniture, as if you have purchased a new headset. For decoration use self-adhesive film, wallpaper, mosaic or decoupage.
Drying rules
Paint or varnish takes a long time to dry. You need to take care of the place where this will happen in advance. The room should be non-residential and well ventilated. It is advisable that the furniture dry away from children and animals, which can accidentally disturb the appearance of the coating. Some varnishes and enamels, when dry, emit harmful fumes that can be harmful to health.
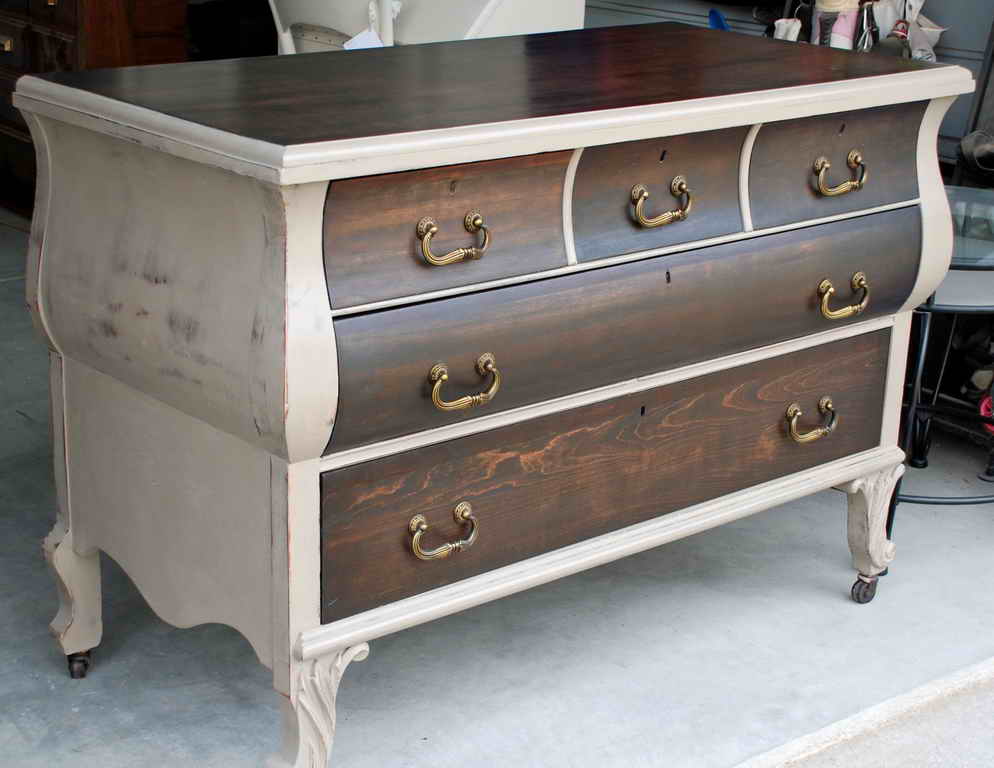
Drying of paints and varnishes, on average, takes from one to two days. The instructions for the paint or varnish indicate the optimal drying time at certain temperatures. As a rule, the temperature regime for drying is considered favorable at 20-23 degrees Celsius.
Features of painting in white
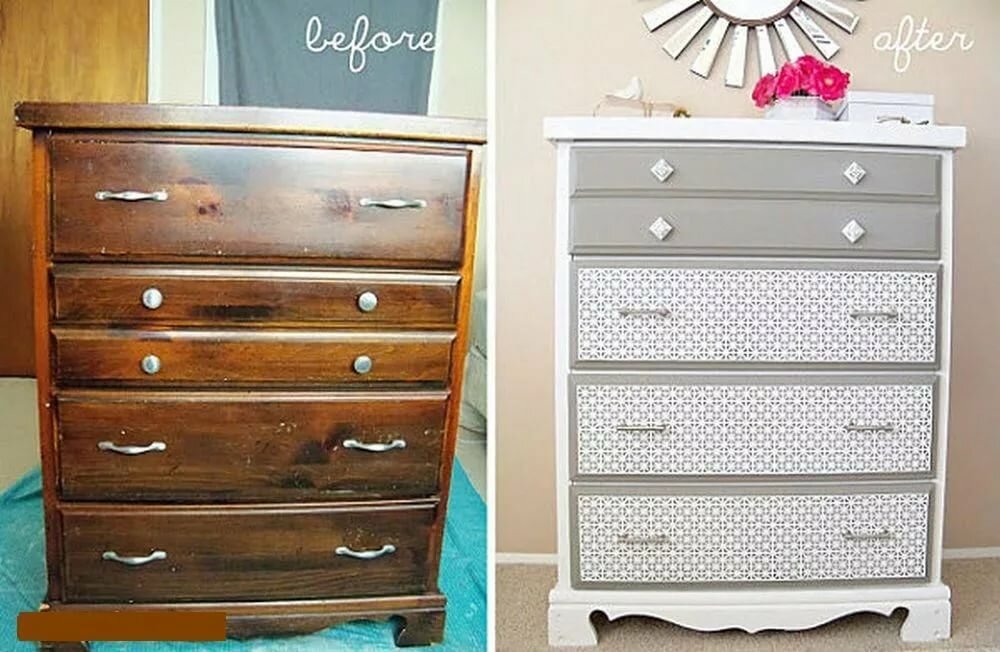
How to paint lacquered furniture white? It turns out that even a black or dark brown surface can be lightened. To do this, you must first bleach it using a special paste. A pre-prepared wooden surface is wiped with a bleaching agent. It brightens dark pigments and fills in voids and cracks in the exterior of furniture.
How to fix minor defects
To restore and repaint old furniture, it must first be disassembled. The more individual elements you have, the easier it is to work through particularly hard-to-reach areas.
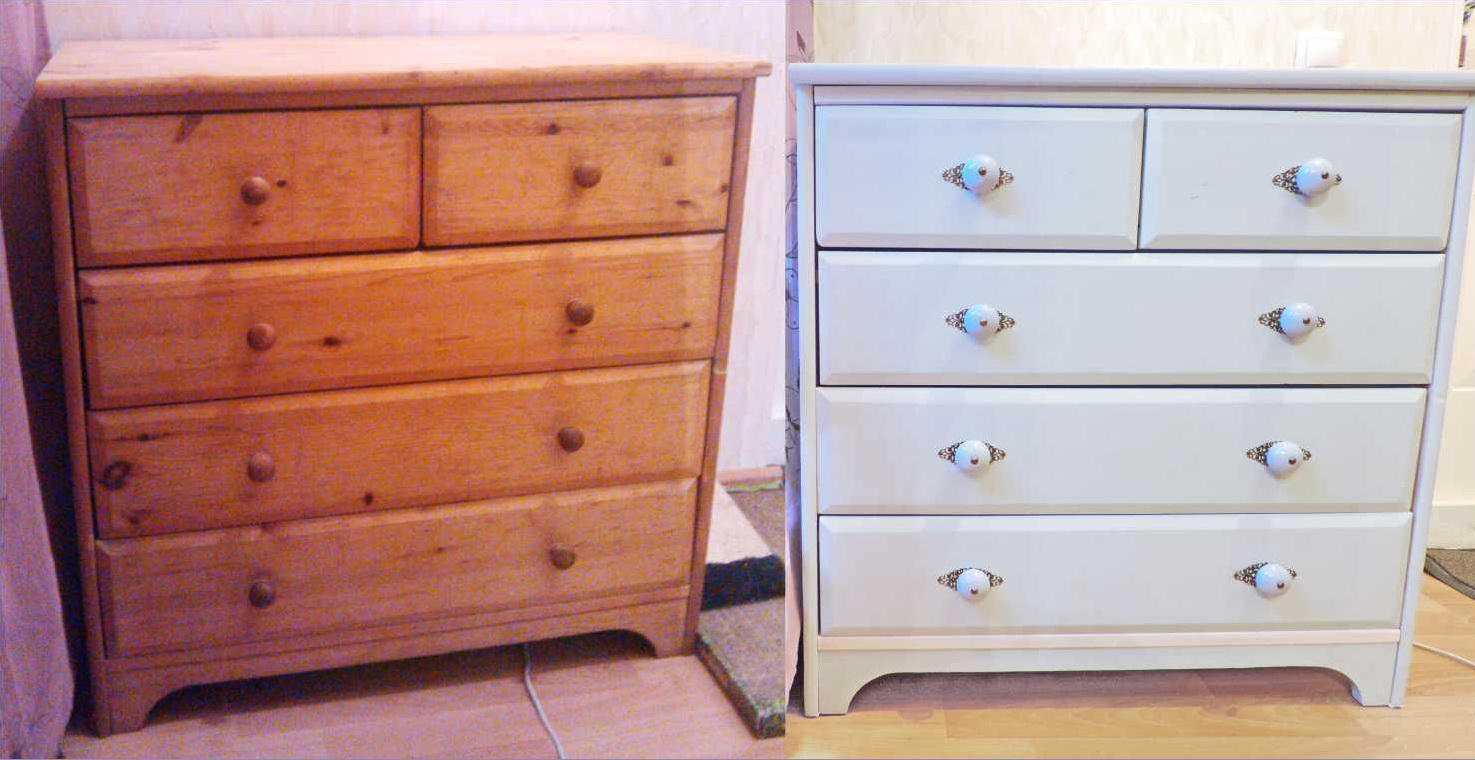
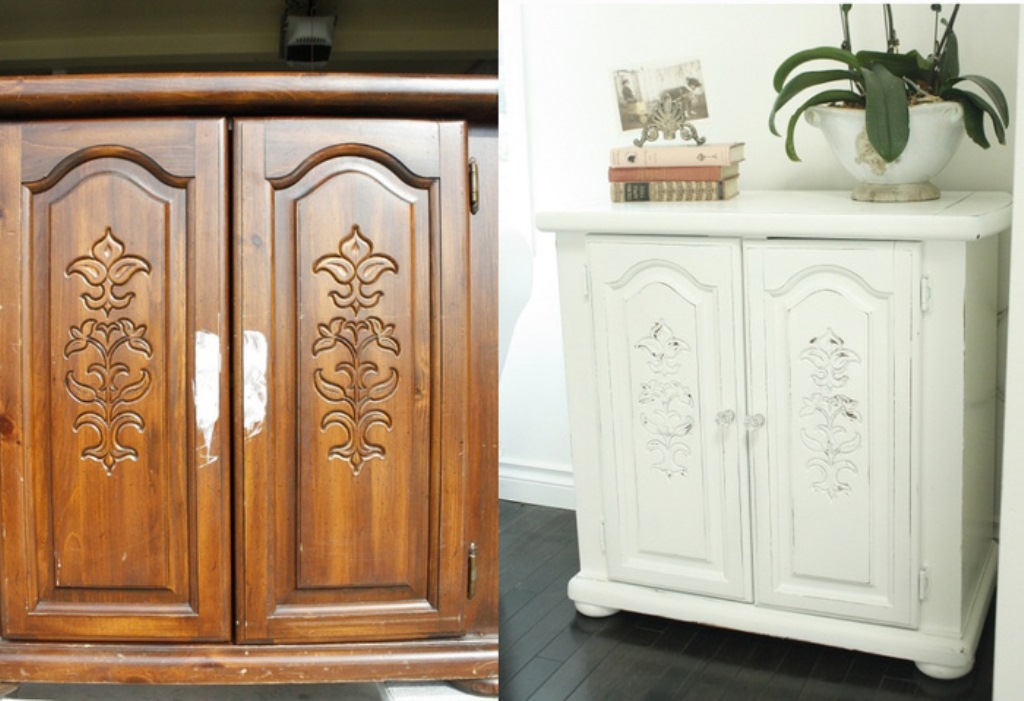
All damages and dents are putty and cleaned. An extra coat of antiseptic can be applied to prevent mold and mildew growth. If you do not plan to paint the product, but only varnish it, buy a transparent putty. It will not stand out against the background of the entire wooden surface. To correct defects, work in thin layers, which should dry well.
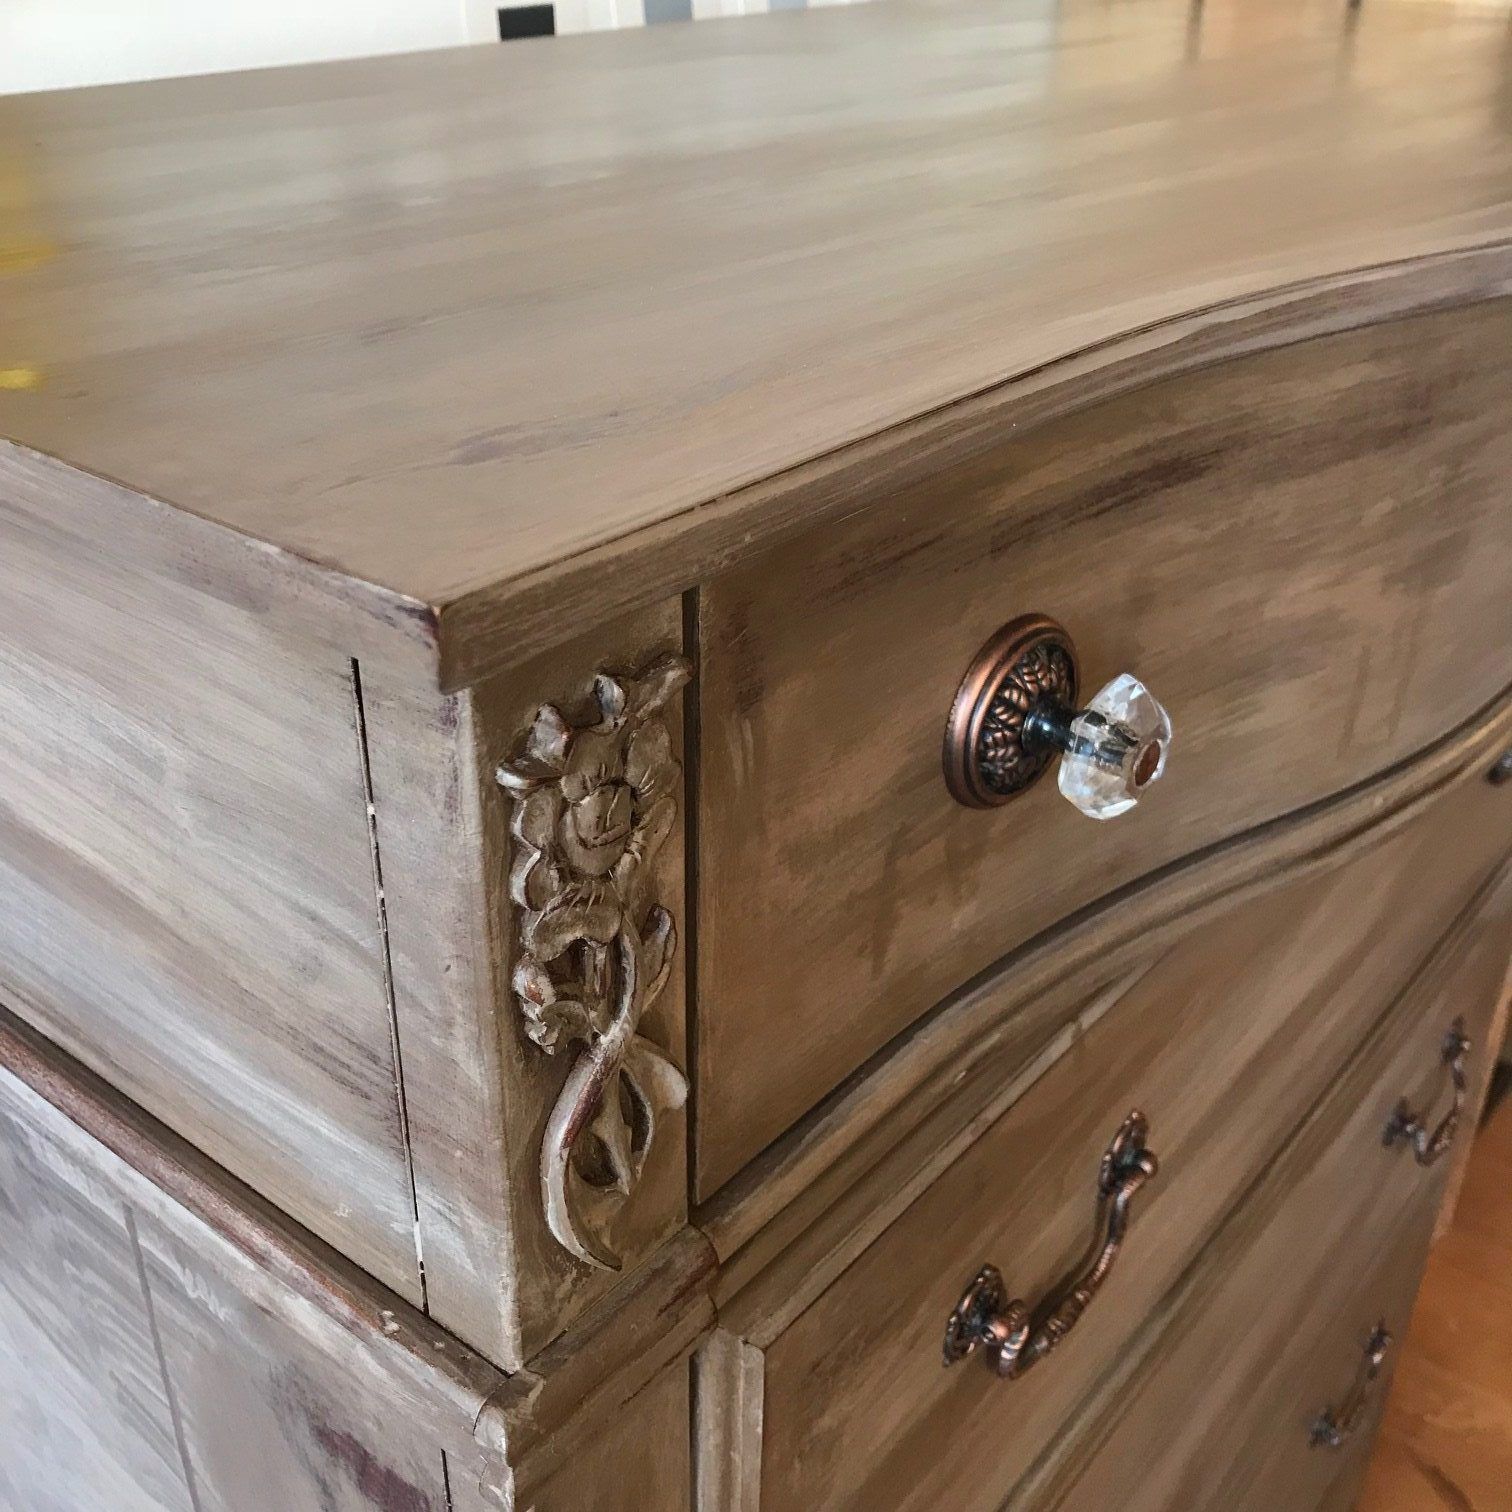
How to avoid mistakes
Any mistake can degrade the quality of the entire work and spoil the appearance of the furniture. To avoid this, follow a few simple rules:
- Do not leave the old finish on the wood surface. If you partially failed to remove the old varnish, it may show through or crack over time. Combine methods for removing old paint layers.If the metal brush did not work and left traces of old varnish in some places, try the heat method in this area with a hairdryer or blowtorch.
- Read the instructions before diluting paint or varnish. Failure to comply with the proportions or drying time can lead to sagging or rapid chipping.
- Don't skip the furniture preparation step. Putty and sand the surface, eliminate all possible defects. Prepare the ideal surface for varnishing and painting.
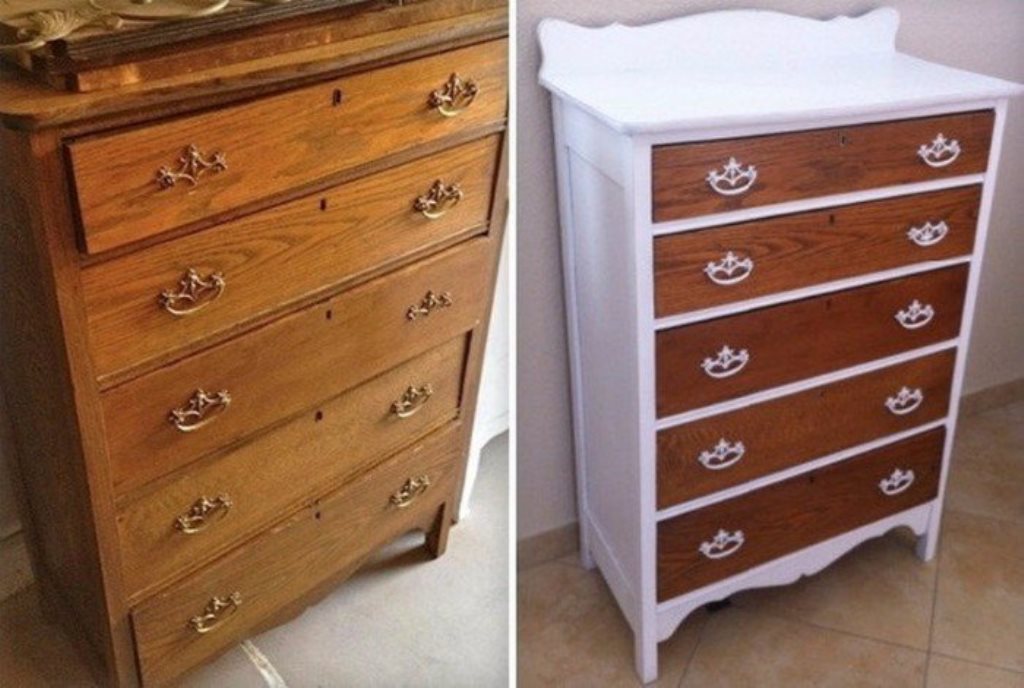
Furniture restoration is a creative and fun process. In order for it to bring joy and pleasure, and to please the interior items with their novelty for a long time, it is enough to follow simple rules in work and prepare in advance.
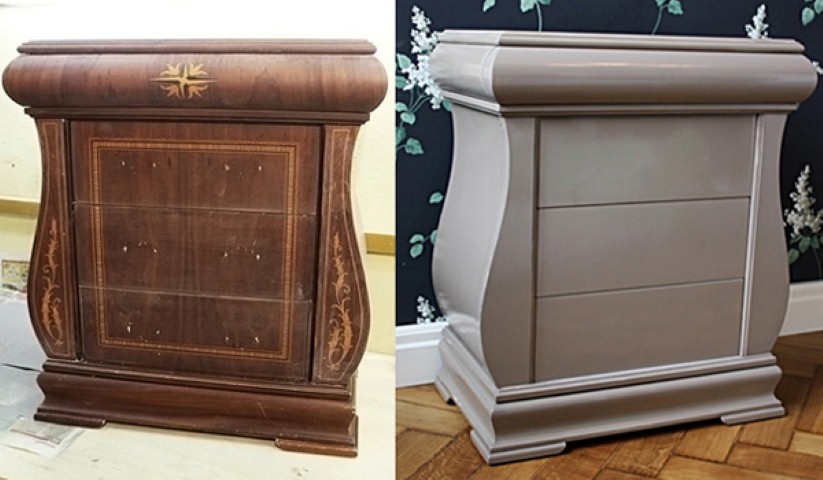
Video: how to repaint a lacquered wardrobe

