How to repaint MDF furniture with your own hands
It so happens that a chest of drawers (or a wardrobe) that has served you faithfully gets bored. He did not break, and did not even go out of fashion, but simply ceased to please the eye. What to do?
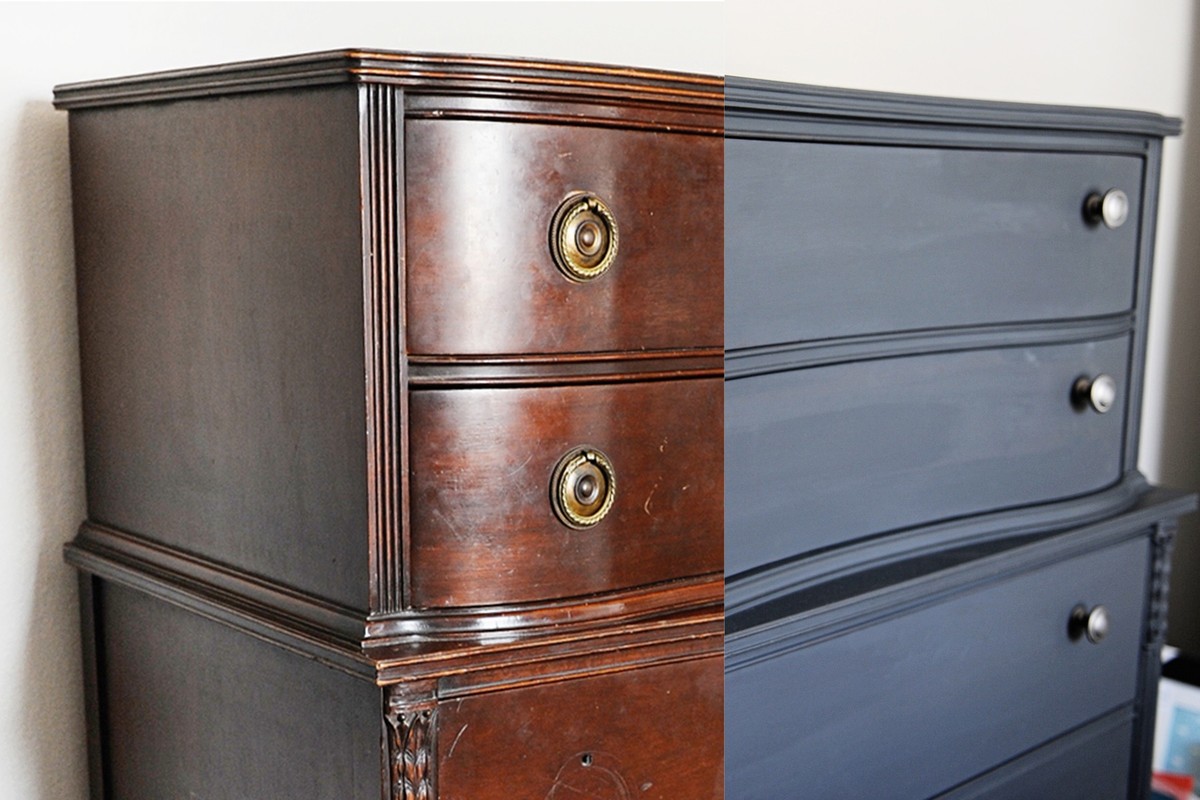
There is a way out: try to repaint the piece of furniture in a new color. How to repaint MDF furniture with your own hands at home?
What is MDF
First, you need to figure out what MDF is. Translated from English, the abbreviation "MDF" is translated as "medium density fiberboard." This material is made from wood fibers.
MDF production includes the following stages:
- Wood sawdust is crushed to a powder state. To do this, the raw materials are brought to 100 degrees temperature and up to 80 percent humidity. And then it is ground in a defibrator.
- Then urea-formaldehyde resins and paraffin are added to the powder. The mass is thoroughly mixed and dried at a temperature of 200 degrees. By the way, the mixture is dried within a few seconds.
- The resulting mass is transferred to a hopper and compacted, and then rolled out with a roller on a conveyor. So the stove turns out.
- It is fed to the press, and under a pressure of 350 MPa and when heated to 230 degrees, the pressing stage passes. After that, the pressure decreases three times and the process of adjusting the thickness of the slab takes place without high temperatures.
- The cooled board is ground and cut into pieces of the desired size.
Fiberboard is one of the most commonly used materials in the furniture industry. And this is no coincidence. MDF has enough advantages:
- Moisture resistance;
- Strength;
- Availability;
- Long service life;
- The ability to create various reliefs and decor;
- Resistance to temperature extremes;
- Wide range of applications.
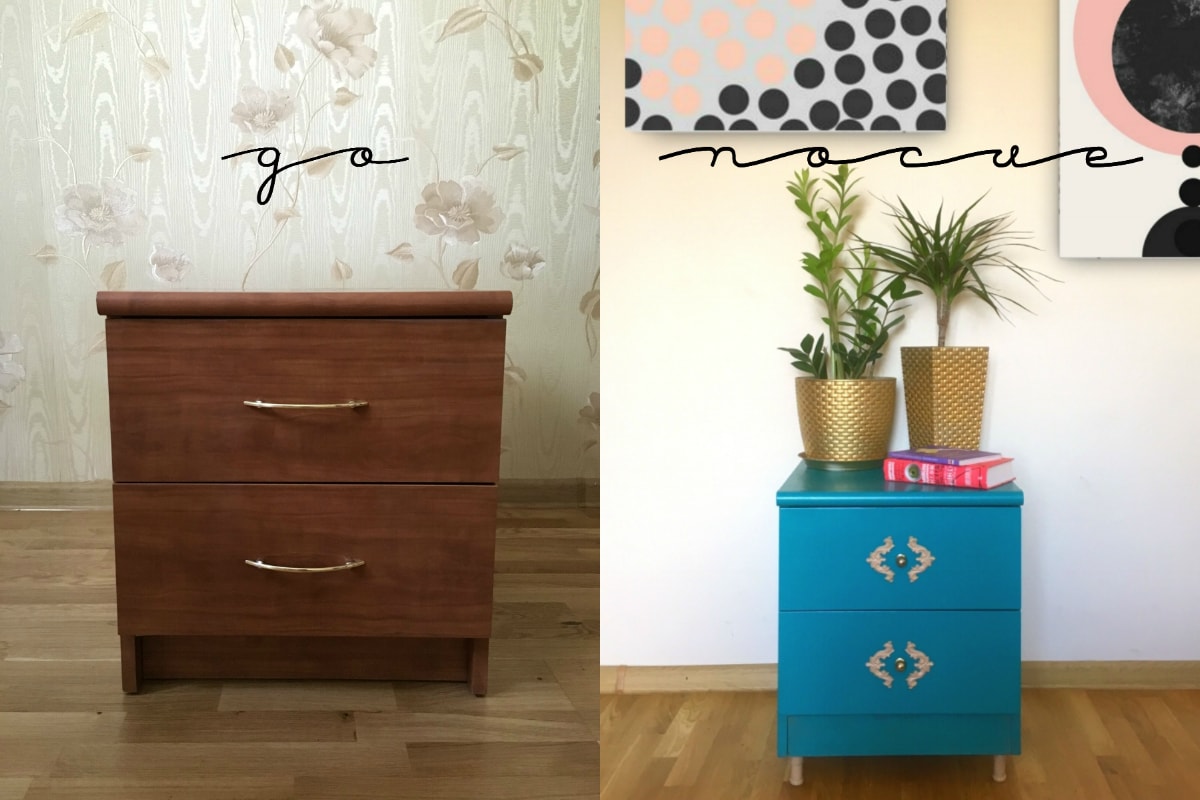
Often the happy owners of MDF furniture believe that it is impossible to repaint such interior items with their own hands. But in vain. Everything is much simpler than it might seem at first glance.
The main thing is to choose the right paints, namely:
- Soil compositions;
- Paints with high hiding power and wear resistance;
- Varnishes, or polishing kits.
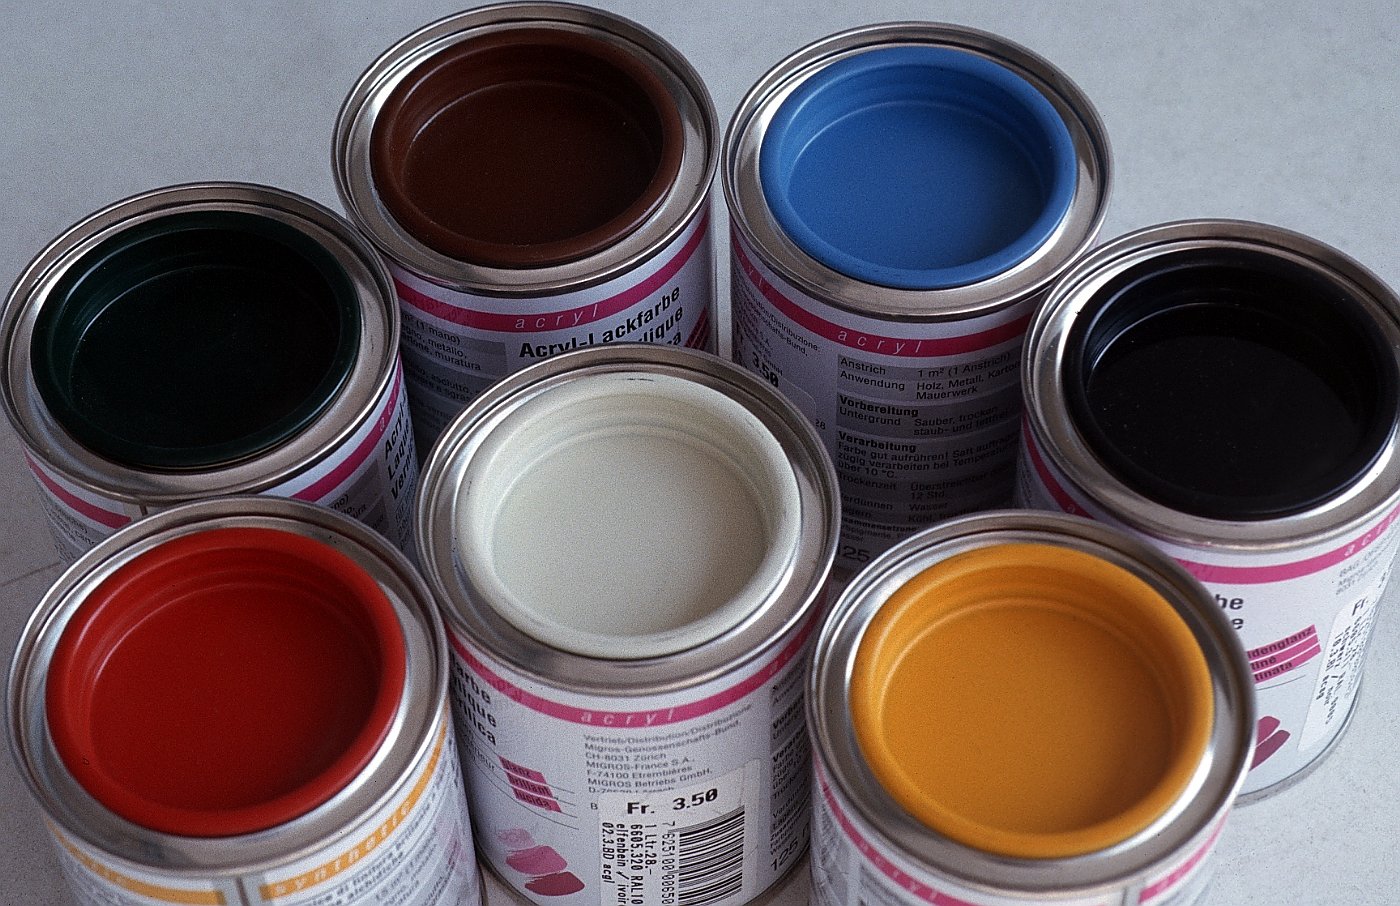
Thanks to the painting of MDF surfaces, you will refresh the interior, extend the life of the products and significantly increase the performance. The latter is especially true if you decide to update your bathroom or kitchen furniture.
However, there are also disadvantages to coloring. Firstly, it will cost you much more than covering the facades with decorative foil. And, secondly, painted surfaces fade over time.
Preparation
As in any business, preparation plays a very important role in the process of painting furniture at home. First of all, furniture is dismantled before painting. At least they remove the doors from their hinges. Thanks to this, the process of applying paint will become more convenient, and parts that do not need to be painted will be protected from the ingress of the coloring composition.
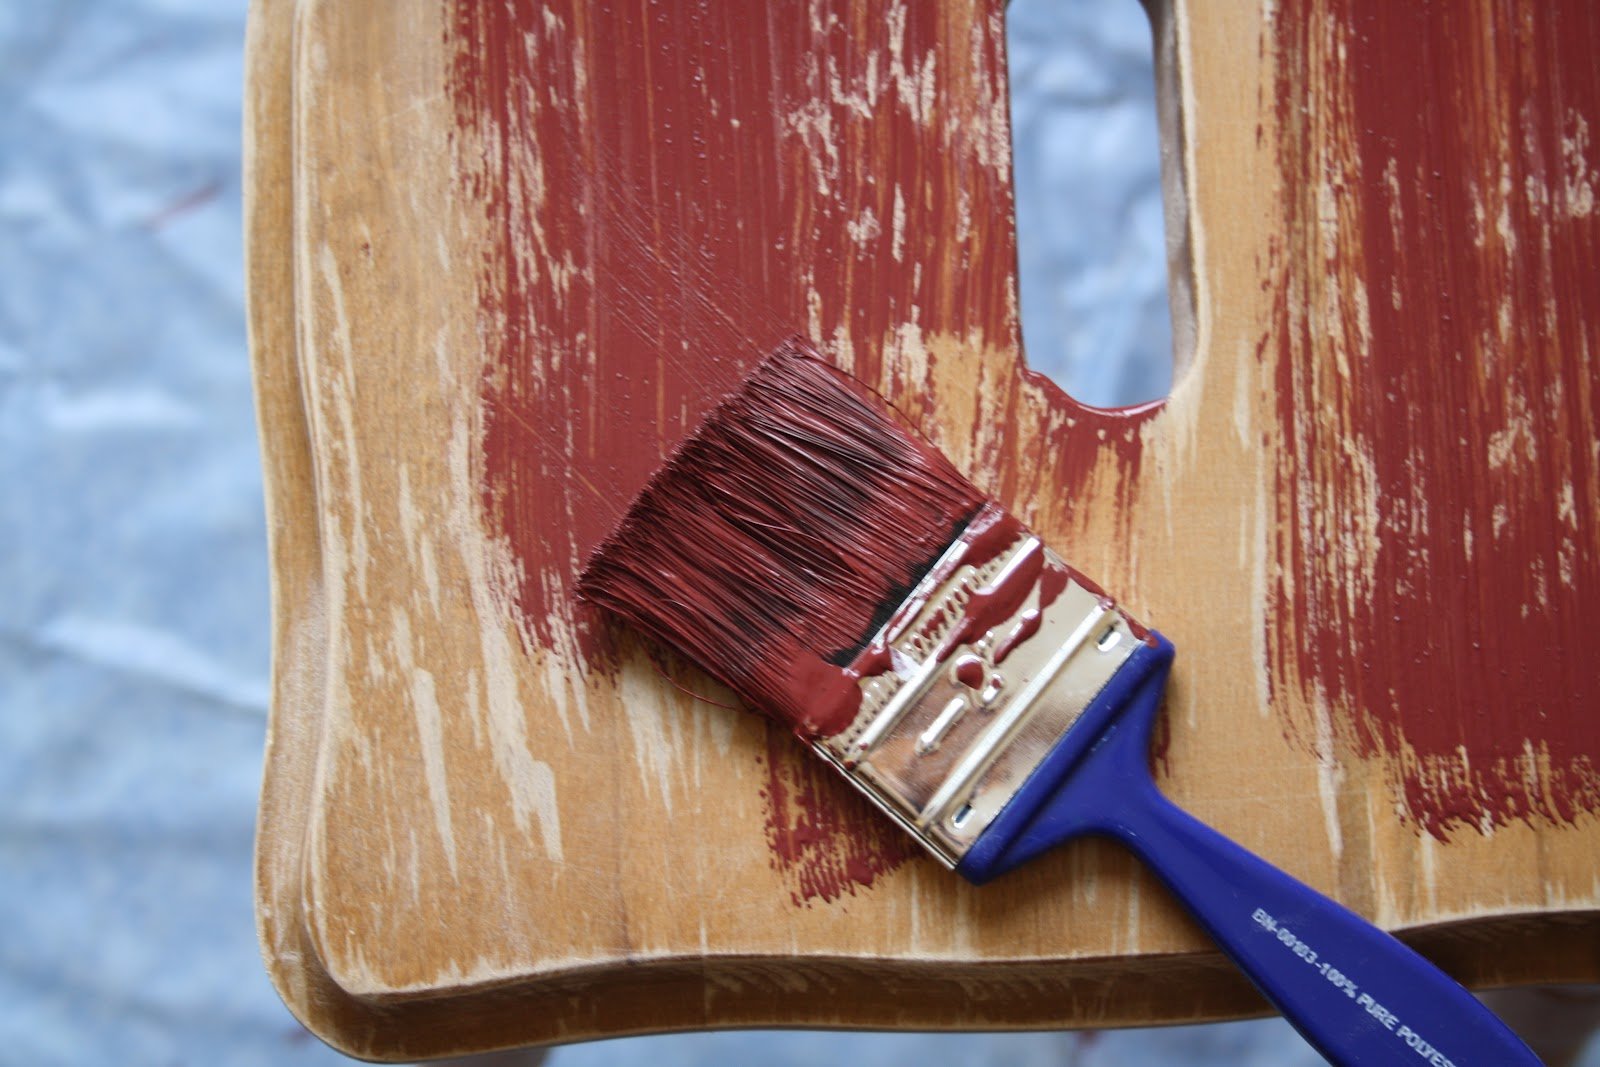
Work surfaces are thoroughly washed and degreased.This is done with an aqueous solution of dishwashing liquid, vodka (or alcohol). Then, using a special wood putty, chips and cracks are removed.
Grinding
In order for the coloring composition to lay down in an even layer and form a reliable adhesion to the surface, the place of future coloring is polished. Ordinary sandpaper is suitable for processing a small area, and if a global sanding of large surfaces is to be done, it is better to use a sander.
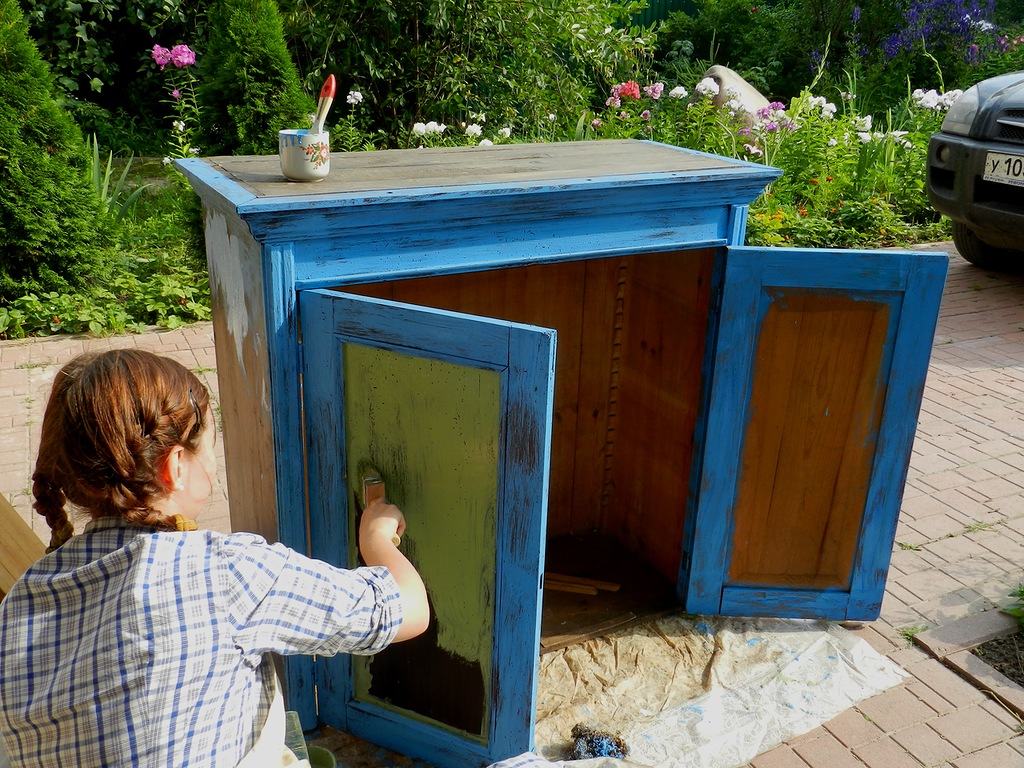
To putty chips and cracks take the shape you need, use a special abrasive mesh.
Attention! Do not overheat the working surfaces during the operation of the sander.
After sanding, the dust is removed with a vacuum cleaner, and then the surface is treated with a solvent.
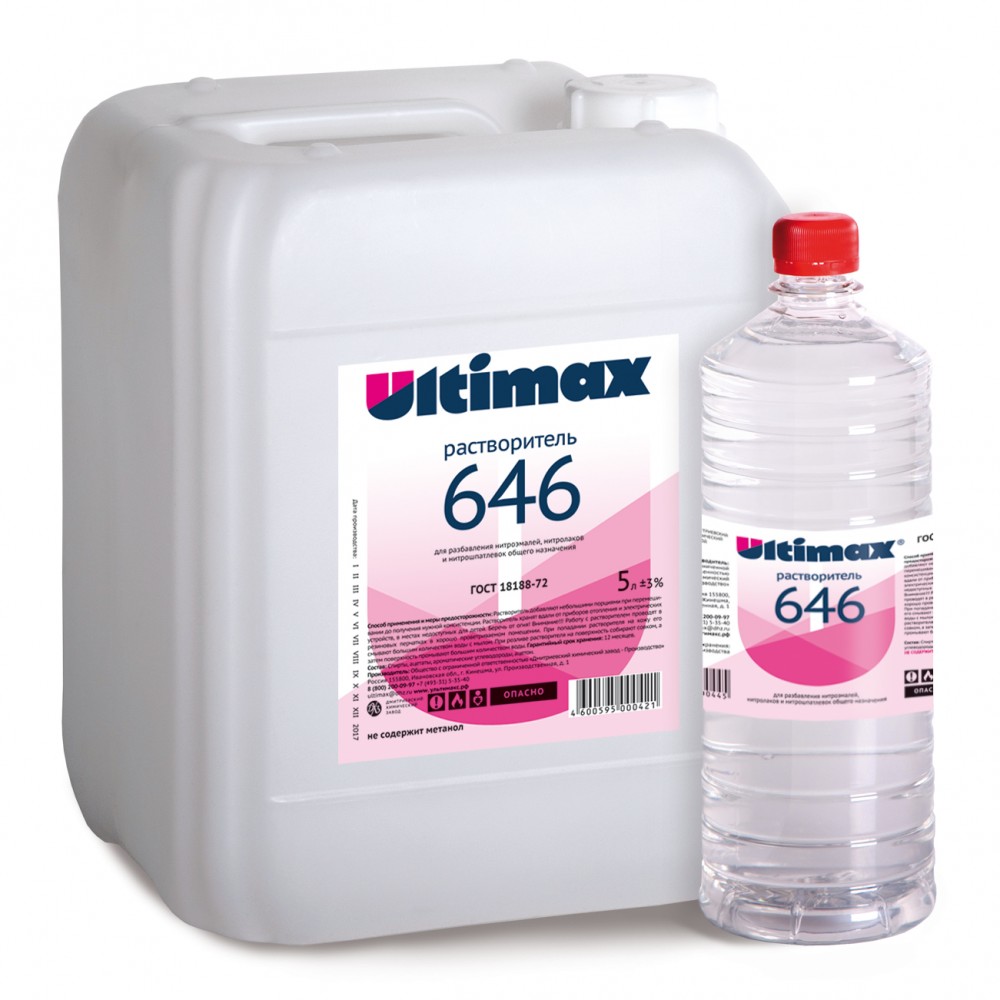
The effectiveness of this treatment is noticeable visually and to the touch: the treated areas become dull and rough.
Primer
Now you can start priming. This stage is considered one of the most important. The final result of all your work on painting furniture from MDF depends on its high-quality performance.
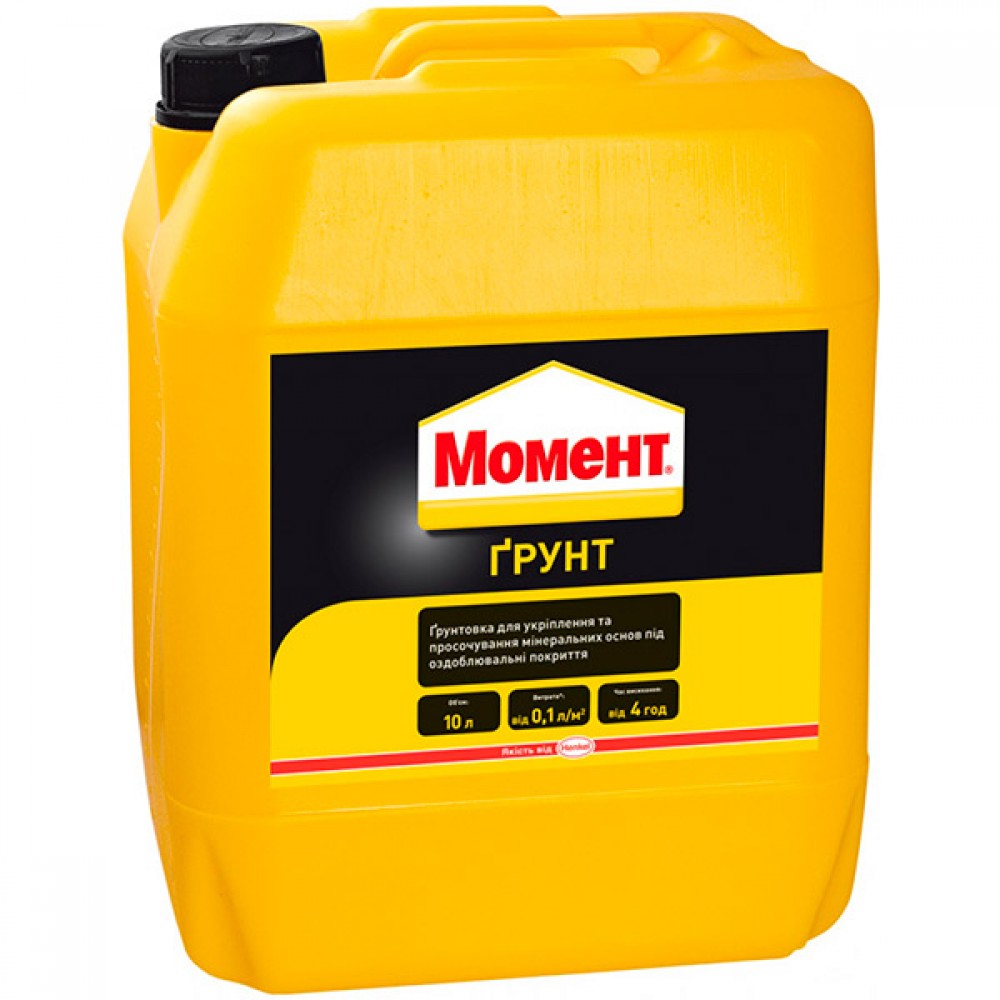
A correctly selected squad copes with the following tasks:
- Provides reliable adhesion of paint to the treated surface;
- Increases the strength of the top layer;
- Masks minor defects;
- Prevents pile from rising on the MDF surface;
- Reduces paint consumption by reducing absorption.
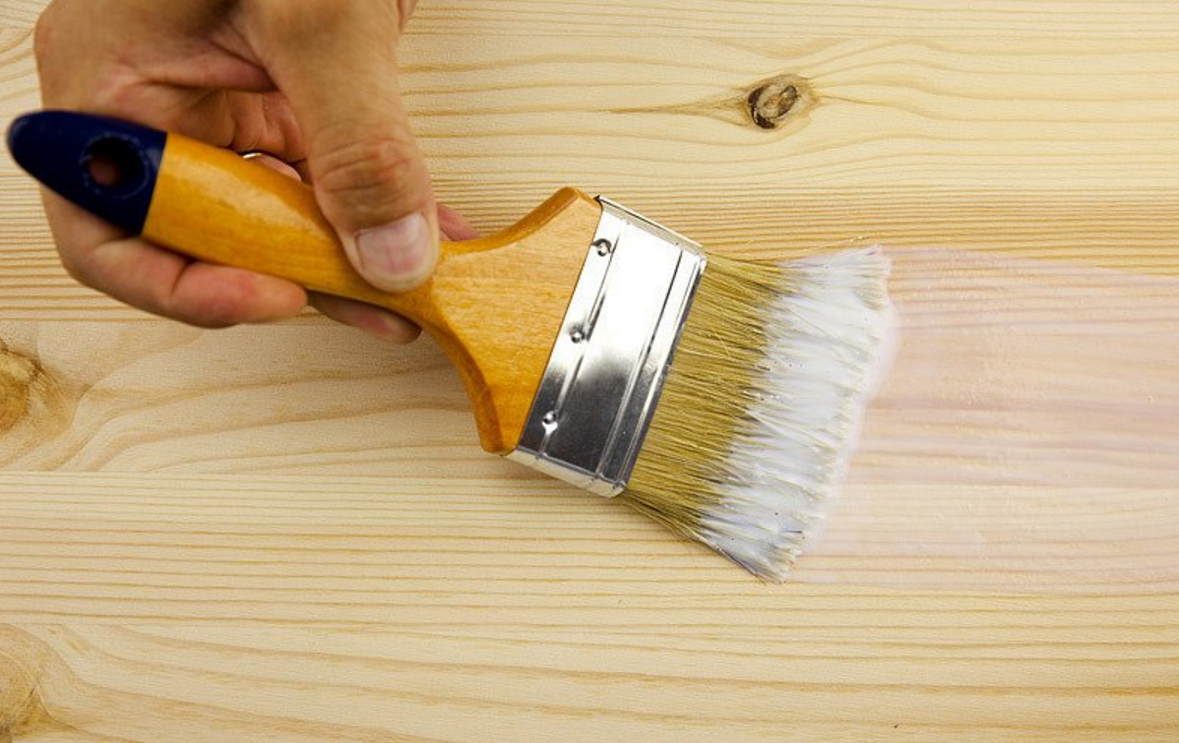
Most often, a two-component polyurethane or water-dispersion primer is used for MDF.
The process itself takes place in two stages:
- First, the end and protruding elements are primed, and then the entire surface. After the first layer has dried, remove the raised fibers and other defects with a sanding sponge. But they do this very carefully so as not to damage the primer layer to the base.
- The dust formed after grinding is removed from the surface and primed again. White polyurethane primer is applied at the rate of 150 grams per 1 sq. m. Leave to dry completely (usually it takes from 8 to 24 hours). The dried surface is treated with a Scotch-Brite sanding sheet.
Varieties of paints
There are enough coloring compositions suitable for MDF, so you have the opportunity to choose both in composition and in price.
- Alkyd. Appreciated for plasticity and strength. However, if furniture painted with such compounds is exposed to direct sunlight, the surface will quickly burn out.
- Oil. These paints are very demanding on the primer.
- Water-based. Perhaps the easiest to use. They dissolve in water, dry very quickly, do not have an unpleasant odor and do not emit harmful substances. But this is where the advantages end, and as for the performance characteristics, here the water emulsion "loses" to almost all other coloring compositions.
- Acrylic silicone. Harmless, highly durable, helmets have only one drawback - a high price.
- Polyvinyl acetate. These paints are very demanding in terms of application technology. If you do not follow the recommendations, the paint from the surface begins to peel off.
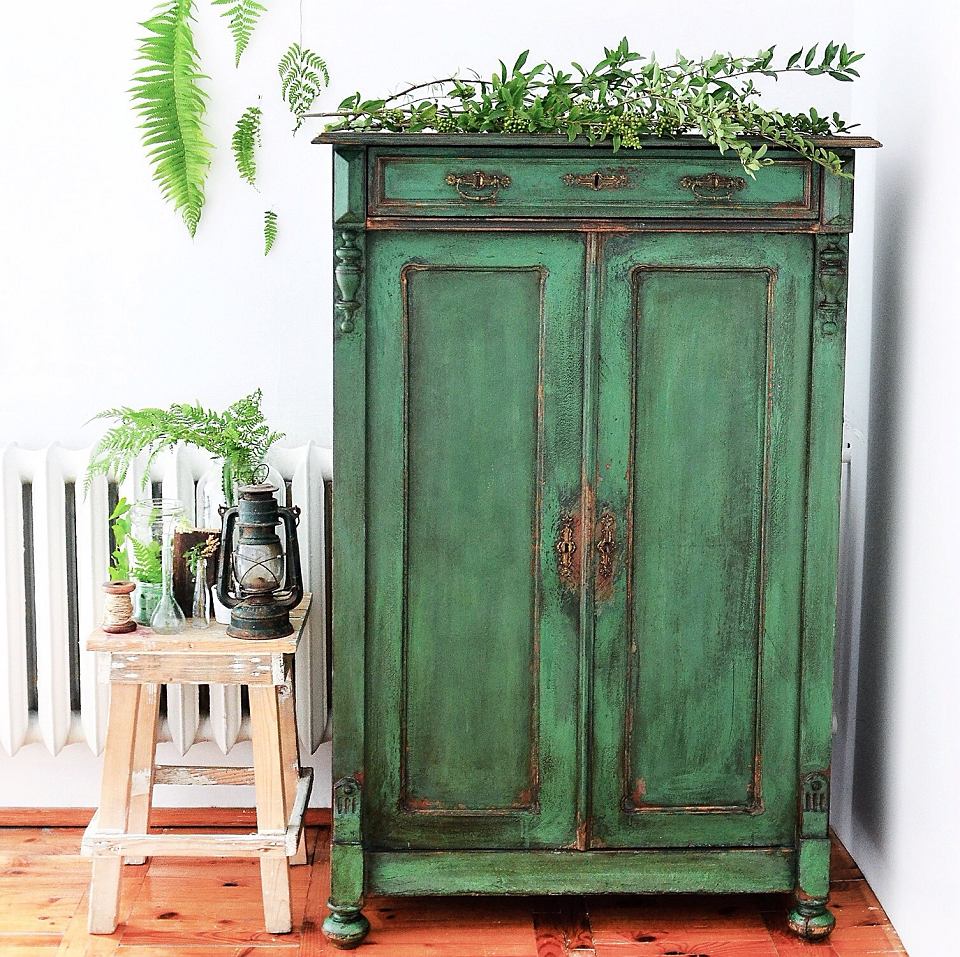
If you have the opportunity to use car paints, do not miss it. Automotive enamel forms the thinnest opaque layer on the surface, and after drying it gives a beautiful gloss. This coating will serve you faithfully for many years.
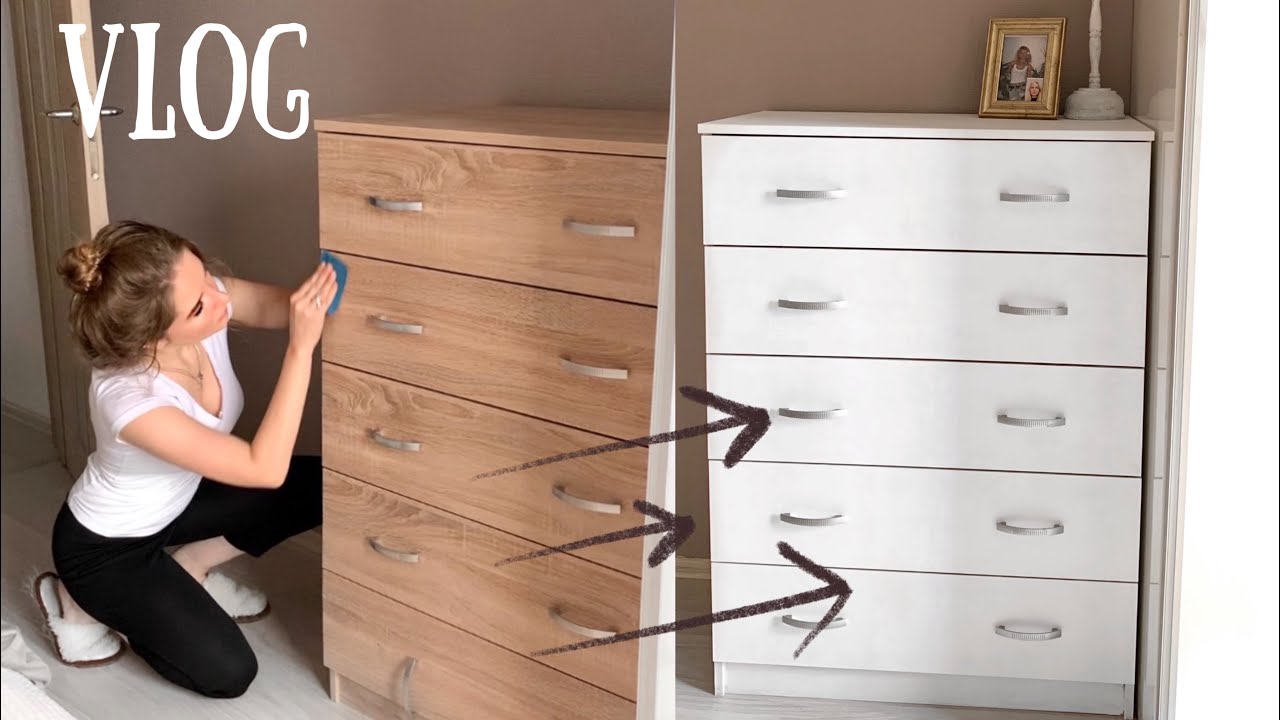
Technological process
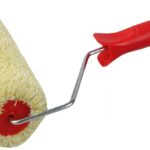
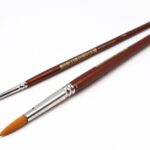
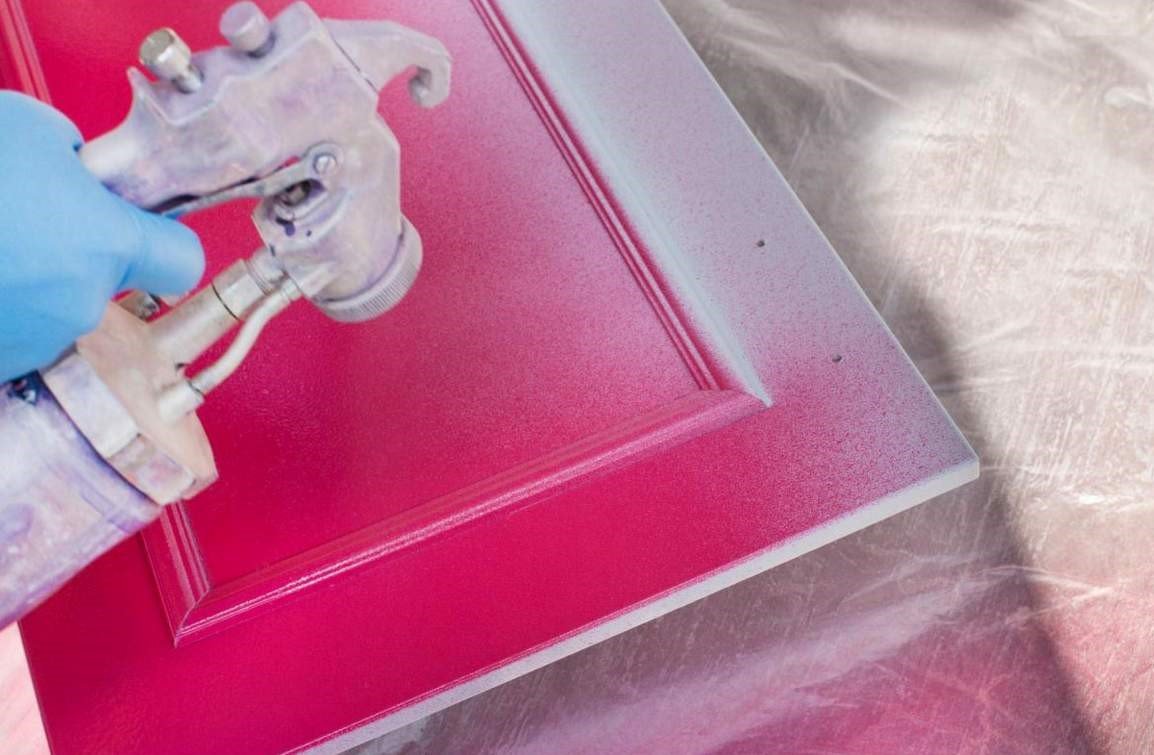
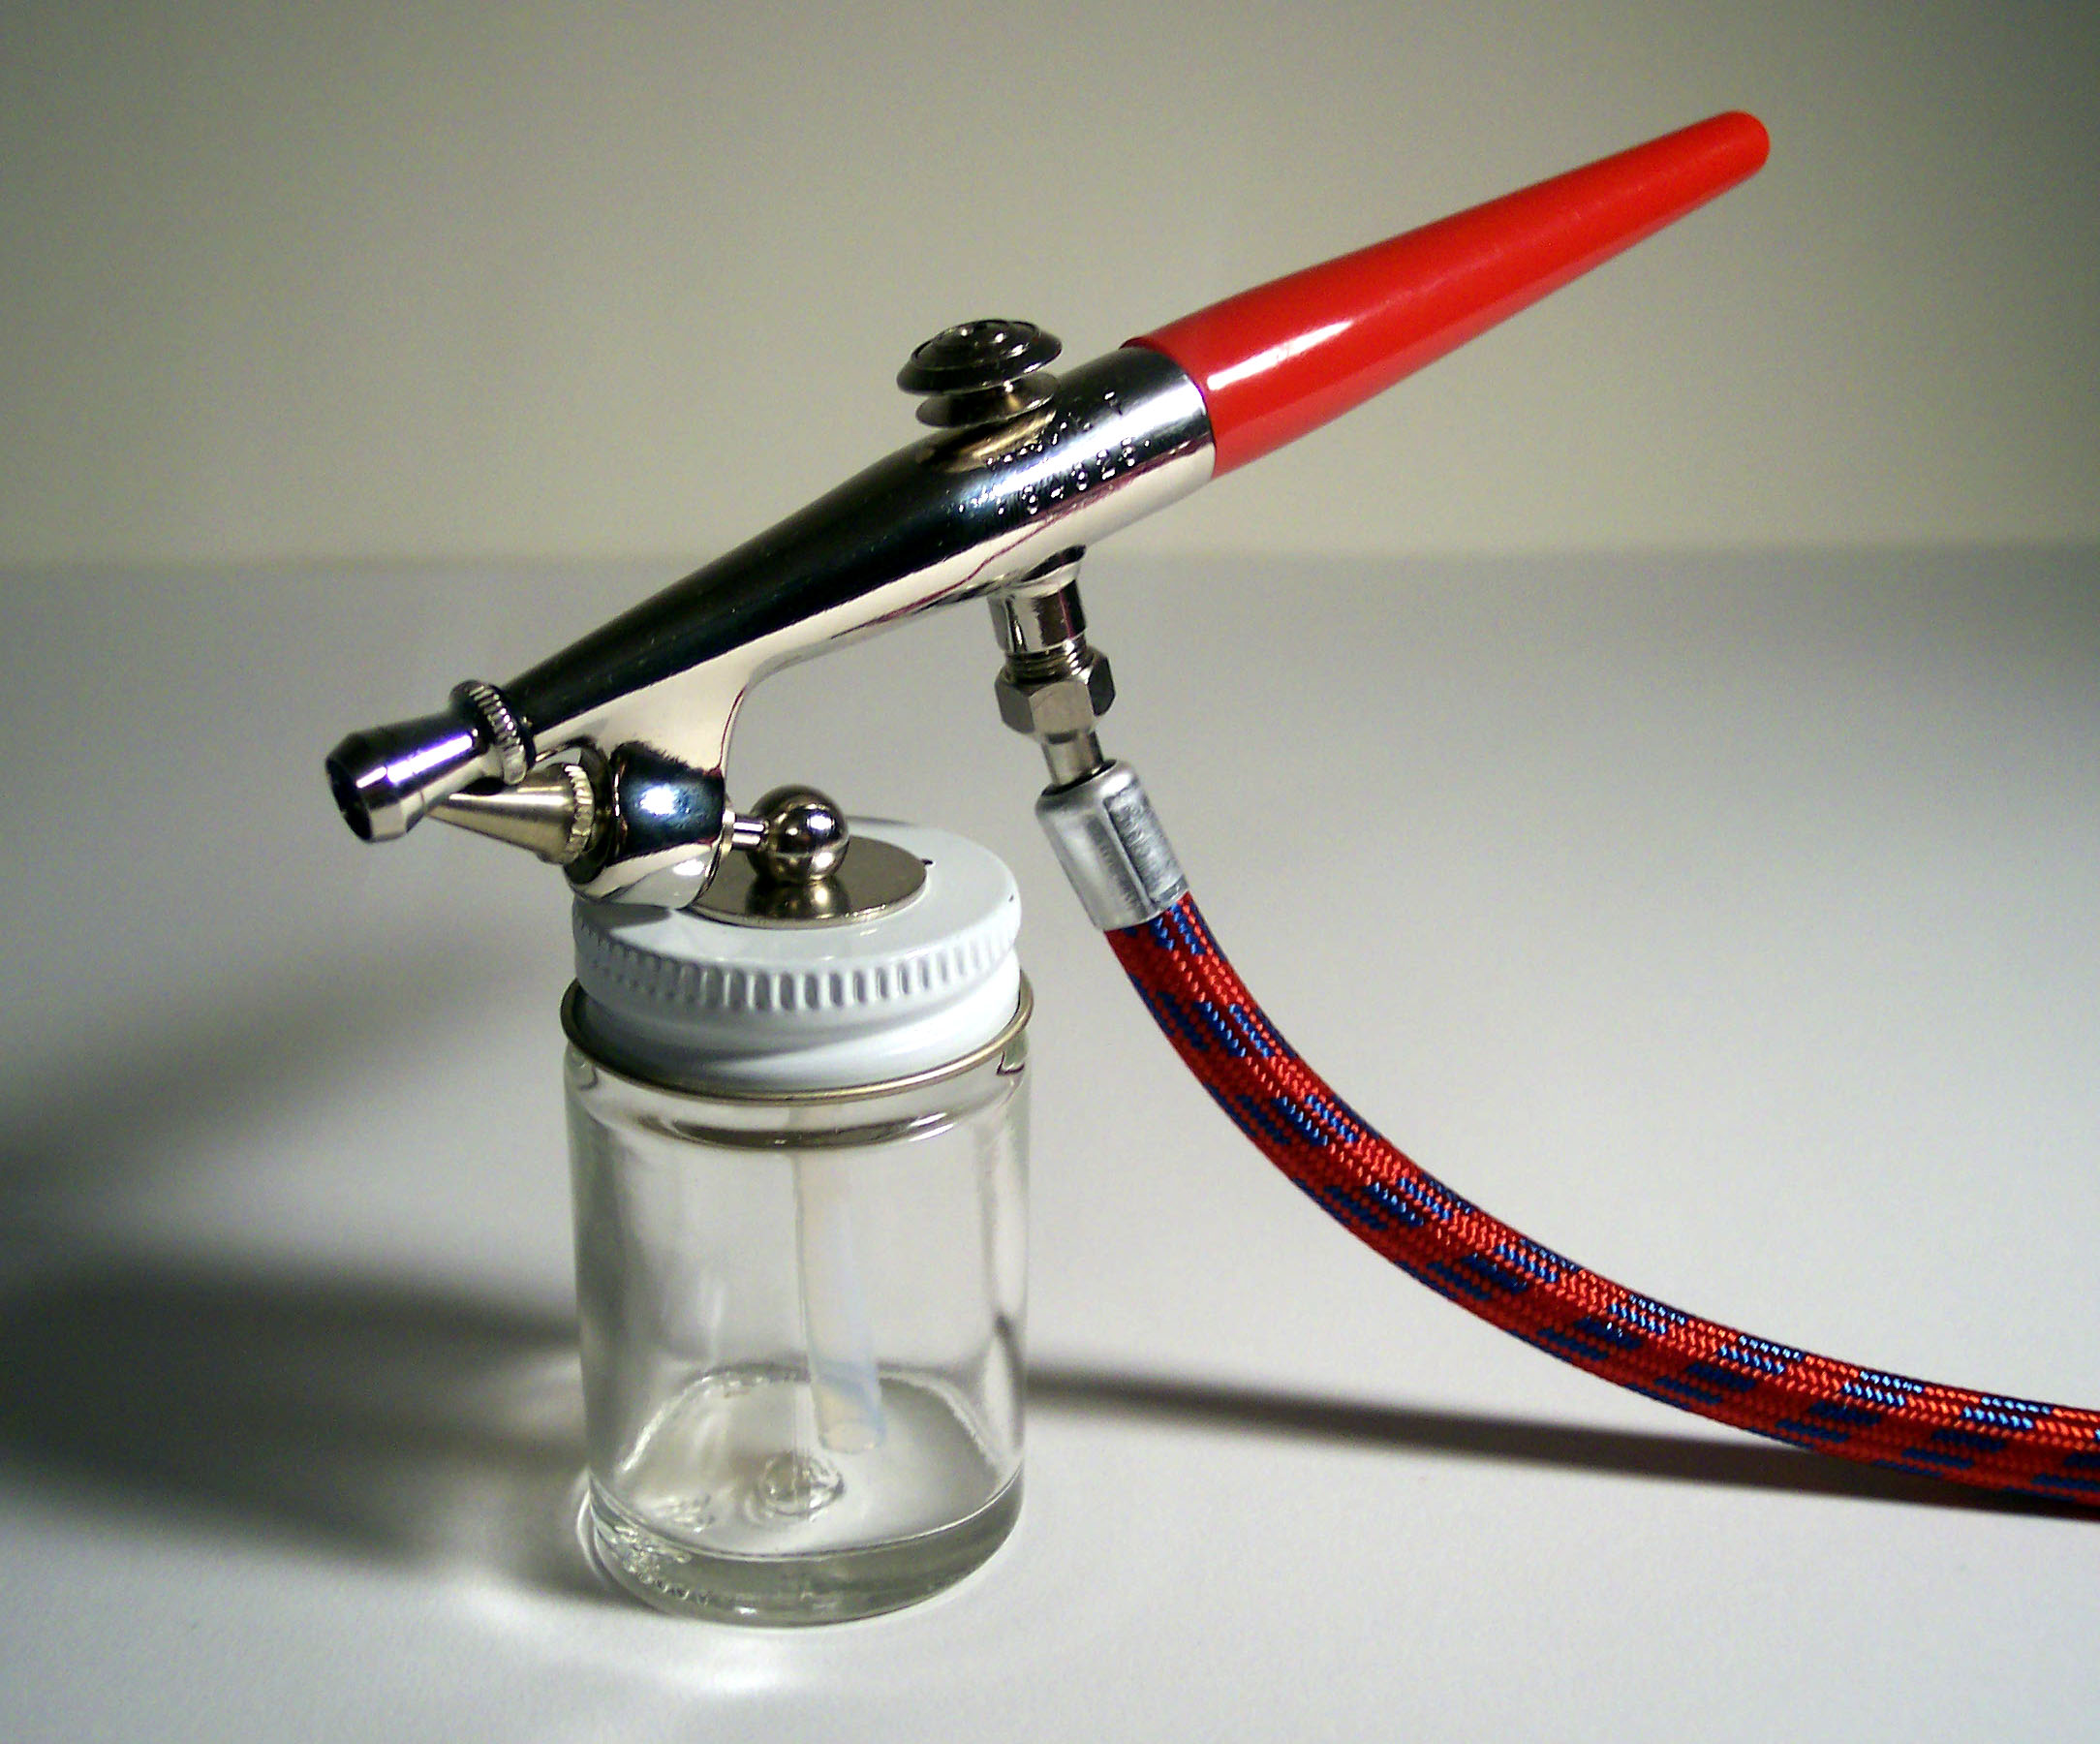
It is most convenient to paint with a spray gun. If you do not have one, and you cannot (or simply don’t want to) purchase such a unit, use a roller.The main thing is that the roller has a short nap. In the most extreme case, you can paint with a brush, too, with fine bristles. When buying, consult the seller about which roller (brush) to purchase, depending on the dye composition that you plan to use.
The vast majority of experienced painters prefer to use spray paints. But this solution has both strengths and weaknesses. The indisputable advantages include the uniformity of application of the paint and varnish composition and, as a result, an excellent final result.
Well, and the main disadvantage is that without your consent, the nearby objects will also be painted. In other words, this method is rather "dirty", and in order to avoid serious losses, it is recommended to paint in a separate room, which is not a pity to get dirty.
Always paint in one direction. Usually two layers are sufficient. The main rule: each subsequent layer is applied only after the previous one has completely dried.
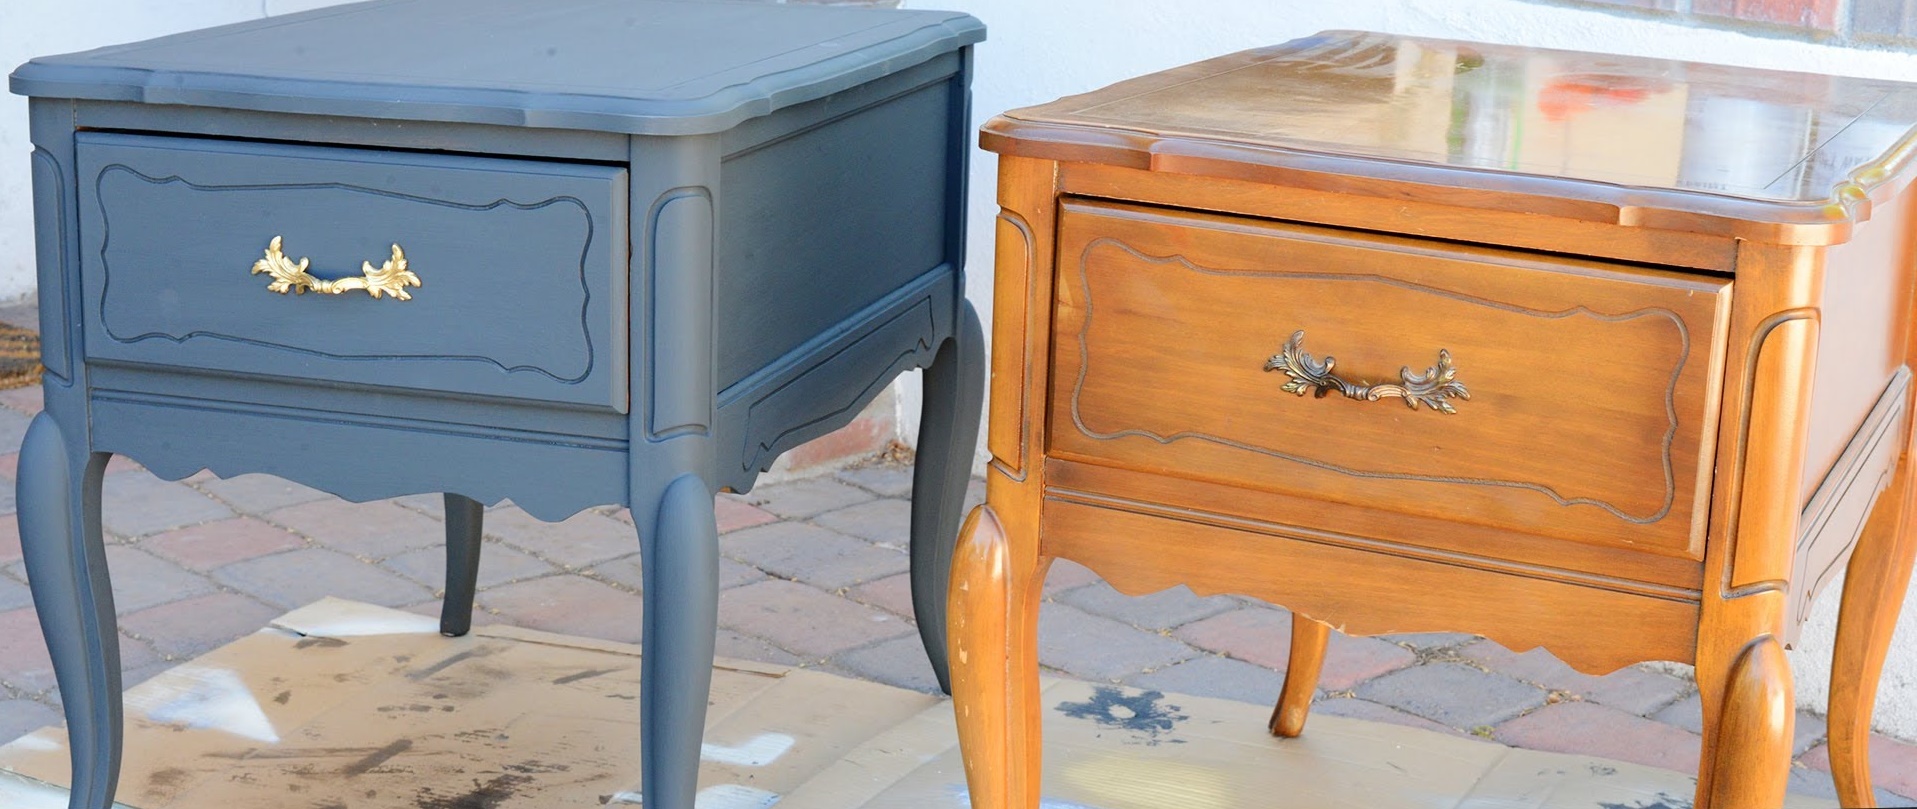
And the work should be done at a temperature not lower than 15 degrees Celsius. In order not to be poisoned by the vapors, as well as to avoid getting paint on the skin or eyes, be sure to work with protective glasses and gloves.
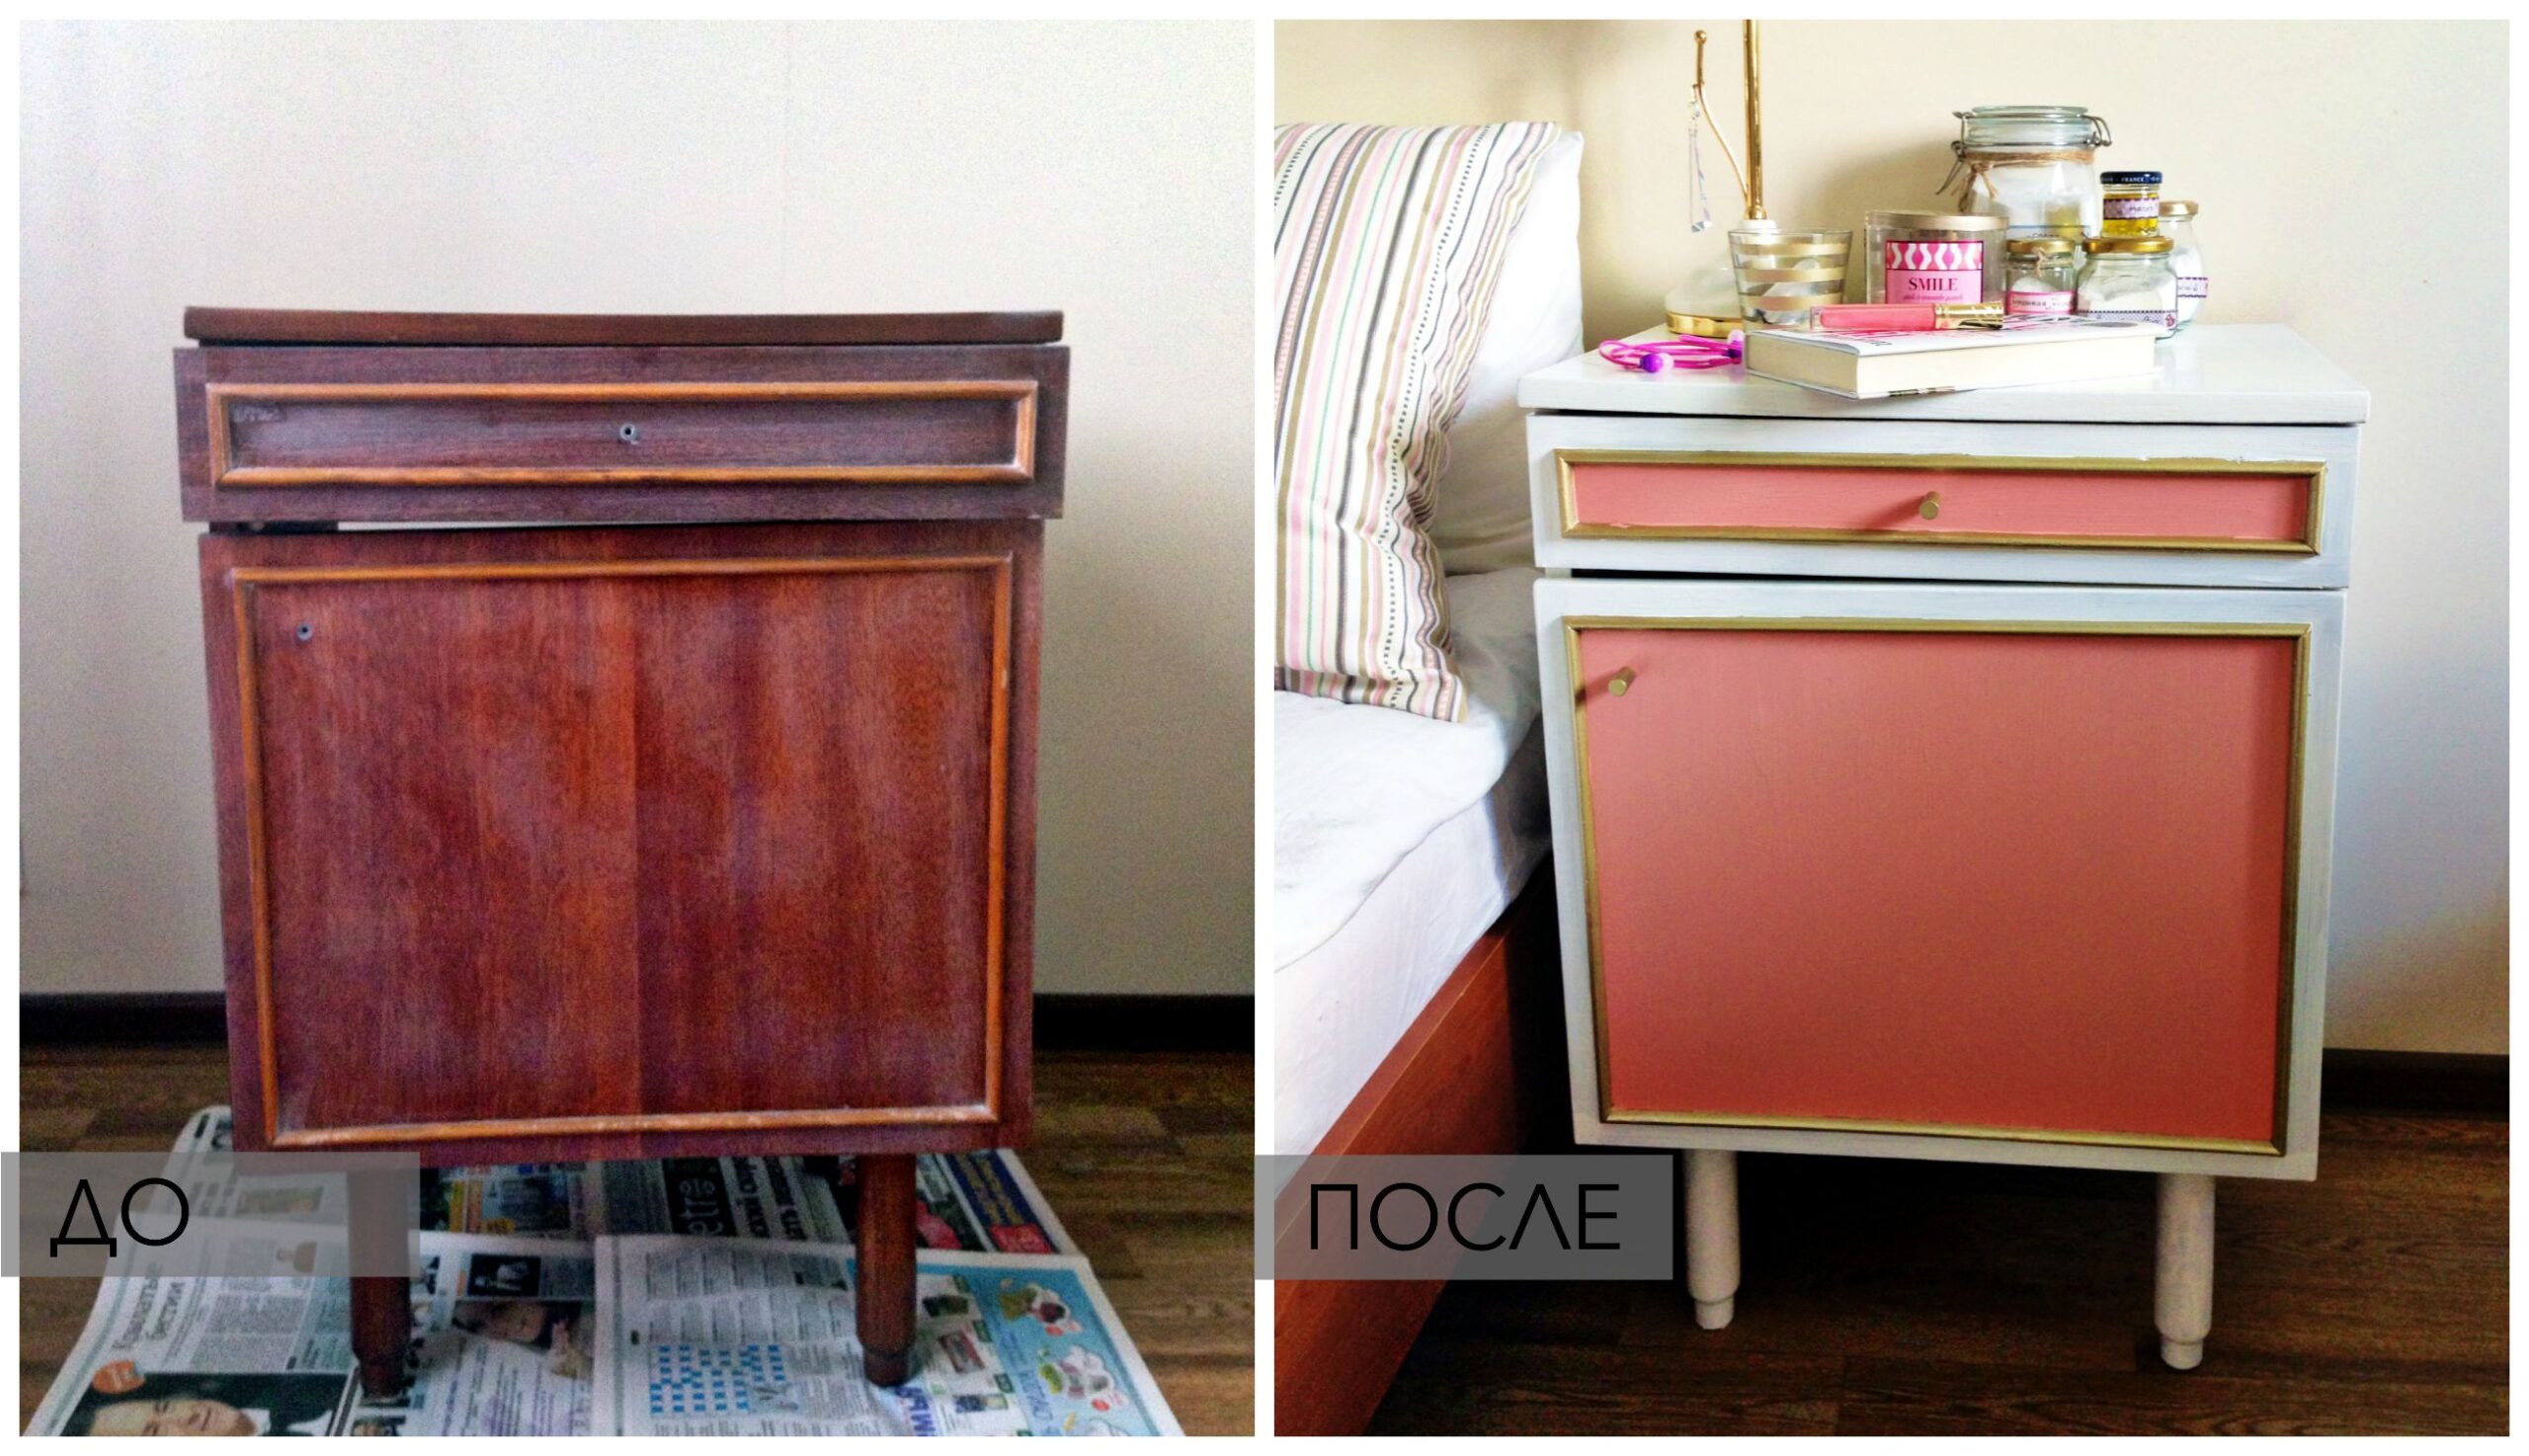
Noticing a defect on the painted place, eliminate it, grind the surface and gently paint with a cotton swab, with light blotting movements. If a speck is found on the freshly painted facade, remove it using a sharp object, such as a knife.
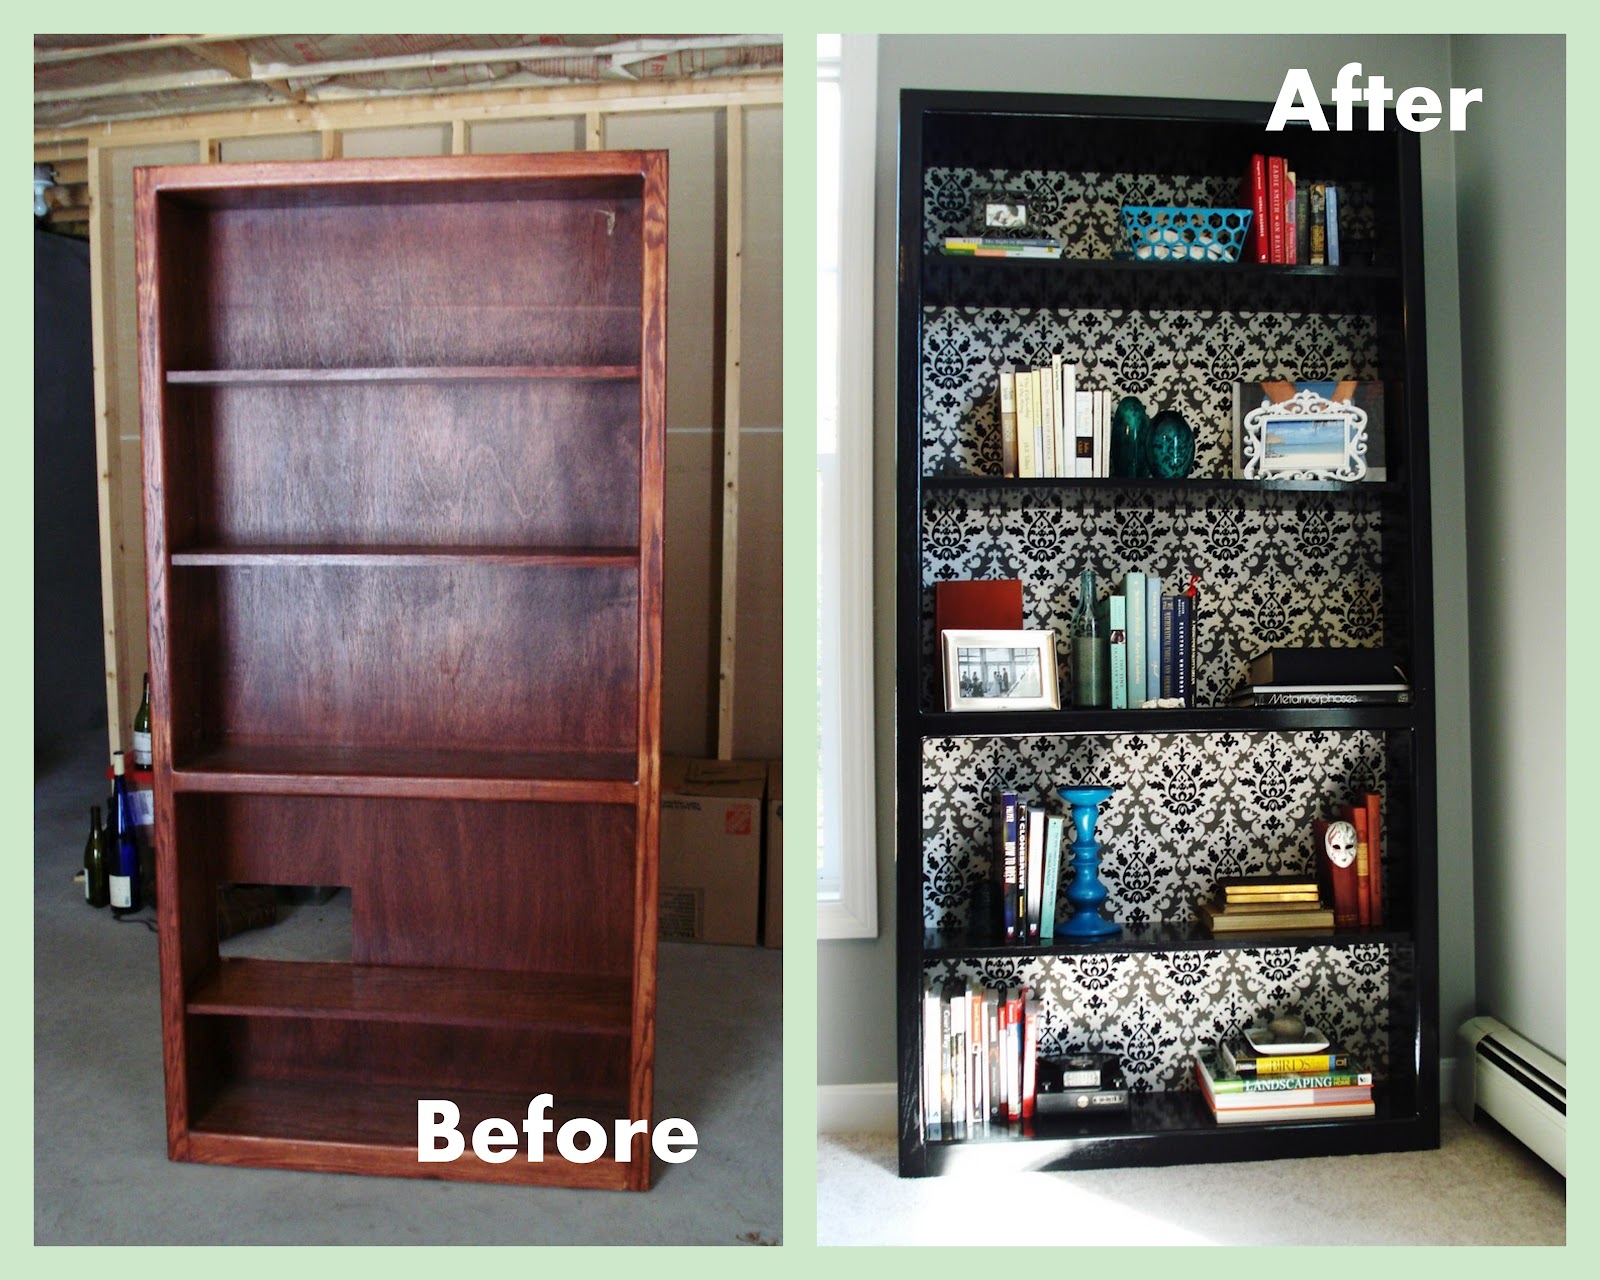
Most often, after dyeing, polishing of the product is required. At the same time, the surface should be absolutely dry, there should be no dust or small debris on it, since any lint will be very noticeable in the light. If you varnish with several layers, then remember that the first one should be the thinnest, and the subsequent ones are applied only after the previous one has completely dried.
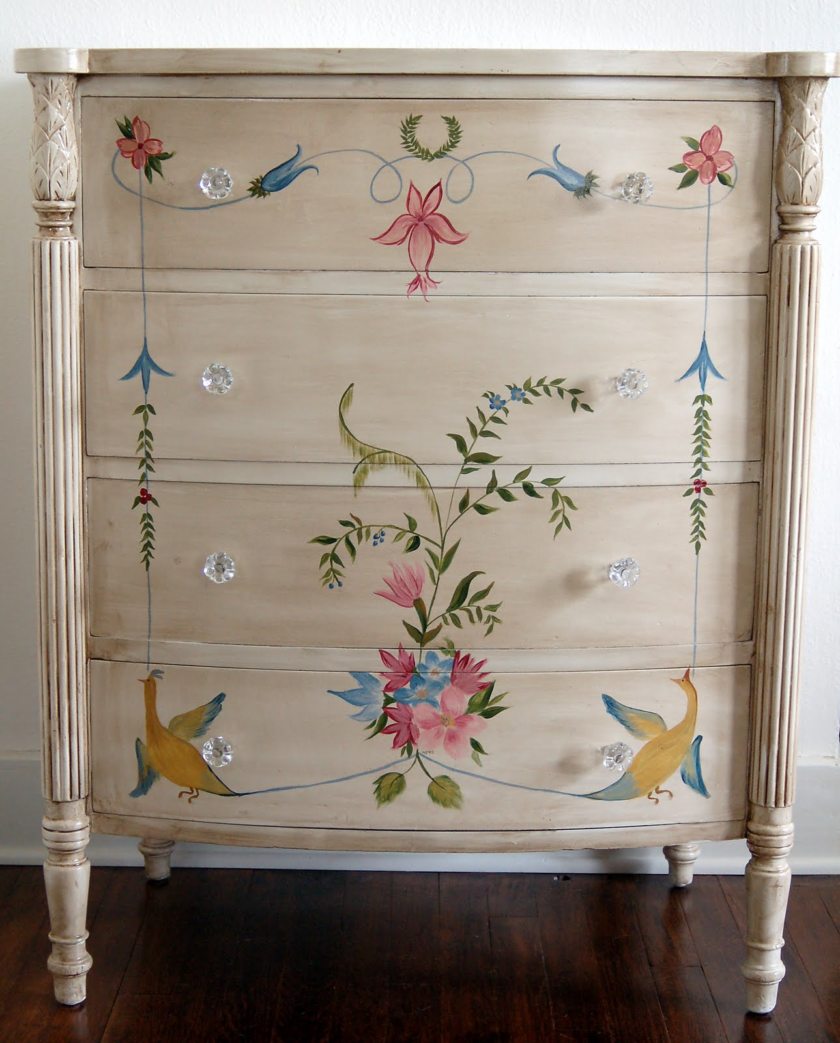
After varnishing, the surface is sanded again. First, coarse-grained paper is used for this, and then fine-grained paper. To prevent pellets from appearing, the work surface is periodically moistened with water. A week after painting, polishing and sanding, the product is again sanded using an abrasive paste.
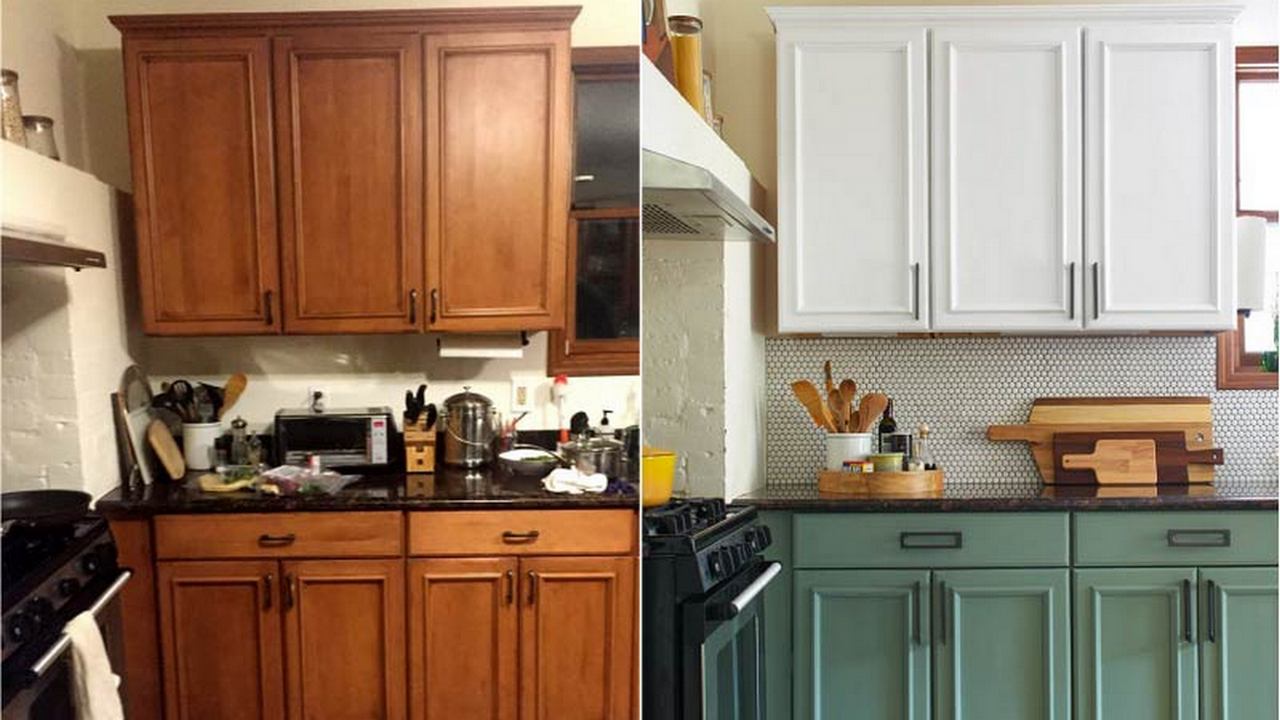
So tired of the furniture? Don't throw it away. Better think about what bright color you can repaint a familiar element of the interior. And go for it!
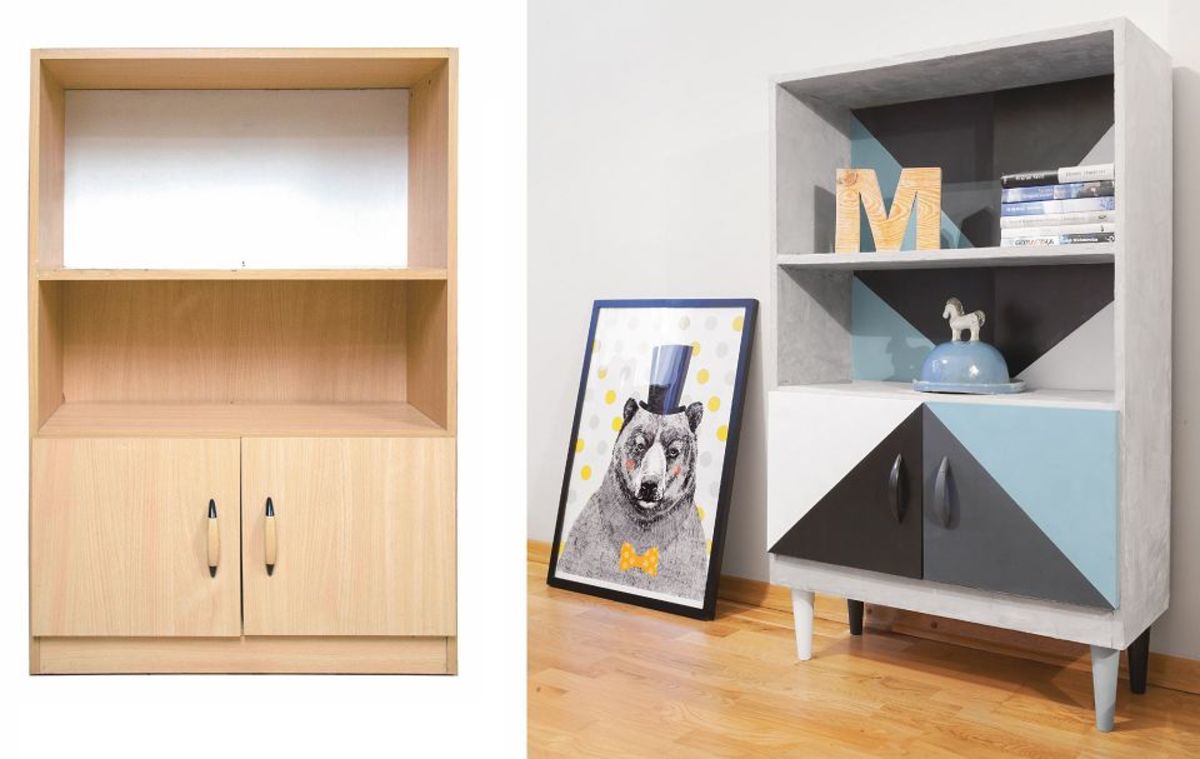
Perhaps the staining process will seem to you not only practical, but also fascinating, and you will be happy to start coloring other pieces of furniture.
Video: how to paint old furniture
