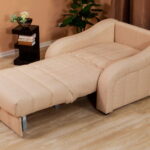
How to make a chair bed
Owners of small apartments with limited space often use chair beds. The perfect combination of seating and good rest (sleep) will not only save space, but also bring comfort.
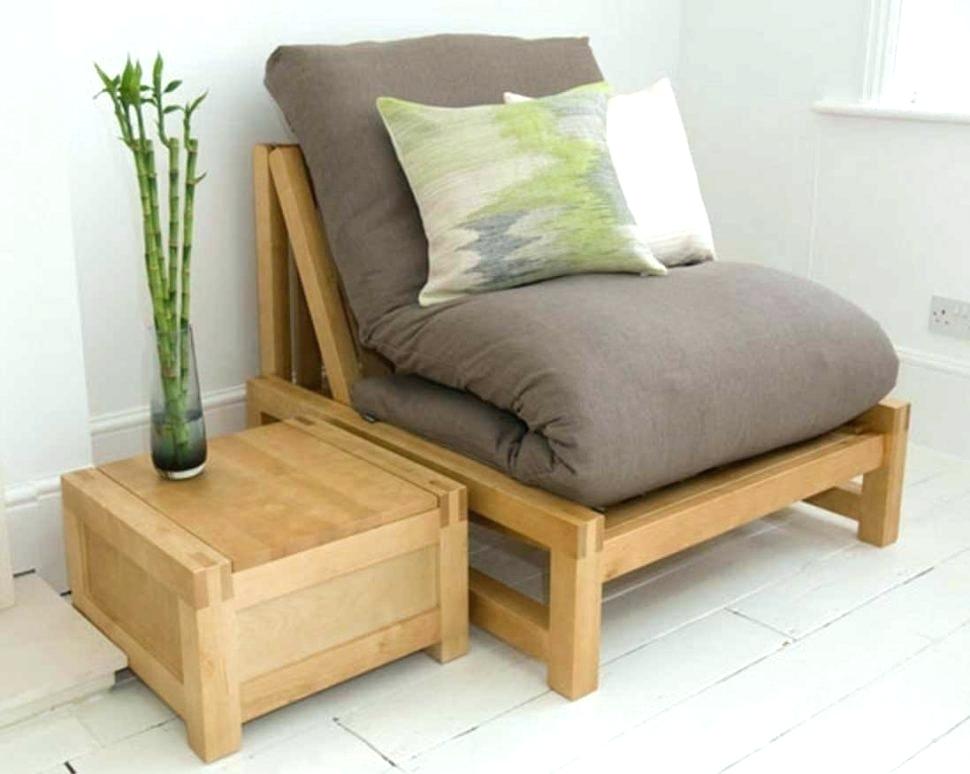
The cost of this piece of furniture in the modern market is quite high, and in return you can get a structure that is not distinguished by strength and comfort. If a person knows how to hold carpentry tools in his hands and understands the drawings in the slightest degree, it will not be difficult for him to make a folding chair with his own hands.
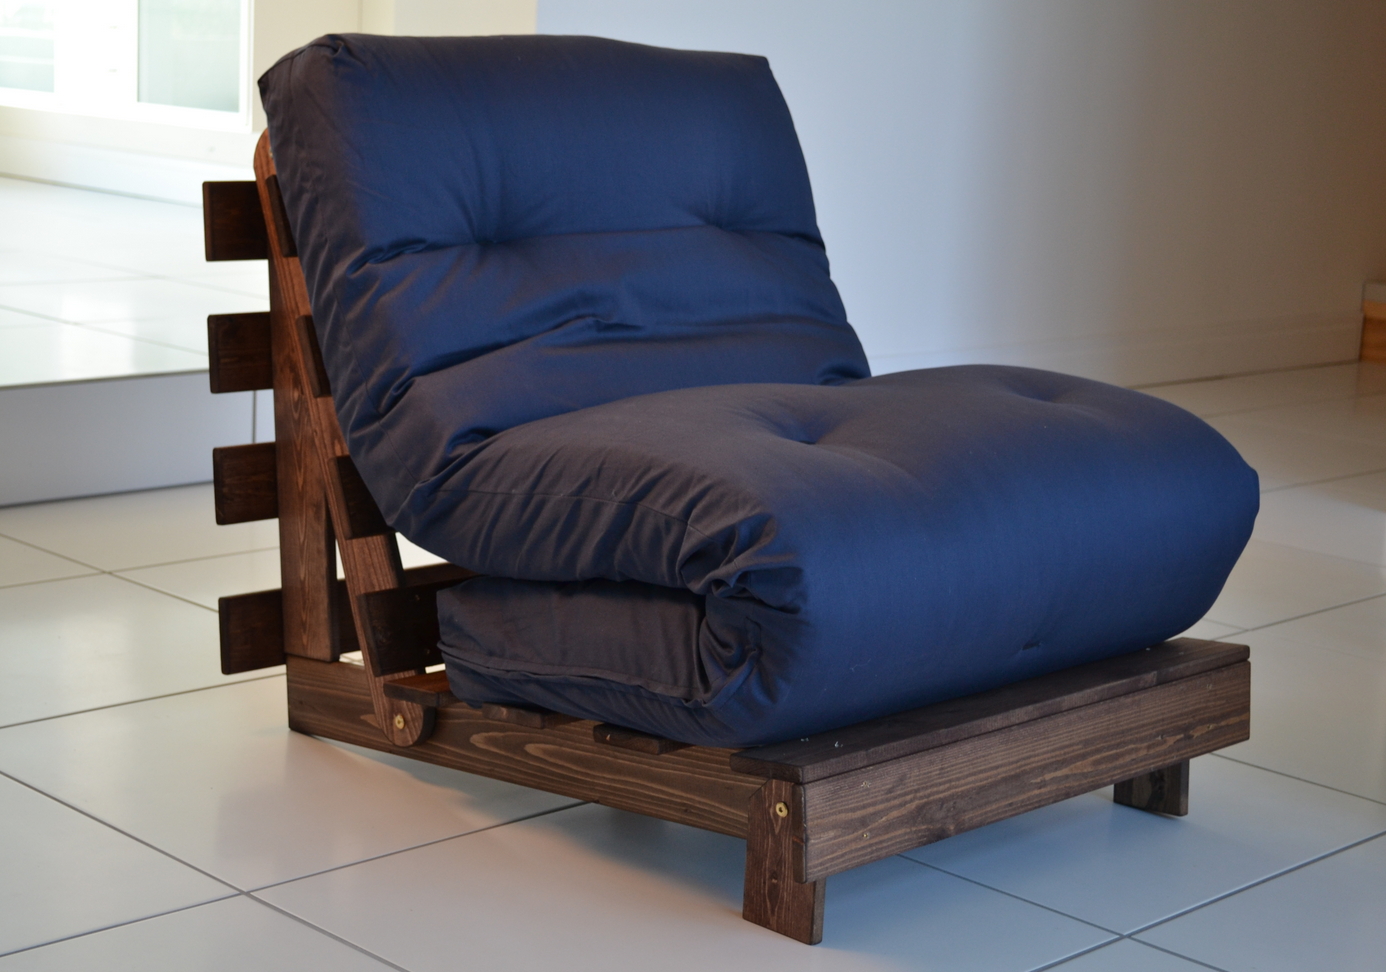
What is a chair bed
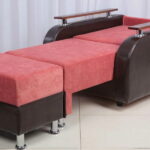
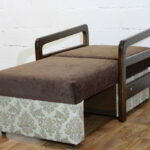
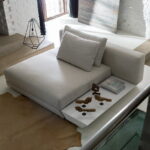
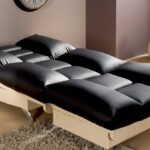
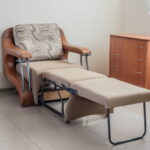
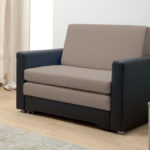
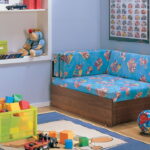
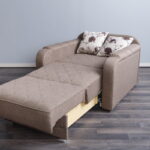
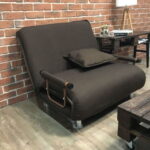
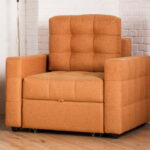
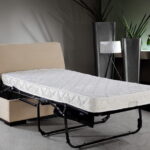
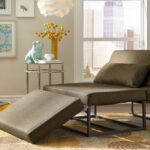
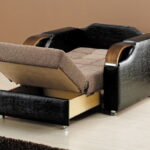
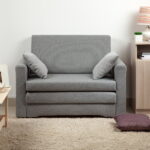
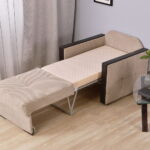
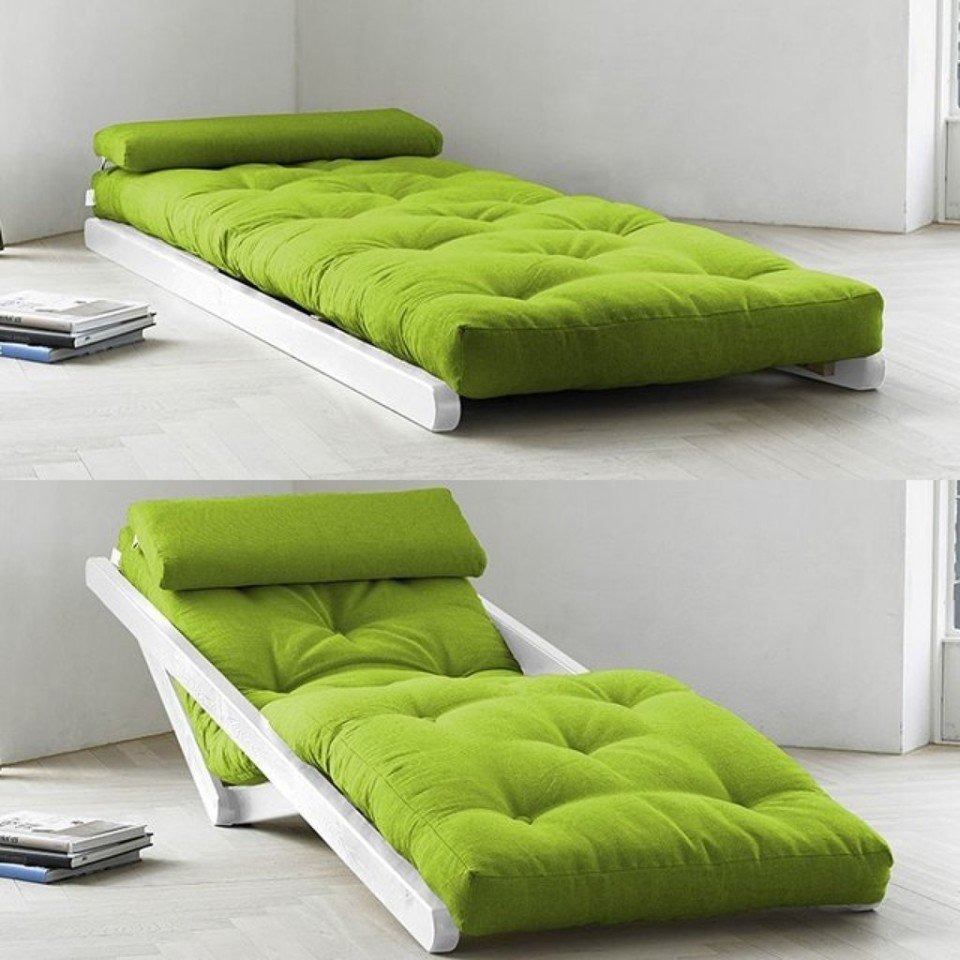
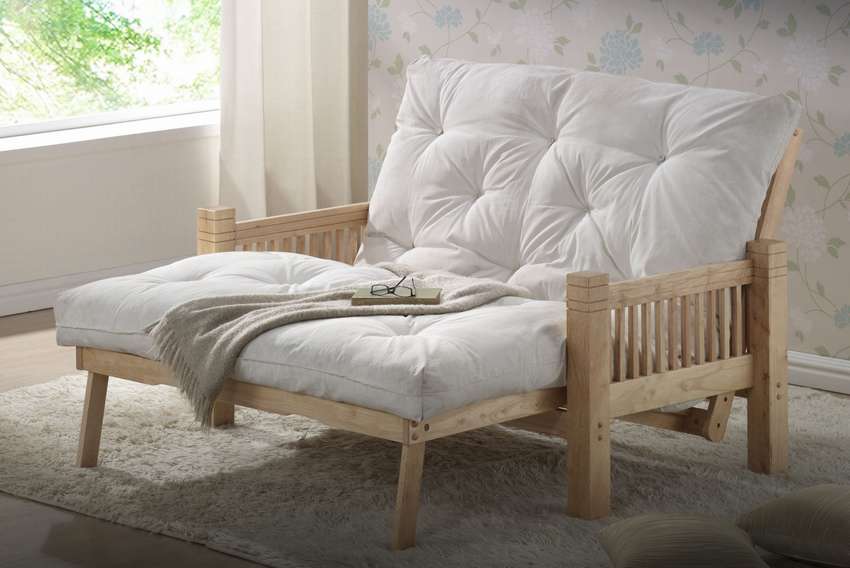
A chair-bed is an ideal piece of furniture that combines practicality and ease of use on the one hand, and beauty on the other, can become a design object. This furniture is usually relatively small. The possibility of using it as a chair during the day and as a bed at night makes it indispensable.
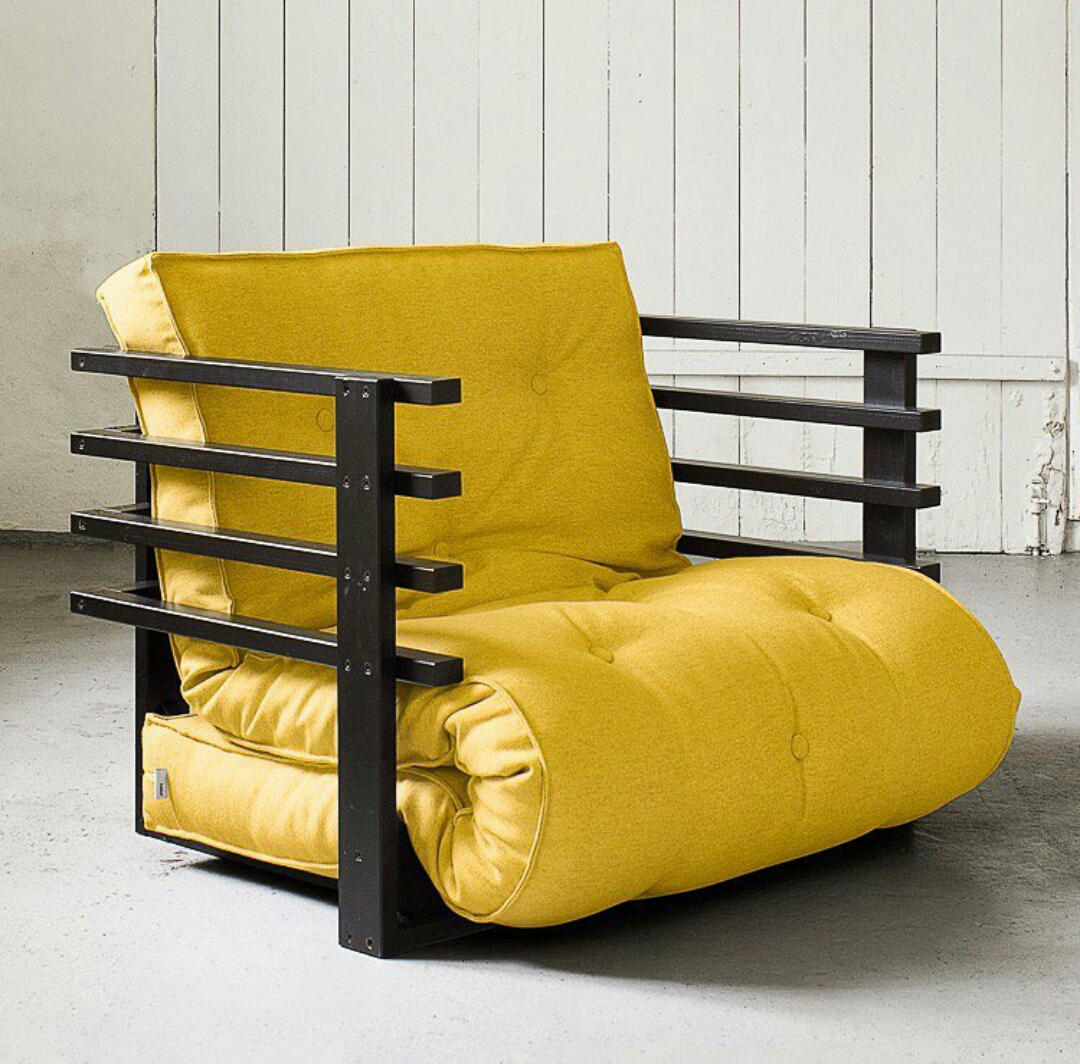
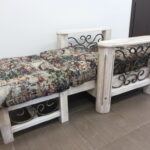
The mattress is usually flat cushions and a seat base. Often this furniture is equipped with a drawer for bedding or other storage. A do-it-yourself chair for a summer residence made of wood will be an ideal placement solution.
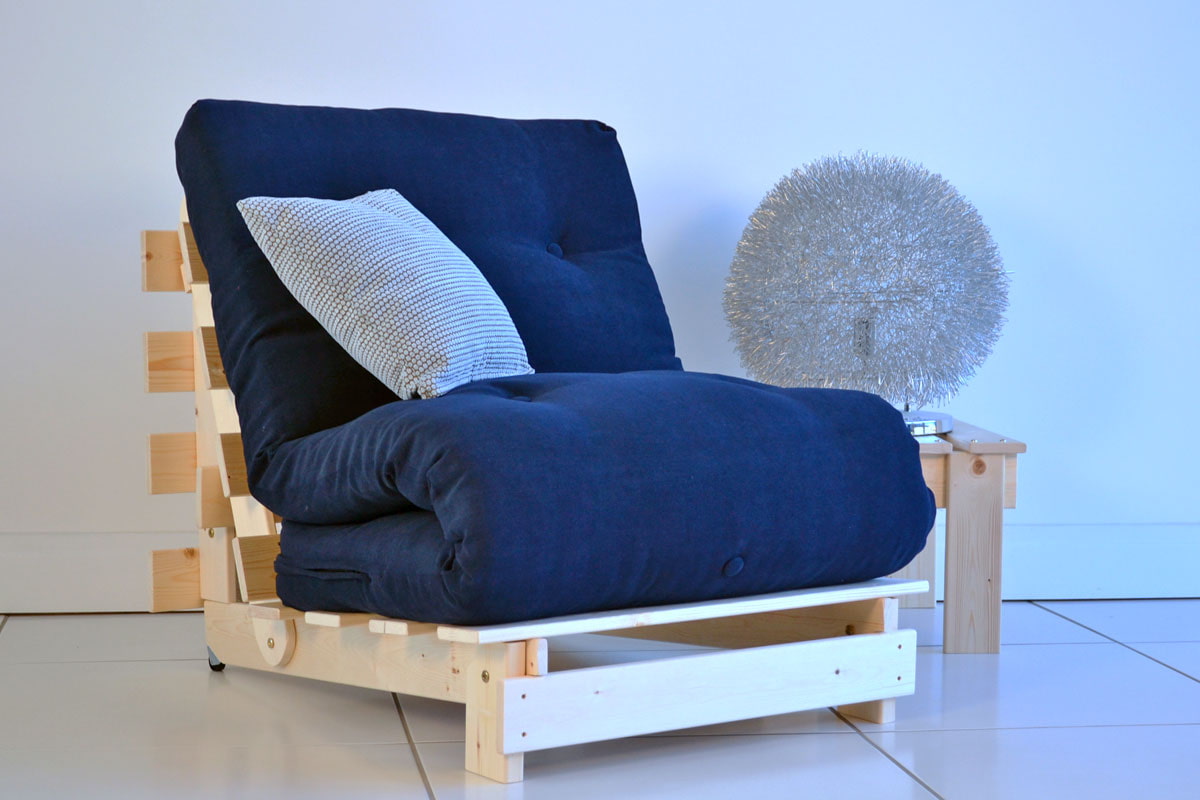
Stages of making a chair-bed with your own hands
Having decided to make this furniture with your own hands, it is important to understand what stages the whole process consists of, what materials and tools you may need, and what you should pay special attention to. How to make a chair bed? First, you need to free up space for work so that nothing interferes and does not distract from work.
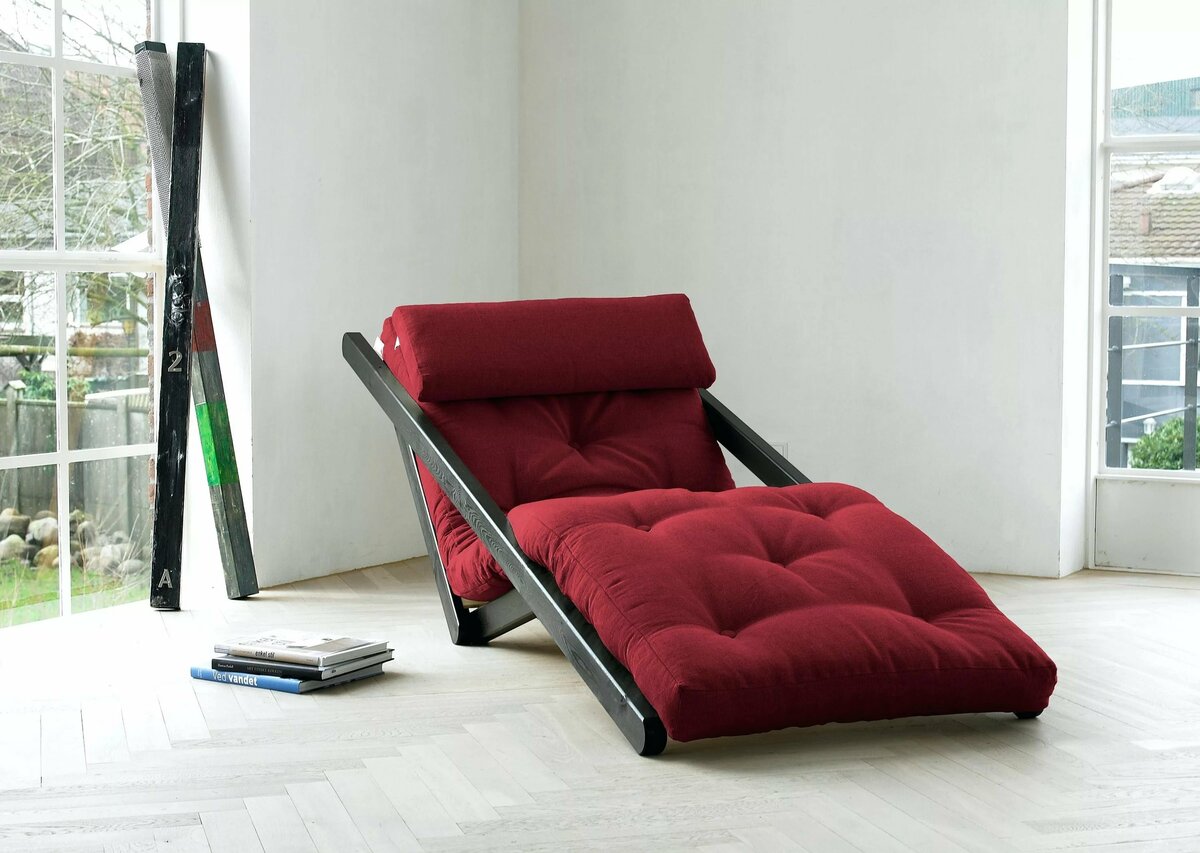
The following will follow:
- model selection;
- preparation of materials and tools;
- frame manufacturing;
- installation of mechanisms;
- sheathing;
- decoration.
So, having decided on the list and sequence of the whole process, you can get down to business.
Selection of materials and tools
There are many options for creating folding chair beds. There are wireframe and shapeless models. Having decided on a convenient option, it is important not to forget about the dimensions that are suitable for a particular model and installation location. To make a standard size frame chair, you will need the following materials:
- 8 boards of the same length (frame);
- 8 slats (corner reinforcement of the frame);
- slats (base for pillows);
- slats and two slats (the base of the second half of the chair);
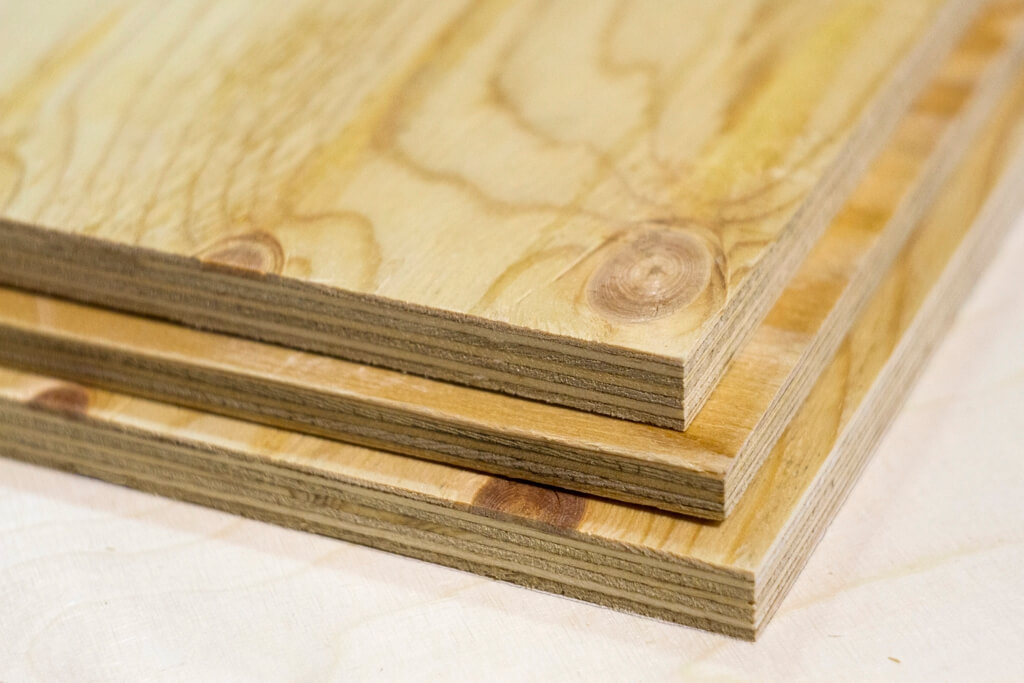
- plywood (bottom of the base, sides of the armrests);
- foam rubber for furniture (10 - 20 cm in thickness);
- upholstery material;
- screws for furniture or self-tapping screws, nails;
- metal one-piece hinges (large and smaller);
- means for covering wooden components.
From the tools you will need the following:
- jigsaw;
- saw (miter);
- drill;
- screwdriver;
- drawing accessories (tape measure, pencil, square);
- sewing machine or stapler for furniture.

When everything is ready, you can start drawing.
Drawing up a drawing
The correct drawing is the key to success. It should be clear. All details are carefully measured and thought out. It is recommended to use the standard dimensions of the chair suitable for an adult (about 2000 cm unfolded, 90 cm wide, 45 cm back height). The drawing must necessarily show:
- frame in detail;
- chair legs;
- folding mechanism;
- armrests;
- loops;
- guides.
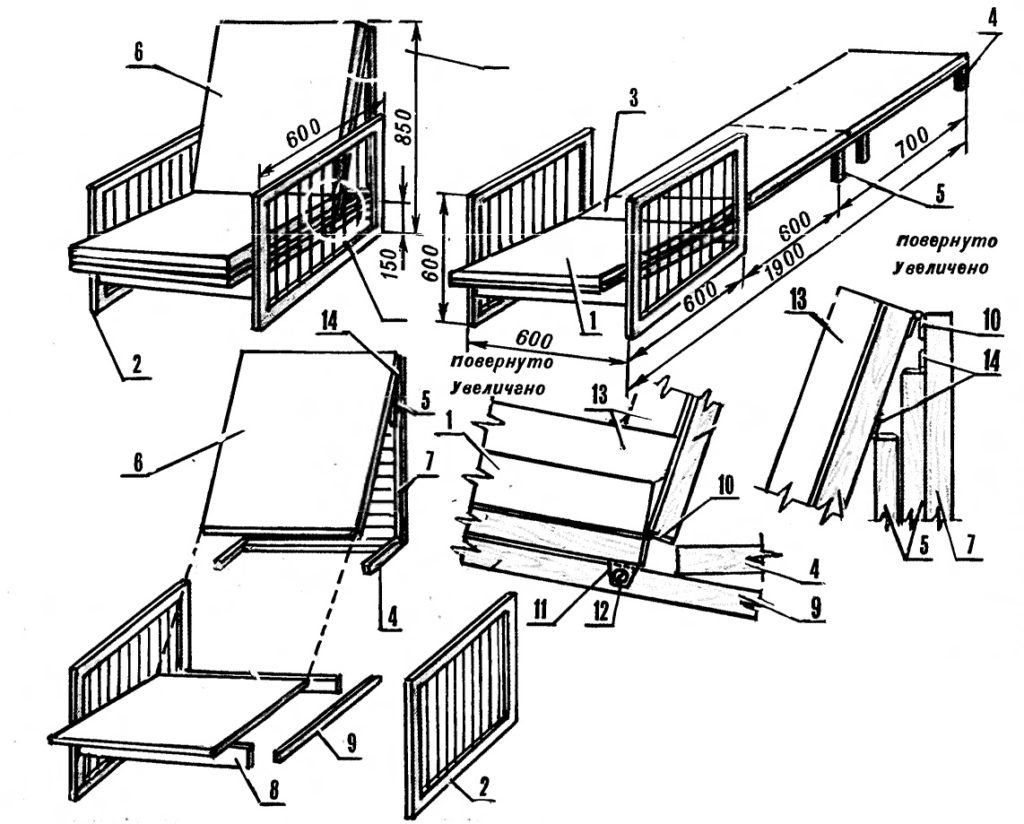
Patterns for future sheathing are also applied to the drawing. Below is an approximate schematic drawing of a frame chair bed.
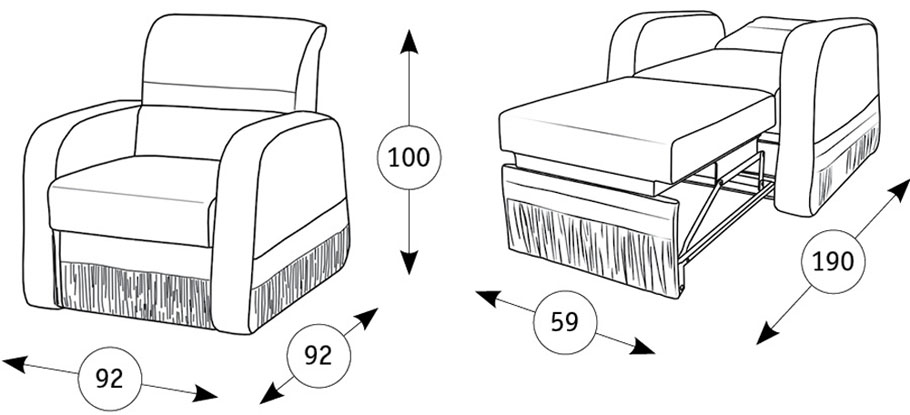
Manufacturing steps
Proceeding directly to the manufacture of the product, it does not hurt to get an assistant. It will help by holding the parts while attaching and assembling the structure. The entire creation process includes cutting out parts, assembling, trimming and decorating an already finished chair. How to assemble a chair-bed yourself, without skipping important steps and not making mistakes, is described below.
Cut out the details
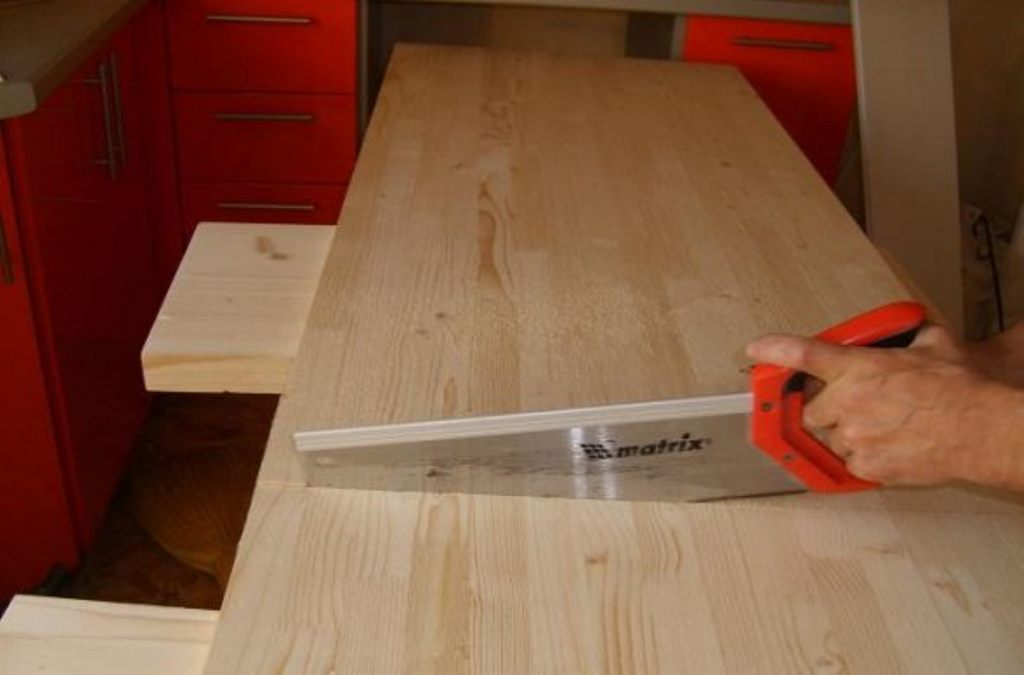
All details of the future chair are marked in strict accordance with the diagram drawn independently. The dimensions are used according to the drawing. Plywood is sawn into 4 squares at the rate of 3 for the berth and 1 for the back. Next, the bars are prepared (6 - longitudinal for a berth, 7 - transverse, 4 - legs). Armrests are cut. Places of attachment to each other are marked on the blanks.
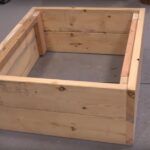
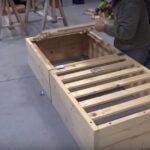
Assembling the case
The body is assembled in stages. It is better to stick to the following sequence:
- collect the sidewalls, securing them with screws;
- check their similarity to each other in all parameters (specularity);
- if a closed type is provided, then sheathe their sides with plywood;
- attach the backrest to the rear pillars (it must match the size of the seat);
- assemble roller guides;
- close the bottom of the chair with plywood;
- a lid with hinges is screwed to its upper part;
- check the dimensions for compliance with the drawing;
- reinforce the structure with cross beams.
Then you can start making covers and the sheathing itself.
Sheathing
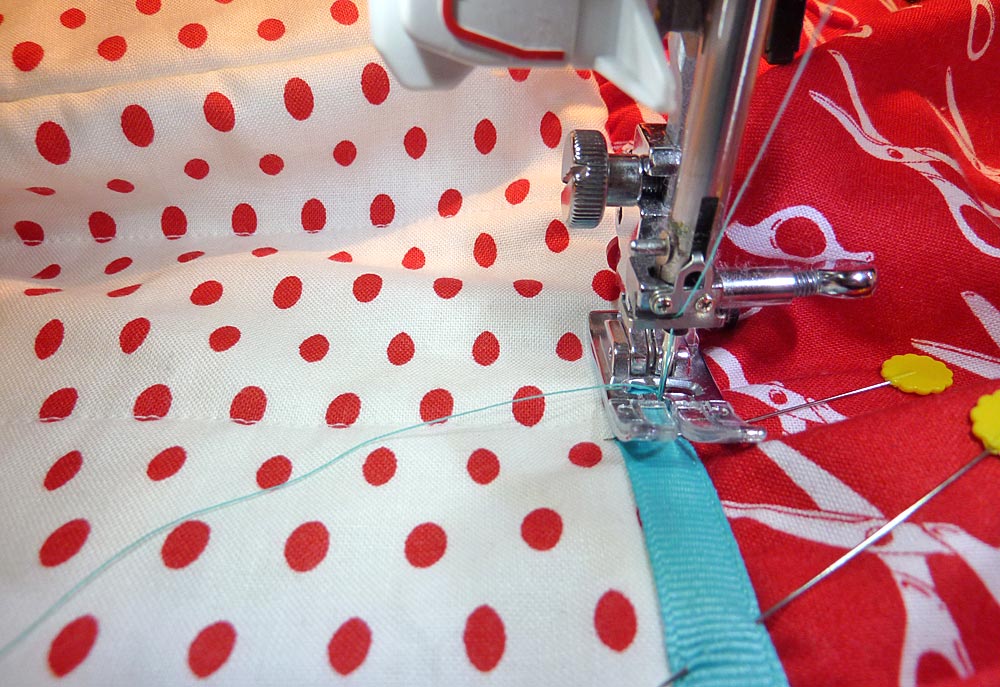
This stage of work consists in marking and cutting out patterns from the prepared fabric, stitching the parts into a cover.
Important! To prevent the cover from being small, you need to leave sewing allowances of about 3 cm.
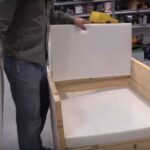
The sides are pasted over with prepared sheets of foam rubber. It is attached to the base of the chair with staples using a furniture stapler, starting from the middle and moving to the edges. After the glue dries, the covers are stretched.
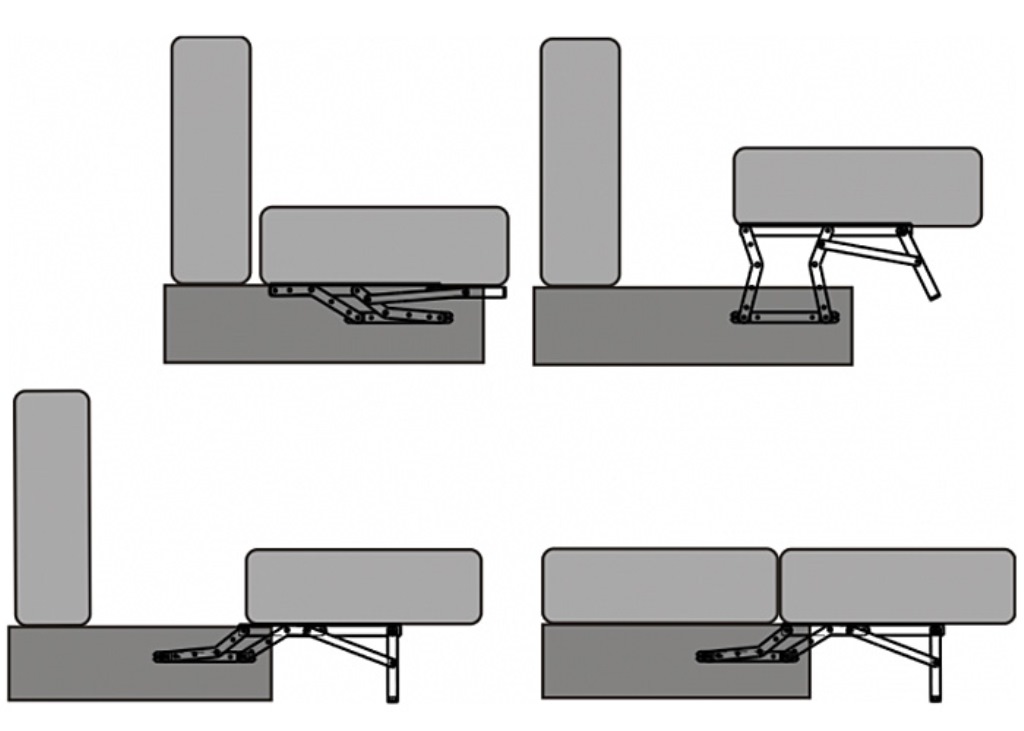
Installation of the transformation mechanism
Chairs with ready-made folding mechanisms are very convenient to use. Installation proceeds as follows:
- the base and seat are fixed in the desired position;
- parts of the mechanism are applied and the places of drilling are marked;
- holes are made according to marks;
- parts are bolted and lubricated to prevent unnecessary friction.
If done correctly, the chair will be easy and simple to assemble and disassemble.
Decorating the armchair bed
Various techniques can be used as a design decor. So a good option would be to use original fabrics for upholstery (tapestry, velvet, faux fur). Alternatively, gluing or sewing on appliqués is a great solution for a child seat. The legs of the product can be decorated with rhinestones, mosaics or semi-precious stones. You can cover the furniture with a cape, or prepare several covers in different colors and textures.
How to make frameless furniture
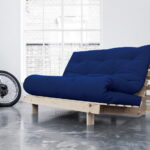
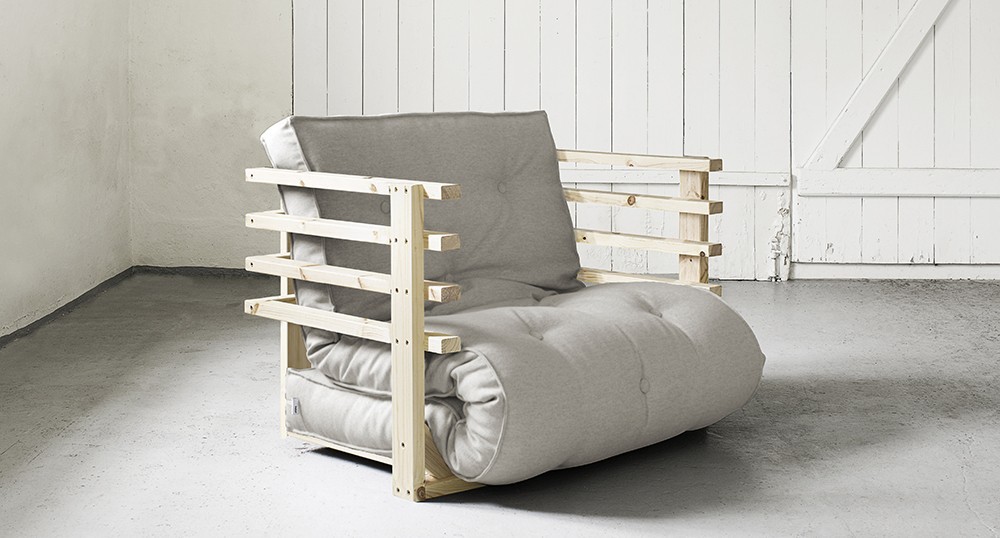
The principle of creating frameless furniture at home is very simple. Knowing certain features and requirements for the product, you can dilute the standard furniture with such an author's version of the chair. Ideally, a frameless chair consists of two covers. The inner one is stuffed with filler, the outer one, usually removable, serves as protection of the former from damage, and also performs a decorative function.
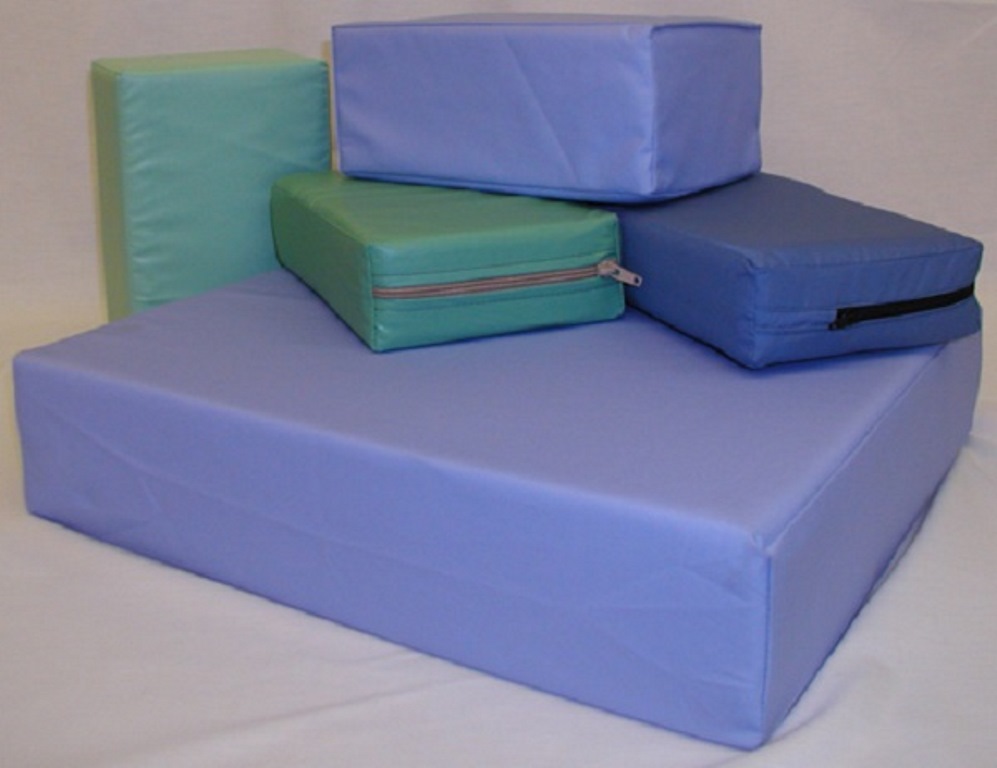
When choosing a fabric, it is important to understand that the inner cover will undergo heavy loads, so a dense, tear-resistant (blended, polyester Oxford 400) will work well. For the outer layer, you can use fabrics that are not stretchable, easy to clean, and resistant to friction. Next, you should decide on the size, make a drawing, according to which the patterns are then cut out. The details of the inner cover are sewn together.
As a filler, foam balls are used (2/3 of the product is filled), or sheet foam rubber. An outer cover is put on top. All materials for the chair can be purchased at regular sewing stores. The filler is sold by companies engaged in the production of frameless furniture or manufacturers of thermal insulation materials.
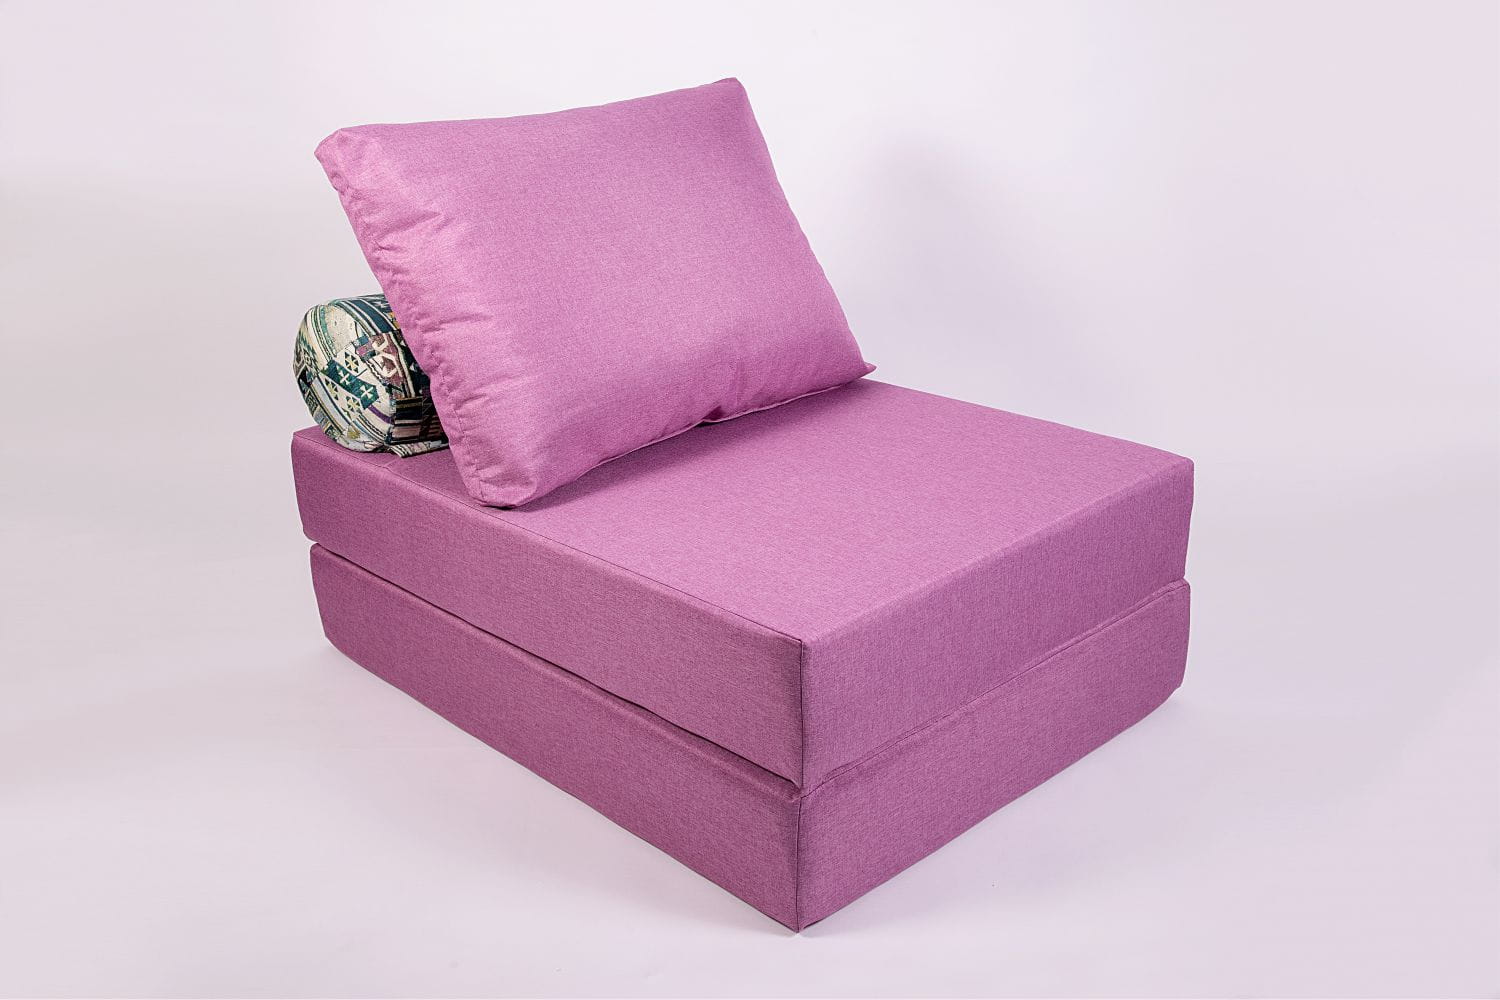
So, having all the necessary tools and materials at hand, as well as a great desire to do something with your own hands and, possibly, save on the purchase of a finished product, you can decorate your house with a chair-bed of an author's design. The main thing is to comply with all the production technology described in the article.
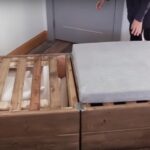
Video: do-it-yourself folding chair-bed
