How to make an inclined bench with your own hands - drawings and diagrams
The bench press is one of the most popular exercise equipment in both gyms and at home. The simulator under consideration is aimed at working out the pectoral muscle groups and the formation of a beautiful and relief body.
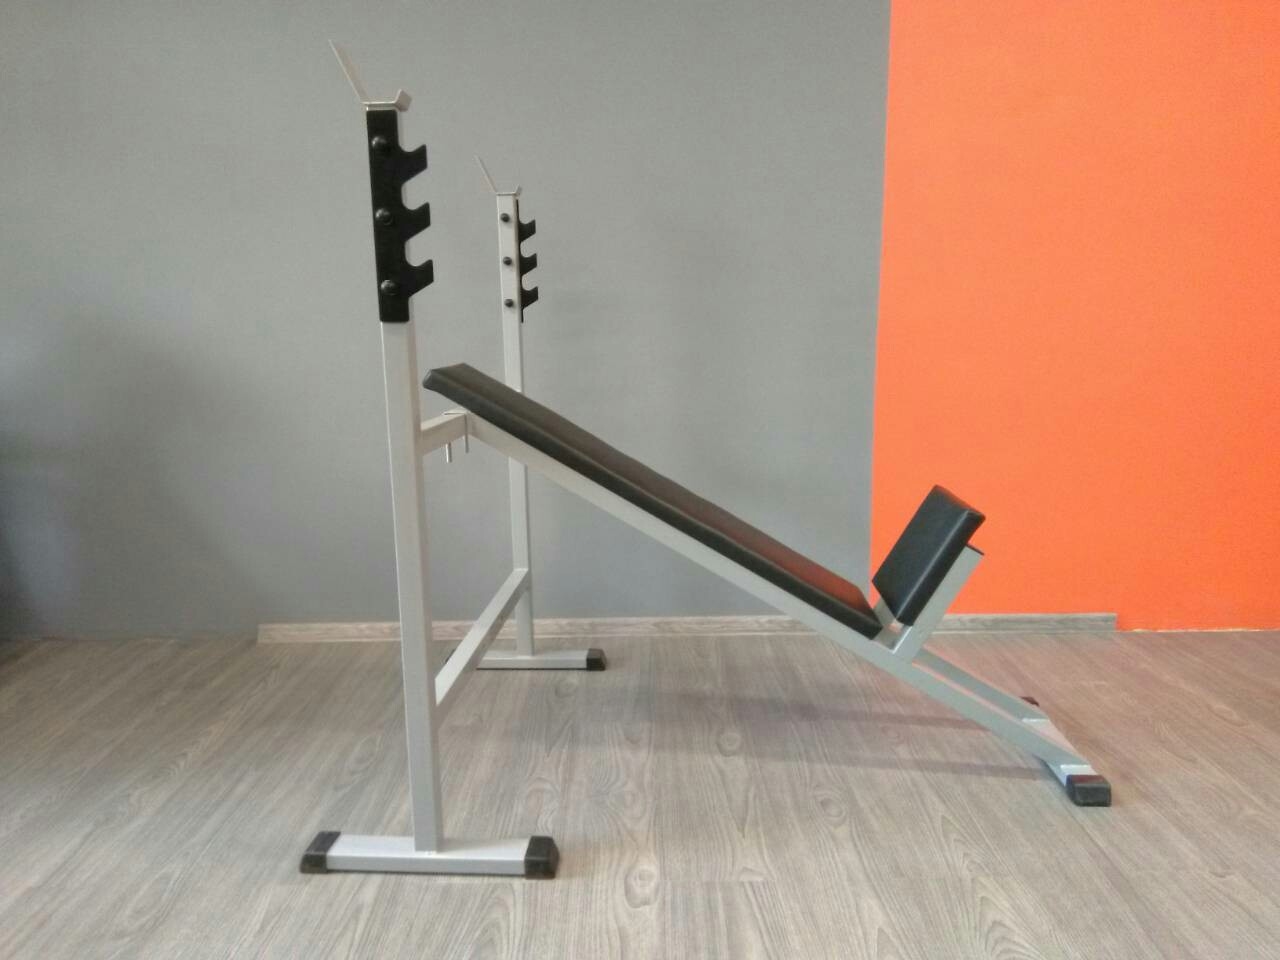
Not everyone has the opportunity and free time to visit the gym, but there is a way out of this situation, you can make a training bench yourself, choosing the necessary design scheme. This will allow you to work out at home without having to buy a gym membership.
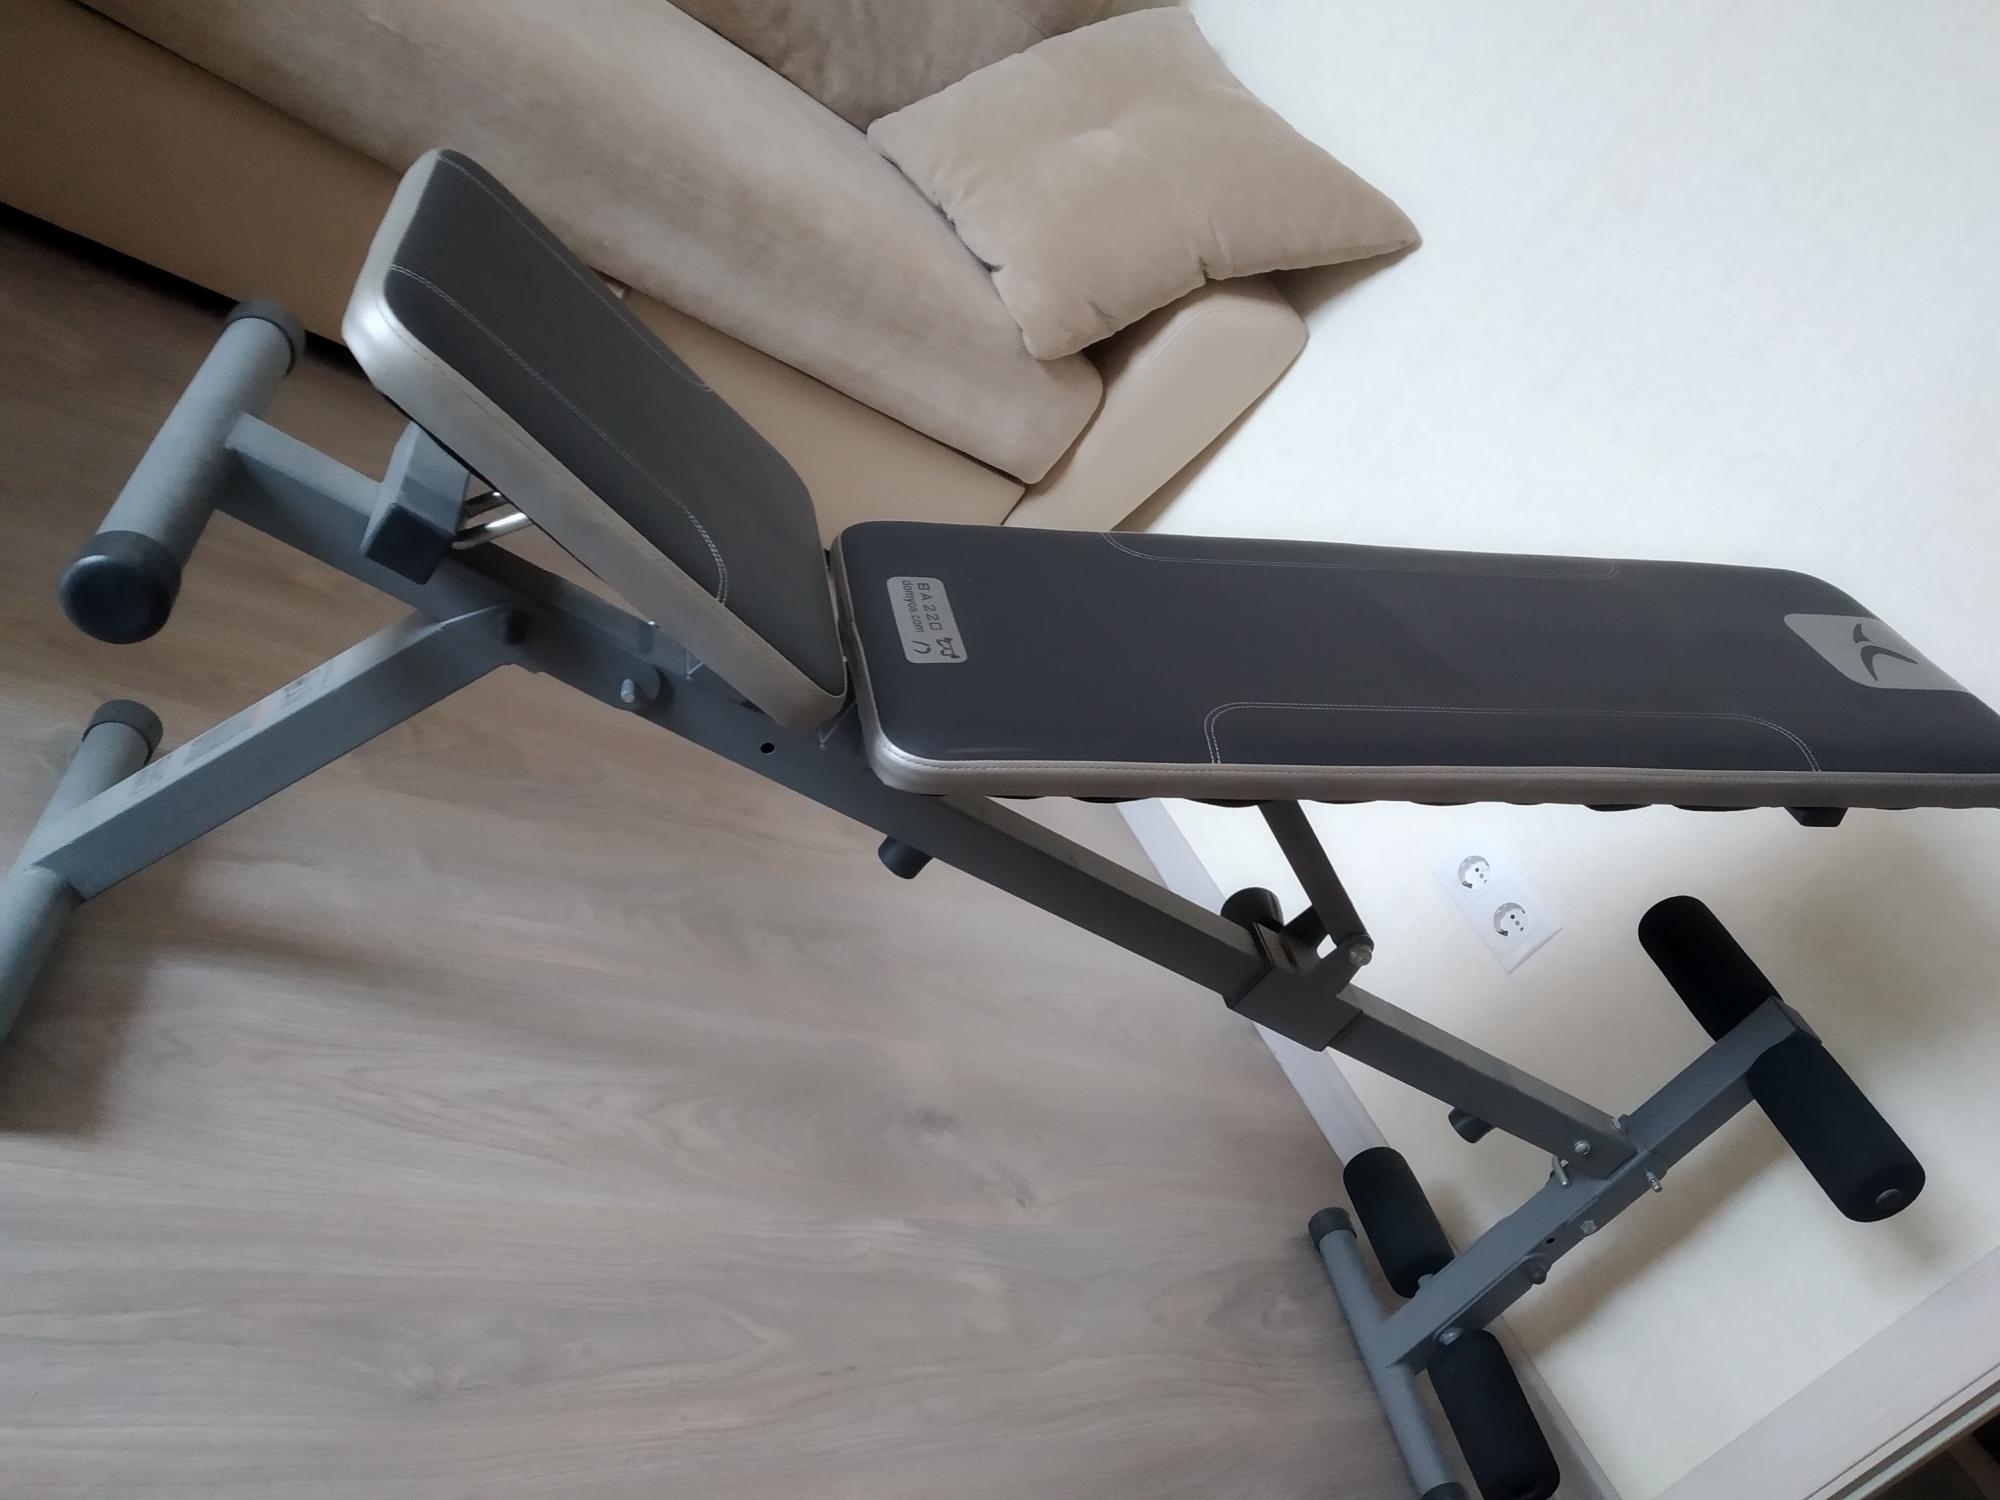
Better to buy or do it yourself
Sport and movement improve the quality of life of any individual. As mentioned above, not all people have enough free time and money. The way out of this situation will be to install a bench for the bench press in the house, because the simulator does not take up much space, but it is very multifunctional and will allow you to regularly work out a large number of muscle groups.
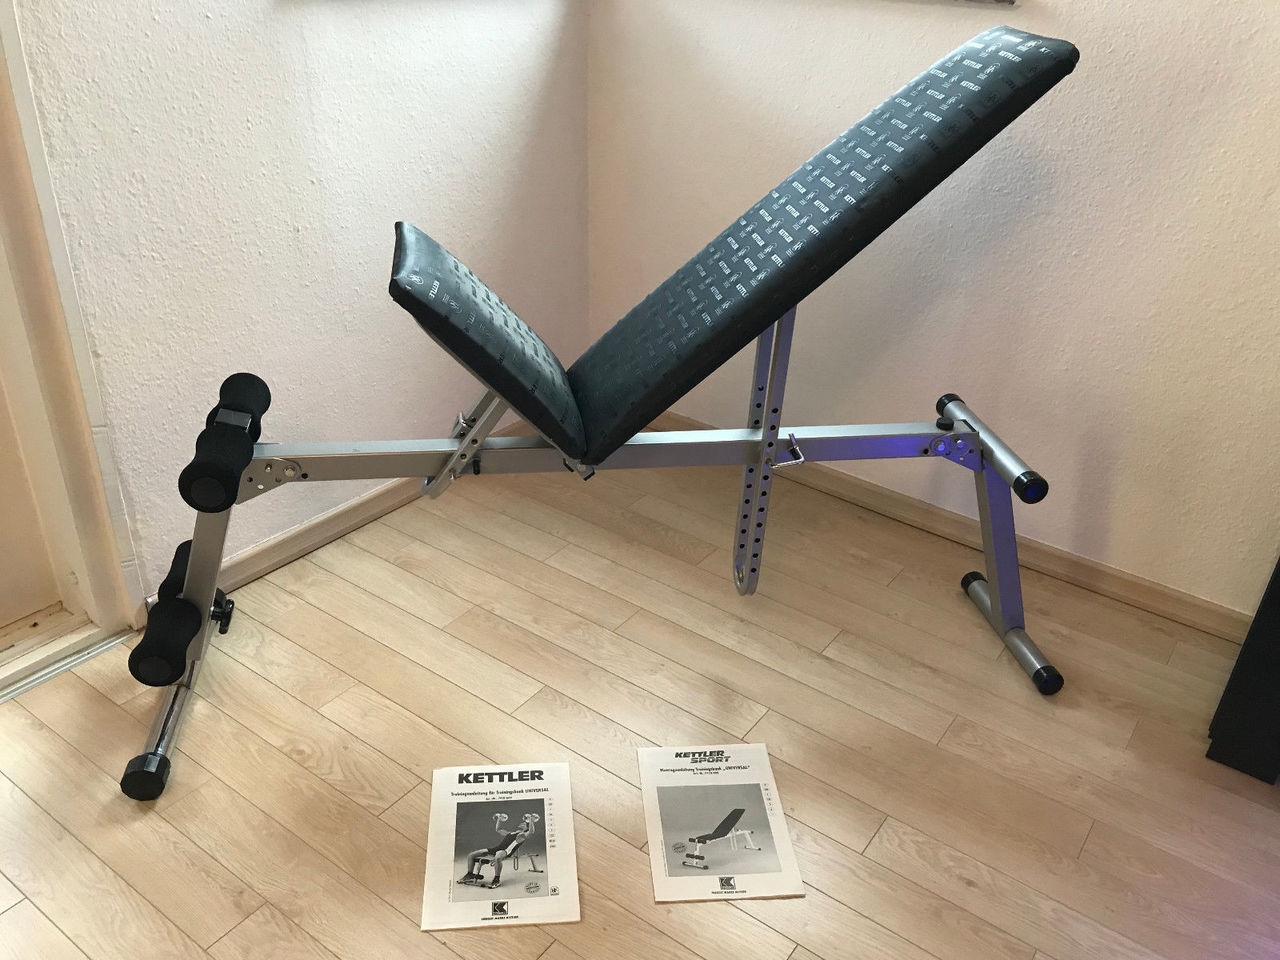
What is better - to buy a simulator in a specialized store, or to make it yourself? For a better understanding of the issue, you should disassemble all the pros and cons of purchased and homemade simulators.
Purchased simulator
Advantages:
- In sports stores, a huge number of different models are presented, for every taste;
- No time is required for the purchase of materials and manufacturing;
Disadvantages:
- Considerable price;
- Most often, this is a mismatch between price and quality.
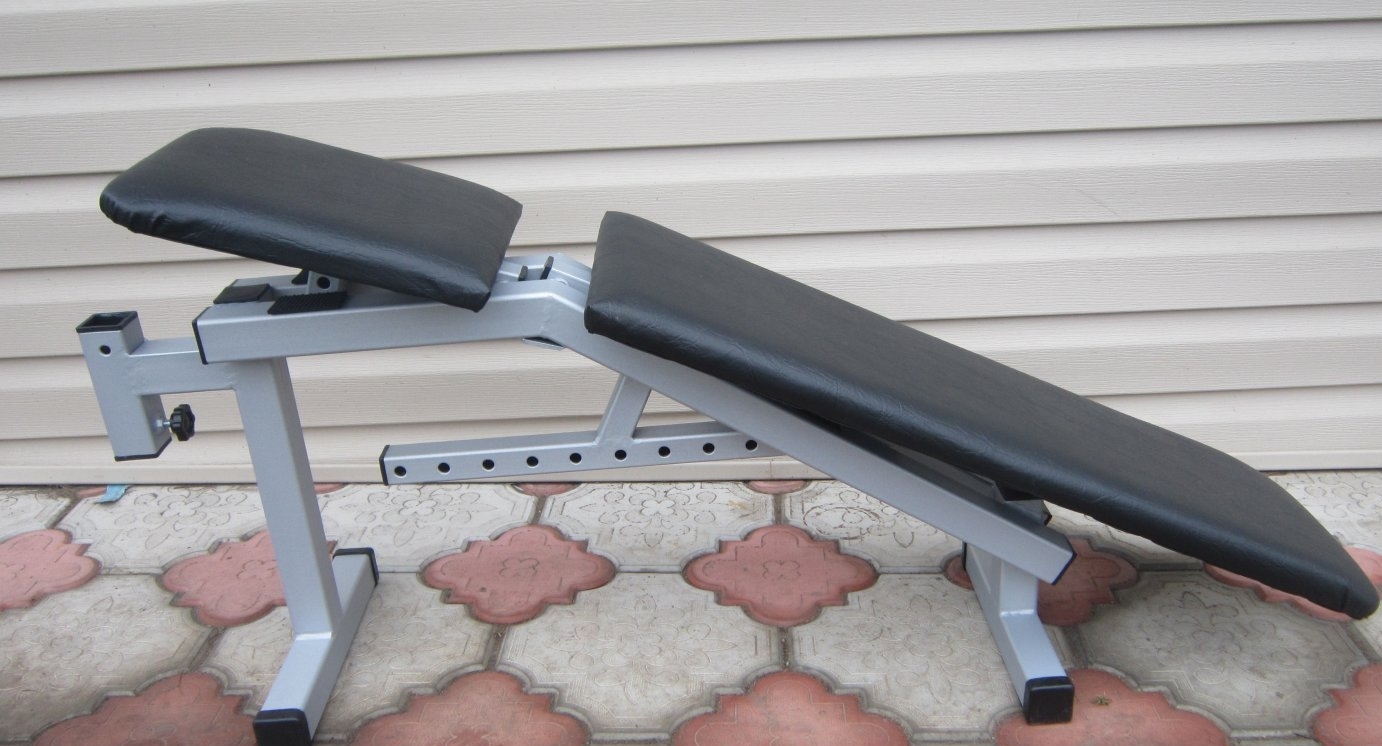
DIY barbell bench
Advantages:
- Low final cost;
- The ability to independently select materials;
- The ability to independently design the most comfortable configuration for use.
Disadvantages:
- Waste of time in design and manufacture;
- Not everyone has the ability to self-manufacture structures.
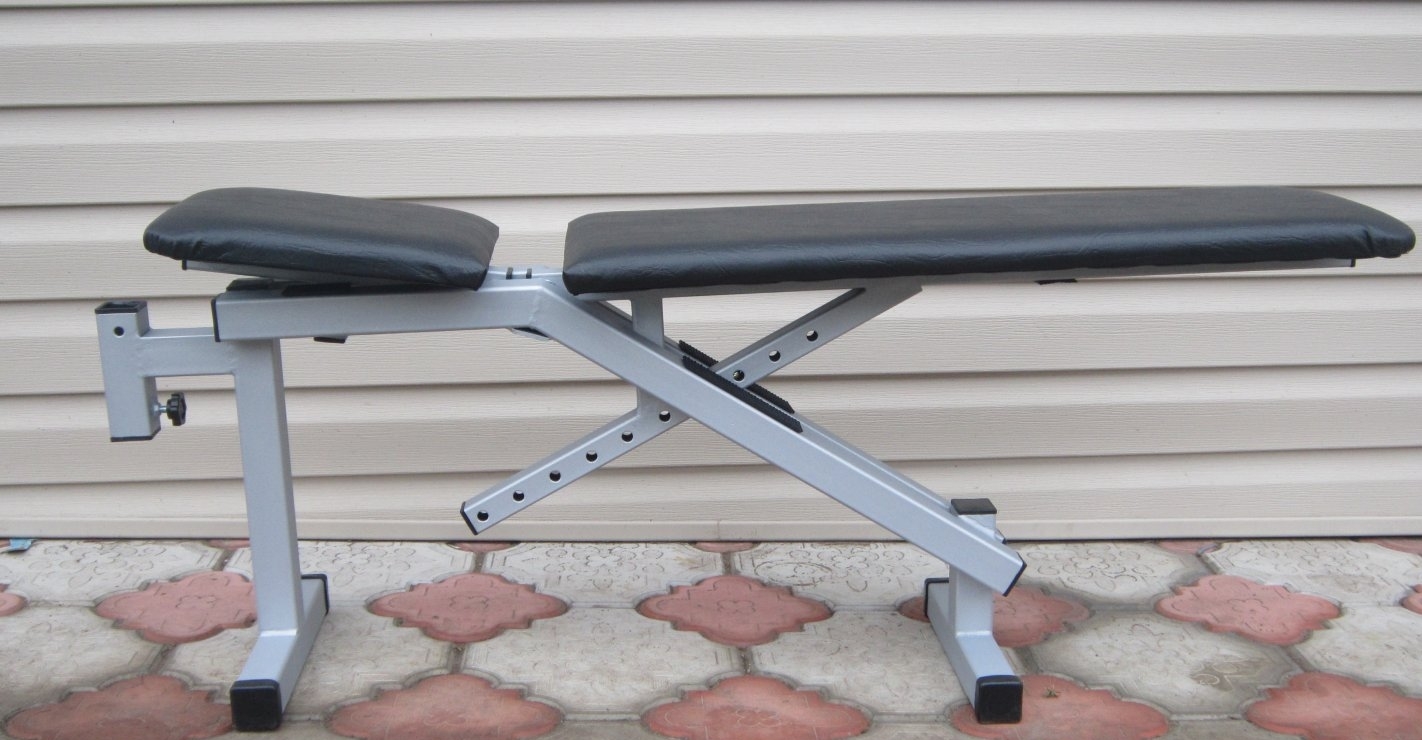
After reviewing all the pros and cons, everyone will be able to make the right decision for themselves.
Varieties of designs and their features
Bench press machines come in the following varieties:
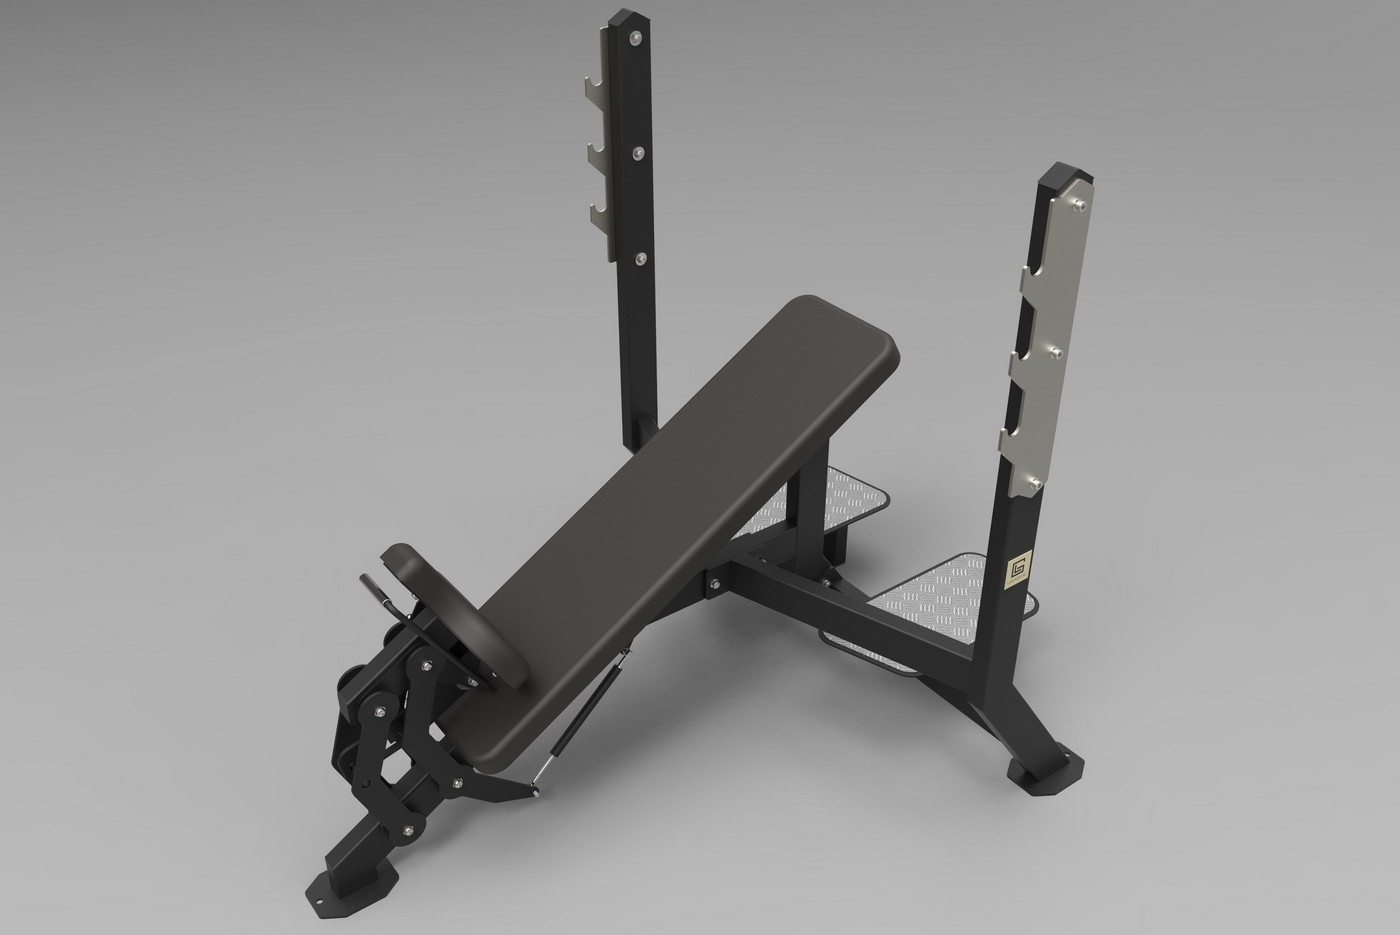
- A horizontal bench (folding or regular) is a stationary type of sports equipment. Most often, this design is characterized by inclusions in the form:
- Projectile racks,
- Prefixes;
- Retainers.
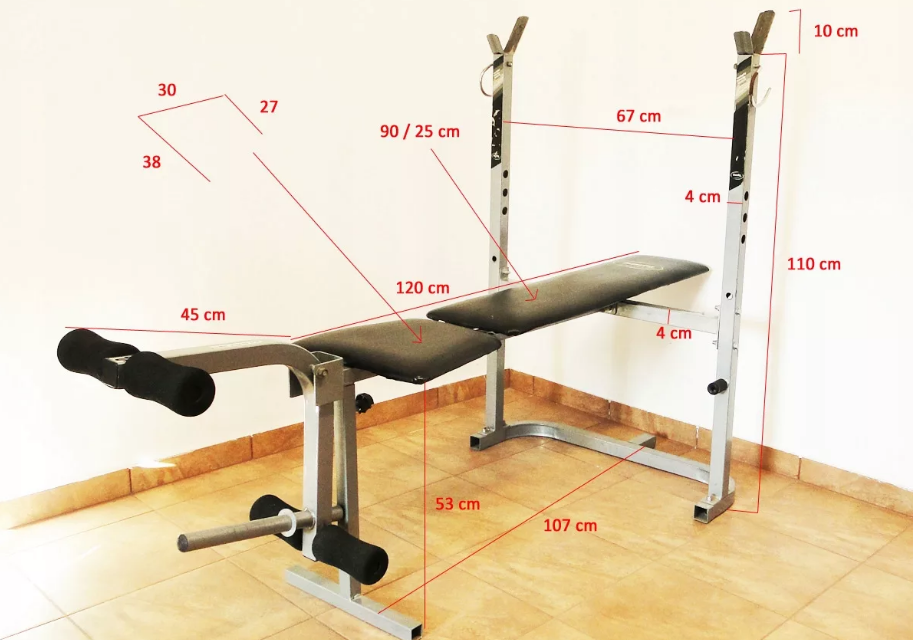
- The bench trainer plus the parallel bars allows you to do more exercises.It is desirable that there be 110 centimeters between the posts.
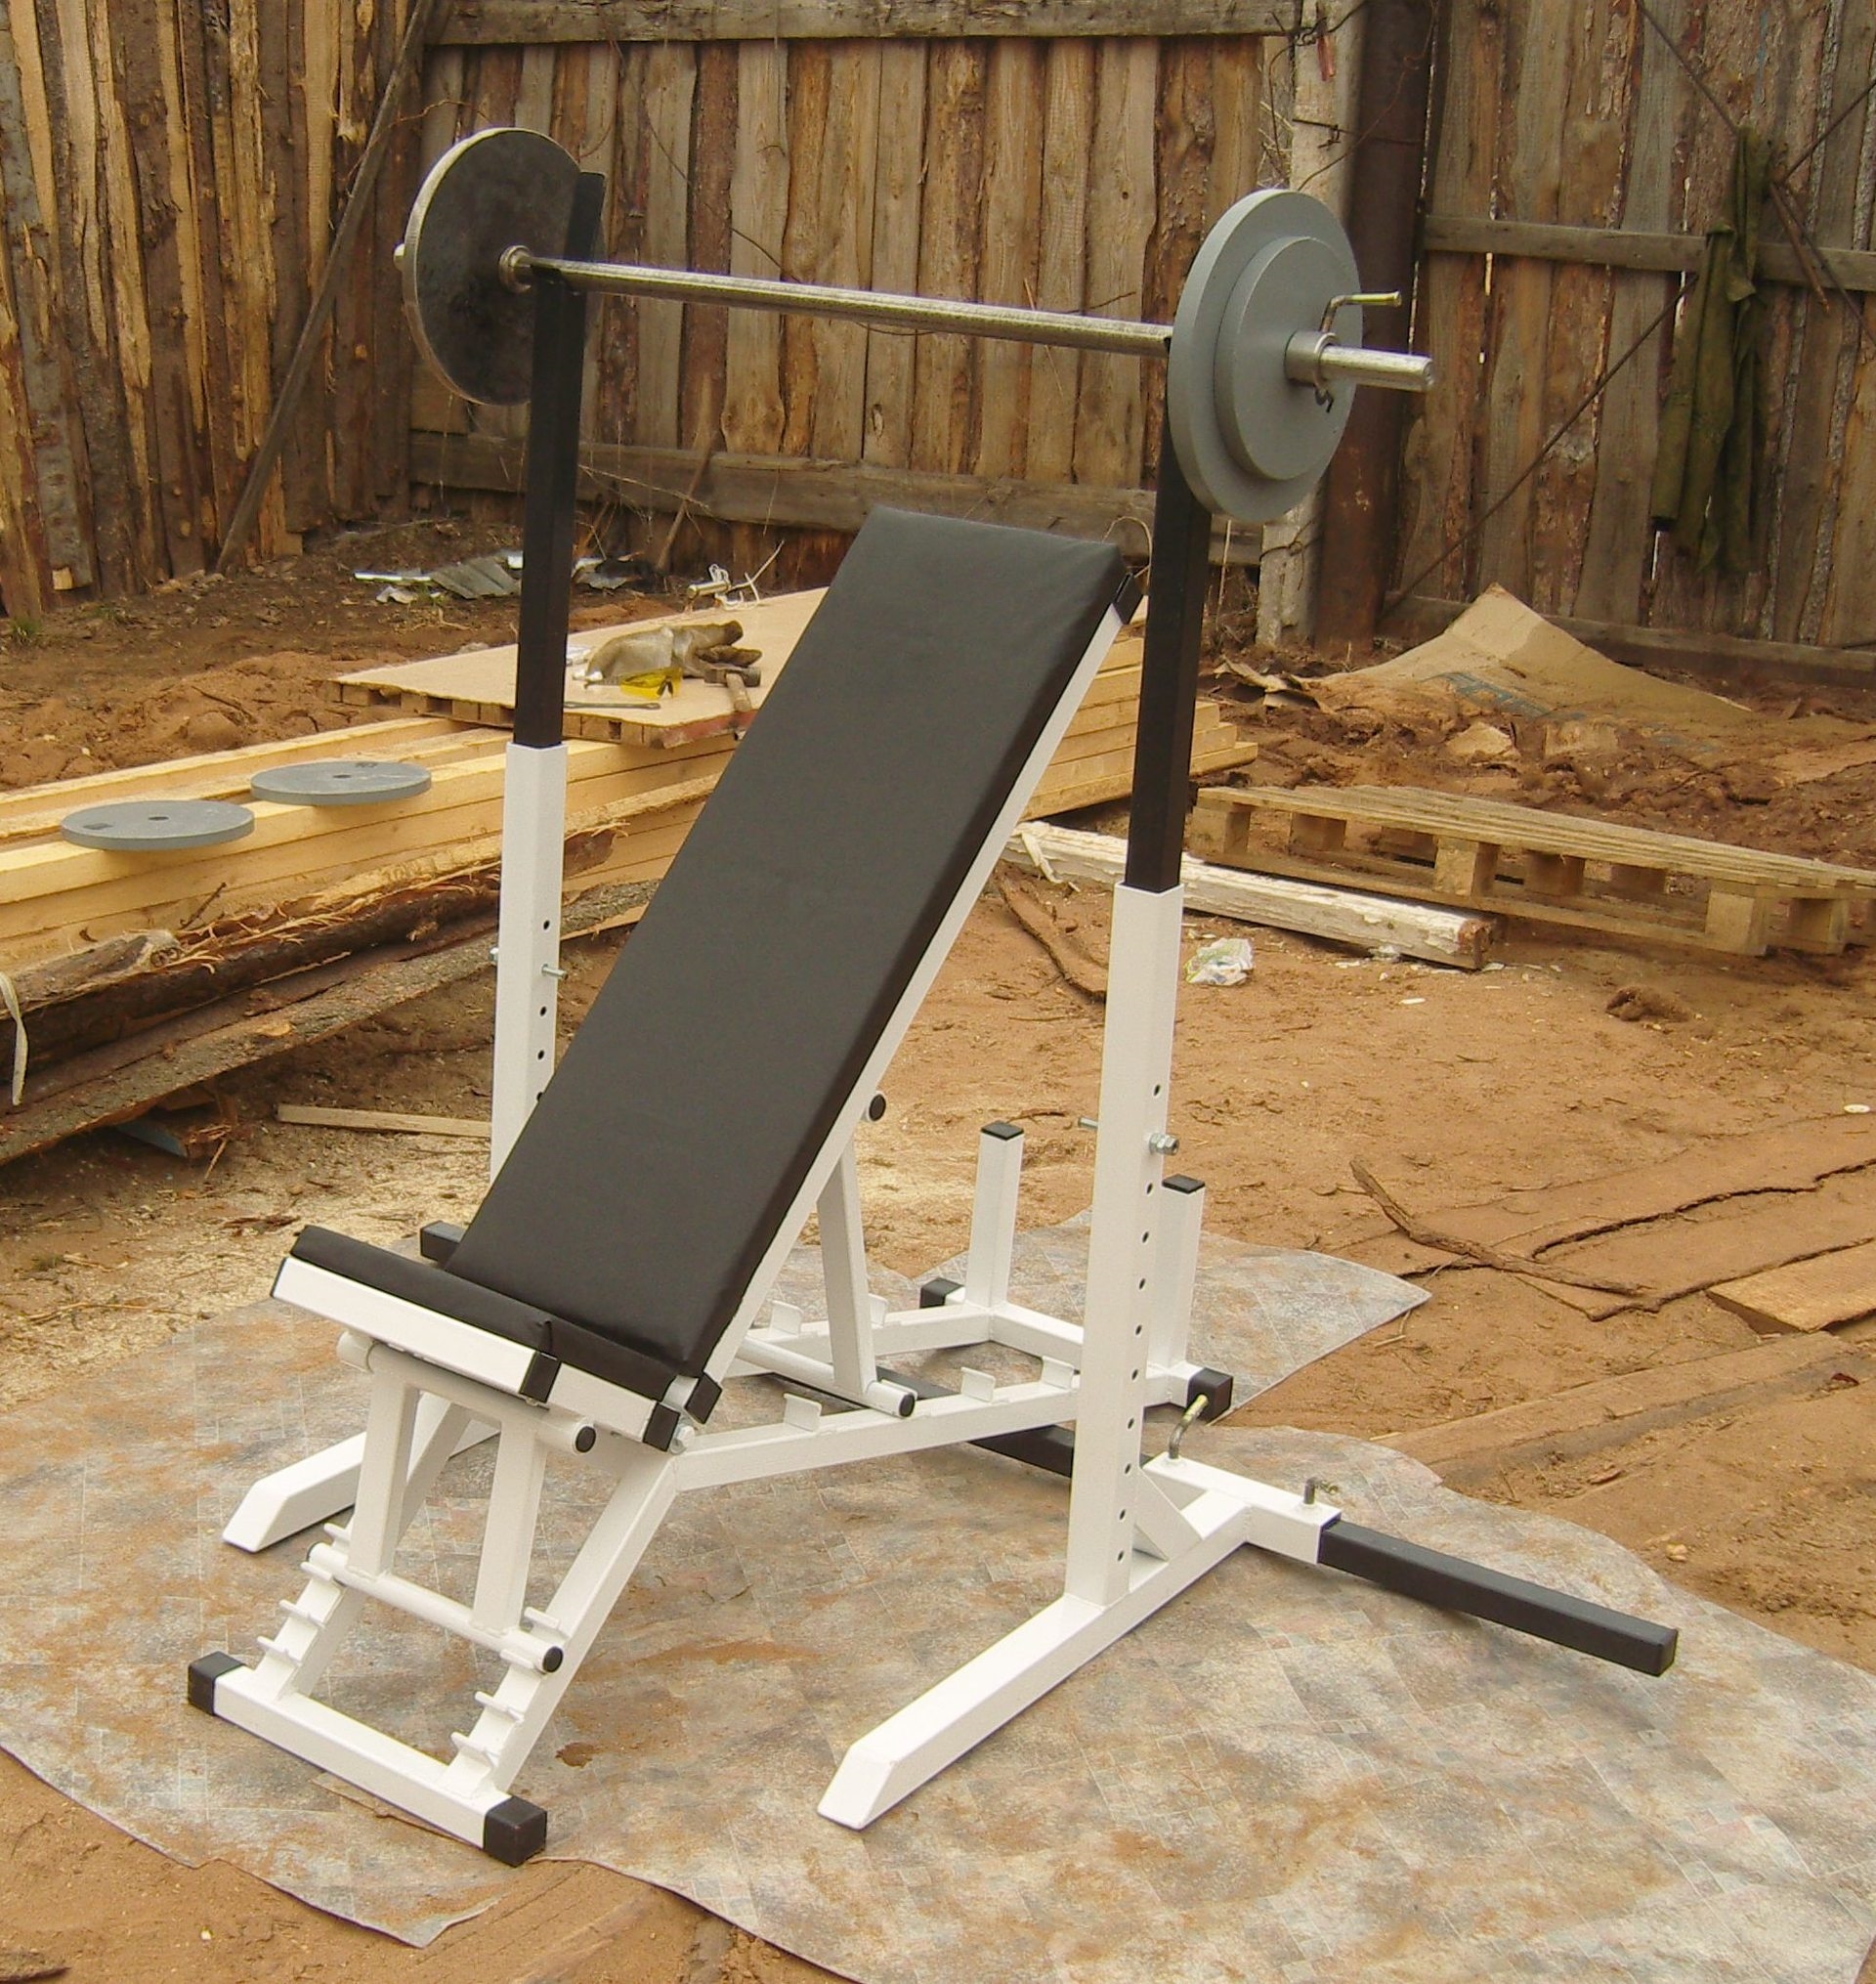
- Bench trainer with seat and backrest adjustment. This type of simulator has:
- Spring brace;
- Racks with hinges;
- Clamps;
- Stopper;
- Chain-limiter.
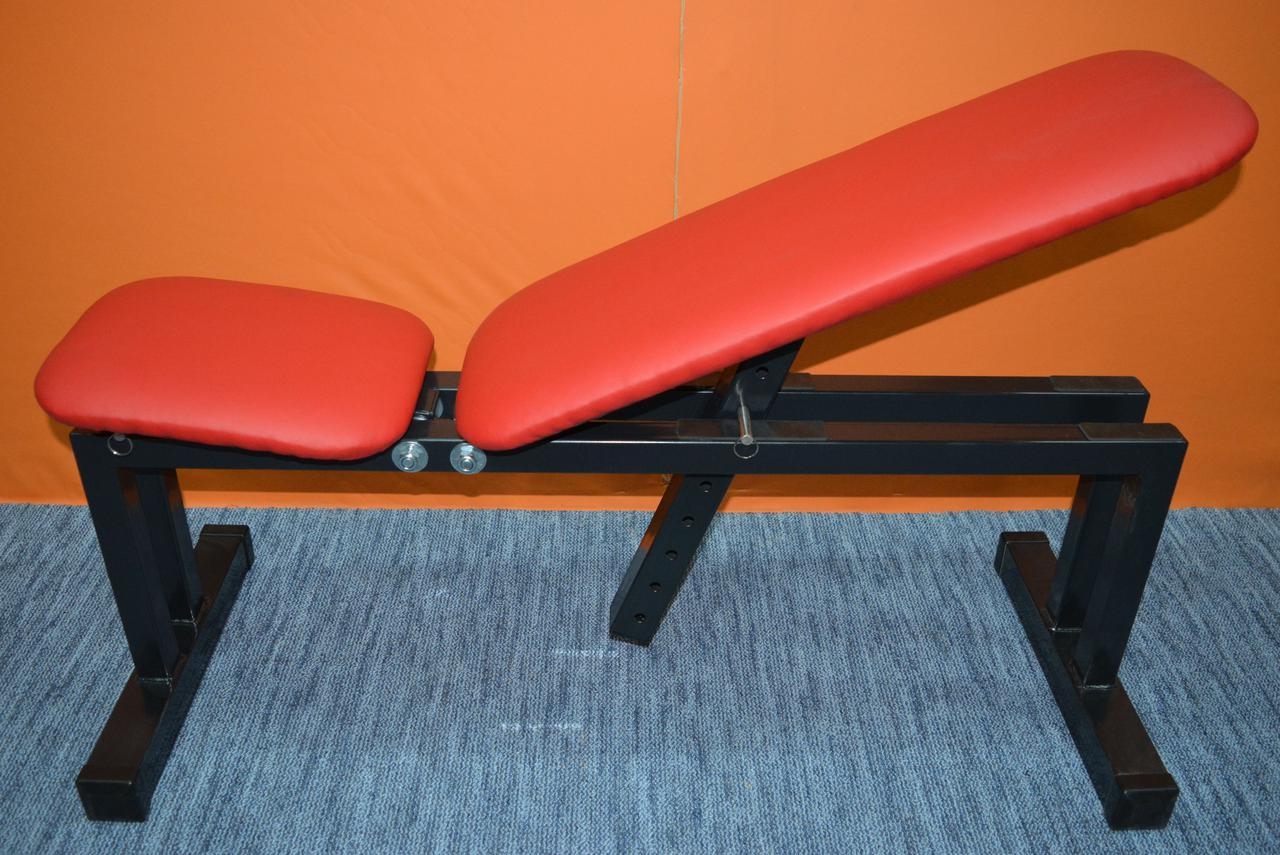
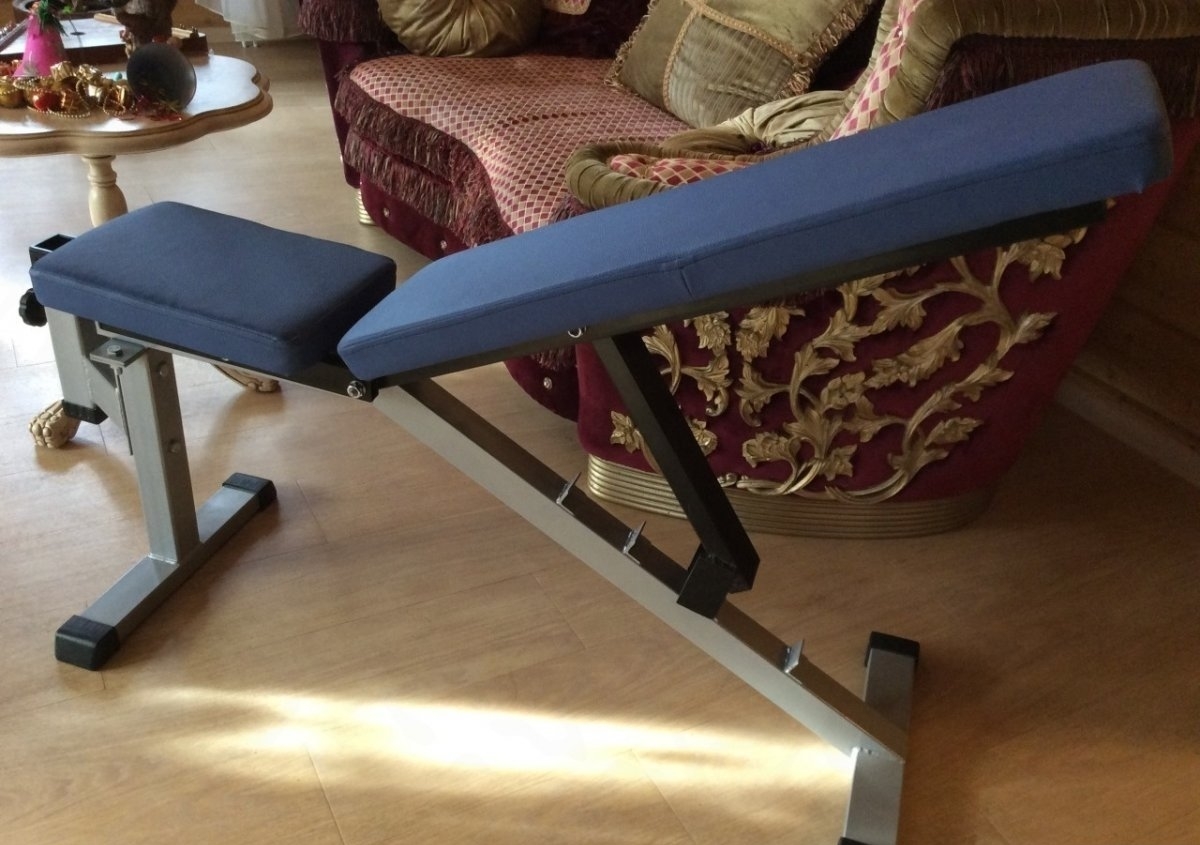
With the help of this simulator, the user will be able to use a barbell, dumbbells in training, and also take a sitting position.
Using this simulator, you will be able to:
- Press at different angles;
- Regulate the load;
- Comprehensively pump a large number of muscle groups;
- Install a bench for training at home, with the possibility of subsequent folding.
Things to Consider Before Manufacturing
The process of designing a bench simulator is quite simple, however, for this you still need certain skills in handling the tools, such as:
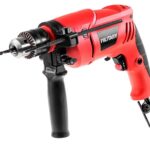
- Drill;
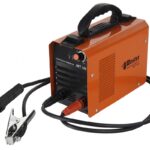
- Welding machine;
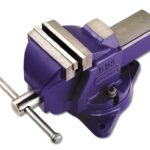
- Vice;
- Bulgarian.
If you can easily handle all of the above items, then you can safely take on the manufacture of a training structure.
What materials and tools will be needed
Before you start making your own exercise bench, it is important to purchase and prepare the appropriate materials and tools in advance, such as:
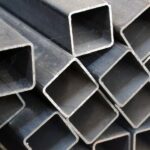
- Profile pipe with thick walls measuring 40 by 40 millimeters;
- Steel strip (width 40 millimeters), thick-bodied pipe;
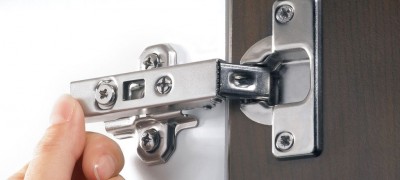
- Door hinges;
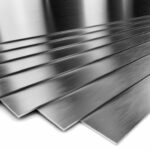
- Steel sheets (two millimeters thick);
- Durable water-repellent material;
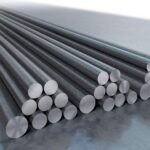
- Reinforcing bar without ribs;
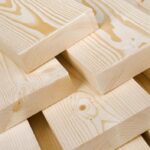
- Sanded board;
- Foam rubber with a thickness of at least 20 millimeters;
- Roulette;
- Grinder;
- Knife;
- Vice;
- Welding machine;
- Drill.
Drawing up diagrams and drawings
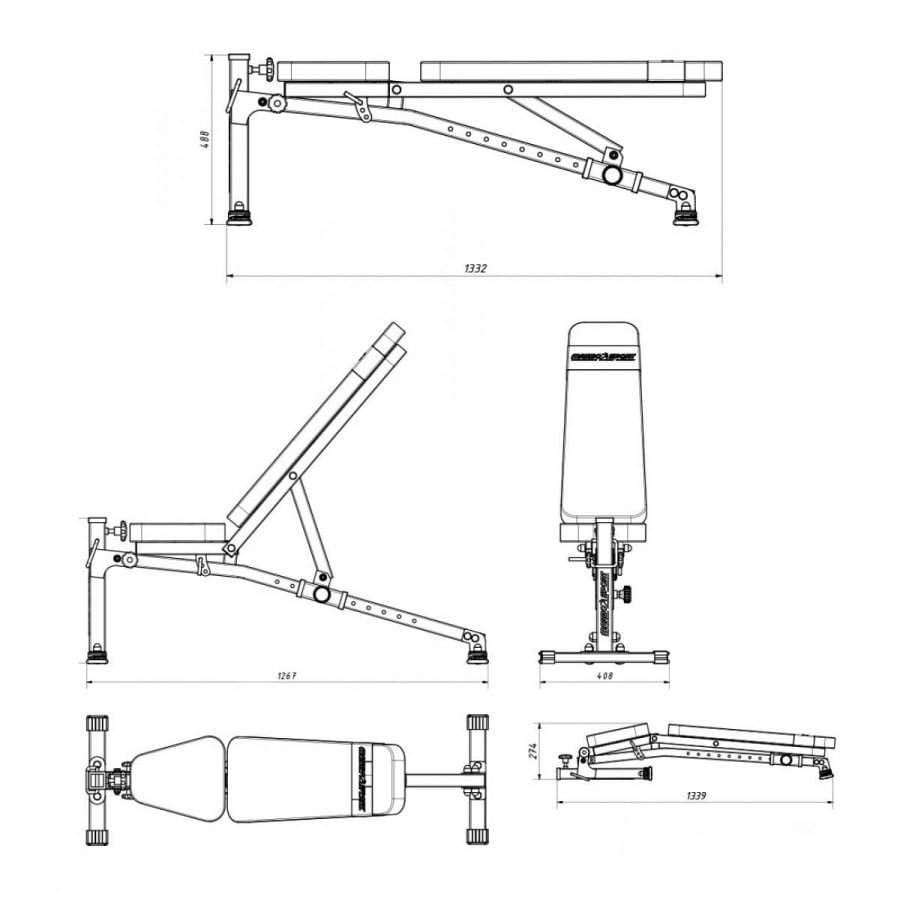
Initially, before making an inclined bench with your own hands, it is necessary to draw up the correct drawing, where it is important to indicate the features of the selected structure and the corresponding size indicators.
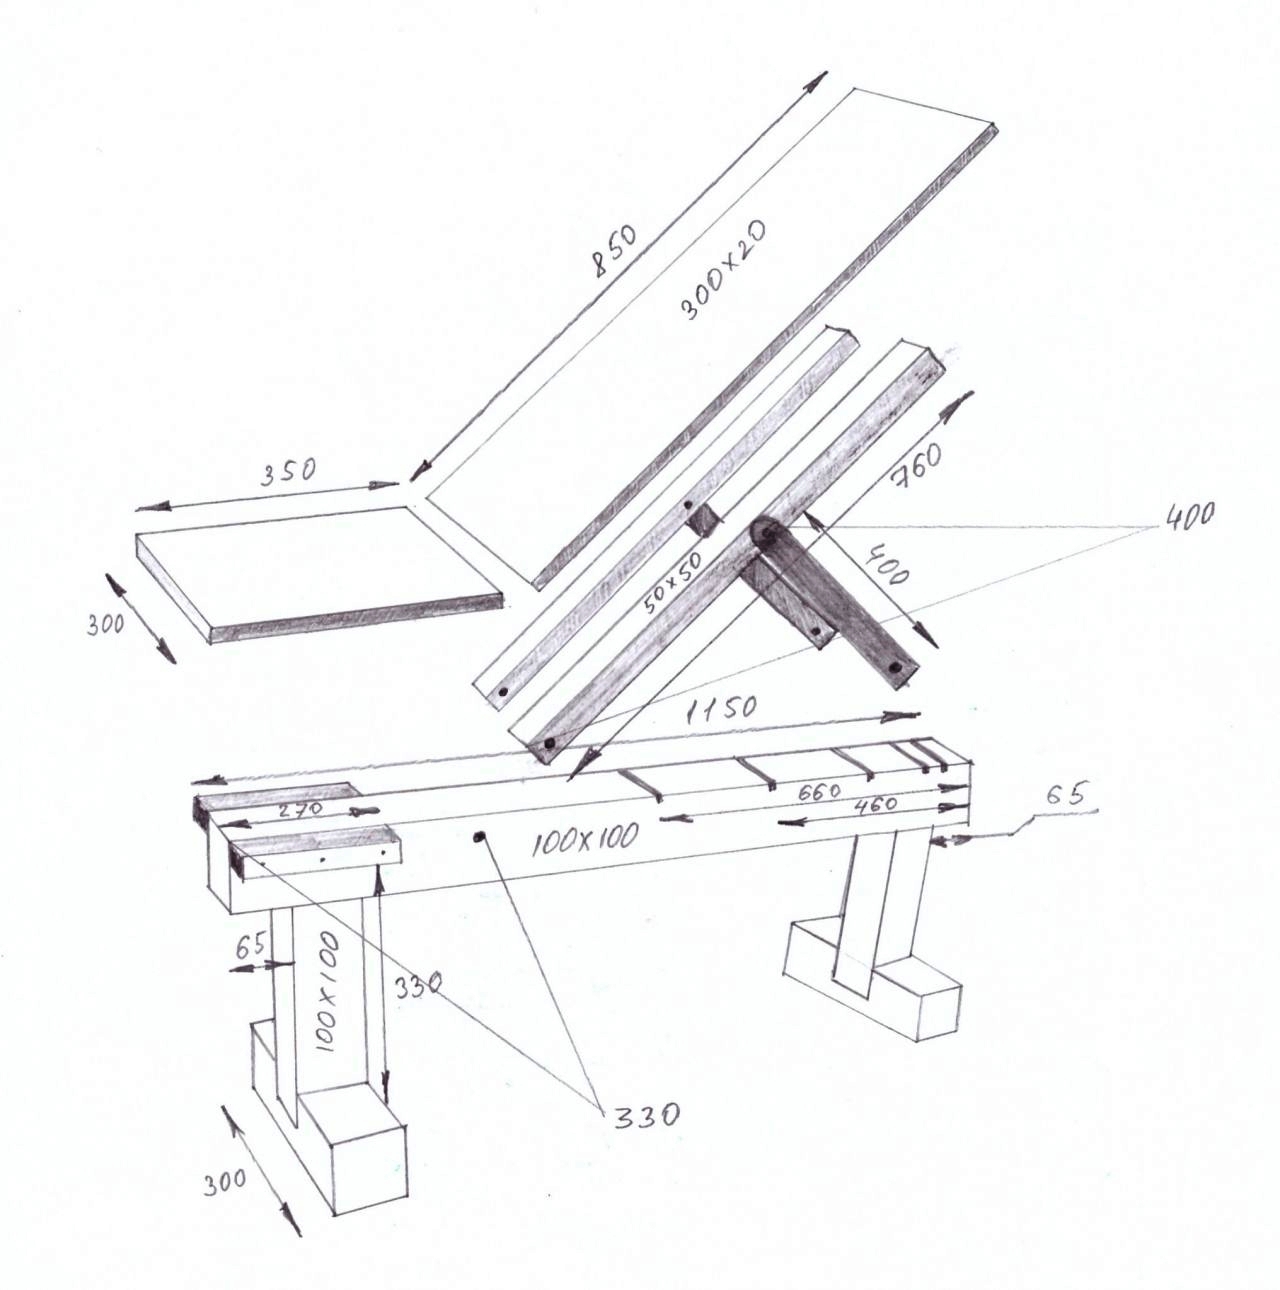
Advice. To create the necessary drawing of a bench for a barbell with your own hands, you can use information from Internet sources, or take measurements from the finished structure located in the gym. You can use a special training video, which can be easily found on the Internet.
DIY step-by-step instructions for assembling a bench press
When the drawing is created, and all the necessary materials and tools are available, you can start making the bench.
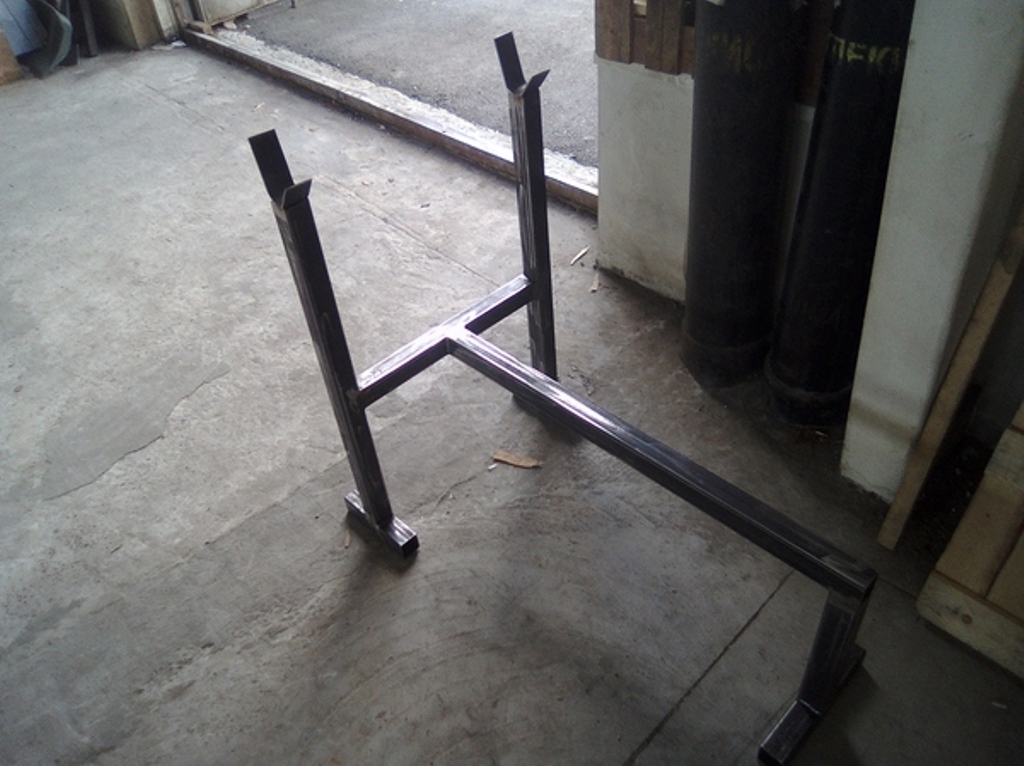
The manufacture of the frame includes the following manipulations:
- The pipe prepared in advance is cut into 2 equal parts, 830 millimeters long. These are the future gym racks that will support the barbell and serve as frame legs. Therefore, it is so important that the material for manufacturing is especially durable.
- The resulting racks are marked at a height of 340 millimeters from the surface of the base using a simple pencil.
- Cut out a piece 520 millimeters long to connect the resulting racks together.
- Connect the racks with the intermediate part at the height of the previously set marks. It is important to make strong seams during the welding process, because at this place there is a significant load and large vibrations. Do not forget and accurately take into account the height above the floor of 340 millimeters.
- The prepared part (length 340 millimeters), which serves as a stand, should be installed from the opposite edge of the future simulator.The next element is a bar (length 970 millimeters), which connects the front racks of the base of the exercise bench with the rear ones.
- The previous segment is connected to the supporting elements at the upper border,
- The crossbar (520 millimeters) is fastened from the side surface, while you can use self-tapping screws or a welding machine.
- Further, special extensions are attached in the area of the legs of the legs in order to evenly distribute the load on the floor area. Moreover, extensions of 220 millimeters are installed in the area of the front legs, and 300 millimeters on the rear ones. The sections are fixed by means of a welding machine.
- With the help of prepared steel strips and vices (2 or 4 pieces), the racks are bent in the form of petals. From the side of the rack should be like the English letter J. The back side should be equal to 70 millimeters, and about 20-30 millimeters in front.
- At the end of the manufacturing process, two holes (1 cm in diameter) are cut in the area of the beam that connects the base posts, 16 cm from the central part.
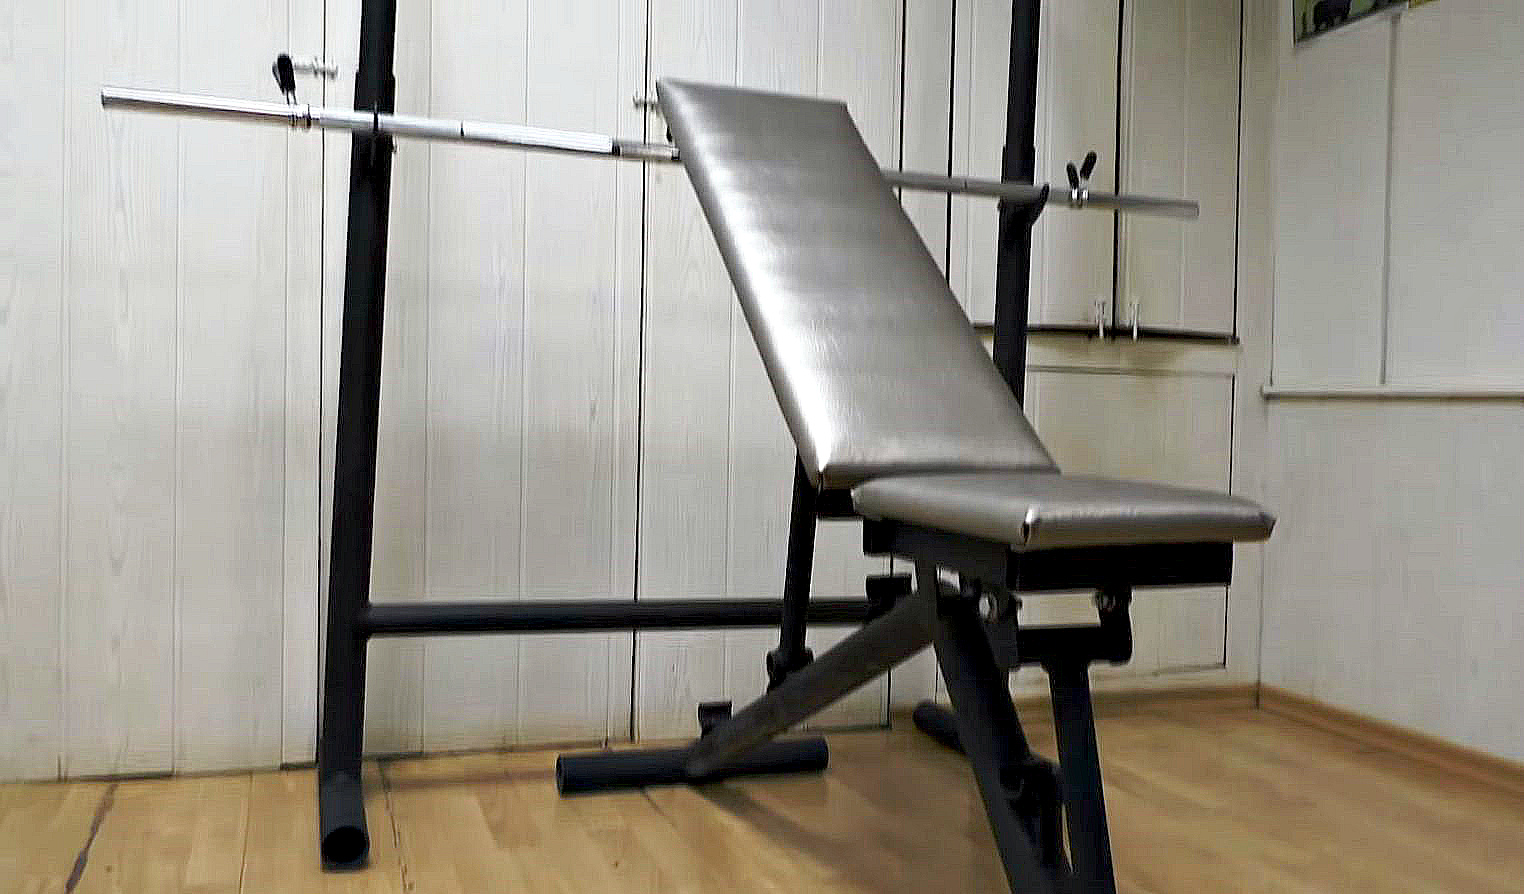
Then you can proceed to making a sunbed:
- Two sheets of steel are cut out in size: 350 by 160 and 350 by 940 millimeters.
- The first sheet is fixed by means of welding material in the area where the legs will be located, while protruding 5-10 millimeters beyond the border of the rack.
- The second sheet is fixed by means of door hinges, this is a kind of handicraft method. The loop is welded with welding seams, one looks towards the pipe, the second - at the sheet of the bed.
- Further, the fixation of two edgeless reinforced rods (length of 300 millimeters) is carried out, the reverse side of the plate, an indent of 100 millimeters. This helps to raise the backrest for a variety of exercises.
- Then, the polished board is laid on the surface of the plate, and the width of the board is 5 millimeters larger than the sheet of steel.
- The board is fixed to the steel sheet using self-tapping screws from the bottom edge, the hole is not made through.
- In the area of the joints of one steel plate to another, the distance between them and the wooden board of one centimeter should be observed.
- The surface of the board is greased with glue and foam rubber is laid on it, then stitched with a durable material (you can use a construction stapler as an attachment).
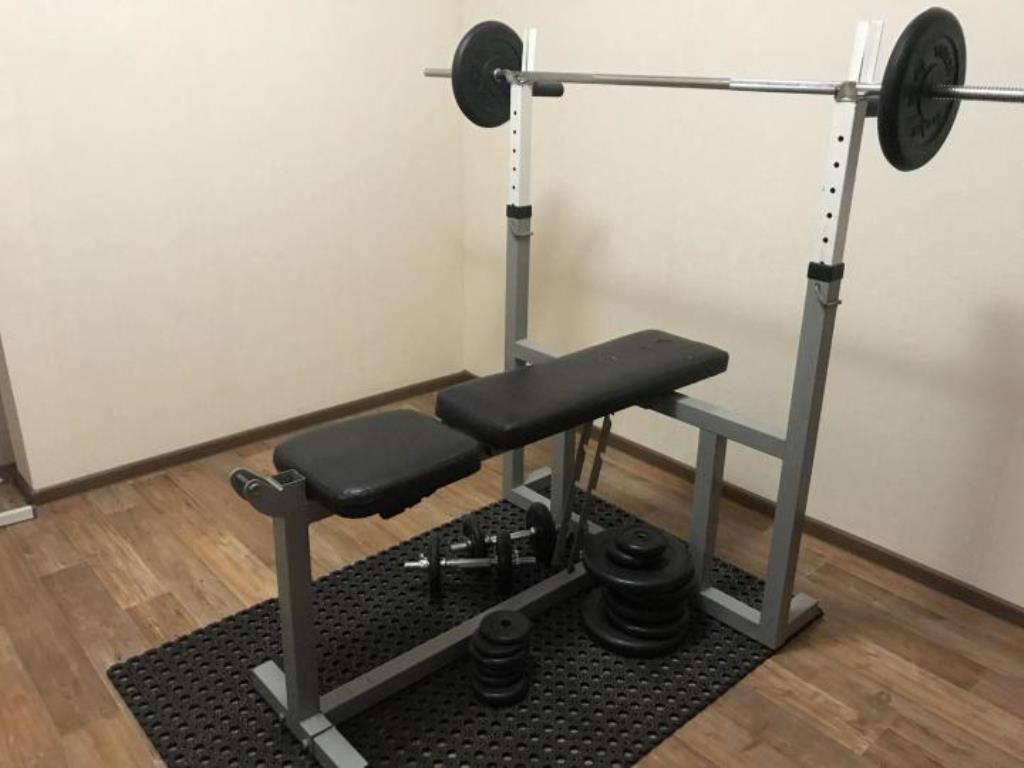
The usual option
The simplest version of the simulator is highly durable. The bench is very useful and compact; it can be made as an addition to other varieties.
There are features in the manufacture of this option, namely, you can use:
- A less strong material is a 40 by 40 professional pipe, since there are no right angles in the structure.
- As a support for the legs, the rods are 10 millimeters, with threads at the ends, which are rubberized to the required size.
- Removable rubber couplings, which are adjustable in the lower stop, and removed in the upper stop, during exercises that they interfere with.
Reclining bench
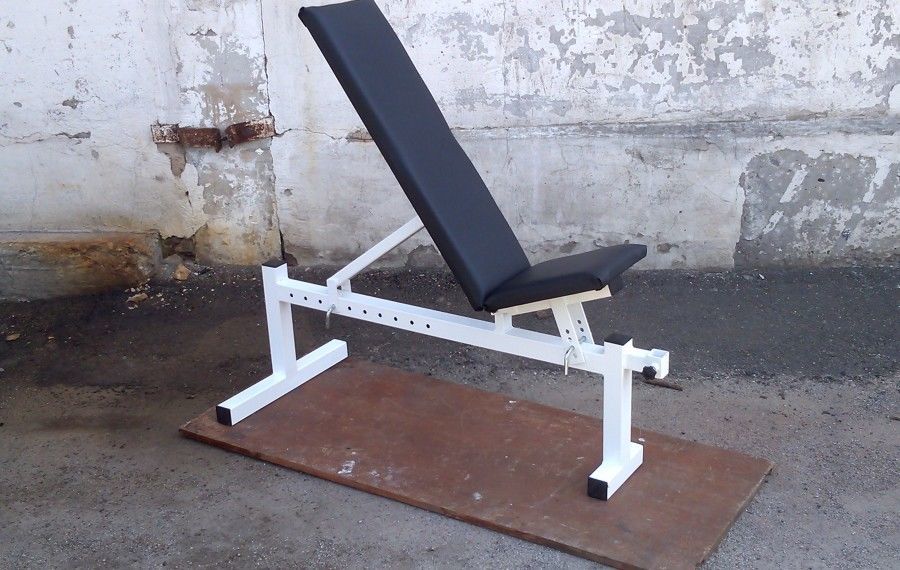
This type is made more difficult than the previous, more convenient option.
Peculiarities:
- Replace the support section of the pipe with a thick-walled pipe, in order to avoid sagging under the weight of the legs, it is also possible to use a conventional support pipe 40 by 40 millimeters;
- It is important to install an adjustable backrest by welding a metal elongated ring to the support frame.
- The adjustable backrest is equipped with a frame that is welded from a 20 x 20 mm professional pipe.
- Next, 4 holes are drilled in each rack using a drill (the markings are applied in advance). This is a simple backrest with 5 tilt angles, the maximum angle is 450.
Making a bench with a stand and back
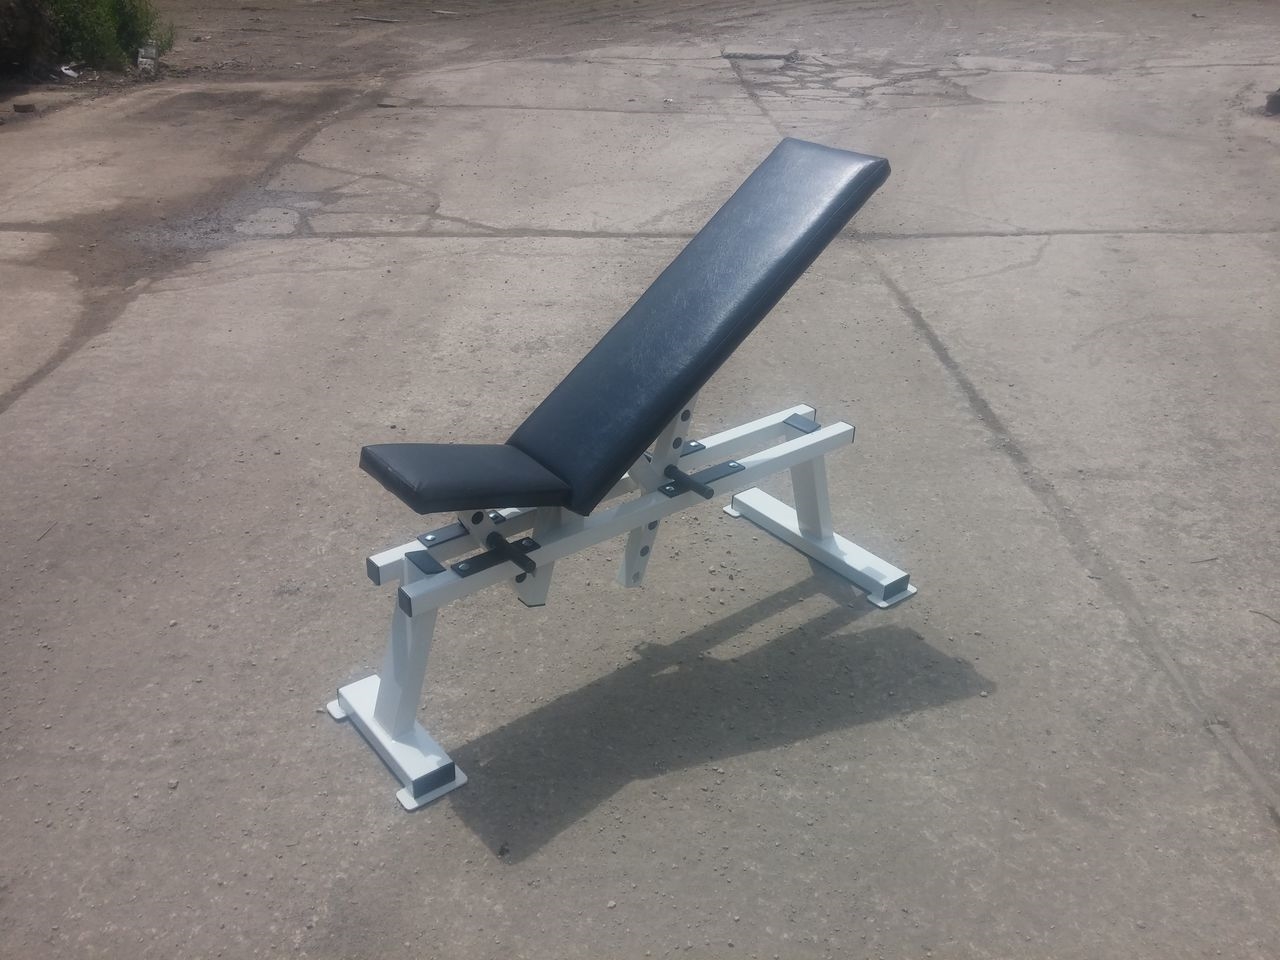
This version of the exercise bench is the most convenient and functional, however, and the most difficult to manufacture.
Manufacturing features:
- To install the back in 900, it is necessary to build an additional frame, which has an emphasis in the lower part of the bench;
- Rack holders are not needed;
- Drill a large number of holes;
- Fixation is carried out by means of a pin (secure fastening, passes through the side of the frame), which helps to set different angles of inclination of the back;
- Easily extendable racks are made from a professional pipe 30 by 30 millimeters plus supports 40 by 40;
- Next comes the manufacture of rack holders from metal strips;
- Securing the handrails for later use as beams will help increase the functionality of the bench.
Tips & Tricks
- Make the width of the bench equal to 280 millimeters, on average, with narrow shoulders of the user, 260 millimeters is enough;
- To avoid the appearance of rust and the subsequent destruction of the metal parts of the bench, its surfaces should be varnished or painted;
- The lounger is usually made of wood and sheathed with material and foam rubber, for greater convenience, if the user decides not to sheathe the boards, they should be carefully polished and varnished / painted to avoid destruction of the structure and accidental damage to body tissues;
- It is important to use only reliable and durable materials in construction;
- Quality connections should be made, with special attention paid to welding and bolting.
Video: do-it-yourself incline bench press
