How to make a do-it-yourself hanging chair at home
Hanging chairs have firmly taken their place in the apartments and on the verandas of many cottages. They are comfortable, pleasant and romantic. These chairs allow you to relax and rest in comfort.
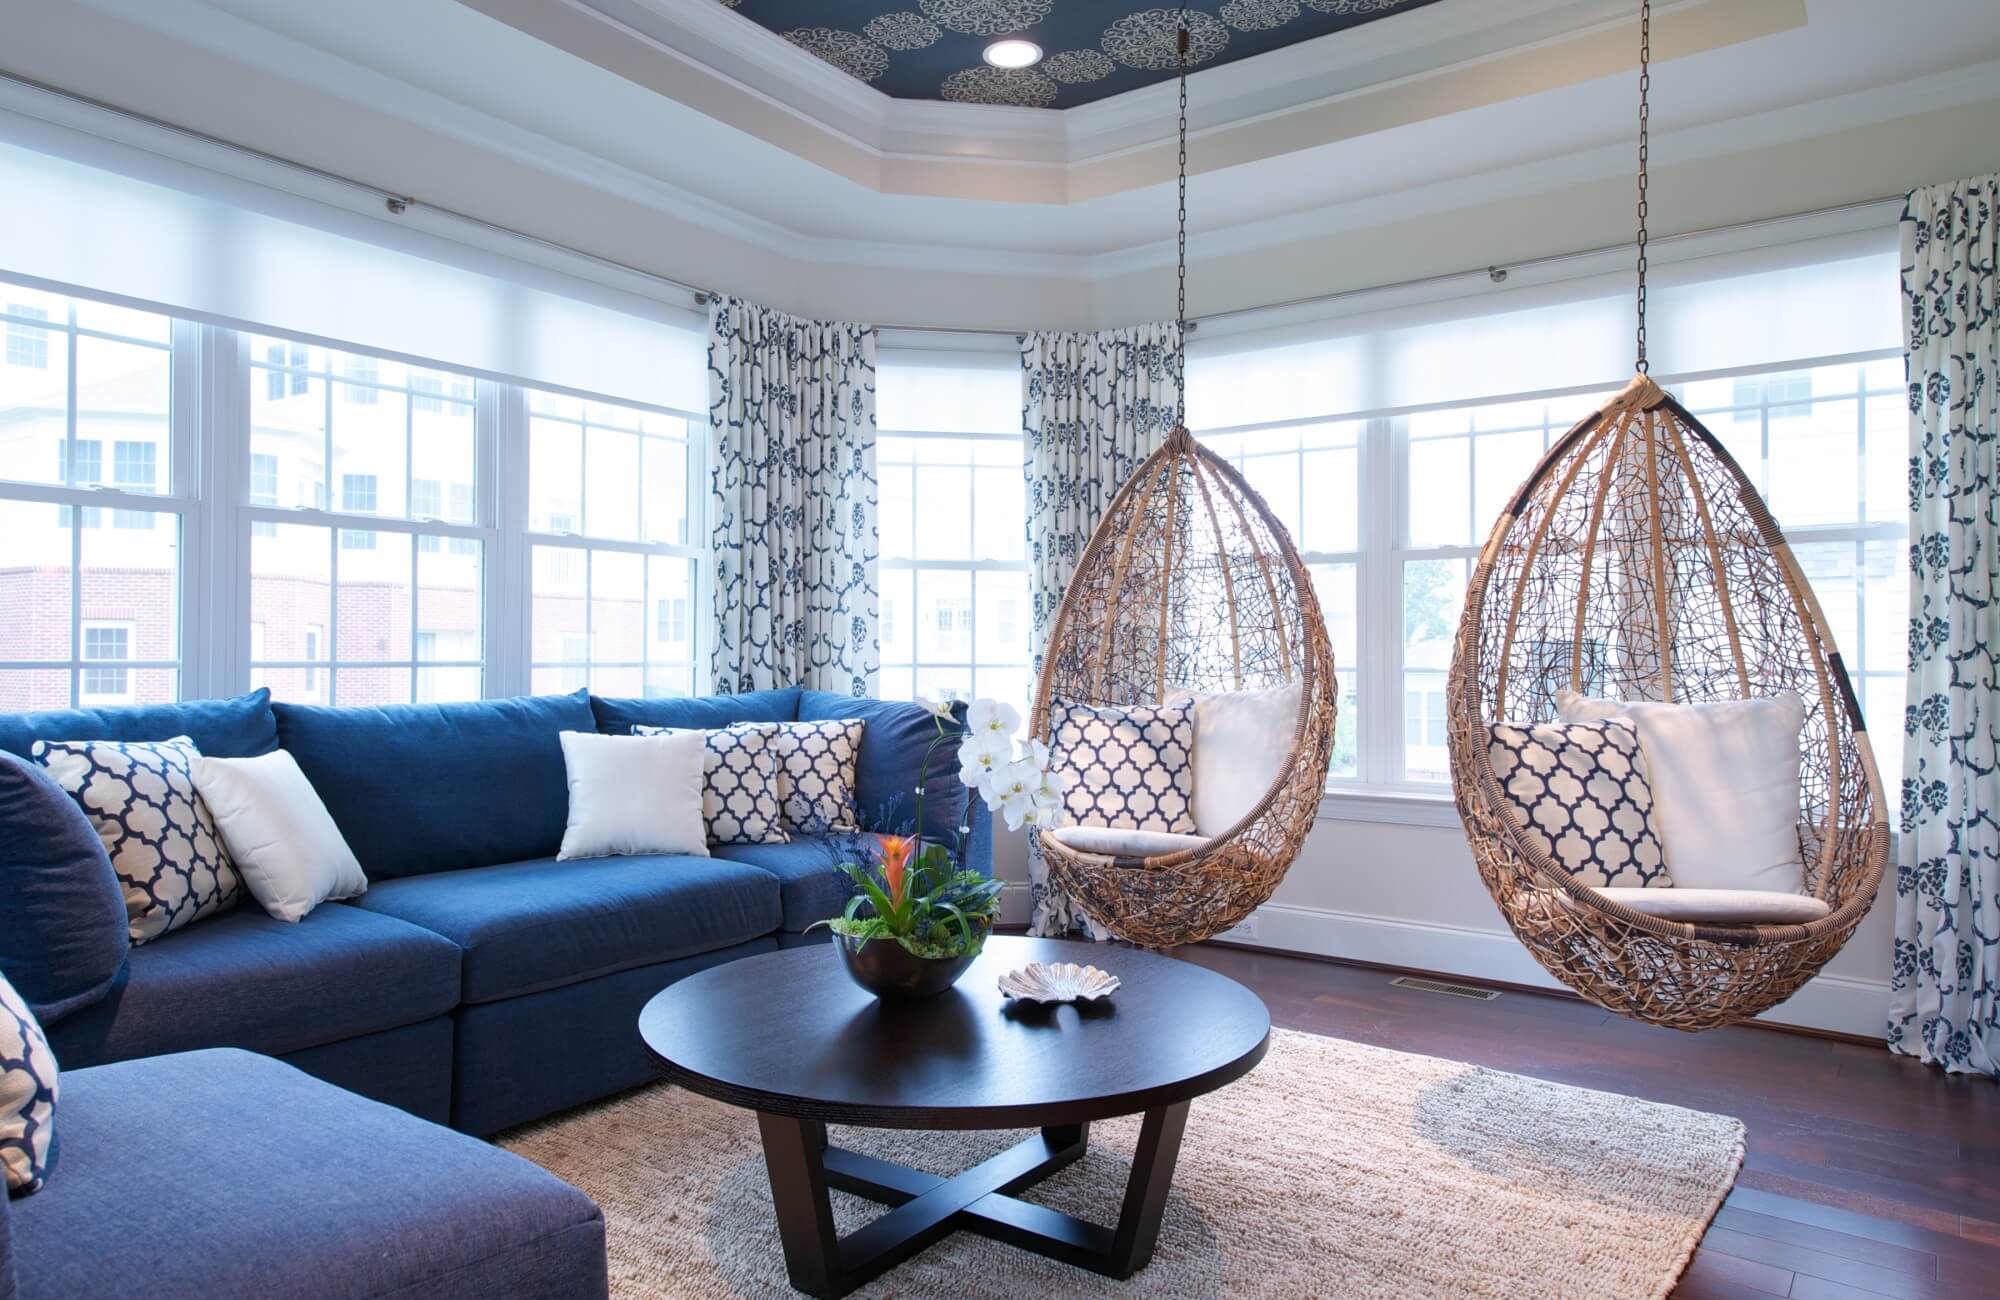
Most of them come in standard designs and sizes. But if you make a hanging chair with your own hands, then you can choose any material and create dimensions that exactly fit the dimensions of the room. It turns out that making such a piece of furniture on your own is not difficult.
Varieties of hanging chairs
Suspended chairs are distinguished both in shape and design. The main types of structures:
- ceiling mount;
- fastening to a special floor base.
Ceiling mounting is more complicated and inconvenient. Such a chair cannot be rearranged and moved for convenience. You will also have to spoil the ceiling - if the chair suddenly gets bored and you want to remove it, you will have to repair the coating. At the same time, the ceiling mount is the most reliable. Such a chair will not tip over or overturn.

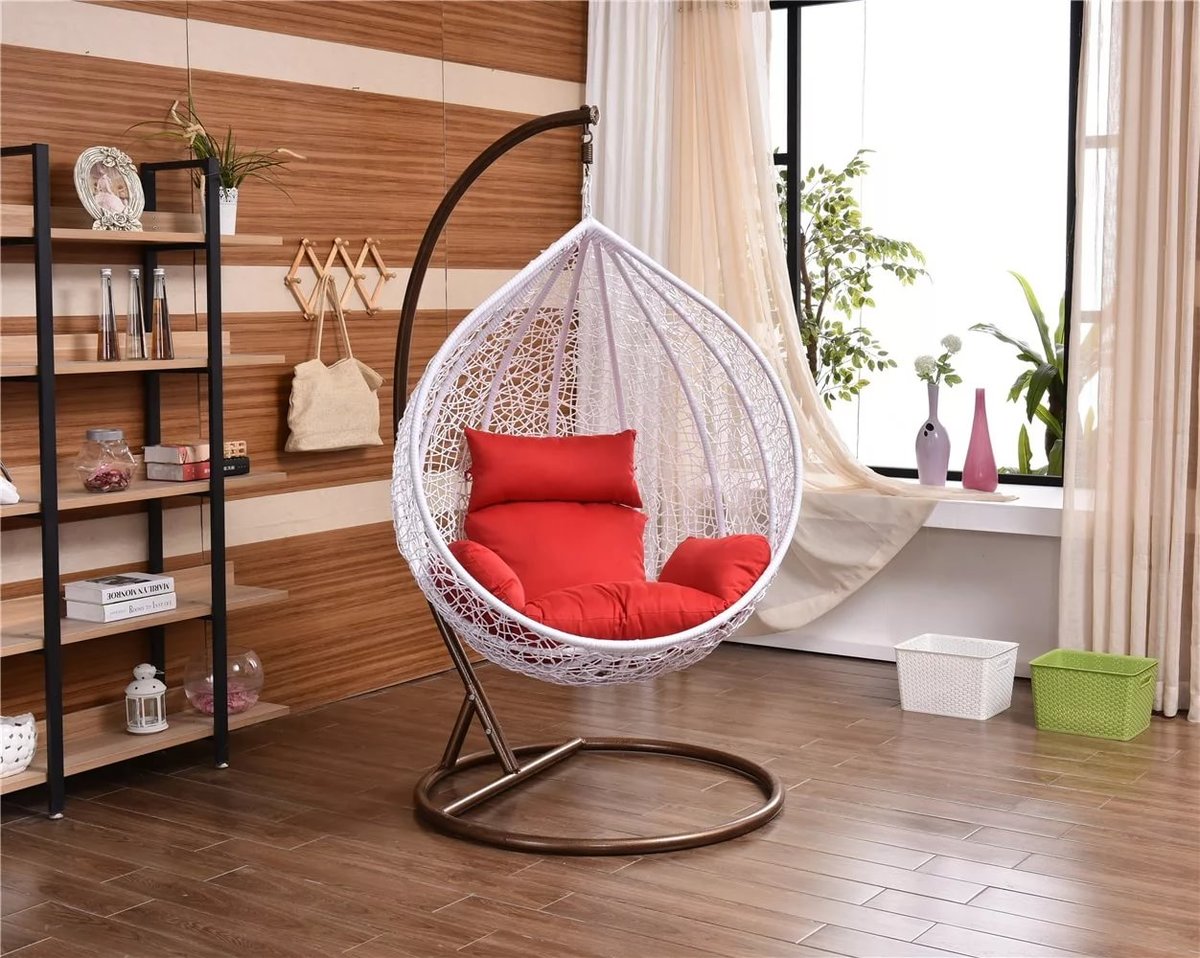
The special floor construction makes the chair mobile. It is easy to rearrange it on the veranda, on the street or move, depending on the convenience of the location. This design can be purchased at any garden furniture or supplies store.
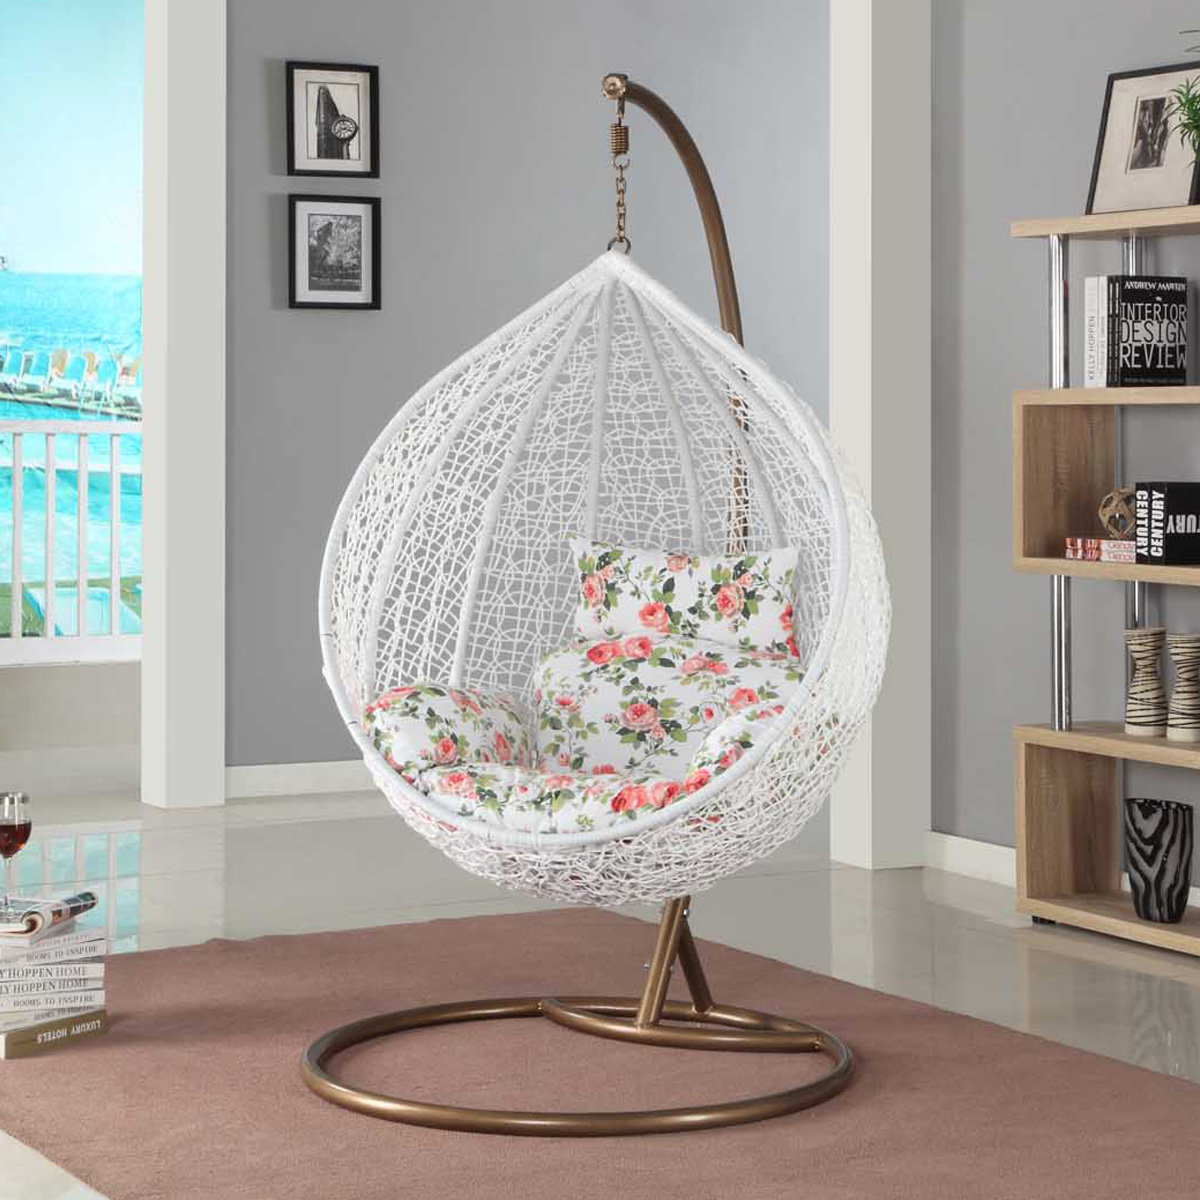
There are also suspension parts. First of all, they are divided into soft and hard varieties. Hard ones usually have a rigid base around which rattan or vines are woven. For convenience, pillows or blankets are laid out on the seats. Usually rigid wicker structures are used in place of classic armchairs, chairs or rocking chairs.
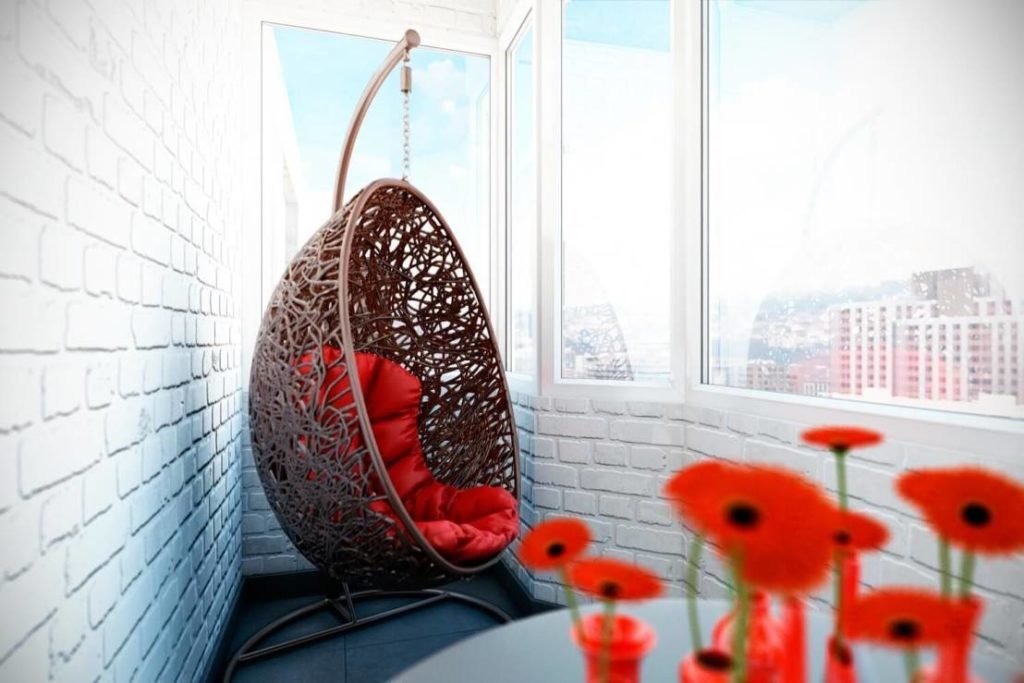
Soft structures are a piece of fabric suspended in a certain way from the base. The soft suspension does not require additional pillows, it is so pleasant to sit or lie in it. It is more used for rest and relaxation, it is much more pleasant to lie, read or sleep in it.
By form
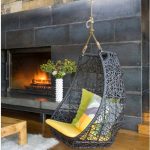
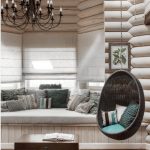
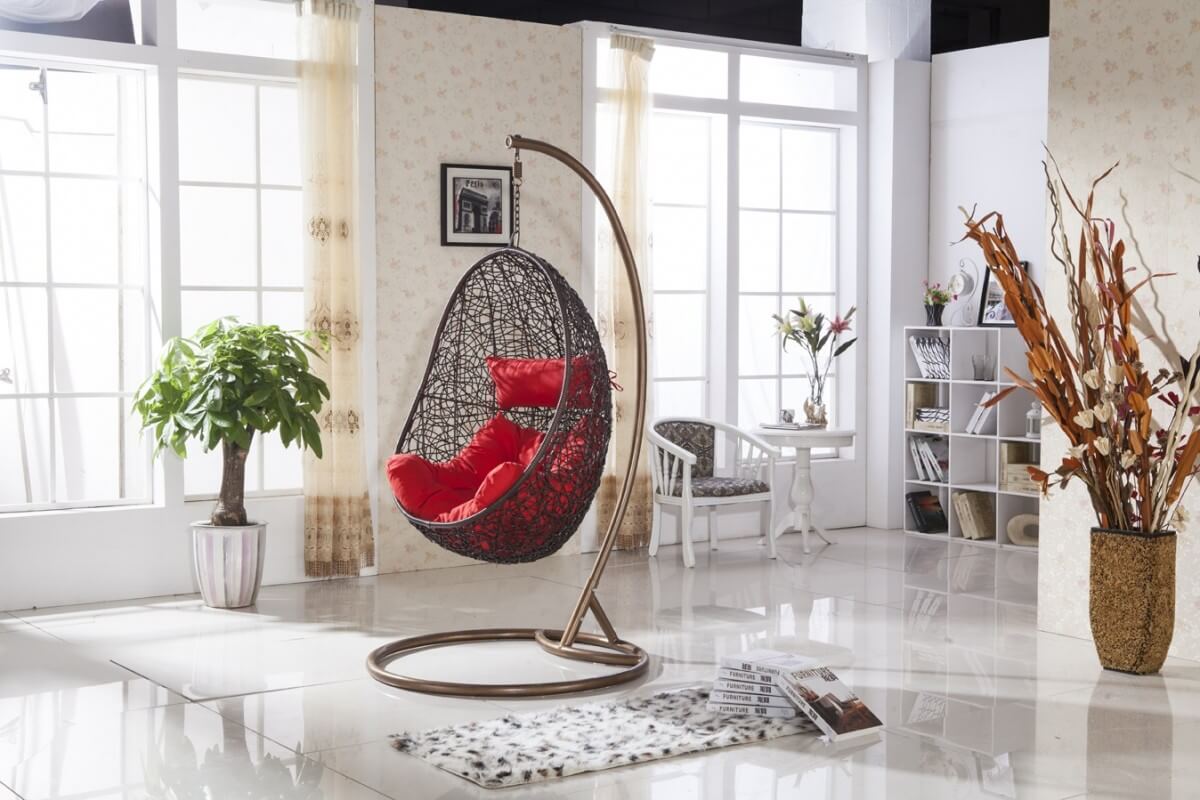
Hanging chairs are distinguished by their shape. For hard chairs, rounded options are the most popular: a round hoop, an egg, or a more oblong cocoon. The shape of a rigid suspension depends primarily on the base and the owner's desire.
Soft varieties usually have an oblong shape of various lengths. If you make the distance between the suspension mounts as large as possible, you get a mini-chair. If you lengthen the suspension, then you can easily lie down here.
Hammock
The most common soft hanger option is the hammock.The classic version is a long piece of fabric suspended from both sides to the base.

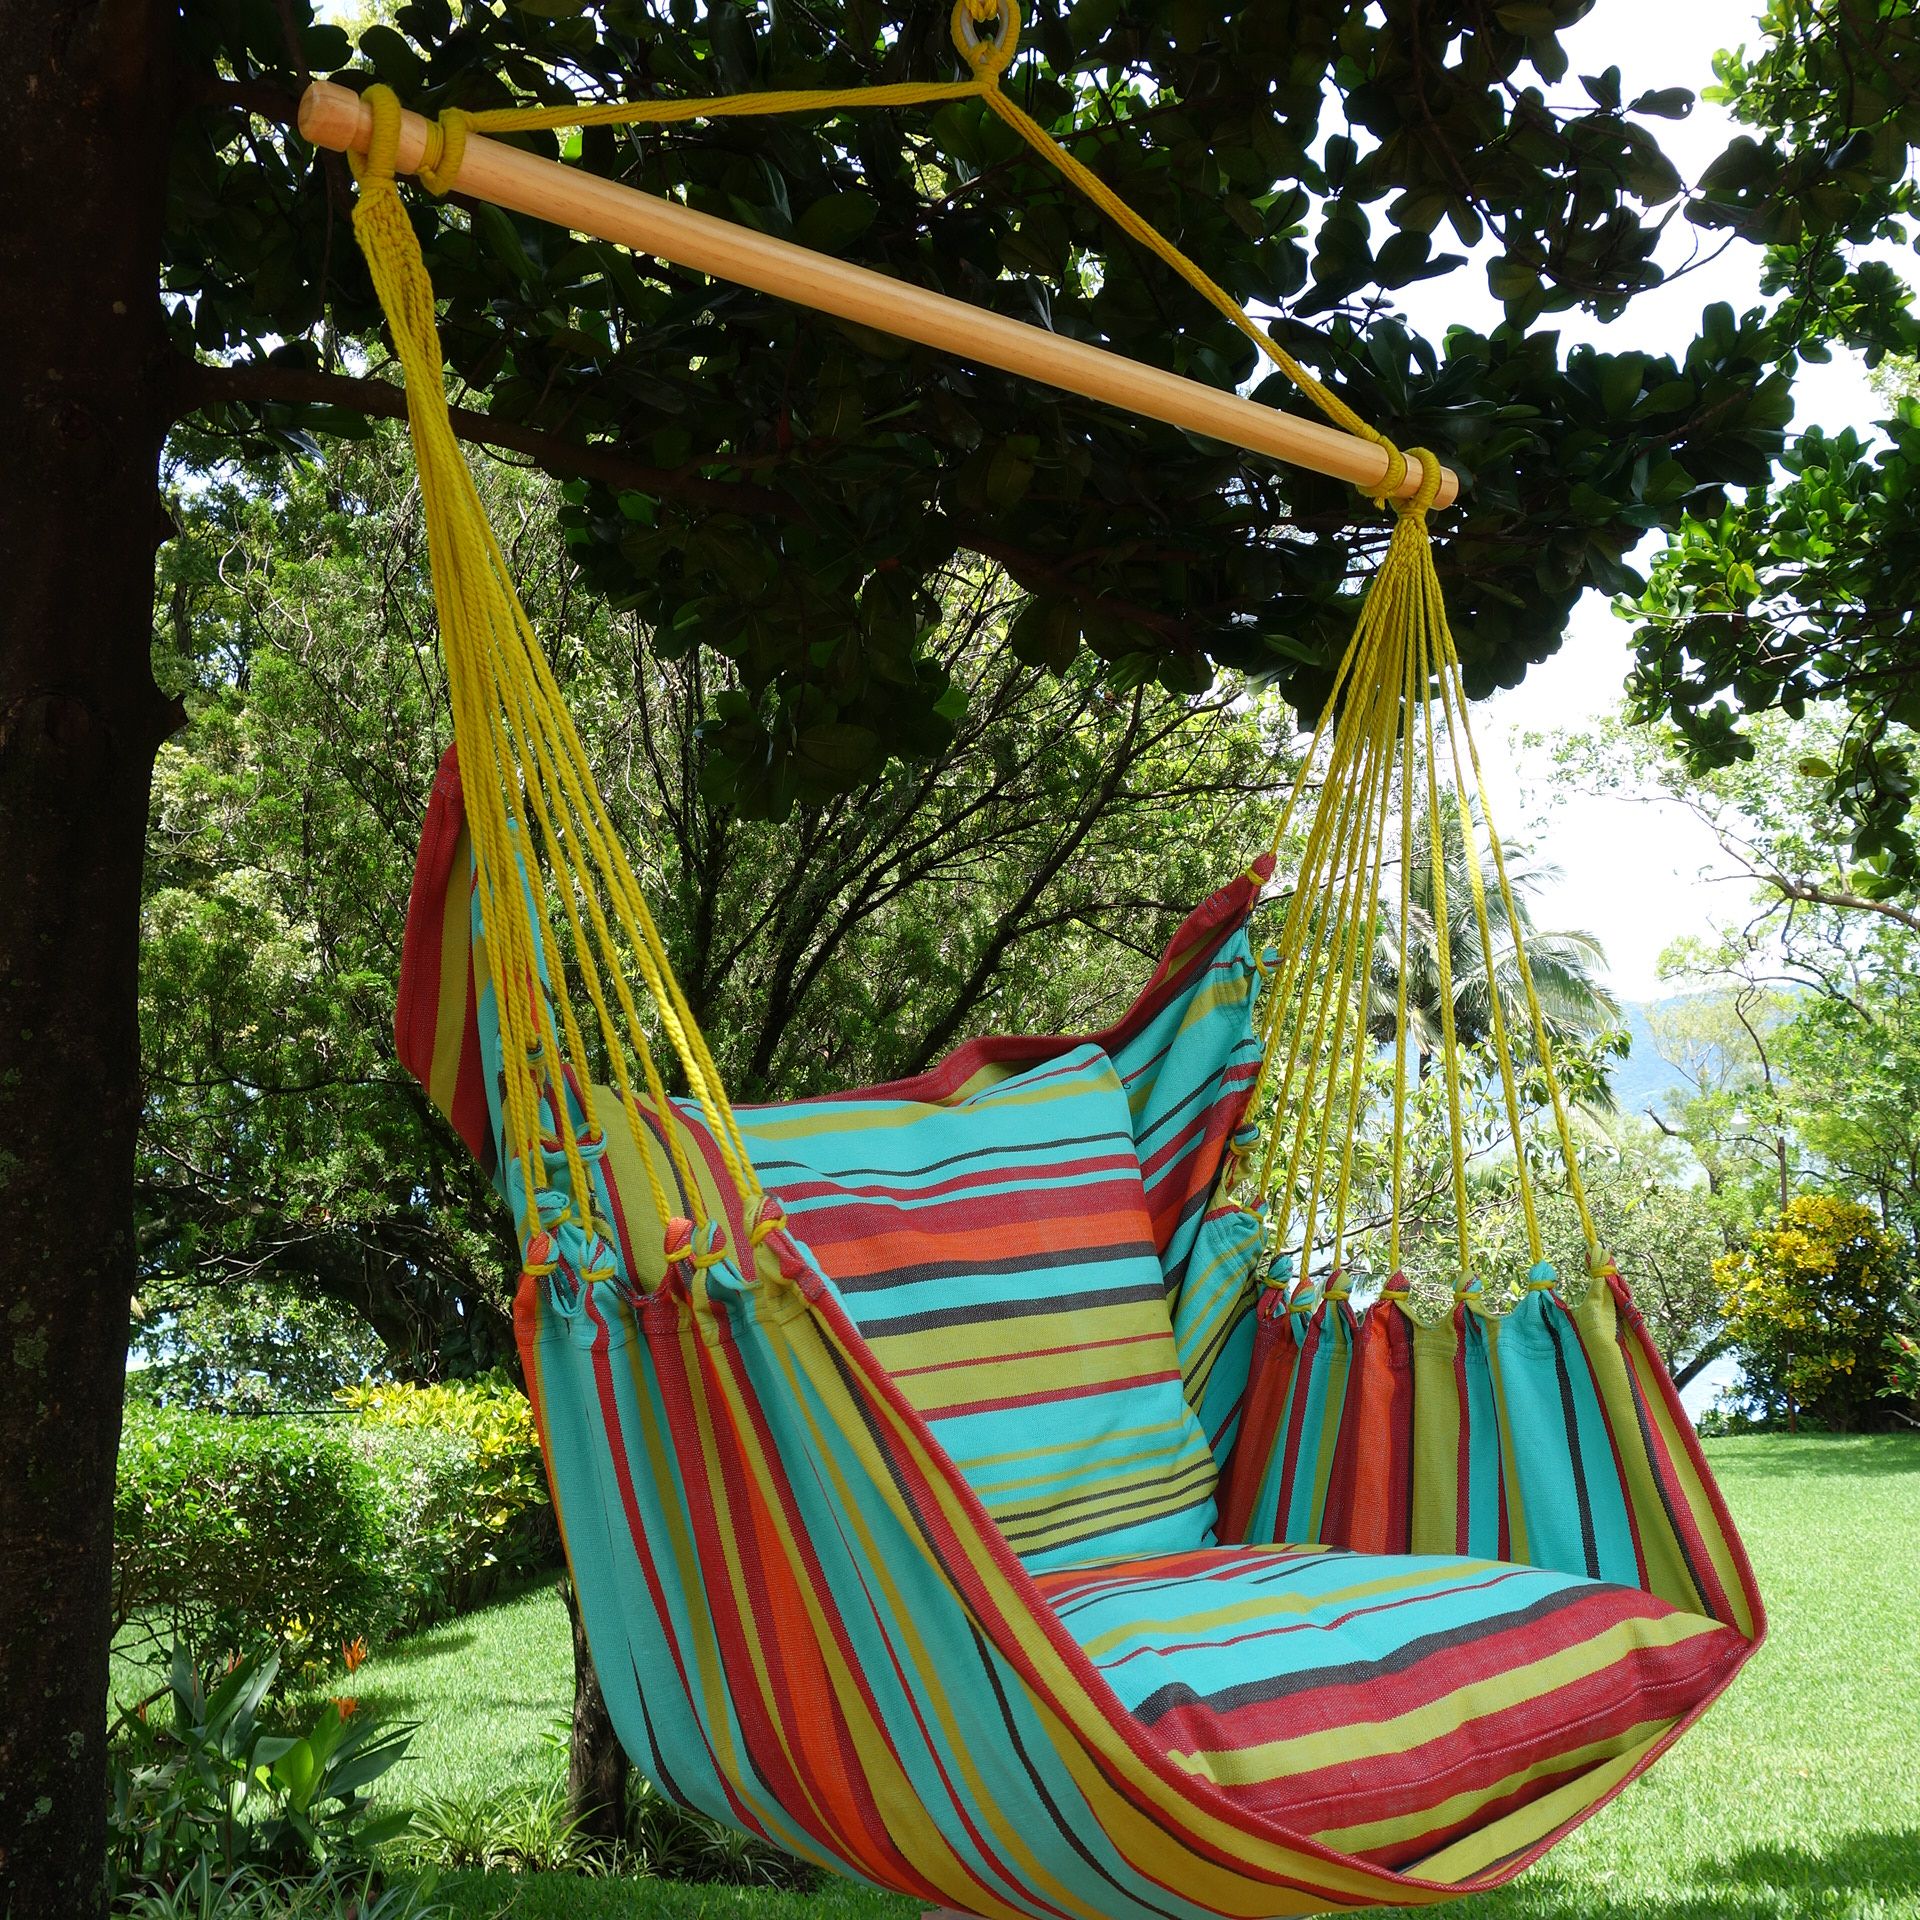
If you take a short, square fabric 1.5 x 1.5 meters in size and hang it at both ends, you get a hammock chair. It is pleasant to sit in such an armchair. It is easiest to make a do-it-yourself hanging chair of such a model.
Wicker nest chair
It is also a simple design option. Its base is left by one hoop, to which a soft cloth, net or vine is attached. For convenience, two or three sides of the suspension can be additionally reinforced with pillows, cloth or rods. Then it will be convenient to lean your back on such a base.
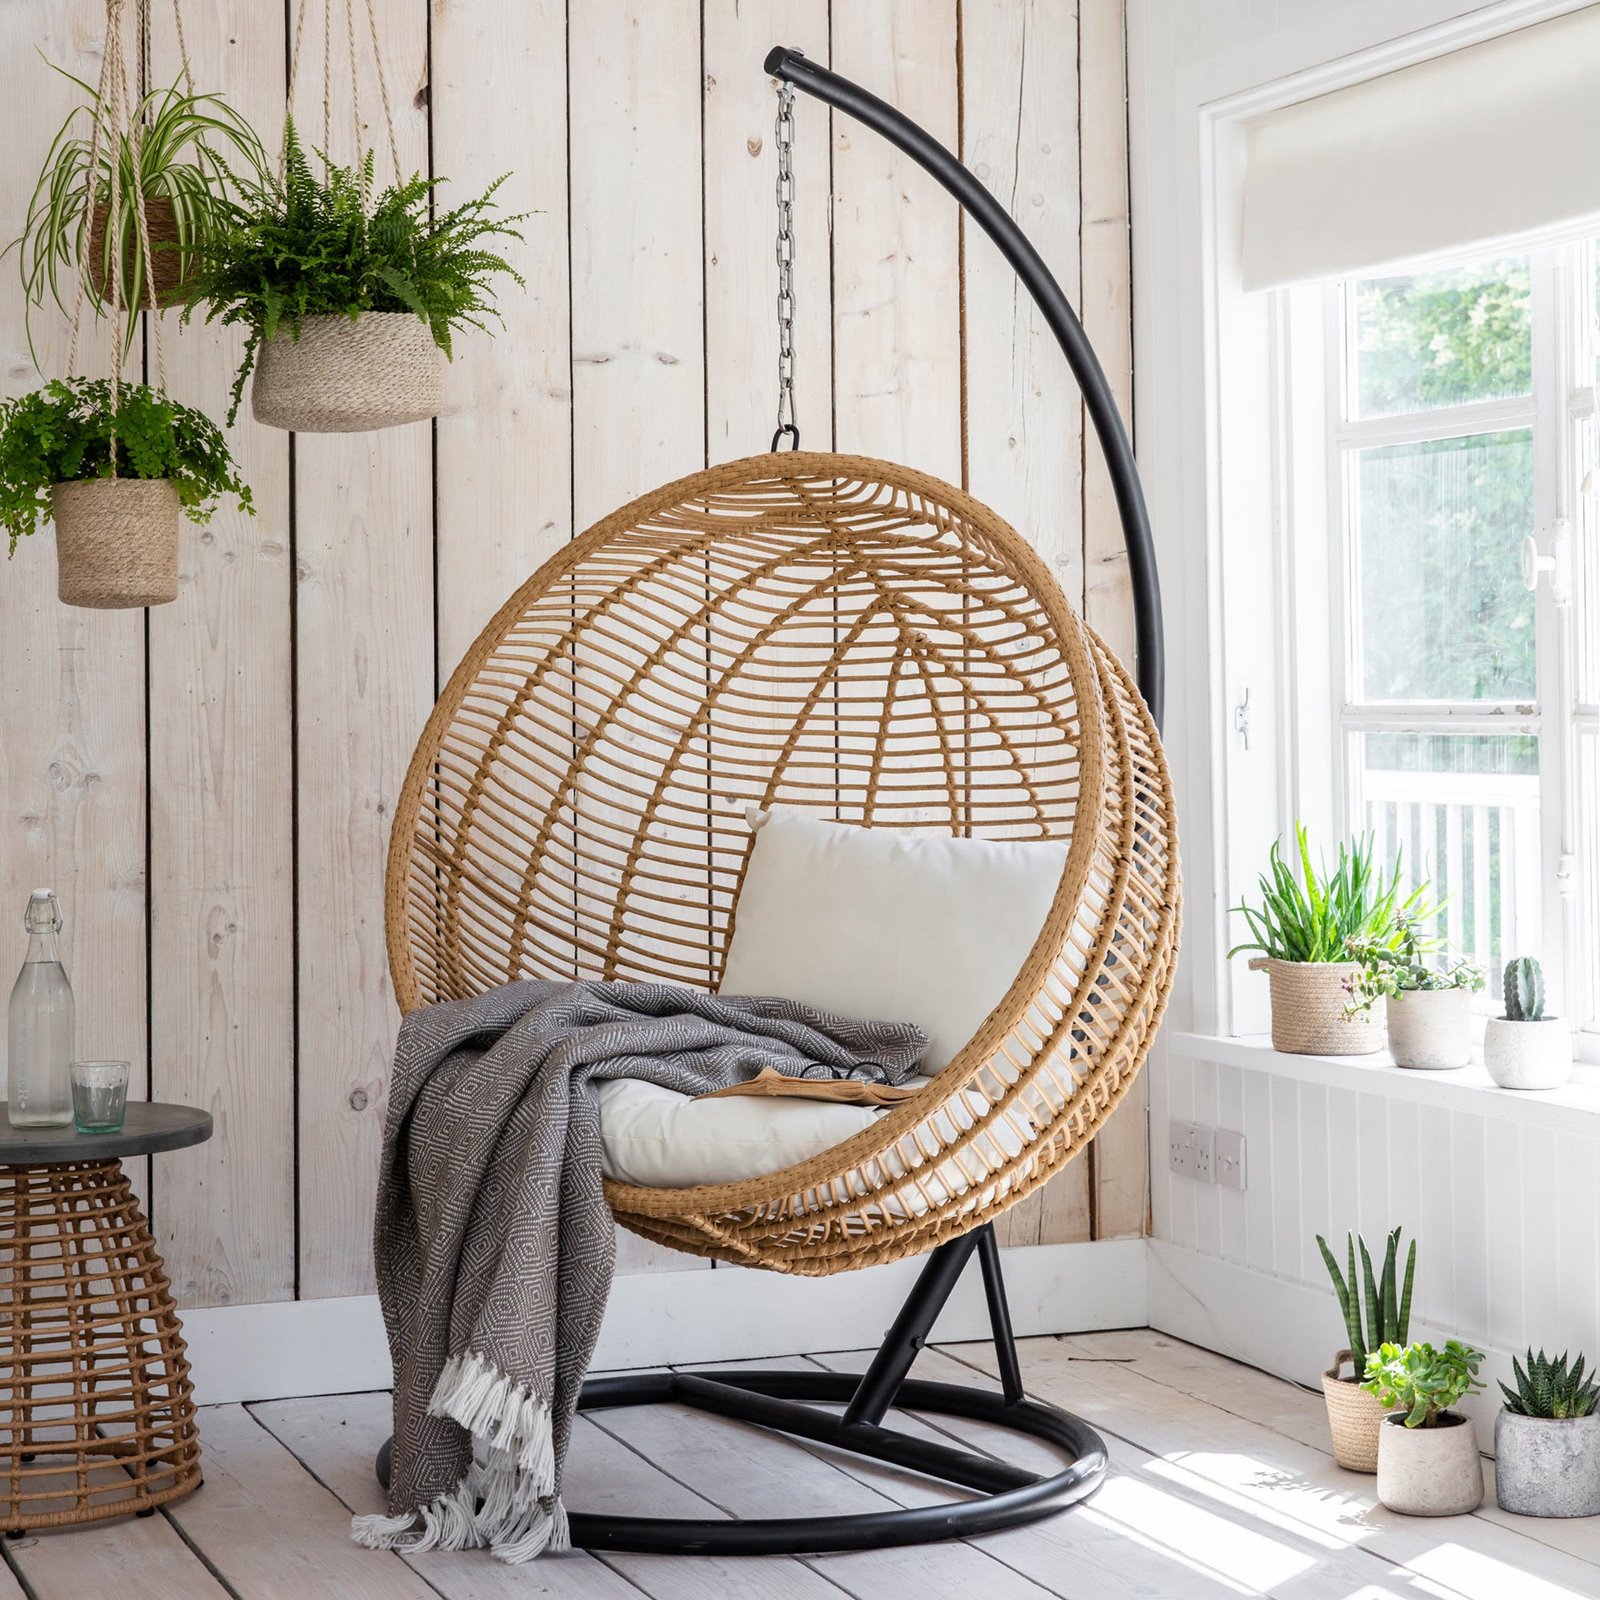
If the base is made of two hoops, then it will be pleasant to fall into the seat.
Egg
It looks like a nest chair in appearance and manufacturing process. The hoop here also plays the role of a base, but it is not round, but oval and is installed vertically. A fabric is attached to it. The seat can also contain additional rigid ribs. In this case, it will be more comfortable for the back.
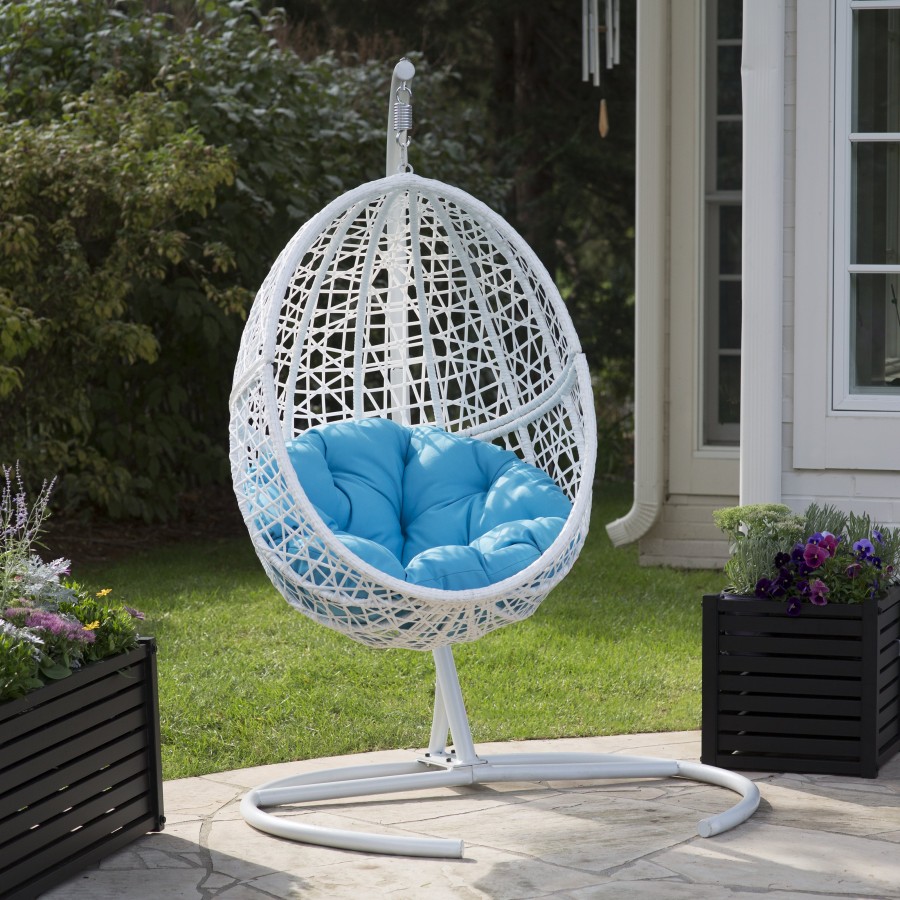
The model turns out to be more closed compared to a hammock or nest. This makes it more suitable for outdoor use. It's nice to fall into an egg and wiggle in it.
Cocoon
It is the most complex structure. This model is the most closed, which is why it got its name. In it, a person is, as it were, in a cocoon. At the same time, the lower part remains wide, the upper part tapers to one point.
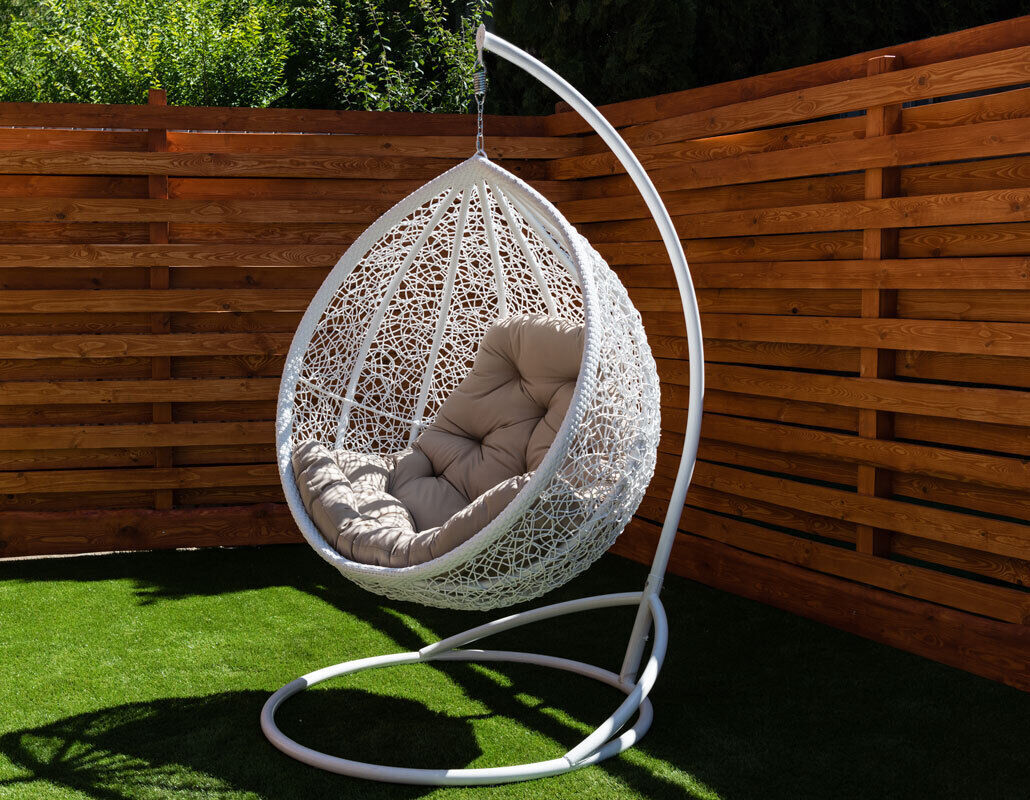
This product always has additional rear stiffeners so that the front opening does not close. Young children will like the cocoon, as it is the most pleasant to play in.
What material can be made
For the manufacture of such furniture, first of all, natural materials are used:
- Vine.
- Rattan.
- Wood.
These materials are pleasant, environmentally friendly and look very luxurious. However, they have their drawbacks. They are very expensive and difficult to acquire. Natural materials are less durable and require special impregnation or coating. In addition, they are difficult to handle.
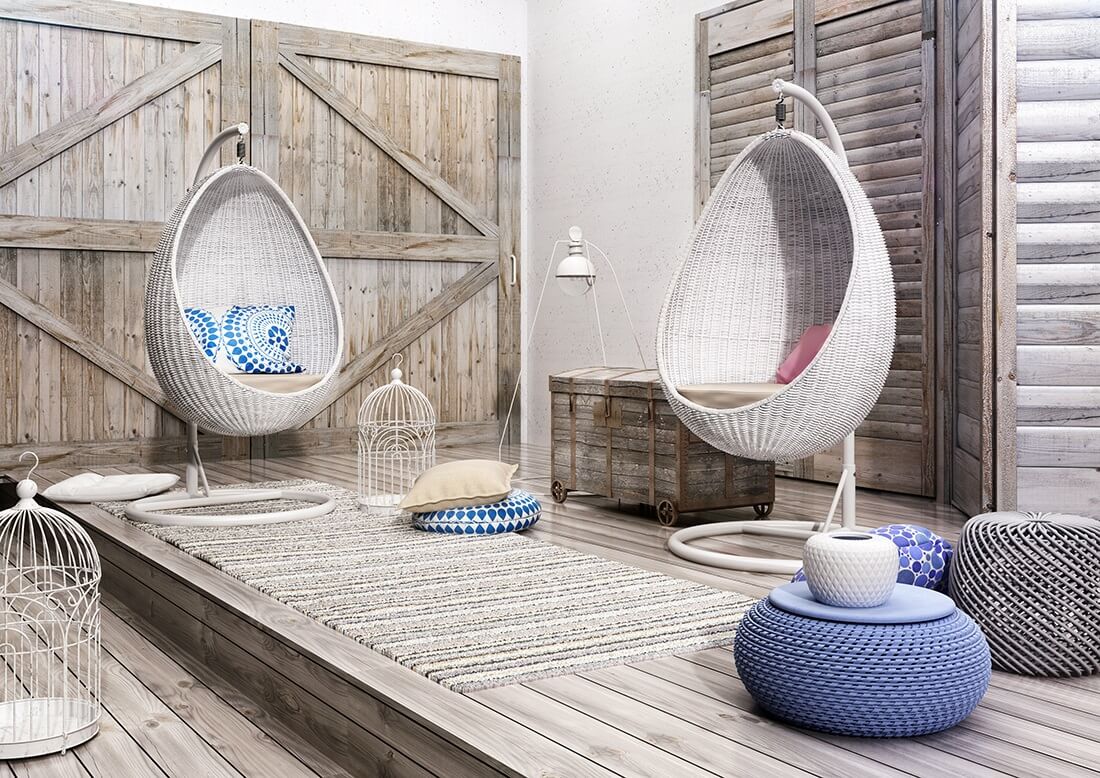
It's best to use synthetic materials for your first hanging chair. It will not be a pity for them if something goes bad.
These materials can be purchased at any store. They are quite cheap, which is why they can be taken with a margin. Such materials do not require special processing. They are very easy to install.
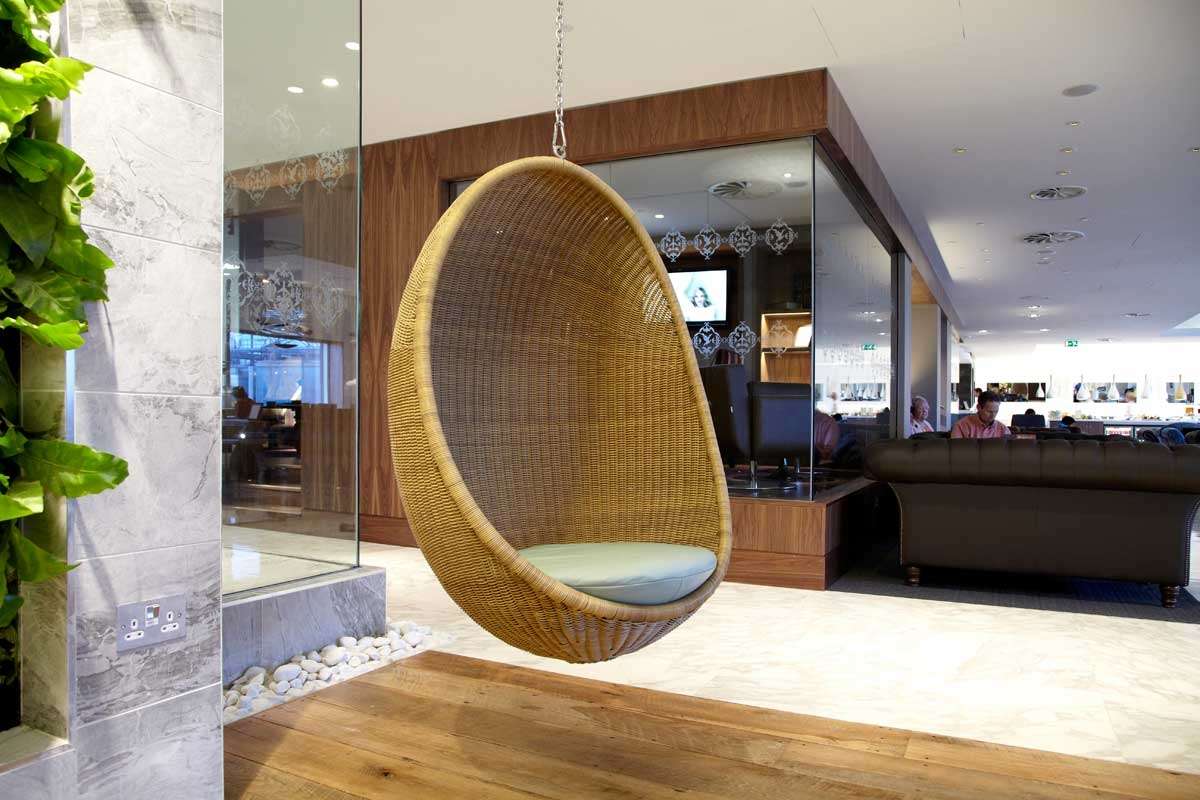
Another advantage of artificial materials is that they are lighter, which is very important for a suspended structure.
For a soft seat, a thick, sturdy fabric will do. Cloth size: 1.5 x 1.5 meters for a hammock chair or nest. For an egg or cocoon, you need a piece measuring 2 X 1.5 meters.
In addition to the basic materials, additional details will be required:
- Frame hoop.
- Thick ropes for suspension.
- Thin ropes or rope for wrapping.
- Connecting ring.
- Hammock slats.
For the manufacture of pillows or soft seats, you will need foam rubber 3-4 cm thick. To decorate the product, you will need curtain brushes.

Advice. For the chair to be strong and light, the front hoop must be metal, and the rear ribs can be made of plastic pipes or PVC.
Required tools
To make a hanging chair, it is important to prepare the necessary materials in advance. This will make the workflow pleasant and fast.
Basic tools:
- A pair of work gloves.
- Tailor's scissors.
- Roulette.
- Nippers or pliers.
- Polyamide tape.
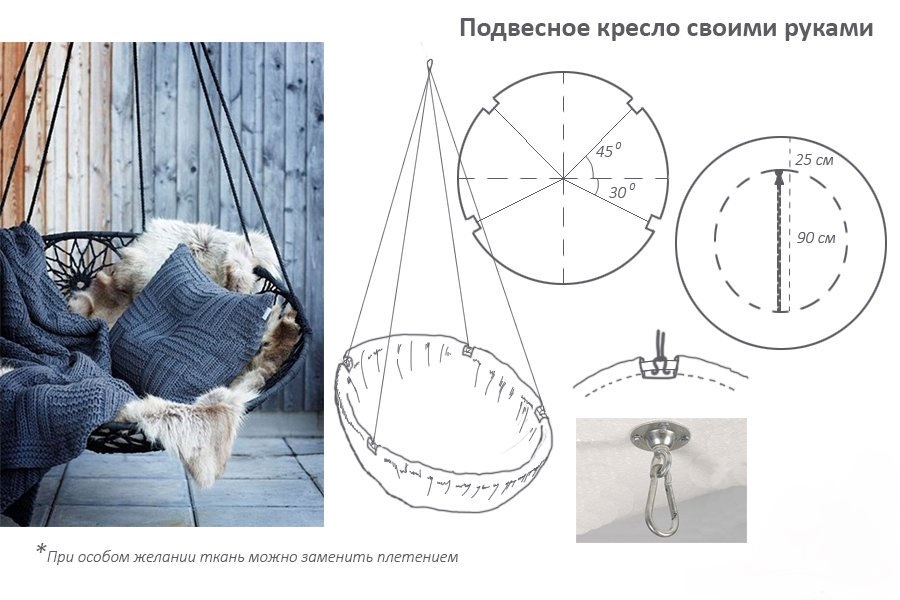
Advice. Before work, materials should be set aside in one direction, and tools in the other. In this case, it is important to lay out small tools on a light-colored cloth. This will allow you not to dig into the boxes, but immediately take the necessary item.
Making a hanging chair with your own hands
Instructions on how to make a do-it-yourself hanging chair at home are quite simple. The manufacturing process of hanging furniture consists of two main stages:
- Suspended part manufacturing.
- Fastening the suspension to the base or ceiling.

Step-by-step manufacturing instructions:
- First, the base of the frame is assembled. For a nest chair with a back, it is necessary to connect two hoops, fasten with a tape and wrap with decorative ropes at a distance of 45-50 cm. This will be the front of the seat. For an egg or cocoon, the hard back ribs must be attached to the hoop.
- If the frame assumes a rigid seat made of vines, twigs or ropes, then it is necessary to wrap the base with these materials and fix them.
- After that, the fabric is pulled onto the base.
- The hoop is wrapped with a rope, a hanging ring is fixed and decorative elements are attached: brushes, pillows.
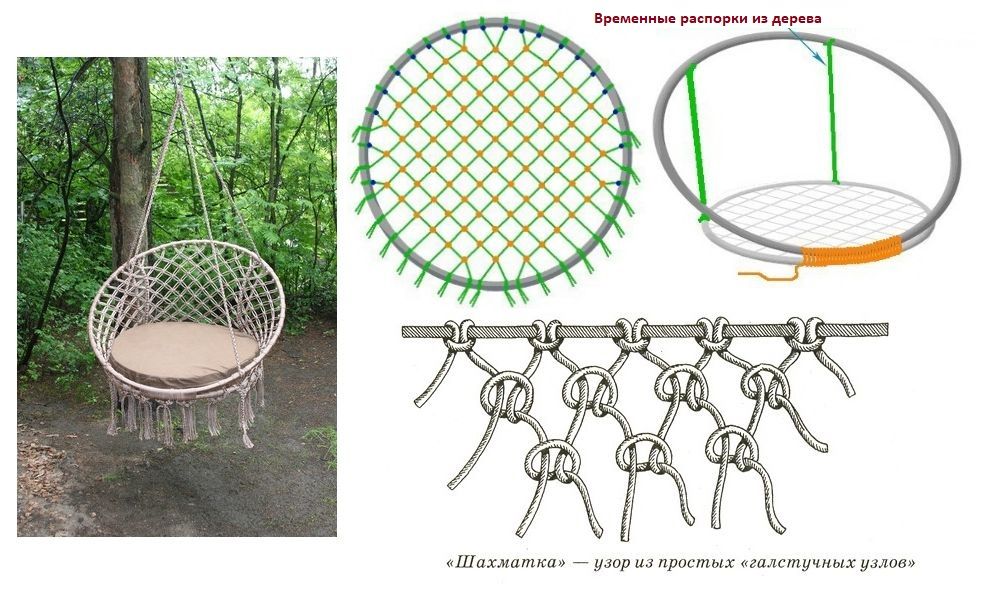
Advice. The chair will look beautiful if you wrap the hoop around the perimeter with decorative ropes, and attach several curtain brushes from below.
Connection of basic elements. A special hook is previously mounted in the ceiling, or you can use a ready-made rack. First, the rope is attached to a hook or pole. Then it is important to check the firmness of the fastening. To do this, you need to hang on the rope. If everything is in order, you can attach the structure to it.
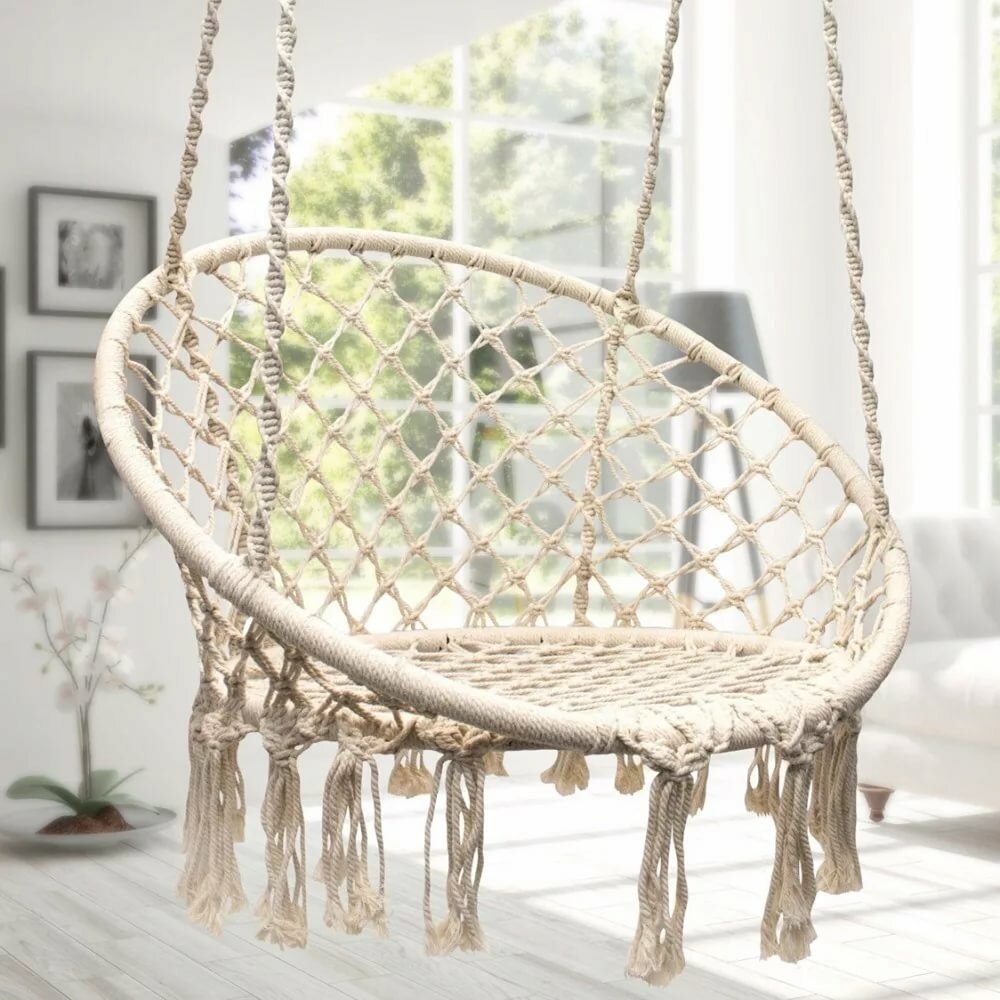
To do this, it must be installed on a stand. It can be several poufs or a chair laid on one side. After that, a rope is threaded into the ring and its length is adjusted. Then the rope is secured.
Master classes
More details on how to create different models are shown in the photo and in separate master classes.
Making a simple recumbent hammock
It is the easiest way to make it - you will need a dense fabric measuring 1 m by 2.5 meters, a rope and two round wooden or metal slats. It must be tucked around the edges. From the ends it is necessary to make holes for fastening the rope, while leaving an allowance for the slats. The fabric must be folded and sewn on the drawstring for the slats, the holes for the loops must be processed. After that, insert the slats into the drawstring and fasten the ropes.
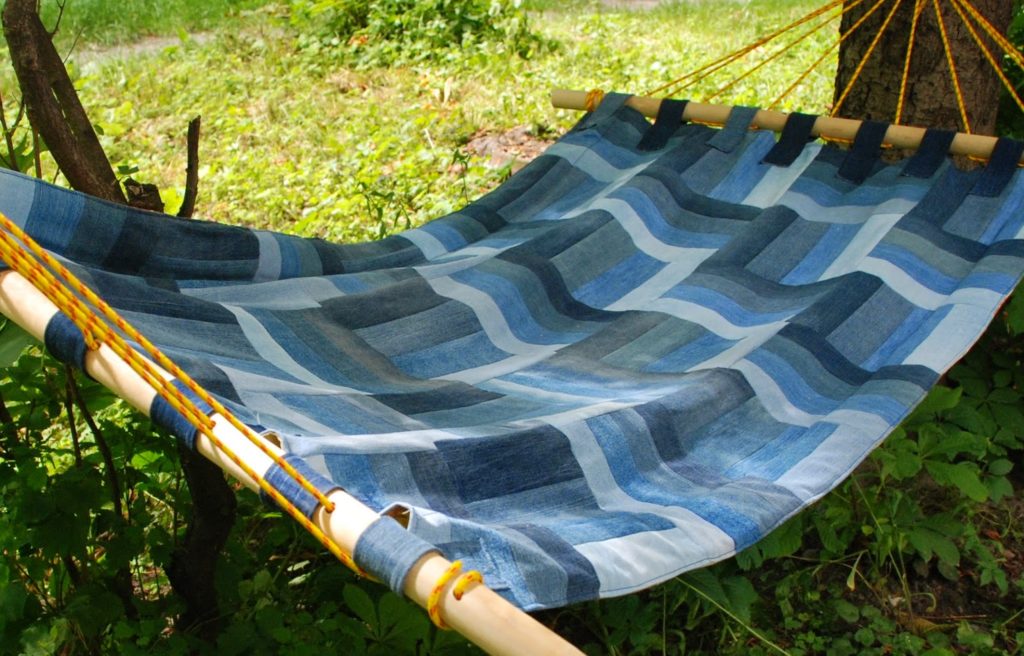
Advice. To make it more convenient to lie in a hammock along its long edges, you need to make a drawstring through which a tight rope is threaded.
Hammock chair: master class
To make such a suspension, you need to take a fabric measuring 1.5 X 1.5 meters. On both sides, make a drawstring and 8-12 loops for hanging along the entire width of the side. Thread a rope into the drawstring for rigidity. After that, pass the ropes into the holes, which are connected on each side with a suspension ring. Both rings can then be attached to the base.
Nest making workshop
You need to take two hoops and connect in one place, wrapping 50 cm.Then pull the fabric or ropes on one hoop.On the opposite side from the connection, connect the hoops with ropes from 40 cm to 10 cm long. The shortest ropes should converge to the place of the continuous connection of the hoops. Attach 4 ropes to the lower hoop, fasten the second hoop to the rear ropes in the form of a back. Connect the ropes with a hanging ring and fasten to the hanging ring. The nest is ready.
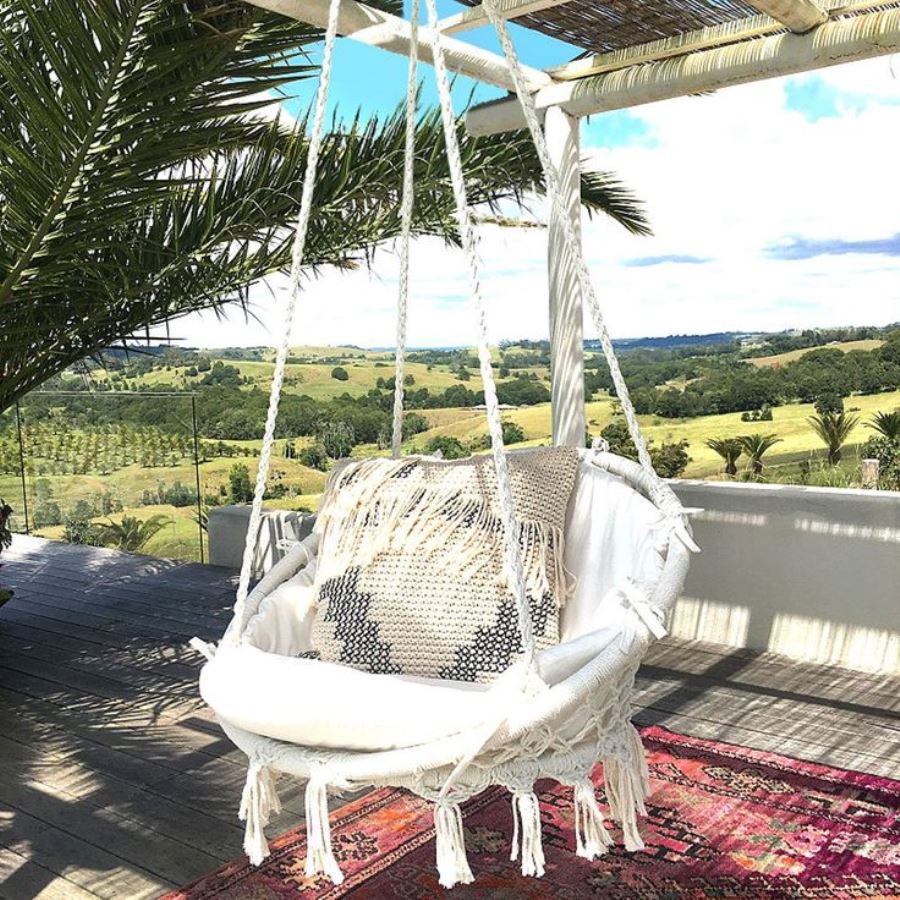
Such simple chairs can be made at home within 1-2 hours. And you can enjoy them for several years.
Video: weaving a hanging chair with your own hands


