How to make a do-it-yourself humpback skate chair
Correct posture is one of the important components of children's health, along with nutrition, development of thinking, and sports. It contributes to the balanced formation of the skeleton and the entire body of the child as a whole.
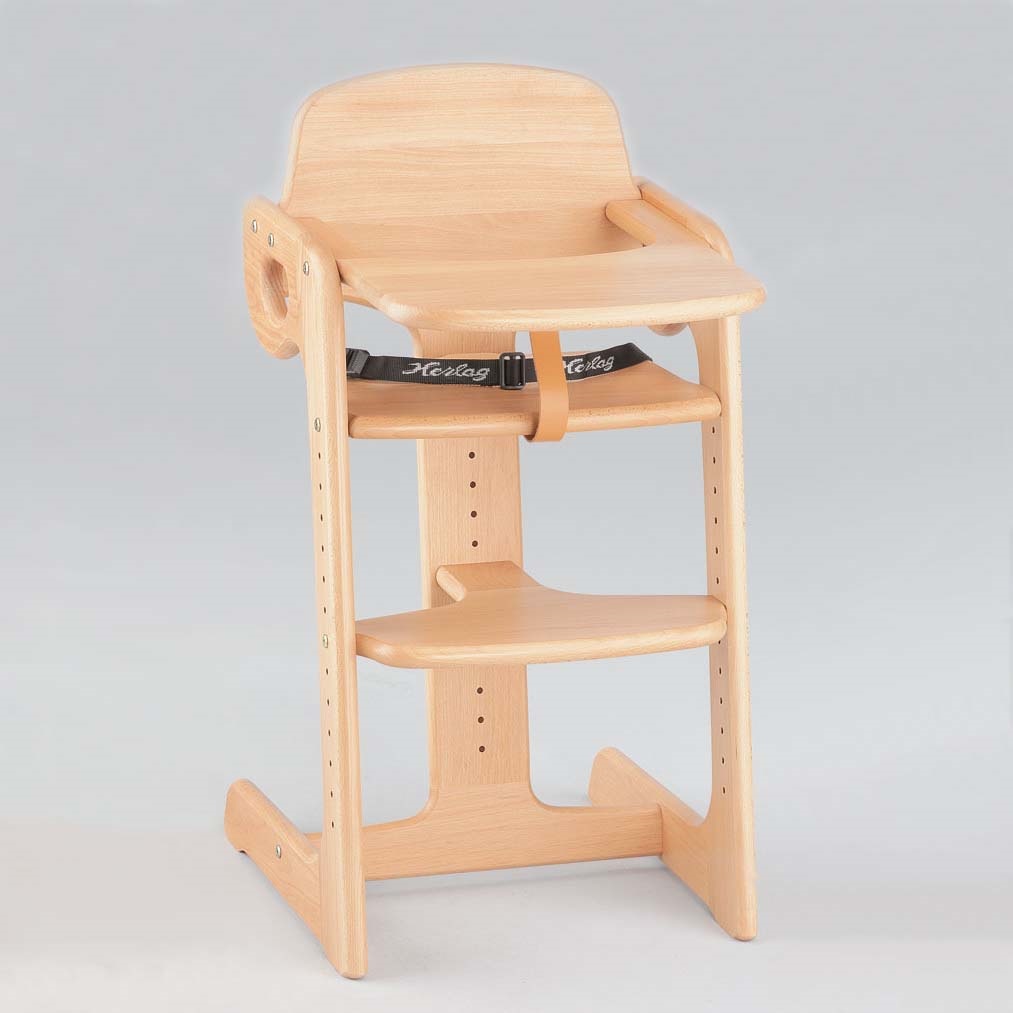
Posture deteriorates due to incorrect body position. So, on an uncomfortable, inappropriate chair, the baby turns, slouches, twists the body. As a result, the spine is gradually bent, the child's internal organs and vision suffer, the mental state deteriorates, and chronic diseases appear.
A special chair that literally grows with its little owner will help to avoid all this.
What is the Humpbacked Horse Chair
The product, named after the fairytale character of the Little Humpbacked Horse, was developed by a Russian company.
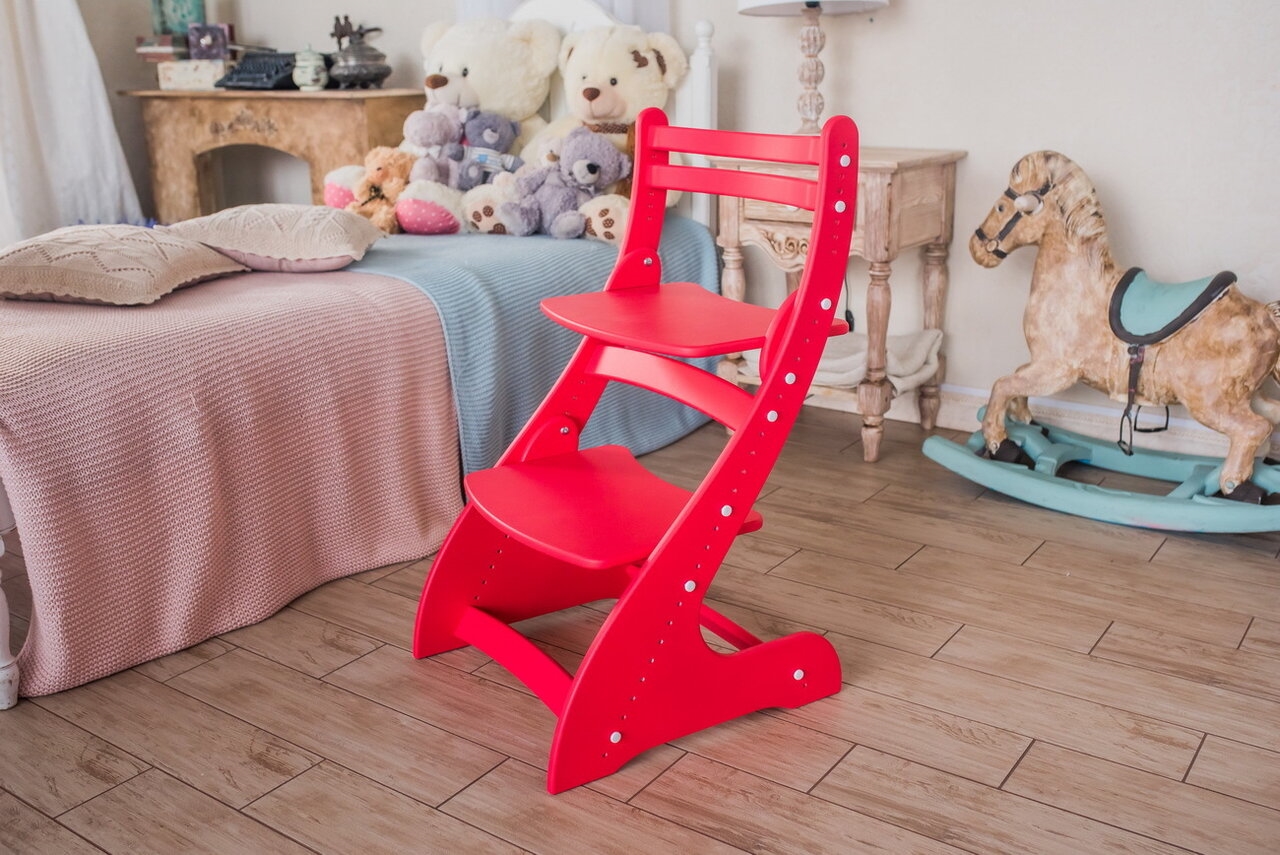
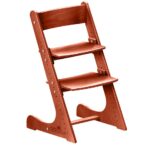
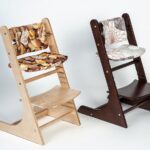
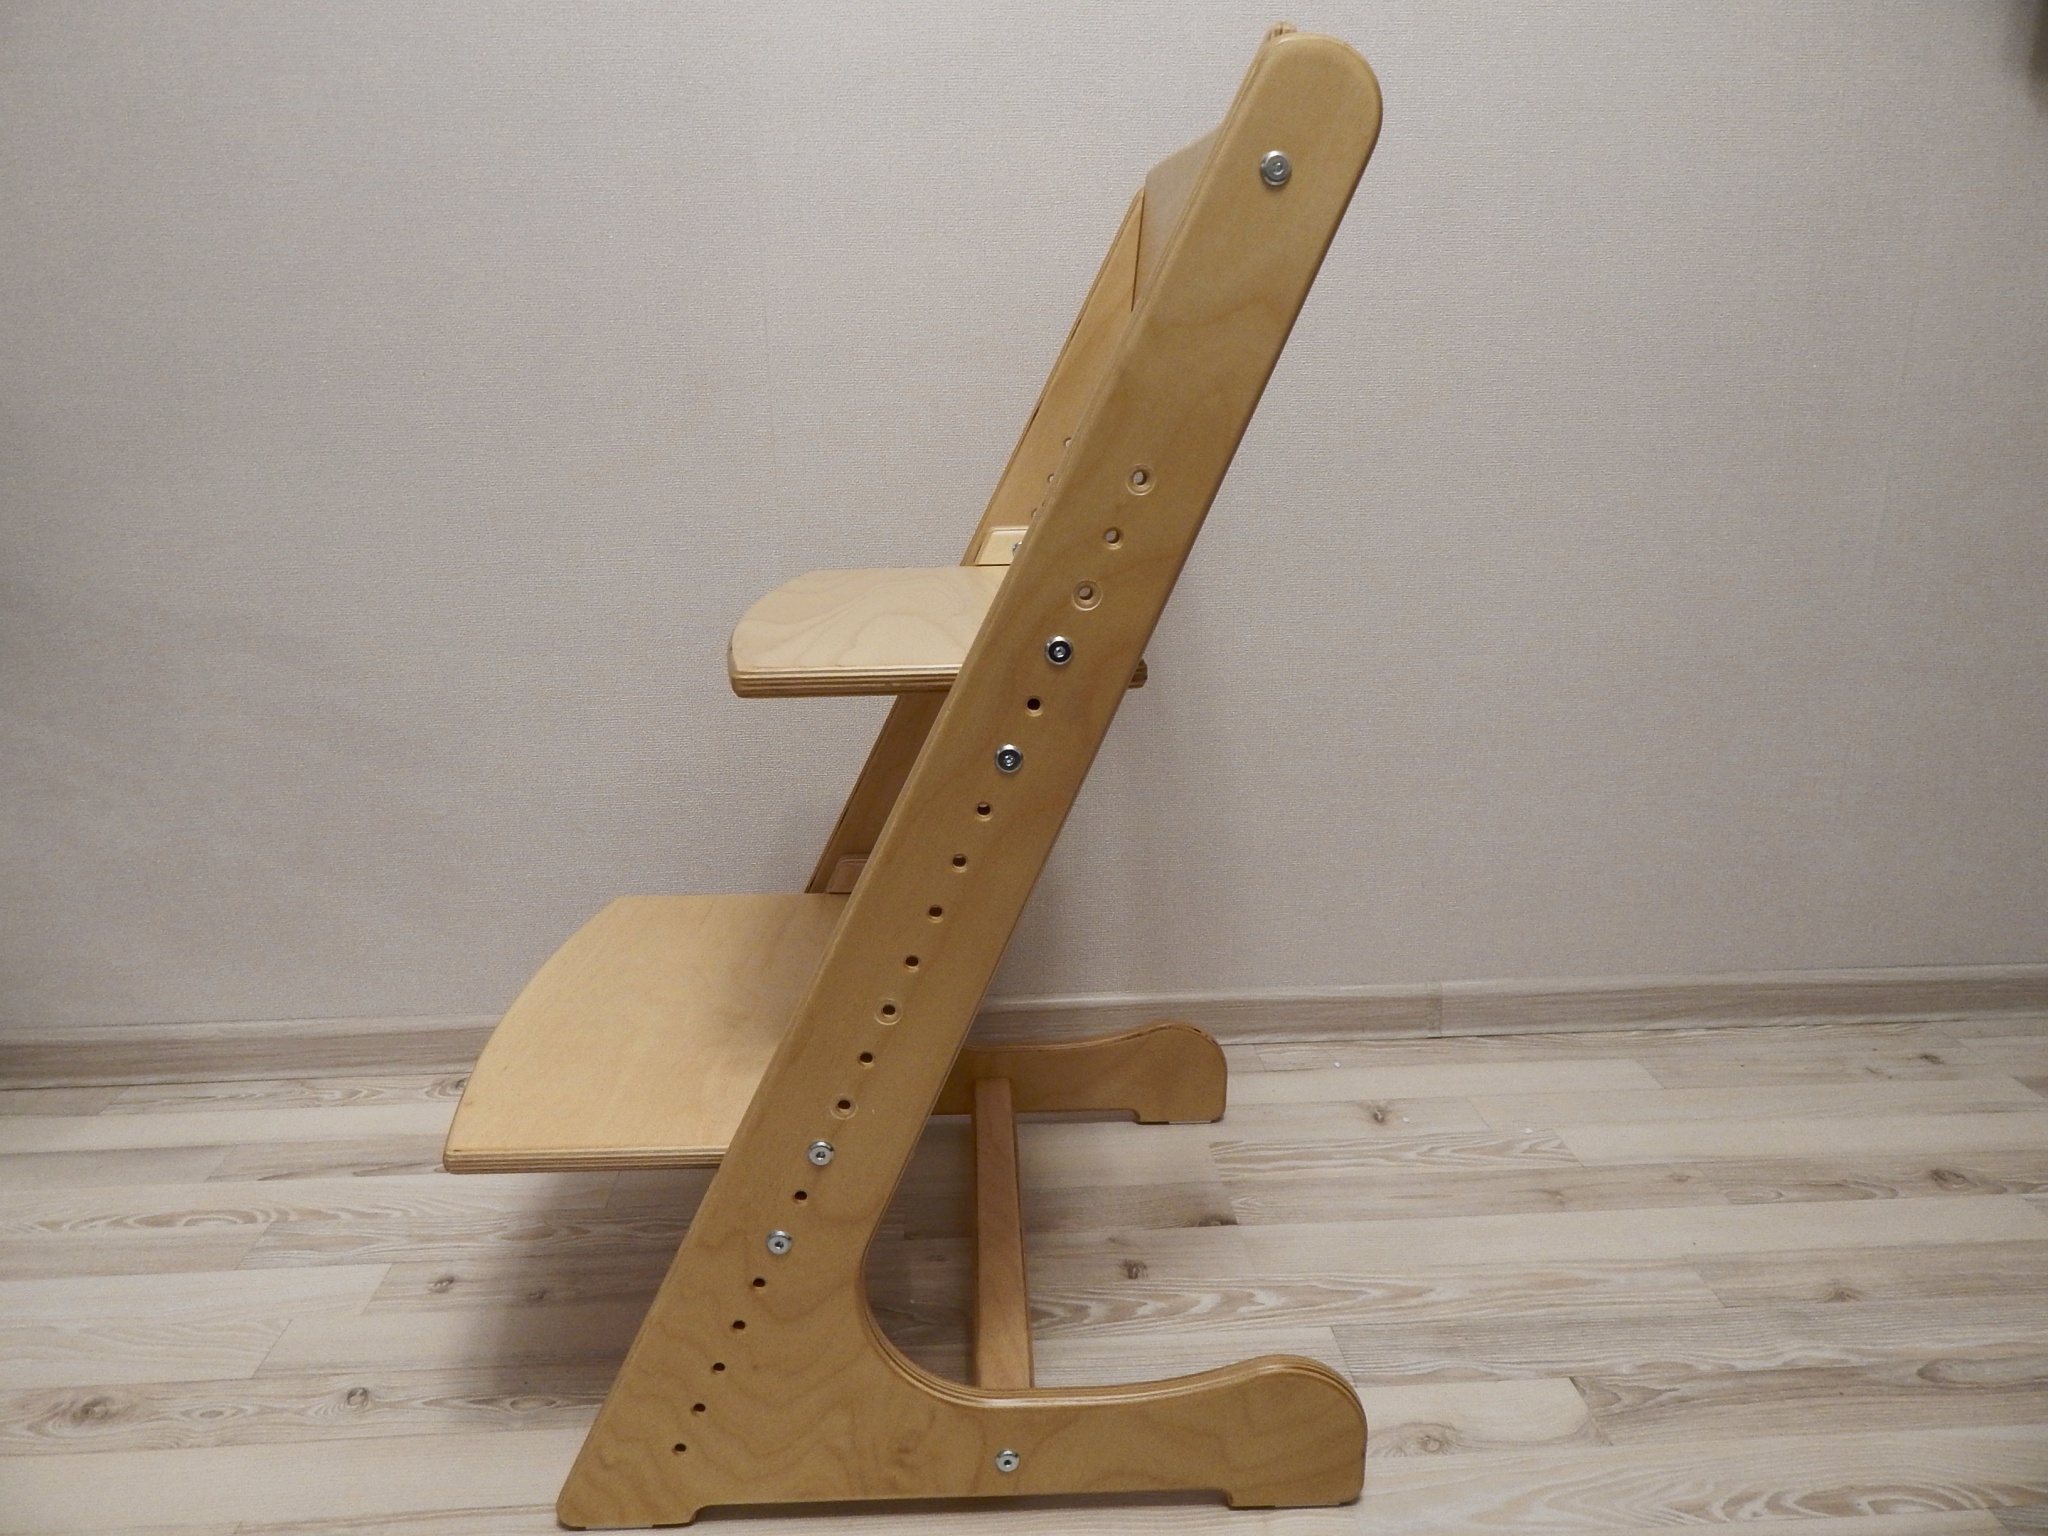
The Little Humpbacked Horse is an original design wooden chair. Its design is very well thought out and aesthetically pleasing: it consists of a seat, a backrest and a footrest located between two slats (legs).
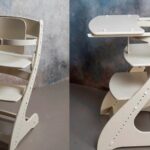
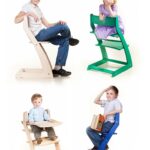
The holes in the racks allow you to adjust the level of the seat and footrests for the height of the child, which is why this product is called growing. The spine will always be in the right condition, without the risk of ruining your posture.
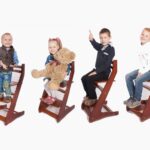
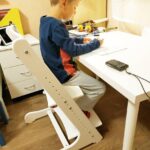
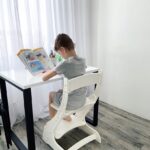
The Little Humpbacked Horse Chair will be useful for both kid and schoolchildren, it can be used for classes, feeding, as a computer chair, etc. In addition, the strength of the product is designed for a weight of up to one hundred kilograms, that is, even an adult can use it ...
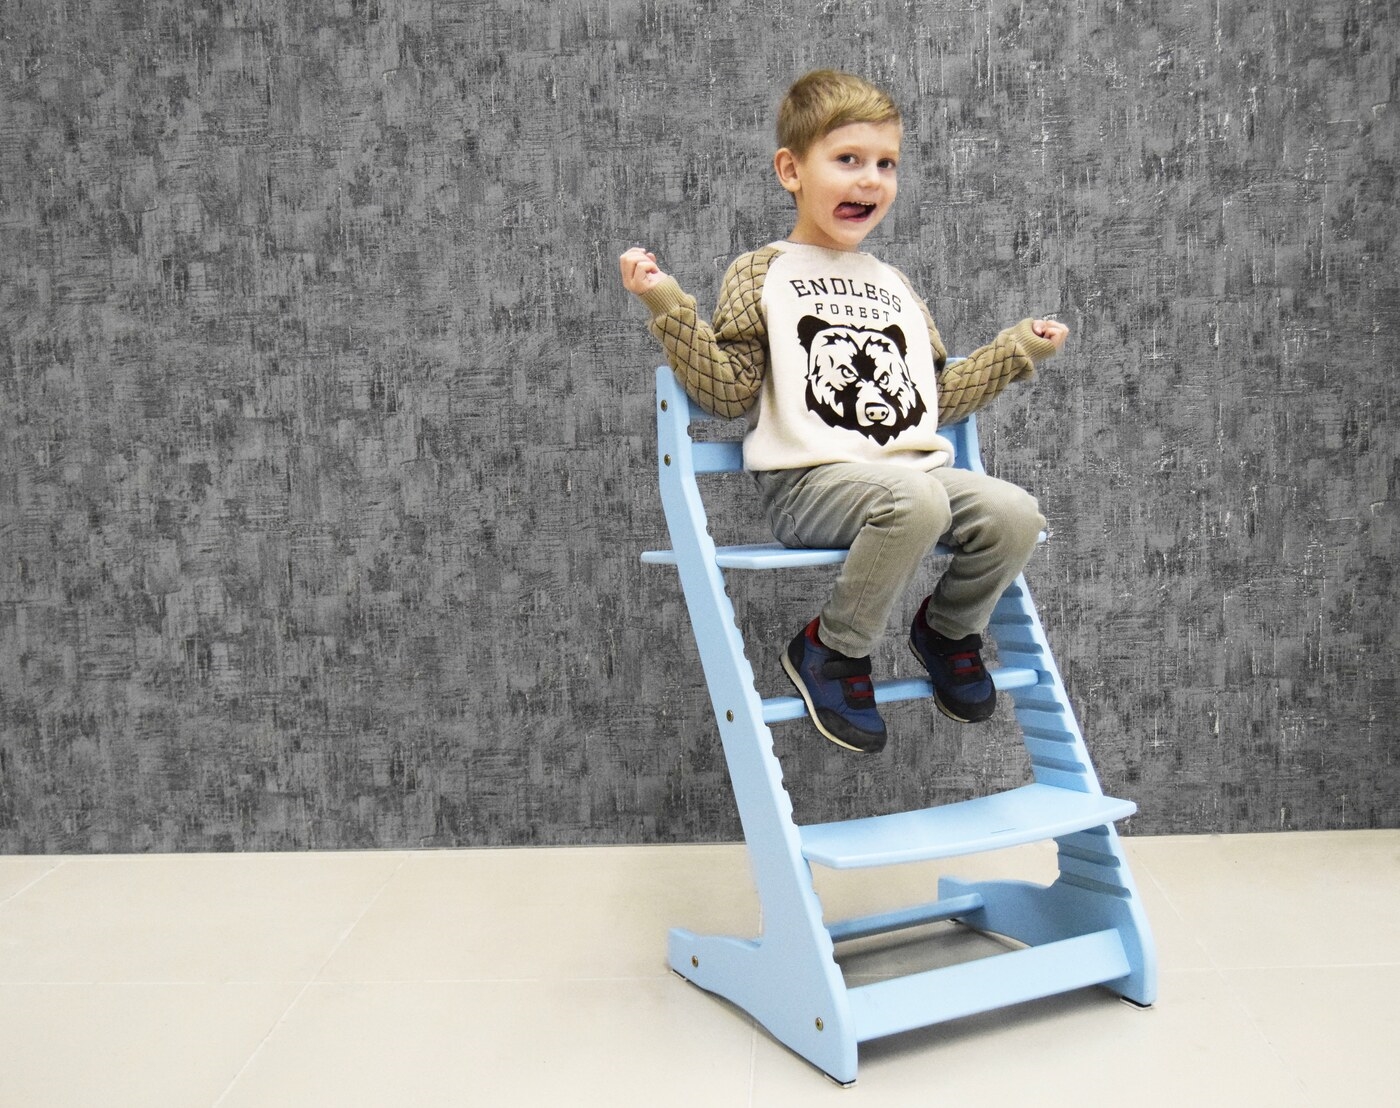
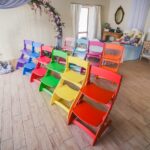
The Little Humpbacked Horse trade mark produces orthopedic chairs for children of different colors, using high-quality, environmentally friendly, child-safe materials. The company's products are reliable and durable. Wooden products are coated with non-toxic varnish and paint, good fittings are used.
To assemble the Little Humpbacked Horse, you need to spend only about half an hour, having studied the detailed instructions accompanying each product. There are also recommendations for adjustment. Transformation - the rearrangement of the seat and footrests to the required height, is done in just a few minutes using a screwdriver and hands.

Such a chair is intended for children from three years old, but it will also be useful for tall babies and younger ones. In addition, the manufacturing company produces special accessories that allow the product to be used from 6 months of age.
Design advantages and disadvantages
The growing orthopedic chair has many excellent qualities that customers are celebrating:
- The Little Humpbacked Horse is made of high quality and durable materials;
- safe for the child due to its stability and rounded corners;
- orthopedic wide one-piece back with anatomical curvature well supports the back and corrects posture;
- there is a comfortable footrest;
- imported fittings prevent the chair from loosening, and the design does not allow it to deform. The product does not start to stagger and creak even after long and active use;
- retains its original appearance for a long time, as it is covered with wear-resistant paint and varnish products;
- the possibility of numerous adjustments limited by the size of the chair;
- received approval from podiatrists.
The only negative reviews about the Humpbacked Horse chair are: very expensive. Although, when compared with foreign counterparts, such a product from a domestic manufacturer will still cost less.
You can also save money in this way: buy an unpainted version and arrange it yourself, or make a chair "The Little Humpbacked Horse" with your own hands. This shouldn't be too difficult for an experienced DIYer.
How to do it yourself
It is possible to build a growing chair if you have an idea of its design, stock up on the necessary tools, consumables, perseverance and patience.
Selection of the scheme and drawing
First of all, you need a detailed diagram of the chair. The finished original project "The Little Humpbacked Horse" can be searched on the Internet or taken as a basis the norms specified in GOST 19301.2-94.
Important! The parameters indicated in the drawing, the angles, including, must be strictly observed. Only then will the finished product be truly orthopedic.
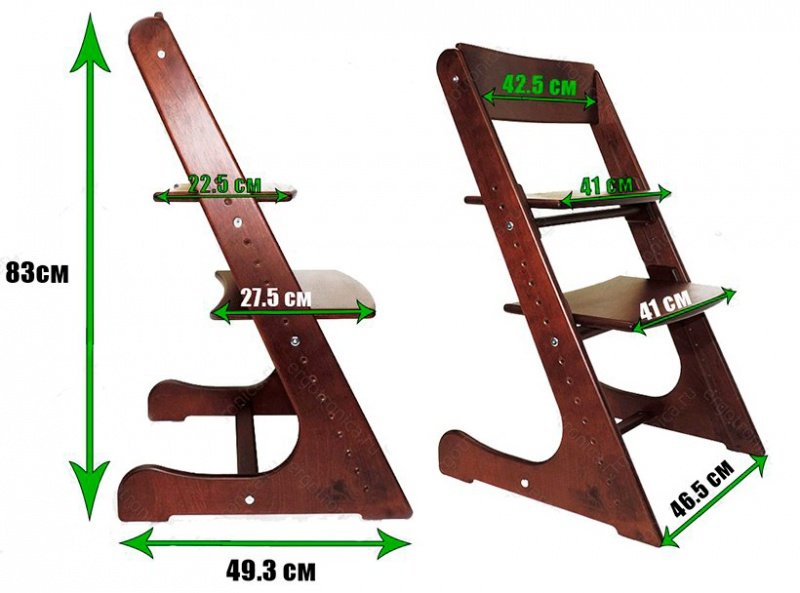
Based on the drawing, the elements of the product in full size are transferred to the cardboard, that is, the templates are prepared.
Remember! Identical side elements (pillars) must be left and mirrored right.
Materials and tools
Plywood is the best option for making the Humpbacked Horse transforming chair. Treated wood is also suitable, but it is harder to work with and its cost is higher.
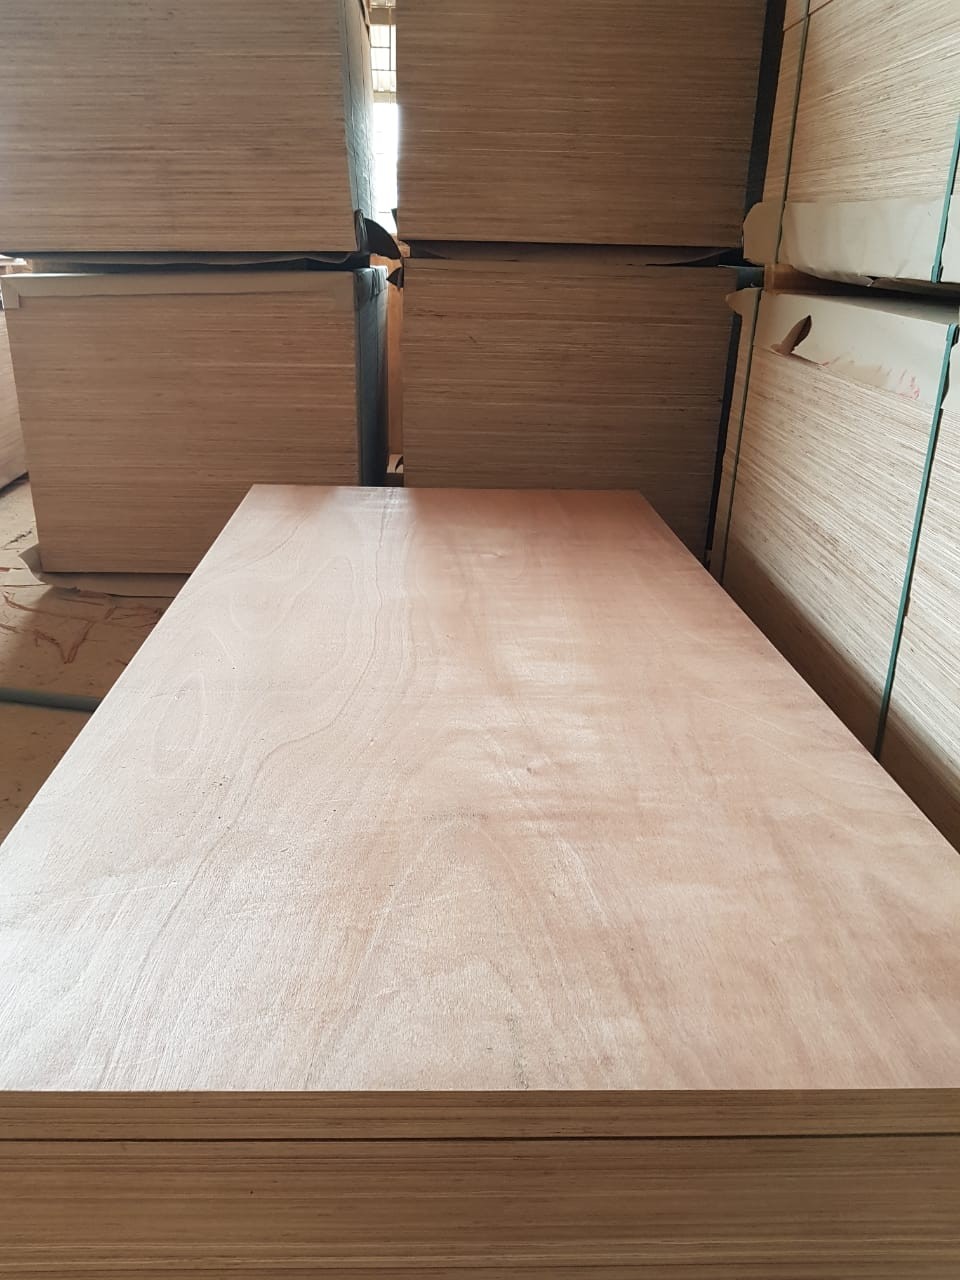
So, we stock up on plywood. It is needed in different thicknesses (in mm):
- from 22 - for sidewalls. It should be borne in mind that such parts are required in double quantities, since they will have to be glued together for strength;
- 20-22 - for making a seat;
- 16 - useful for stand and back.
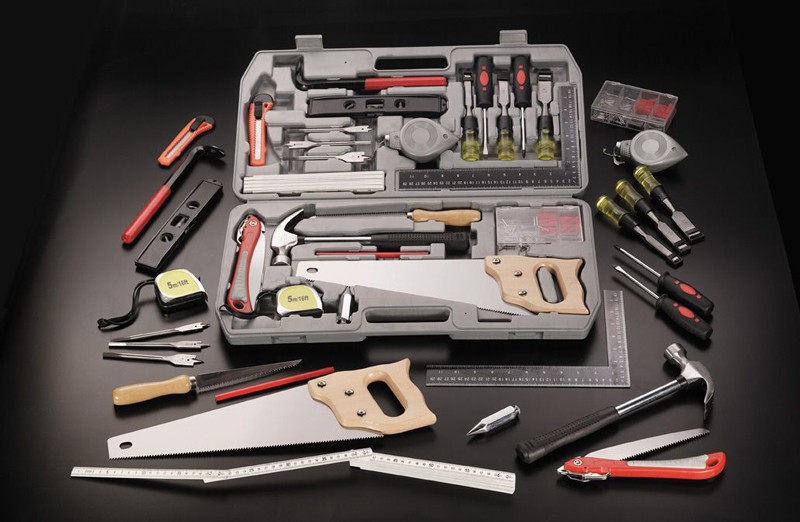
Parts must be secured with metal nuts and bolts. All fittings must be of high quality. Varnish and suitable paint are needed to decorate the product.
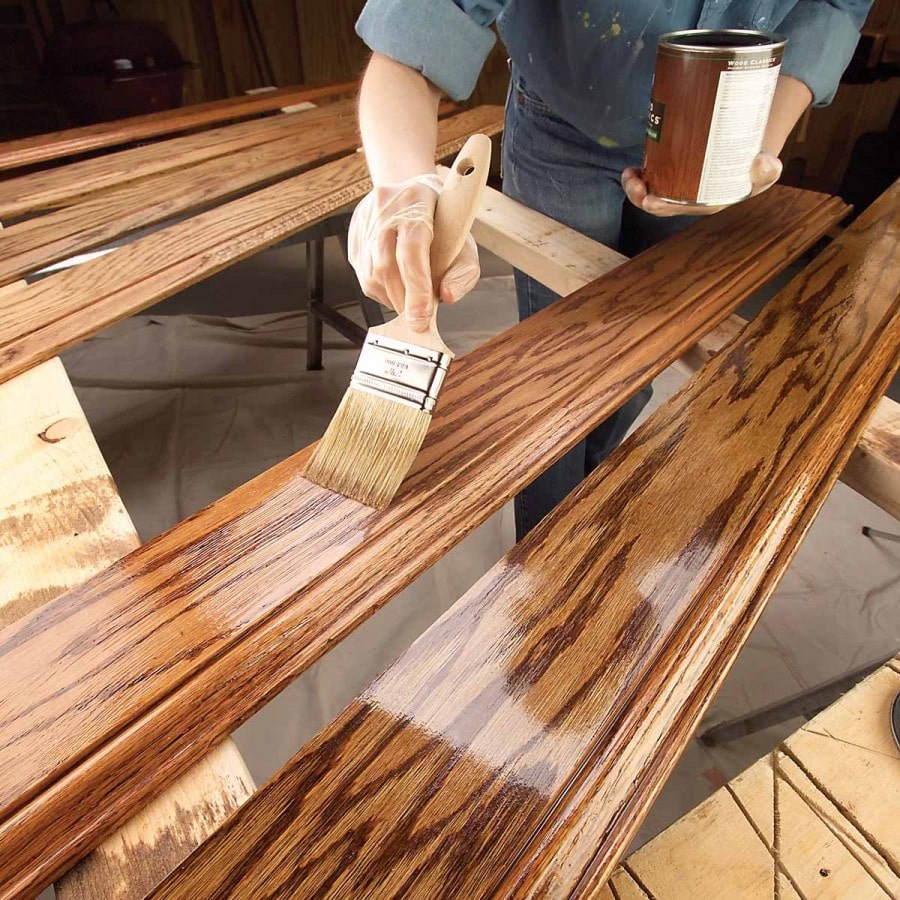
If you plan to make the seats soft, you will have to stock up on foam rubber and a suitable fabric. For example, oilcloth is the best choice for upholstery on a heavily soiled feeding chair.
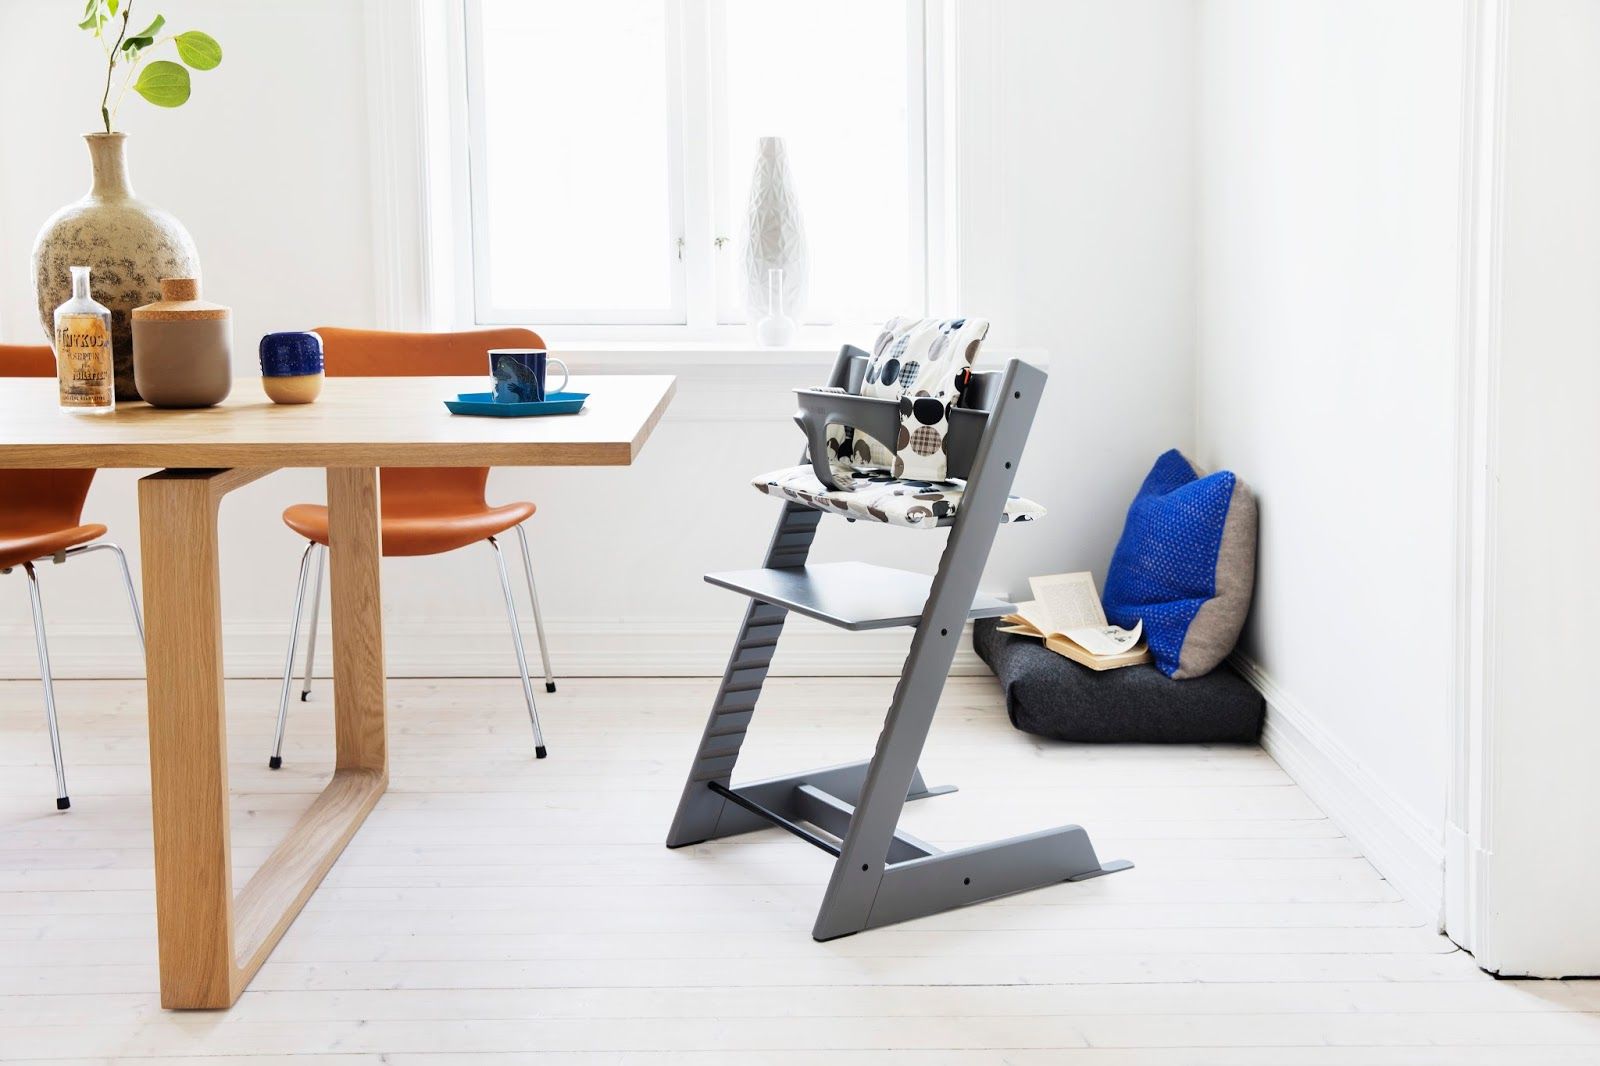
Tools and related items:
- pencil;
- ruler, tape measure;
- jigsaw for cutting;
- copy milling cutter;
- sandpaper;
- special glue for wood;
- 2 tassels.
Step-by-step assembly instructions
Now let's figure out in more detail how to properly make a growing chair with our own hands.
The manufacturing process will take several days or up to a week, depending on the experience of the master,
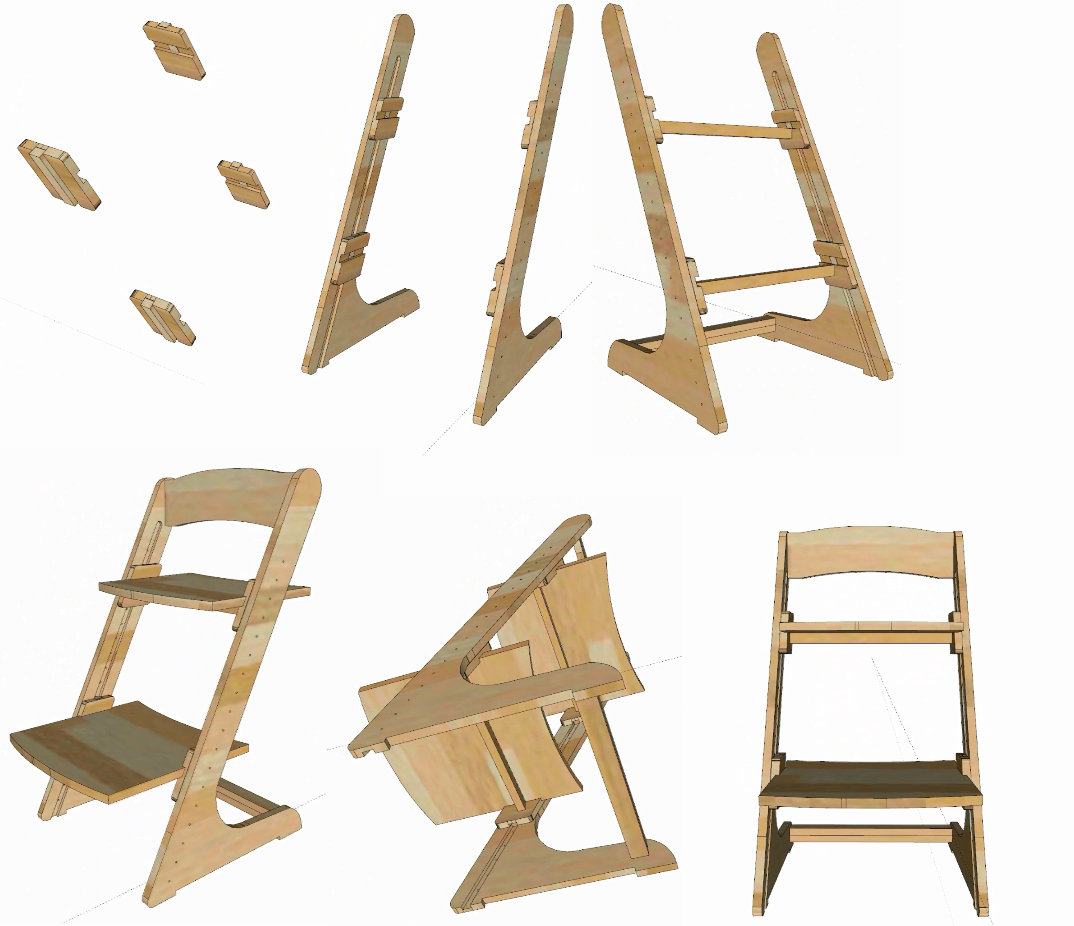
Paper patterns of the legs (racks or sidewalls) are placed on plywood, outlined and the parts are cut out with a jigsaw. Experts advise making a small gap in order to maintain the required dimensions when cutting.
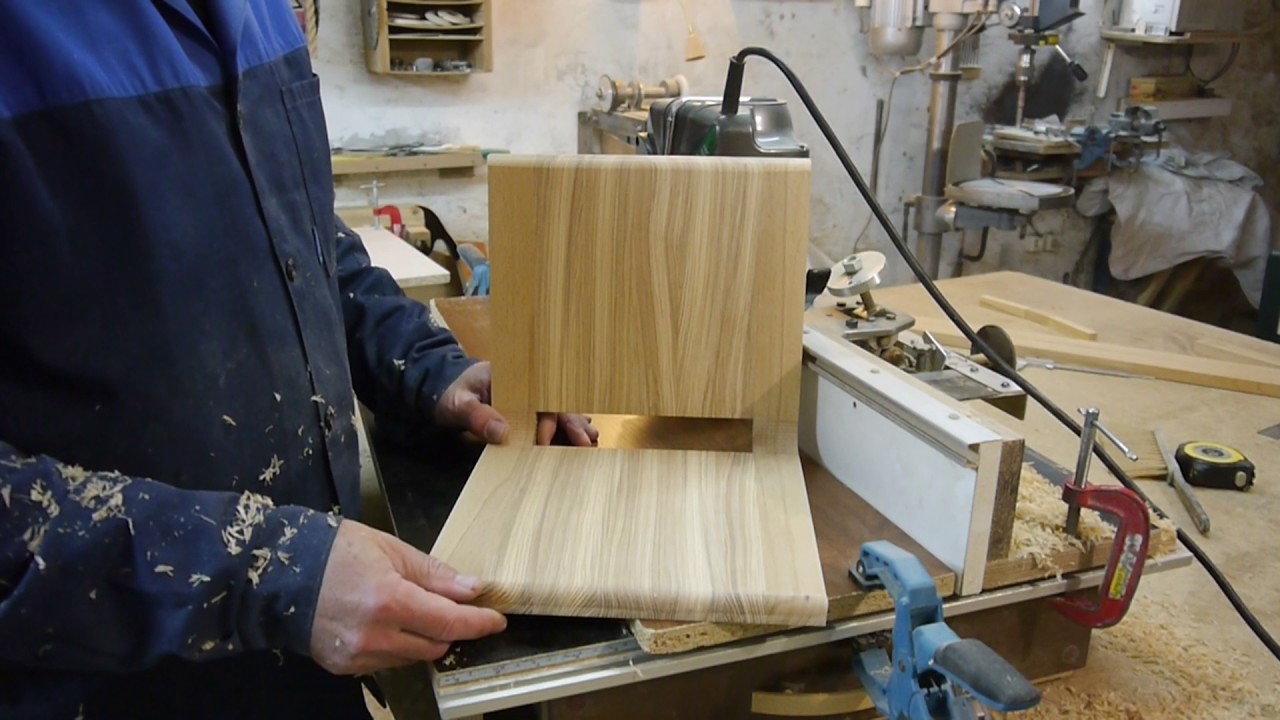
The elements are finalized with a copy cutter, folding them in a stack.
Recommendations. At first, it is better to carry out this operation with one rack, and if everything worked out well, proceed to the next.In this case, the other three are milled with an orientation to the first.
Two elements of both legs are glued together and left to dry. On the inner surface of the racks, after they have completely dried, grooves are made using a router.
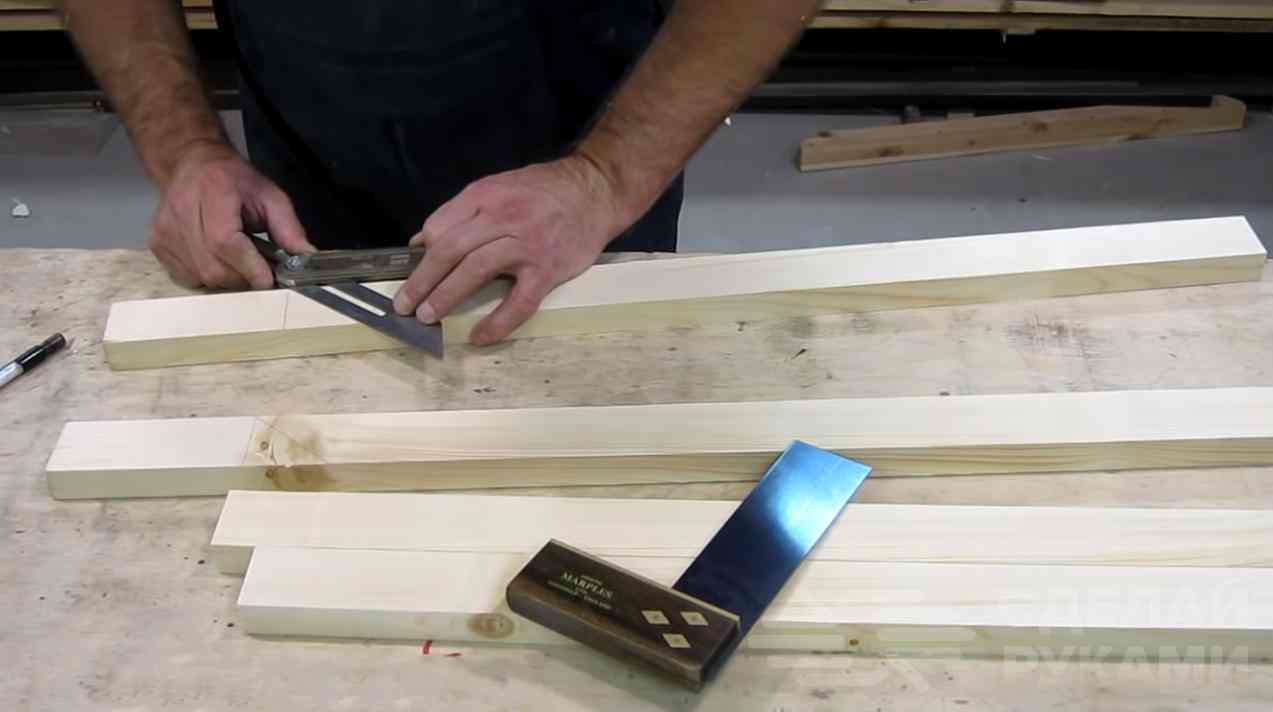
At the same distance in the center of the grooves obtained, holes are made for installing a foot stand and a seat.
Cut out 4 runners, two for each side - they will allow you to securely fix the bases. In them, the edges and corners are rounded - for safety. On the runners, a groove is made in the middle for gluing a strip of the corresponding width.
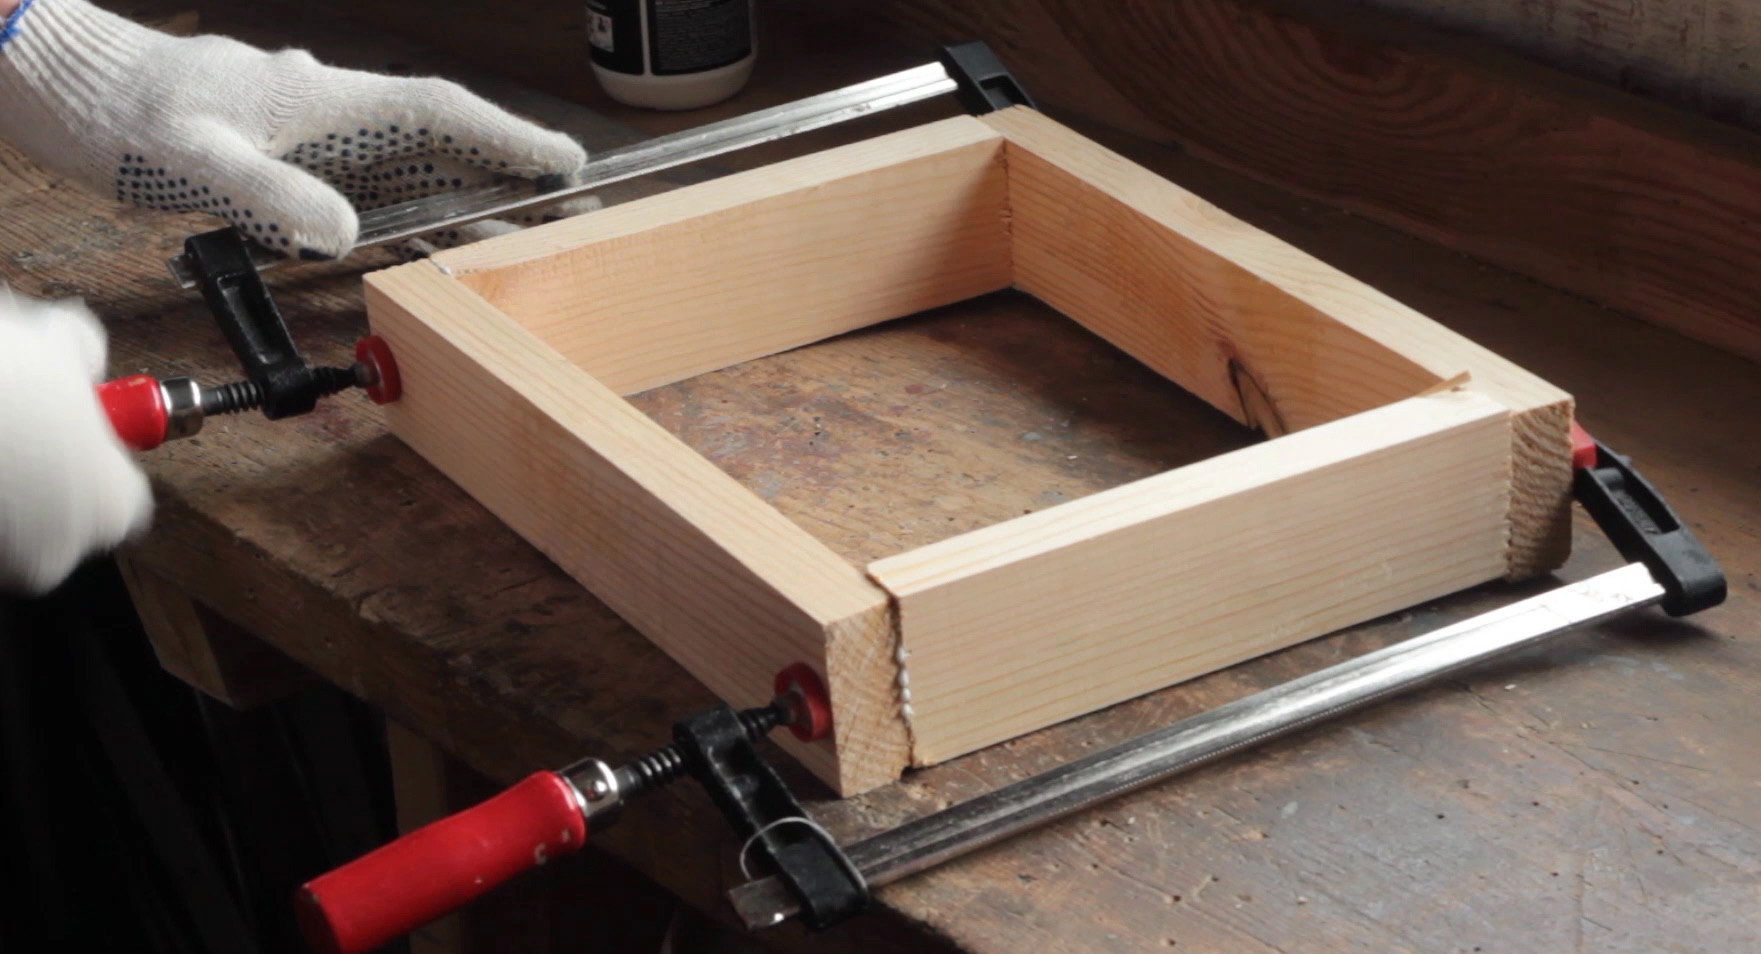
Next, the seat and stand are cut out with a jigsaw. A crossbar is made - a structural element that connects the sidewalls and gives the chair strength and stability.
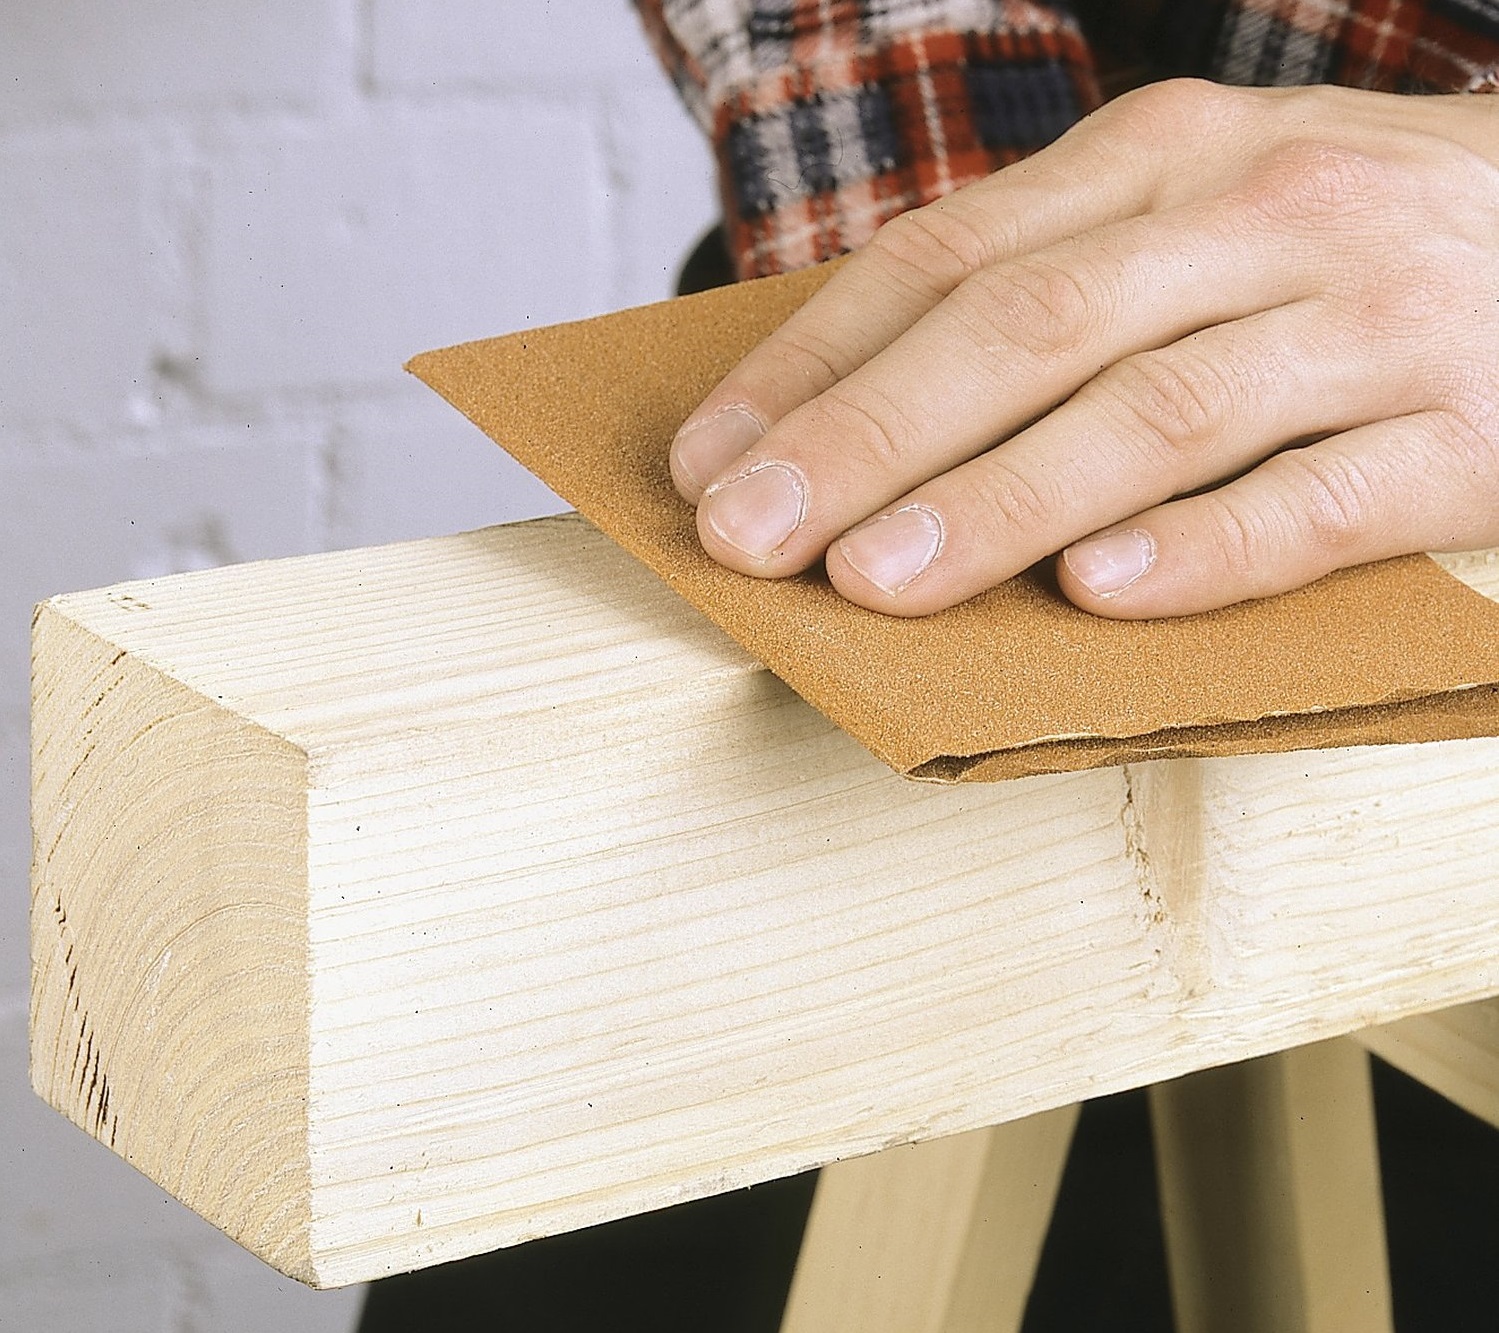
All details along the edges must be sandpapered so that there are no roughness.
You can now assemble the Little Humpbacked Horse Chair using the hardware to make sure everything is done correctly.
The final stage and decoration
If there are no complaints about the design, it is disassembled, the parts are varnished and painted. When everything is dry, the growing chair is already completely assembled.
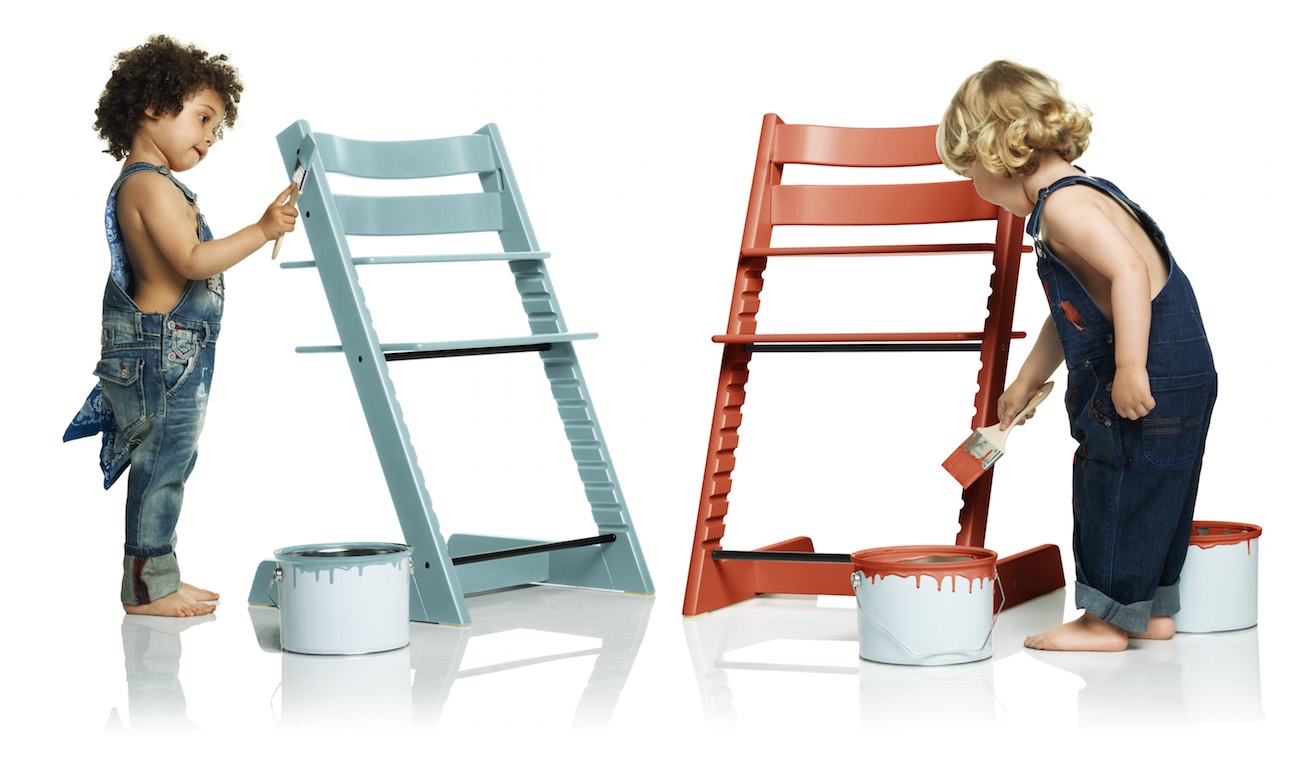
As for the decor, you can only use varnish, multi-colored paints, draw or stick any pictures on the product, apply the decoupage technique.
What should be a growing chair
When deciding to purchase or make yourself a Humpbacked Horse-type chair, it should be borne in mind that such a product must meet the following requirements:
- in the manufacture, only materials that are safe for the baby are used;
- have an orthopedic effect;
- be stable, durable and lightweight;
- simply adjust to the age and physiological data of the child;
- the aesthetic component is also important.
From all that has been said, it is quite clear that the Humpbacked Horse chair is the best option.
Video: DIY growing chair
