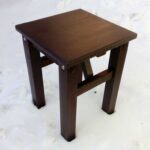
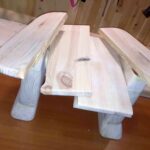
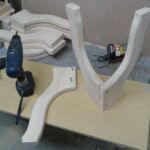
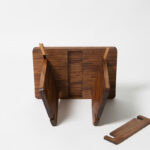
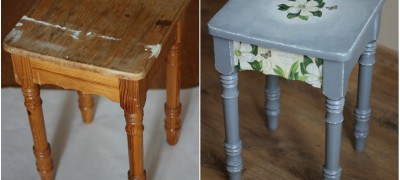
How to make a stool with your own hands - step by step instructions
A stool is a familiar, compact and comfortable piece of furniture, often used in kitchens and country houses. In the store you can find many of these products in various colors, sizes and shapes, however, if you want to create a unique design, you can make a stool yourself.
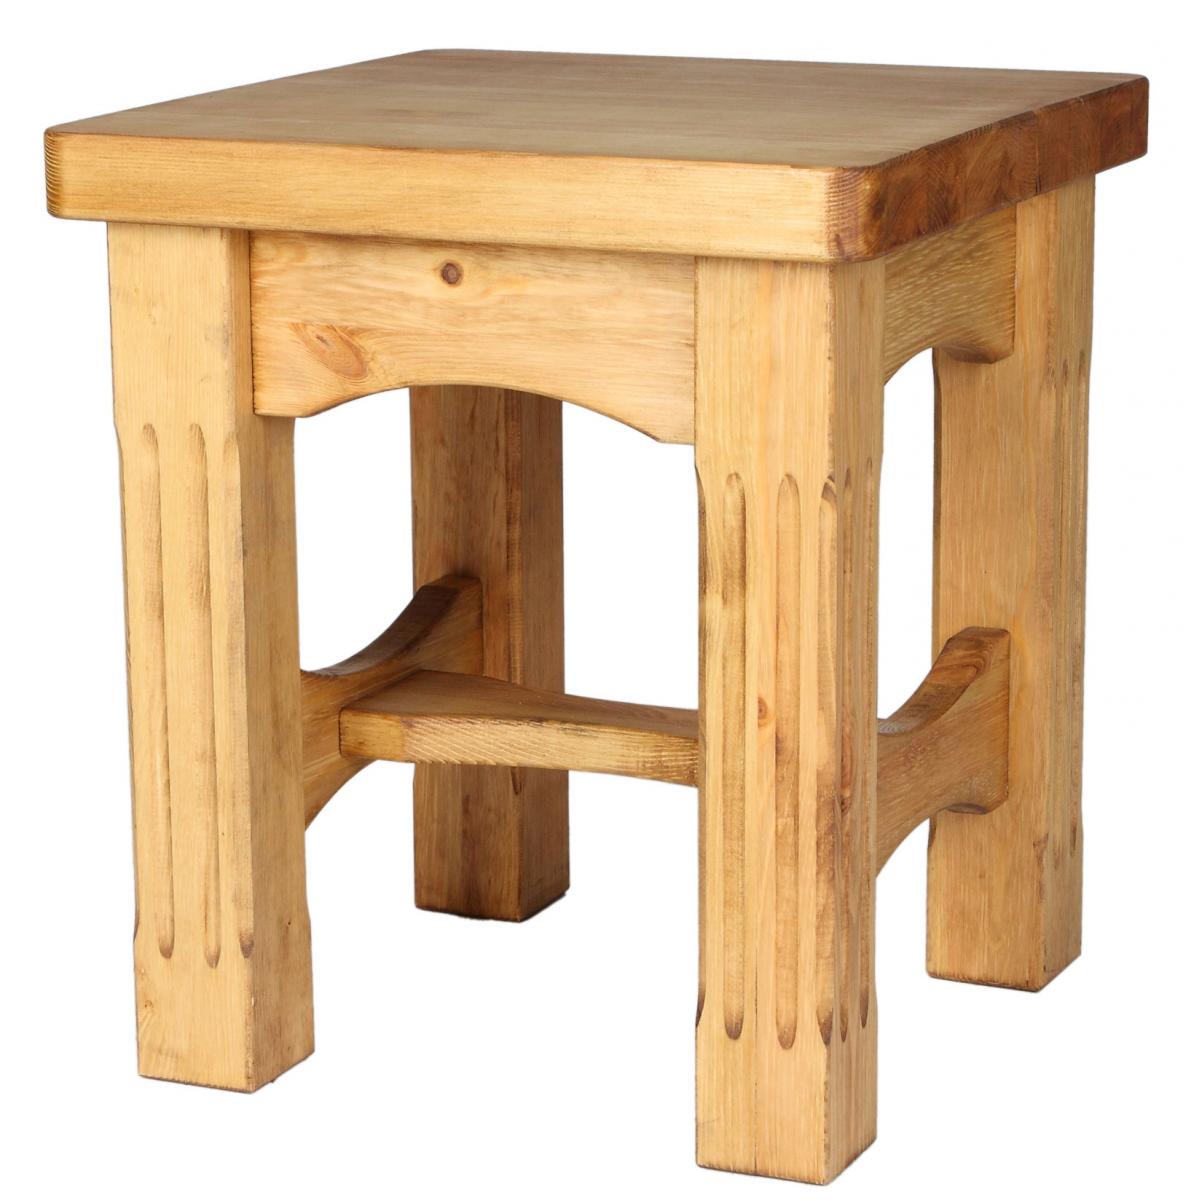
How to choose the right material
Before making a stool, you need to decide on the right material. The options can be as follows:
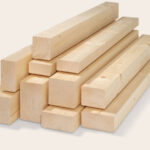
- Wood mass and beams. This is the best option for home construction, with good aesthetic performance and durability. The disadvantage is the complexity of processing, since the product needs not only to be sanded, but also to be coated with paint or varnish. It is recommended to use material up to 5 cm thick.
- Chipboard. The most popular material for the manufacture of children's stools, for which moisture-resistant chipboard with a sheet thickness of 10 mm is most often chosen. For work, three blanks are required, measuring 300 × 300 mm (seat), 400 × 300 mm (legs) and 200 × 120 (jumper).
- Plywood. This material is easy to process, it does not need to be sanded and simply painted. When choosing, it is worth giving preference to sheets of the FSF-TV, FSF and FC brands with a thickness of 10 to 18 mm. Plywood must be at least Class II. For construction, a sheet with dimensions of 1250 × 1250 mm will be enough. For a child's chair, it is better to use moisture-resistant plywood.
Note! It is not necessary to use only one type of material. Structures consisting of plywood, timber and chipboard are quite comfortable.
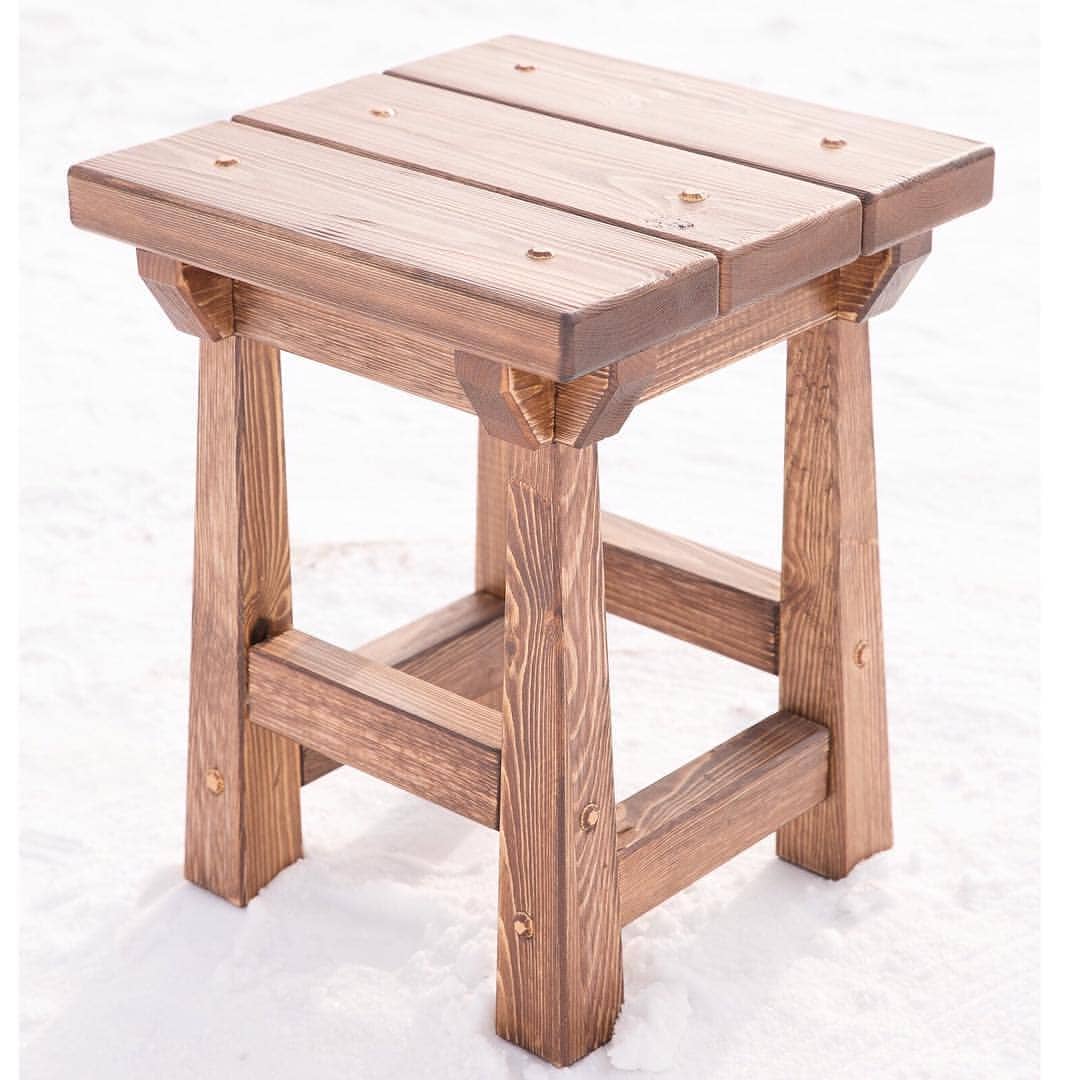
Preparing the necessary tools
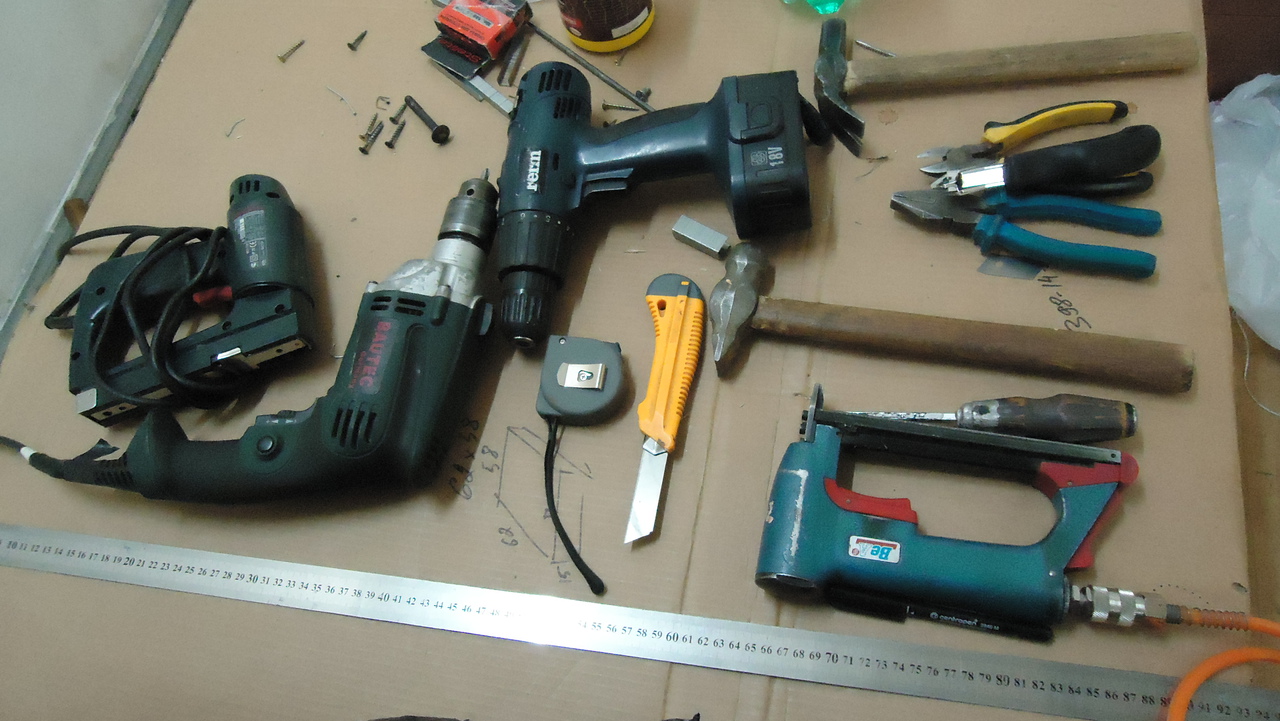
To make a wooden product, you will need the following carpentry tools:
- a manual router, supplemented with a set of cutters that allow you to process the edges of timber, boards and plywood, drill holes of the required size, or carefully select grooves and grooves on the parts;
- a sander equipped with replaceable wheels with different grain sizes, which allows you to quickly give the surface of the wood smoothness;
- an electric jigsaw that can be replaced with a hand hacksaw, albeit with a decrease in efficiency;
- a screwdriver used for screwing in fasteners and drilling holes in parts, for which a set of drills and screwdriver bits of different diameters is useful;
- clamps of different sizes, designed for strong compression of parts during gluing;
- hammer;
- chisels of various sizes;
- planer, manual or electric;
- marking and measuring equipment - construction square, tape measure, pencil, thickness gauge and so on;
- durable workbench.
Methods for making stools at home
Classic wooden stool
A drawing of a simple stool includes the following elements:
- legs;
- princess;
- seat;
- tsars;
- connecting grooves;
- supports for fixing the seat.
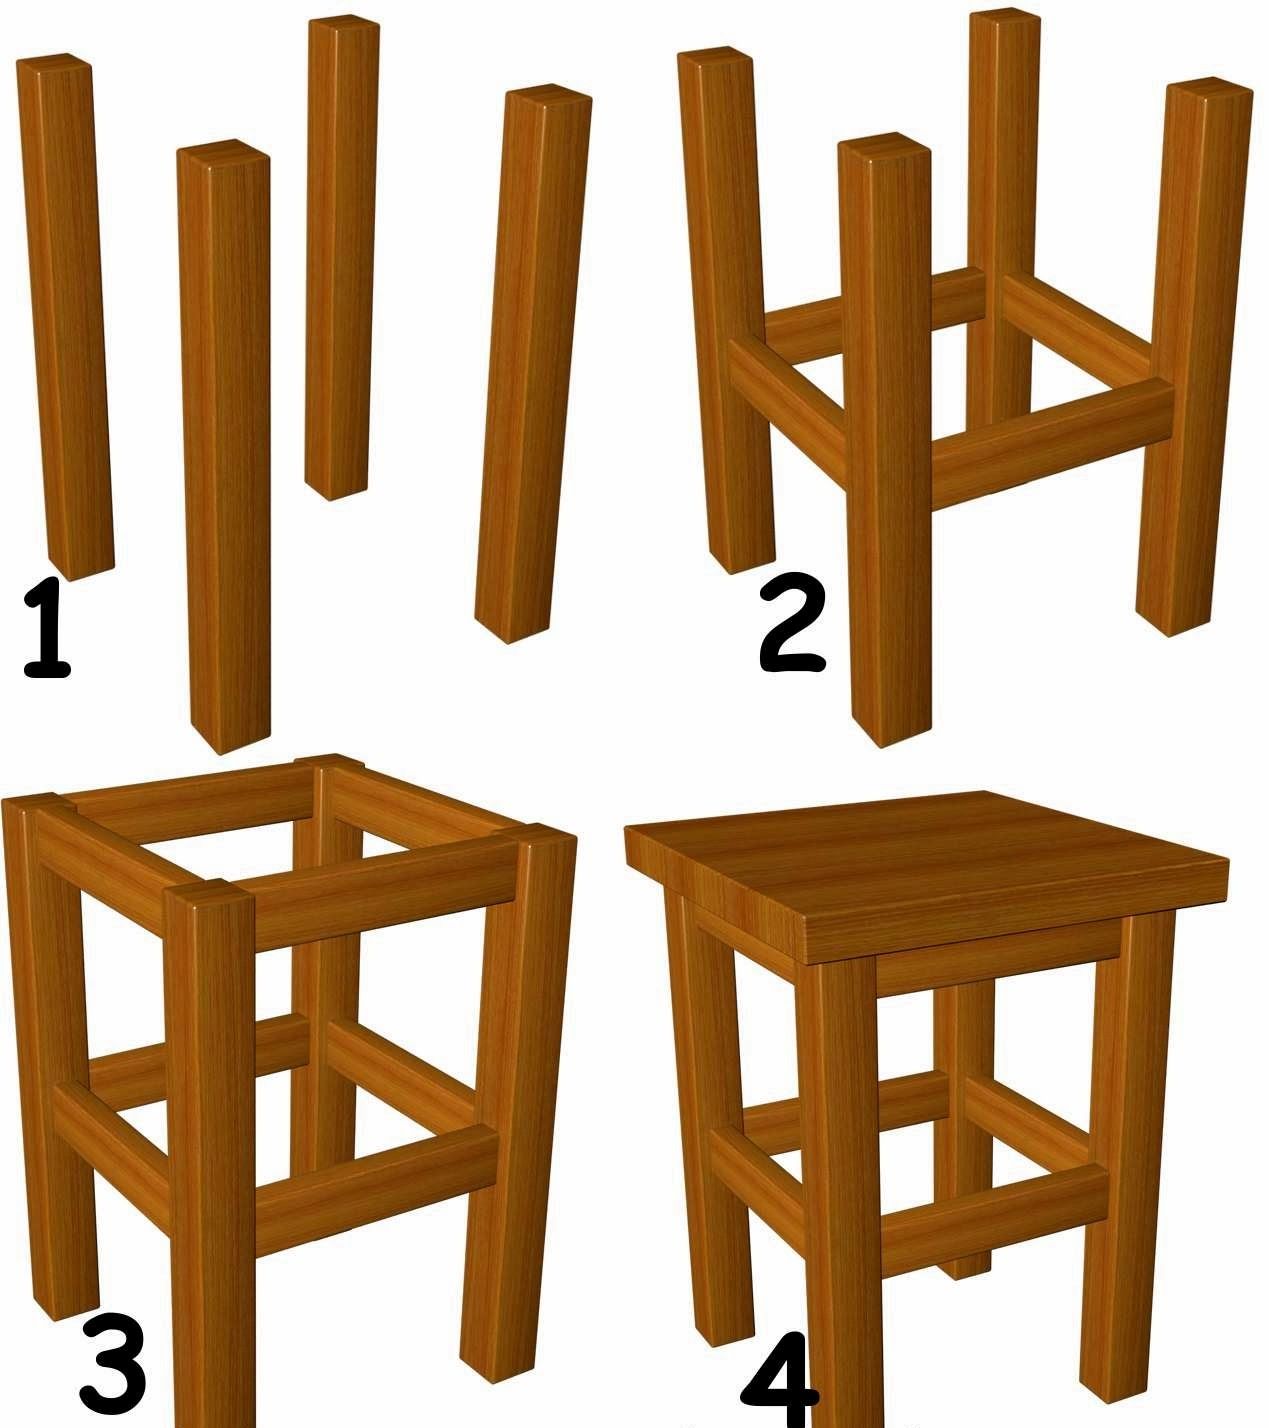
To make a traditional stool 50 cm high with a 45 x 45 cm seat and straight legs, you will need the following:
- Four smooth legs for legs with a cross-section of 0.5 × 0.5 cm, a height of 48.5 cm and can be either straight or narrowed downwards, which is provided by cuts located on the inside.
- Two or four boards having a thickness of 12 ÷ 20 mm and dimensions of 45 × 22.5 (11.2) cm or a plywood panel with dimensions of 45 × 45 cm and a thickness of 12 ÷ 20 mm for a seat.
- Four legs and drawers each, required to ensure strength, for which a bar with a cross section of 0.3 × 0.3 cm and a length of 44.1 cm is used.
- Additional connecting elements, in the form of bar segments, fixed in the center of the drawers on the inner side.
Note! These elements can be omitted if blocks of sufficient thickness are used for the seat base.
- Four wooden chopiks (dowels) with a diameter of 8 ÷ 10 mm and a length of 30 mm, used to attach the seat to the base.
- Joiner's glue.
- Self-tapping screws.
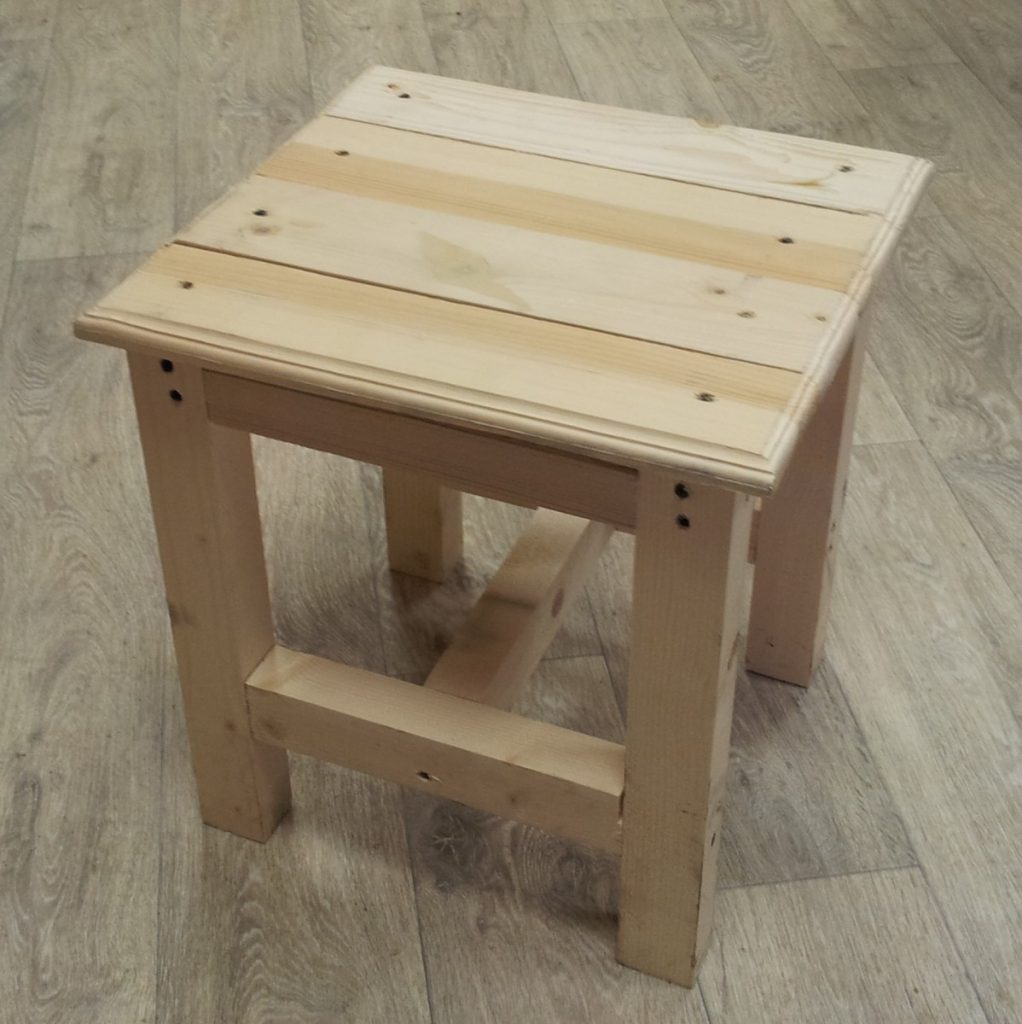
Instructions for making a stool with your own hands from wood are as follows:
- Glue boards intended for a seat, if it consists of several elements. To do this, the fitted and sanded ends of the boards need to be coated with glue, connected and tightened in clamps.
- Prepare the legs for the legs. Their cuts should be perfectly even, and the height should be the same.
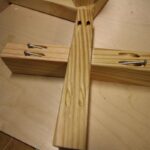
- Make markings on the legs and determine the location of the connecting grooves. They will be fitted with thorns of princesses and tsars. The holes should be selected using a router or chisel.
Note! The legs can be excluded from the structure, and then only the drawers are used.
- Process the edges of the prints and tsars. It is necessary to cut out spikes on them, the height, width and depth of which are 1 ÷ 1.5 mm less than the groove holes intended for them. The thorns should fit freely, but firmly enough.
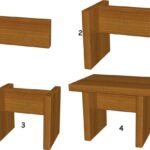
- Collect the legs in pairs, fastening them together with the help of prinots and tsars. The spike parts of the latter need to be glued into the grooves of the legs.
- The resulting frames are tightened with clamps.
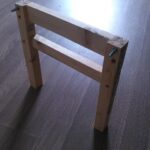
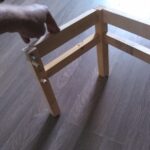
- After drying, connect the paired legs with prinots and tsars into a single base structure, then squeeze it in clamps and leave until completely glued. After drying, all connections must be additionally fixed with self-tapping screws.
- Mark and secure the seat. To do this, it is necessary to apply glue to the inside of the panel according to the markings, then lay it on the finished base, align and press firmly.
- Drill a hole through the seat panel in the corners, the diameter of which should be a couple of millimeters larger than the prepared dowels, and the depth should be five millimeters less than the height. Glue should be poured into these holes and dowels should be hammered.
- The top of the dowel with a router must be cut off, and the cut site must be sanded to smoothness.
- Pull the seat with the tsar with clamps and leave to dry completely.
Note! Any glue that has escaped must be wiped off immediately.
Plywood
To make a do-it-yourself plywood stool, you need a drawing and the following tools and materials:
- pencil;
- ruler;
- eraser;
- stationery knife;
- triangle;
- electric jigsaw;
- hammer;
- screwdriver;
- manual jigsaw;
- file for wood;
- two clamps;
- pattern;
- fine and coarse sandpaper;
- a sheet of plywood of the second grade with a thickness of 15 mm;
- sheet of whatman paper.
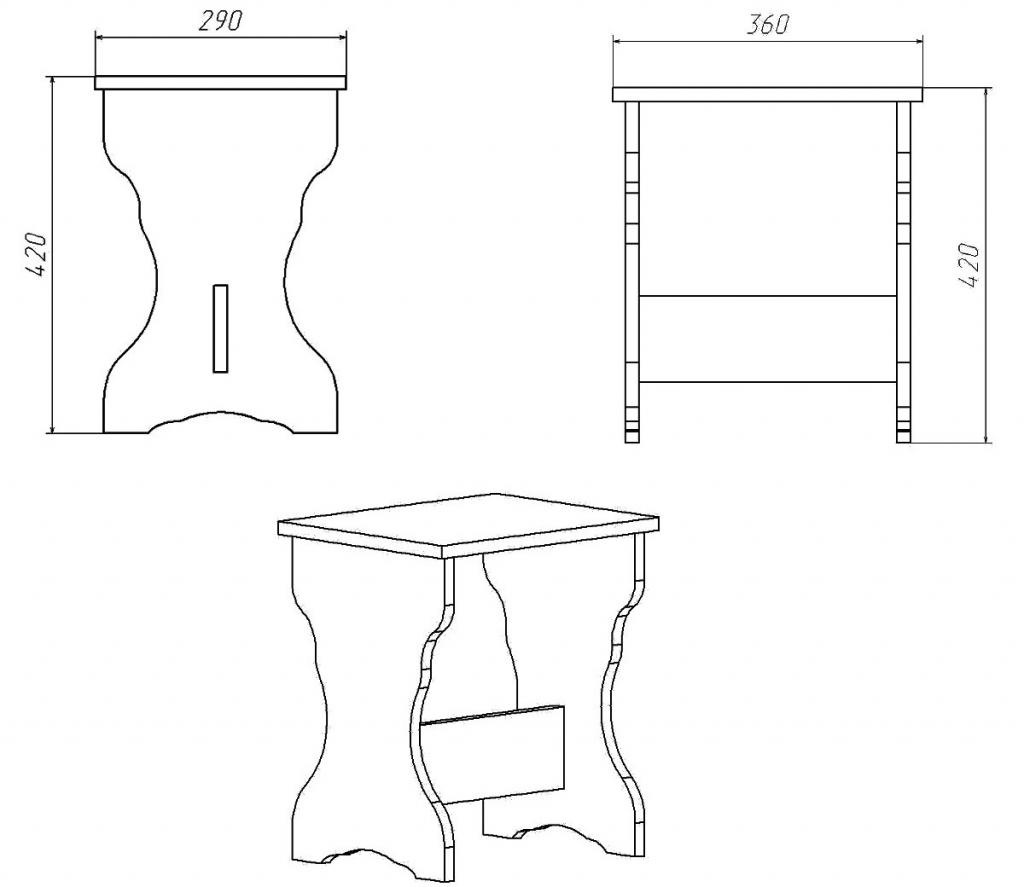
The order of work is as follows:
- Prepare a template. On a sheet of drawing paper, it is necessary to depict sketches of the parts that form the stool - the sidewalls and parts of the seat connecting them.
- Cut out the template. Parts must be cut with a clerical knife, while maintaining high accuracy.
- Mark out the plywood. The templates should be placed on a sheet of plywood and circled. The large parts will require two pieces, and the small ones - eleven.
- Cut out the details.For this, a jigsaw is used along the outlined contours.
Note! The lower borders of the grooves should be cut out with a hand jigsaw, since special care is required in these places.
- Carry out sanding. The details need to be given a pleasant aesthetic look, which can be done by clamping the crossbars with clamps and aligning them first with a file and then with sandpaper.
- Assemble the stool. With the help of a wooden block and a hammer, it is required to hammer first the two lower crossbars, and then the remaining upper ones. Since the grooves are cut to a width that is less than the thickness of the plywood, the crossbars will fit very tightly.
On three legs
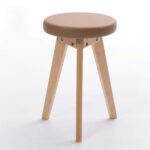
The three-legged stool is made similarly to its classic counterpart, but it is more stable. The works are as follows:
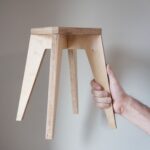
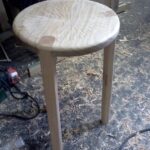
- Saw out the round seat and legs with a jigsaw.
- Make holes in the seat. To do this, using a compass on the bottom of the seat, you need to draw a circle, divide it into three identical parts and determine the points for the holes.
- Drill holes at an angle with high precision. To facilitate the work, you can use a block on which the seat rests during drilling.
- Insert the feet and sand the surface.
How to make a step stool with your own hands
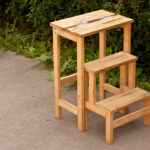
To create a stepladder stool, you will need the following:
- sandpaper;
- screws;
- dowels / dowels;
- glue;
- self-tapping screws;
- hacksaw;
- electric jigsaw;
- plane;
- clamps;
- piano loop;
- drill with drills;
- a pair of sets of guides.
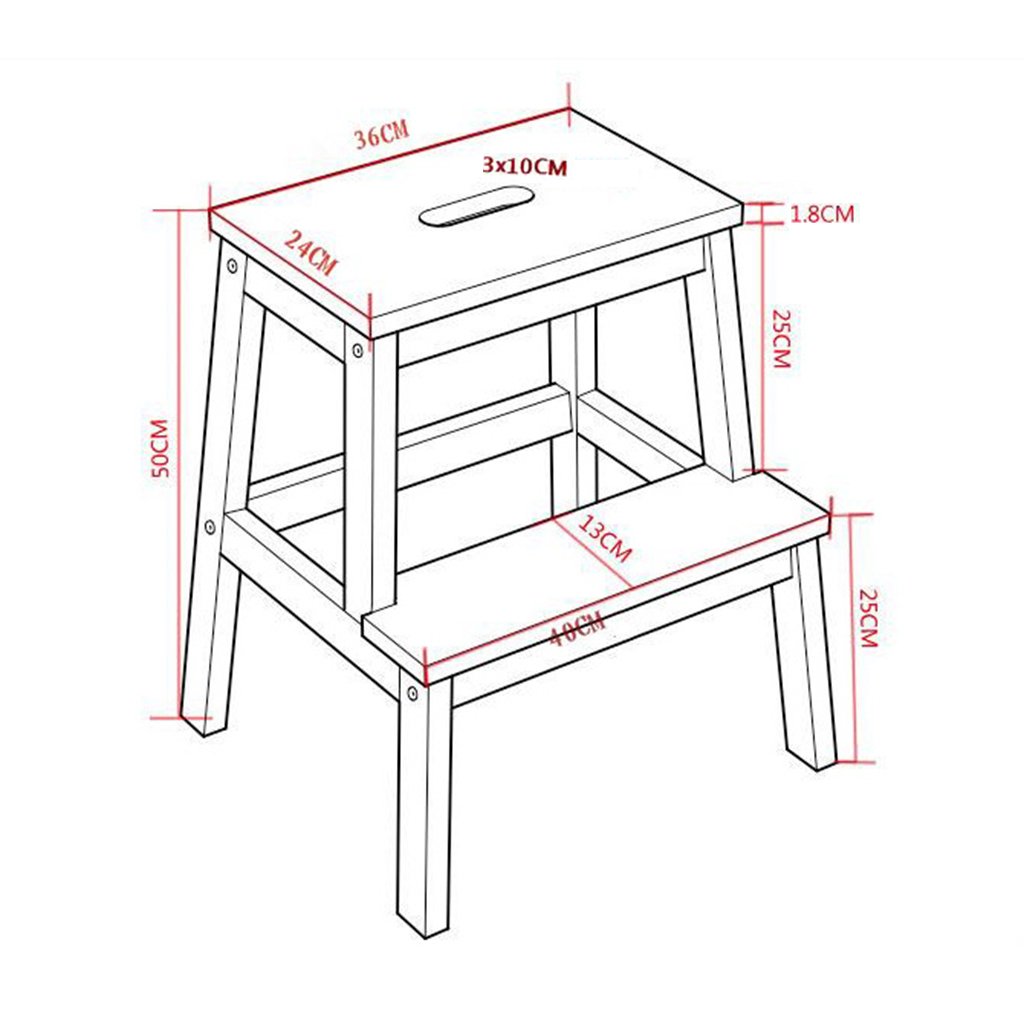
The work process is as follows:
- Draw patterns for blanks.
- Sand the parts carefully. Sharp ends should be machined using a router.
- Form the back. It can either consist of strips or be solid.
- Attach the backrest to the sidewalls with self-tapping screws.
- Connect the seat and steps to the sidewalls using the grooves. They should be selected with a chisel, using a cut in half a tree. During the assembly process, the joints must be greased with glue and reinforced with screws that are screwed into the pilot holes drilled in advance.
- Connect the two parts of the structure using a piano loop of the appropriate length.
Before you make a do-it-yourself wood stool, you need to correctly and accurately draw up a diagram and choose high-quality materials. With careful work, you can get an original and reliable product.
Video: how to make a stool with your own hands
