Step-by-step instructions for assembling a bedside table with drawers
A curbstone is an irreplaceable piece of furniture in any room, regardless of whether it is residential or not. Of course, it can be purchased at any furniture store, but often it is either not a very high-quality product, or at an unreasonably high price.
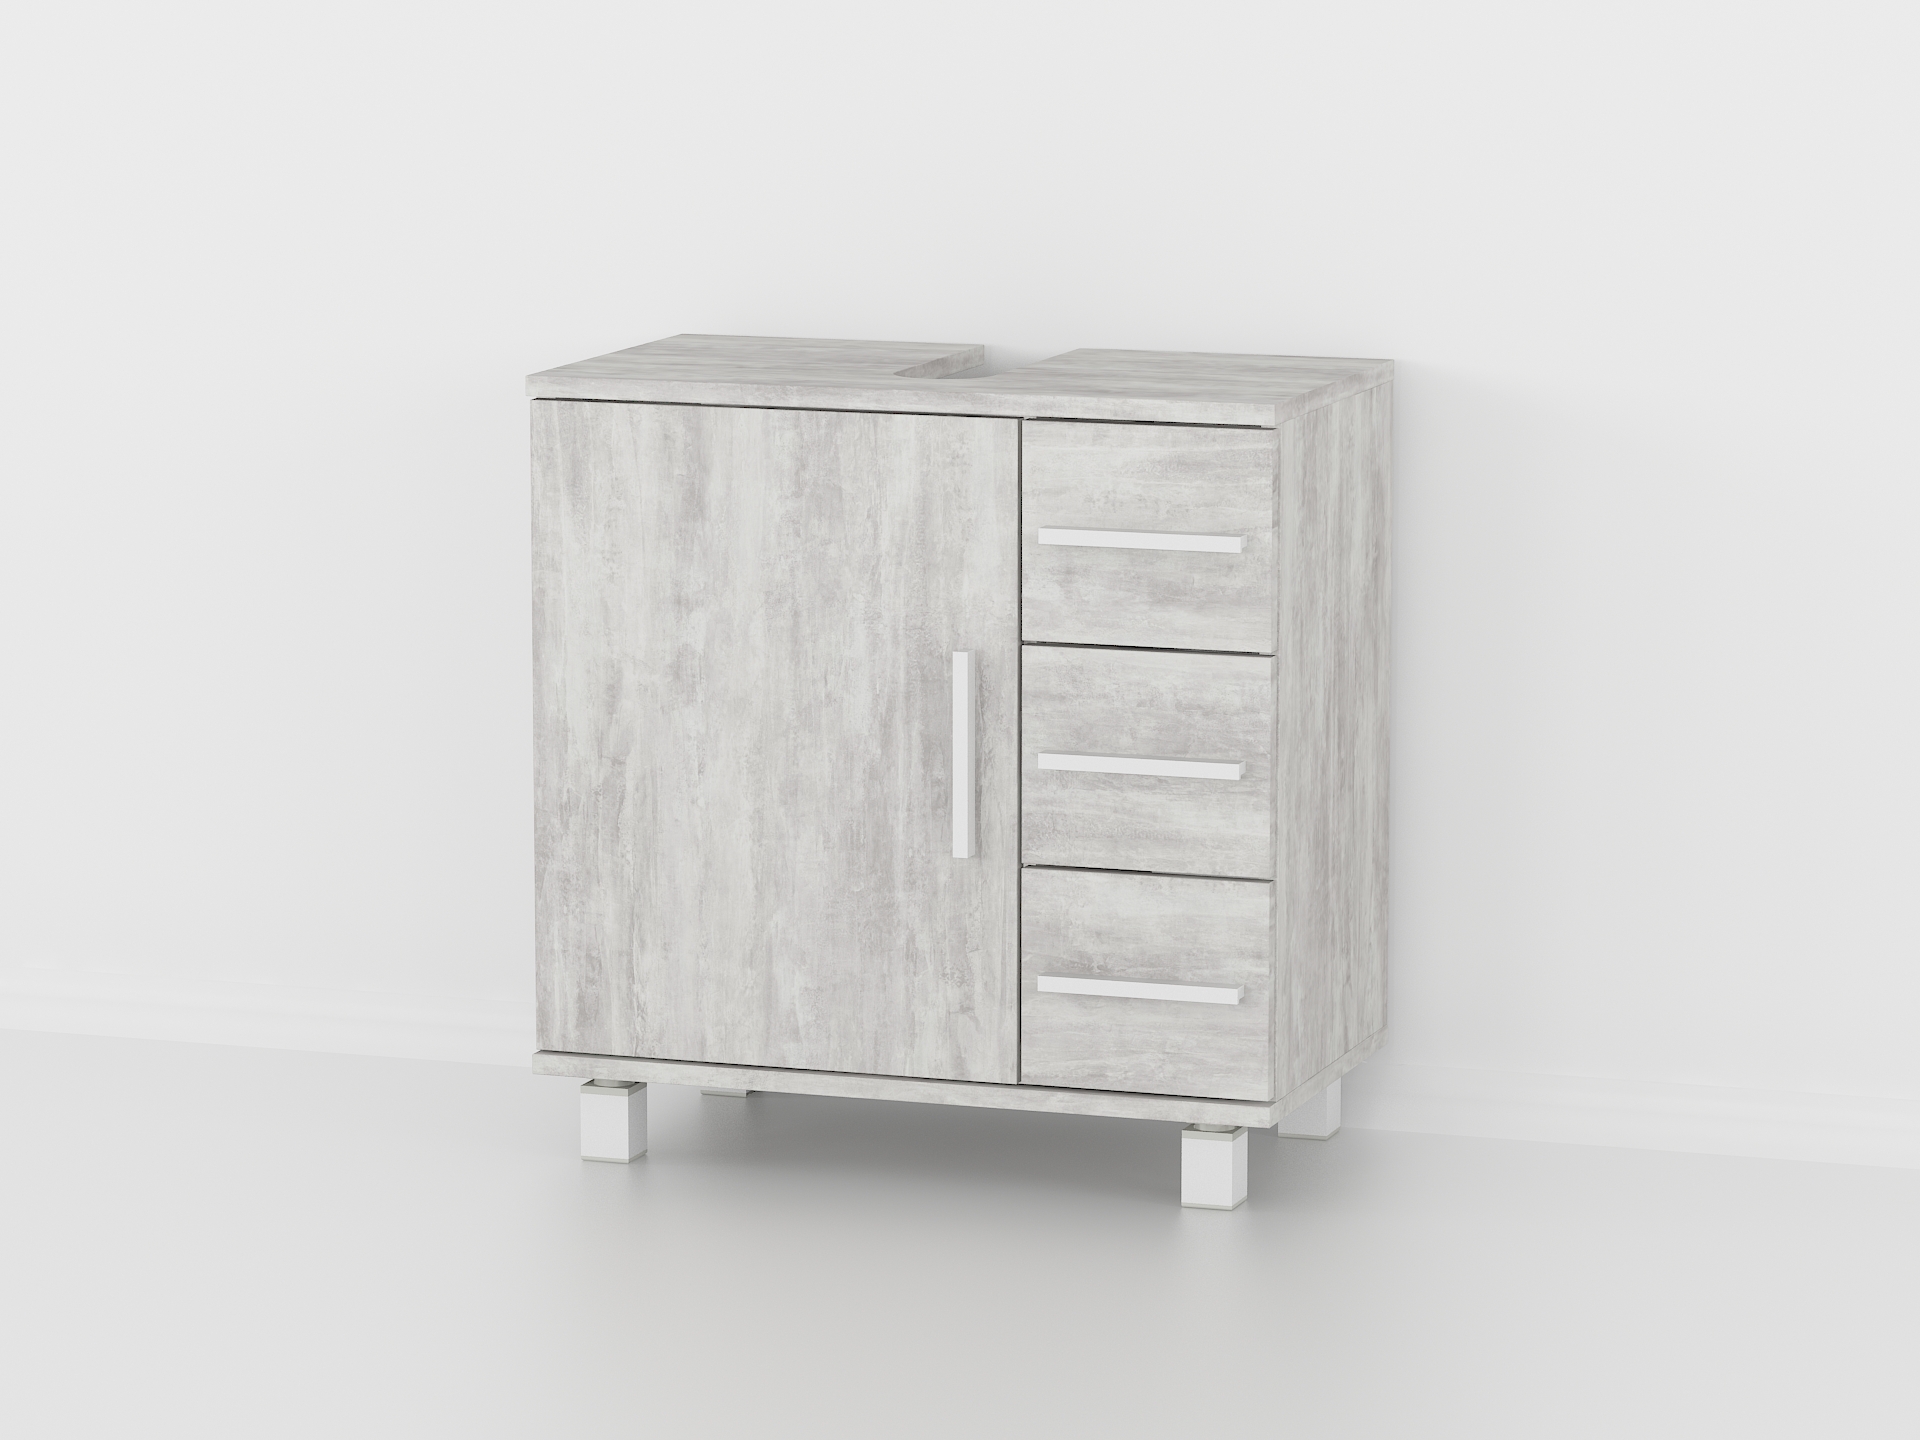
Making interior items at home always opens up scope for creativity and saves money. Instructions explaining how to make this furniture with your own hands are always easy enough to find on the Internet.
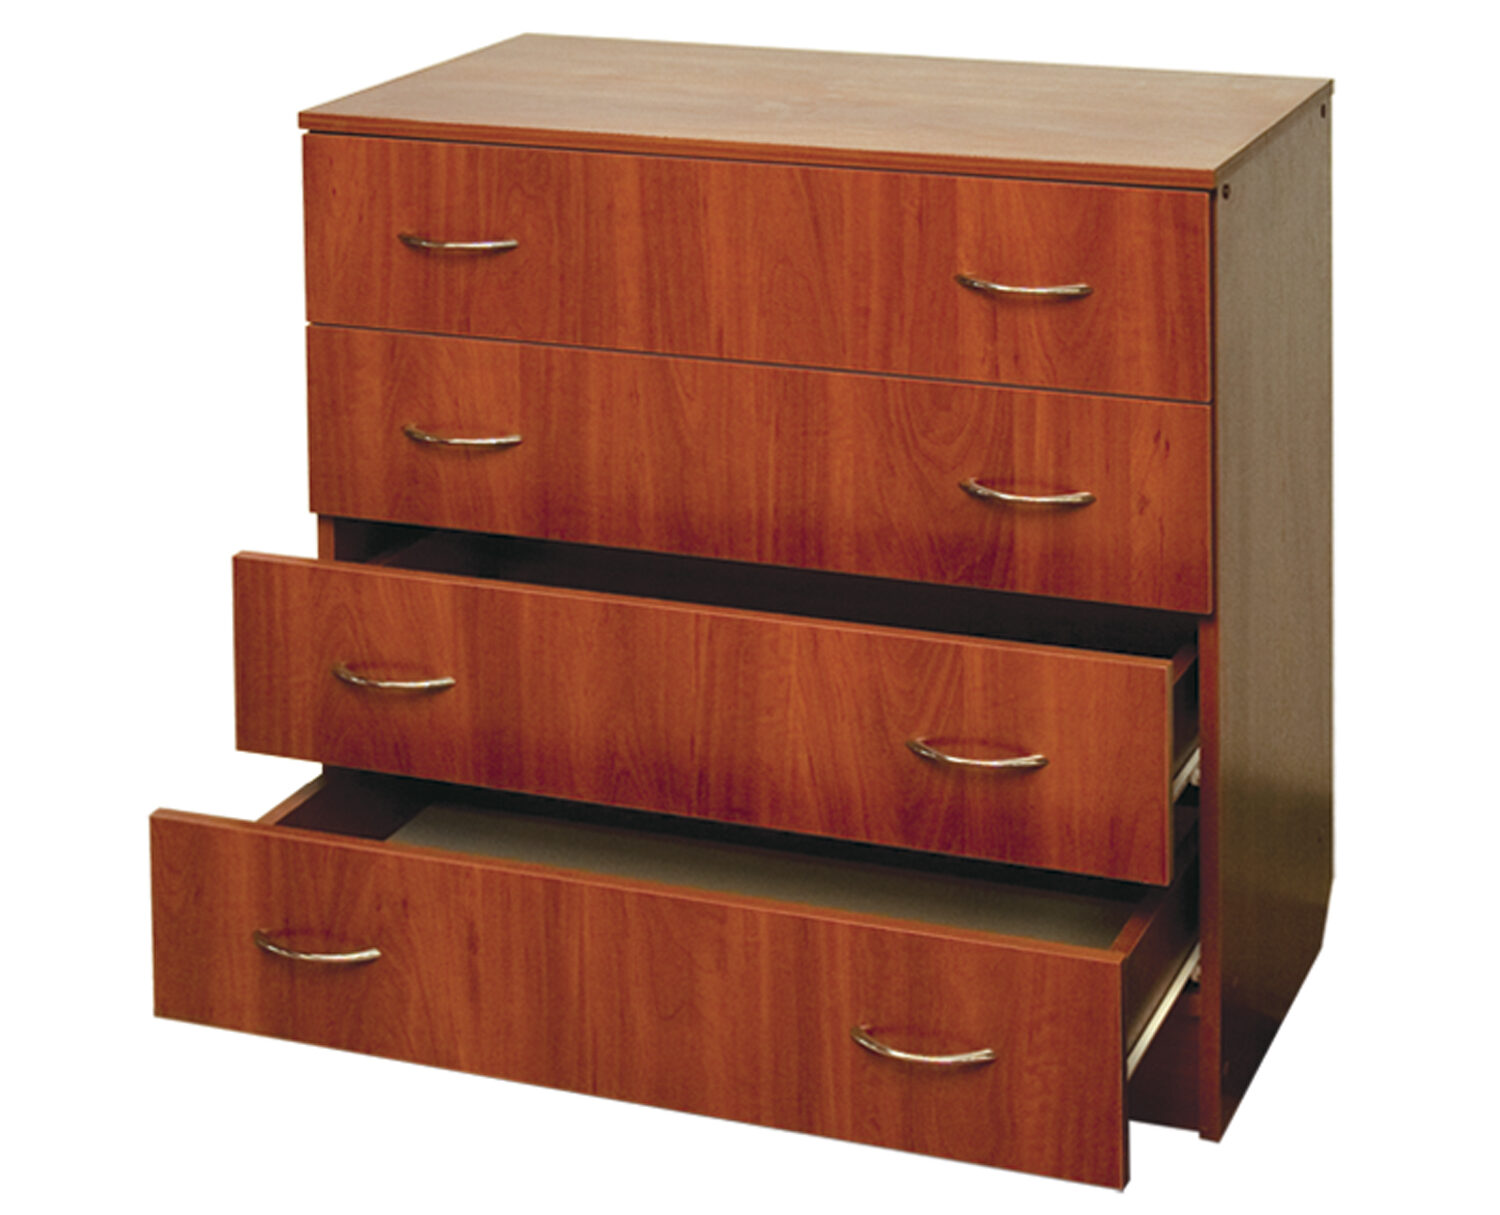
Therefore, it will not be difficult for both an experienced carpenter and a beginner in this business to make a drawer unit with drawers.
What tools and materials will be needed
When preparing for work, you need to be patient, and also check the availability of materials, components, consumables and tools so that during the process itself there is no need to look for what is missing.
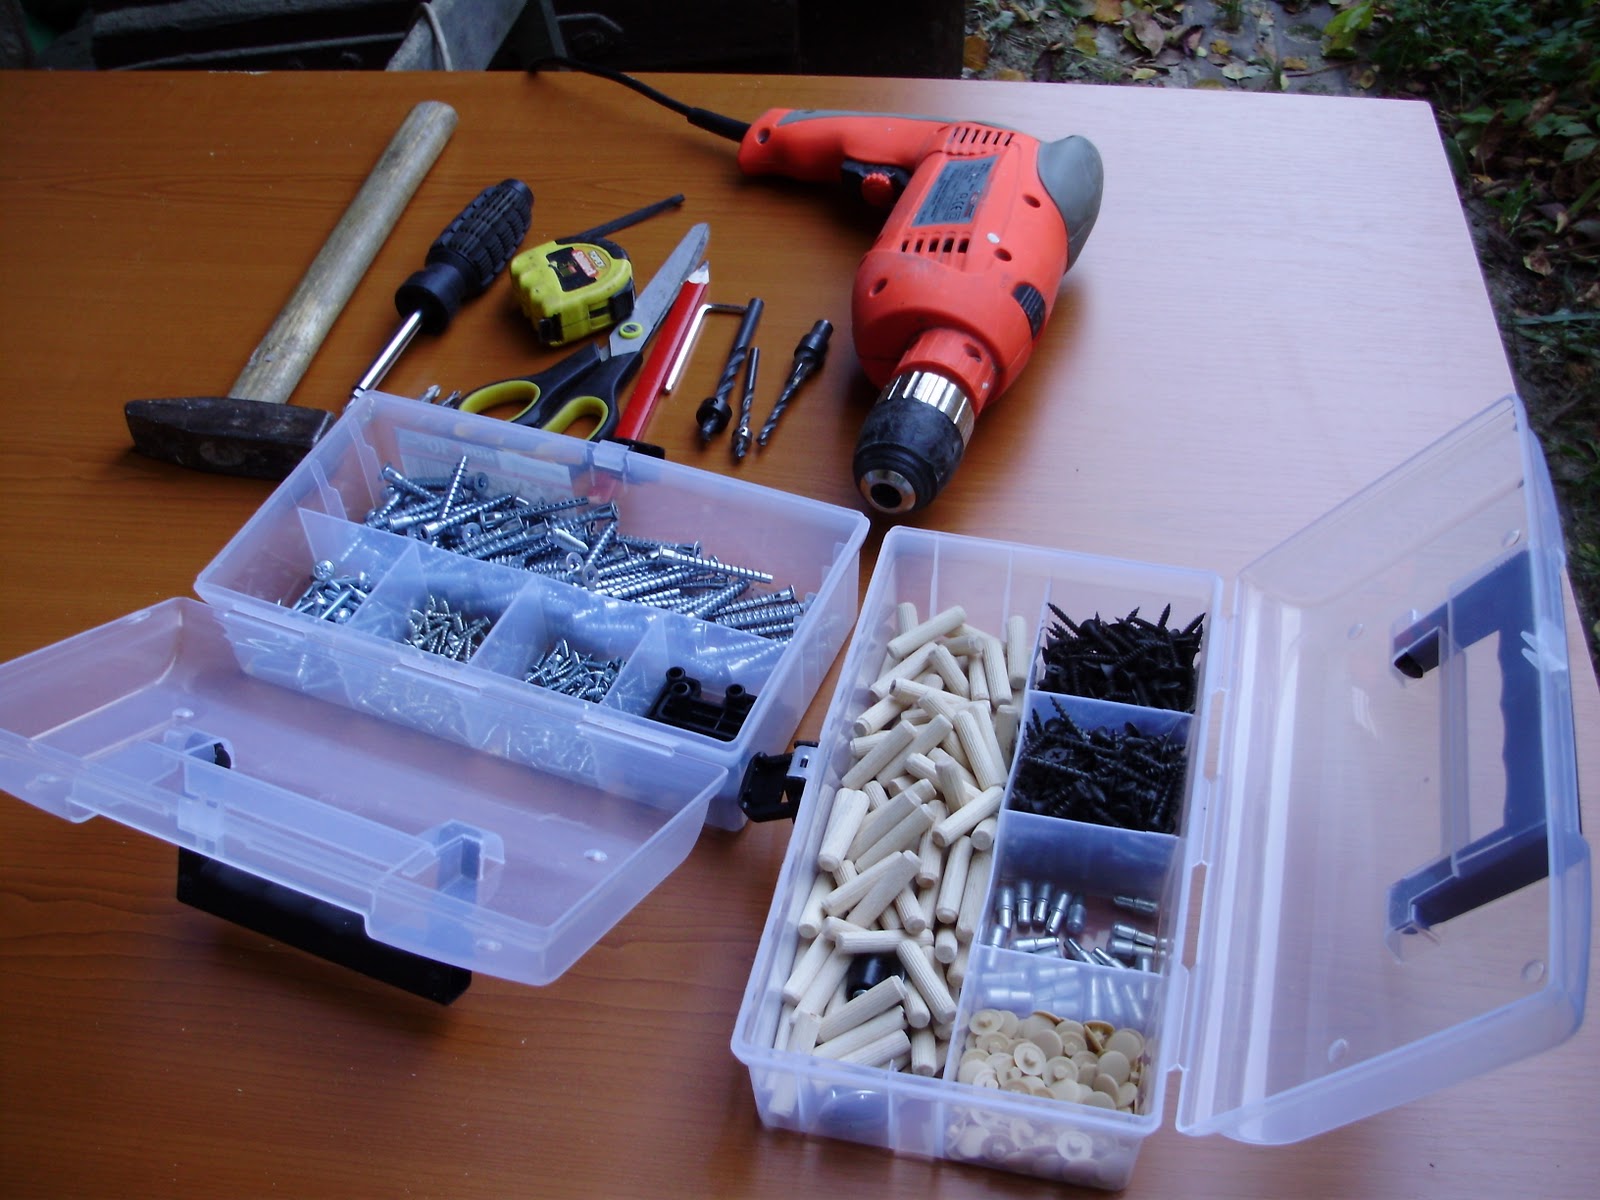
So, from the materials, there should be:
- plywood boards with a laminated surface (4 pieces measuring 45.5 cm by 70 cm);
- boards for the curbstone frame (8 pieces measuring 6.9 cm by 39.9 cm);
- panels with a laminated surface (4 pieces measuring 17 cm by 43.5 cm);
- screws (4 cm and 1.6 cm long);
- dowels (2 cm and 1.6 cm long);
- PVA glue or carpentry;
- acrylic based sealant;
- stain.
The following tools will come in handy:
- face saw;
- electric drill;
- stationery for measurements and drawing;
- grinder;
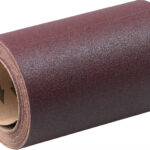
- sandpaper.
Having prepared and checked the availability of everything you need, you can get to work.
Step-by-step instructions for assembling a bedside table with drawers
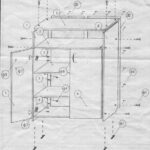
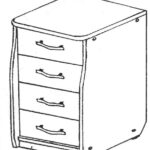
In order not to miss anything, not to get confused in all the details and accessories, the assembly of the bedside table with drawers should take place in a certain sequence. It is usually customary to start with a drawing so that you can refer to it at any time.
Next, the frame or base is assembled, and so, moving to the final result in the form of the final finish and decor. It is better to distribute the parts on the floor for a better view, and place all the fittings in a box. Such an organization of the workplace will speed up work and not lose screws or other small parts.
How to assemble the skeleton
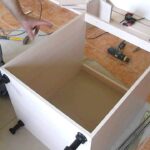
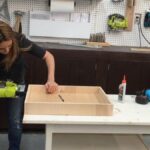
If there is a Craig jig in the toolbox, then this will allow you to assemble the pedestal without visible holes for fasteners. But this is an optional item. Here you can use what is available or resort to another method.
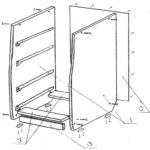
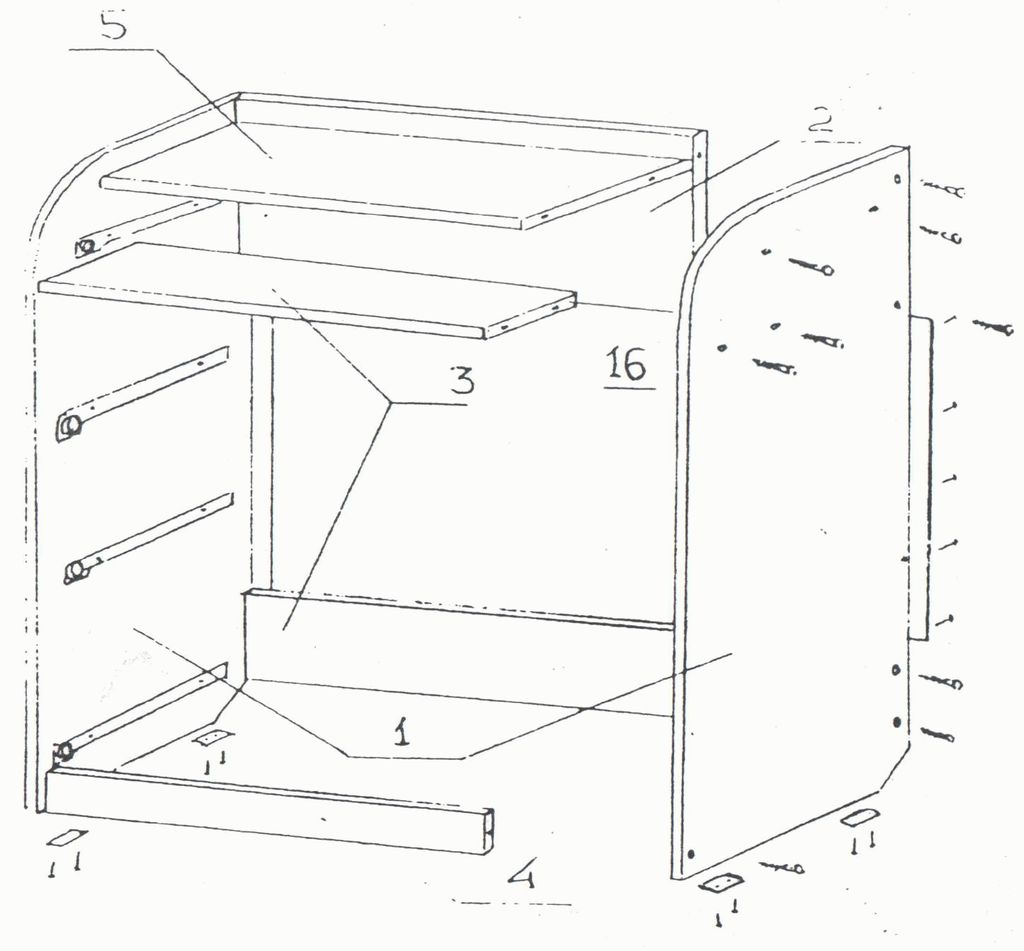
The skeleton manufacturing process consists of the following stages:
- make holes in all panels and frame supports;
- fasten the side panel and boards with 4 cm screws.
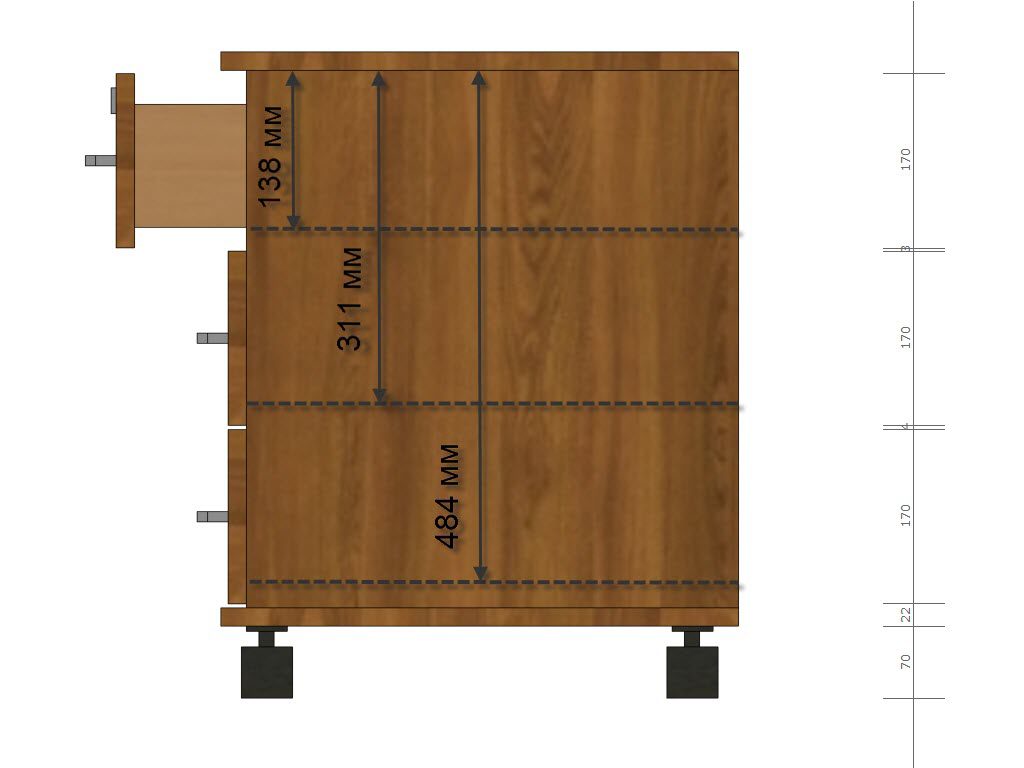
- make holes for the boxes (at a height of 15 cm, using a tape measure and a pencil, measure a point 15 cm below the upper support and 17 cm above the bottom panel, then repeat for each);
- attach all supports under the boxes according to the markings made;
- attach the second side panel with screws, after checking the presence of all supports;
- install the base of the bedside table.
The frame is ready, you can proceed to the top.
Top panel decoration
Above the curbstone is covered with a wooden panel. Here you can use various design options: make a small canopy in front or behind the structure.
To arrange the upper part, you need to perform the following manipulations:
- attach the top with screws 4 cm long;
- cut 2 dowels at an angle of 45 degrees;
- cut out the back plate, and already starting from it, adjust the size of the protrusions on the sides;
- glue the processed dowels to the frame with wood glue;
- let dry;
- fill the gaps around the dowels with acrylic sealant.
The frame is fully assembled.
Installing the guides
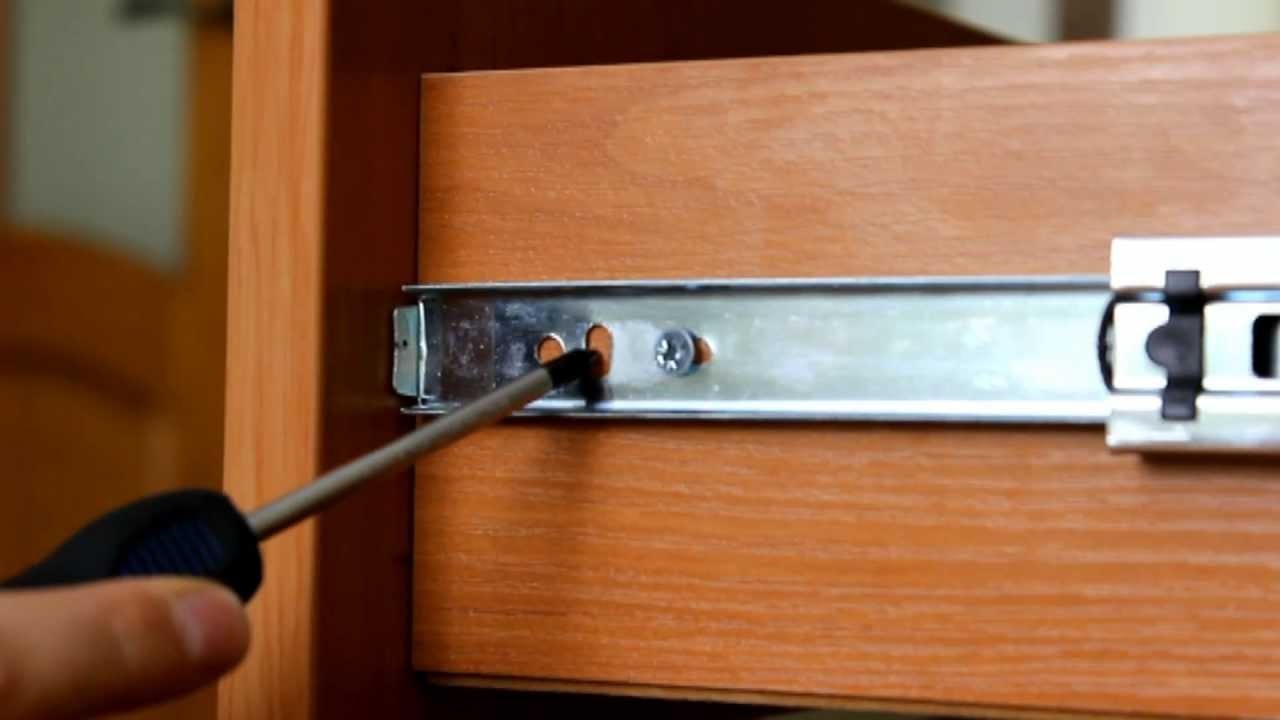
The smoothness of opening depends on the correctness and accuracy of this stage. It will come in handy here:
- 4 sets of guides; 8 boards 13.5 cm by 45 cm - sidewalls;
- 4 boards 13.5 cm by 34.3 cm - back panels.
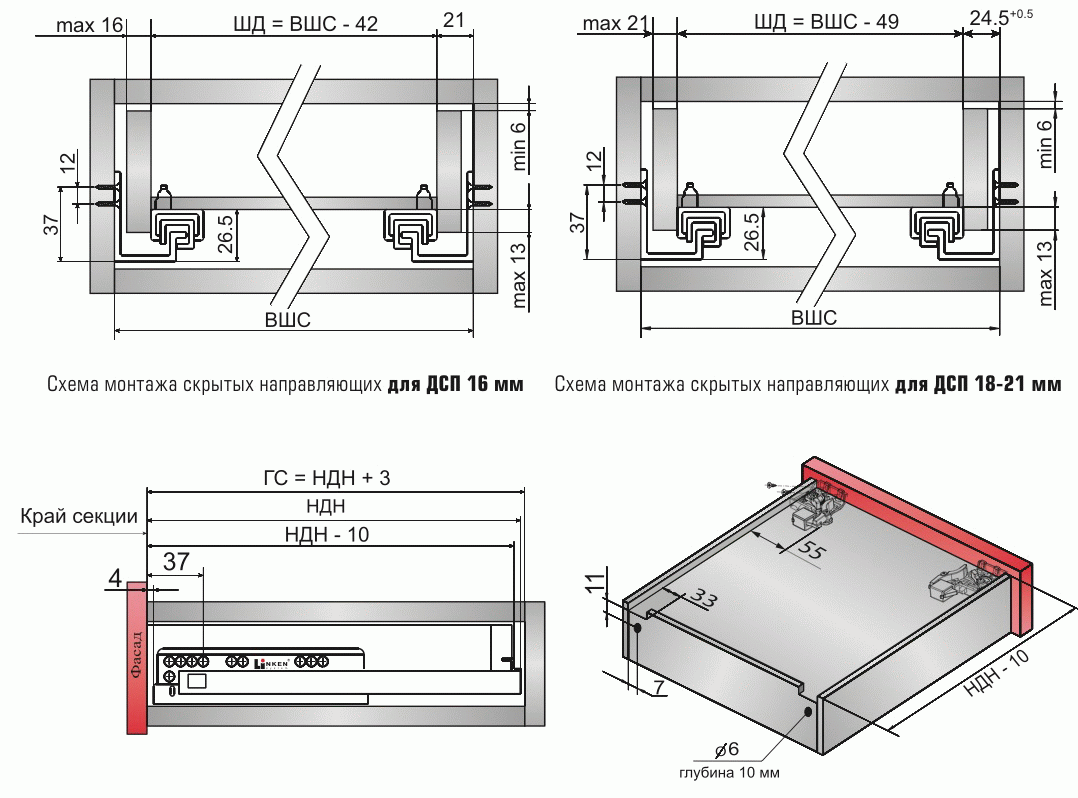
To set the guides, you need:
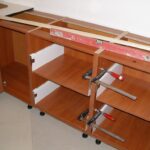
- mark all sections; boxes;
- fix the guides on the sidewalls of the cabinet;
- put plywood under the sidewalls, pull them out and install the guides;
- take out the side panels and make two more connections.
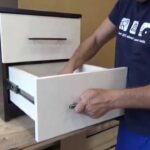
After checking the accuracy of the installation and the smooth opening of the drawers, you can move on.
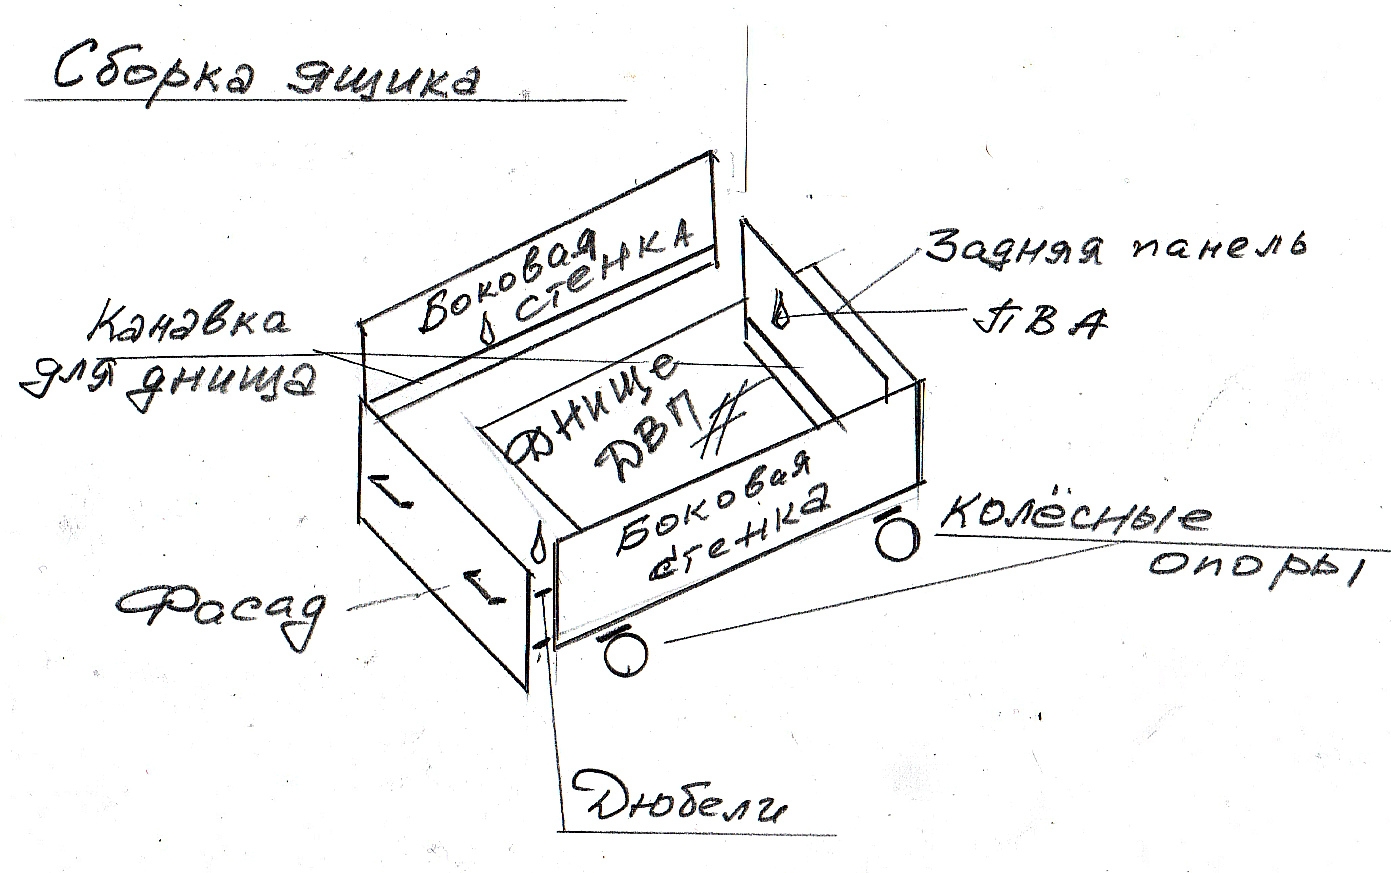
Connecting fragments of boxes
Everything is quite simple here. The remaining panels are screwed to the finished sidewalls with guides.
On a note! All parts must be pre-sanded, first with coarse-grained sandpaper, and then with a finer one.
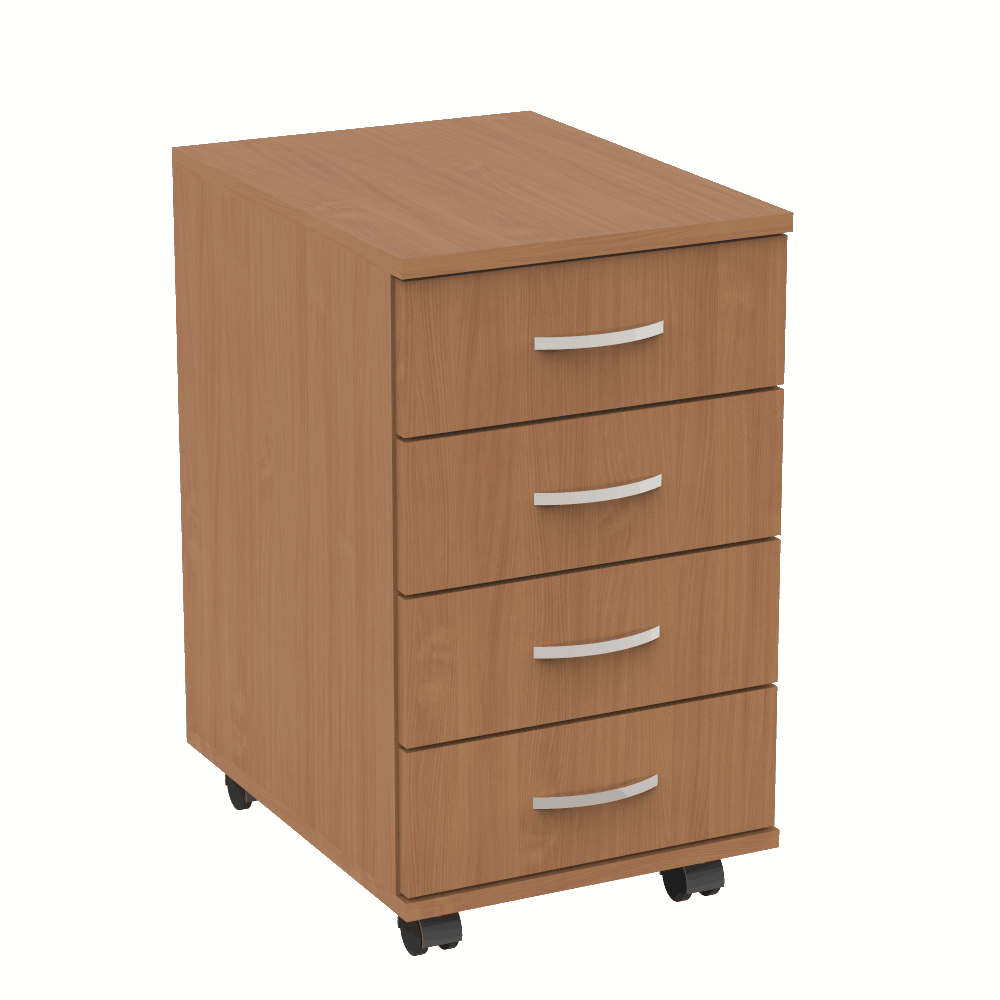
You also need to measure the distances between the sidewalls. This is useful for the subsequent fastening of facades. Attach the bottom of the box.
Installation procedure for facade panels
To install facades on boxes, you need to turn the curbstone upside down by lifting them. Apply glue to them and attach the panel. Allow the glue to dry well.
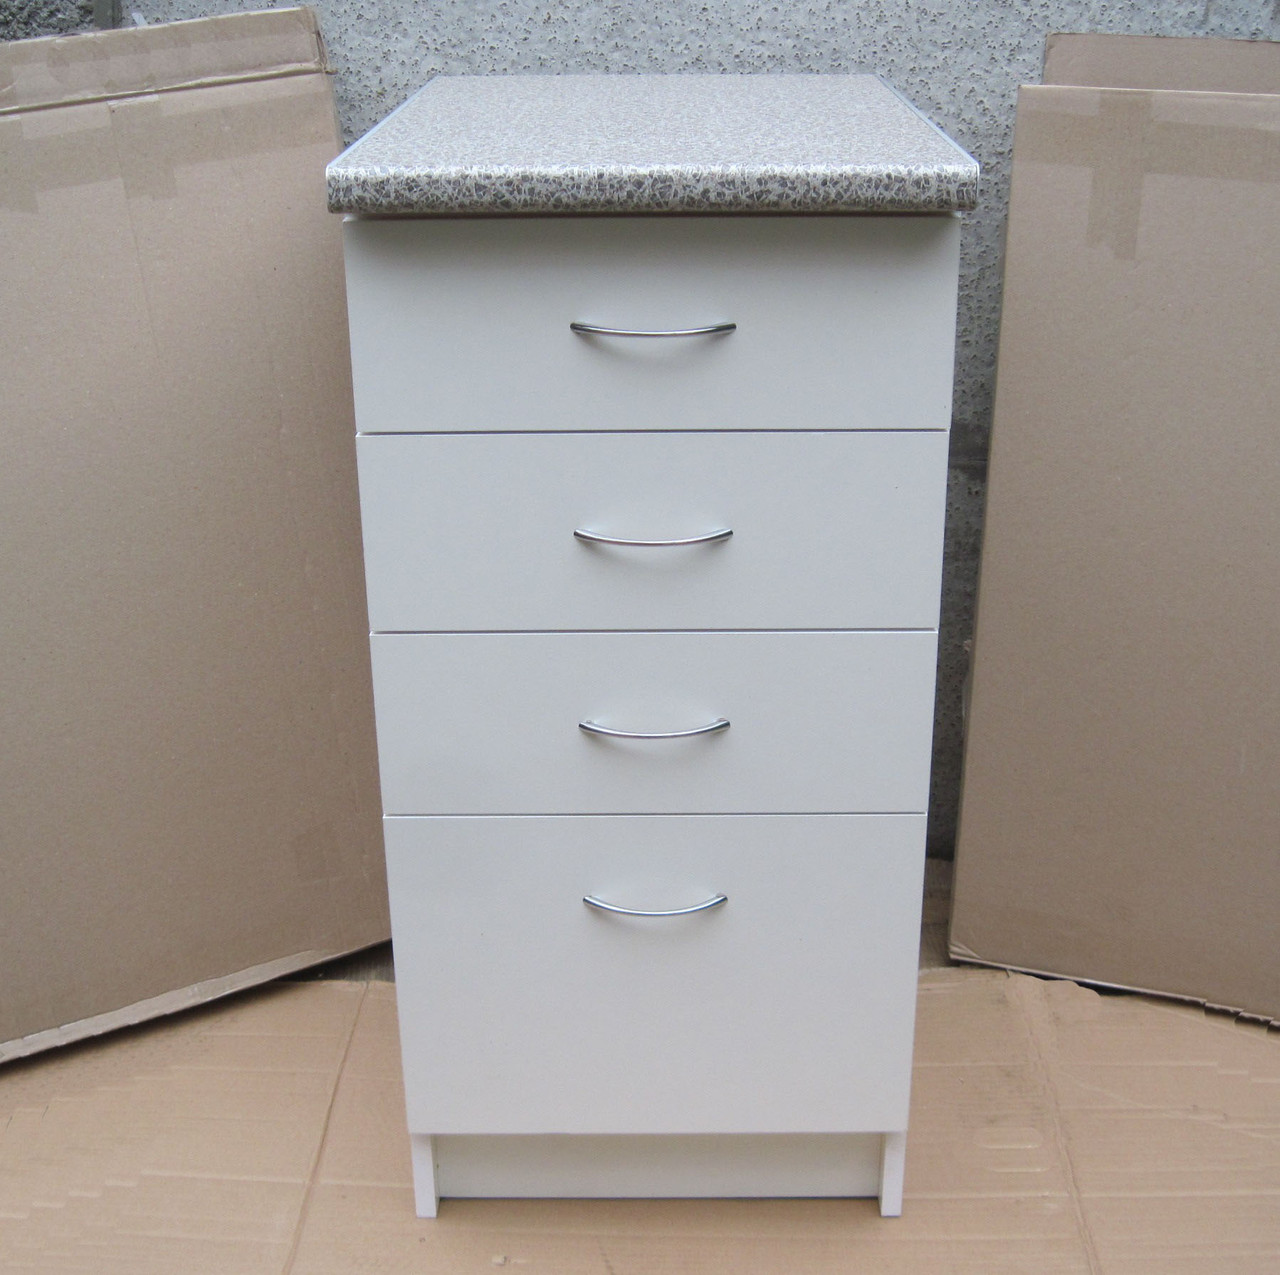
After that, you can add all the plastic elements.
Final finishing and decoration of the finished bedside table
After the assembly of the bedside table is completed, it can be coated with protective compounds, stain or varnish. This is already a matter of taste. Careless finishing can ruin the whole work, its result will partially or completely lose its attractiveness.
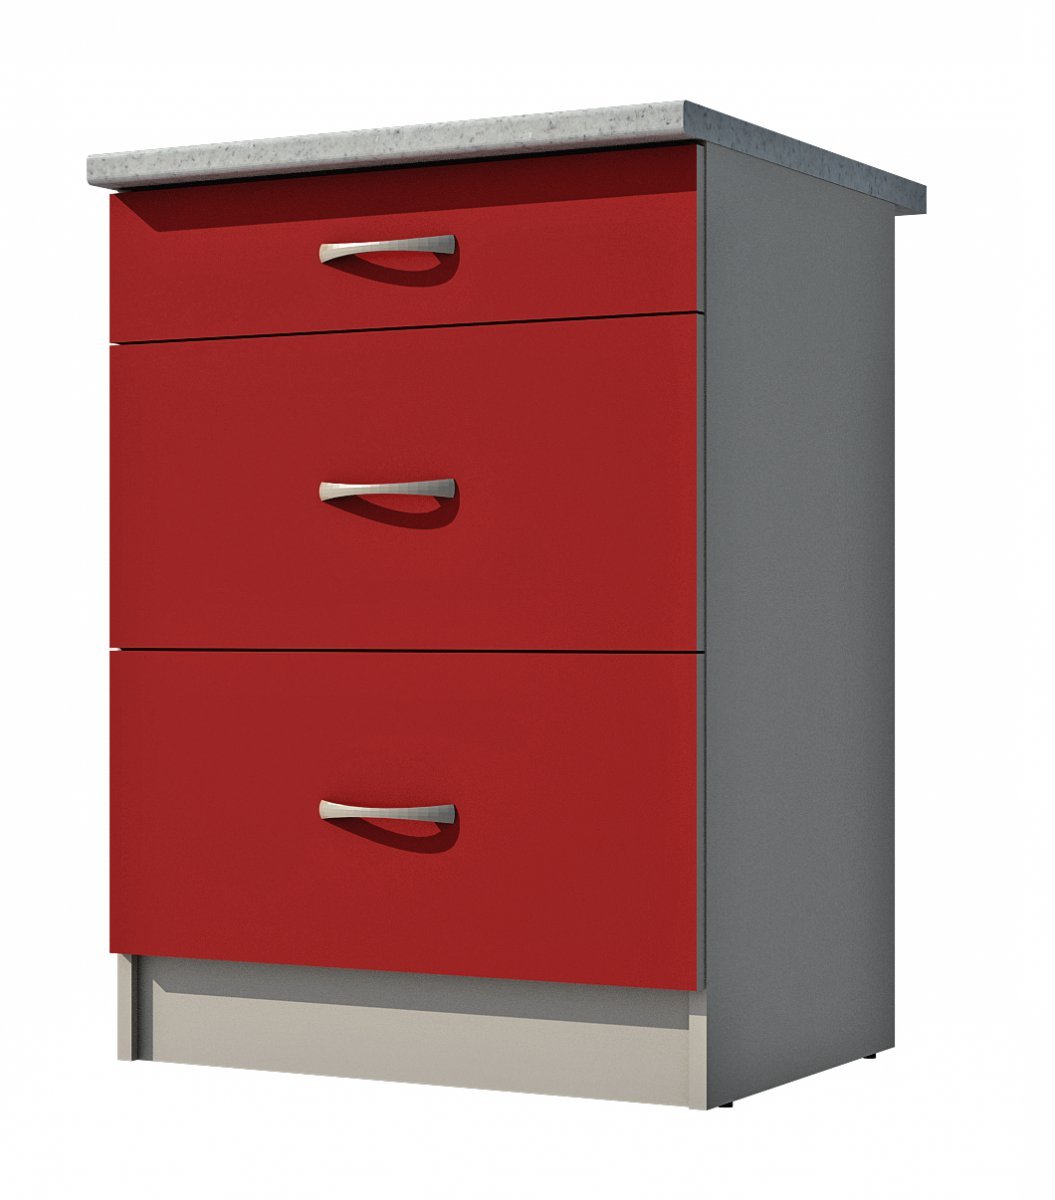
You also need to attach the handles to the drawers. It is better to select them to match the furniture, everything should organically fit into the already existing interior.
Assembly tips and tricks
It is recommended to assemble the curbstone on a flat solid surface. After connecting any 4 parts into a one-piece structure, it is recommended to check its carbon. The fixing of accessories and decorative finishing is started after the elimination and elimination of errors. During manufacturing, you need to be very careful.
It is necessary to immediately remove glue drips, if any. When sanding the edges, do not scratch the laminate as then it is impossible to close them up even by re-coating the varnish. Check the smoothness of the movement when putting the boxes in place. If something interferes - do not use force, initially find out the cause of the jam and eliminate it.
Having at hand the necessary materials, tools, and most importantly the desire, even an inexperienced person can make a bedside table with his own hands. This option for assembling furniture into the house will help not only save money, but also get a unique piece of furniture.
Video: assembling the bedside table
