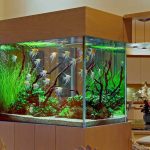
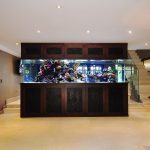
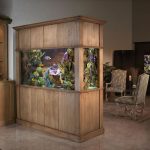
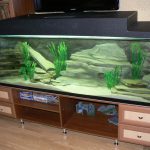
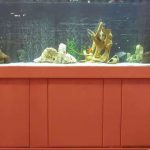
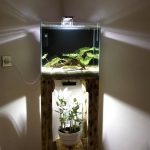
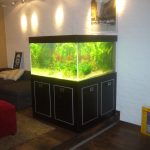
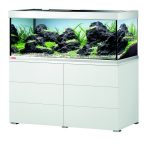
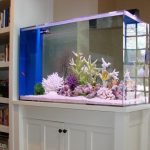
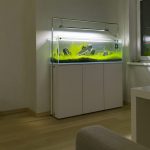
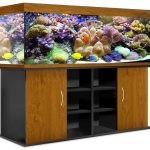
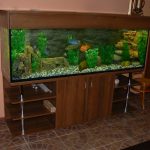
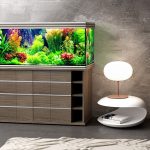
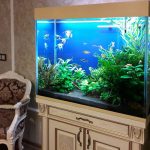
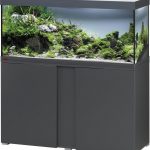
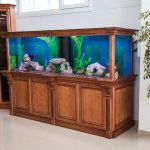
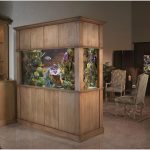
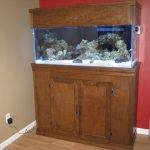
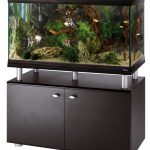
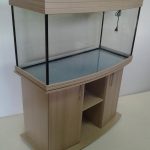
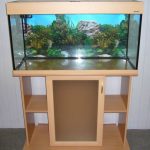
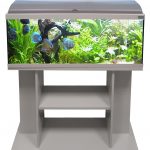
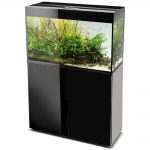
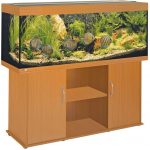
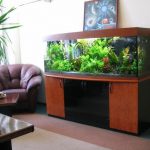
Stand for aquarium with your hands
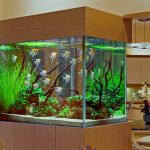
Lovers of the aquarium world know how troublesome this hobby is. The construction of such a corner is not limited to an aquarium. The first step is to think about the placement that will be used as a support.
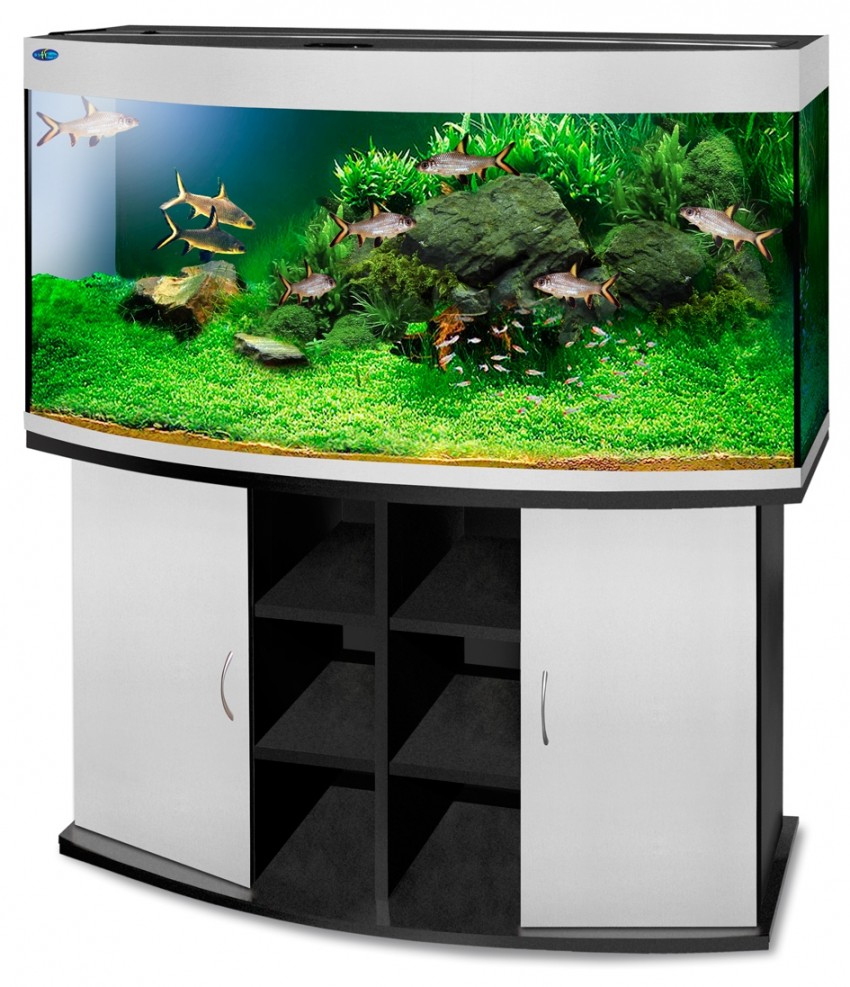
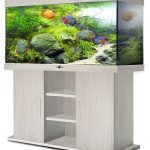
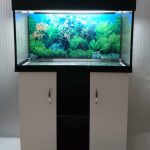
You can look after the finished structure in the store, but the do-it-yourself cabinet for the aquarium will fully meet the desires of the owner of the house. At the same time, a minimum of materials are required for manufacturing and does not require special skills.
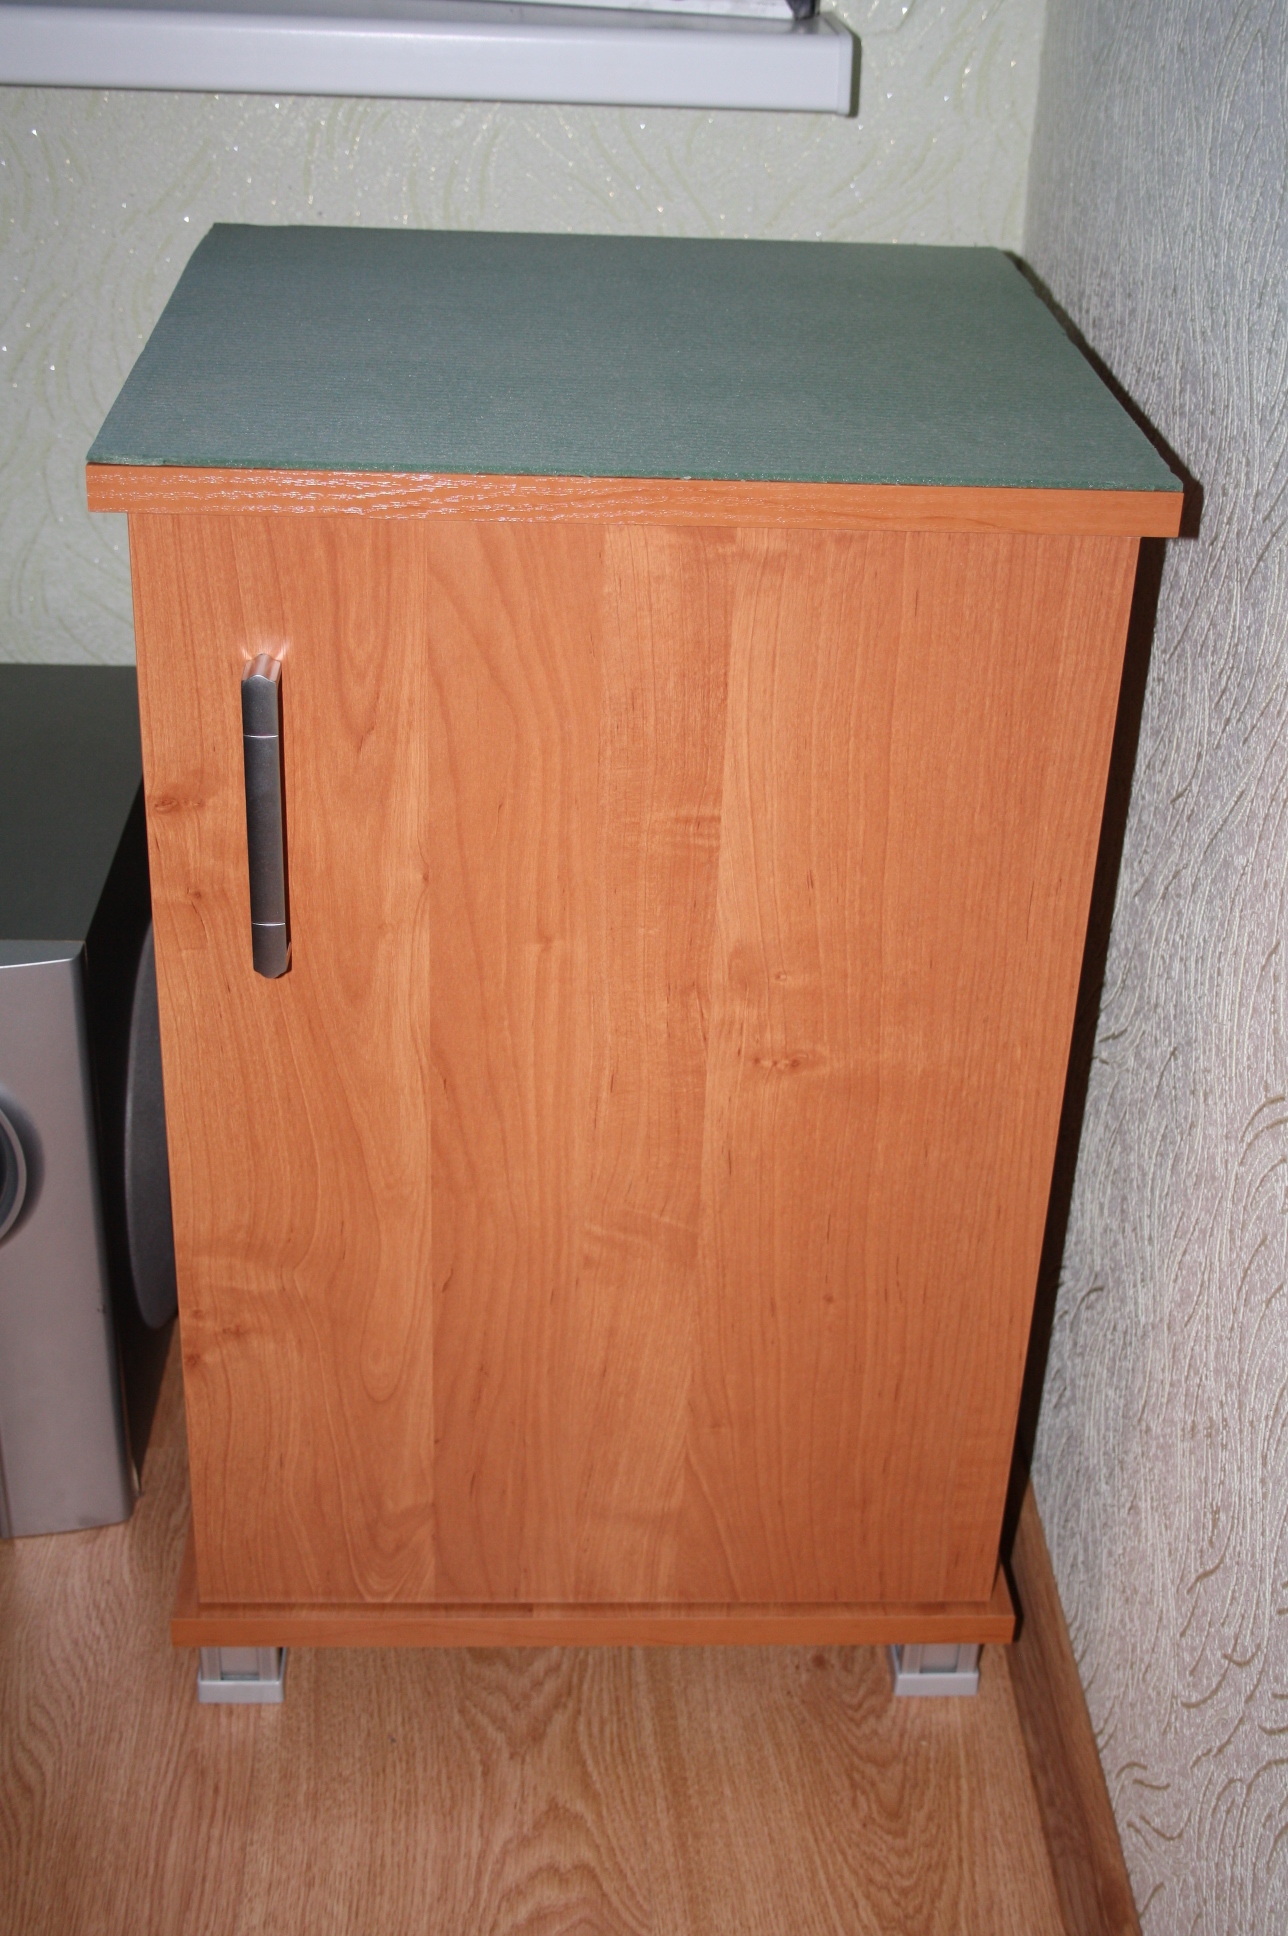
DIY aquarium cabinet
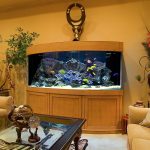
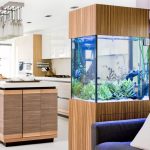
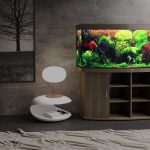
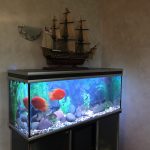
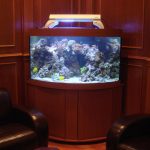
A homemade design, in addition to looking much more attractive than a purchased one, will also help save money. You can also make just such a curbstone that will be in harmony with the overall interior, decorating the room.
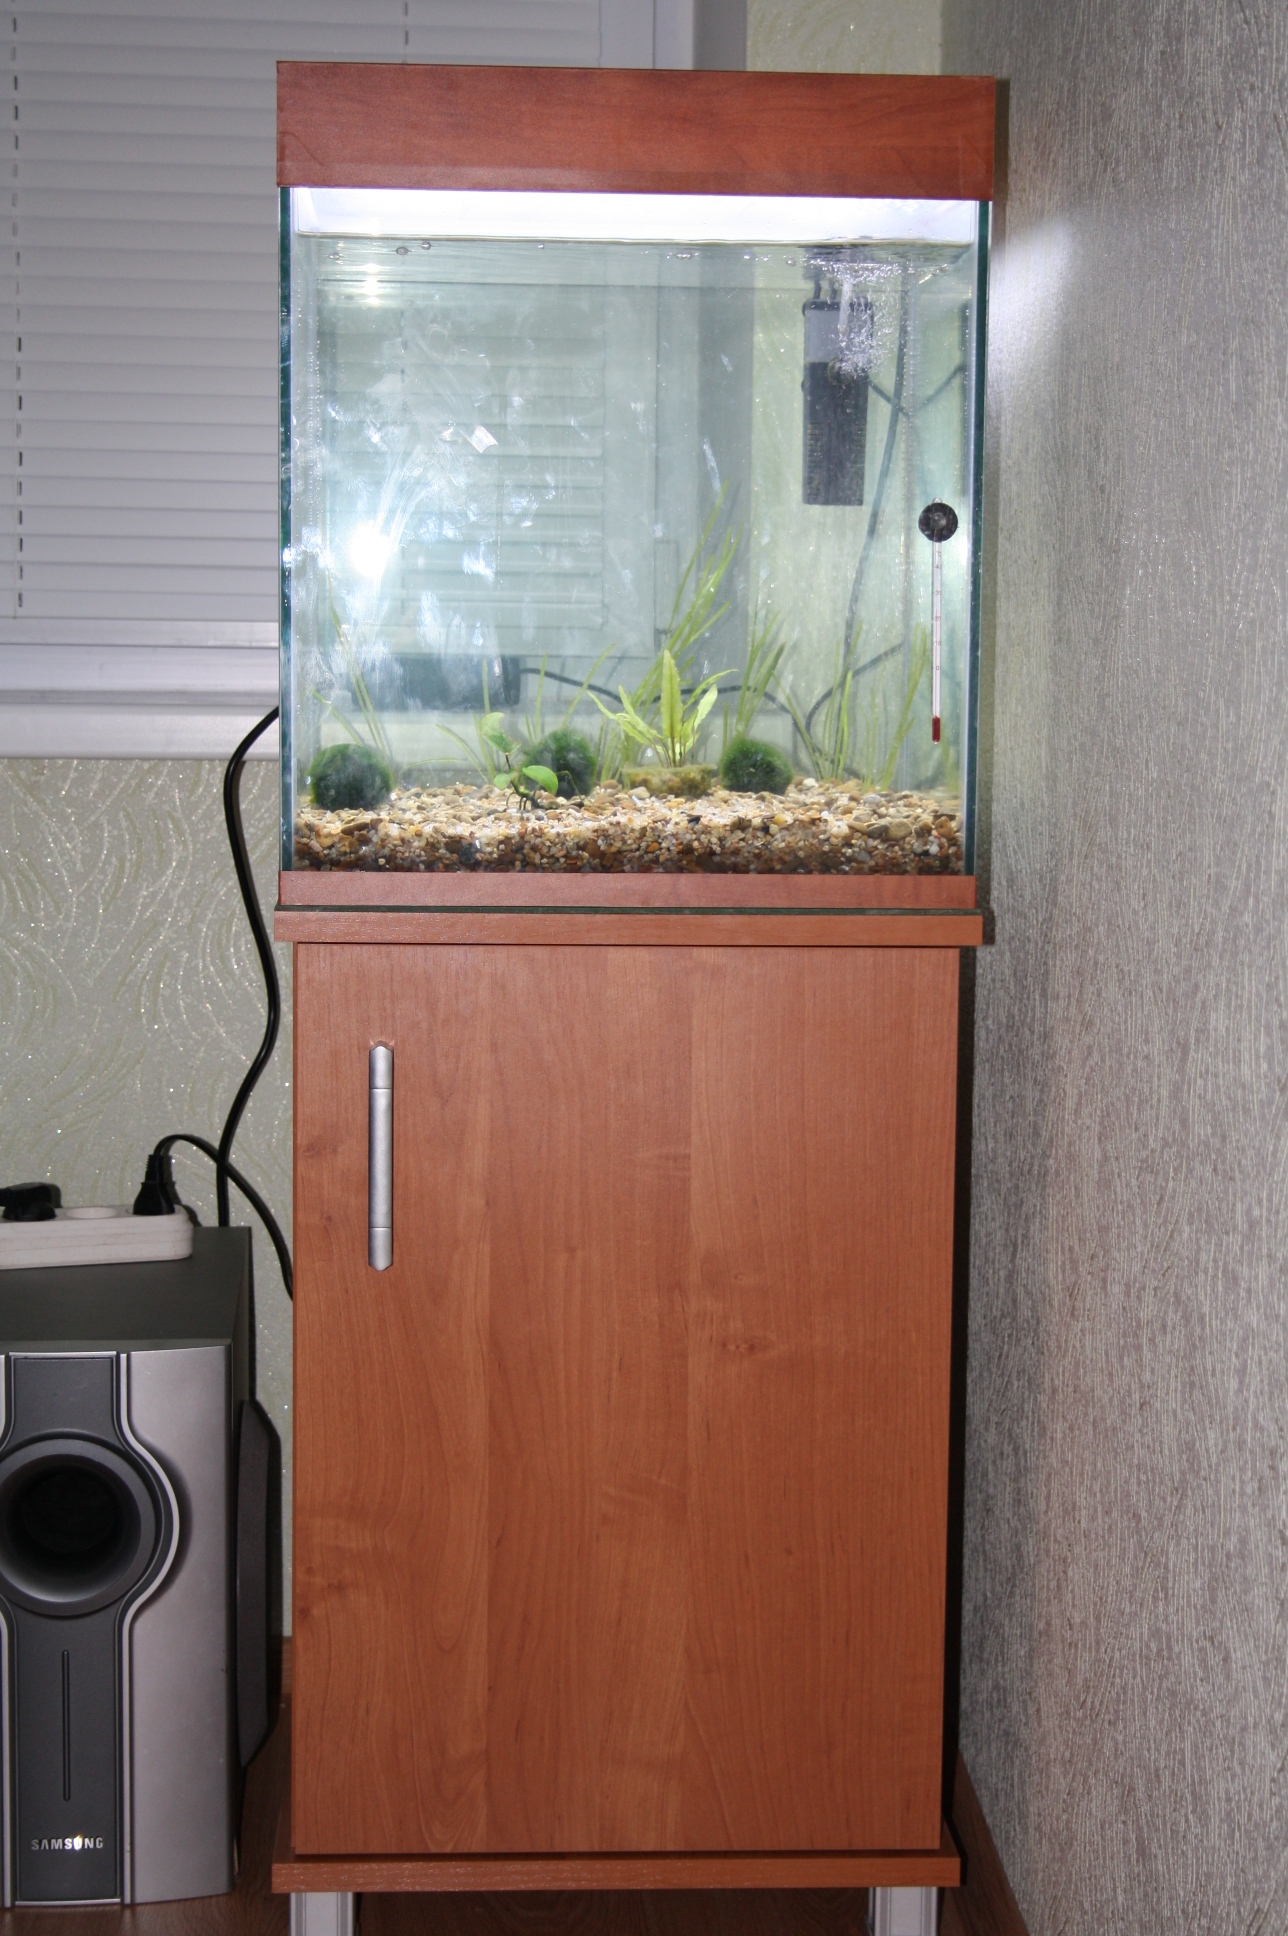
Plus, you don't have to worry that it will collapse under the weight of the aquarium. After all, making a shelf for an aquarium with your own hands, you can accurately calculate the strength, select high-quality materials.
Design
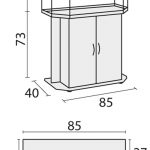
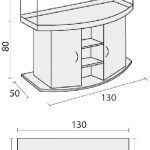
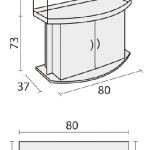
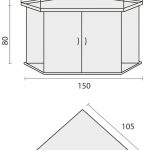
The basis of any future model is the creation of a drawing. Starting from the dimensions of the aquarium, it is necessary to make a diagram. Experts recommend making the design in such a way that the tabletop matches the size of the glass container, a slight excess is allowed. It is better not to leave too large protruding parts.
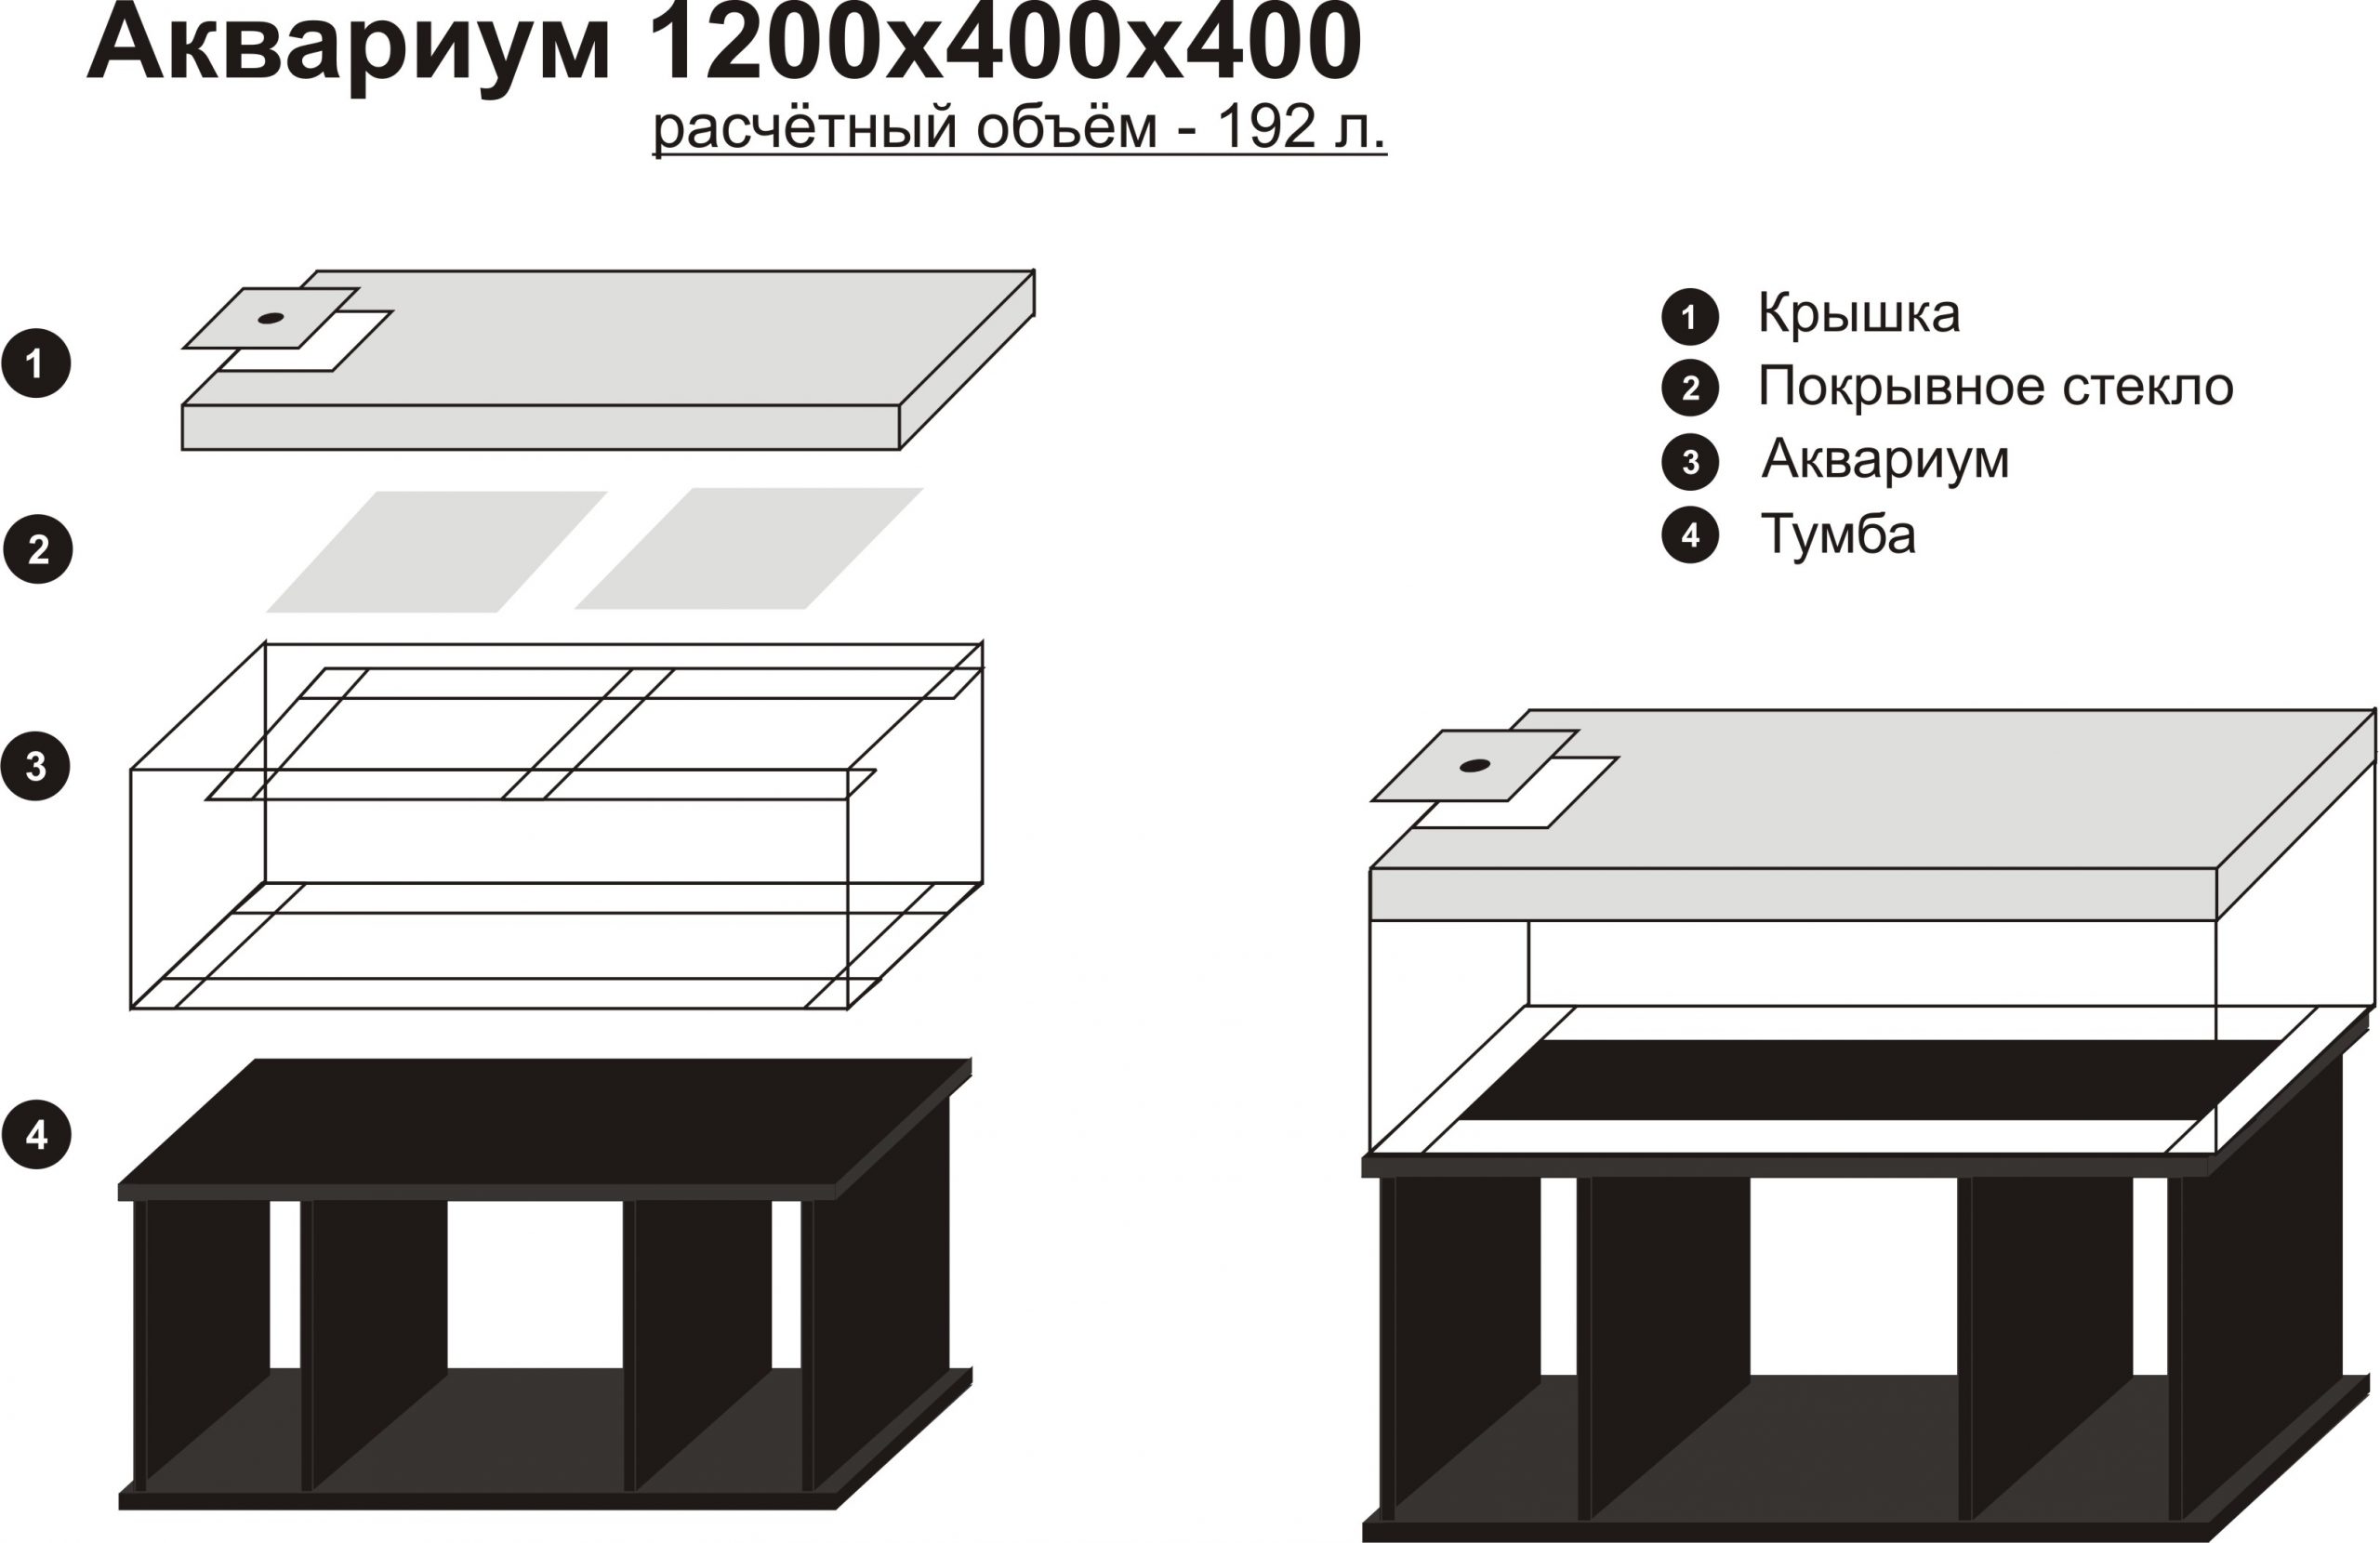
First of all, it should be borne in mind that the curbstone must hold the mass of the aquarium filled with water with all the equipment. When designing, every detail is taken into account so that the finished structure will serve for more than one year. An important point is the height of the product.
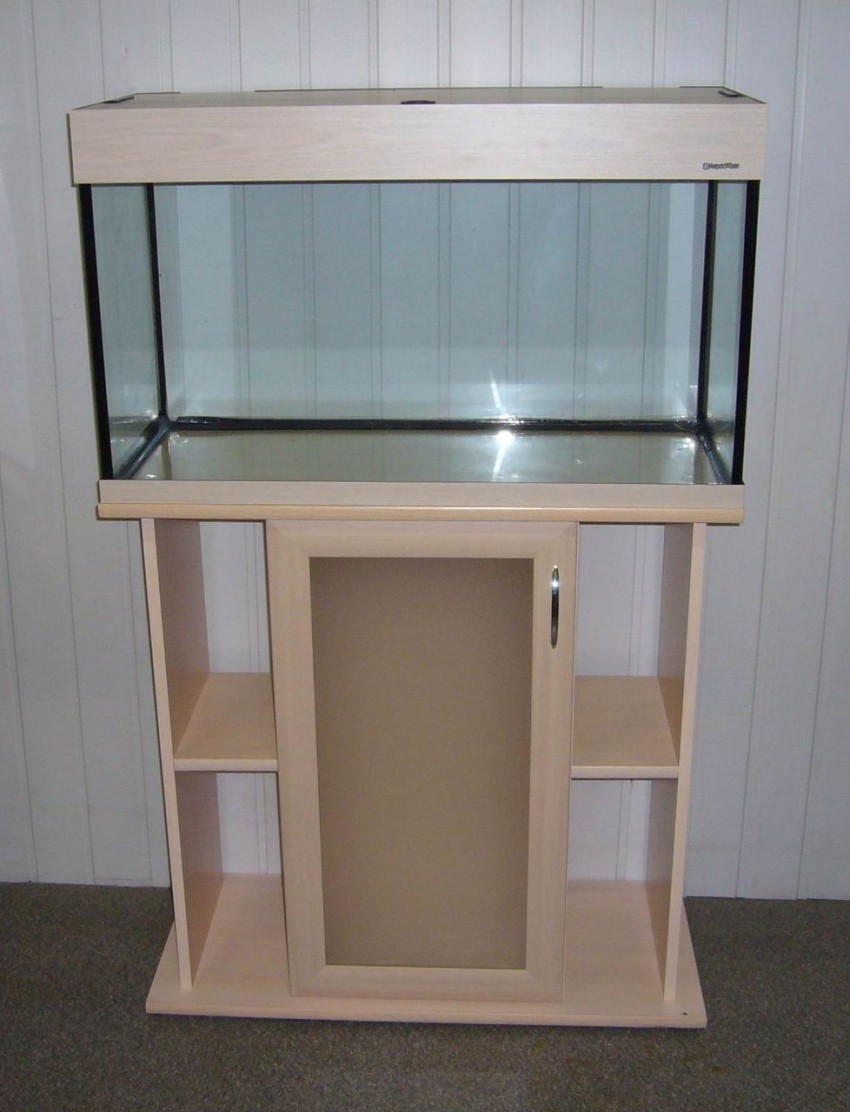
It is worth considering in advance at what level the aquarium should be installed so that it is comfortable to observe the underwater world. If it is planned to be placed in a recreation room or living room, the optimal height of the cabinet, taking into account the legs, will be seventy centimeters. For bedrooms, you can do a little lower.
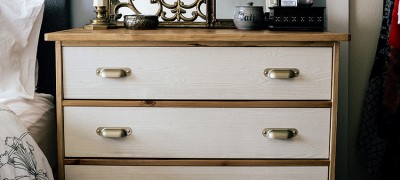
When drawing up a drawing, it is necessary to provide for the functionality of the use of this piece of furniture. You can equip the product with shelves, where you can then place food, aquarium accessories, decorative elements. Depending on personal preference, you can add handles, drawers to the design.
Optimal materials
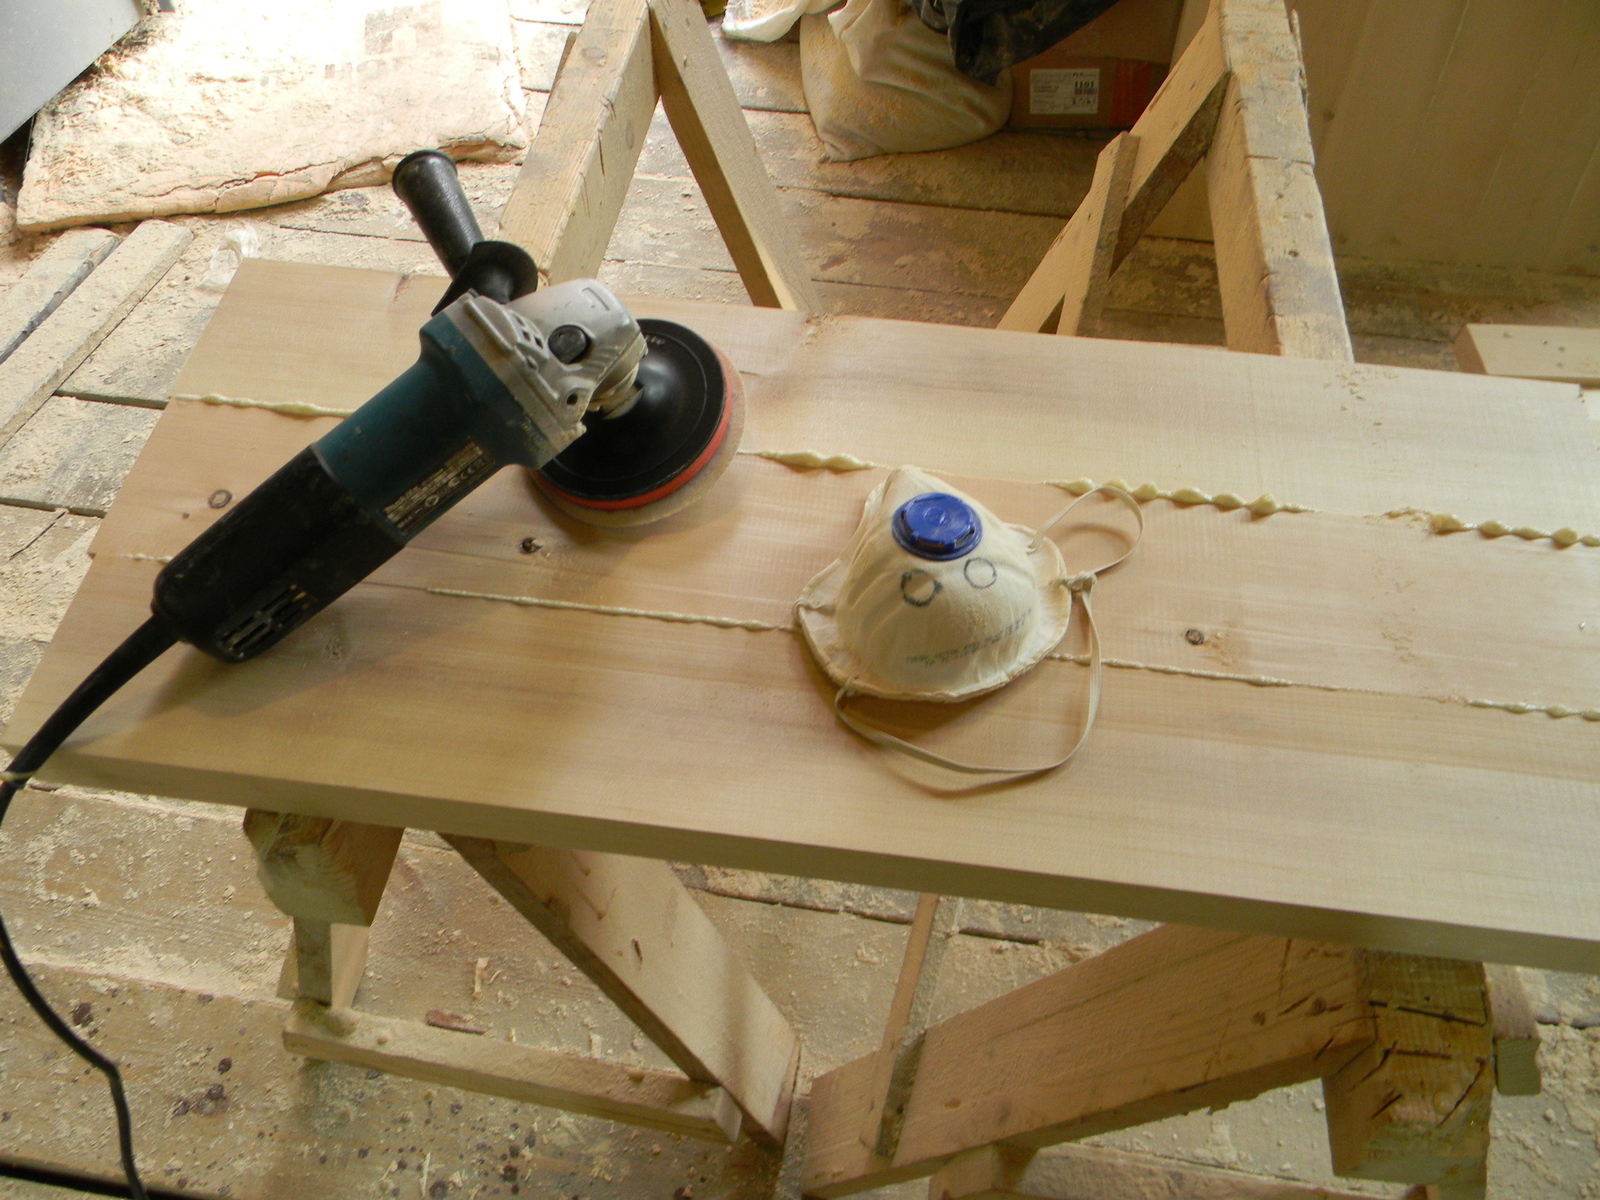
An important rule in the selection of materials is their water resistance. Laminated chipboard sheets are suitable. Although natural wood looks spectacular, it is not the best material for such purposes.
Do not forget that the structure must be strong, therefore it requires strengthening the back wall. A significant part of the severity falls on her. The canvas that will be used to create it must be at least twenty millimeters thick.
Better to build it between the inner and side partitions. This will increase the durability of the furniture. Besides:
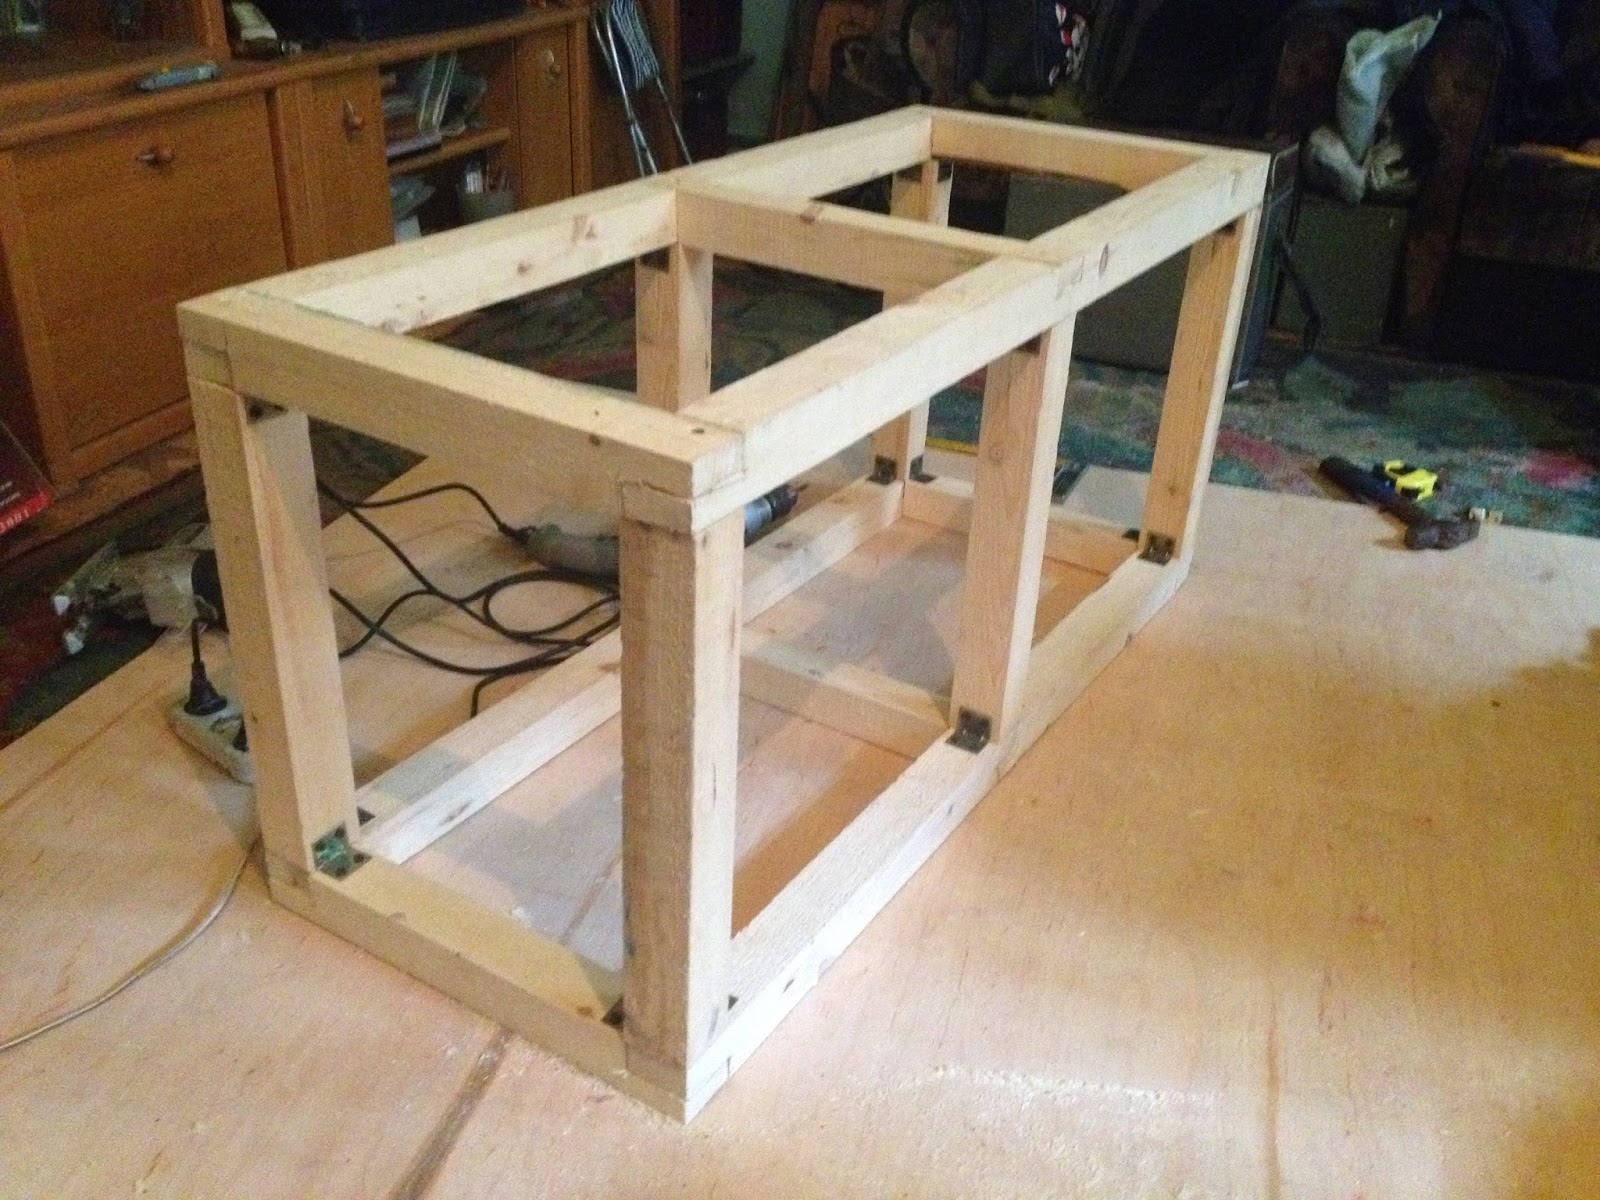
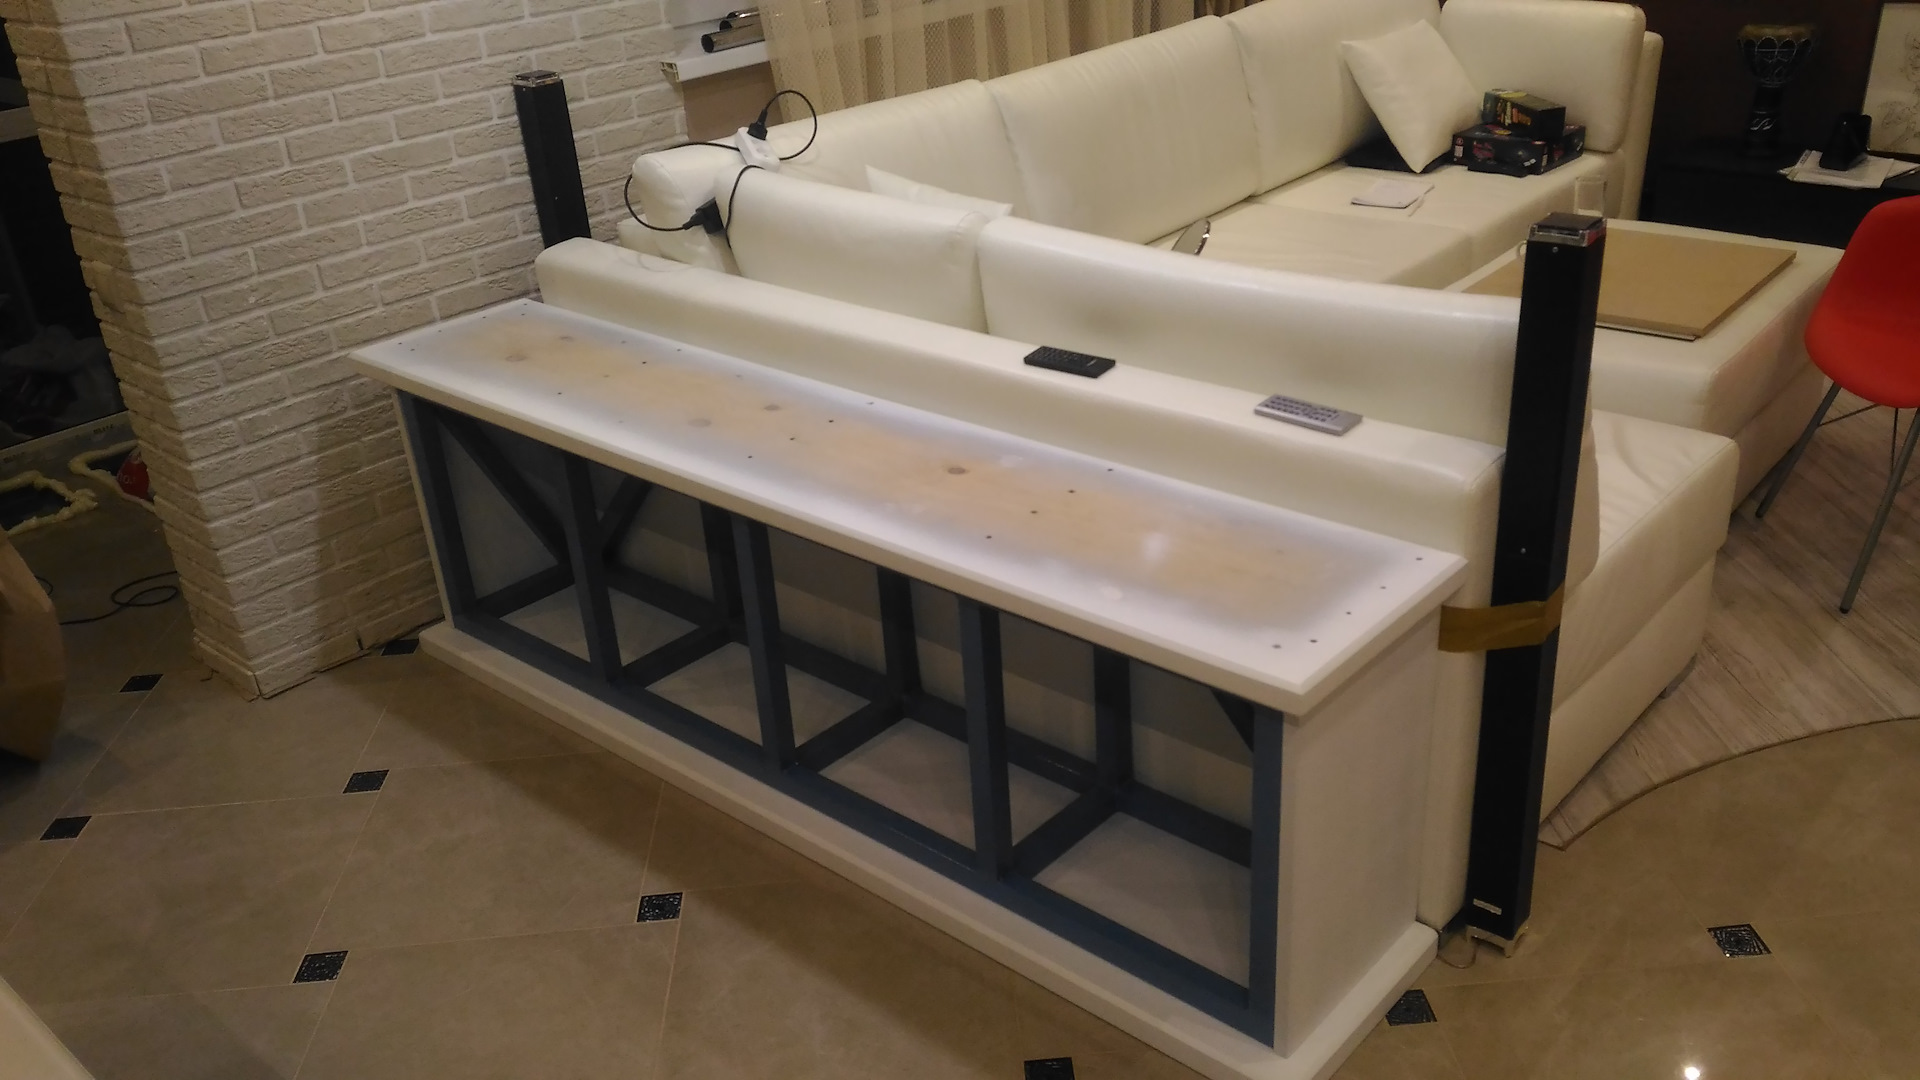
- for the base, a metal frame will be the best option. If this is not possible, a wooden bar will do;
- in order to avoid deflections of the future structure, internal partitions should be made every forty centimeters;
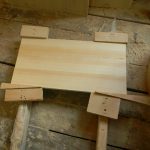
- chipboard of considerable thickness is used as a tabletop. During fastening, it is necessary to accurately align the level along the perimeter of the surface;
- for the legs, metal is the optimal material, but you can equip it with wooden supports with good stability.
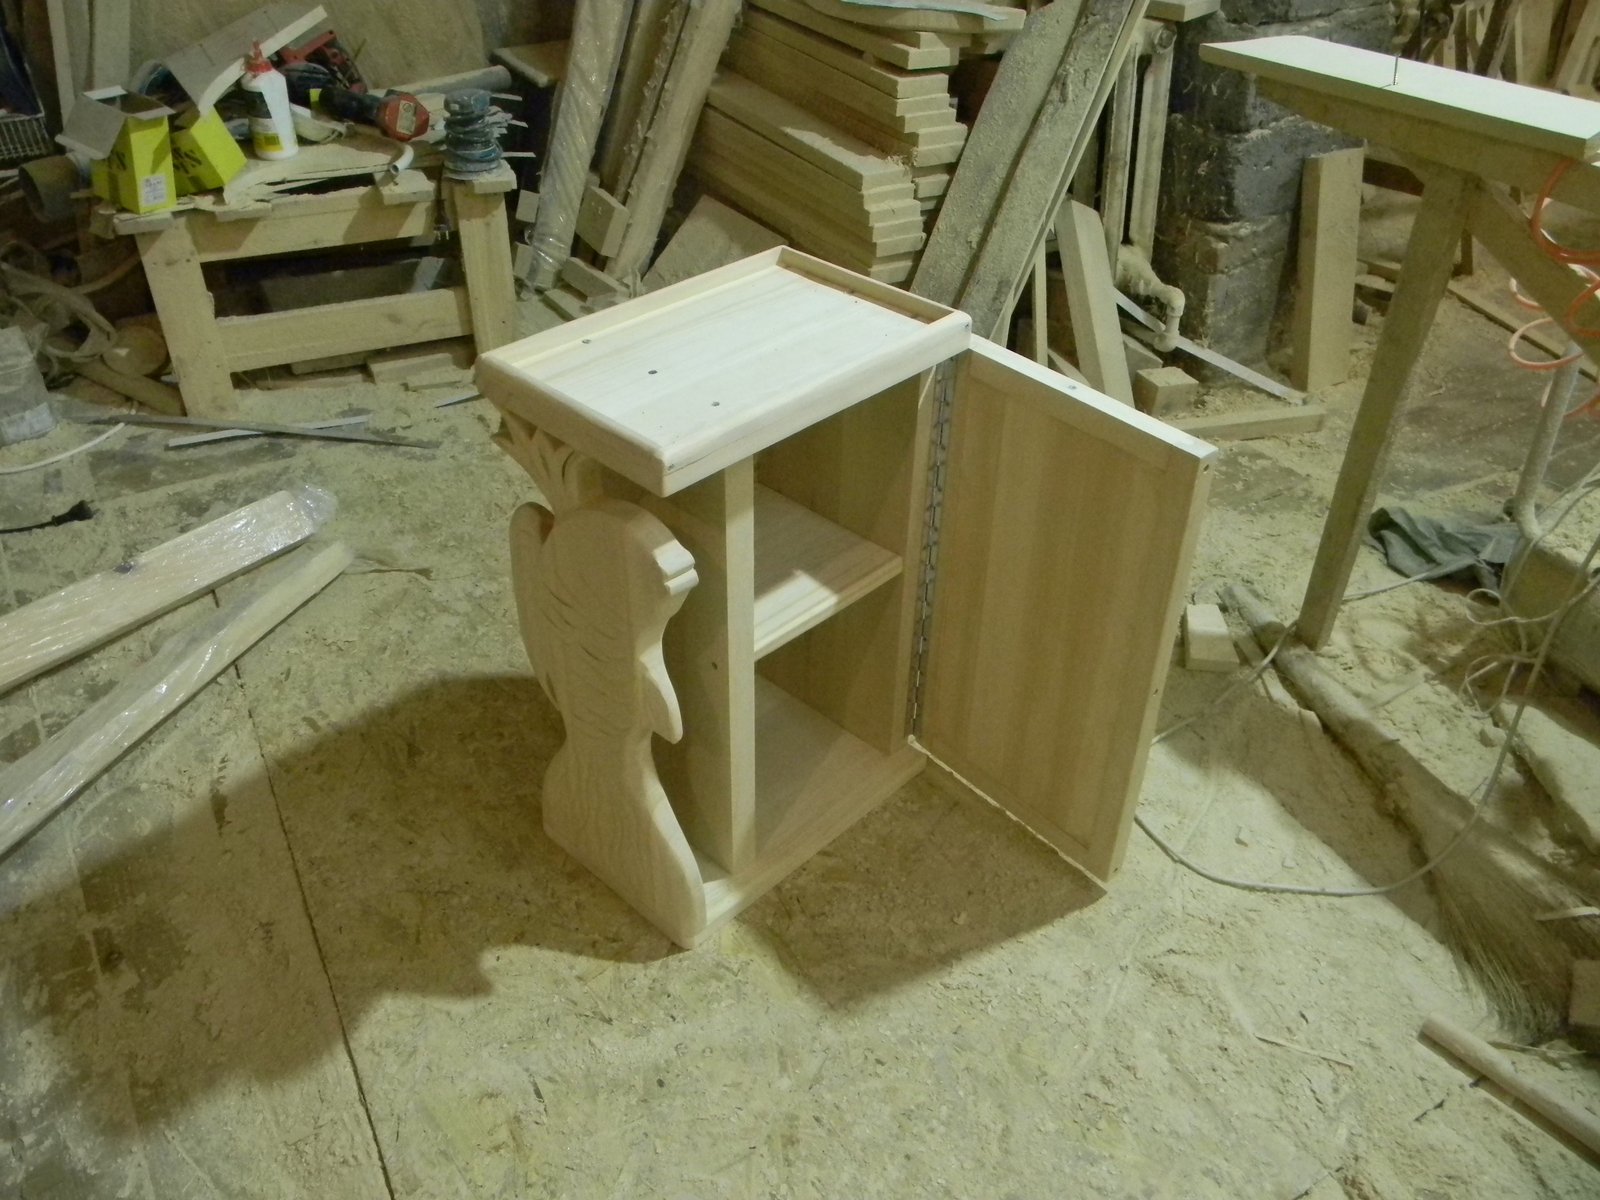
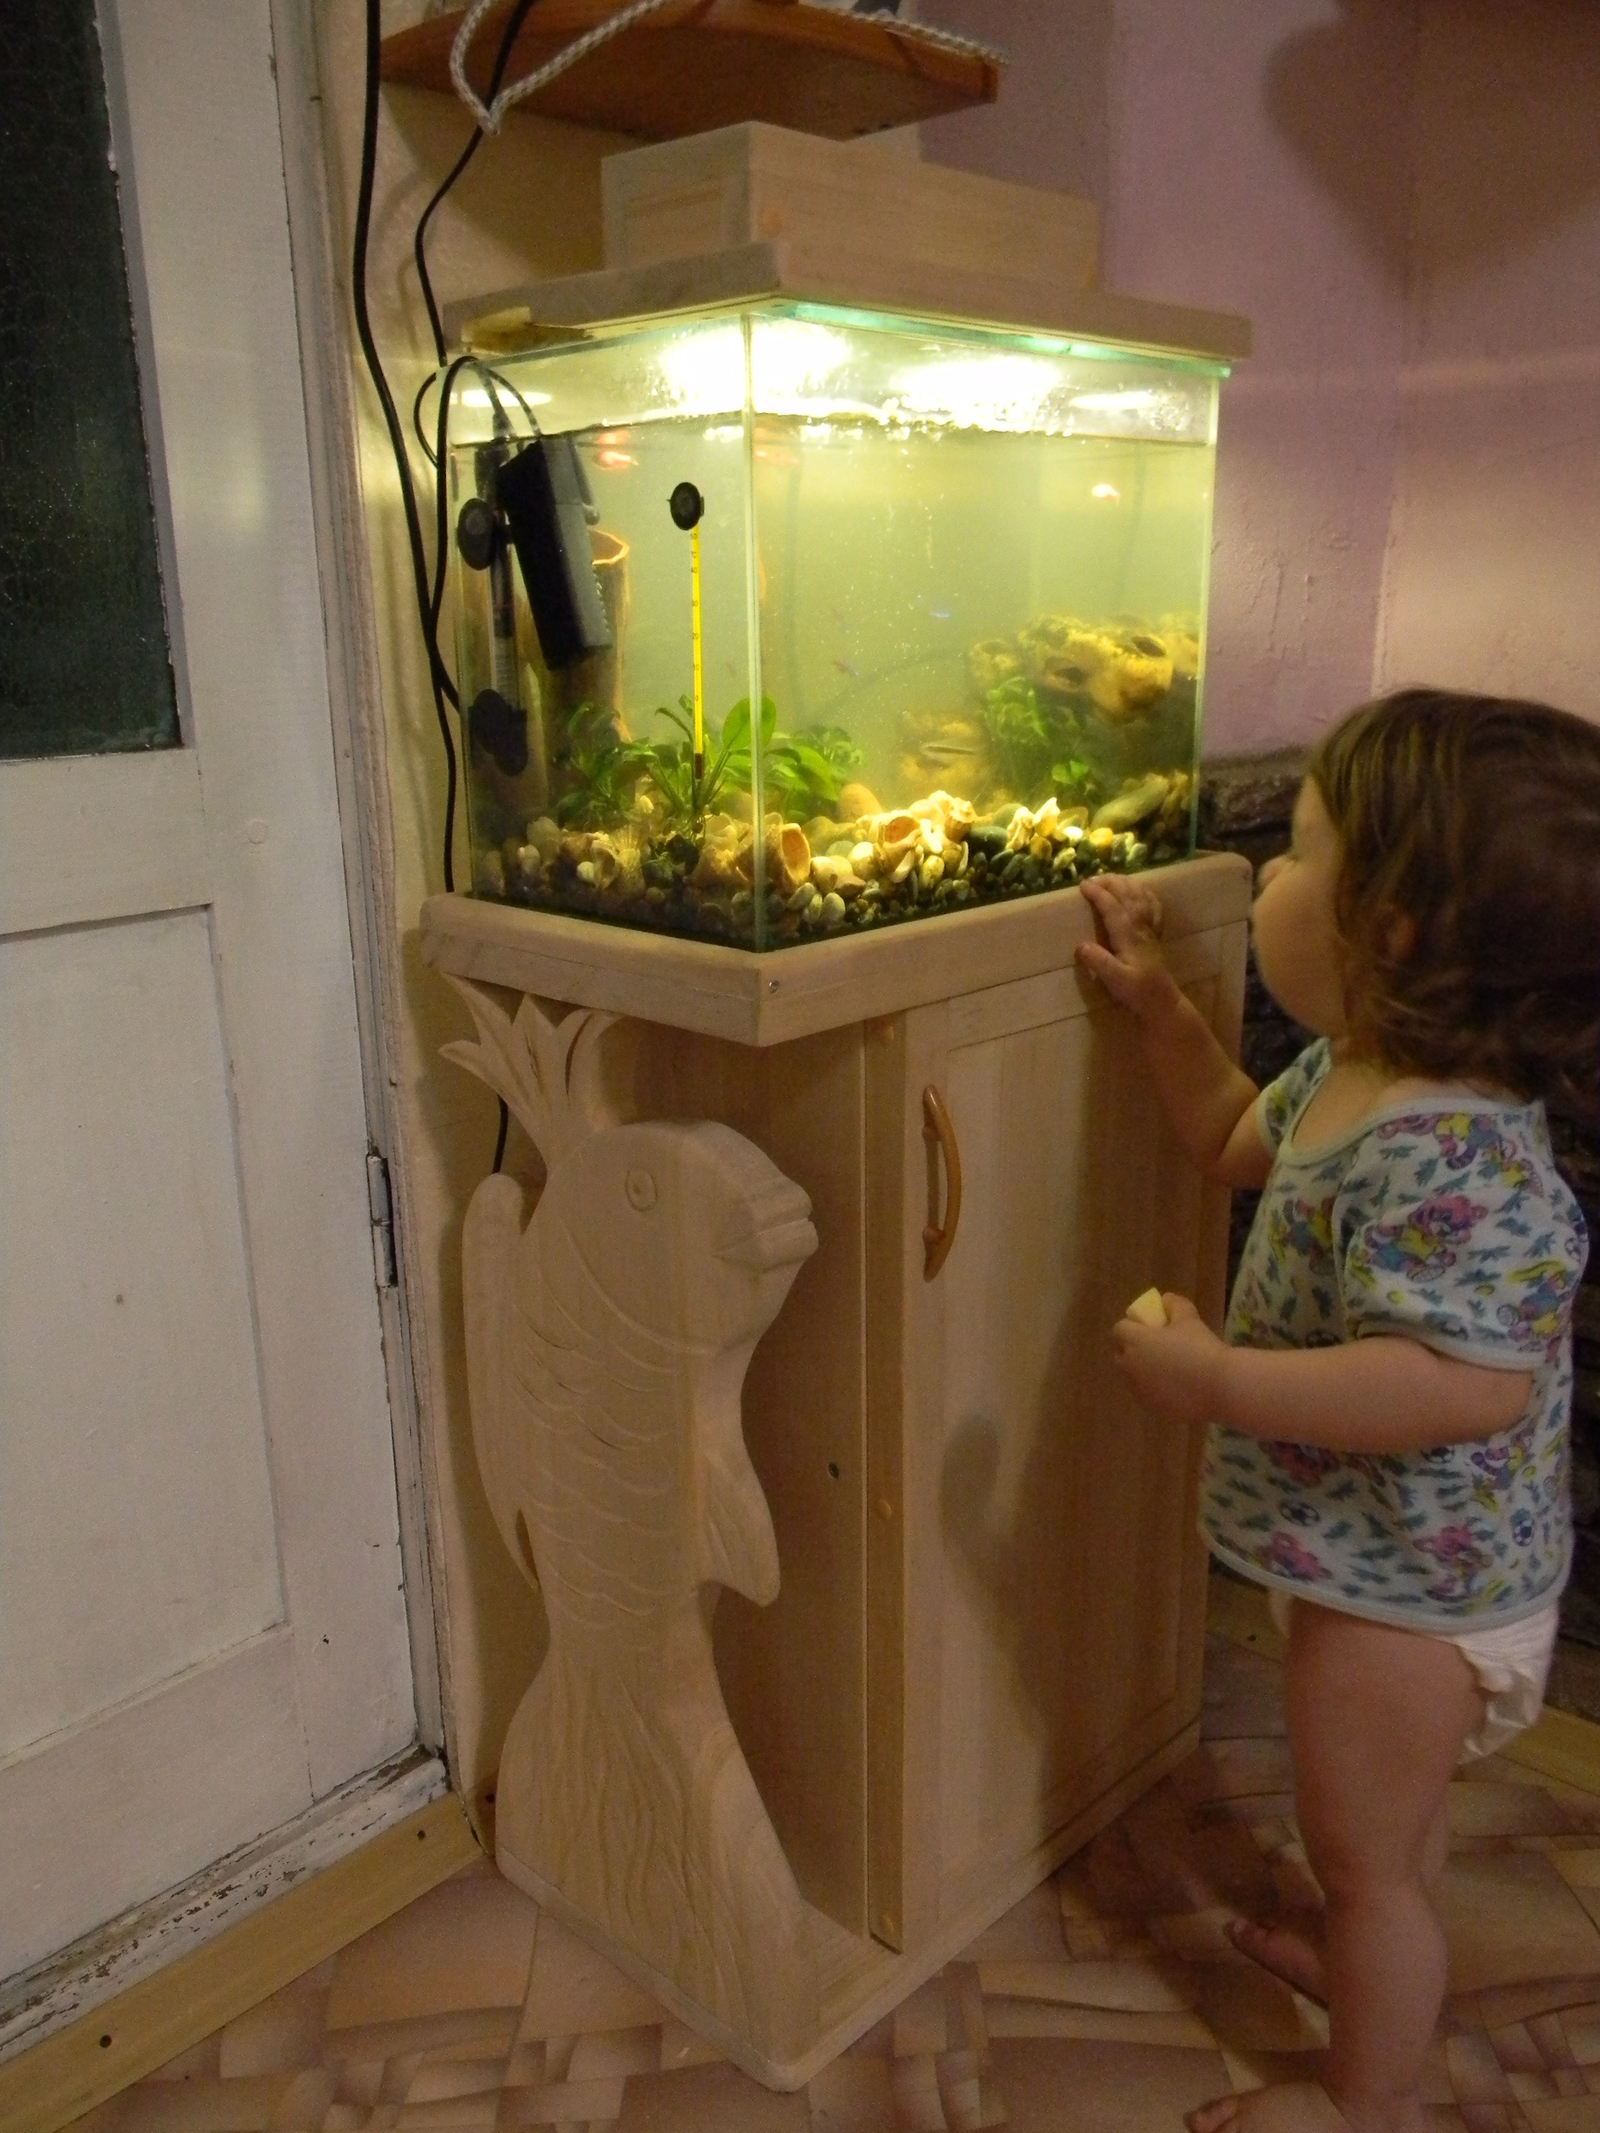
The decorative decoration depends directly on the master, also on the desired result. If you want your do-it-yourself aquarium cabinet to look light, without clutter, you can make carvings on the external facade. If the frame is made of metal, glass decoration is appropriate.
Stages of creating a curbstone
After the drawing has been thought out and drawn up, the necessary materials have been prepared, you can start creating a table for the aquarium with your own hands.
It is important to follow the phased action:
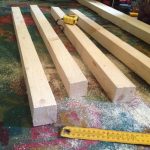
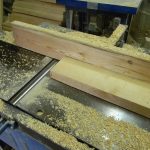
- Cutting and sawing material. You can do this yourself, following the scheme. After the parts are cut out, you need to glue the sections of the cuts with tape.
- Assembling the base. It is important to connect all the parts correctly, checking the corners. There should be no errors from the drawing. If you allow the slightest deviation, the structure will skew, and accordingly the aquarium.
- The elements are fixed using a screwdriver and euro screws. It is imperative to drill holes for confirmations.
- Tabletop fasteners.Two holes should be made at diametrically opposite corners of the canvas. Next, you need to attach the tabletop, adjusting it in level. If there are no flaws, you can screw it on.
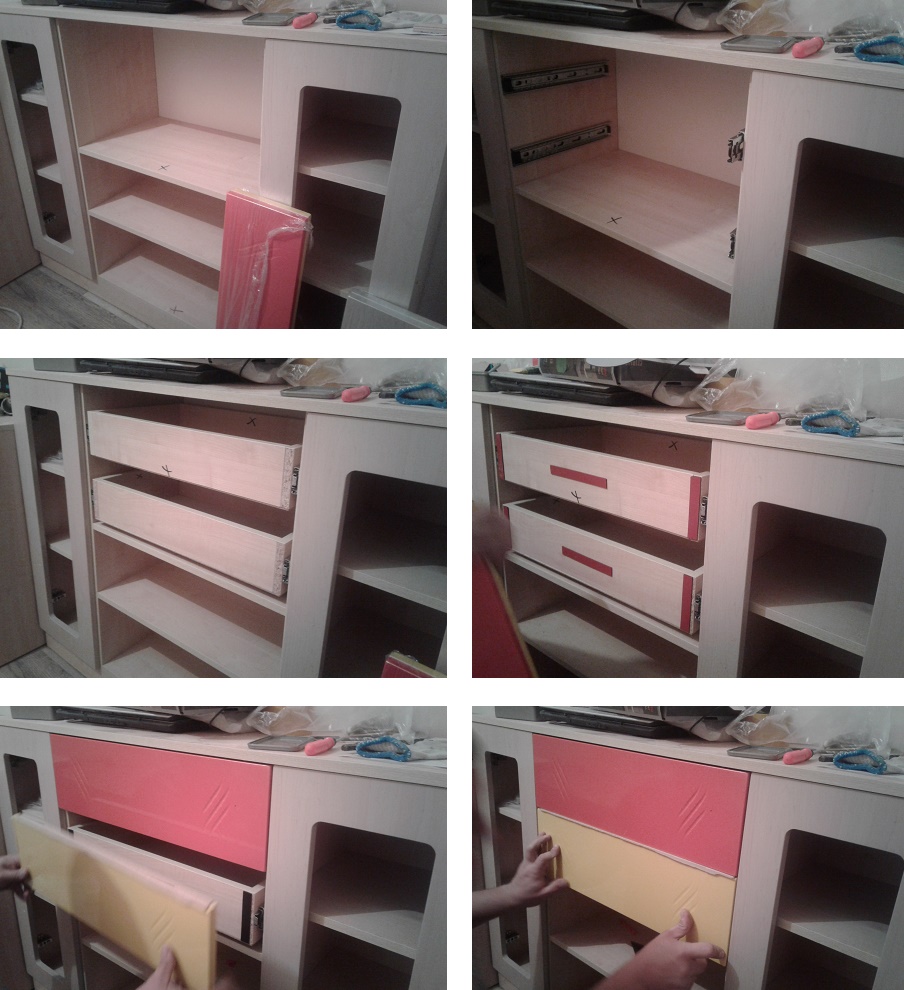
- Installation of shelves horizontally, assembly of drawers, installation of the door.When equipped with drawers, you need to accurately fix the rails. The doors are installed with furniture awnings. Smooth opening, closing is ensured by door closers.
- Fixing the legs. At this stage, it is important to install them correctly and clearly along the edges of the frame. This will prevent deflections, help to avoid subsidence of the structure. Also, heel cushions are placed on the legs themselves so as not to deform the floor.

Correct installation
When the assembly process is over, it is necessary to install a work of art - a curbstone. First of all, the floor must be level. It should also be borne in mind that the structure together with the aquarium will weigh decently, the system does not provide for movement. For this reason, it is worth considering in advance a convenient place for this installation.
In addition to the aesthetic accessories, you should take care of the technical side, not forgetting that the aquarium is connected to a power source. An electrical outlet should be placed near the structure, preferably more than one. Be sure to put a substrate under the glass container.
How to make a table or shelf for an aquarium
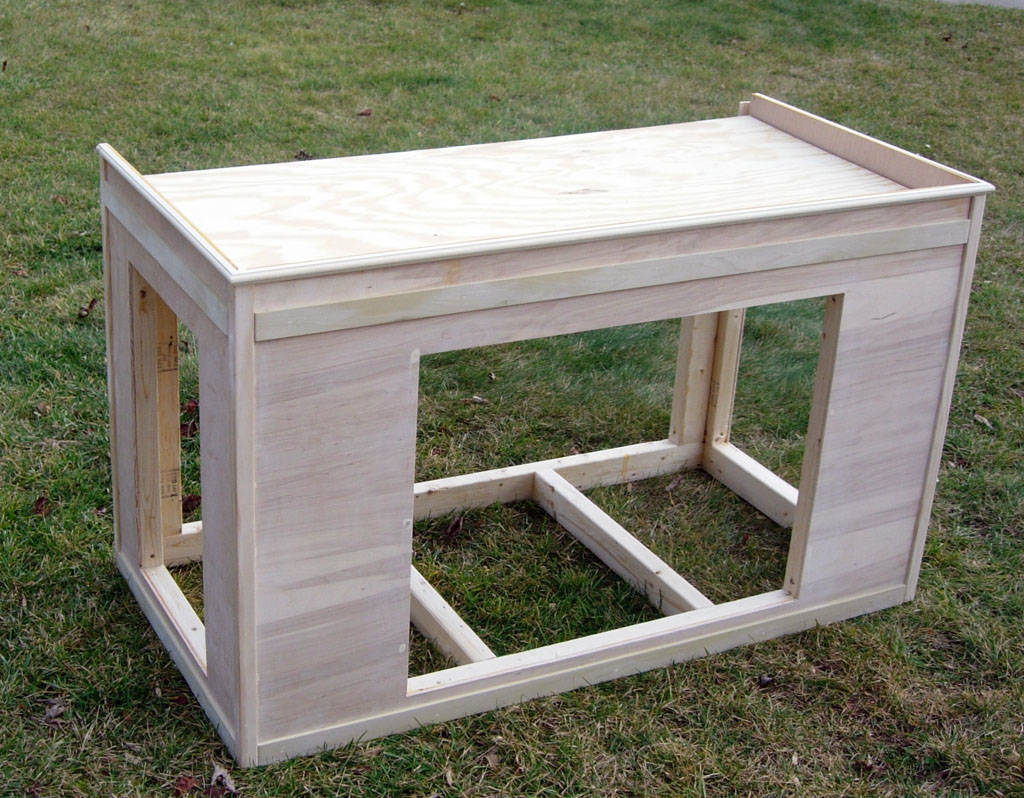
Having made the decision to make a table for the aquarium with your own hands, you can use wooden pallets. It is not necessary to buy expensive materials, bars, plywood, chipboard are quite suitable. First, the frame is made, it must be stable and strong.
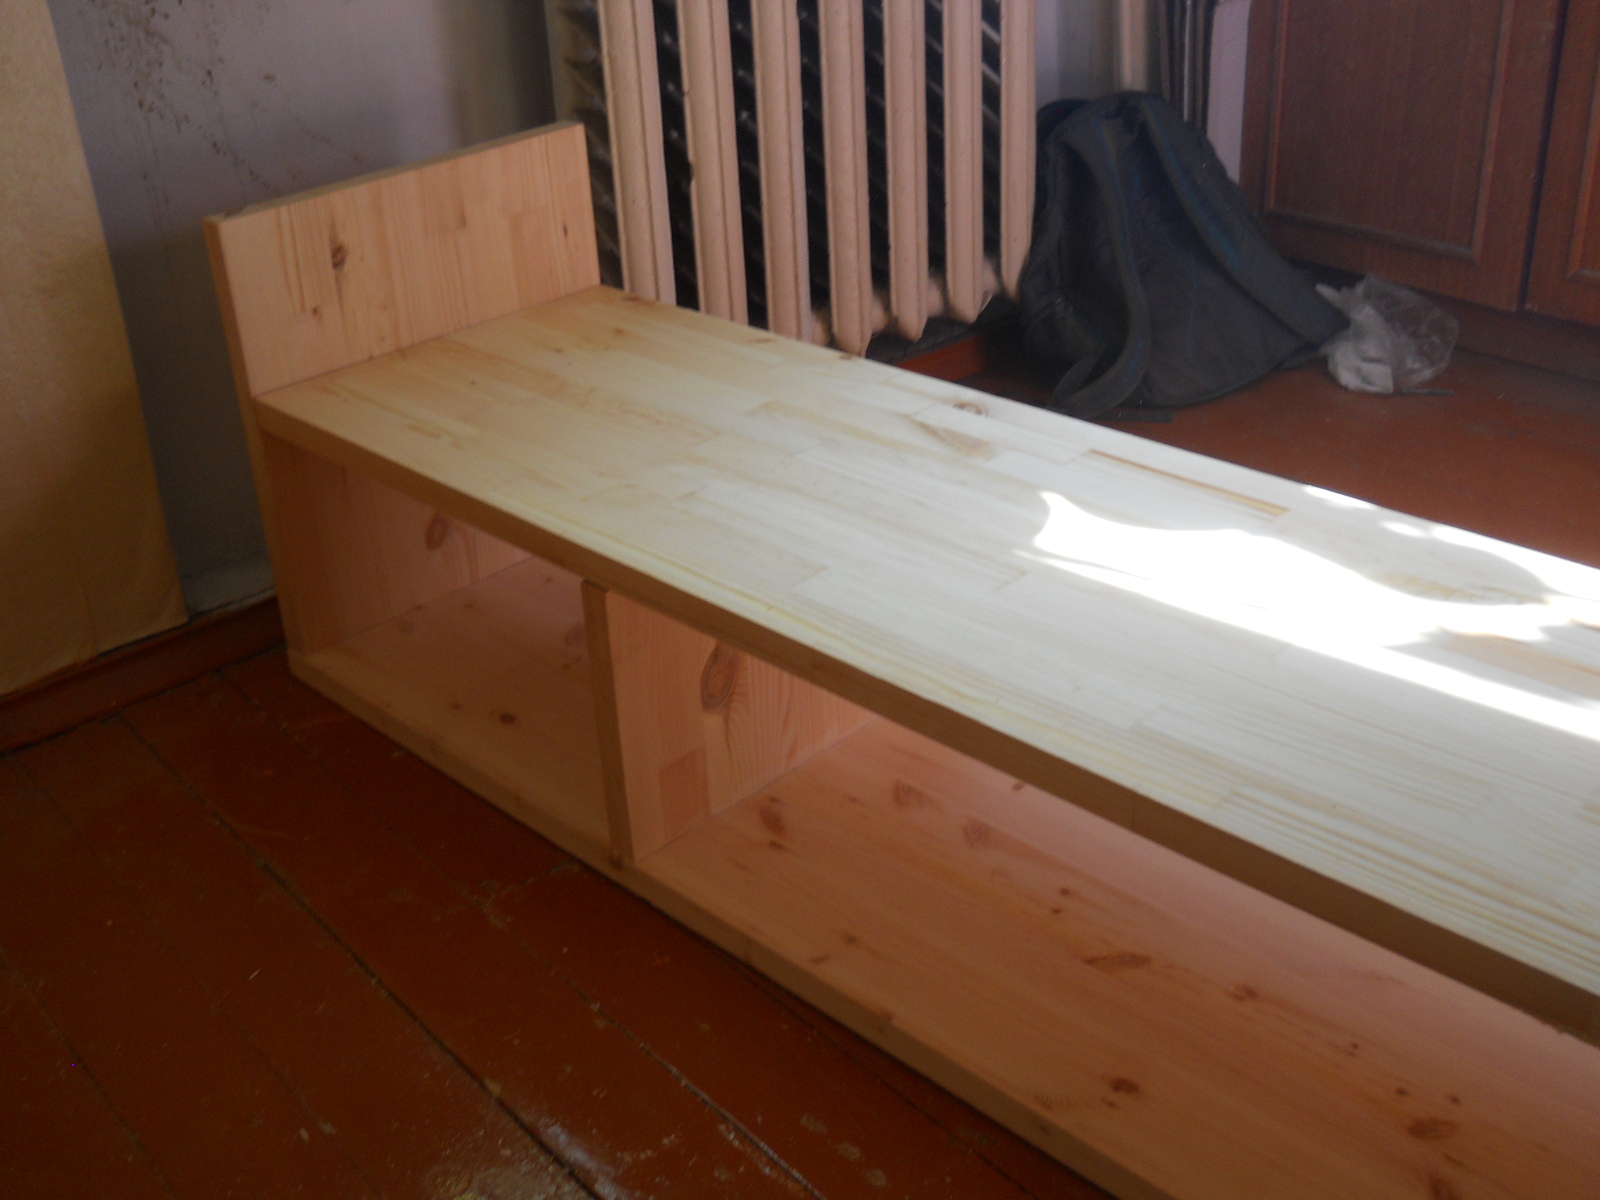
Everything is simple here, you need to assemble two rectangular parts, placing one at the bottom, the second at the top. Four bars are used to connect them. Further, similar to the assembly of the cabinet, you need to fix the elements with wood screws. Having drilled the holes, it is necessary to wrap it with a screwdriver. The next step is to attach the countertop.
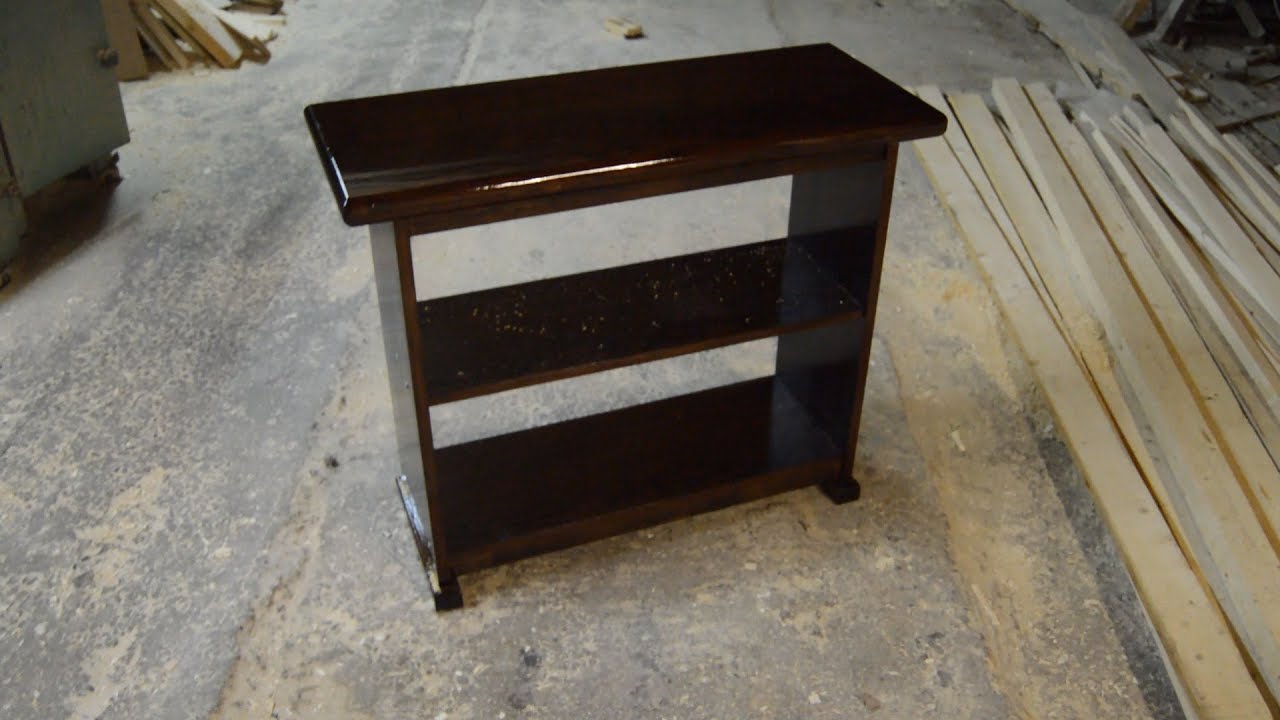
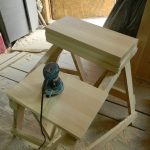
After installing it, you can start creating the side walls and shelves. Which are made in the same way as the countertop. It is necessary to cut off the required number of boards, grind, level. Then the side seats are sheathed.Fixation is done with glue; self-tapping screws are also suitable.
Where is the best place to put an aquarium
When choosing a place to place an aquarium, it should be borne in mind that it is not recommended to put it in front of a window. Direct sunlight should not fall on it, otherwise there is a possibility of rapid blooming of water. Also not the best site would be placement at the door.
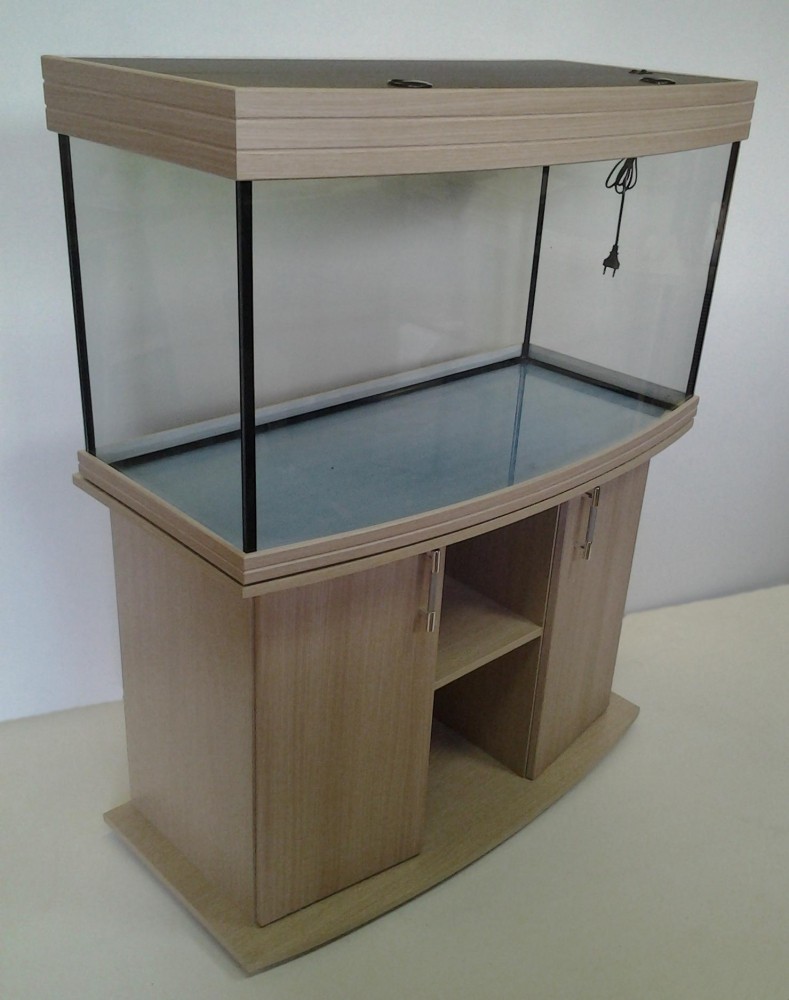
There should be a lot of free space around the structure, an electrical network is required. Fish do not like noise, so the aquarium should not stand next to the audio system. The best option is a quiet, cozy corner in an apartment or house.
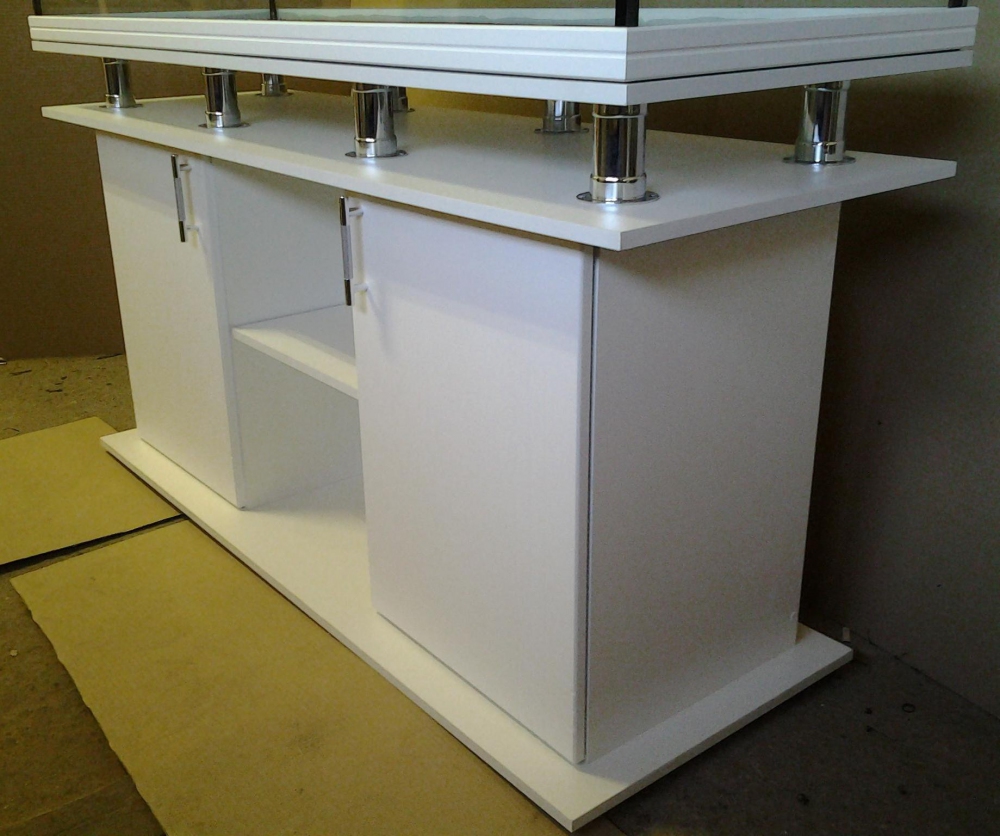
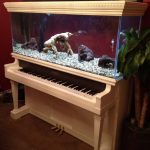
The indisputable advantage of self-production of a stand for an aquarium is the uniqueness of the design, cost savings, and exact size matching. You can also show your imagination yourself and equip the structure with various decorative elements, shelves, drawers.
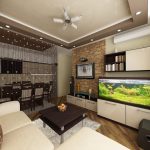
The main criteria for determining the optimal placement of an aquarium with a curbstone are free access, near sockets, installing windows, heating appliances and an air conditioner far away.
Video: do-it-yourself aquarium stand
