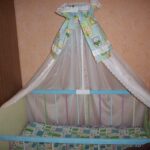
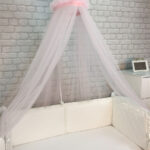
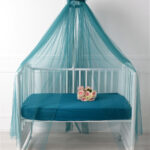
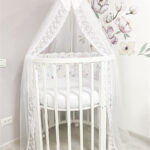
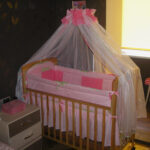
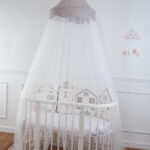
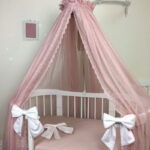
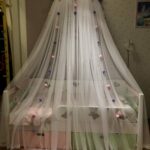
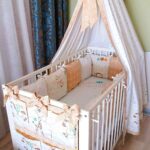
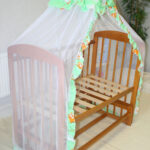
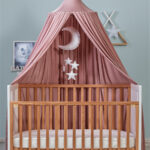
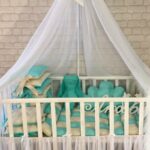
Do-it-yourself canopy on a children's bed
Each parent can give the child a piece of a fairy tale and transform his room using simple diagrams and materials at hand. If you make a canopy on a child's bed with your own hands, the sleeping place will become more comfortable, and the child will have the opportunity to “hide” behind the weightless matter during rest.
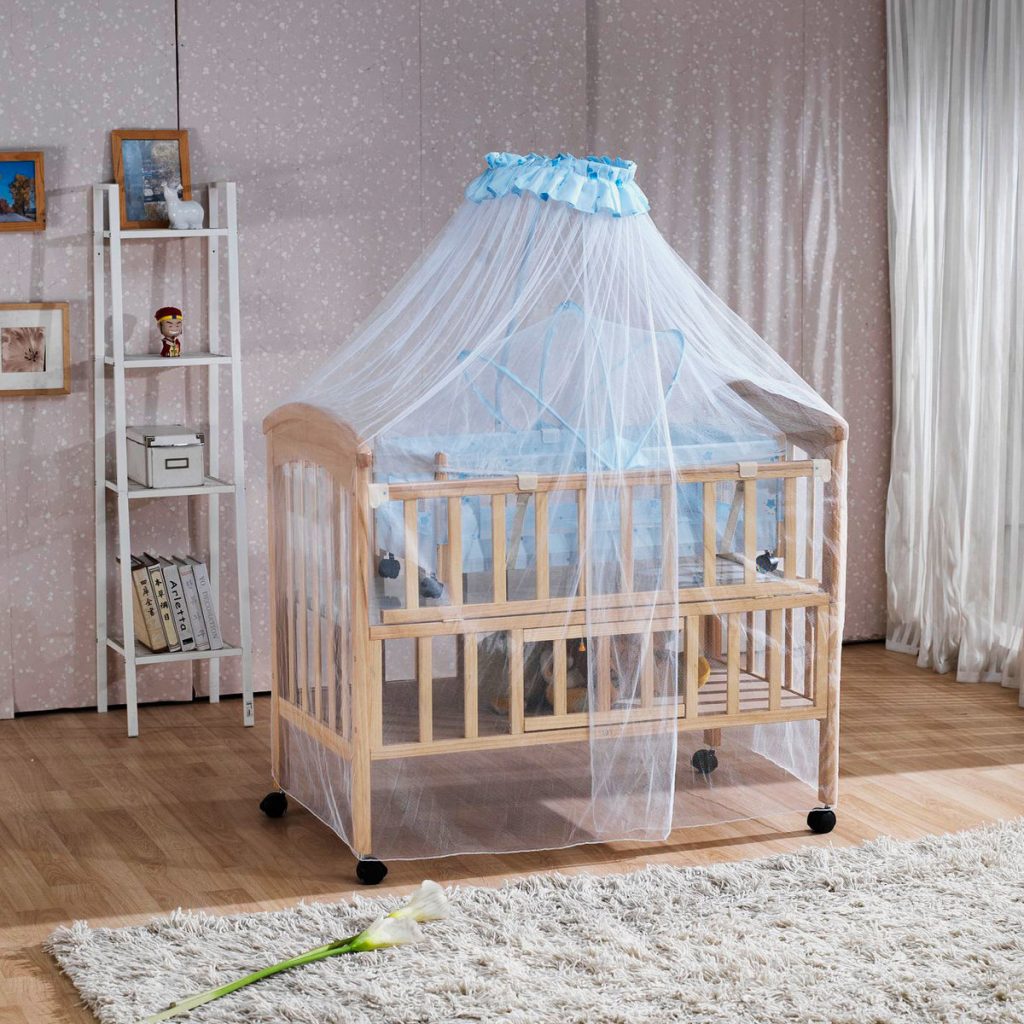
We will tell you what fabrics should be used, and what you can fix the canopy on.
We select the fabric for the baby canopy
The first step in creating a beautiful crib canopy is choosing the material. Only natural light and soft fabrics are suitable, which are good for air permeability and have antistatic properties (attract a minimum of dust).
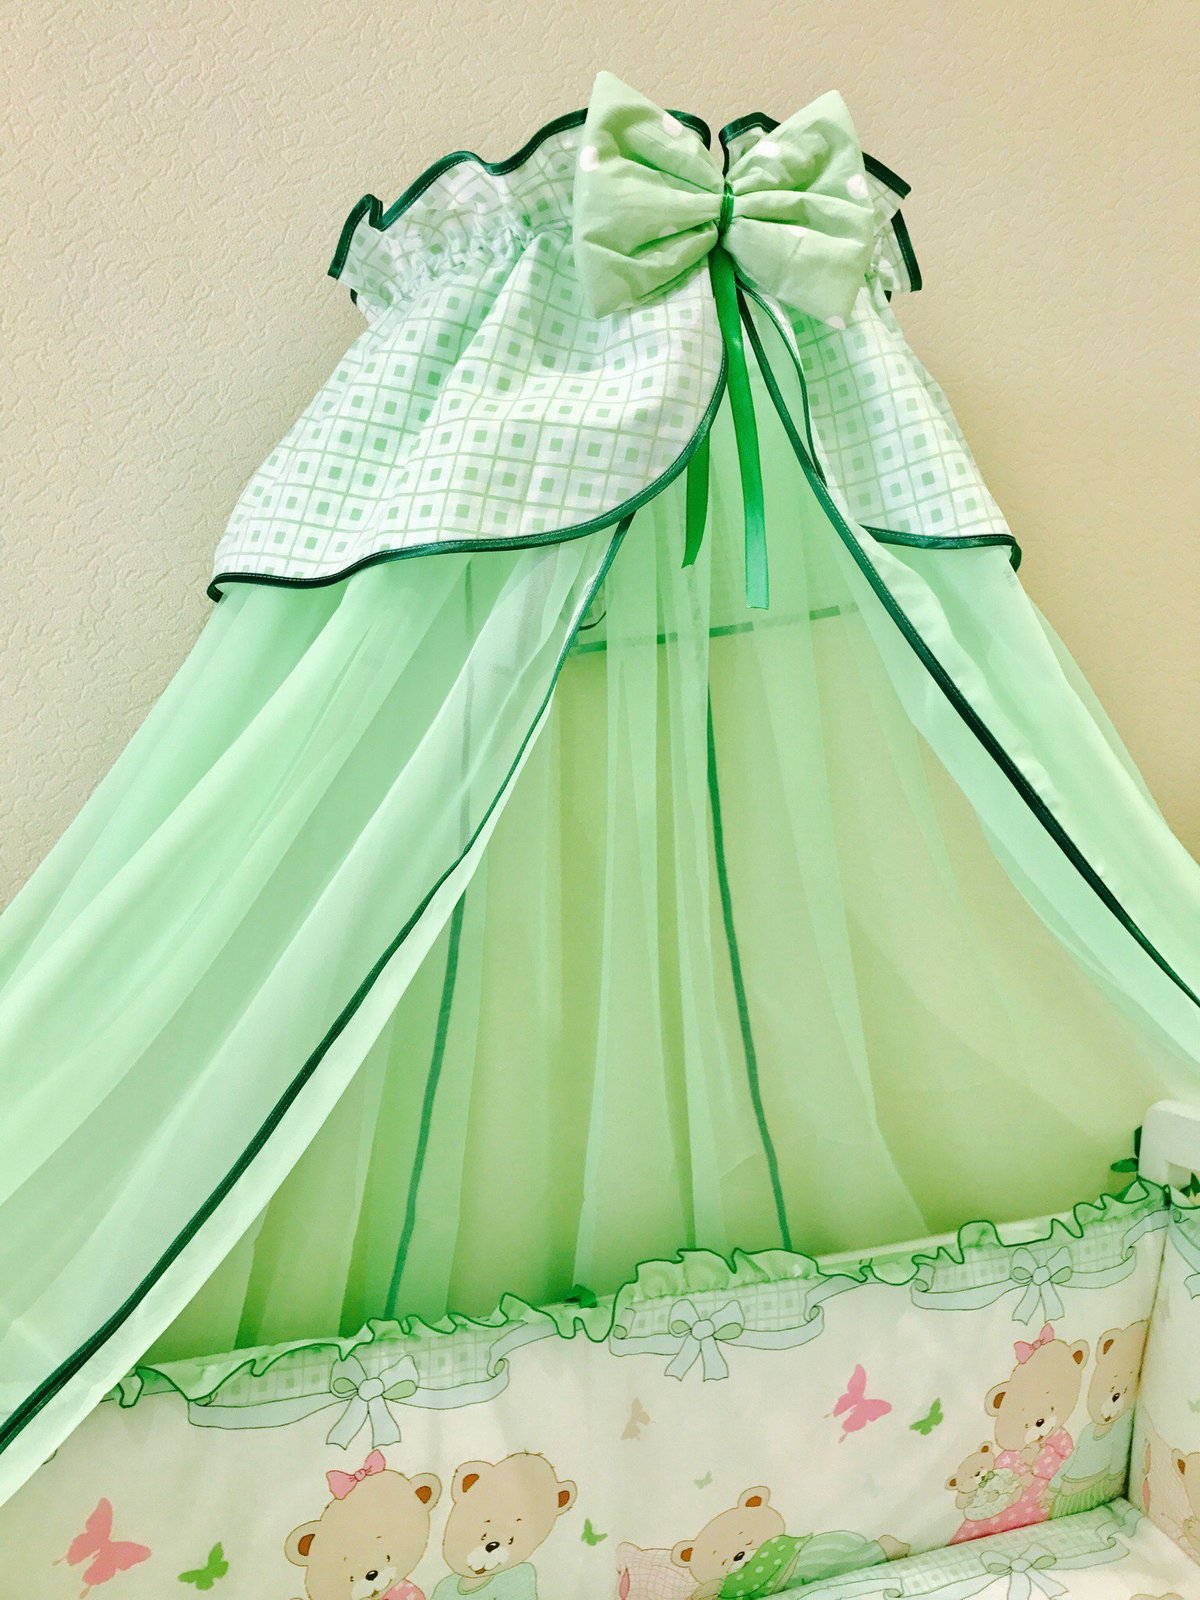
Flannel
Soft, warm fabric. Clothes and diapers for newborns are often sewn from it. The flannel will make a relatively dense canopy with high breathability. It is important to find a fabric made from natural threads: cotton, wool or a mixture of threads. Synthetic analogs are not suitable for a canopy on a children's bed.
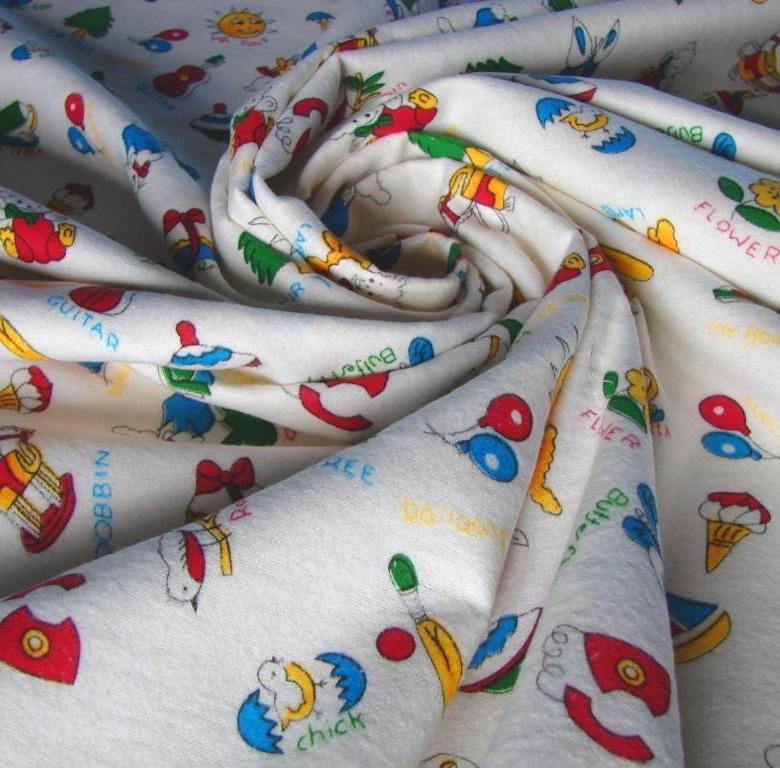
Silk
Delicate and thin matter, almost weightless, perfectly permeates air and light. Natural fabric will be the best choice, however, it costs many times more than synthetic counterparts. In texture, silk fabrics can be dense with a pronounced satin sheen, weightless, matte or semi-matte.
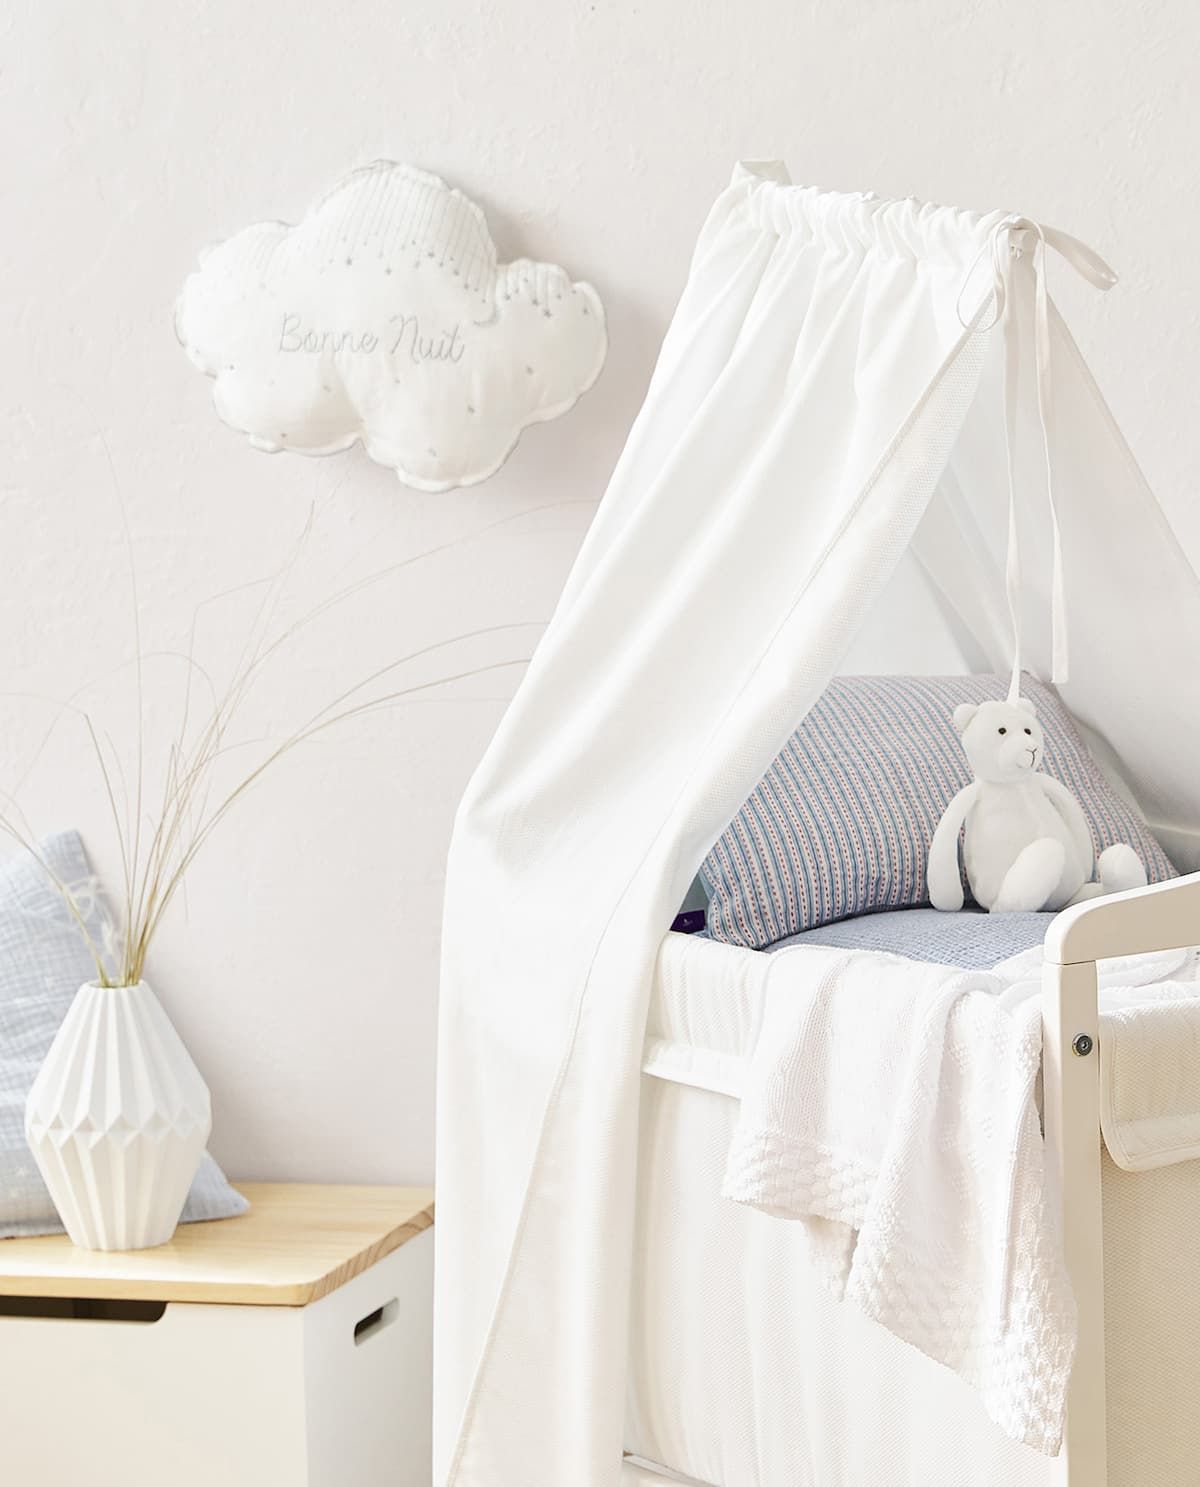
Organza
Thin transparent fabric that holds its shape well. It is made from silk, rayon or polyester. The first two options are more suitable for decorating baby beds. A lush canopy can be made from organza. The fabric is used alone or in combination with other fabrics.
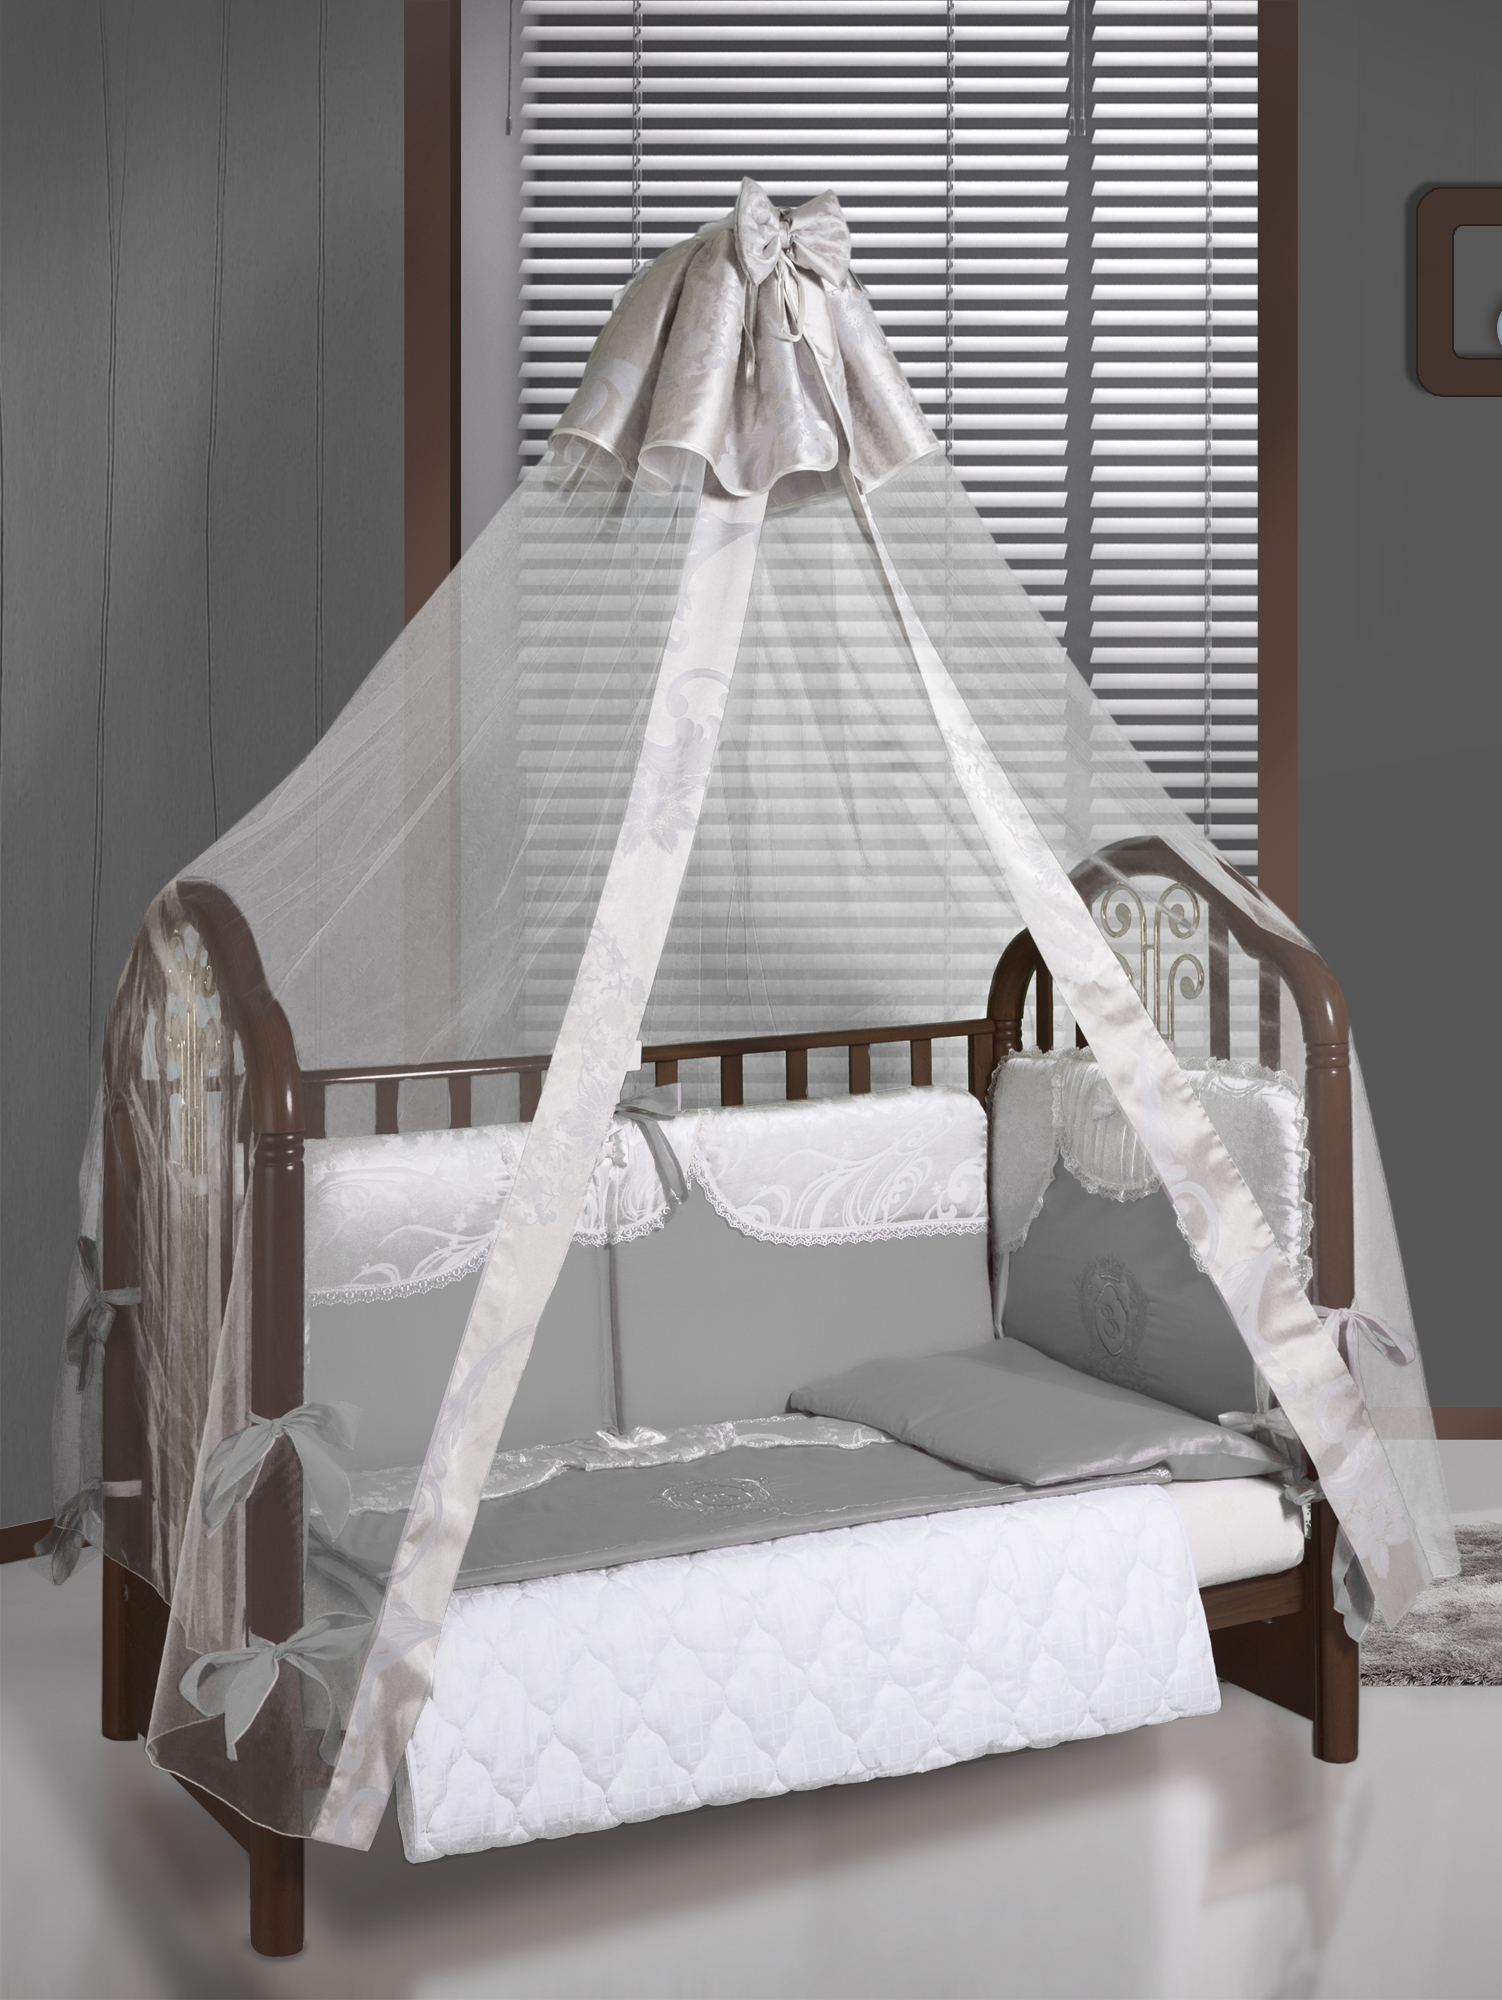
Chintz
Lightweight, breathable, made from cotton threads, often used in underwear and children's clothing. The only caveat is that the matter does not withstand a large number of washes, and after the paint fades, it becomes soft and loses its shape. But this is an insignificant problem, since the matter is not expensive, and as soon as the canopy loses its “marketable” appearance, it can be replaced with a new one.
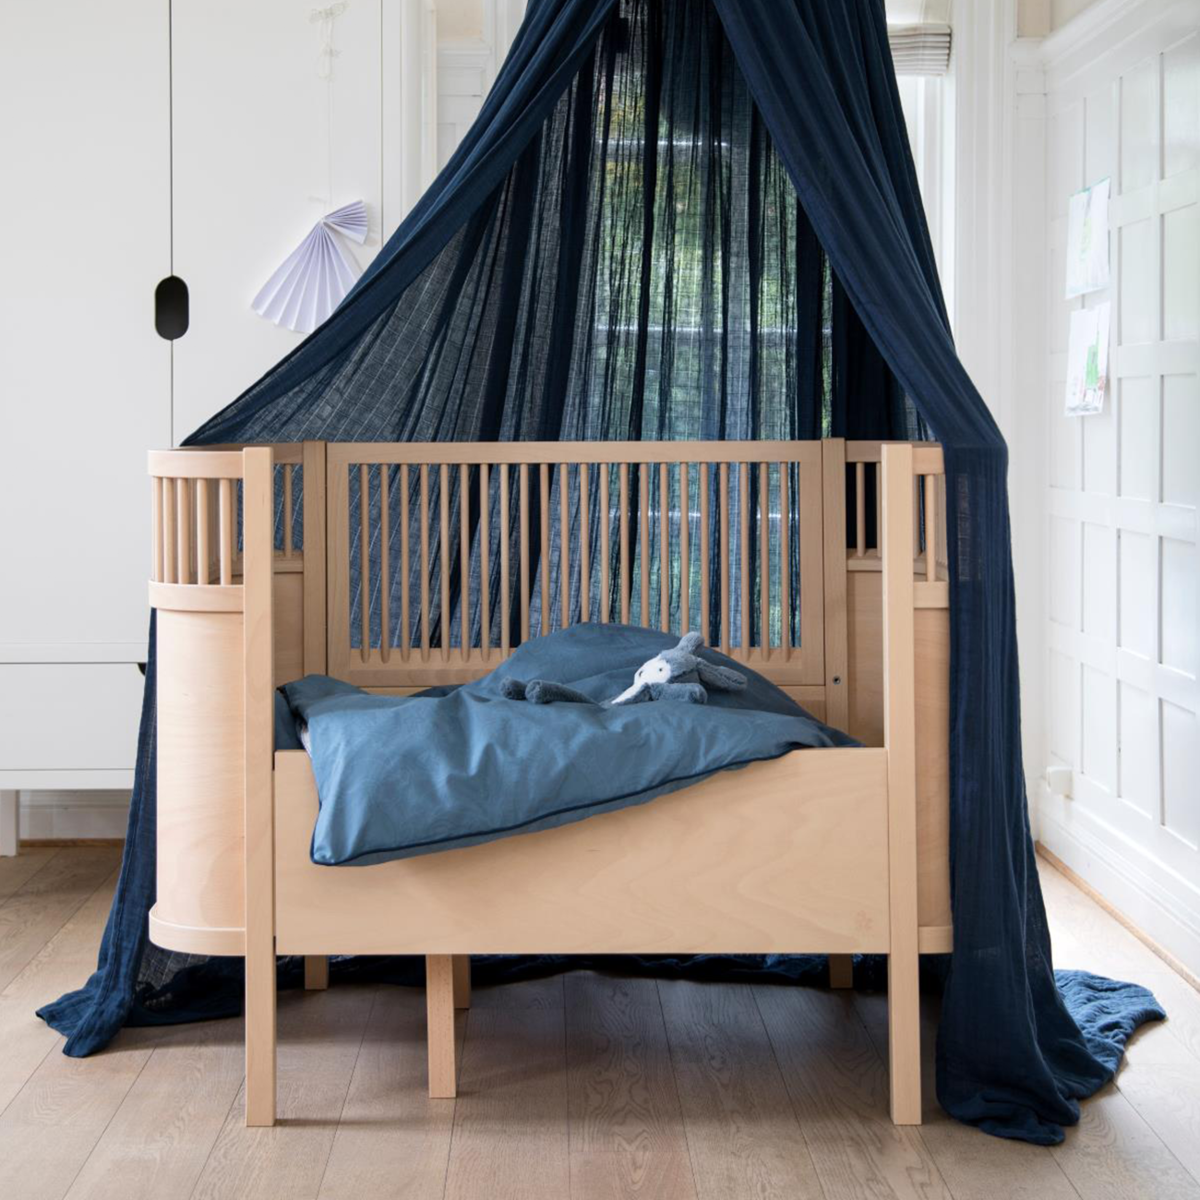
Thin linen
Breathable, wear-resistant, durable, does not attract dust. It is appreciated for its exceptional properties: the fabric removes heat and moisture, therefore, even on hot days, linen gives a feeling of freshness. The fabric is considered a natural antiseptic. Linen holds its shape well, perfect for a canopy that will cover the entire bed.
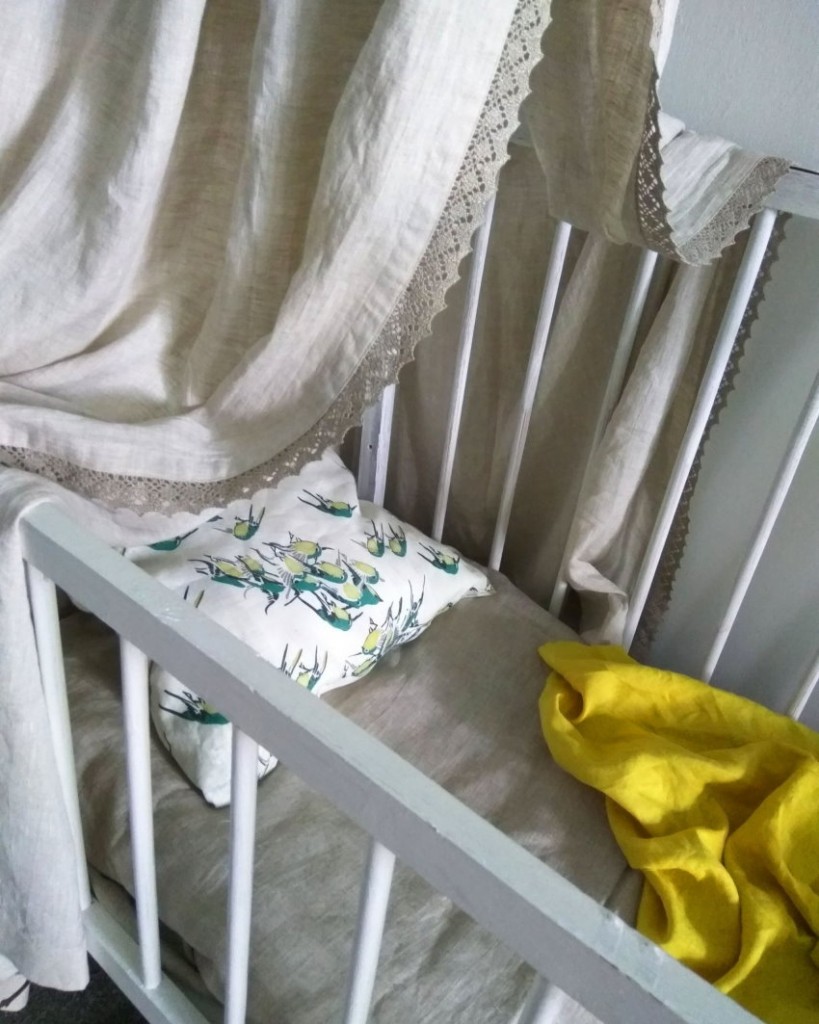
Making a canopy over a baby cot
The second step is to choose and make with your own hands a canopy mount for a crib. There are several practical and convenient options.
Regardless of the mounting method, you will need to make a canopy:
- screwdriver and drill;
- fastening accessories;
- roulette;
- pencil.
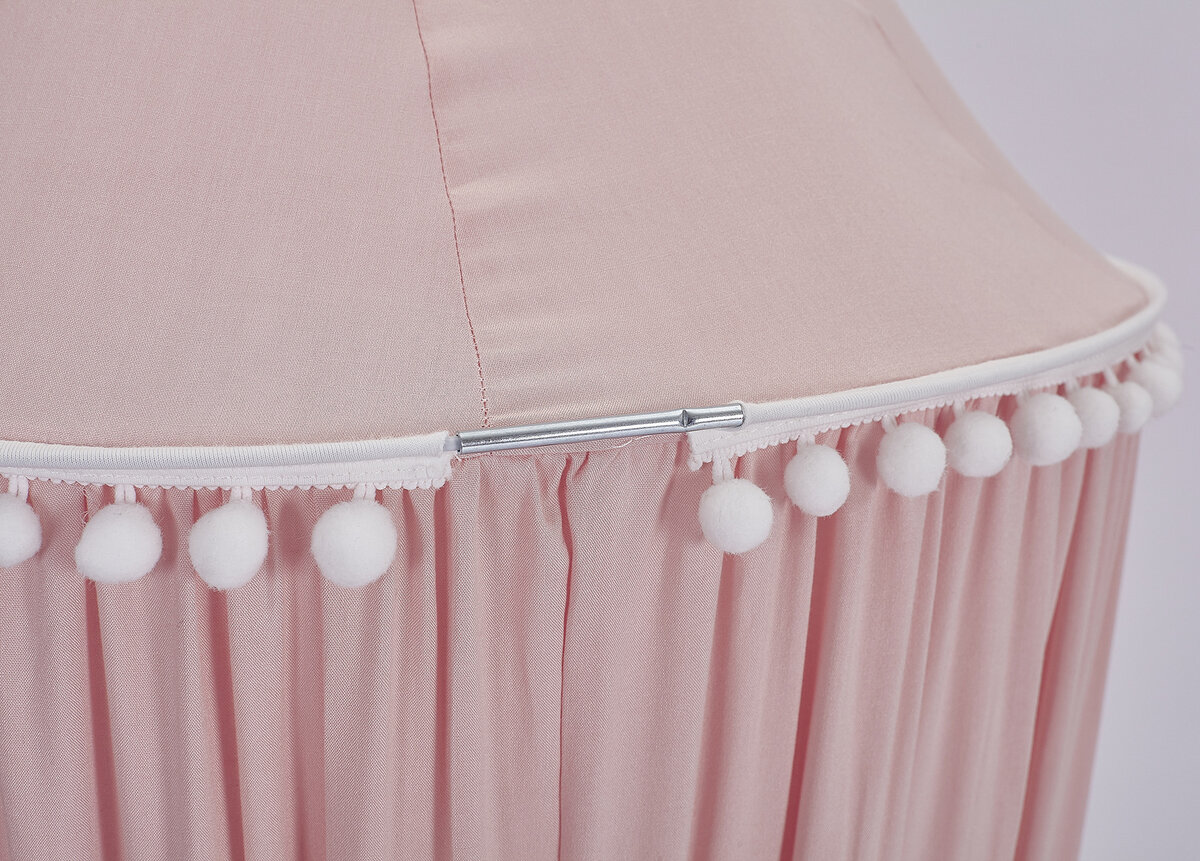
The canopy can be made from a single piece of fabric: in this case, you just need to process it around the edges (go over with an overlock or sew on a tape), if necessary, sew on loops. Another option is a canopy made of several wedges. It is suitable for attaching a hoop.
Arched canopy
This type of canopy is used on bassinets and baby cots.
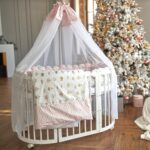
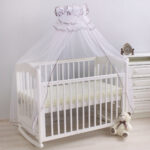
An arc (metal or wooden) is attached to the wall at the head of the bed. The fabric is thrown over it and fixed. The lower part of the canopy can be attached to the bottom of the crib with hinges or fall freely onto it.
Canopy on the frame
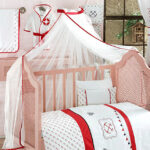
Traditionally, the canopy is attached to a rigid frame, which is a continuation of the bed itself. You can make it yourself from metal pipes or wooden beams. The structure is attached to the bed base with self-tapping screws.
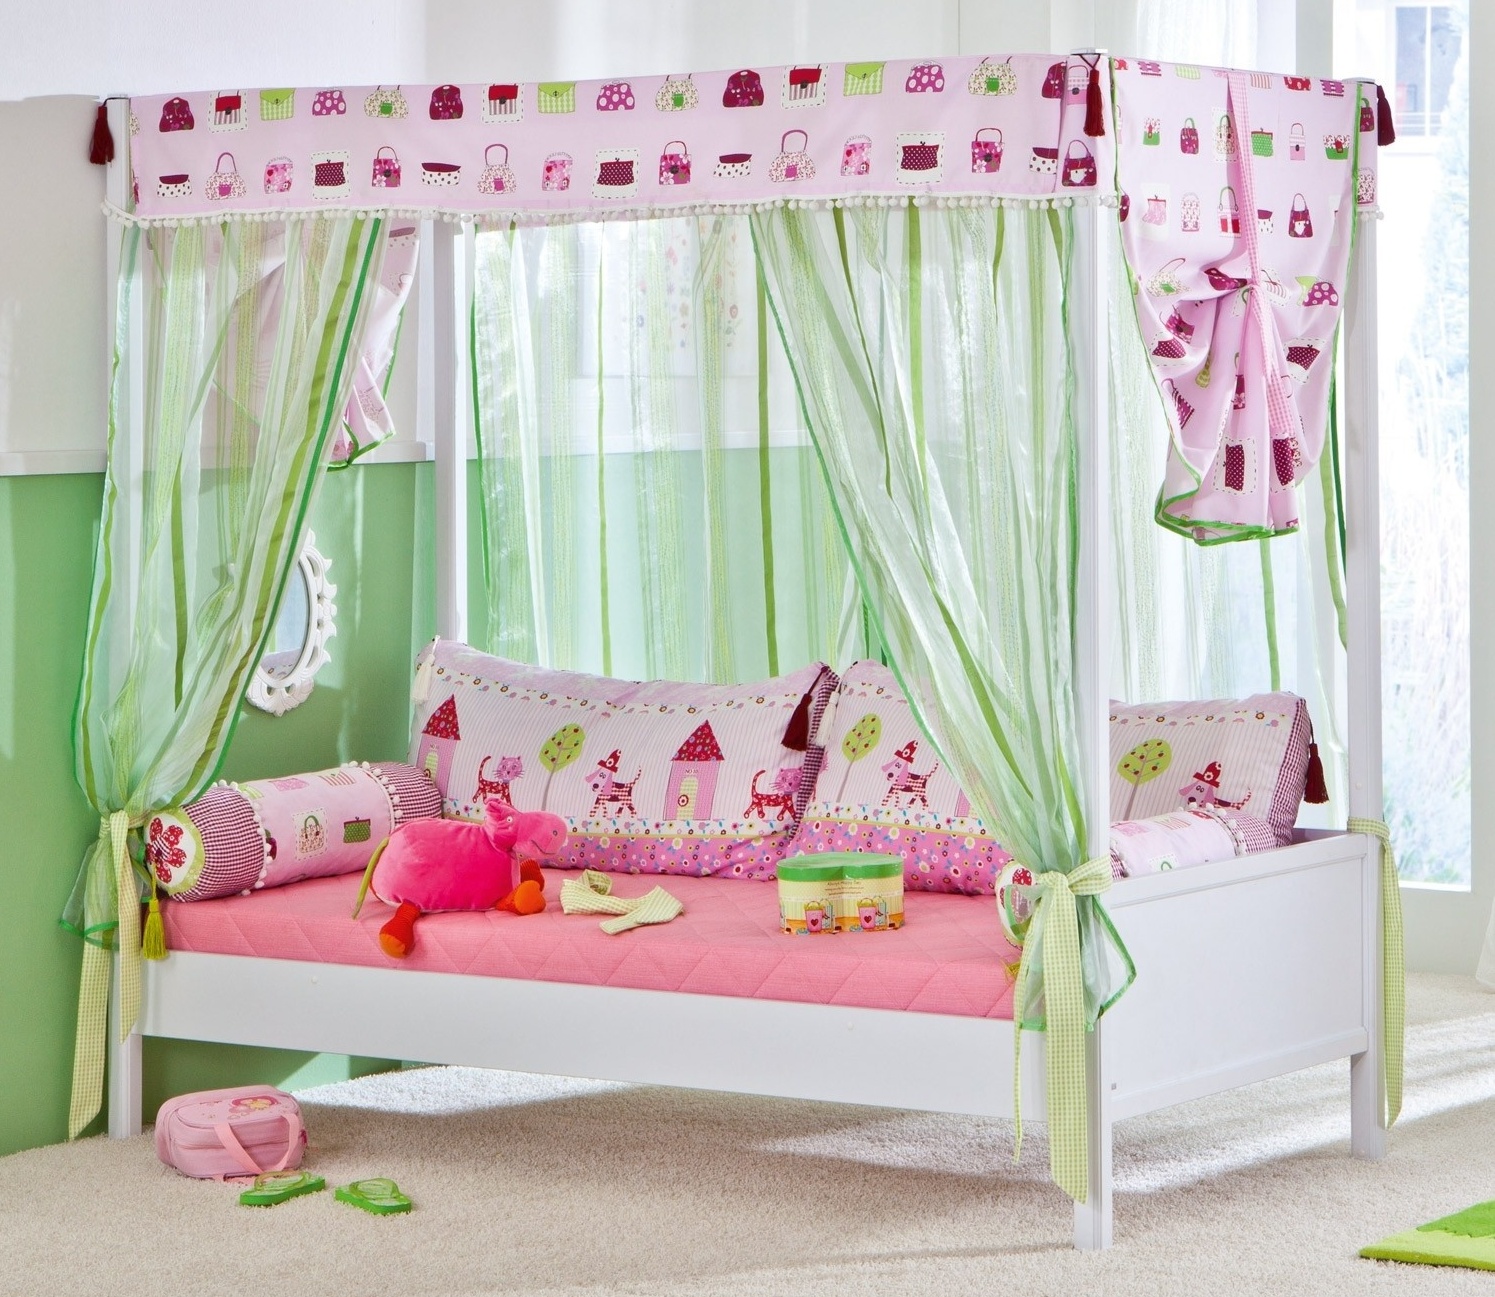
How to make a canopy:
- take 4 identical cuts of fabric (75-100 cm wide), the length of which will be equal to the distance from the upper bar to the floor;
- process the cuts, sew loops to the upper edges;
- fasten with loops on the crossbar.
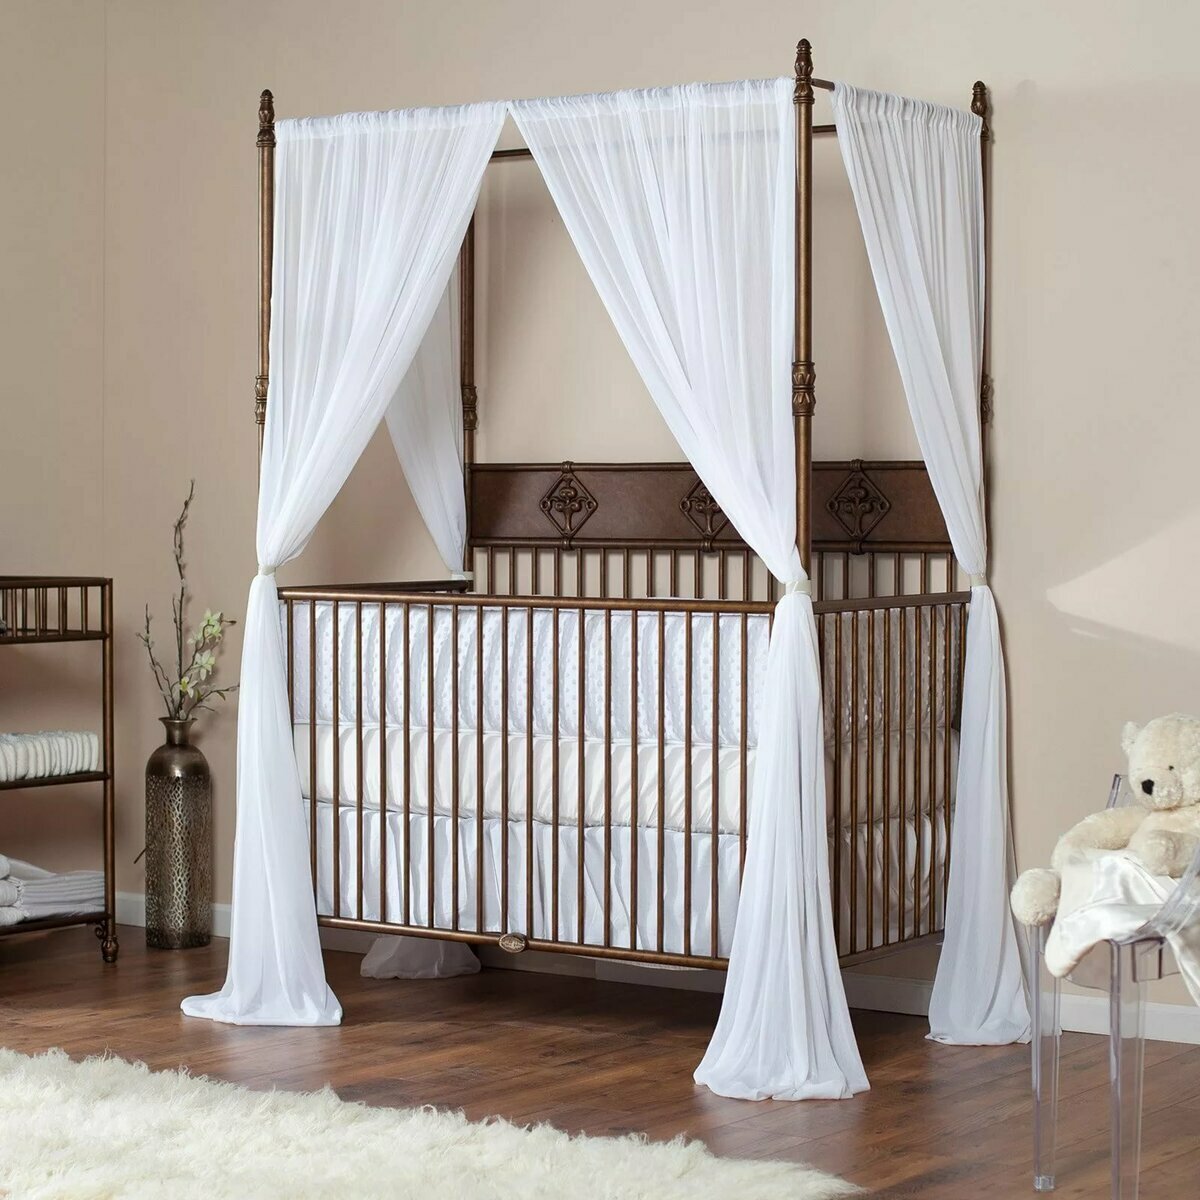
Canopy on a horizontal bar
To make such a canopy, you need to make a bar from a metal pipe. Its size should be the same as the width of the bed or be slightly larger. Suspended mounts are made on the ceiling, a crossbar is mounted to them.
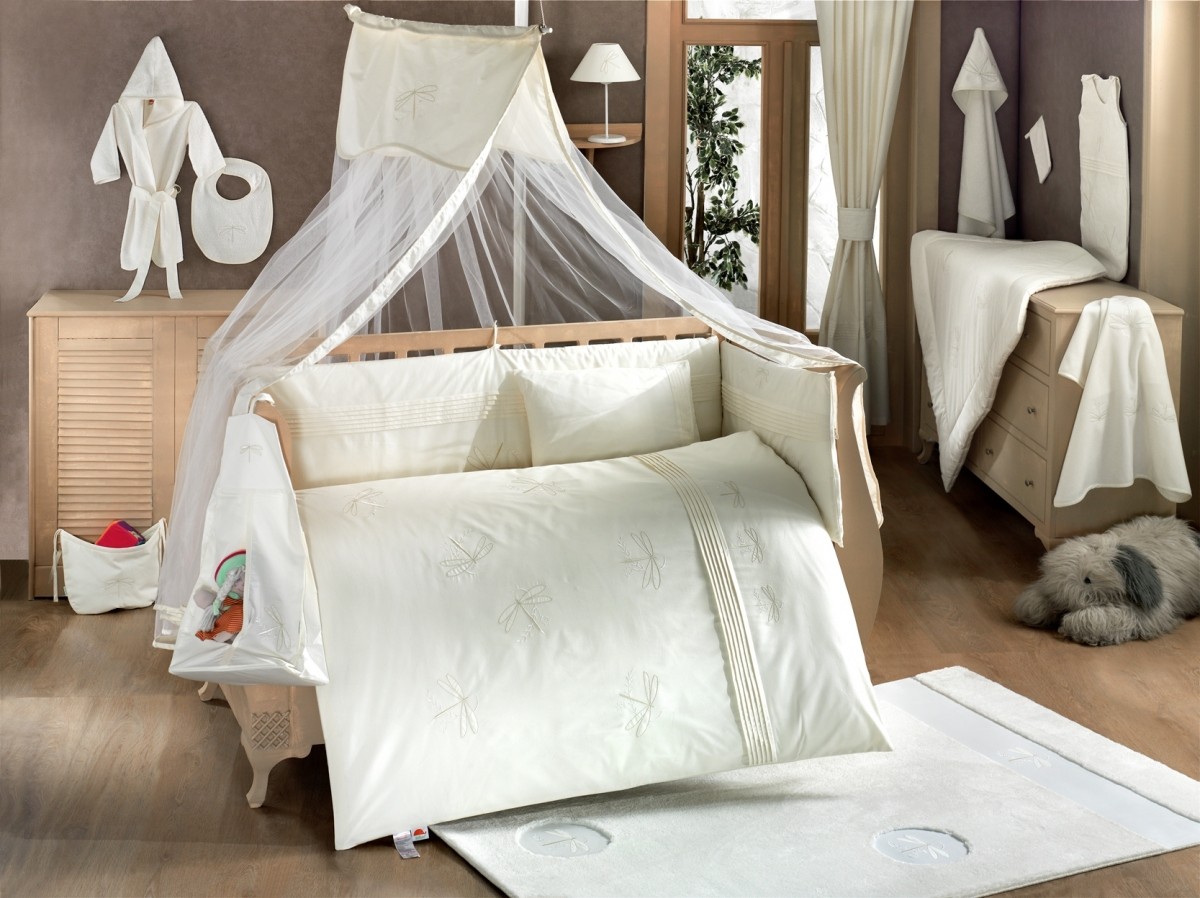
For a canopy, use the longest piece of fabric (you can sew from 2 parts). Its size will be equal to the distance from the bottom of the end of the bed to the crossbar on the ceiling, multiplied by 2.
The bottom ends can be strapped to the corners of the bed or left free.
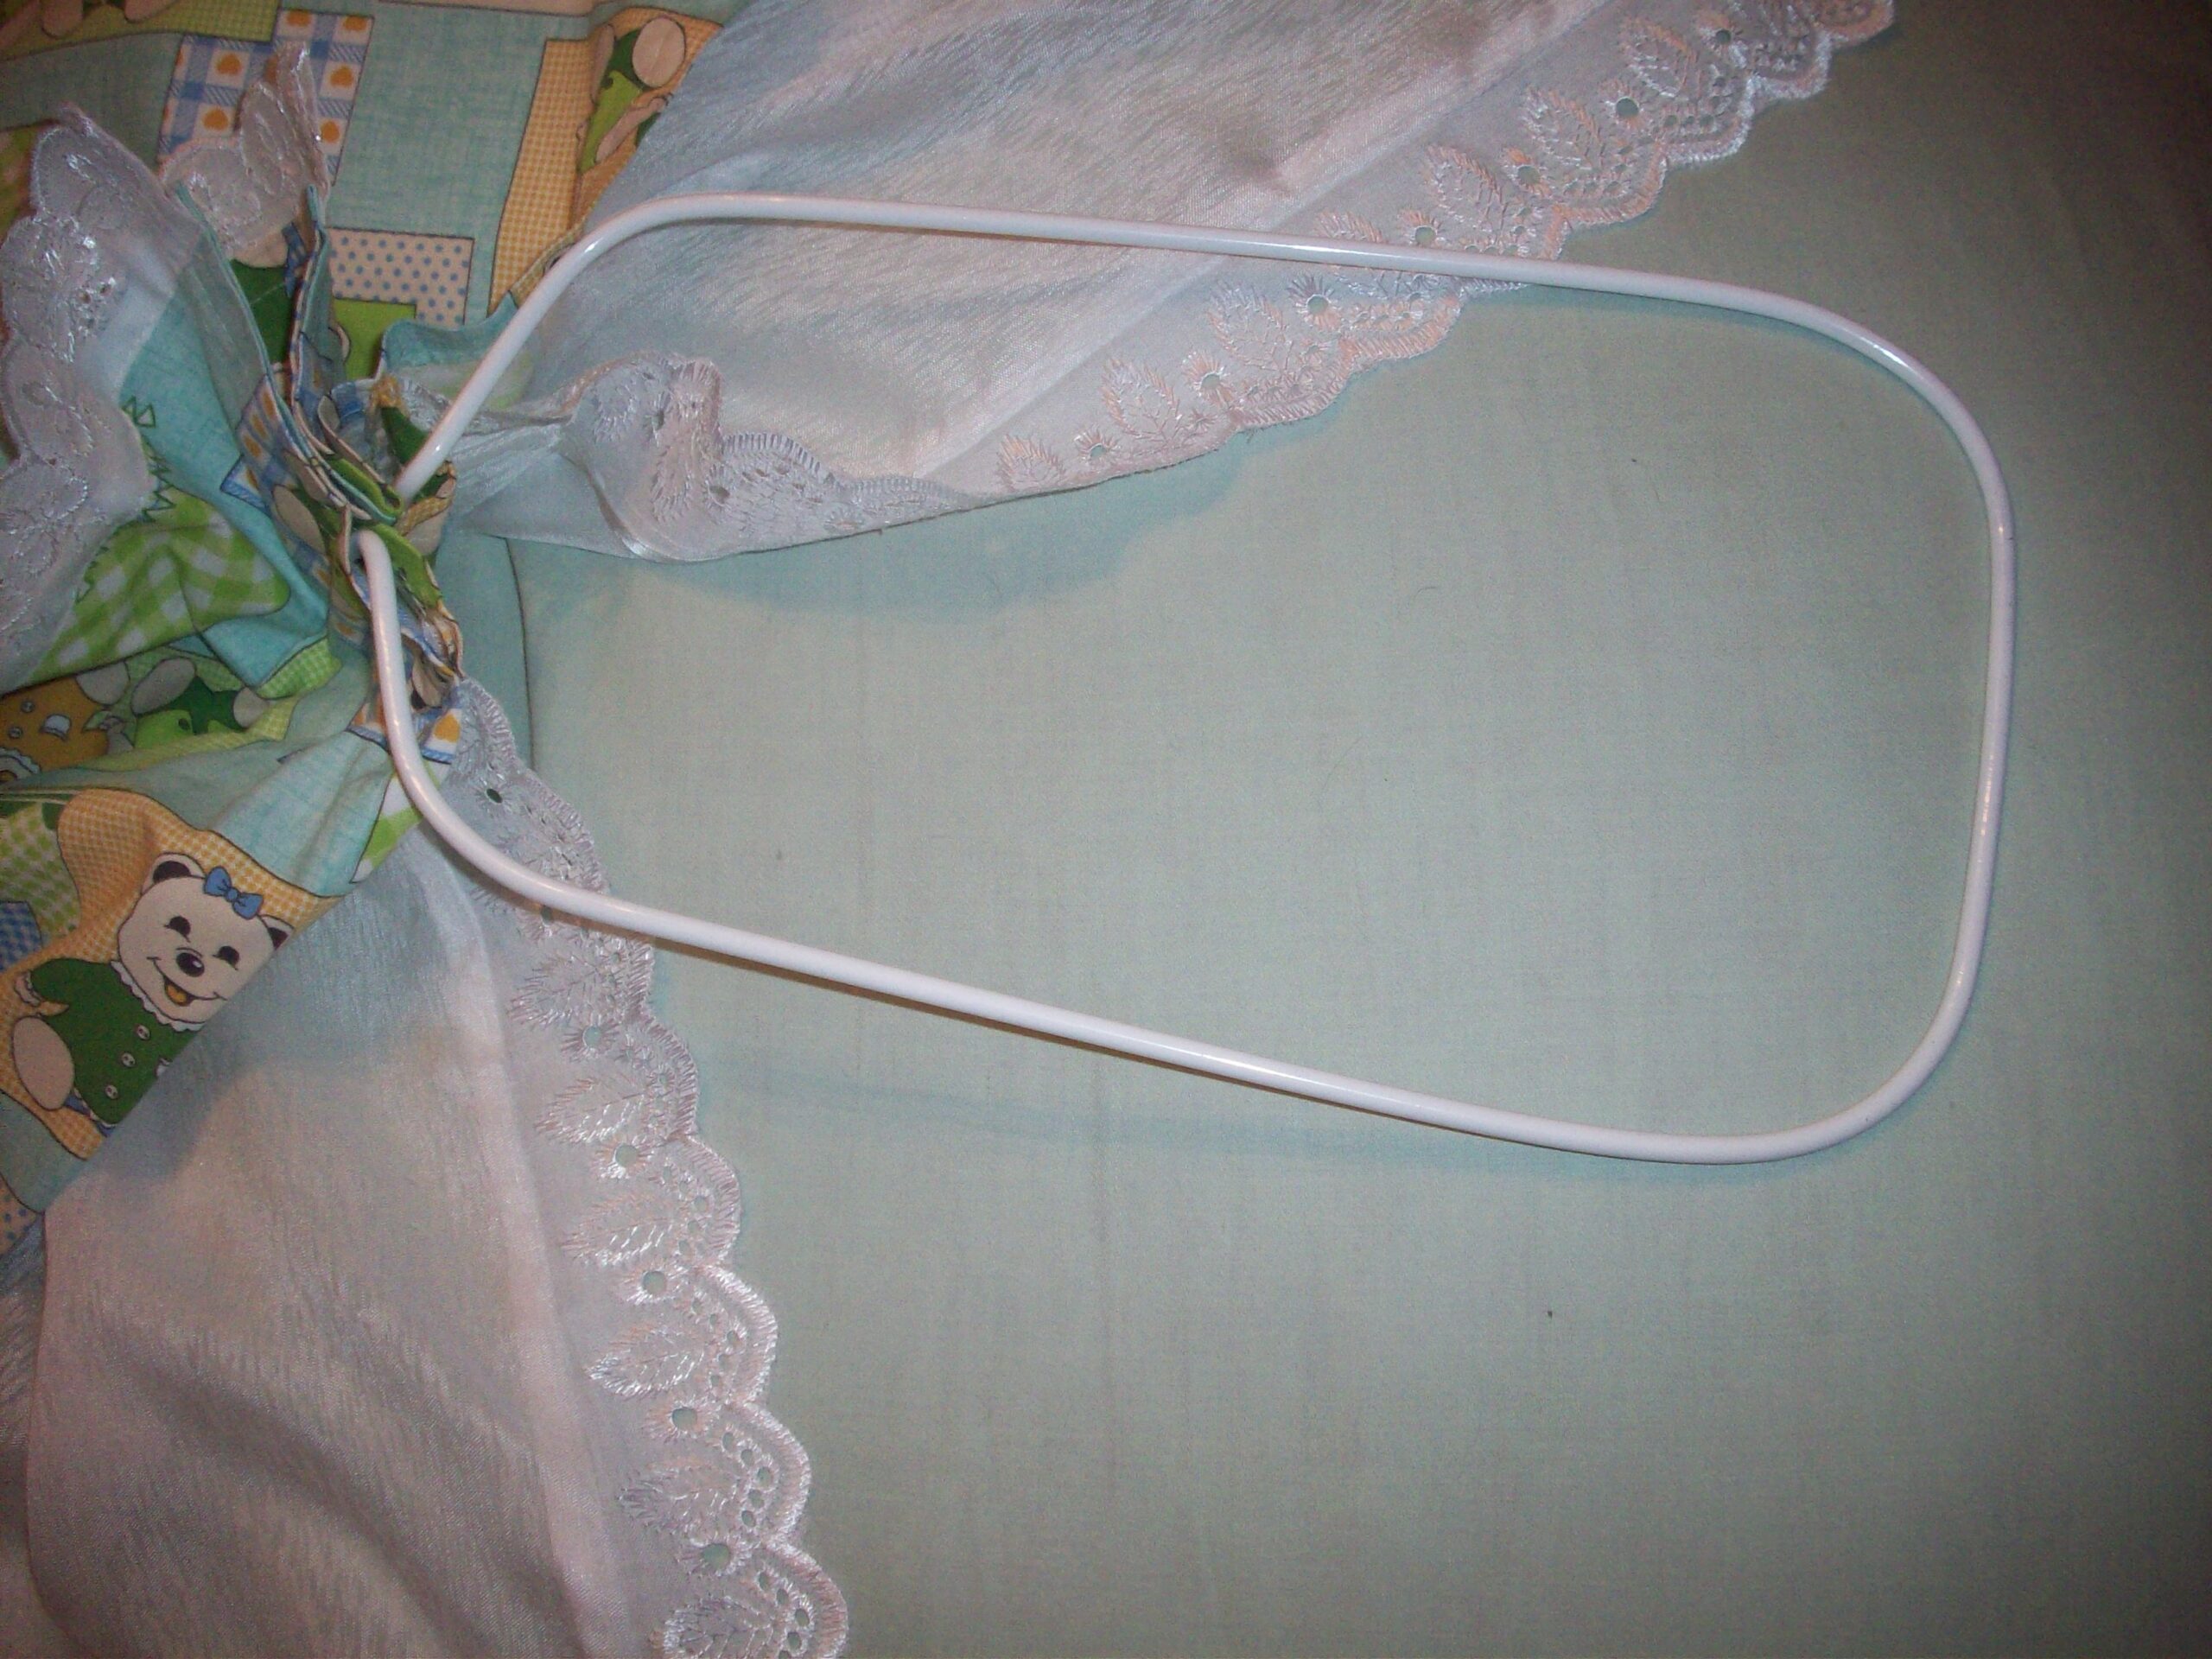
Hoop canopy
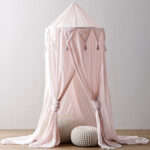
An easy way to make a canopy is to use a hoop. You need to select the center of the cut of the fabric, fasten it in the hoop, which can be separated. Two pieces of fabric with a drawstring are strung onto the outer circle.
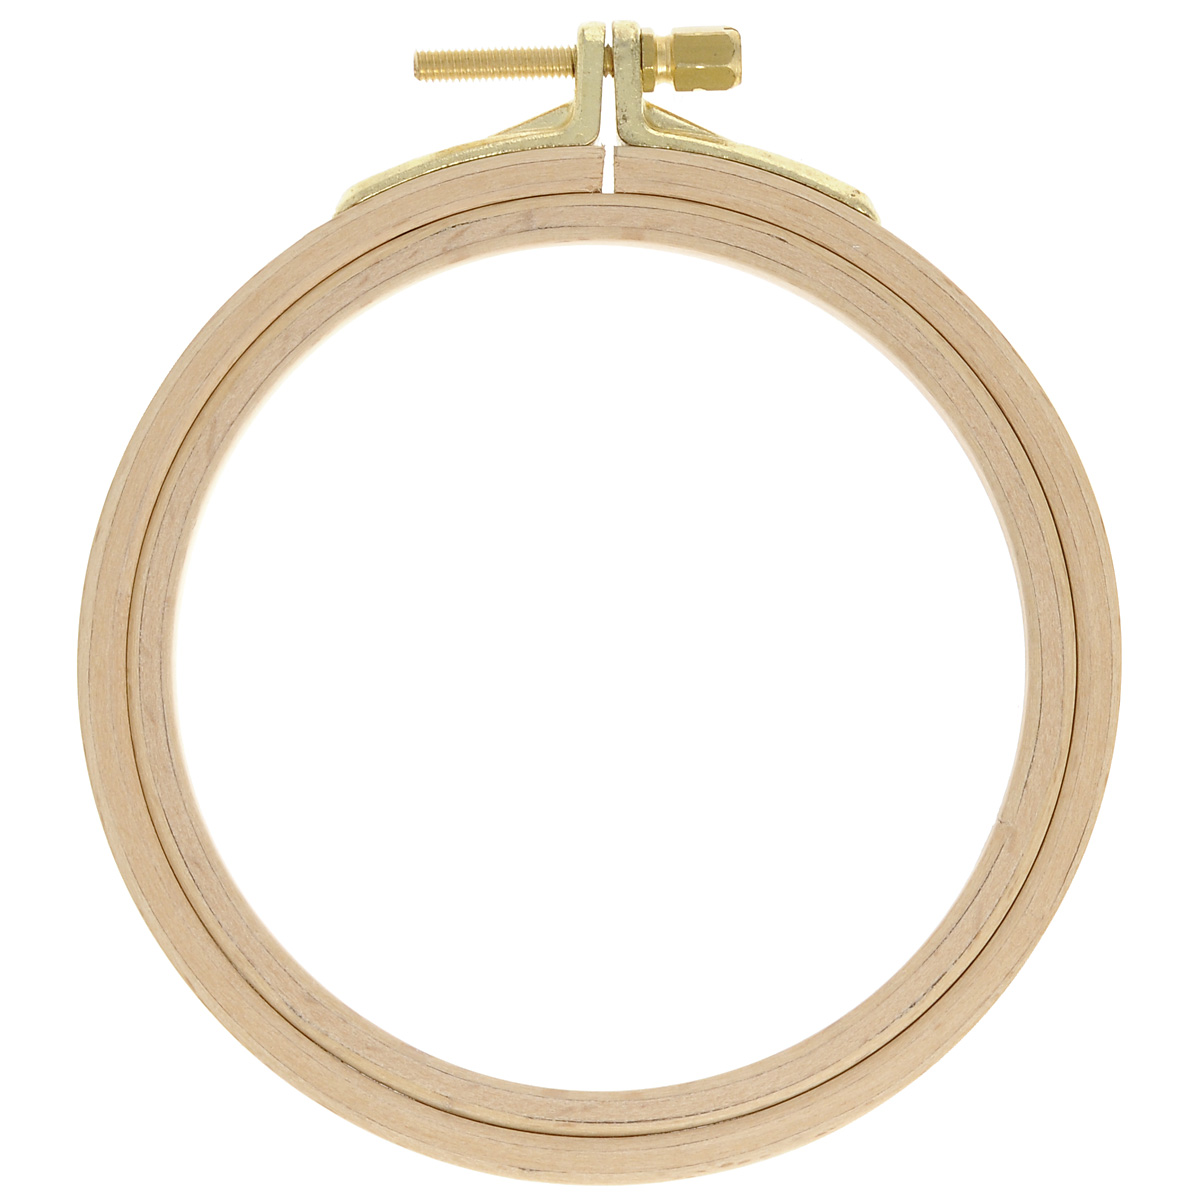
The upper edge of the fabric is folded 15 cm and sewn in such a way that a protruding “crown” remains.
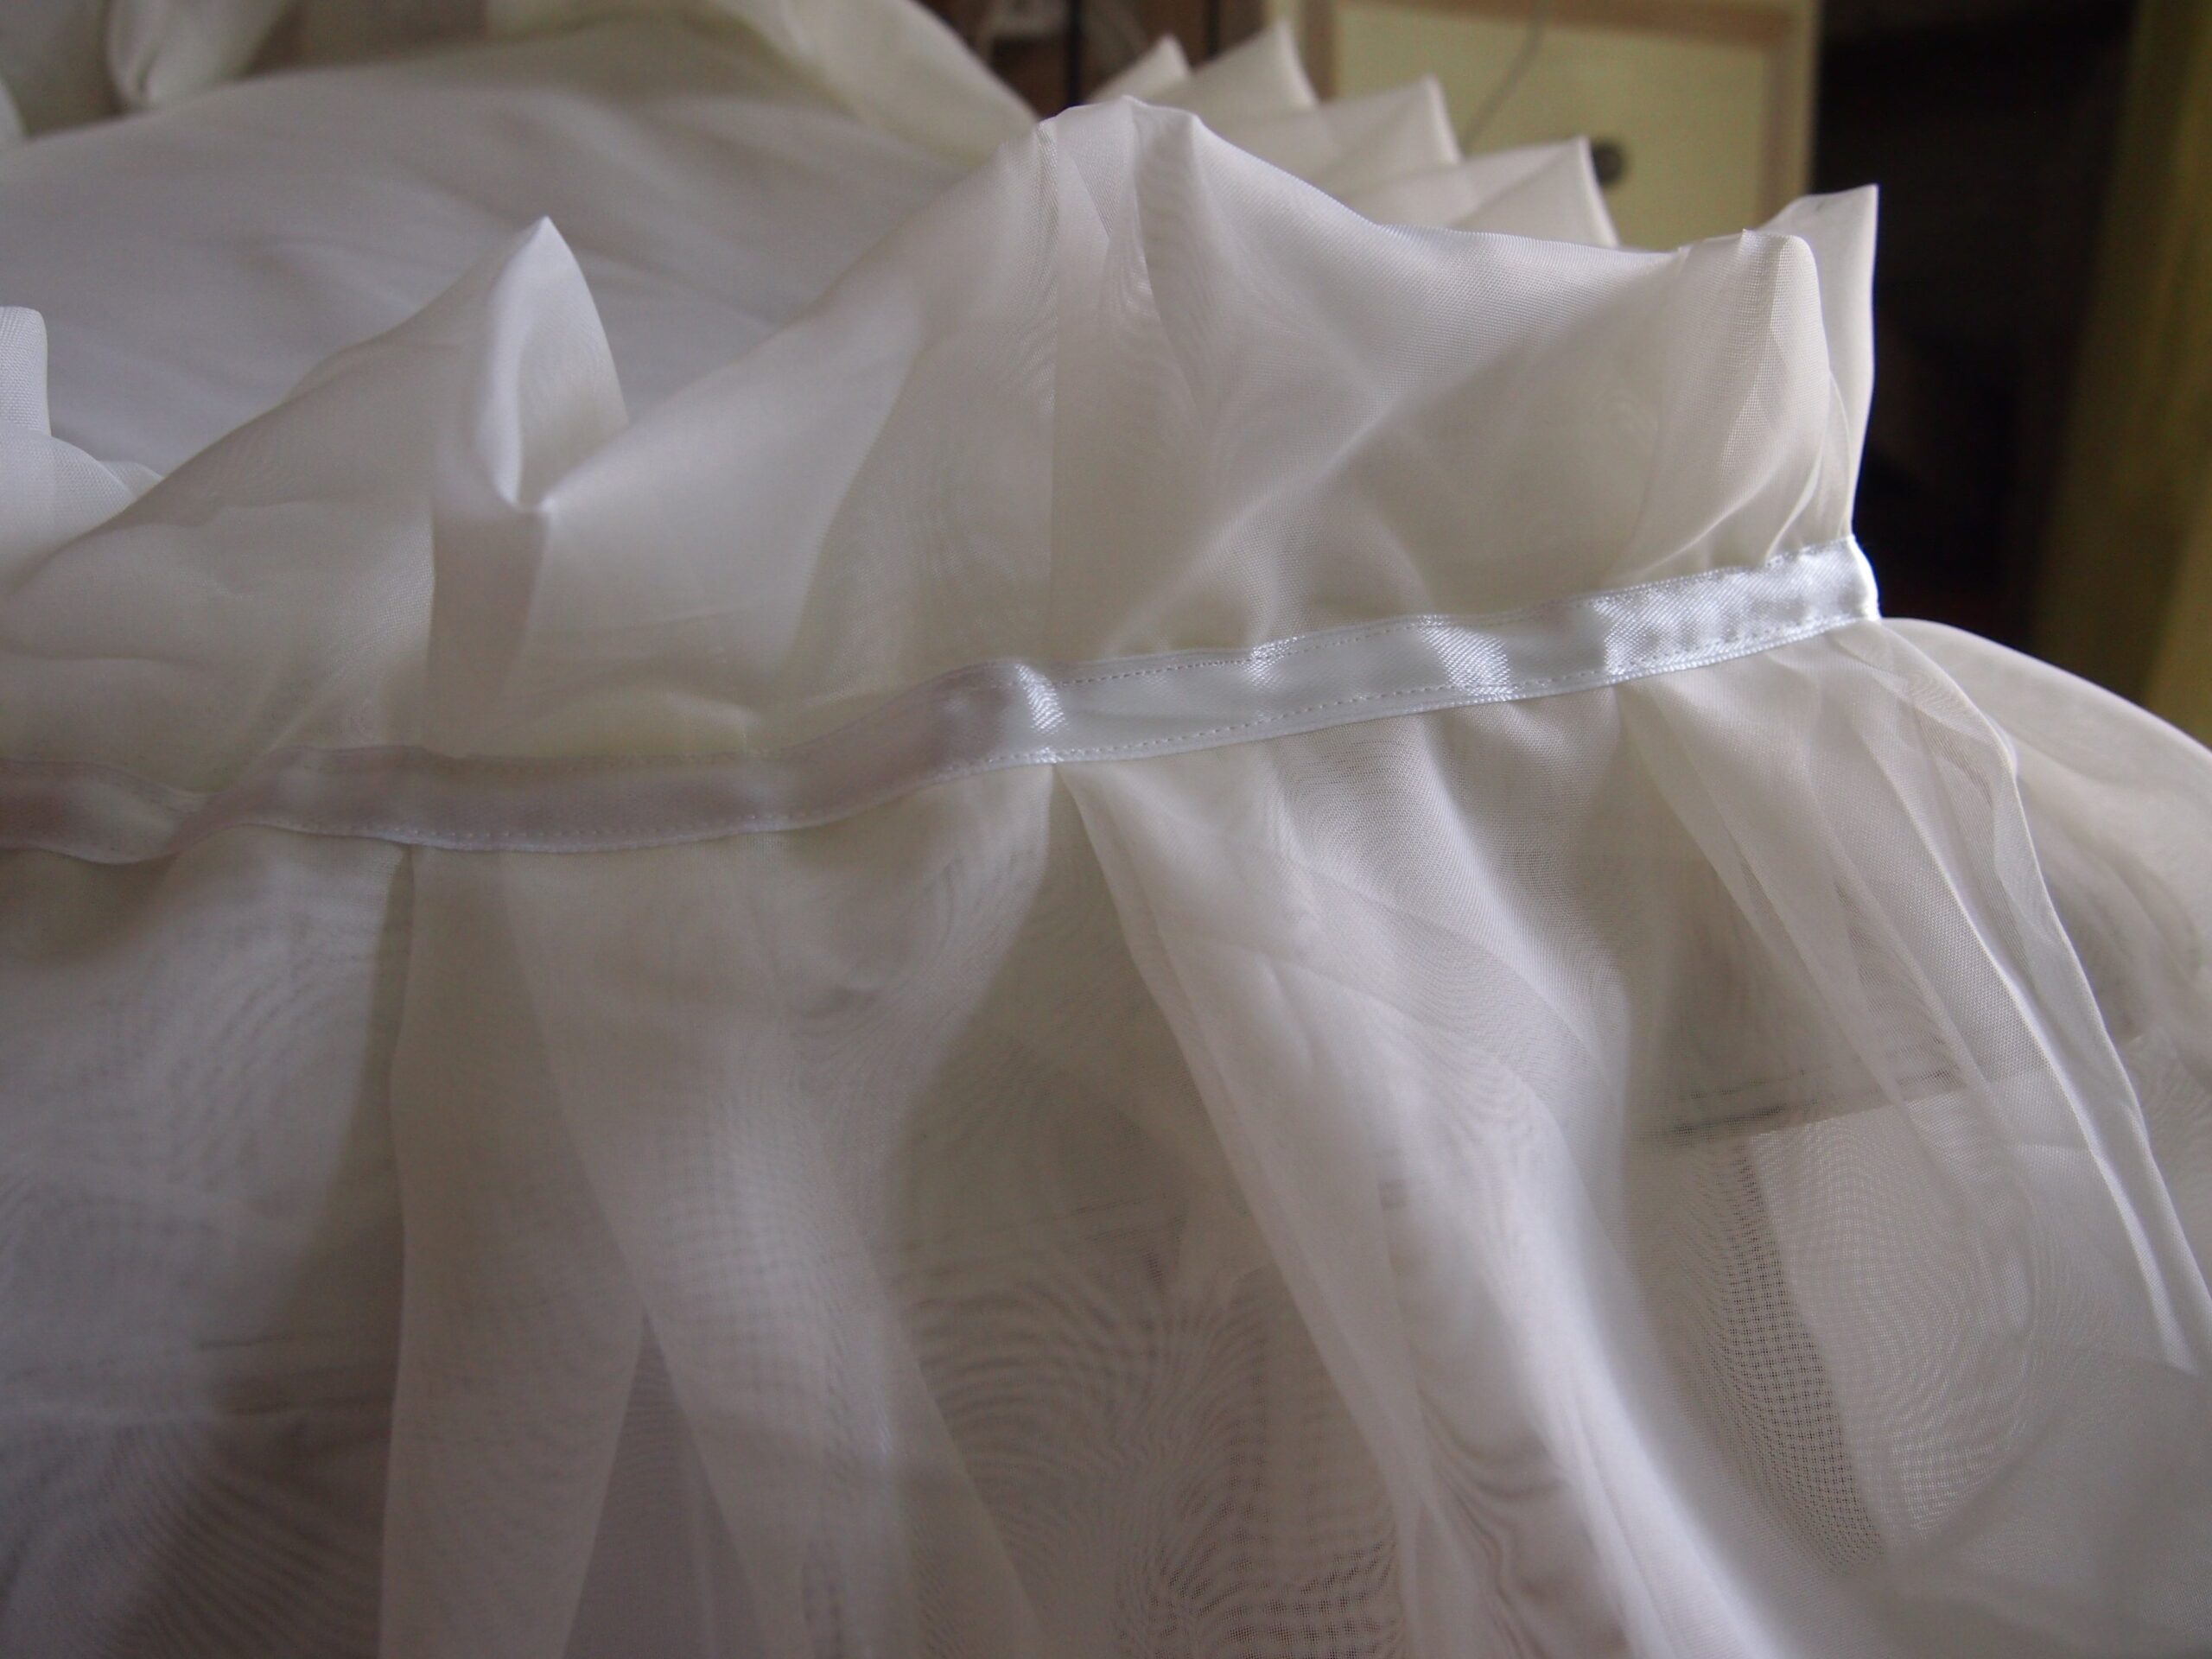
The base can be decorated with ribbons, artificial flowers, flounces from the same fabric.
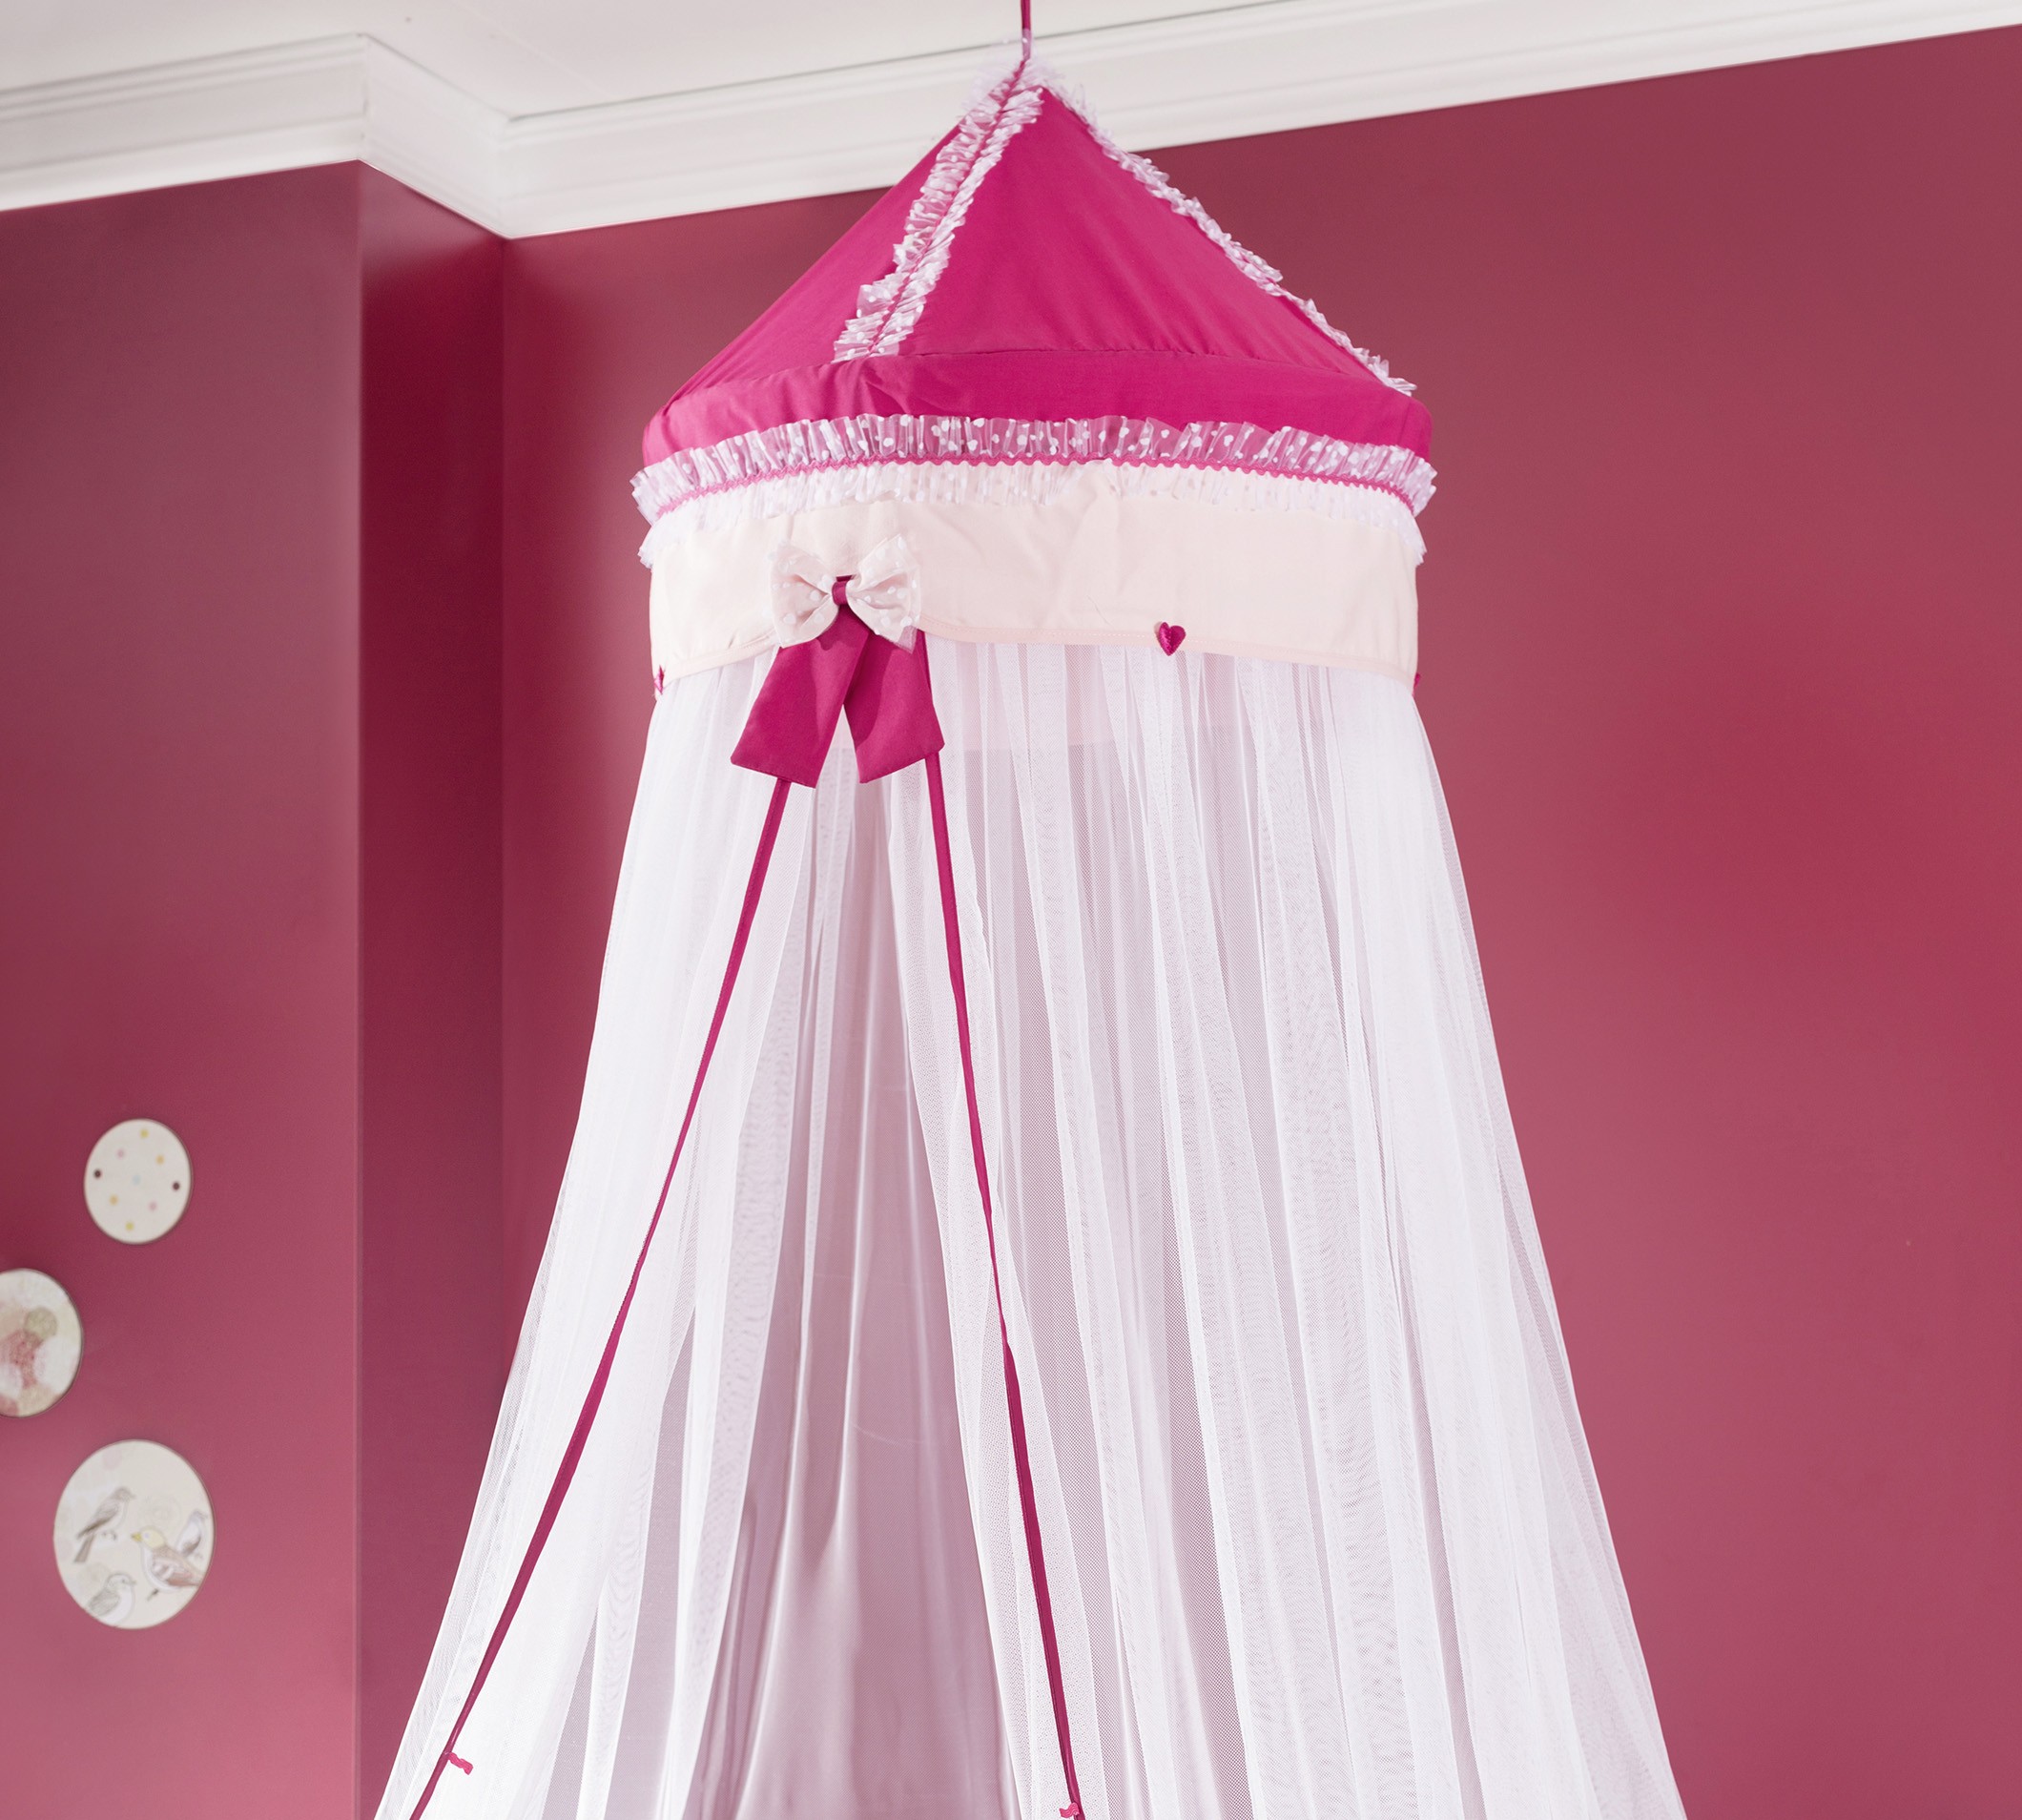
Several strong ropes are tied to the free areas of the base (thin ropes or twine, braided three times), the ends are tied and suspended from the ceiling hook.
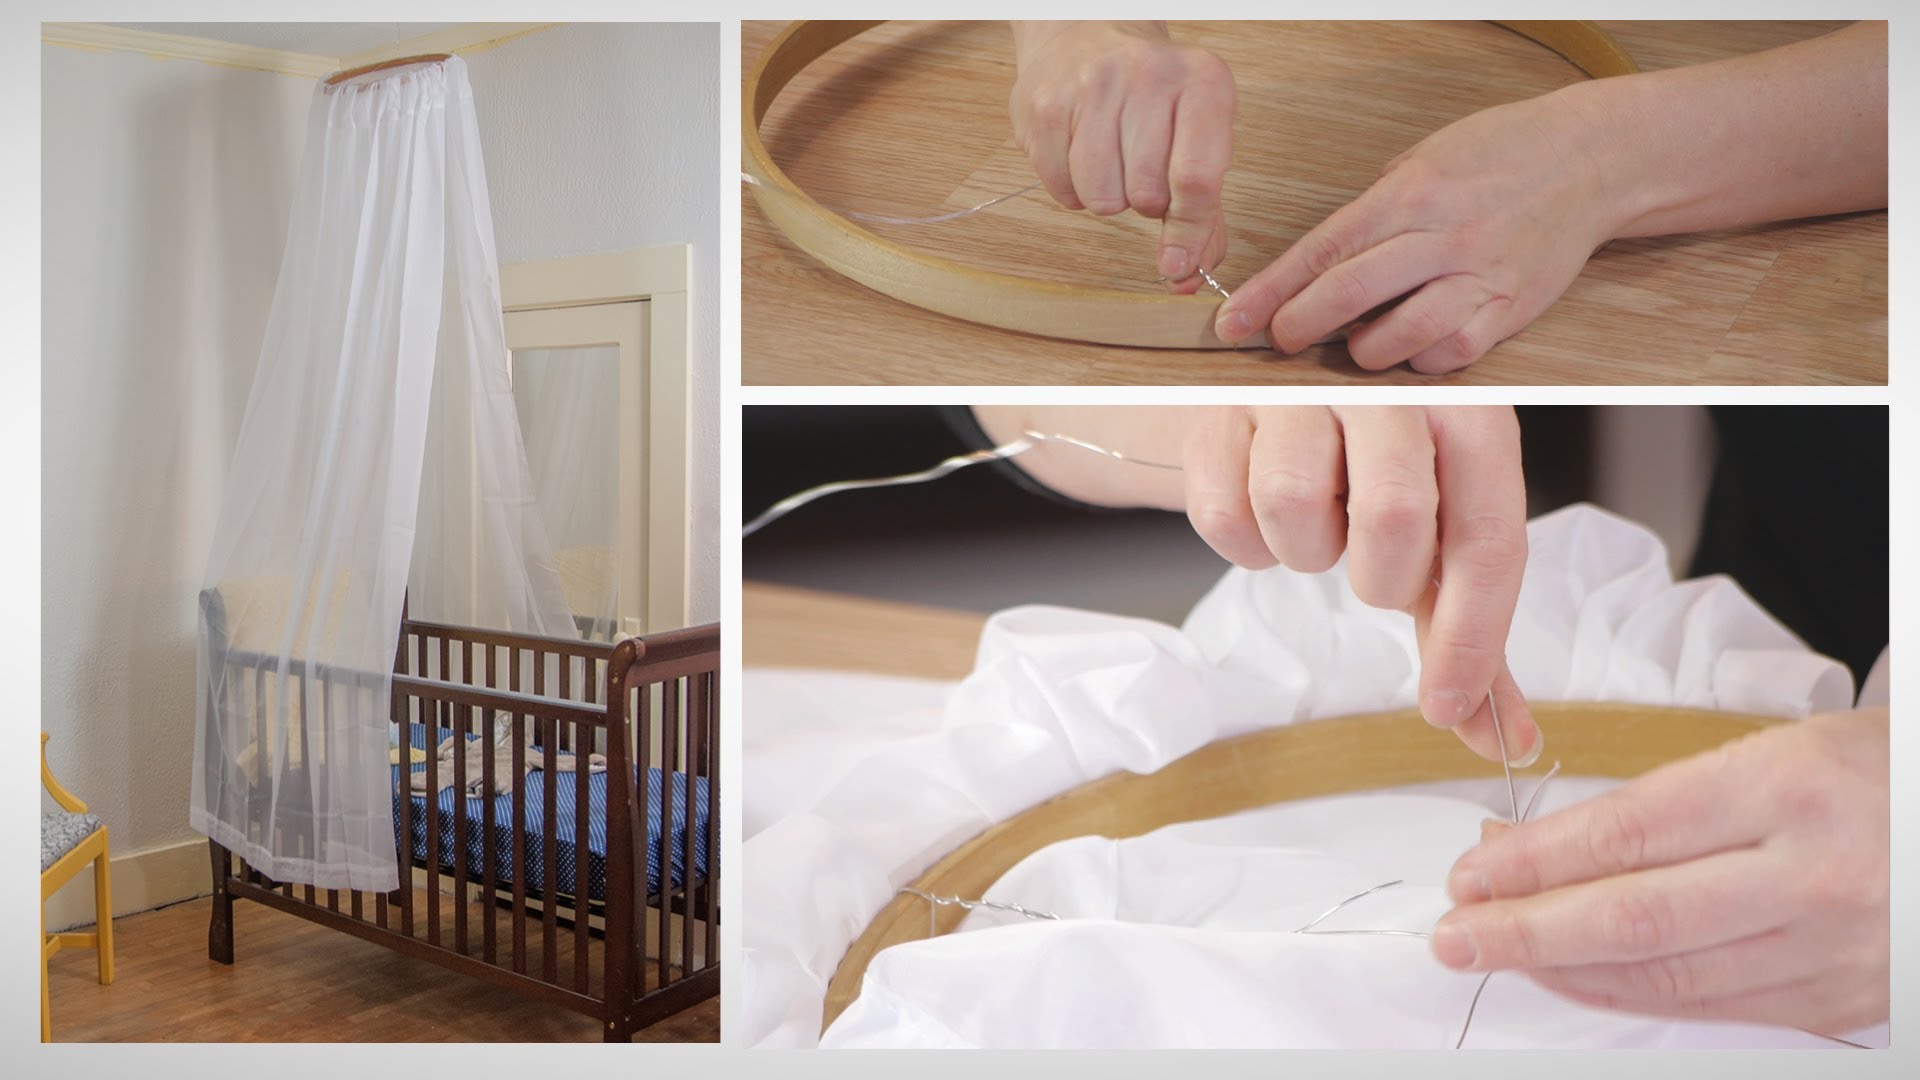
Advice. The two hoop circles can be used to create a double canopy. On one circle, string a thin and transparent fabric with loops, on the second - the same thin fabric in a more luxuriant assembly or dense fabric. Both rings are also attached with ropes to the ceiling hook. It is important that it is designed for the weight of the structure.
Canopy with birds
The canopy over the crib can be attached to 4 suspensions made of invisible thread. In this case, the lightest fabric is chosen for the product.
Four fixings must be suspended from the ceiling. It can be placed directly above the corners of the crib or at a short distance from them (20-40 cm).
The main charm of such a canopy is that the attachment points will be decorated with small toys, to which 2 rings have come: a thread clings to one, a canopy to the other.
To make the birds, you need to download or draw a pattern yourself. The toy will consist of parts:
- wing - 4 pcs., a cardboard frame between the parts;
- backrest - 2 pcs. (sewn on top);
- belly - 1 pc.;
- beak - 2 pcs.
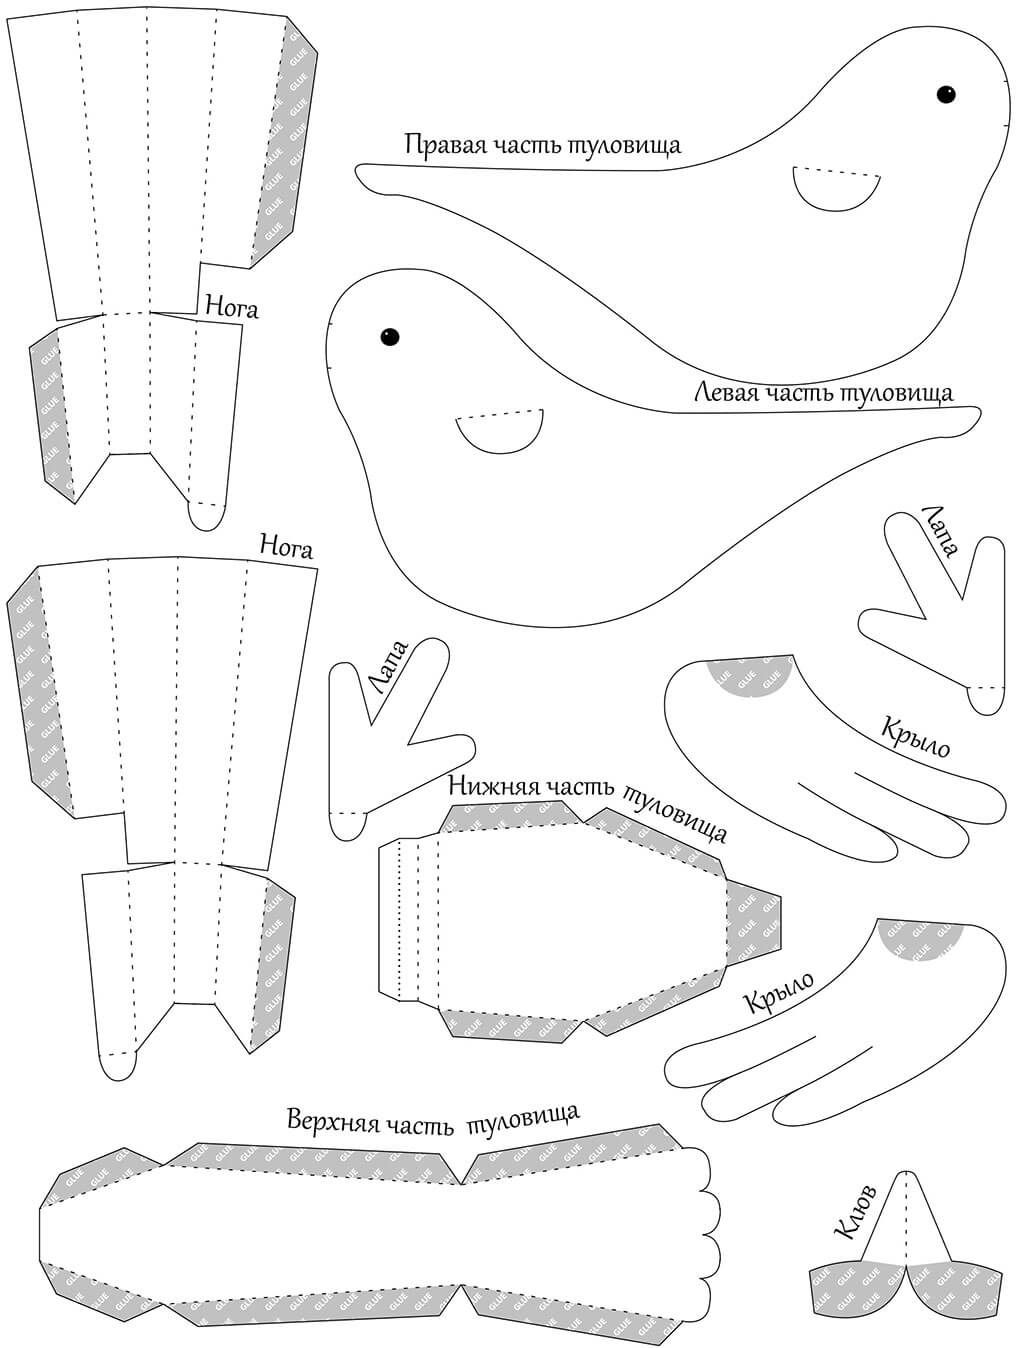
You will also need 2 beads to make the eyes. The details of the bird are sewn together.The first step is the wings, a cardboard base is inserted into them. When sewing, the backrest, wings and beak are inserted and fastened into the seam. The part of the abdomen is not completely sewn: you need to leave a slit in order to turn out and stuff the toy.
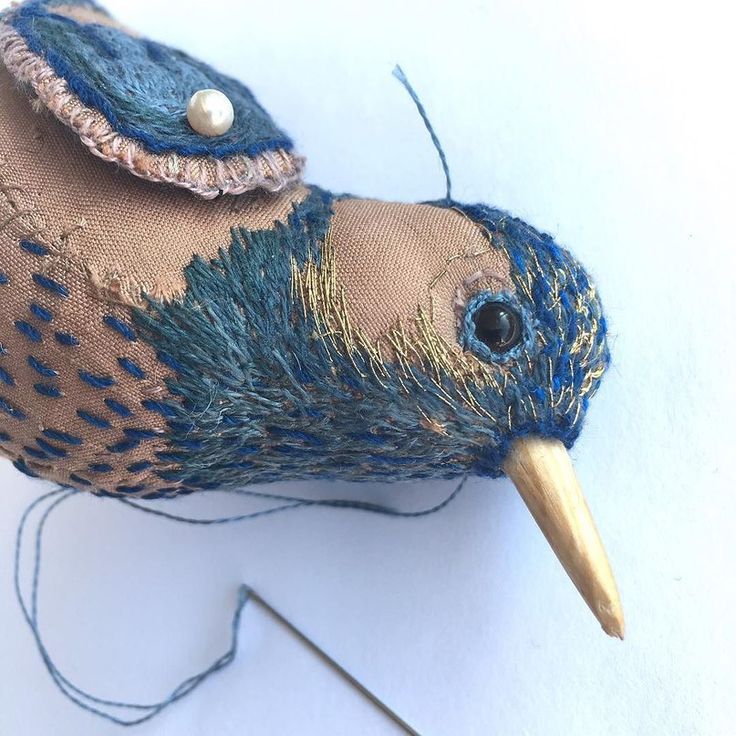
After the body is sewn, you need to turn the bird out, fill it in, sew up the slot. Sew one ring to the back, next to the wings, and place another under the beak.
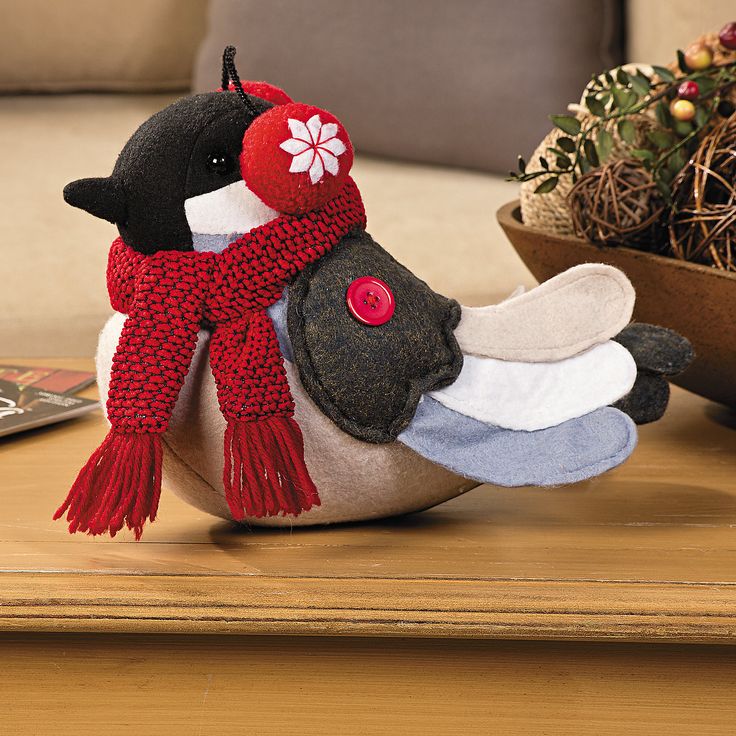
A canopy is attached to the ring, which is located under the beak, and then the birds are suspended with invisible threads from the ceiling mount.
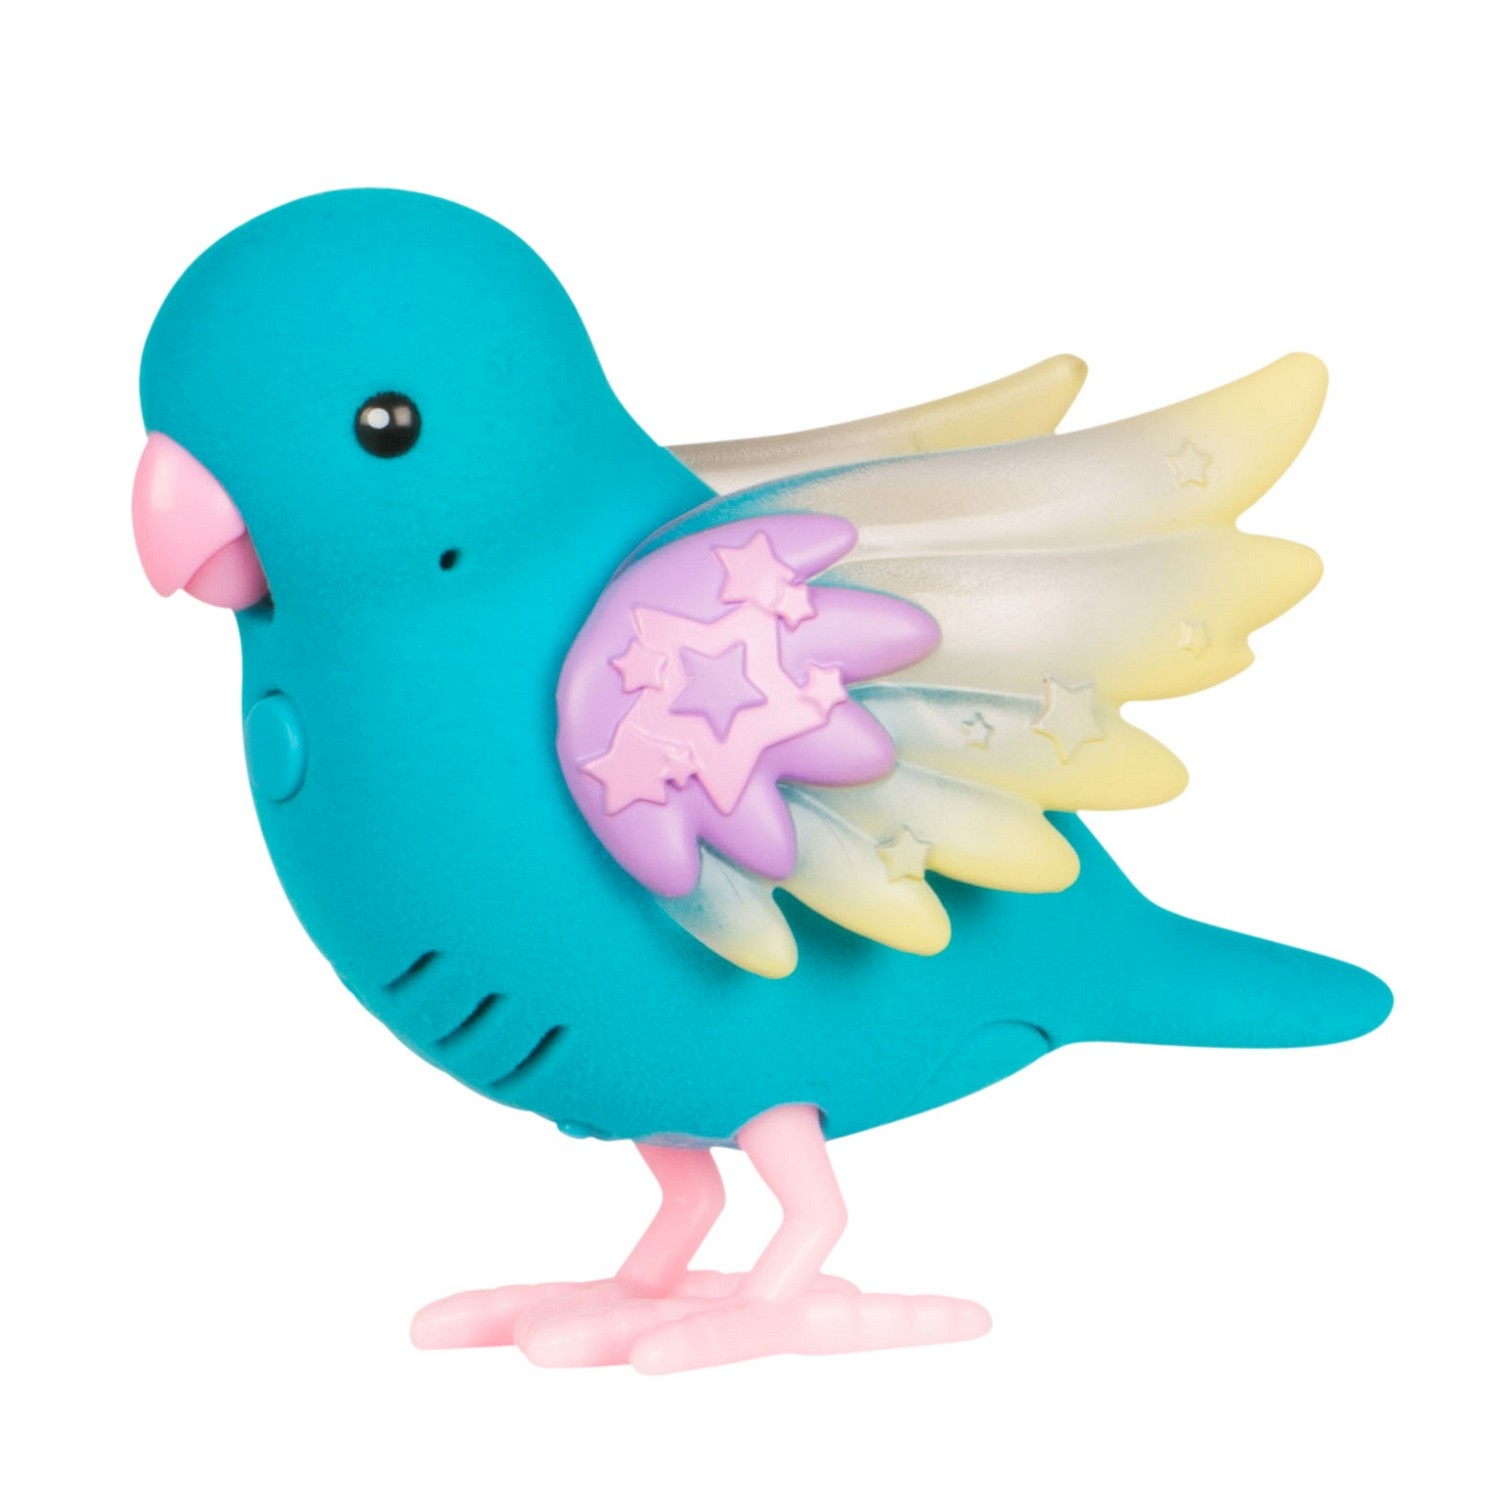
Advice. Instead of birds, you can choose other ready-made toys or sew them yourself.
Video: how to sew a children's canopy with your own hands
