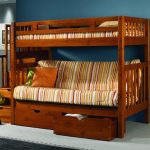
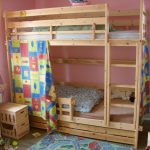
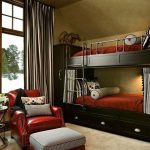
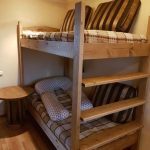
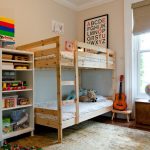
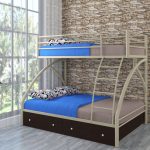
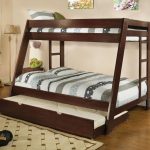
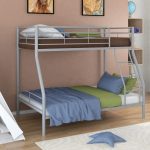
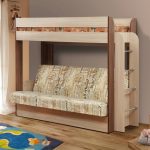
DIY instructions for making a children's bunk bed
Hand-made things are traditionally valued more than conveyor ones. The creation of a bunk bed is a long and painstaking process, but the result is a high-quality and unique design.
What are the advantages of the design
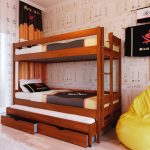
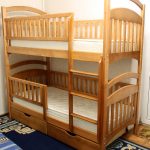
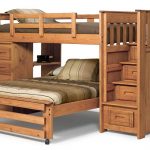
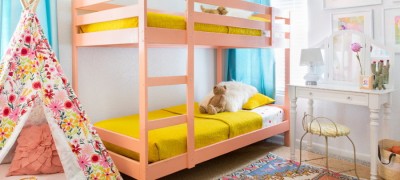
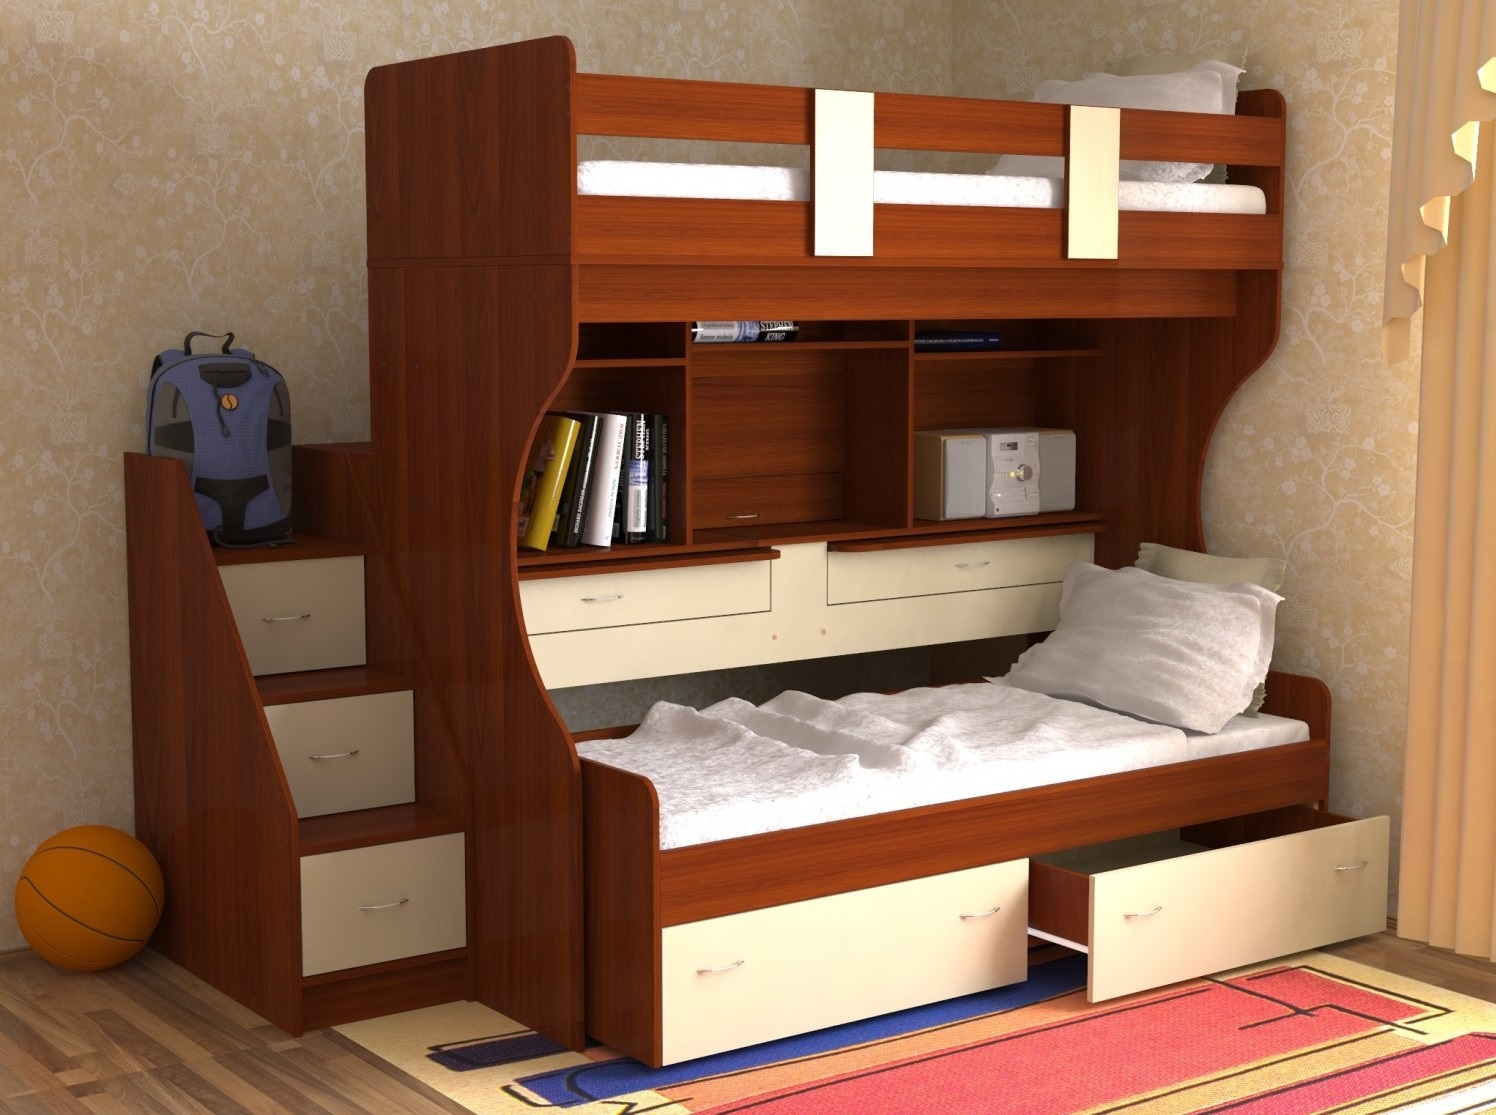
Two- and three-tiered beds are a fairly popular solution when decorating a nursery in the case when it is impossible to allocate a separate territory for each child. The second tier is located at a height of 80-175 cm from the floor level, and a ladder is used to climb it. There are designs with built-in wardrobes, pencil cases and drawers, as well as replacing the lower bed with a full-fledged workplace with a desk.
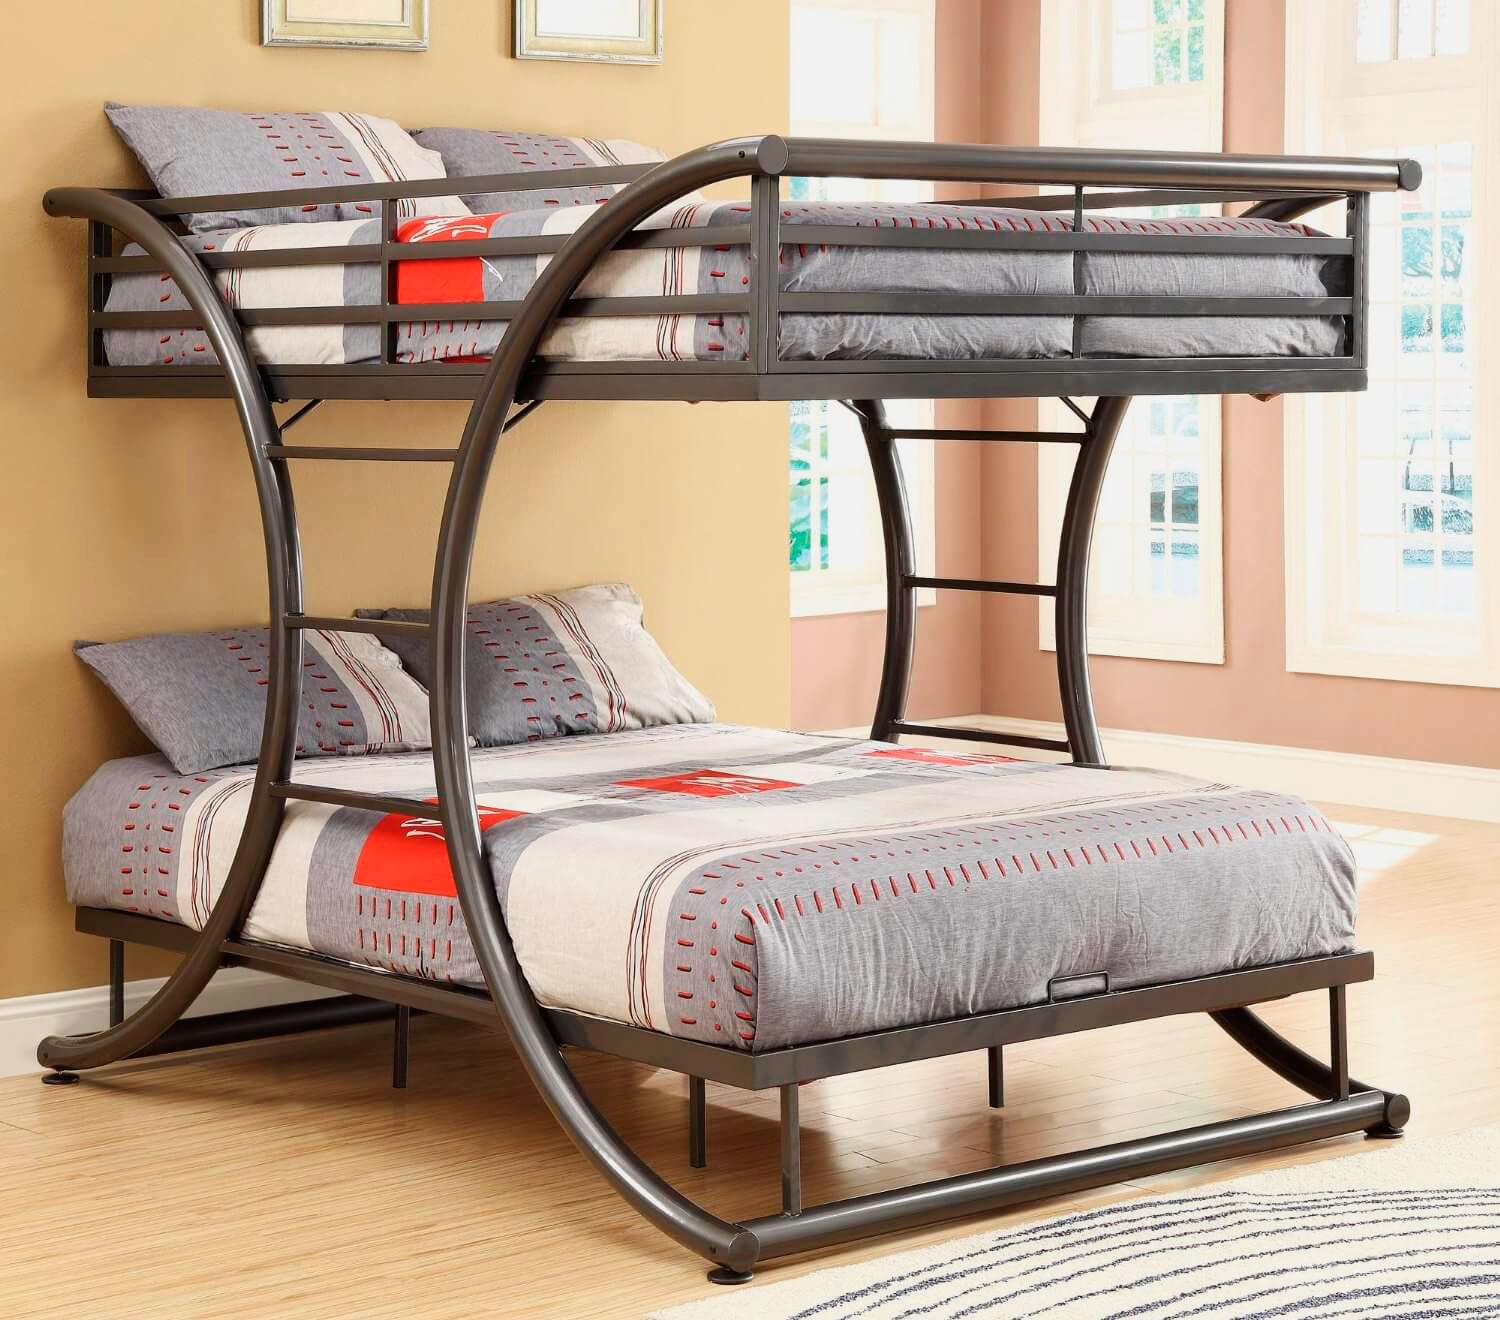
The main advantage of such a bed is the rational use of space if it is limited. But there are other advantages:
- high strength, allowing the second floor to withstand a load of up to 120 kg;
- the presence of size lines corresponding to the age of children;
- the possibility of organizing a personal space for each child;
- a wide range of models, allowing you to choose designs of the optimal configuration and style;
- the ability to sleep on a mattress without folds and seams, which are present on folding models;
- multifunctionality, since a number of models are equipped with devices for games;
- cost savings by purchasing only one bed.
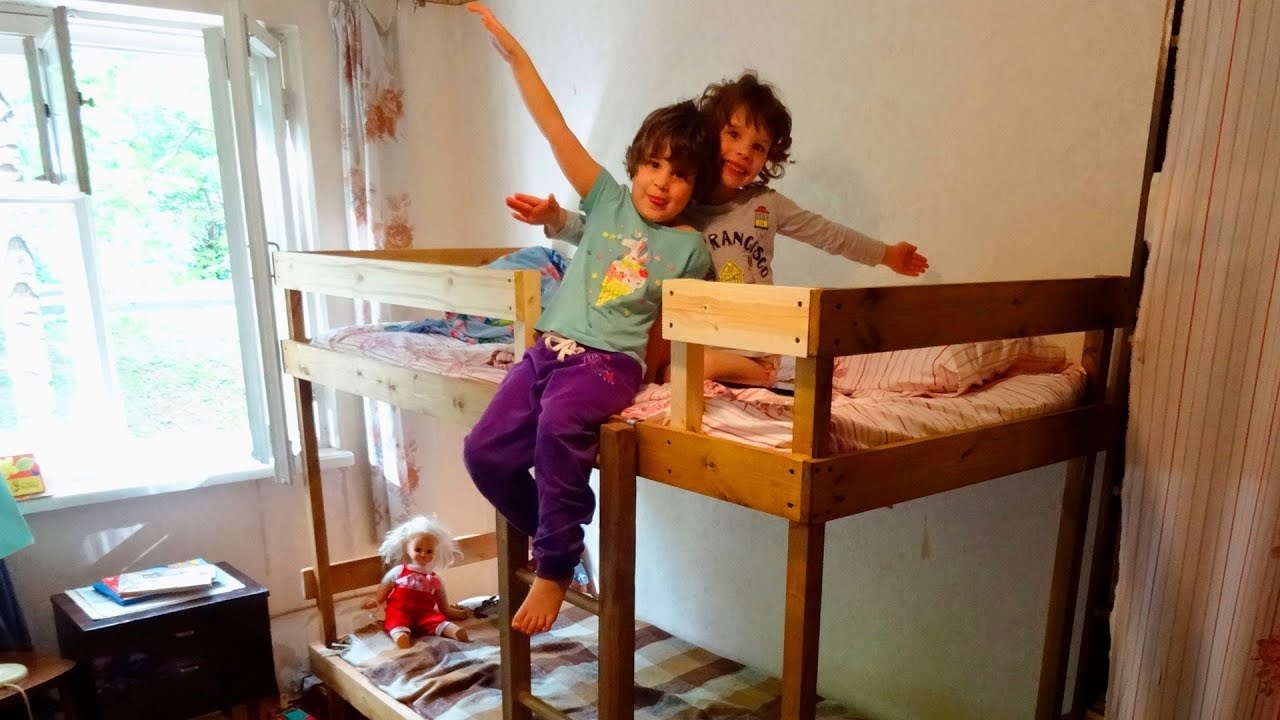
Note! In addition to the practical benefits, it is worth noting the sympathy of many children for being located on the second tier.
The disadvantages usually include the threat of falling from the upper level, however, most models are insured against such an outcome, since they have limiting railings. Also, due to its height, the structure can significantly block the sunlight, and therefore it is best to place it on the side opposite the window.
However, it is not always possible to find a model that best suits the size. In this case, making the bed yourself would be a good solution. This will allow you not only to get the desired size, but also to be confident in the reliability of the material and the quality of the assembly. In addition, it becomes possible to implement any design solution without overpaying for an individual order.
Existing types of bunk beds
There are many types of bunk beds, but the most common are the following:
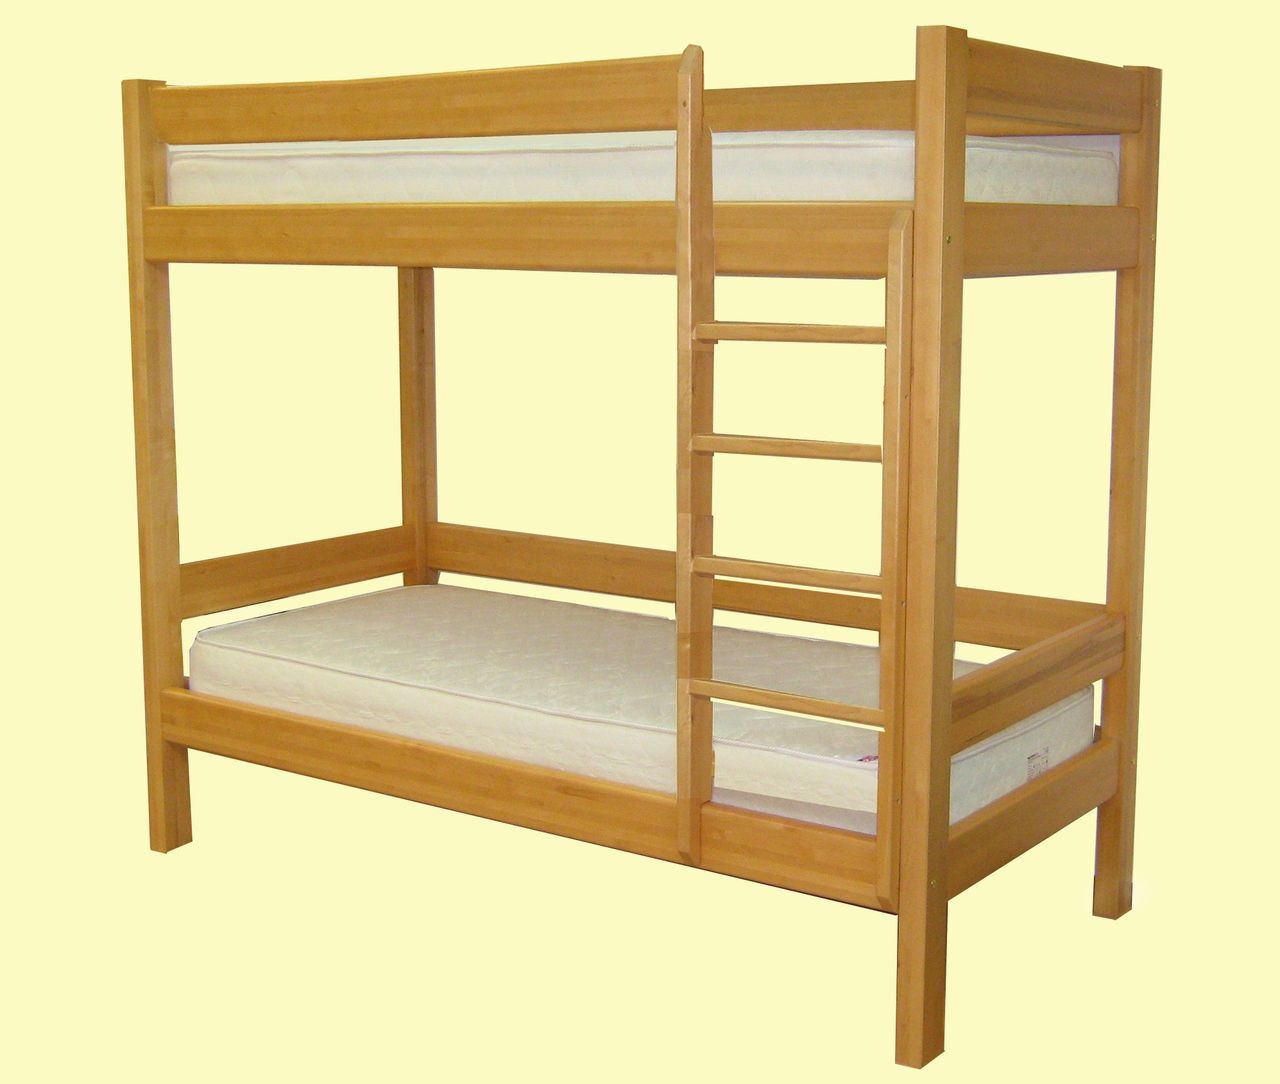
Traditional
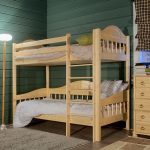
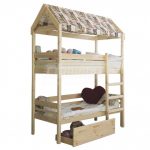
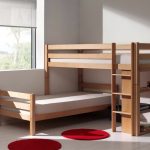
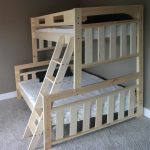
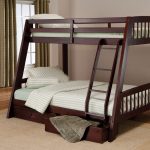
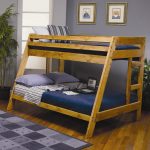
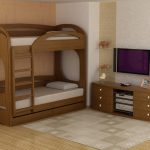
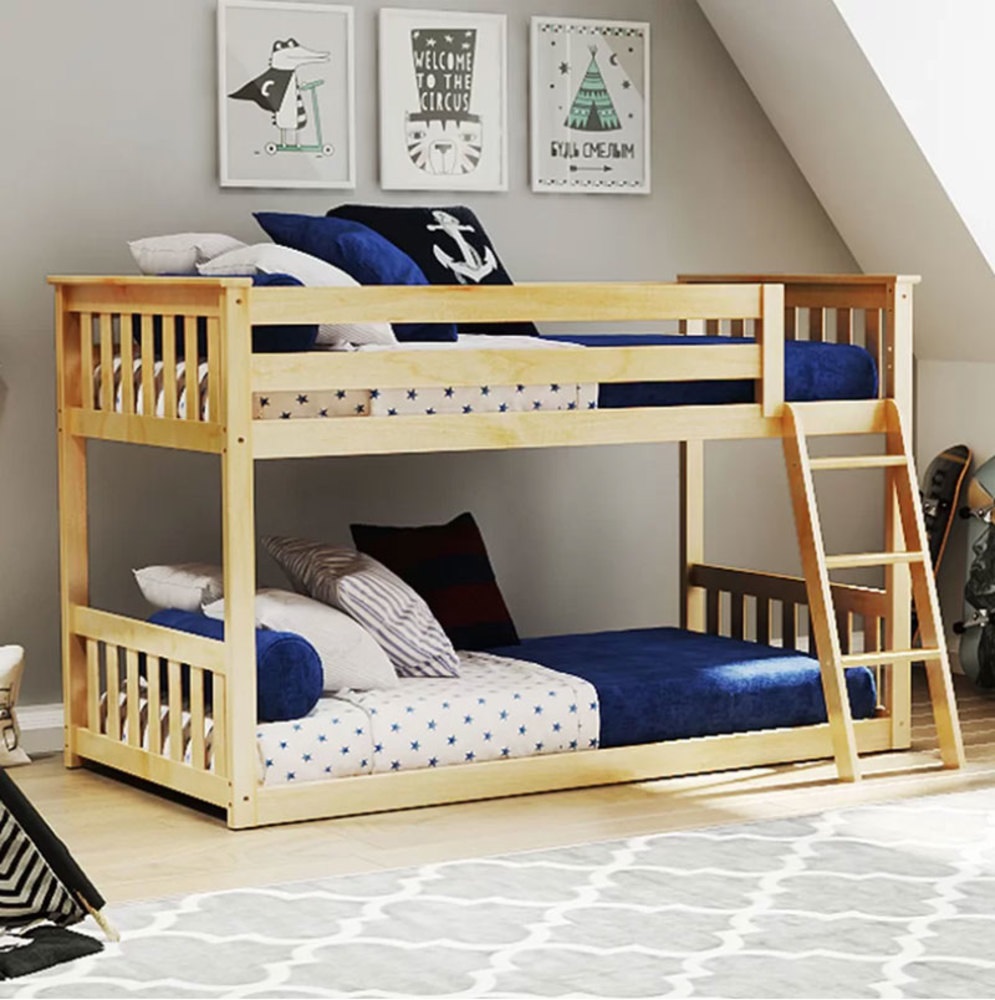
The most affordable option for manufacturing, consisting exclusively of two tiers and a staircase without additional elements.In this case, the tiers can either be located in parallel or be displaced relative to each other, which can be convenient with significant space constraints.
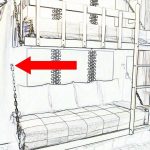
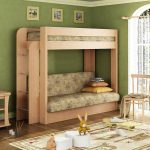
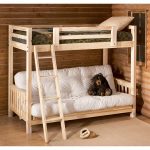
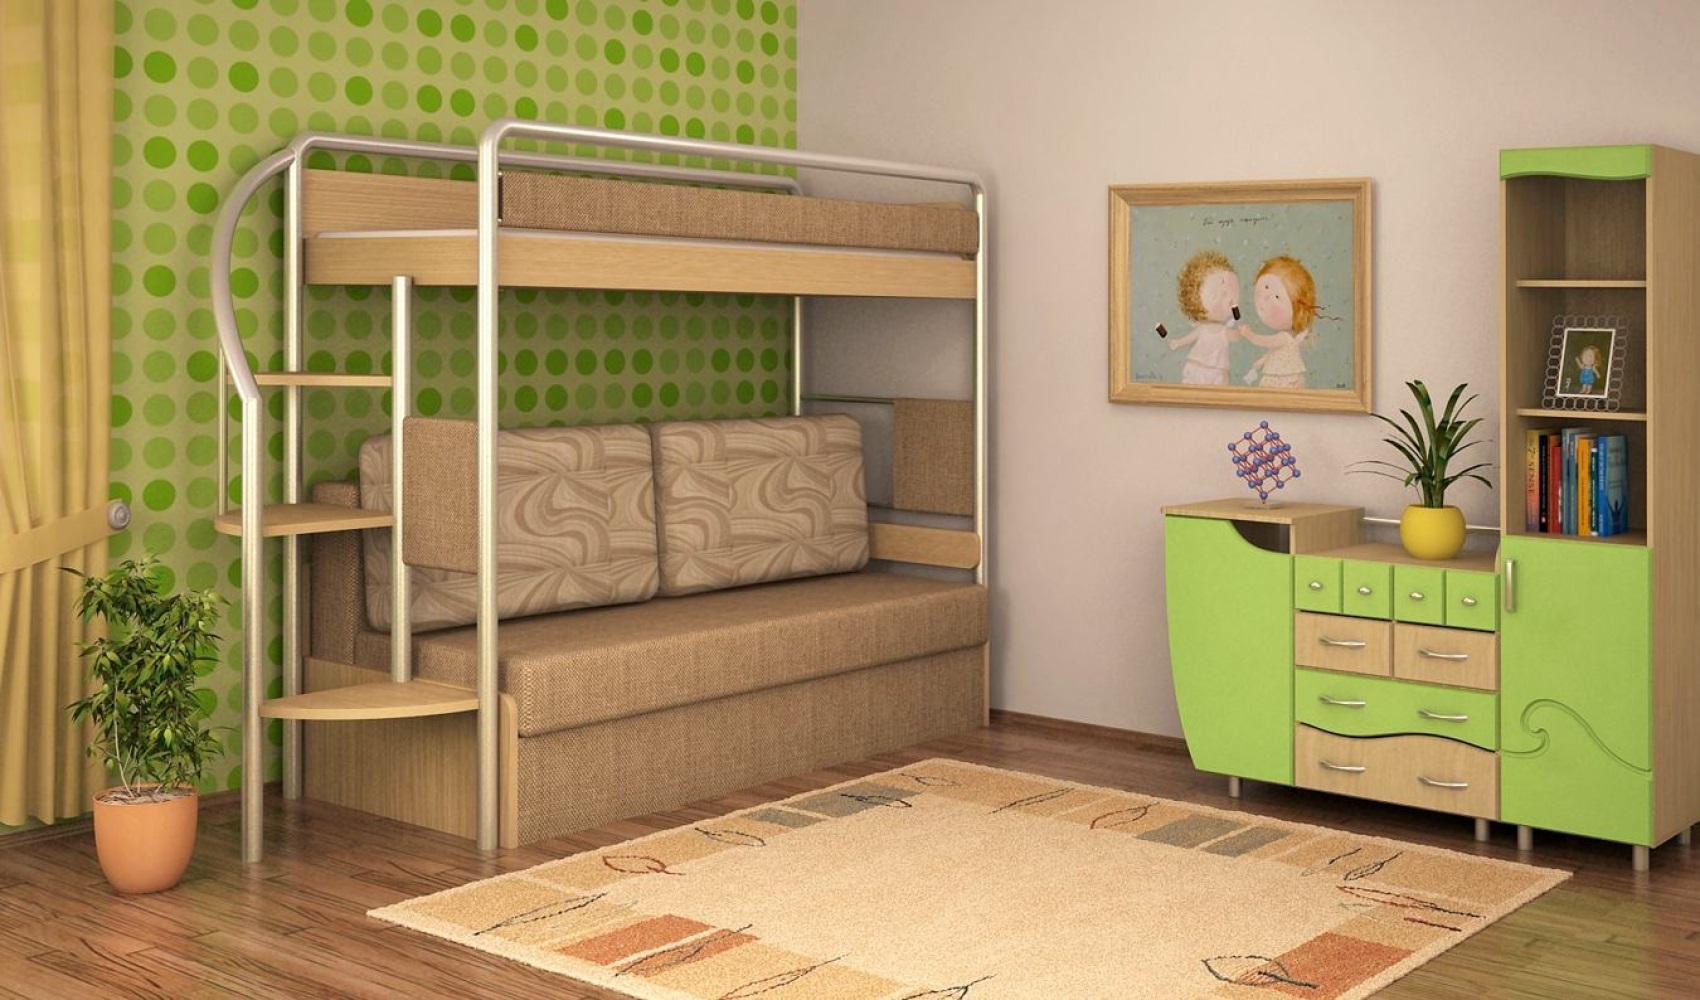
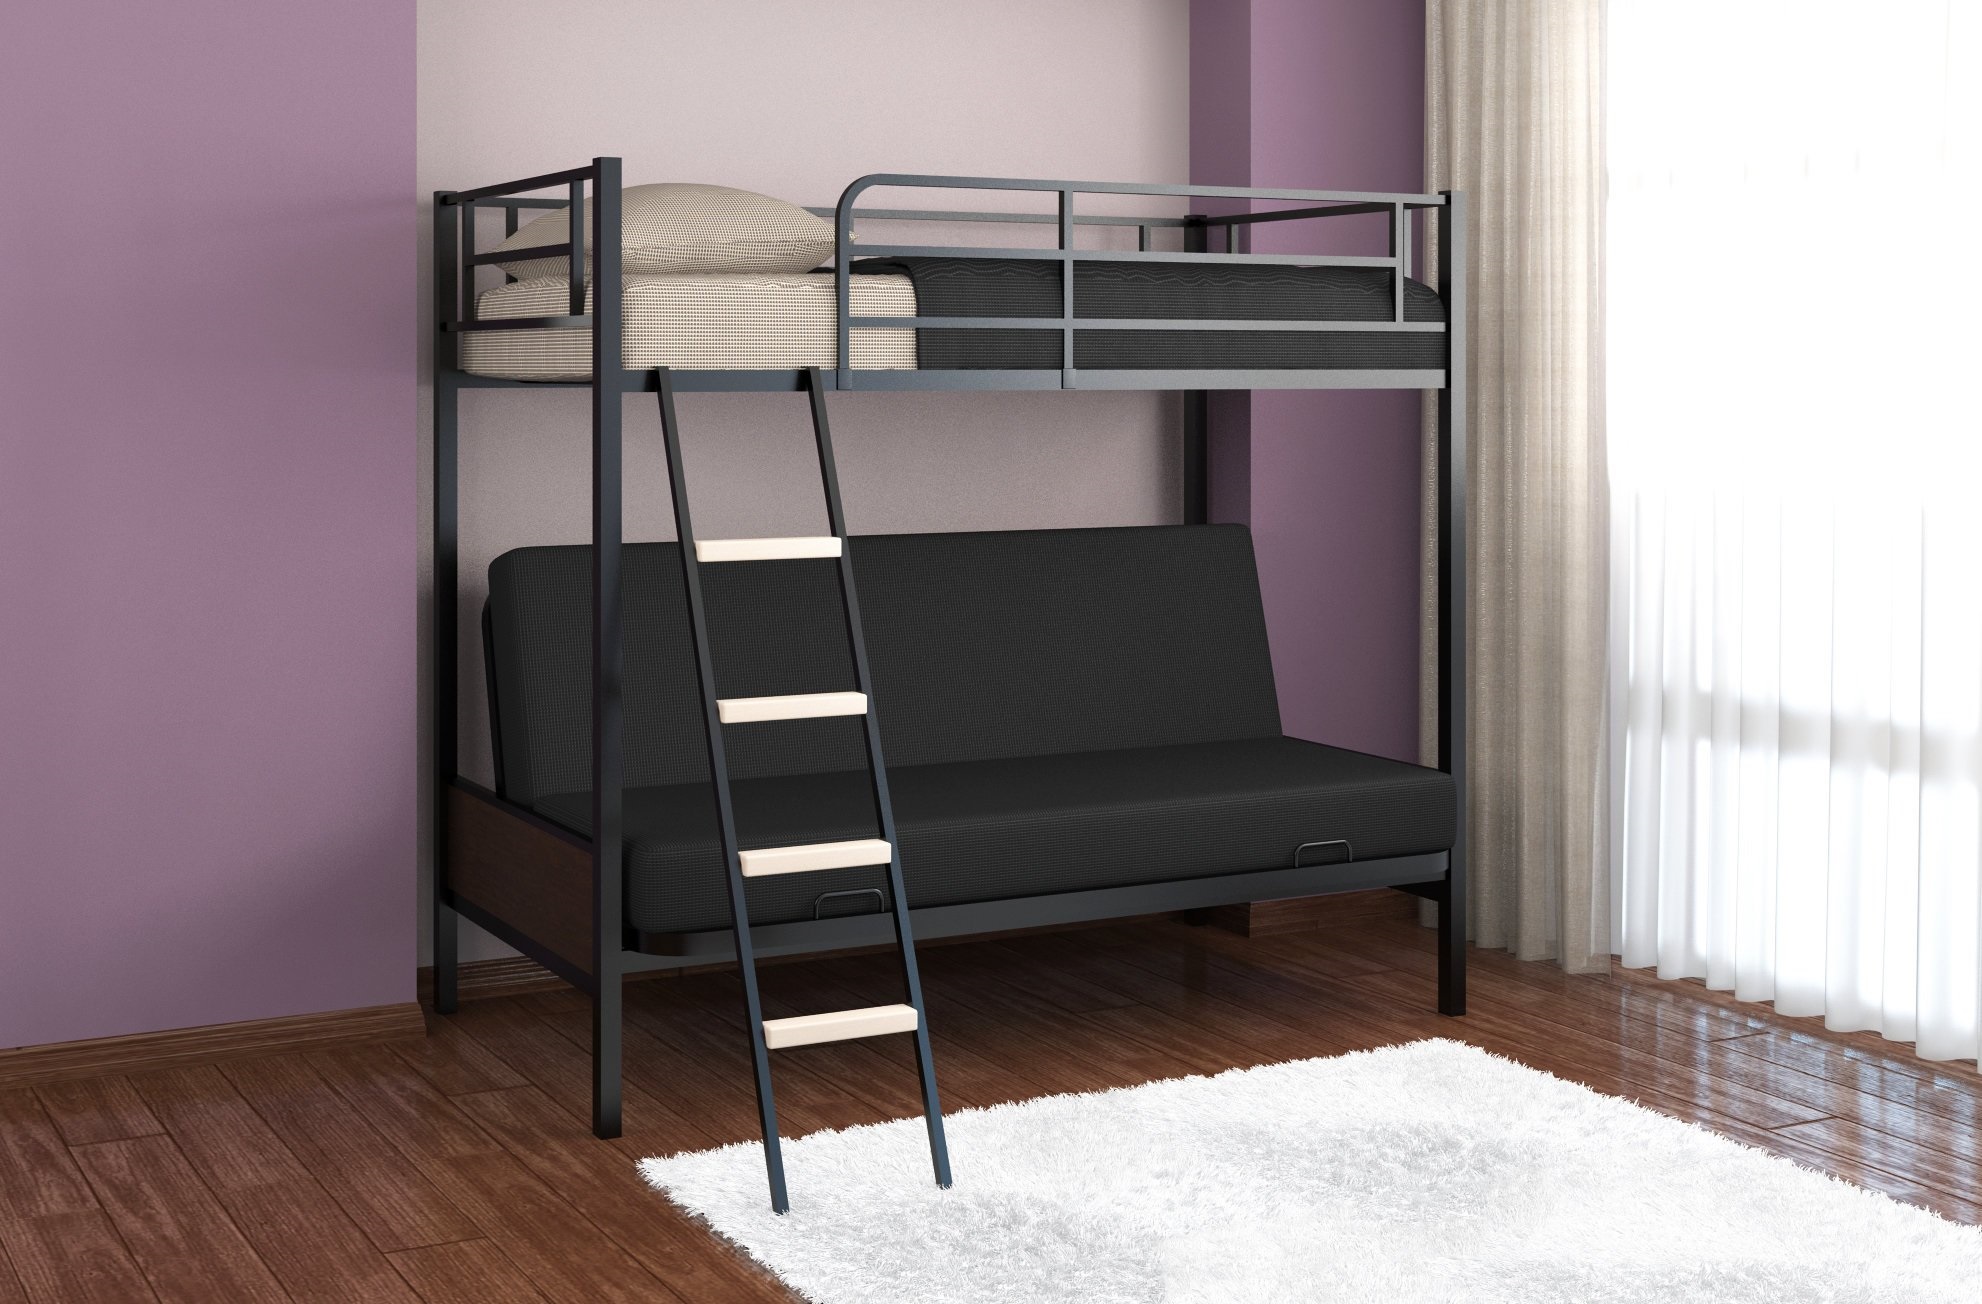
With a sofa on the first tier
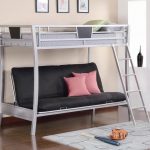
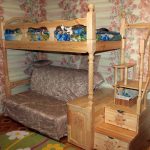
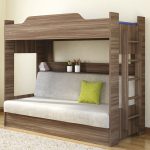
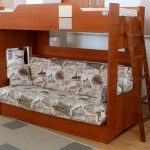
Allows you to improve both aesthetic and functional properties. The sofa looks neater than the bed and can comfortably accommodate guests, which saves space without adding additional furniture. It can be used both as a sleeping place and as a recreation area. However, for the manufacture of such a structure, you will need to purchase the sofa itself, which will be built in.
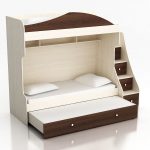
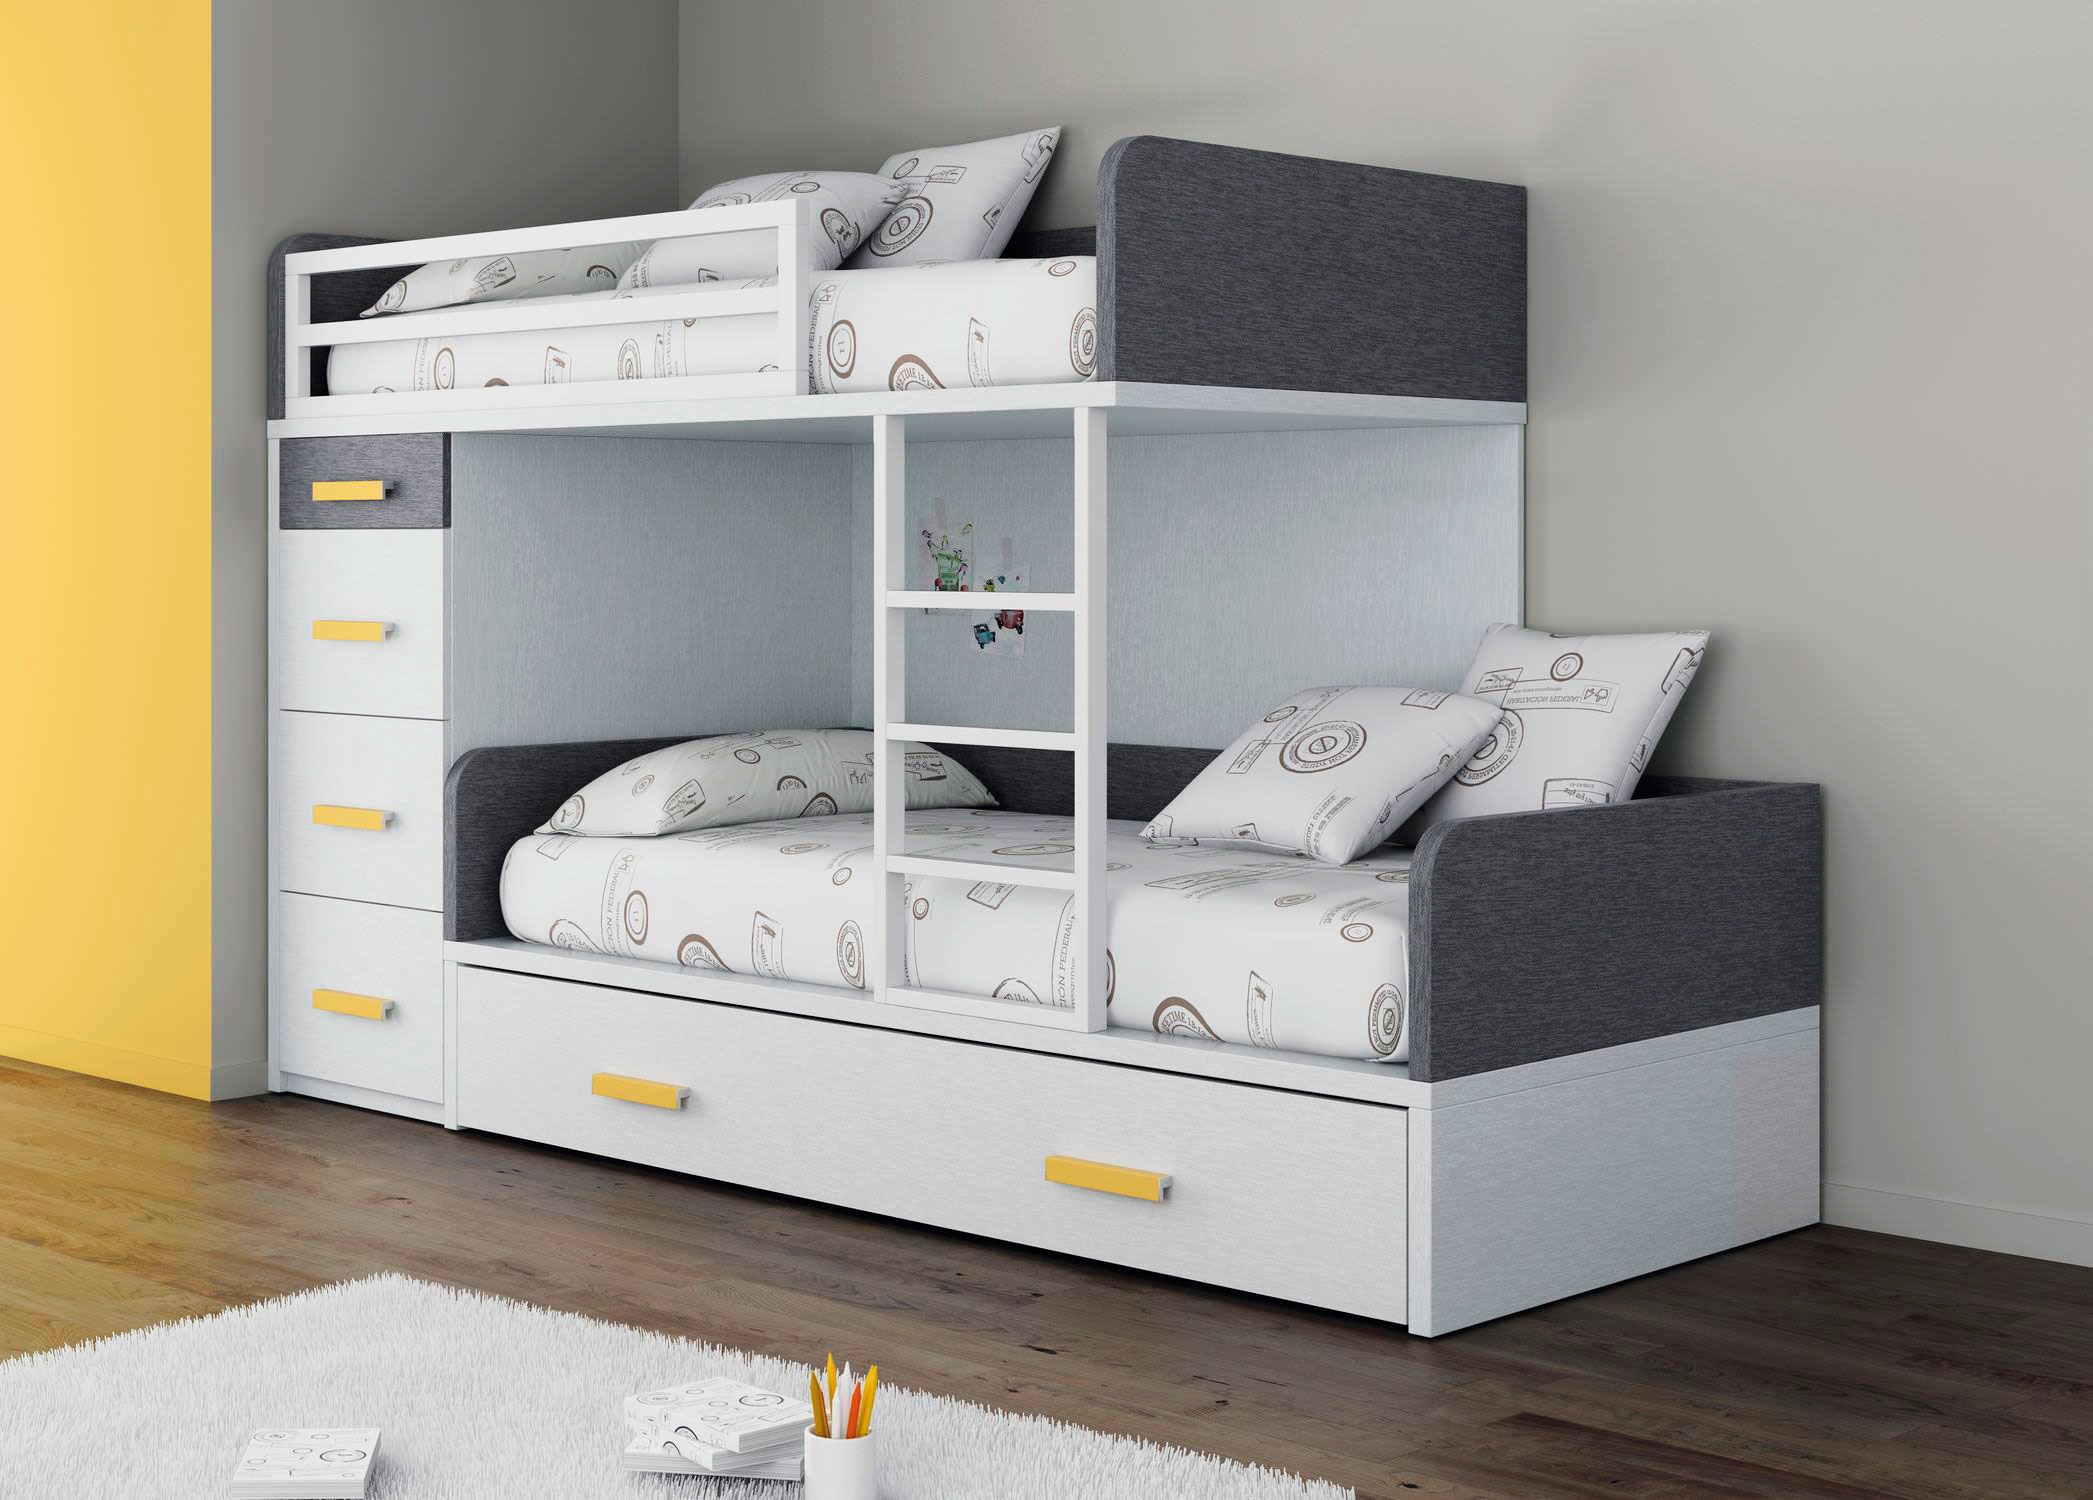
With drawers
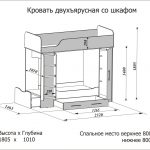
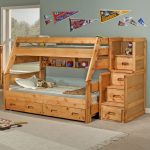
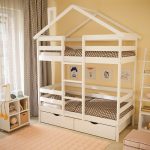
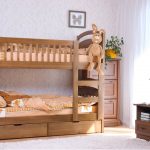
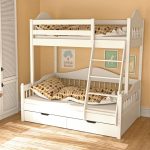
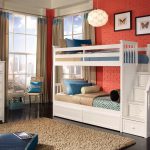
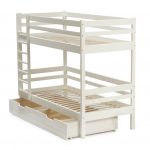
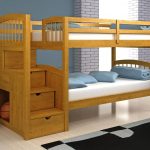
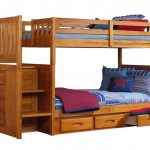
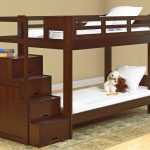
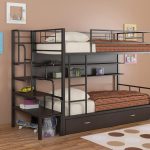
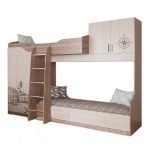
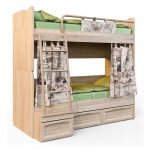
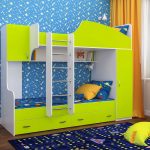
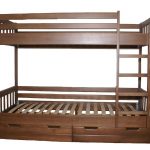
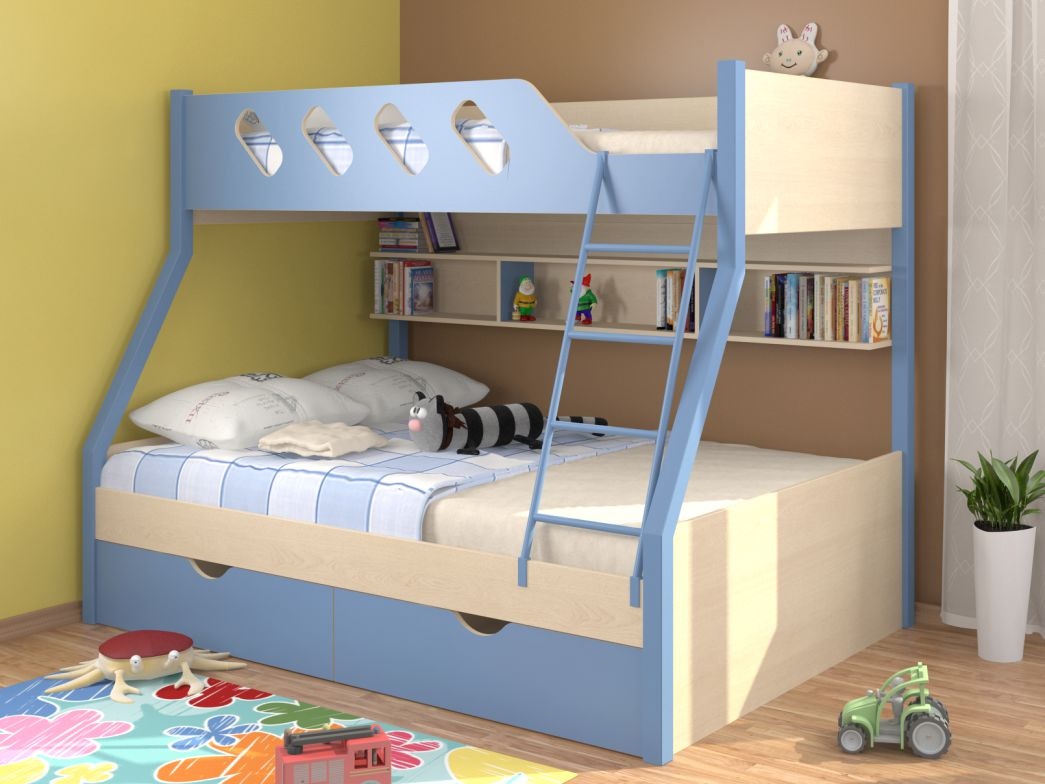
The staircase in such a model consists of drawers or shelves, which, on the one hand, somewhat increases the size of the structure, and on the other hand, makes it possible to abandon the placement of the cabinet. There can also be a linen box under the lower bed.
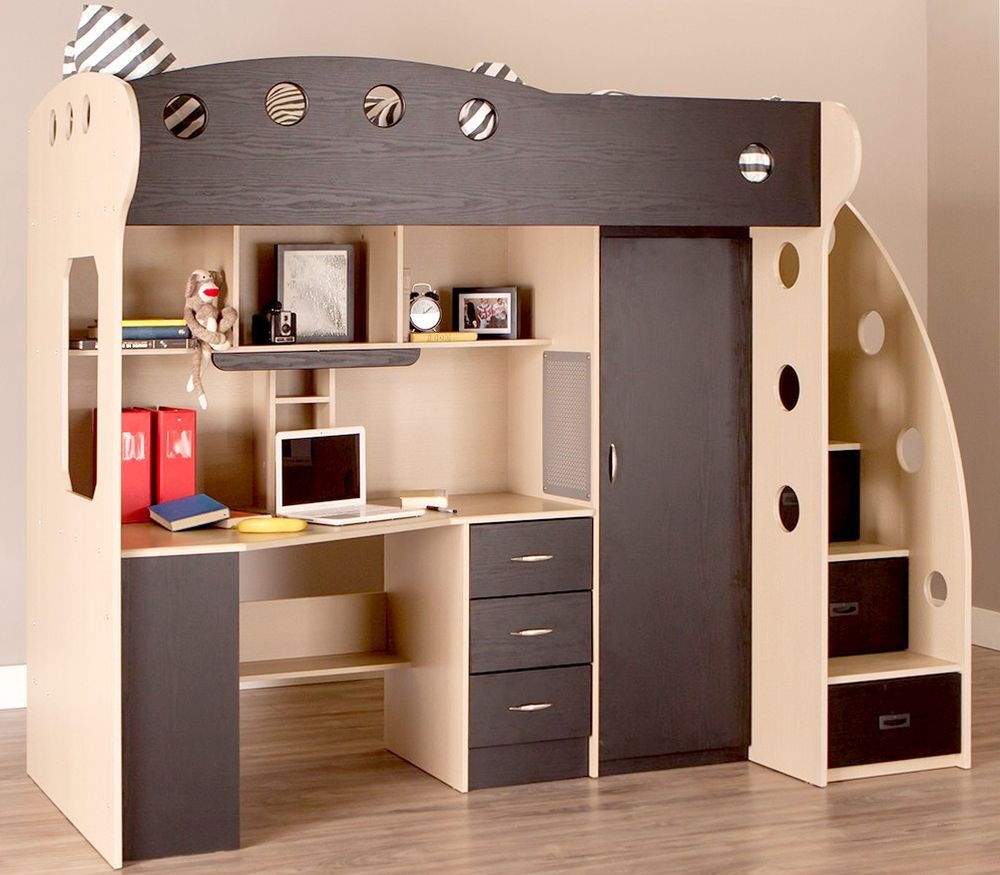
Attic
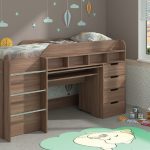
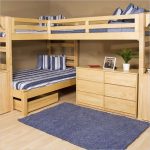
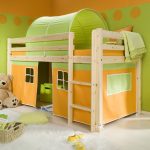
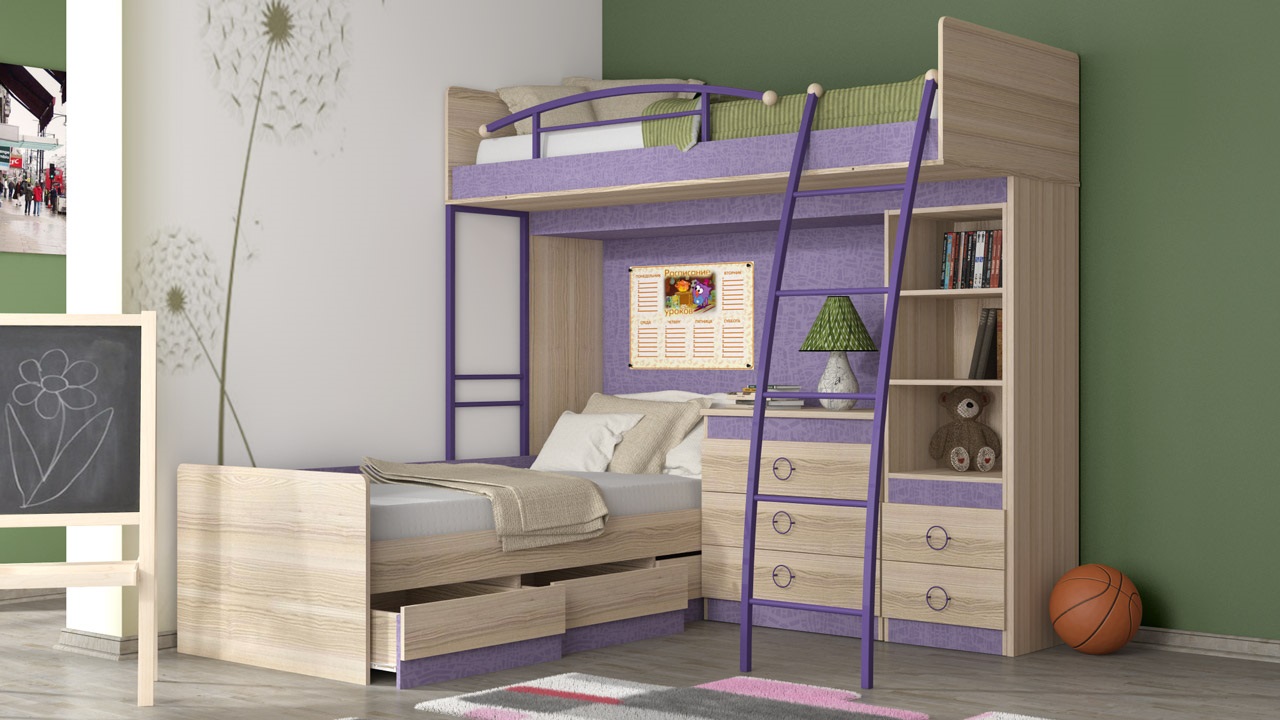
This design is designed for only one child, although, if desired, it can be made angular by placing two on the upper tier. In it, the sleeping area is located at the top, and the working area is below. The latter includes a work table, shelving and shelves.
Three bedroom
It can have a different look depending on the requirements and space. The double seat is located either at the bottom or at the top.
Transformer
Quite a popular model for one child with a lack of space. It consists of wardrobes and drawers, a table and a bed, and both the mattress and the table can be folded out or pulled out.
Important! When choosing such a model, you should pay special attention to its strength, as well as the height of the ceiling, since the lower level should be high.
After choosing the type of children's bunk bed and before making it yourself, you should familiarize yourself with the photo and draw up a drawing.
How to choose material
The choice of material is a key aspect when making a do-it-yourself bunk bed and creating drawings and diagrams. It can be as follows:
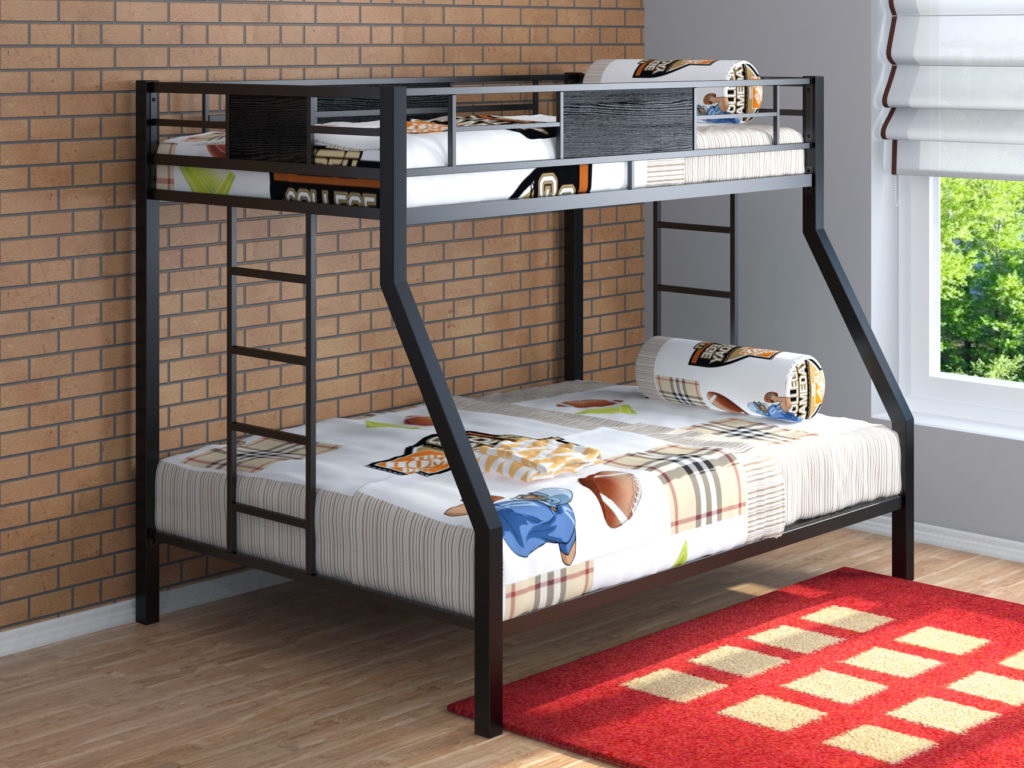
Metal
The most durable and durable material that can last for several decades. A child, especially a small one, cannot spoil it. Also, the base of the bed will not allow the mattress to sink even with a significant load.
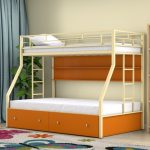
However, metal is not very pleasant to the touch and does not fit well into the interior of children's rooms, and therefore is rarely used when creating a bed for a child. In addition, forged models are difficult to equip with storage spaces, and their size cannot be adjusted.
Wood
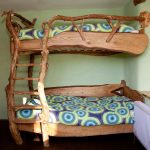
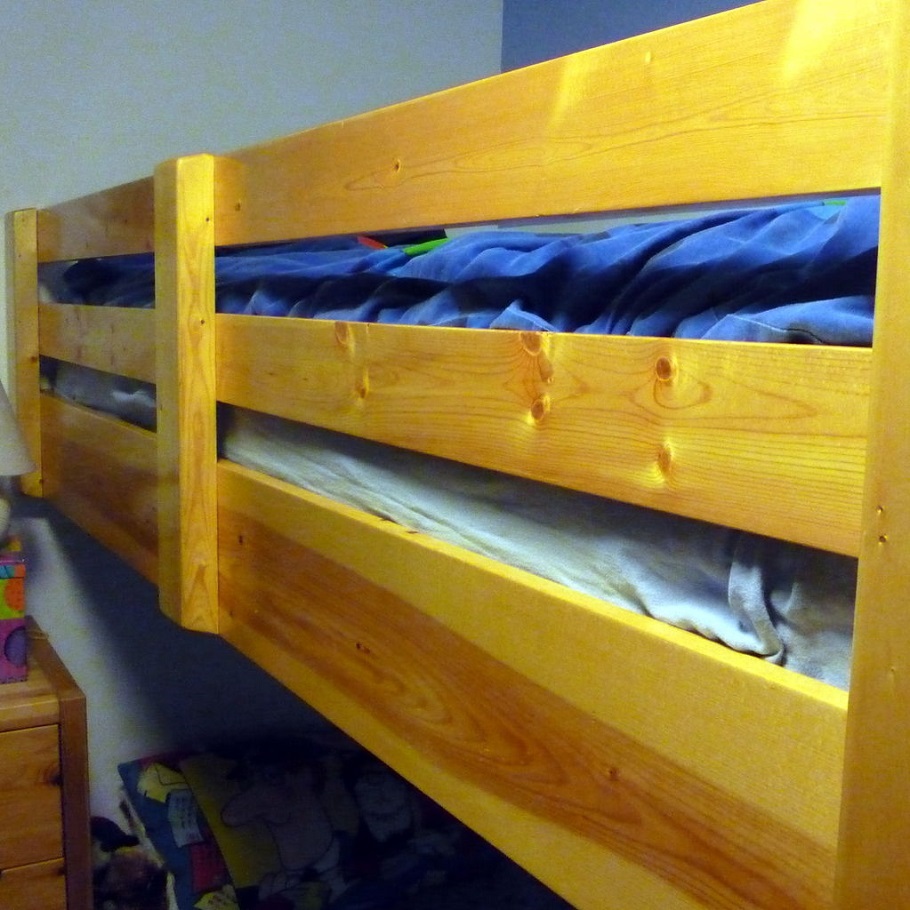
The most balanced option for a nursery, since, on the one hand, it is durable and reliable, and on the other hand, it allows you to equip the structure with any necessary storage space. At the same time, the tree has attractive external data. However, quality wood is quite expensive.
Particleboard or MDF
They allow you to create a structure in any style and color, which is especially important for children's rooms. These materials are quite environmentally friendly, and also have a more affordable cost. However, they are often not strong enough. To be sure of their quality, you should check the corresponding certificate upon purchase.
Note! Carpentry skills are required to work with solid wood or furniture board. If they are absent, it is better to choose lumber.
Dimensions and manufacturing schemes, drawings
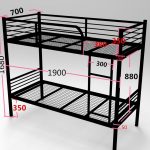
Before you make a bunk bed with your own hands, you need to measure the room and decide on the desired size of the bed. Further, drawings are drawn up for all parts of the structure. Observance of accuracy and accuracy in size will allow you to get exactly the result you need.
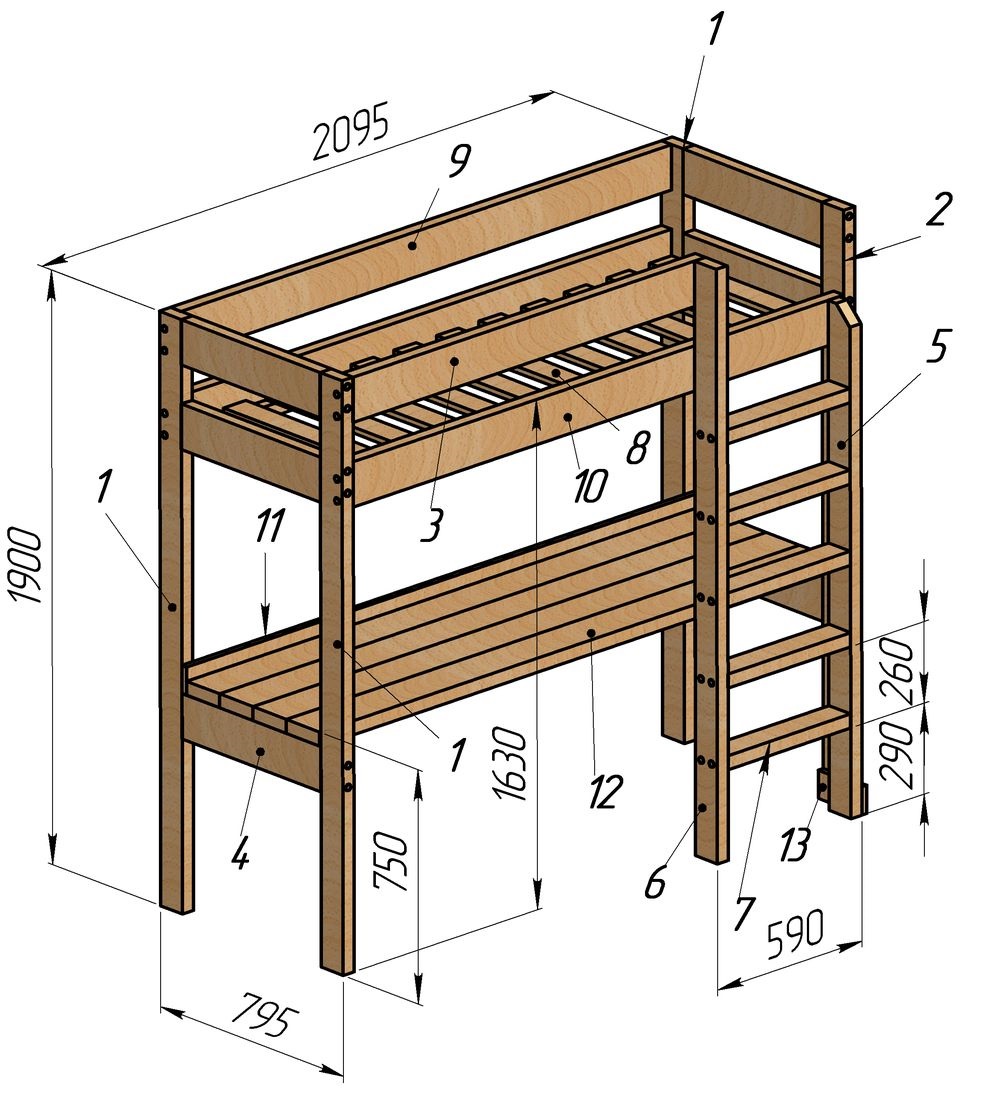
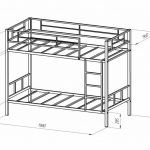
The following information is indicated on the drawings of a bunk bed for children with their own hands:
- dimensions of a one-piece structure;
- ways of connecting nodes;
- parts assembly diagram;
- dimensions of fasteners and parts;
- the order of installation of each of the parts.
Materials and tools used
When choosing tools, you should focus on the actions necessary in the process of work. For example, the material can be cut both independently and in the appropriate workshop. The latter option is more preferable, as it allows you to quickly obtain parts of the required dimensions. You will also need screws or spikes.
The assembly process requires the following:
- simple pencil;
- hacksaw;
- grinder or planer;
- screwdriver;
- jigsaw;
- knives;
- drill;
- sandpaper;
- instruments for measuring and fixing.
DIY step-by-step process for making a bunk bed
Frame fabrication
First, you should measure the mattress, the shape of which corresponds to the size of the bed. If the design provides for a sofa, then the lower part of the seat is measured.
The process for creating a wireframe is as follows:
- Creation of side panels - drawers. To do this, two boards of different widths are fastened at a right angle as a shelf.
- Attaching bars to the panels, between which the boards holding the mattress will be located in the future.
- Fastening all four bars with spikes or self-tapping screws.
- Attaching boards between the bars.
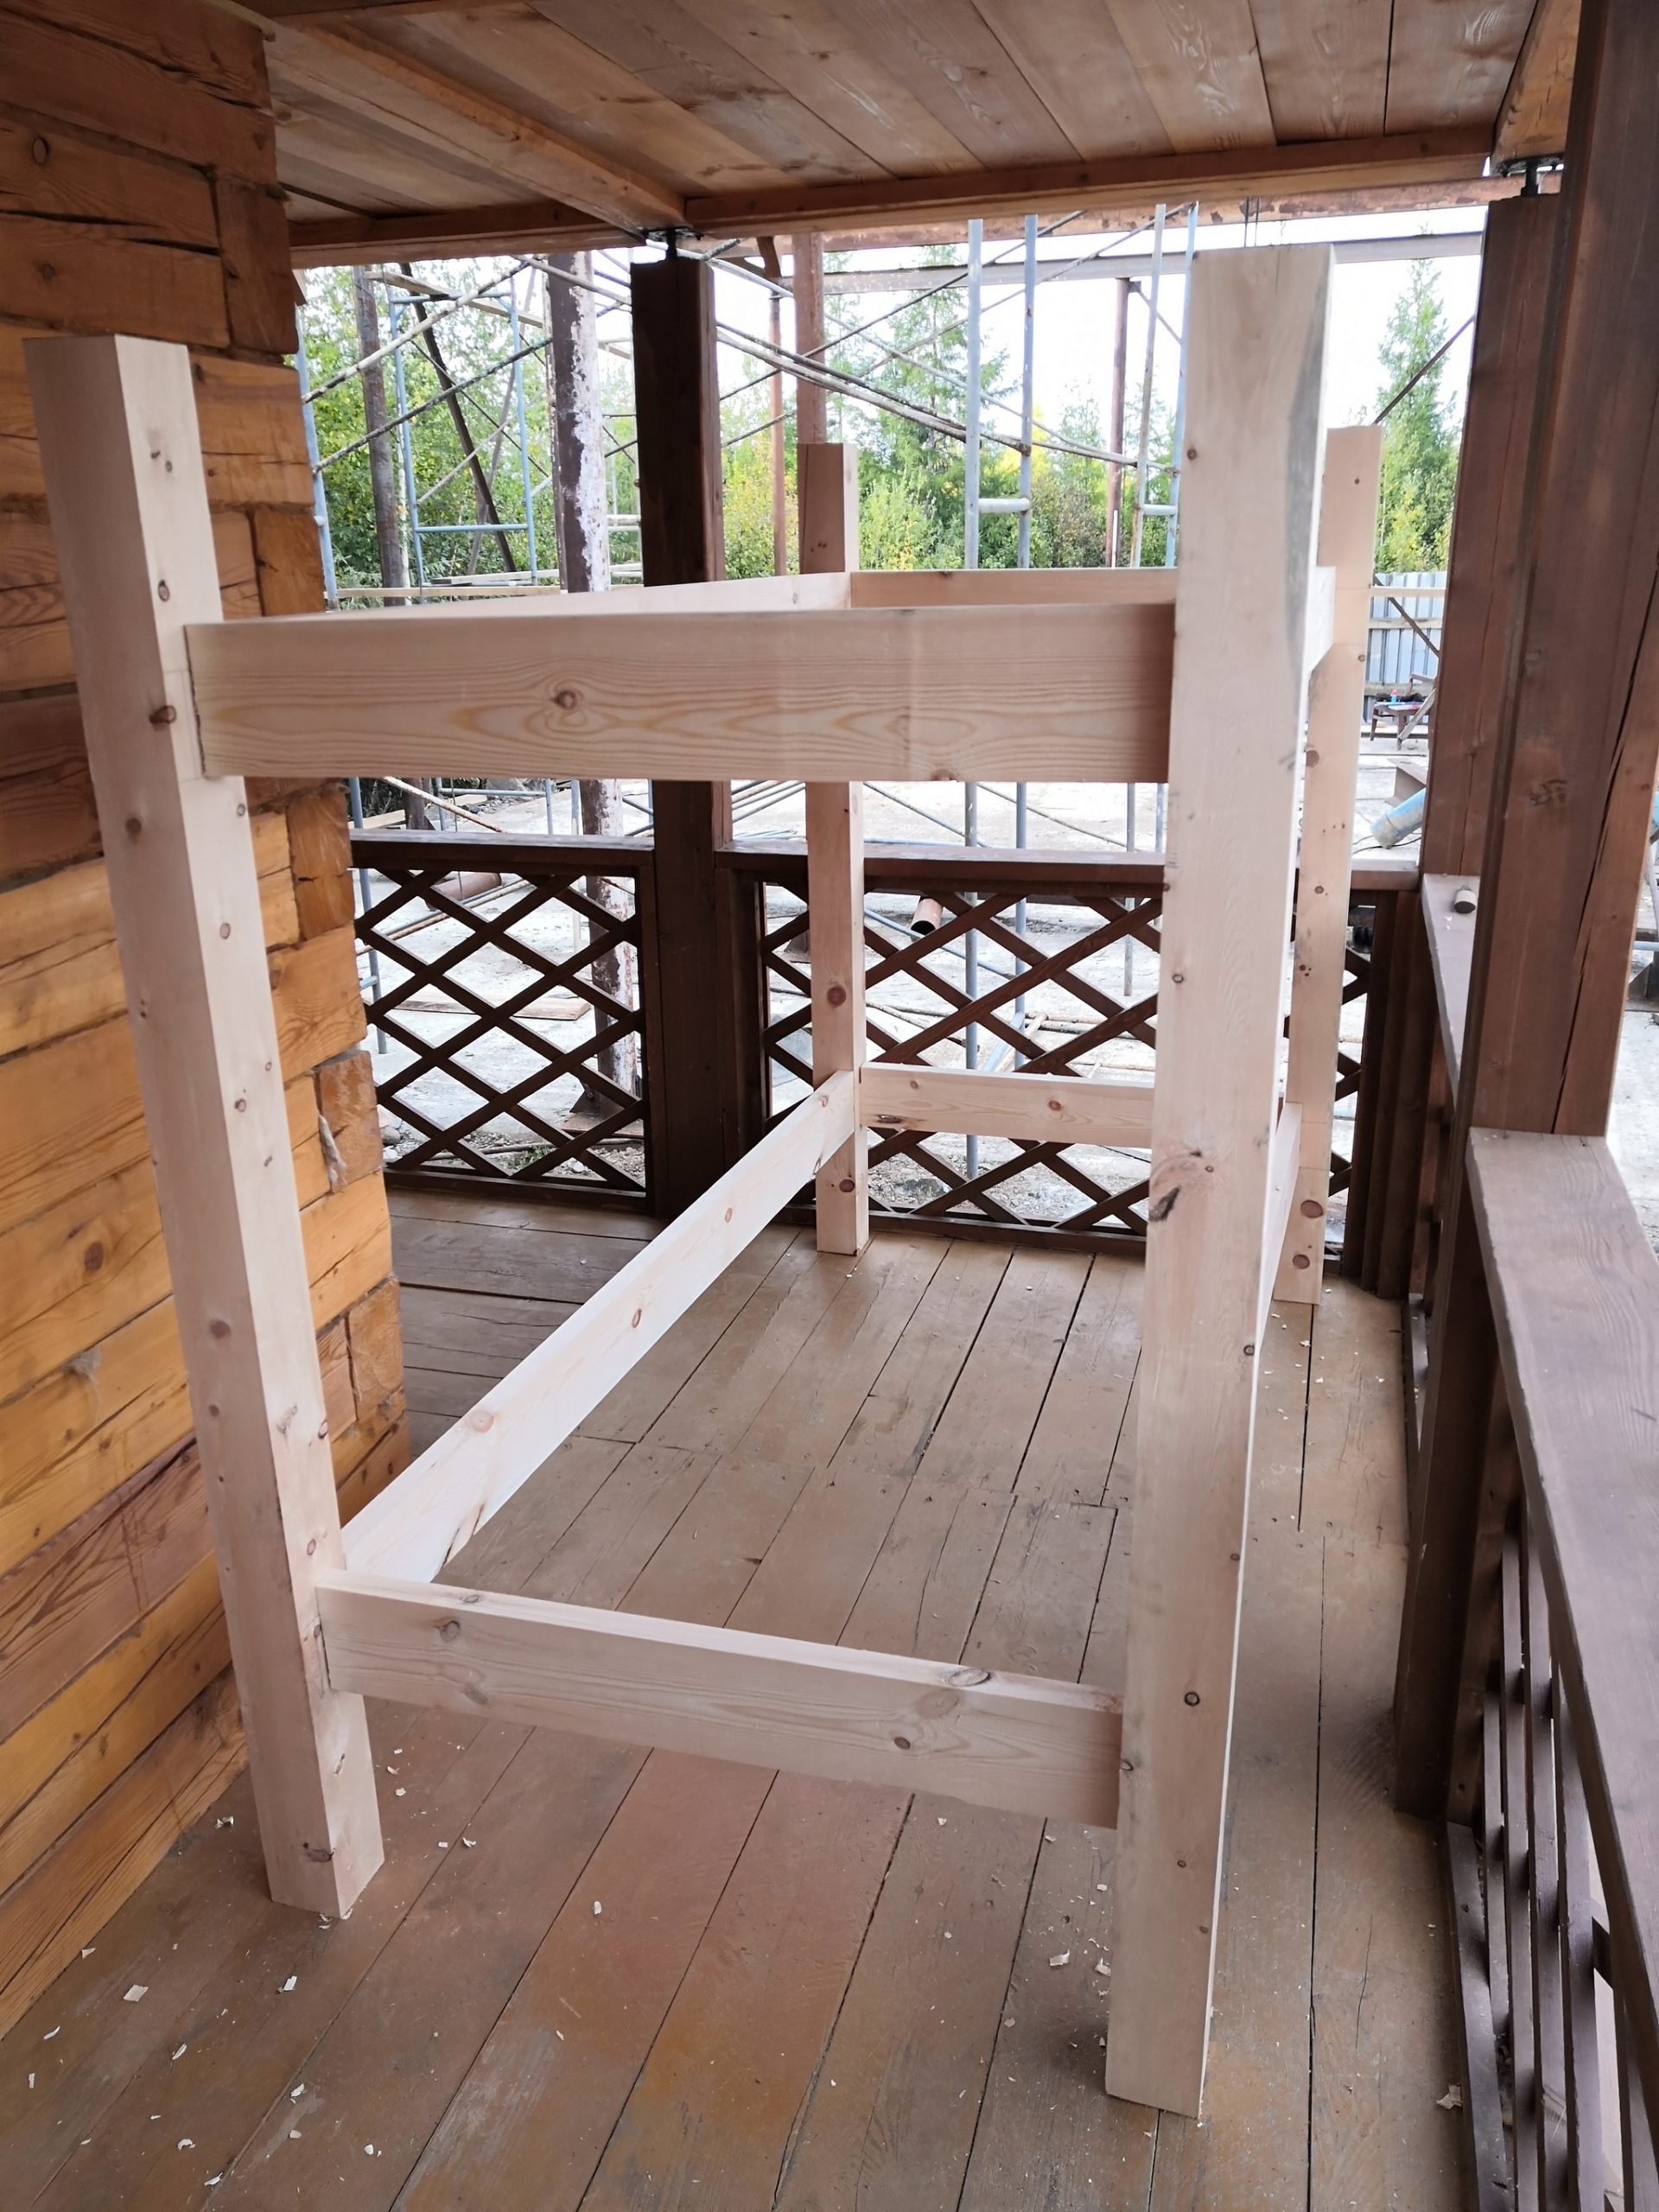
If a sofa is used, it must be attached to the box. For this, side supports are prepared, which are two vertically arranged bars, tightened by other smaller bars. There should be two such supports, for both sides.
The boards are fastened using either spikes or lugs, which are processed with wood glue. The elements must be connected very firmly in order to prevent the frame from loosening during operation. After the box is dried.
Note! For fastening, it is preferable to use thorns, however, the use of self-tapping screws is also permissible. However, in this case, it is necessary to hide them from the outside and strengthen the fastening with metal corners.
Back
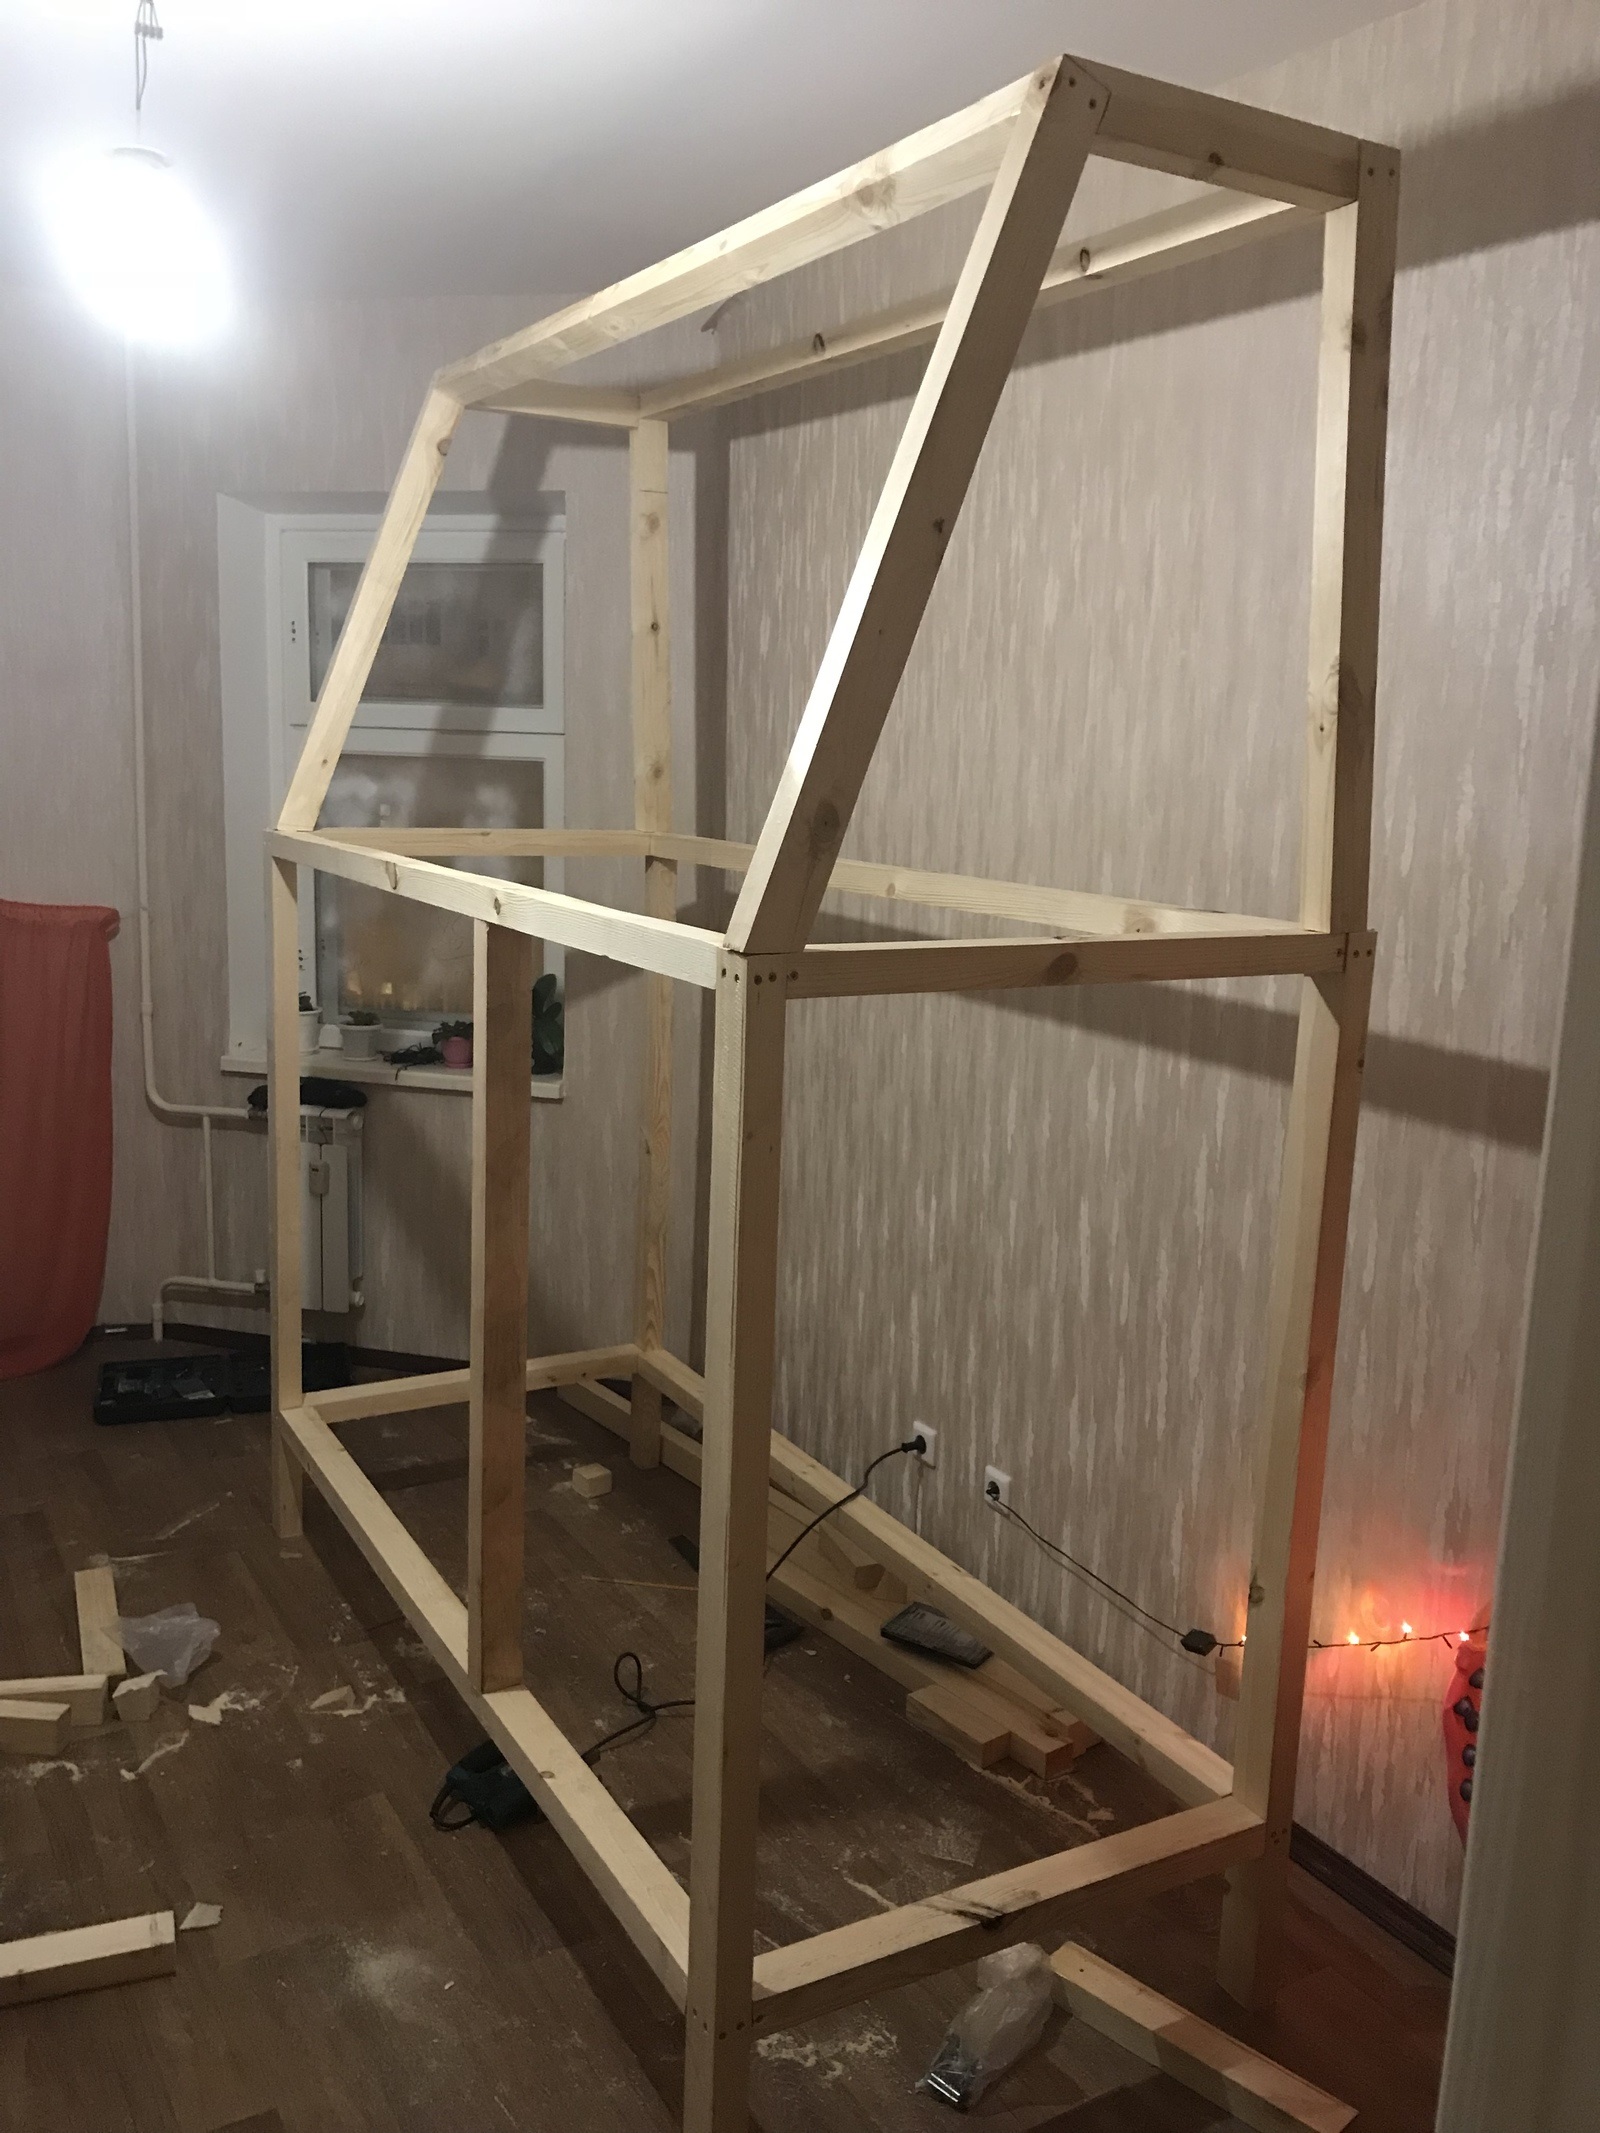
It is best to perform a rack and pinion version of the back by adding slats to the frames of both tiers. They allow not only to hold the bed, but also to protect it from contact with the walls. The back of the lower tier is often made soft, which allows it to function as a sofa.
For the manufacture of the back, you will need boards tightly pressed against each other or a furniture board equal in width to the frame, as well as dowels for connection. The slats must be attached to the back of the box by drilling holes in both elements and connecting them with dowels.
Note! Functionally, the backrest is necessary to restrict each tier and highlight it. However, it is often used as a space for decoration. For example, you can carve shapes or an ornament into a shield.
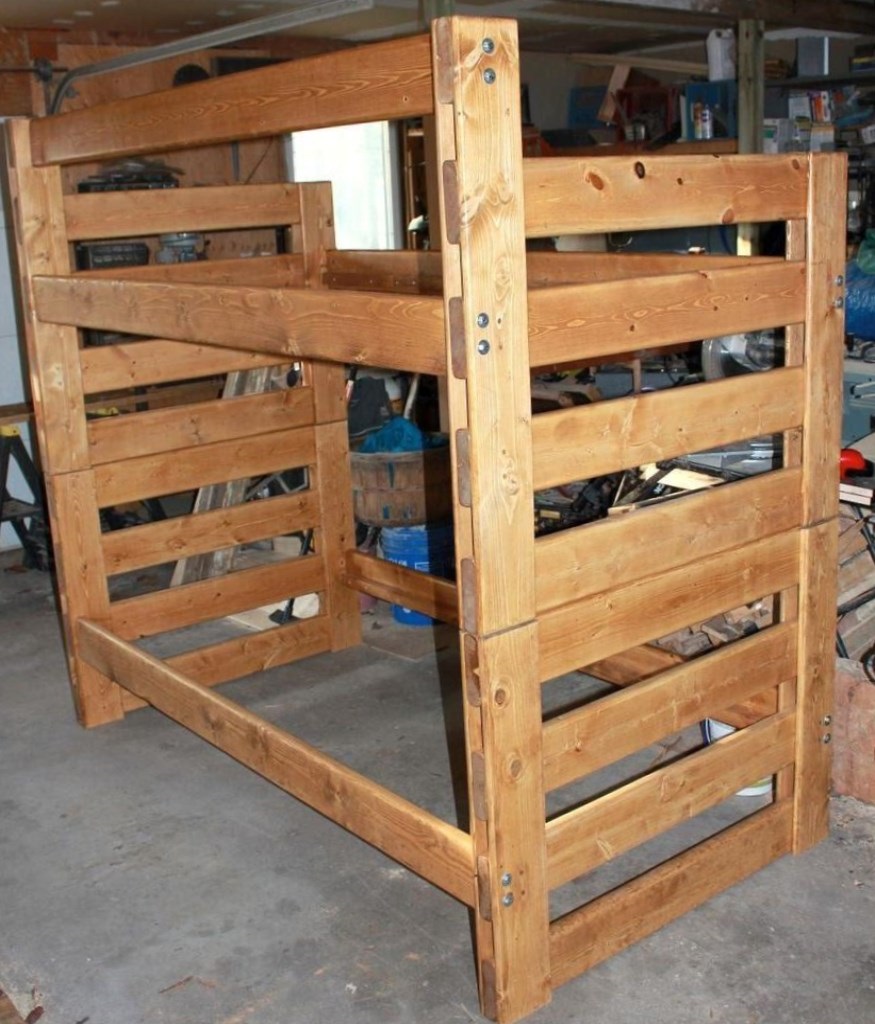
Side boards and ladder
For the side walls, dividing into a headboard and a back, you will need two sanded boards (one is somewhat narrower than the second) and four side slats. The headboard is attached as follows:
- Installation of boards for the headboard in the rail on the sides.
- Backrest and headboard connection.
- Manufacturing of lamellas, lattices or nets to support the mattress.
- Attaching the rail to the inside of the box.
- Preparing the frame for the lamellas and positioning it on the inner plane of the tier.
- The overlay of the rail on the frame with a step of 5-7 cm.
- Chamfering the outer edges with a hand plow.
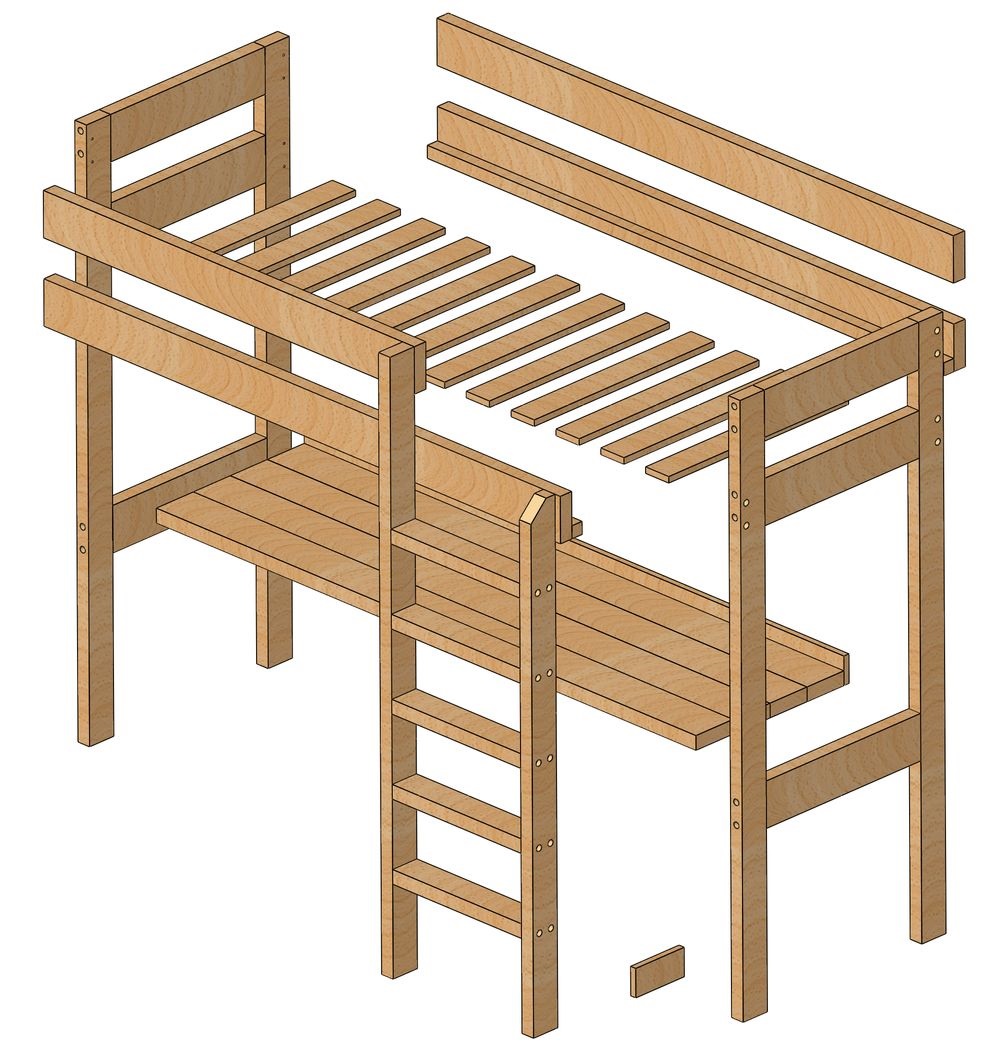
Important! For the mattress, it is worth making at least one partition that adds rigidity.
When attaching the backrest, you need to change the location of the boards, installing a narrow board on top and a wide one at the bottom. Thus, the height of the narrow headboard should match the wider backboard.
The ladder can have a different number of steps, be located directly or at an angle, and also be placed on different sides of the bed. Its assembly consists of the following steps:
- Installation of two parallel bars, which are the bases and guides of the stairs.
- Attaching steps. First, the lower one is fastened to the backrest, and then one above one is placed the rest. The steps should be inserted into the bars.
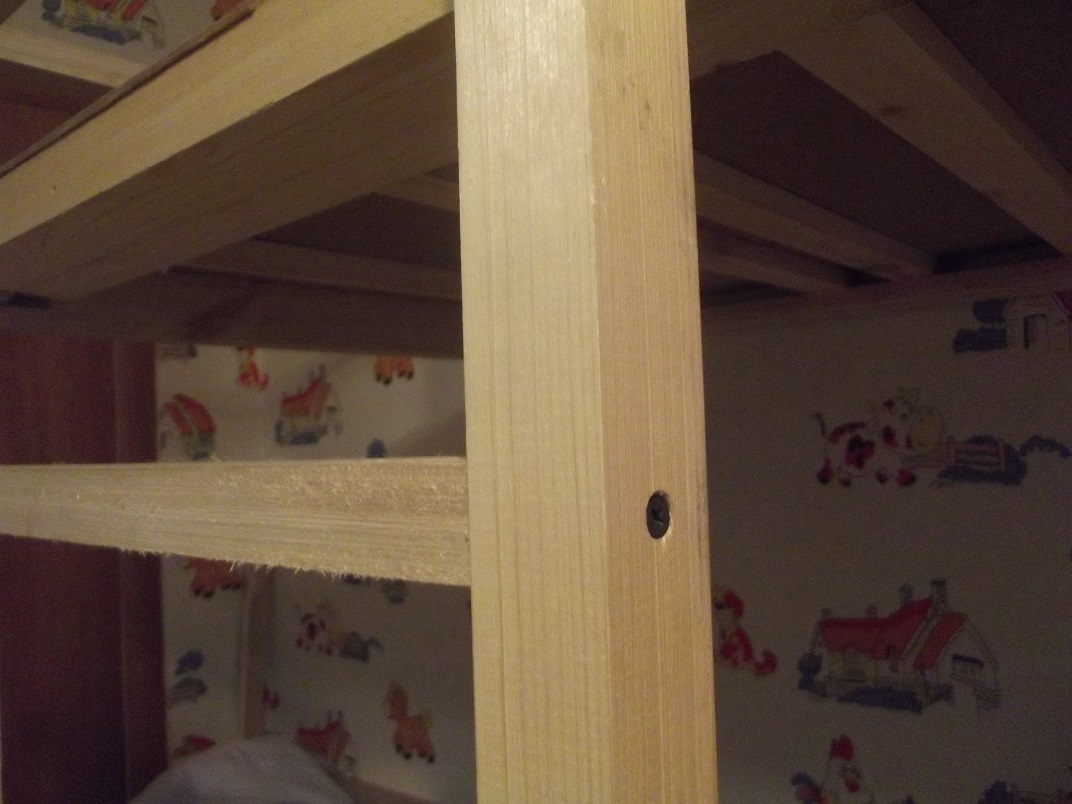
There are such types of step connections as recess, external and metal corner. In any case, the mount must be hidden to keep the child safe.
Also, the staircase is equipped with a handrail, which is a board attached to the frame. It is selected taking into account the easy grip of the child's hand.
Legs
The legs are available in different sizes and shapes to ensure maximum structural reliability. Most often, round, square or carved legs are used, which can be fixed from the outside, from the inside or inserted into the frame.
Note! In order to strengthen the box, you can add a fifth leg.
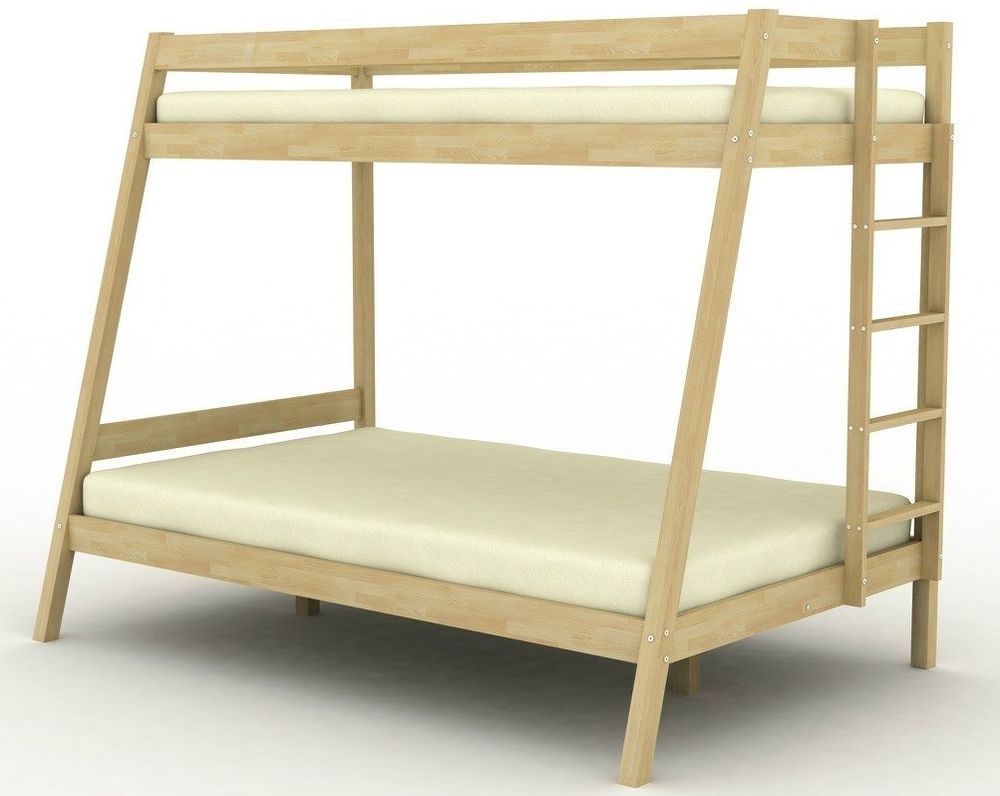
For the manufacture of legs, bars with a thickness of 50-100 mm are used, which are connected in pairs. As a result, the end should be like a shelf, and the length of the leg coincides with the height of the fence of the upper tier.
Bunk bed decor
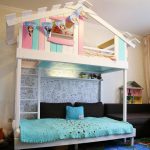
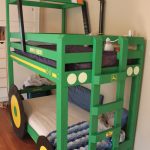
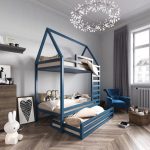
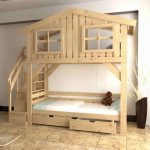
It is necessary to think over the decoration of the bed before manufacturing, as it can significantly change the project. If you have certain skills, you can make furniture in the form of a car, a house or any other object. A simpler, but no less popular option is to equip the bed with a wall bars, rope and beams. Also, the installation of a slide for a quick descent is often found.
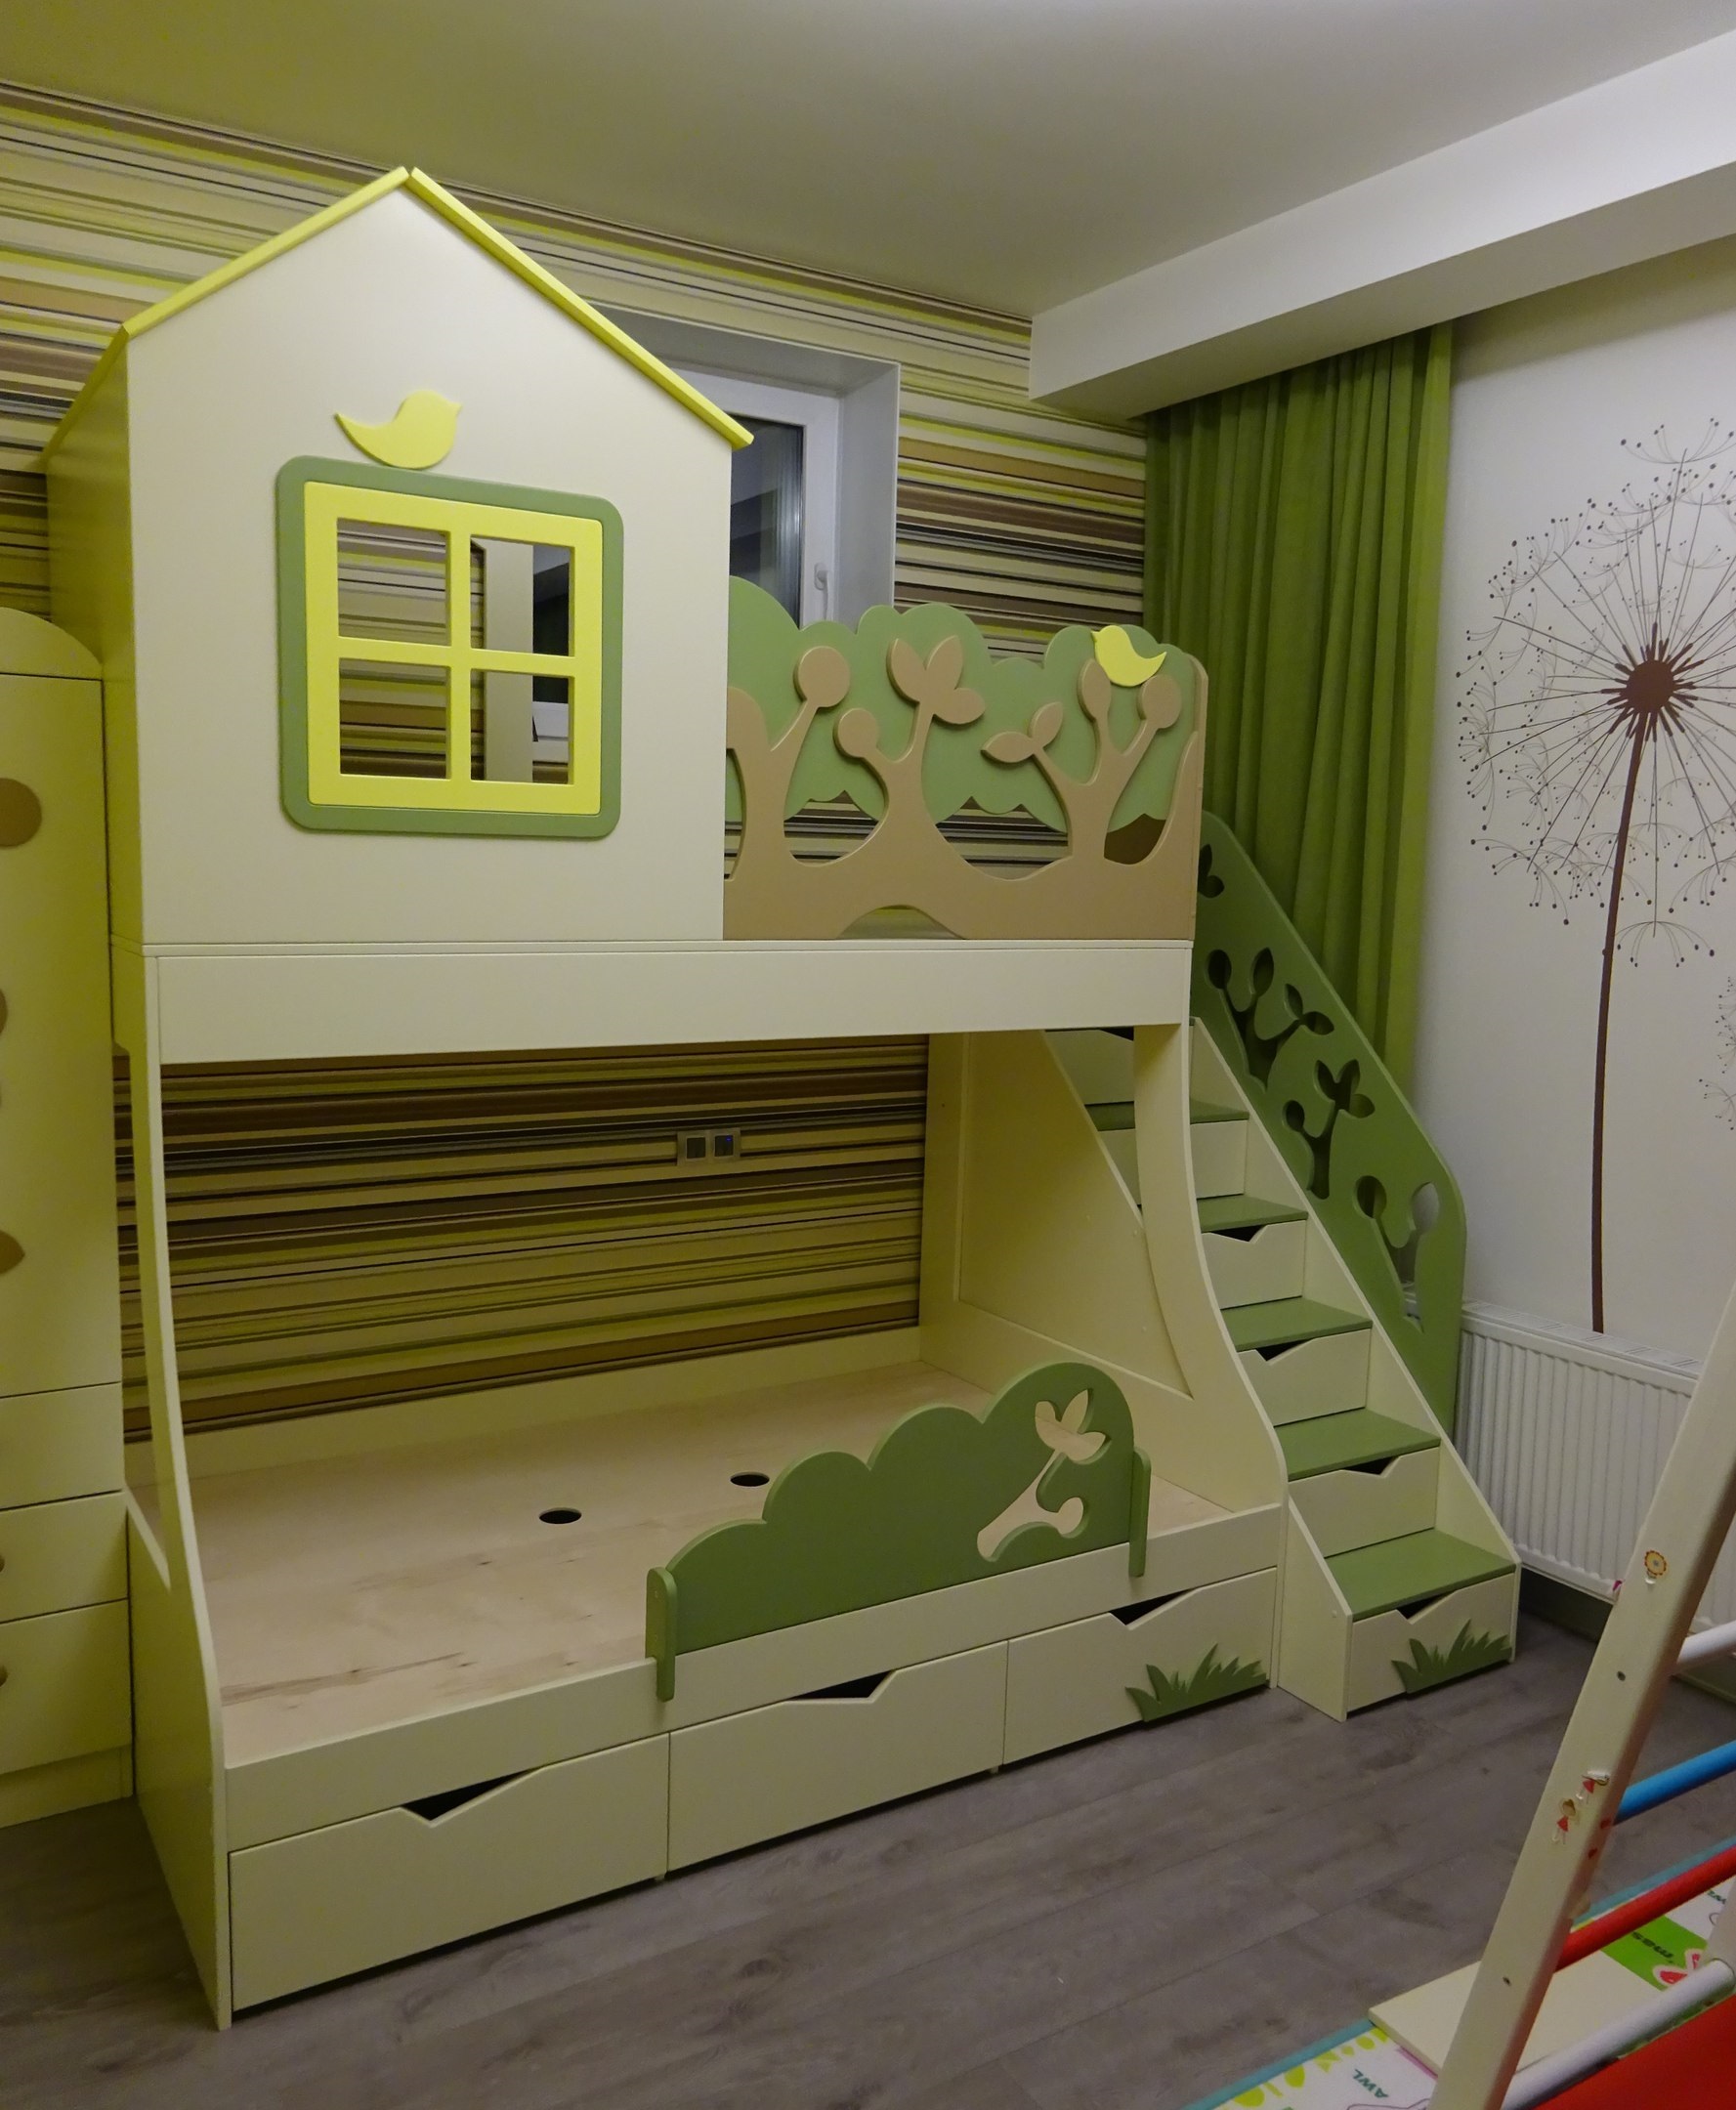
The hand-made production of a bunk bed is a rather laborious and painstaking process. However, with some skill and care, you can get a unique and high quality product.
Video: how to make a bunk bed
