Assembly instructions for the transforming bed
A transforming cot with a pendulum mechanism allows you to save space and easily rock your child. It is this product that is most popular among parents.
Most of these furniture are sold collapsible. How to assemble a crib pendulum instruction does not always tell you exactly or quite clearly. This is due to the fact that this device has many small parts that are connected one after another. But if you understand the principle of assembly, then it is not difficult to succeed in this matter.
What is a pendulum bed
First you need to understand what the pendulum crib is. A transformer is usually called a product that combines several functions, in addition, it can easily change depending on the age of the baby.
Usually a transformer contains several elements:
- Frame.
- Mattress bed.
- Boxes for storing linen.
- Bumpers for holding the child.

The transformer differs in that, in addition to the bed, it also contains containers for storing things. It can also change depending on the age of the child.
When the baby is very small, the mattress bed can be set at a higher level so that the mother does not have to bend low and strain her back. When the baby grows up and begins to be interested in the world around him, so that he does not fall out of the crib, the mattress bed is lowered and the sides are reliably protected.
The pendulum mechanism allows you to simulate the natural motion of the mother. Thanks to this, the baby falls asleep easily, and the mother does not need to hold him in her arms.
In this case, the mechanism has a lock so that the bed does not swing constantly. It is because of such a large number of mechanisms and parts that assembling a baby bed with a pendulum and transforming elements is the most difficult.
How to assemble a baby cot with a pendulum
You can assemble a crib at home and on your own, for this it is not necessary to call a specialist for separate money. In this case, it is worth following a few simple rules and competently prepare.
The assembly of the crib should be done in the baby's room. Otherwise, it will have to be carried across the entire apartment, which is very inconvenient.
Before assembly, it is necessary to prepare a place for work, that is, free up space. Then the parts should be freed from the packaging, laid out and counted. In this case, large parts must be set aside in one direction, and small ones in the other.
For small details, it is better to prepare a light-colored fabric: a blanket or bedspread.This will make them easier to see and not get lost.
Drawing and instruction
After the crib is unpacked, you need to carefully read the instructions for assembling the transformer crib with a pendulum. Unfortunately, instructions in Russian are not always provided for products sold in online stores. In this case, you have to act based on the scheme and intuition.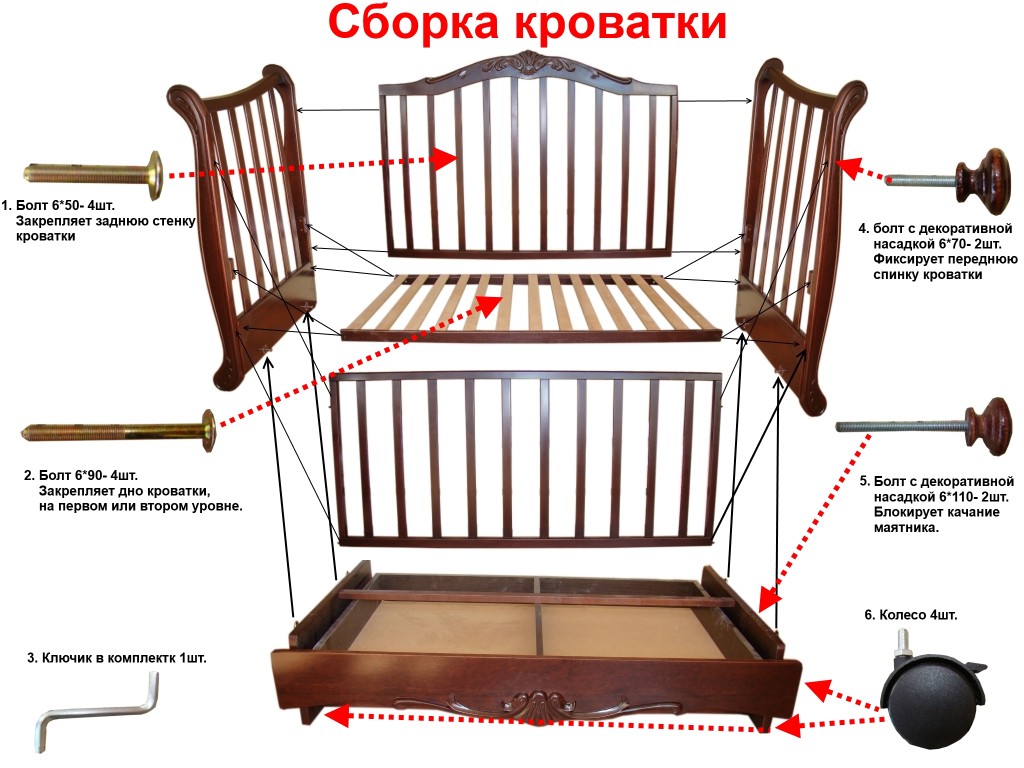
If there is an instruction, it must be read. If there are photographs in the assembly instructions for the transforming bed, it is better to carefully consider them, no matter how simple they seem. In the future, this will help in the assembly.
Place the drawing in a convenient and visible place. A suitable place might be where the small details lie.
Basic design details
The bed usually consists of a frame, bed, rocking mechanism and other elements. The side walls and bed are the largest elements that ensure the reliability of the entire structure and the baby's stay in the crib.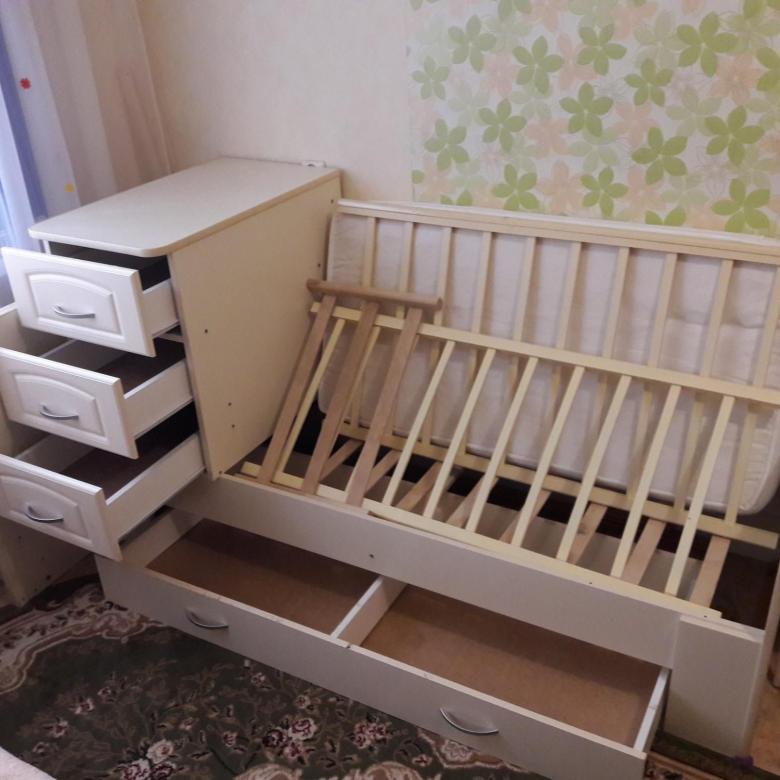
The pendulum mechanism can be designed in different ways:
- Longitudinal. The simplest, most popular option. In doing so, it best mimics natural motion sickness. Medical studies have shown that it is this option that helps to normalize intracranial pressure.
- Transverse. The movement is from side to side. The assembly of this product is a little more complicated.
- Universal. The cradle is attached separately to the sides. Thanks to this, she also has natural motion sickness. The carrycot can be removed later and the baby can be laid down on a bed that goes down below.

Depending on the type of rocking mechanism, the cots are assembled in different ways. But the basic principle is the same: first, the main elements are assembled, and then the swing mechanism is attached.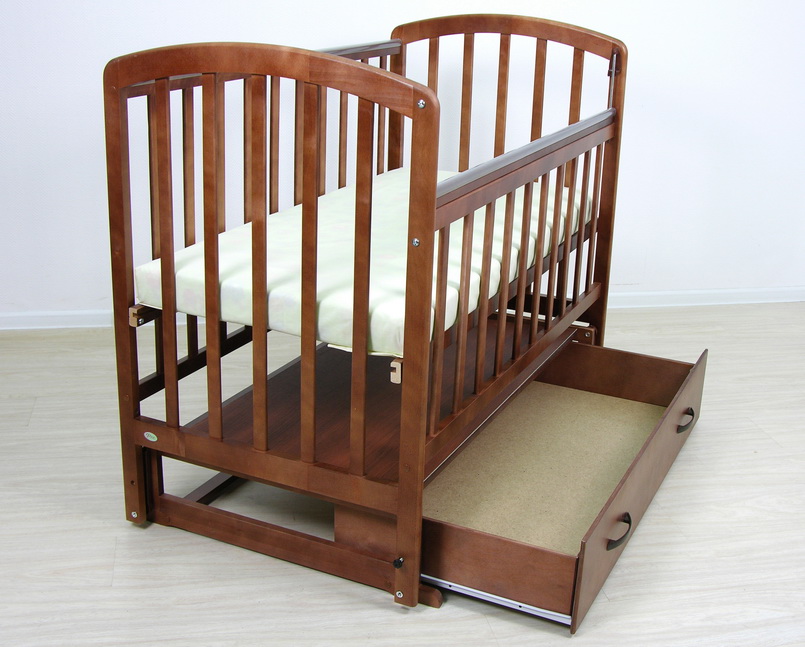
Required tools and accessories
It is also necessary to prepare the tools that will be required for the assembly. The usual set for this:
- Screwdrivers of different sizes and cross-sections.
- Wrenches for nuts of different sizes.
- Screw wrenches, they are usually included.
- Screws.
- Plugs.
- Basic components.

Collecting the bed
After everything is prepared, you can start assembling the crib. It is important to start the process with the assembly of the main elements.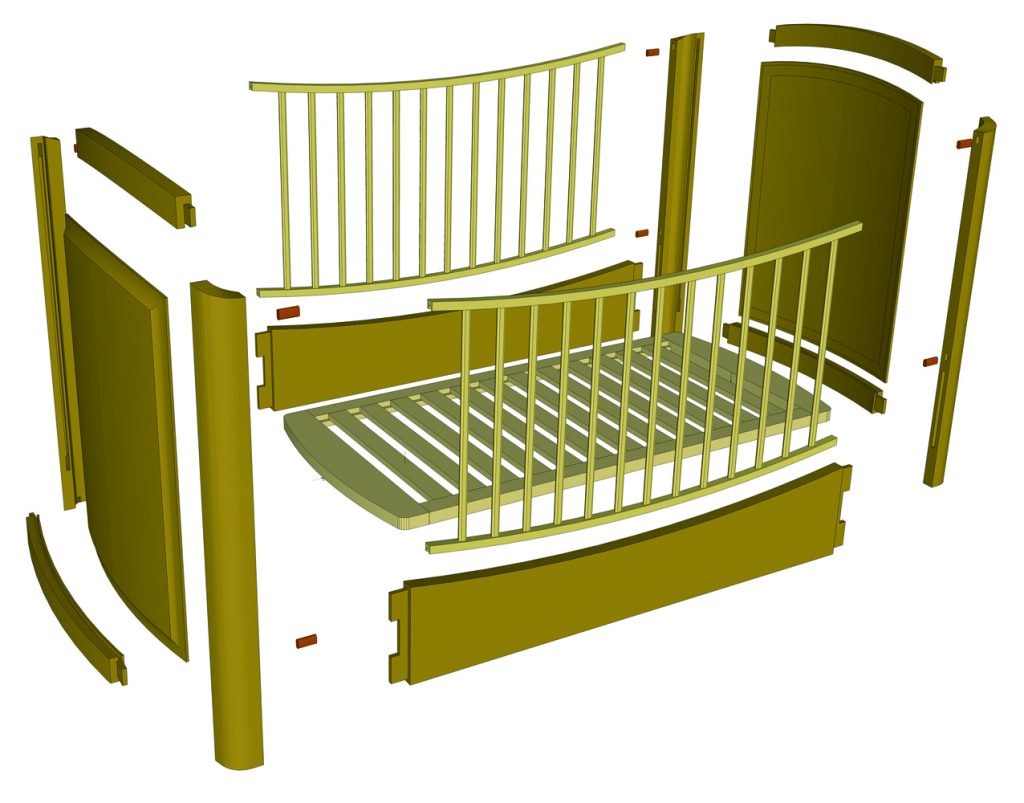
It is necessary to define the top and bottom of the main elements. It should be borne in mind that the side walls usually have legs - you can easily orient parts along them.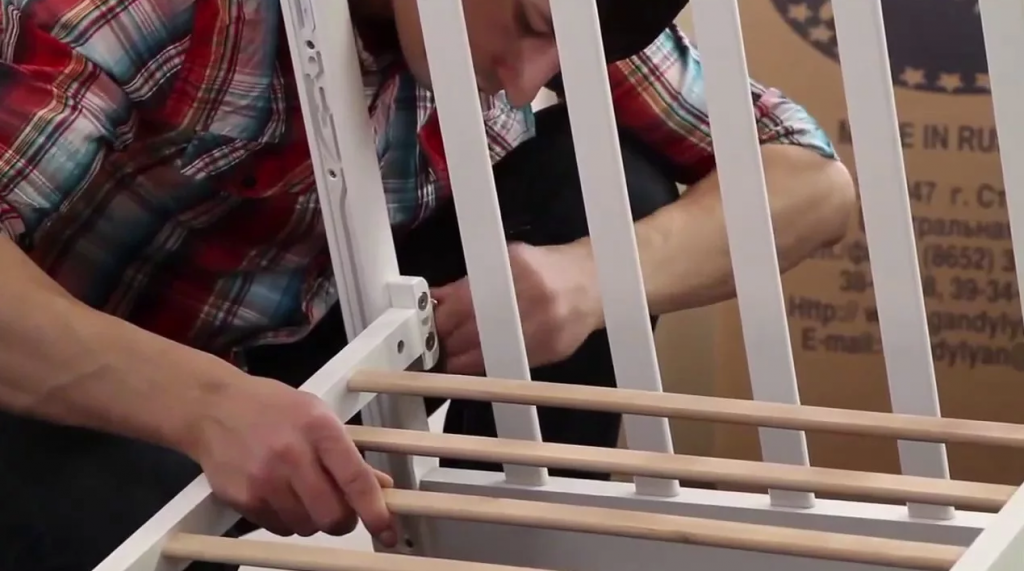
The main part will be the back wall - it is better to place it on the floor, with the inside facing up. You need to insert the rest of the parts into the puzzles for the mounts and connect the crib body completely. After that, it is necessary to tighten all the screws, check the structure for stability and then set it vertically.
When the bed is installed, you can start installing the bed. First you need to try on how the bed will be installed. After that, you need to try on the moving elements. After that, as all the nuances of the mountings have been checked and taken into account, the stock can be installed.
It is better not to install the bed right away, but to try on several options with moving elements. Then mistakes can be avoided.
After the bed is installed, you can turn the bed upside down and start installing the pendulum mechanism if it is attached from below. If the swing mechanism is presented in the form of a cradle, then it is attached to the sides from above. Then the crib does not need to be turned over.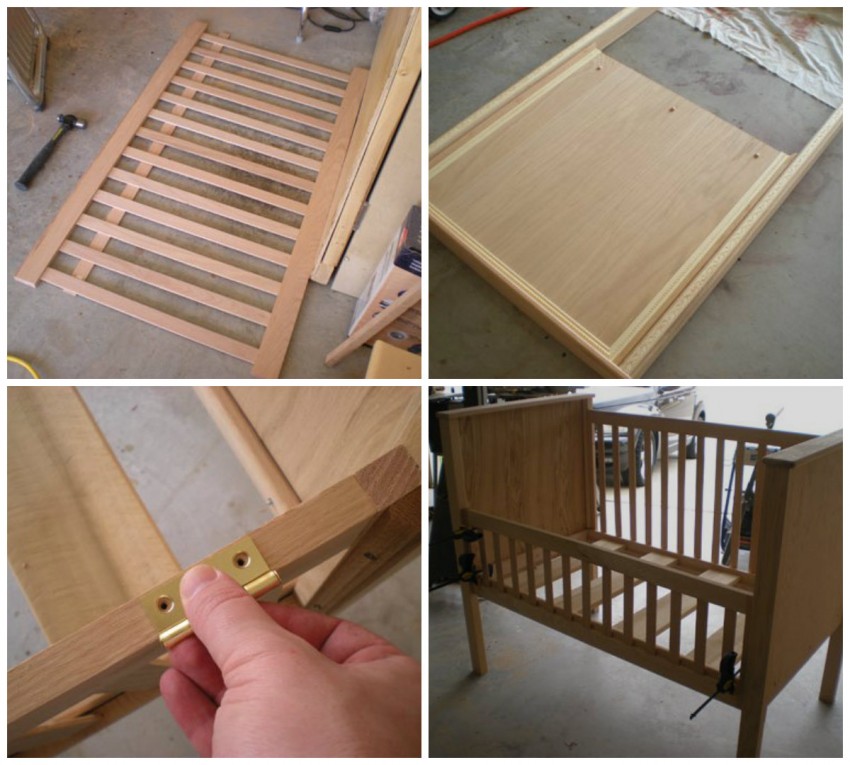
After installing the pendulum, you should fix the boxes, changing table and other additional elements.
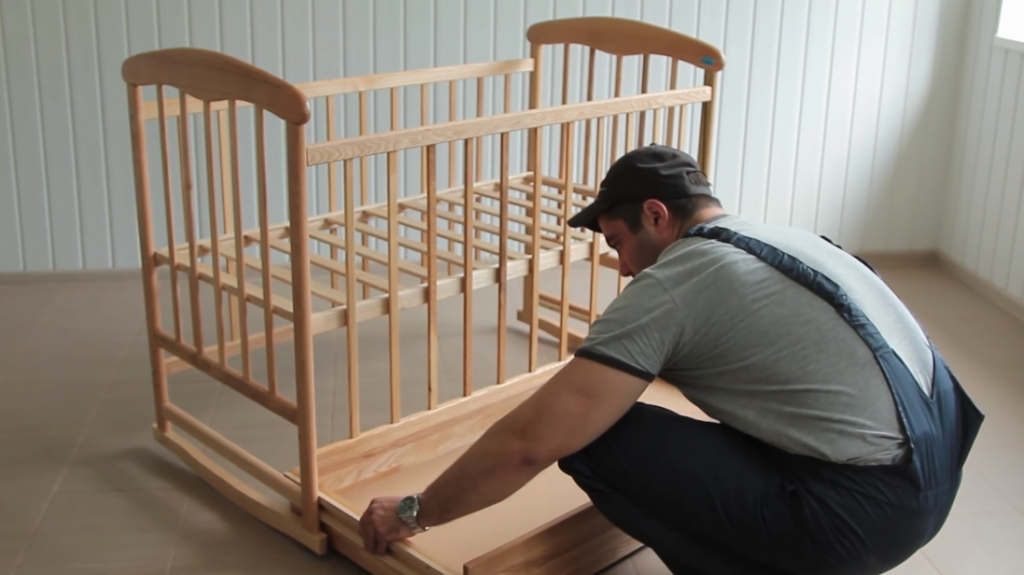
The pendulum mechanism must not be attached until the bed is installed.
Since the bed acts as a basic element of the structure and ensures its stability. Otherwise, the crib frame will start to wobble, which will make it inconvenient to place such a large element in it.
After the device is assembled, it is necessary to check its reliability. To do this, the crib must be installed in different modes, try to swing it and push it a little. If everything is in order, then you can lay a mattress, linen and arrange a baby.
Pros and cons of the pendulum mechanism
Like any complex, multifunctional product, transformer beds with a pendulum have their own advantages and disadvantages. Advantages of the pendulum mechanism:
- It significantly eases the load of the mother, since the child does not need to be rocked by the force of the arms.
- Allows you to do other things in addition to motion sickness.
- Harmonizes blood and intracranial pressure of the child, however, like any motion sickness.
- Allows the baby to quickly get used to the crib, since motion sickness occurs here, and not in the arms of the mother.
- Creates the necessary psychological comfort for the baby.
If the crib is equipped with additional transforming elements, then such a model can be used up to the age of 10 years. Since at first the bed can be lowered, and the child will sleep in a high arena. Later, the walls and the pendulum mechanism can be removed and the product can be used as an ordinary crib.
The disadvantages of the pendulum design are the complexity of its installation and high cost. Rocking beds are slightly more expensive than conventional beds. But these disadvantages are clearly insignificant compared to the advantages.
Where can I put the bed
Usually the crib is installed first in the parent's bedroom. This makes it easier to sleep and look after your baby. In this case, it is important to position the bed so that its long side is next to the wall, and one side remains open. This will allow you to approach the child from the most comfortable side.
It is important to place the side wall at the headboard against the wall, curtains or wardrobe. So there will be no access to the child from this side, thanks to this he will feel safe and will not roll his eyes to see the space behind.
As the child grows up, the crib can be moved to his nursery. This will make the move to another space more comfortable for the baby. After all, his cozy house will stay with him.
Video: how to assemble a children's transforming bed with a pendulum
