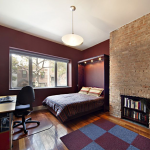
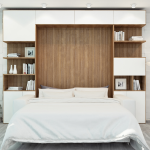
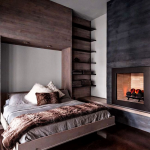
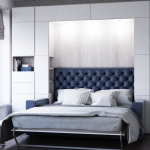
How to make and arrange a wardrobe bed with your own hands
With small living conditions, people choose furniture in such a way that it is compact, functional and makes it possible to save space. Furniture with transformation function fully meets all these conditions. One of the most popular examples of which is the wardrobe bed.

A wide, spacious bed with an orthopedic mattress guarantees a good quality sleep. But it only takes up a lot of space. So that people do not have to choose between quality rest or free space, special beds with a transformation function have been created.

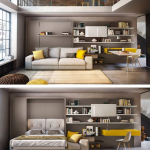
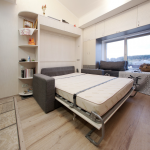
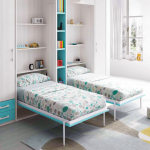
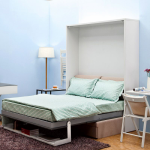
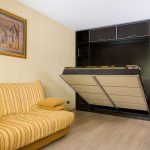
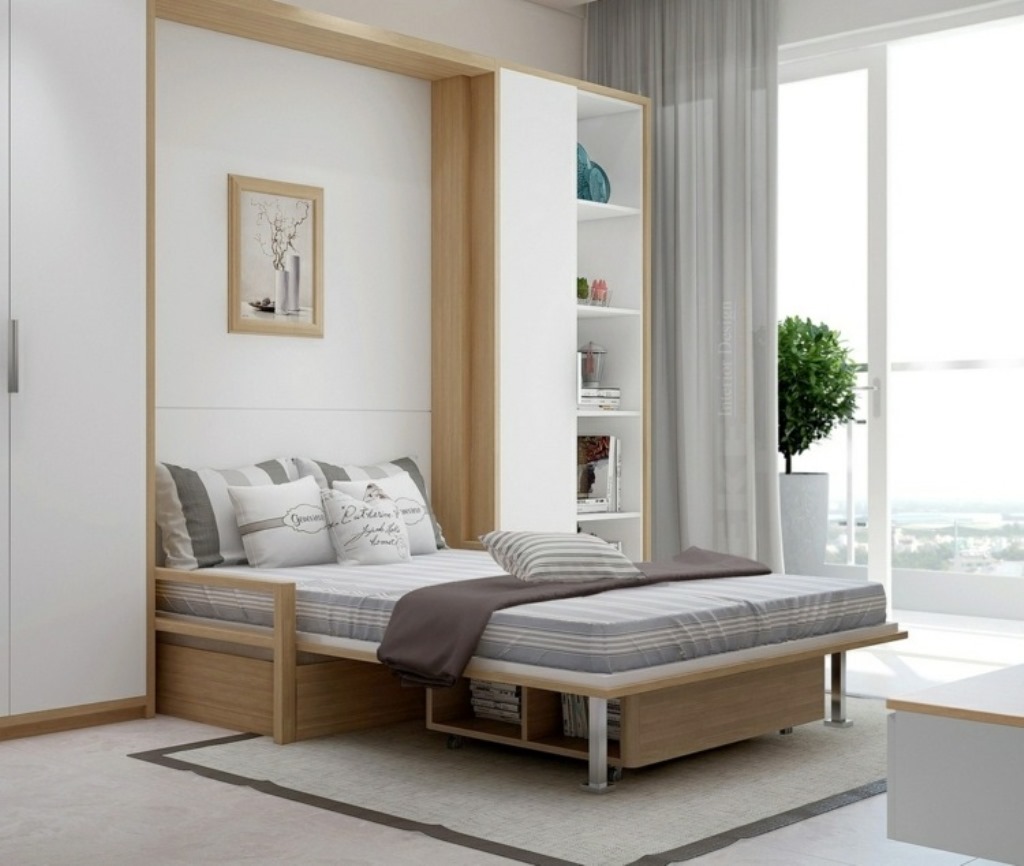
The principle of their operation is that during the daytime the bed can be raised vertically in relation to the wall, thereby freeing up space. And in order for it to look harmonious with the interior, the bottom of the bed has a special false panel, which makes it look like an ordinary wardrobe.
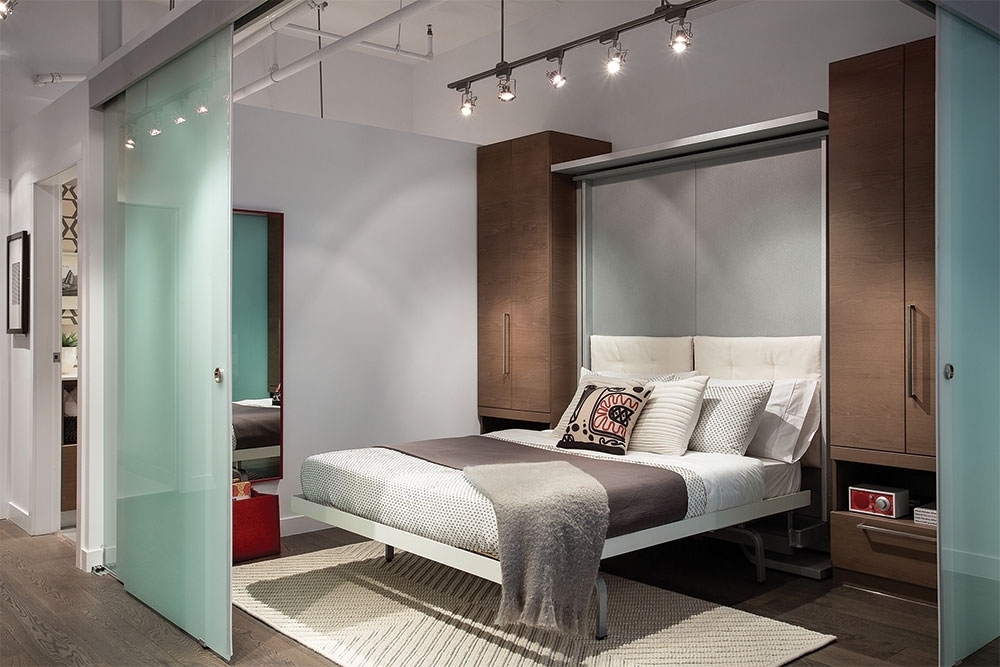
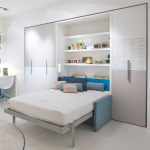
At the same time, this transformer furniture can be both a separate element imitating an assembled cabinet without performing the function of storing things, and a section of a real cabinet, with which it is combined thanks to false panels made of the same material as the facades.
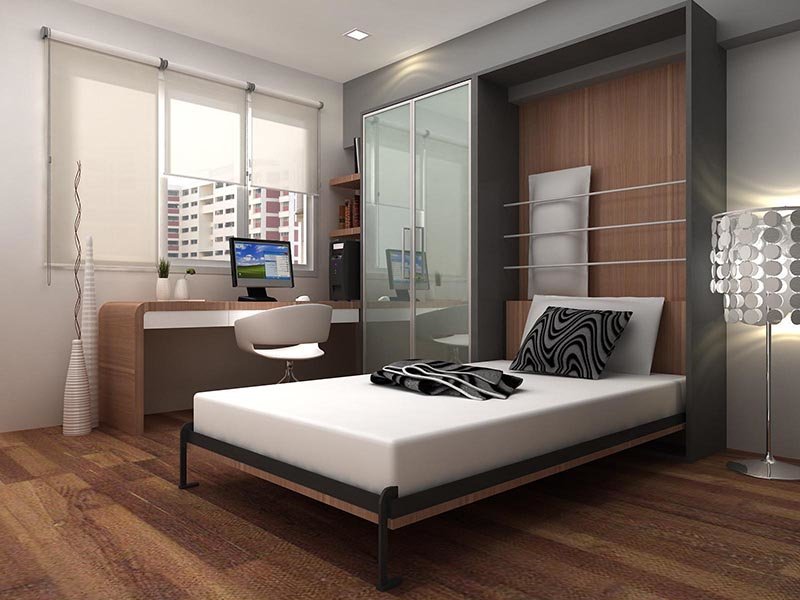
In order to install this transformer furniture at home, it is not at all necessary to resort to the services of professional furniture makers, you can assemble a bed in a closet with your own hands.
- What materials and tools will be needed
- Drawing up a drawing and pattern of parts
- Pattern of details
- Step-by-step description of the DIY manufacturing process
- Examples of the design and arrangement of bed-wardrobes with their own hands
- Video: making a wardrobe bed with your own hands
- 50 designs of built-in wardrobes
What materials and tools will be needed
First of all, you need a special transformer mechanism. You can buy it either in a furniture accessories store or on the Internet. Please note that these mechanisms differ from each other. First of all, they are divided according to the way the bed is raised, i.e. the transformation process can be carried out both horizontally and vertically.

In addition, each transformer has its own power, calculated based on the size and weight of the bed. If you take a transformer of less power, then the gas lift will not be able to fully raise the bed, and it may soon fail, if more, then you will need to apply additional efforts to lower the bed.

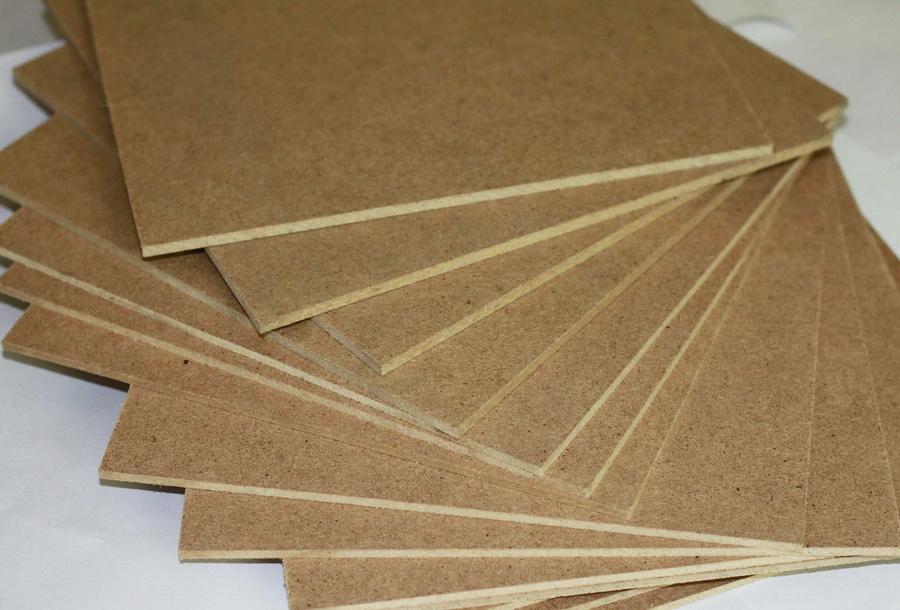
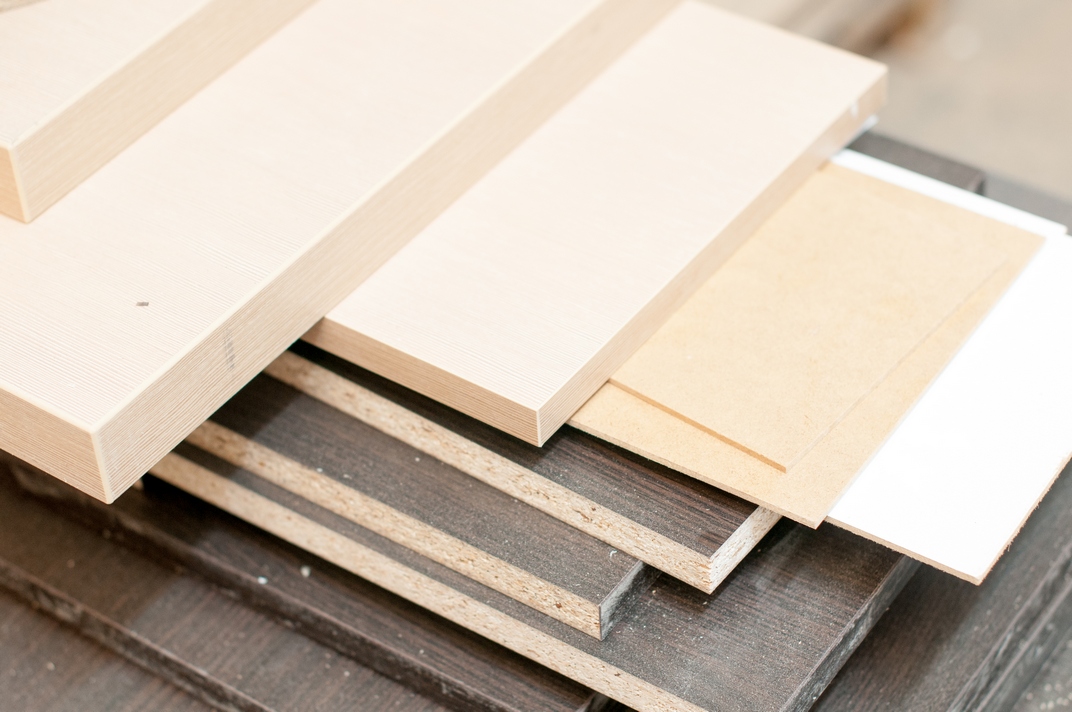
Further, if you want to get a folding bed built into the wardrobe with your own hands, you will need material for the wardrobe body, the bed frame, and also the false panel.In this case, we are talking about the use of MDF or chipboard materials with a minimum thickness of 16 mm.

As for everything else, it all depends on personal tastes and the size of the budget. Chipboard is sold in sheets. Depending on the manufacturer, they can be 4, 5, or 6 squares. MDF is made to order and is calculated in squares.
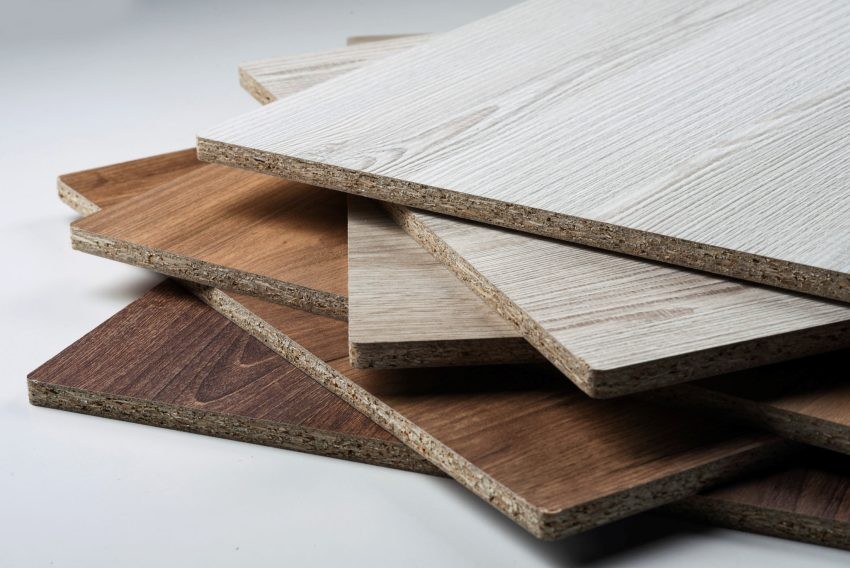
The approximate ratio with laminated chipboard is the difference in cost for the simplest version of MDF - 4 to 1. That is, approximately one square meter of MDF costs as one sheet of chipboard. On the other hand, you will get MDF parts of the desired size and do not require processing, while chipboard you will need to saw and cut at the ends.
You will also need accessories in the form of euro screws and self-tapping screws. Euro screws need to be bought with a length of 50mm, self-tapping screws 16mm.
All furniture work consists of three stages:
- cut (includes the edge of the parts);
- pre-drilling and assembly;
- accordingly, each of these steps requires a specific tool.

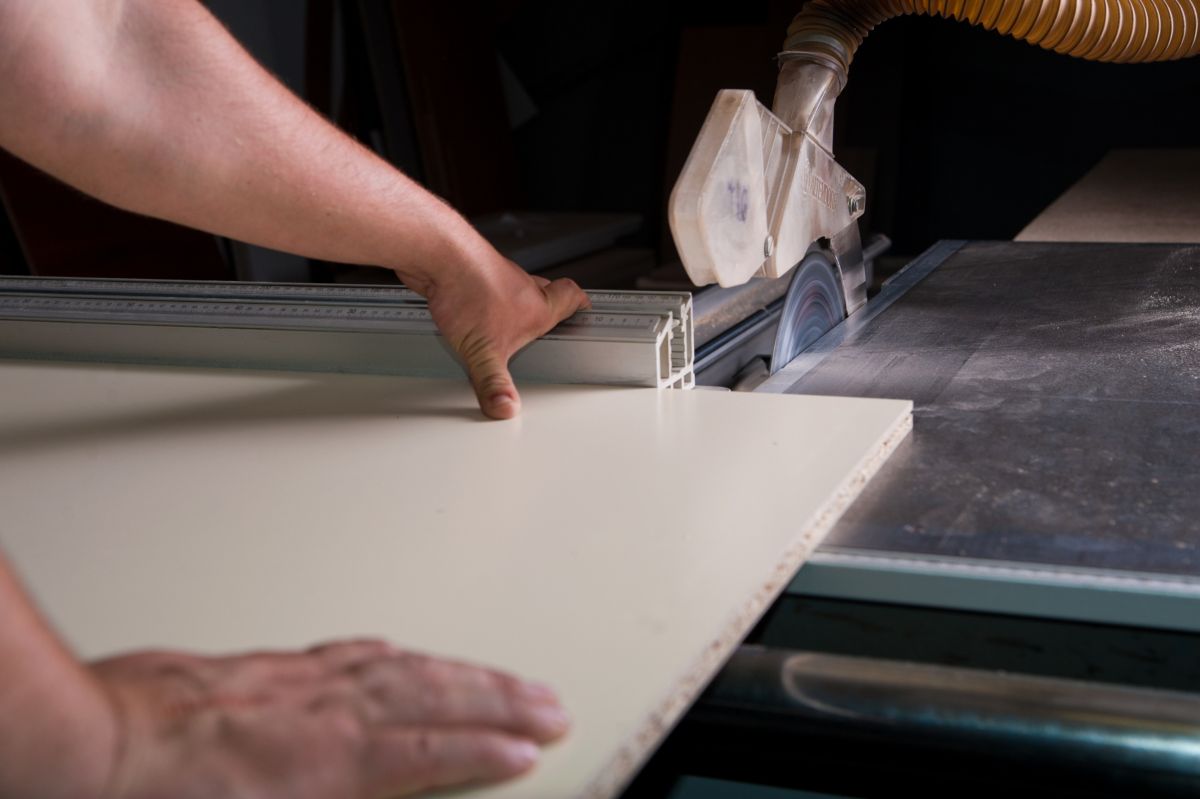
You will need the sawing stage if you decide to use chipboard as a material. Cutting of laminated chipboard sheets is carried out on CNC machines, formatting machines, as well as special saws. Each such tool is quite expensive, so it is better to order the cut and the edge of the parts. This can be done directly from the seller of sheet material, as a rule, they all provide this type of service.
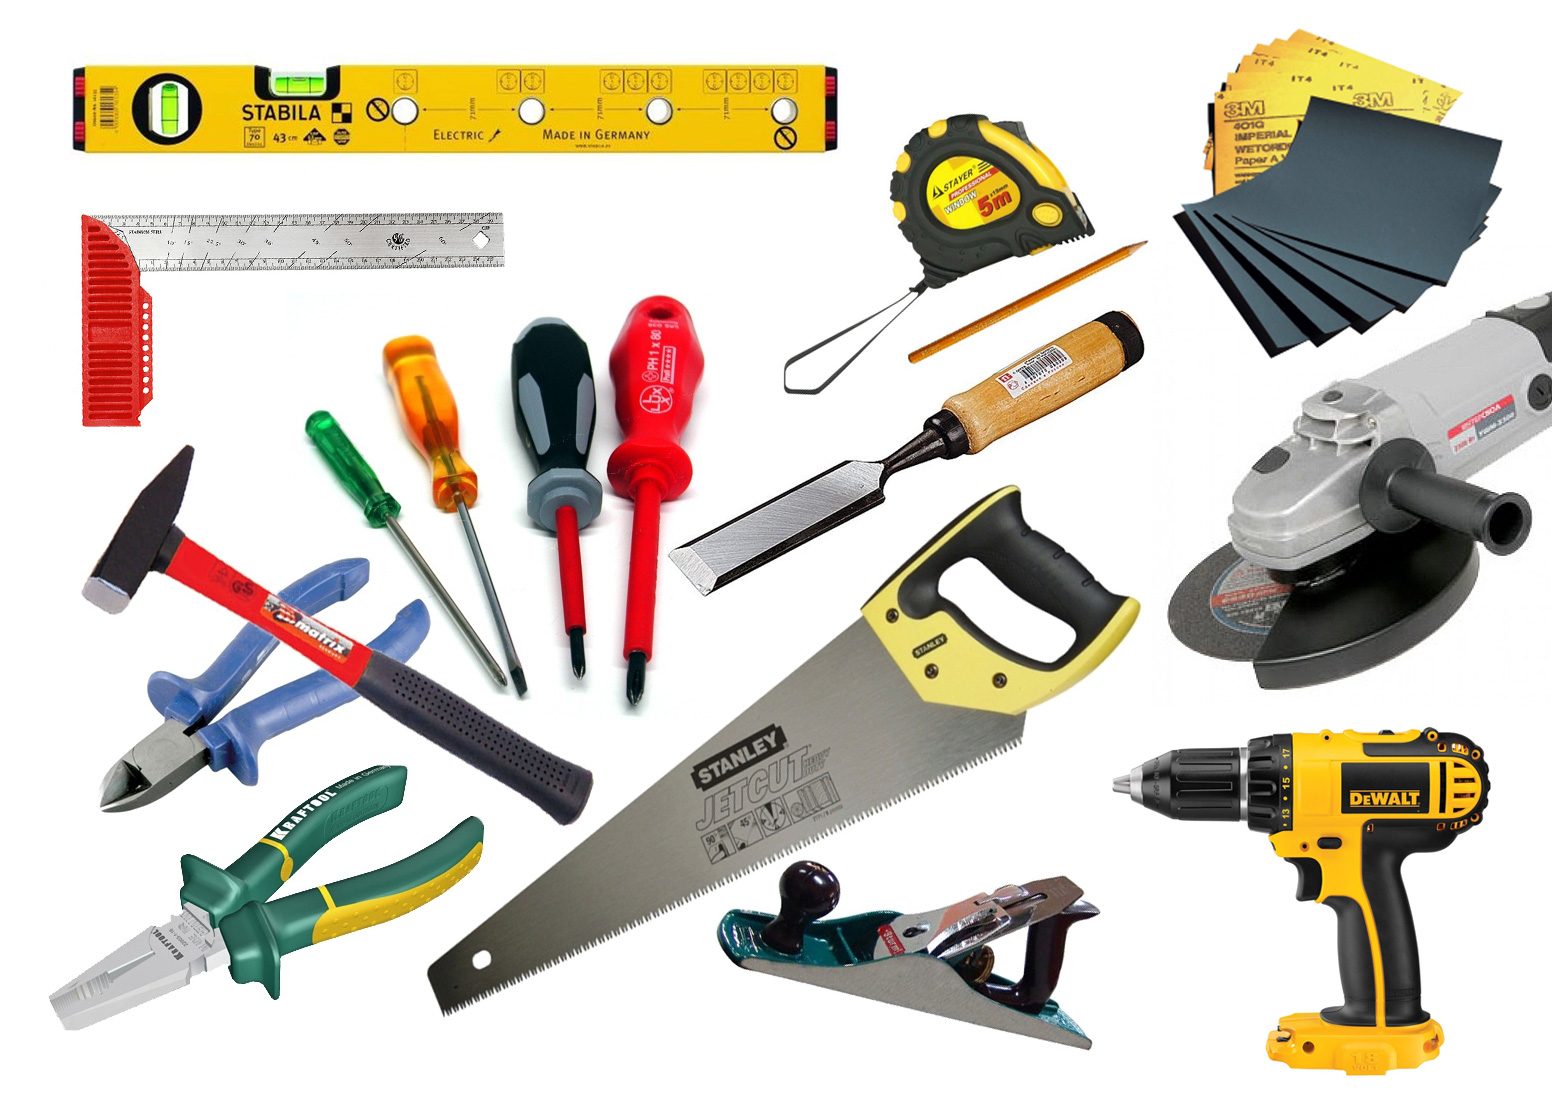
At the pre-drilling stage, you will need a drill, two drills of 7 and 5 mm, a tape measure, a square, a ruler or a template.
At the assembly stage, you will need a perforator, as well as a cross-head screwdriver and a nozzle for euro screws.
Drawing up a drawing and pattern of parts
You can find ready-made drawings of how to assemble a wardrobe bed with your own hands. And you can also make them yourself. In this case, drawing up a drawing should start directly from the bed itself. It will consist of a bottom, four sides and stiffeners or an orthopedic base. The bottom should correspond to the overall size of the bed, in this case the sides will be attached to it with their ends, two along, two across.
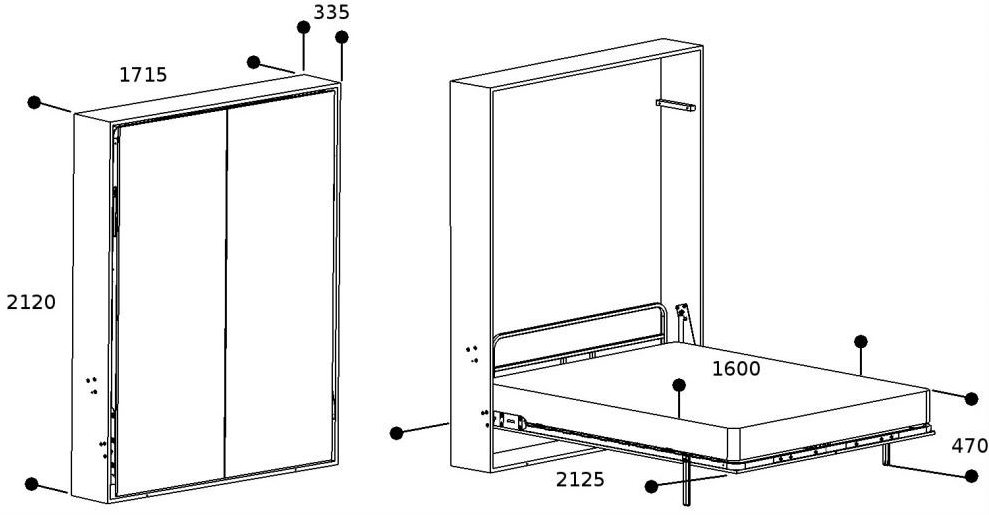
Note! From the transverse sides, the thickness of the two longitudinal ones should be subtracted (bottom size - (16mm + 16mm)).
To fill the inside of the bed, you can use an orthopedic base or make stiffeners from chipboard with a height of at least 10 mm and put fiberboard on top of them. Each mechanism requires a certain gap, add it to the size of the bed and you get the inner width of the cabinet, its height will be equal to the length of the bed plus the size of the gaps so that the bed fits inside without any problems.
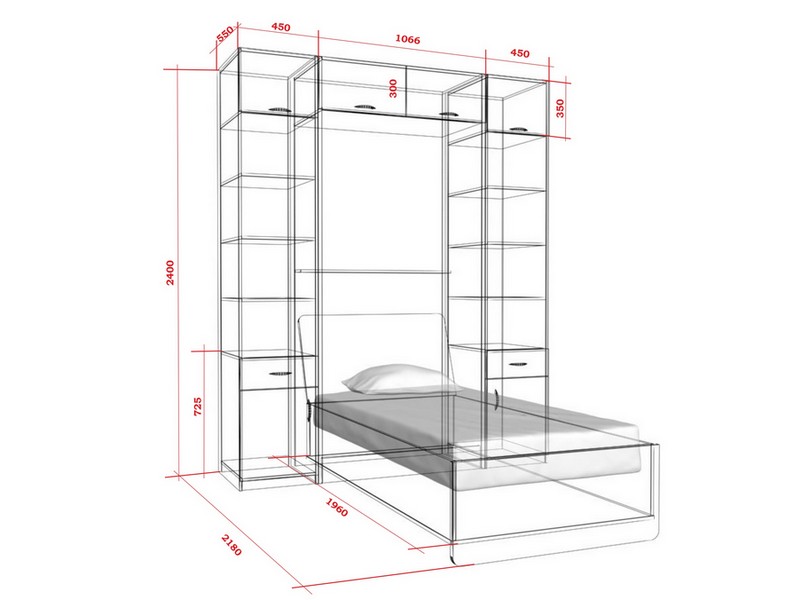
Calculate the depth of the cabinet so that the bed can fit completely inside. The facades attached to the bottom of the cabinet can be either overhead or internal. It depends on your taste. Do you want them to lie on the sides of the cabinet or go inside. It is important - if they are internal, then you need to subtract 3 mm from each side. If you use other people's drawings, diagrams and instructions for making a wardrobe bed with your own hands, you should definitely check them, otherwise you will simply ruin the material.
Pattern of details
In order to make the best use of chipboard sheets, download the demo version of the Astra program. It is quite simple to use it even for a beginner. In it, you enter data about the parts, their width, height and number, as well as the dimensions of the sheets that you plan to use. The program will calculate the most optimal cutting option, as well as the number of sheets that you need and will give you a visualization. These pictures can be printed and taken to the workshop where you plan to cut.
Step-by-step description of the DIY manufacturing process
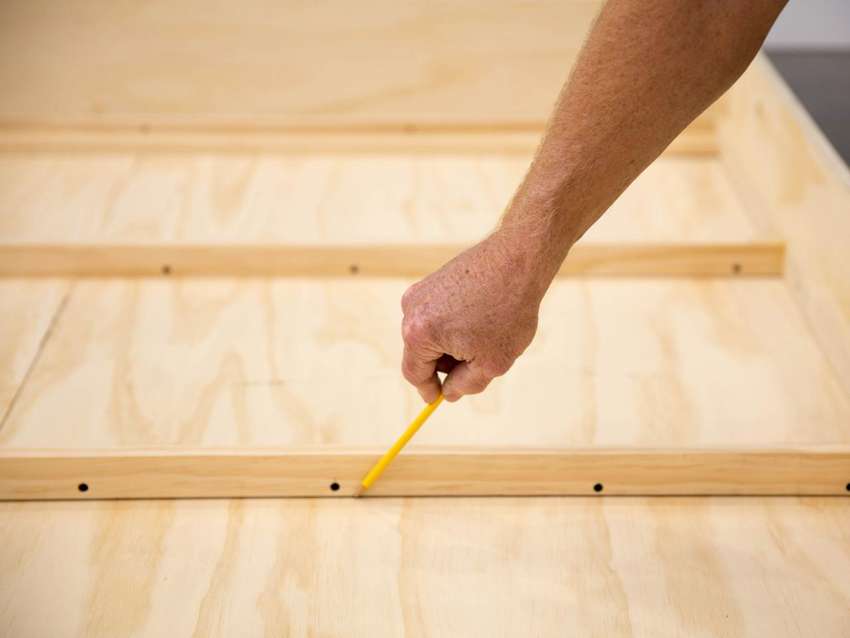
After the cut is ready and all the parts are cut off, you can start the process of drilling and assembly. From the front side, the holes are reamed with a 7 mm drill from the 5 mm end. To match the holes, first mark them out with a pencil. The ends must be reamed exactly in the middle, while the drill must go perpendicularly.

Assembling the frame and box
Separately assemble the cabinet frame and mattress box. For the correct operation of the mechanism, it is important that the cabinet has a diagonal. It is quite simple to check its presence, first measure the distance from one upper corner to the opposite lower one, then repeat the procedure on the other side.
The difference in diagonals should not be more than 3 mm, if you get it more, alternately press on the corners of the frame to give it the shape of a regular rectangle.
Installation of the transformation mechanism
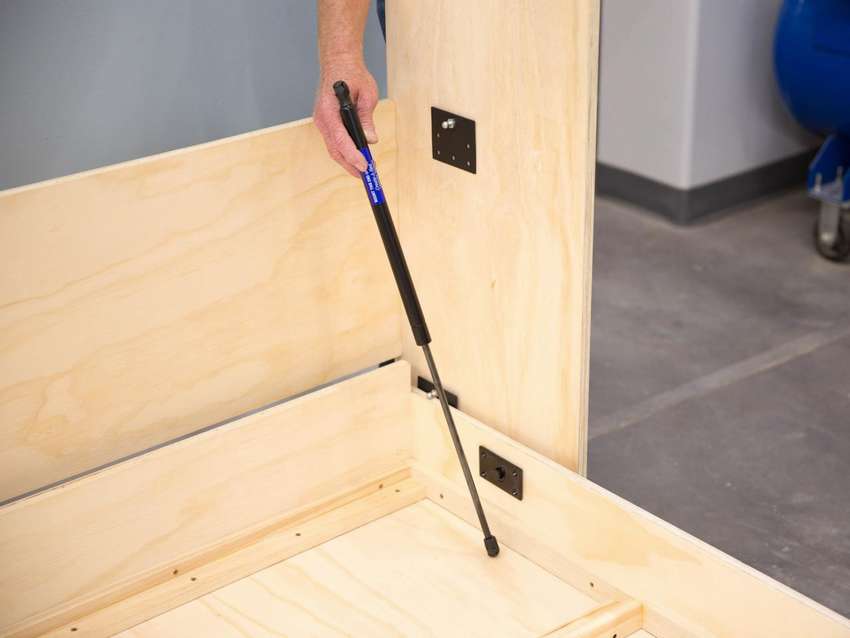
The transformation mechanism is attached with bolts and nuts to the sides of the bed and the walls of the cabinet. Each mechanism is followed by an instruction with the exact location of the mount, this scheme must be followed with the greatest possible accuracy. When self-assembly, it is better to use the simplest hinge-based mechanisms.
When fixing transformation mechanisms, it is necessary that the box and the frame are on the same level. After the fastening stage is completed, it is necessary to check the operation of the mechanism. It should open smoothly.
Installing the legs and headboard
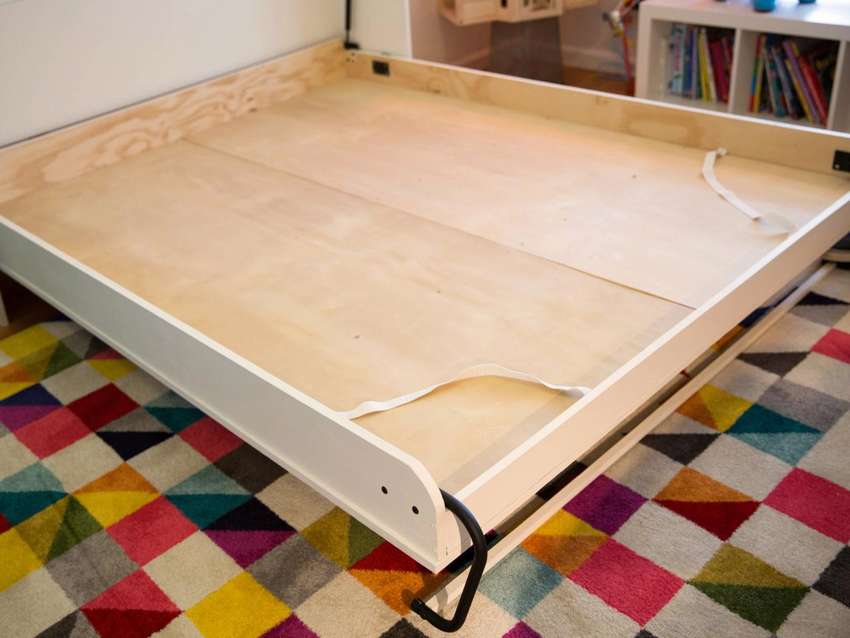
Legs for bed wardrobes can be purchased off-the-shelf in a furniture fittings store, they are connected using a strip, the rotation of which makes them disappear inside the box. In addition, specially designed decorative handles located on the false panel can also be used as legs.
The headboard for the bed can be ordered at the atelier, or sewn on your own using foam rubber for this purpose. It is important that the cape on it is removable, which will allow it to be removed and easy to wash.
Final finishing and decoration
After you have made sure that everything works, there remains the last stage of finishing the bed bottom to simulate a wardrobe. There are many options here, first of all it all depends on your tastes and imagination.
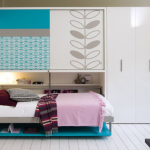
First of all, of course, it should be taken into account that the wardrobe should be in harmony with the interior. The decorative façade does not have to be solid. Someone breaks it into several parts, attaching a handle to each, thereby creating the appearance of a cabinet with several doors.
You can also attach a mirror insert or printed glass using double-sided furniture tape.In addition, a large facade does not have to be cut into several parts. You can create the appearance of multiple doors using decorative tape.

Examples of the design and arrangement of bed-wardrobes with their own hands
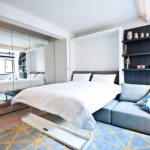
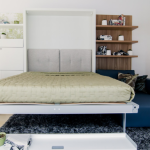
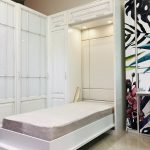
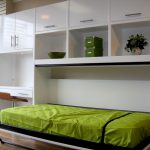
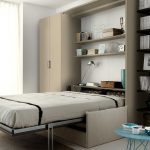
The option of a transformer bed with an imitation of a wardrobe is the simplest. The main thing is that such projects are individual, and therefore everyone can create something original for themselves.

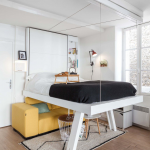
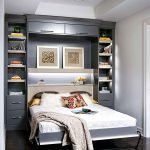
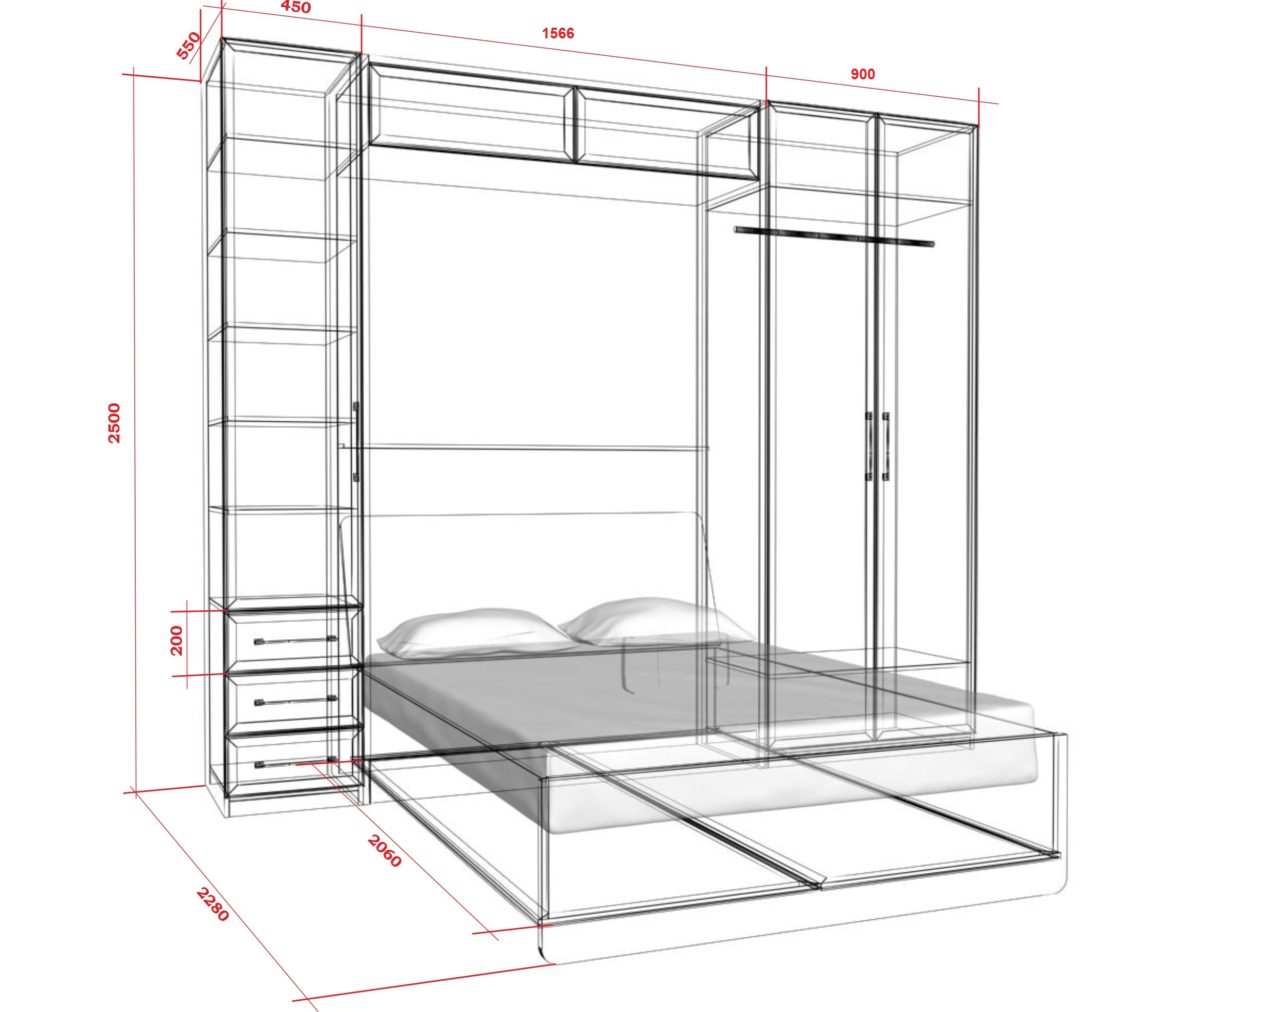
For example, on top of the section above the cabinet, you can make a mezzanine for storing linen. Someone is installing shelving along the edges of the cabinet. With these options, the cabinet looks more harmonious. With the horizontal method of raising the bed, glass shelves can be installed above the section, and the false facade can be arranged as drawers of a chest of drawers.
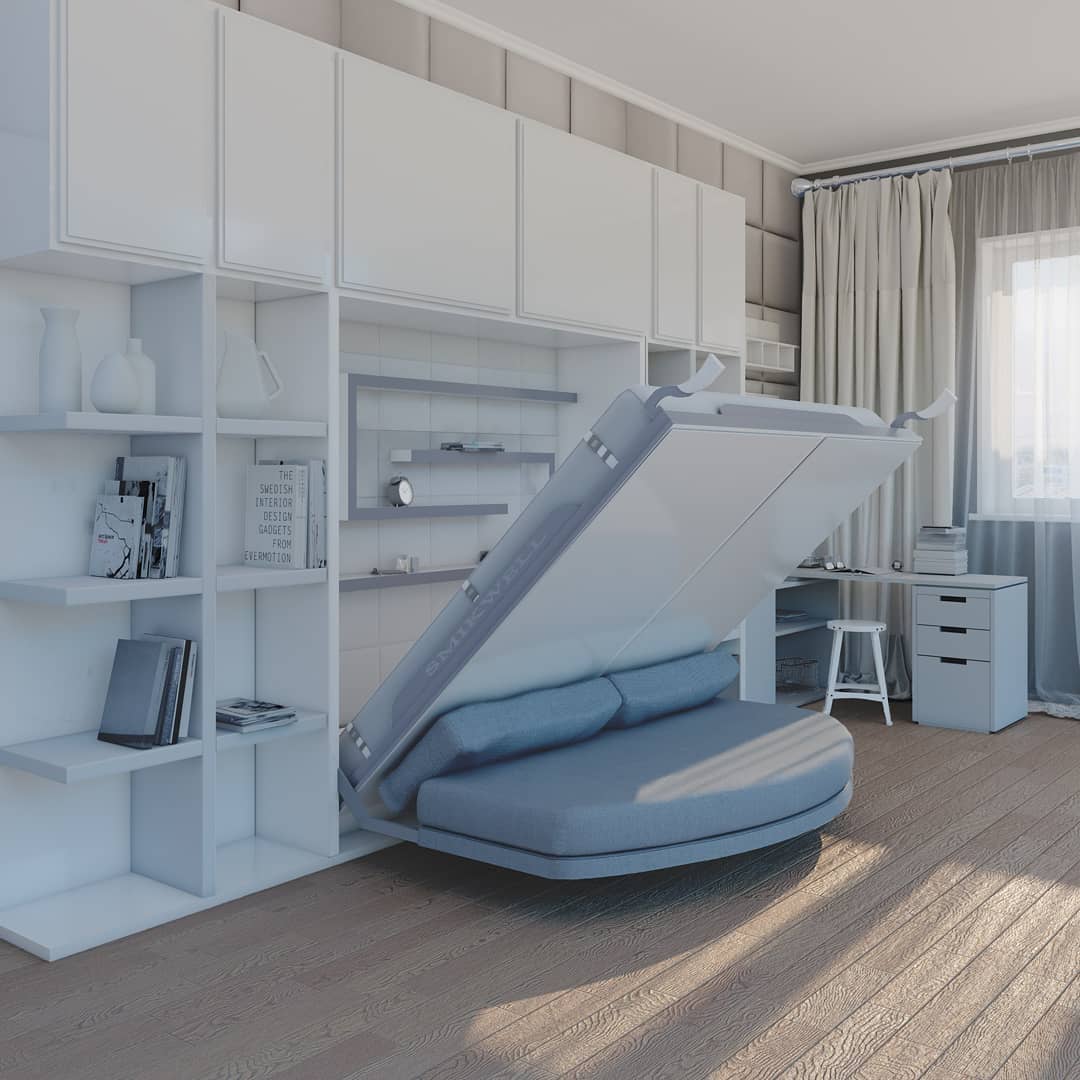
Having familiarized yourself with the basic rules, you can easily figure out how to make a wardrobe bed according to an individual project with your own hands at home.
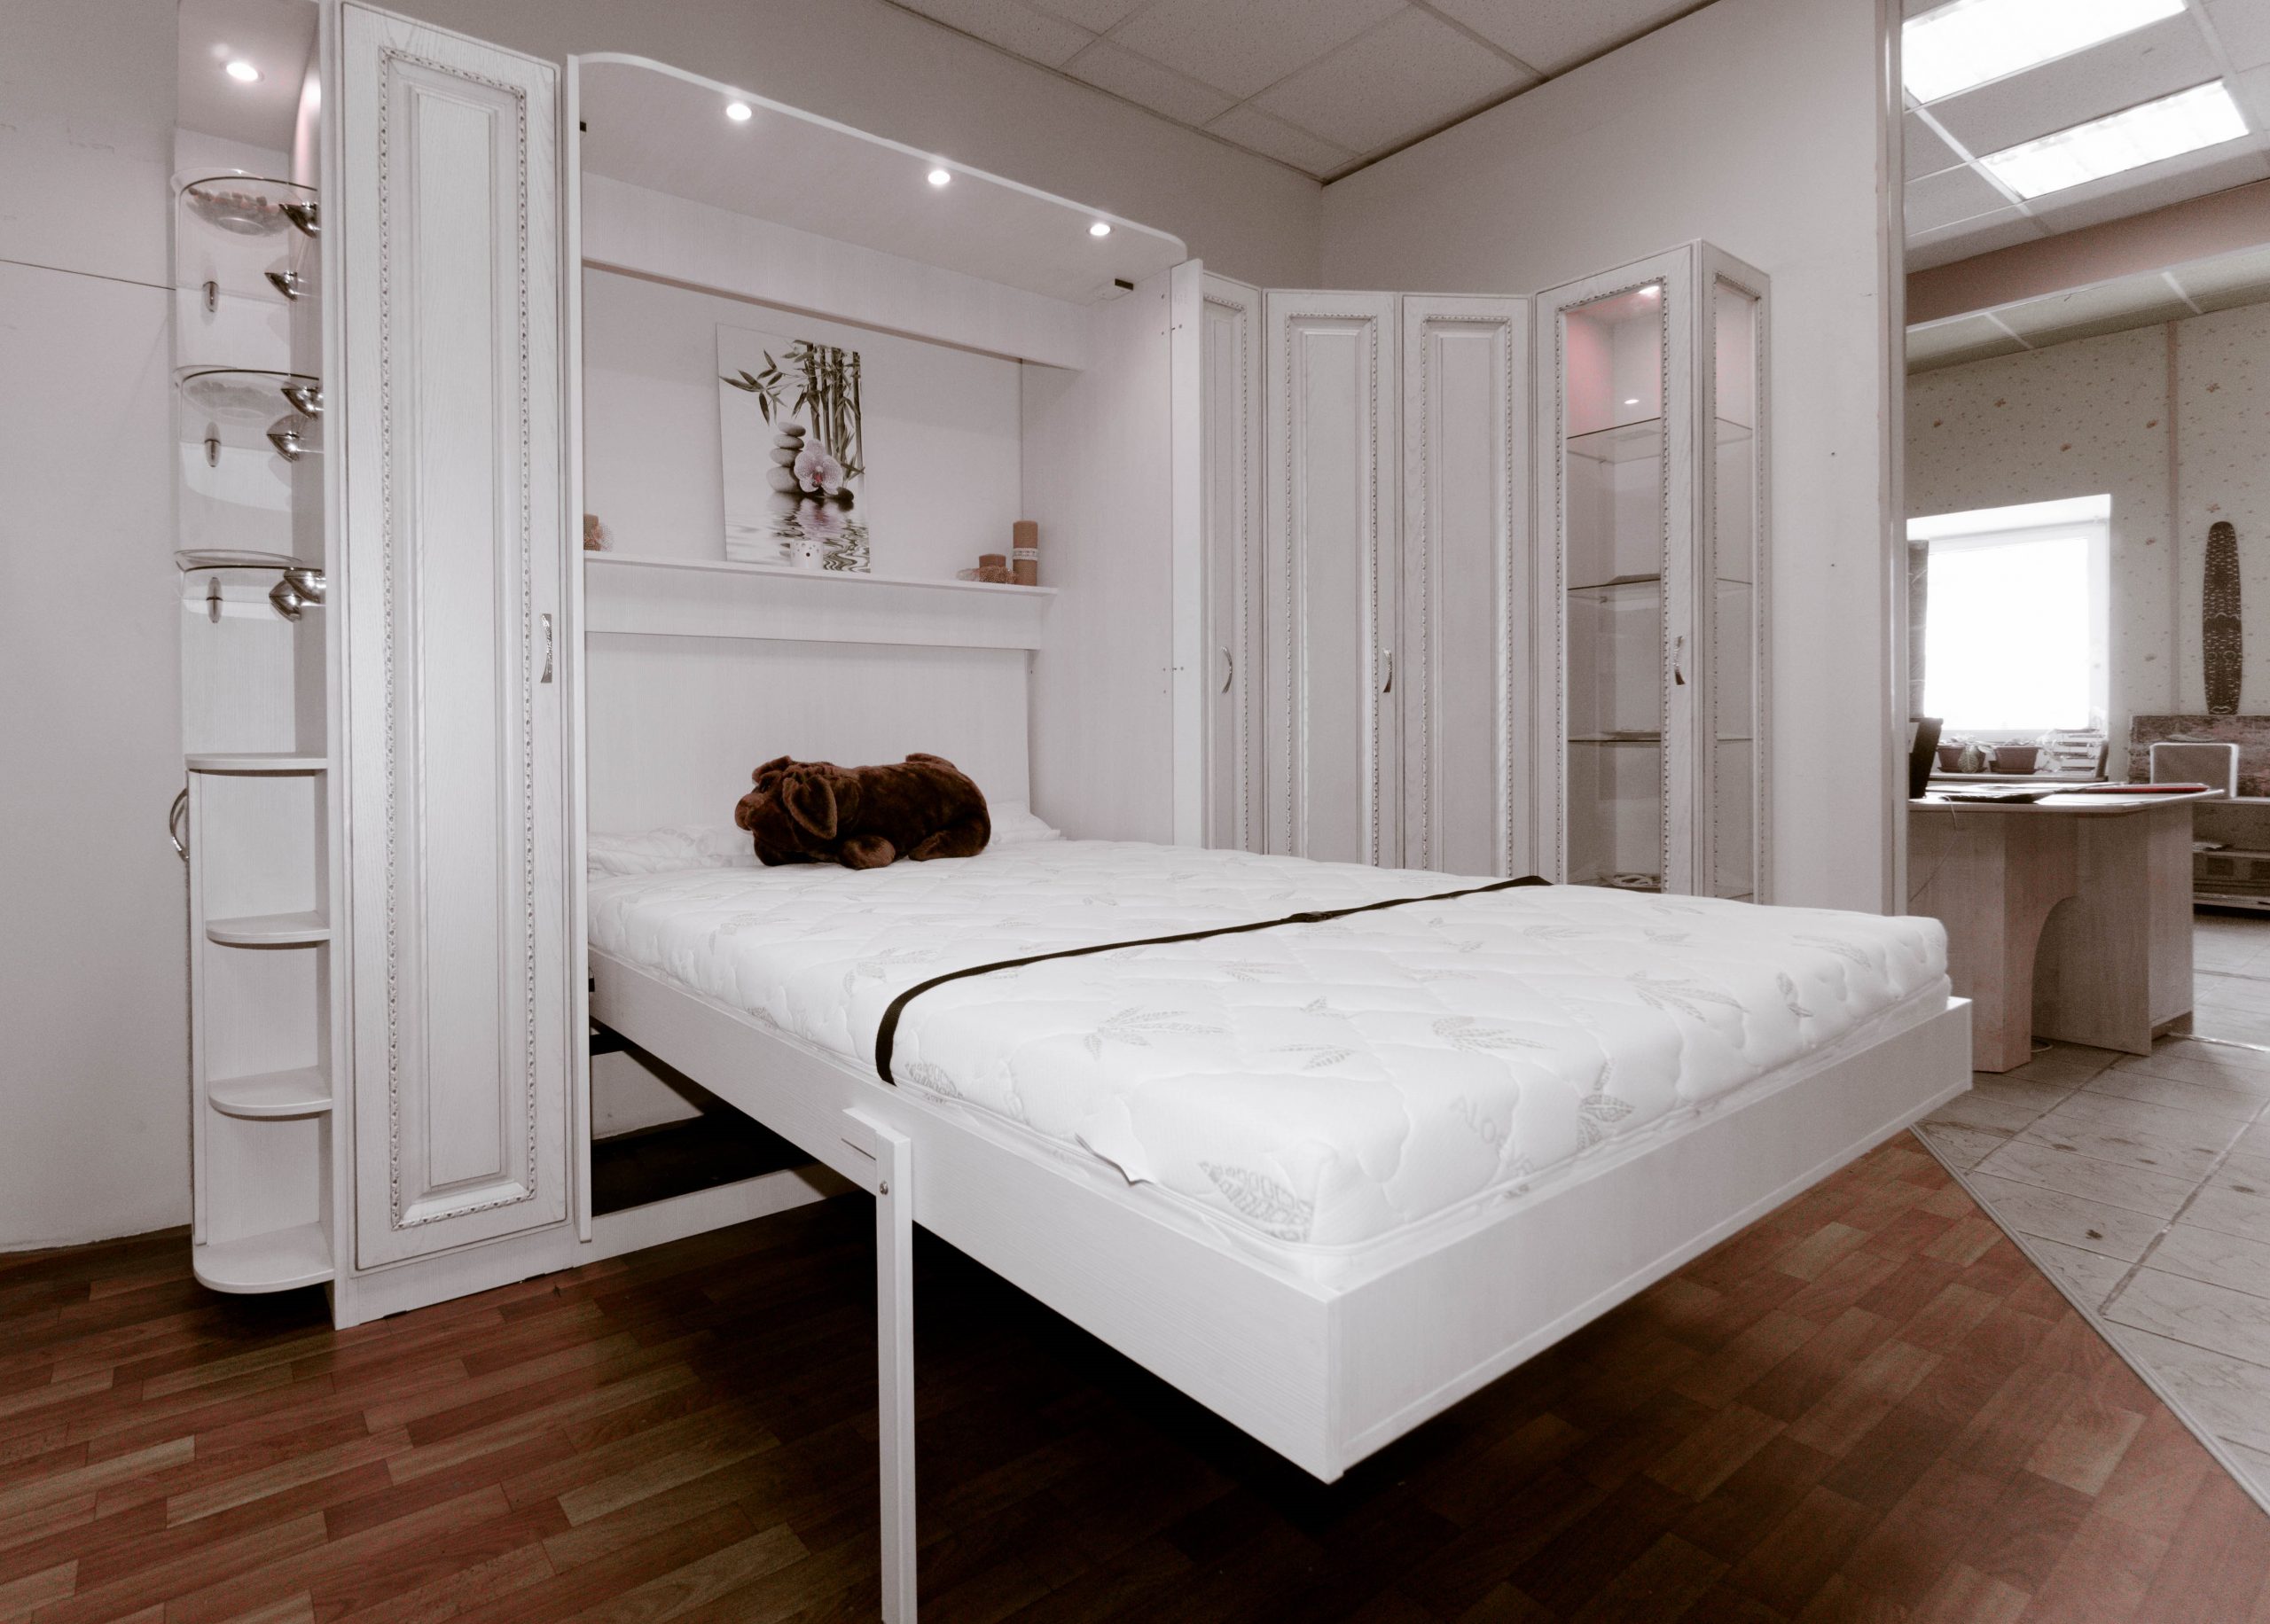
Video: making a wardrobe bed with your own hands
