How to make a bed with your own hands at home
The house in which we live, I want to equip it as best as possible, to create a cozy, nice place to live. For your home you want only the best and highest quality. In the case when there is no suitable furniture in the store or there is not enough money for the one you like, you can assemble a double bed with your own hands. Consider how to make a bed with your own hands.
Measurement and calculation of materials
The first step in installing a bed is to study its dimensions and calculate the necessary materials. It is better to choose wood as a material, since it is difficult to overestimate its advantages.
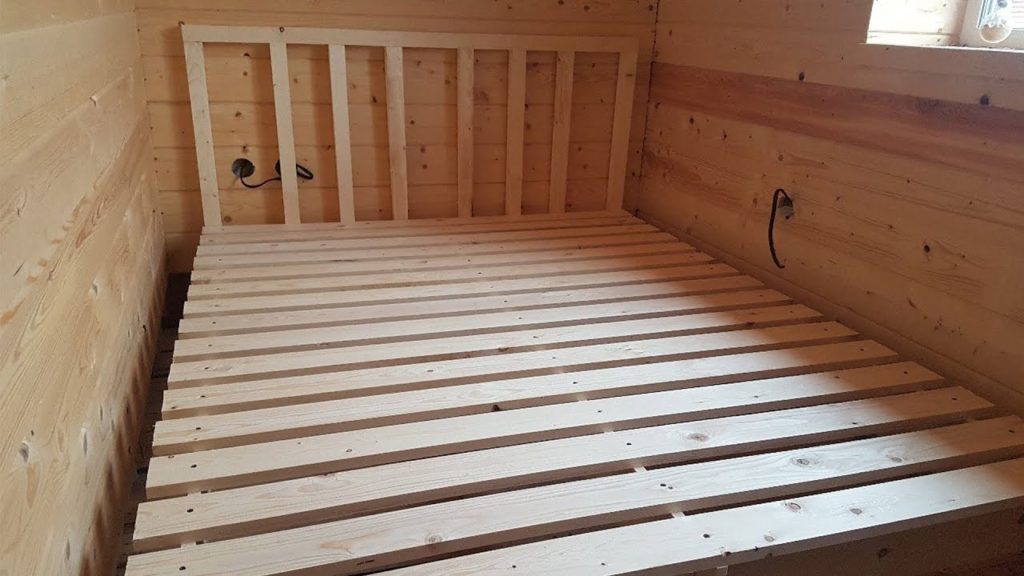
Consider the required amount of wood for a double bed (mattress size 2 meters by 1.5 meters):
- Board 50 * 100 * 2400 millimeters in the amount of 3 pieces;
- Board 50 * 24 * 2400 millimeters in the amount of 3 pieces;
- Board 25 * 75 * 2400 millimeters in the amount of 19 pieces;
- Board 200 * 25 * 2400 millimeters in the amount of 4 pieces;
- Bar 2400 * 100 * 100 millimeters in the amount of 1 piece.
All dimensions of the boards and bed elements must be shown in detail on the drawing.

If it is necessary to make a sleeping place for one person, then the amount of necessary materials will be halved. Keep in mind that the bed should not take up all the free space in the room. There should be at least fifty centimeters from the side walls so that you can move freely in the room.
Timber selection rules
It is equally important to pay attention to the selection of the right wood. Conventionally, breeds can be divided into two groups: soft and hard. The first includes cedar, pine, thuja, spruce, alder, aspen, linden. The second is birch, ash, oak, beech, walnut and maple.
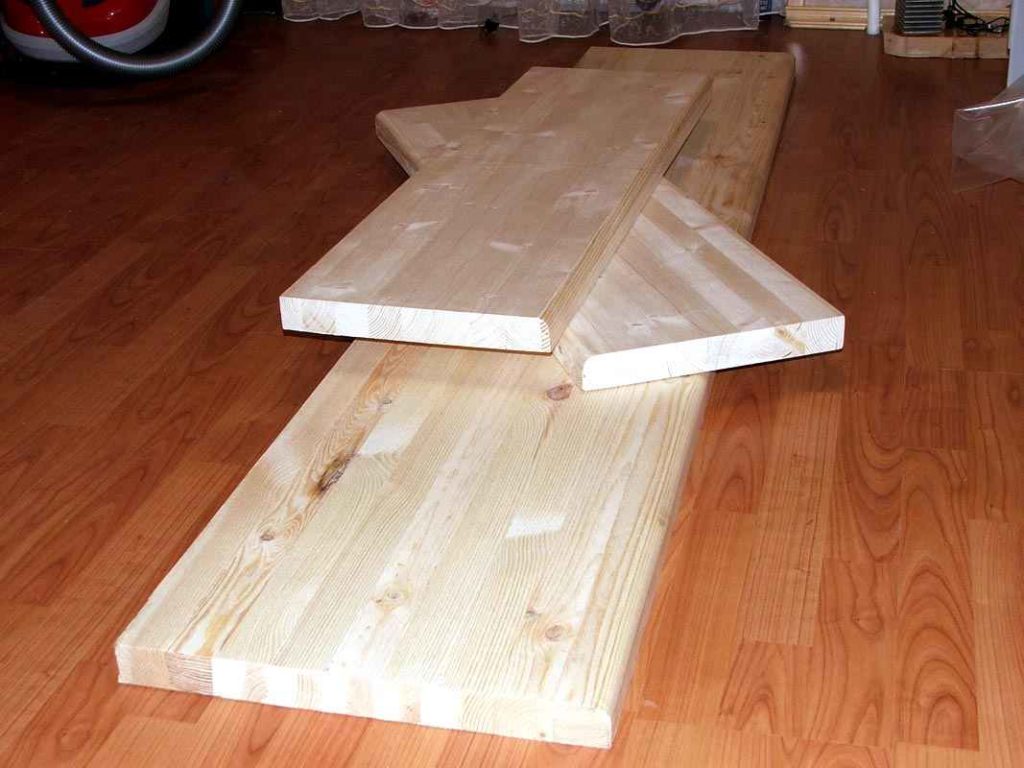
Both soft and hard varieties have certain advantages and disadvantages. Let's take a closer look at the most popular wood arrays.
- Alder. Differs in a low price. When using it, do not use nails, as it can severely crack. A significant advantage is moisture resistance;
- Pine. Low cost, but at the same time it cracks quickly and does not withstand high loads. The advantages are that it has an antiseptic property, disinfects the air and does not deteriorate under the influence of pests;
- Linden. It quickly deteriorates under the influence of negative factors: the sun, moisture and too dry air. Most often it is used to create parts for interior furniture elements;
- Oak. A very durable and wear-resistant material that can withstand almost any load. It is also resistant to aggressive environments. But oak is quite an expensive material, so few can afford it;
- Ash. It quickly deteriorates under pressure, but does not bend under weight and does not deform at all. Quite high cost, but the durability of the material is worth it. In order for it to serve for a long time, it is often necessary to process it from beetles;
- Birch. Cracks do not form, so you can safely drive nails into it.Differs in high strength and durability. The price is not very expensive, so it can be safely used when making to save on the purchase of finished products. The only and significant disadvantage of birch is that it often needs to be treated with a special agent so that a fungus does not form;
- Beech. It has a high density and, when properly processed, has a fairly long service life. With strong changes in temperature and high humidity, the tree loses its characteristics. Under the influence of gravity, the beech can be strongly deformed.
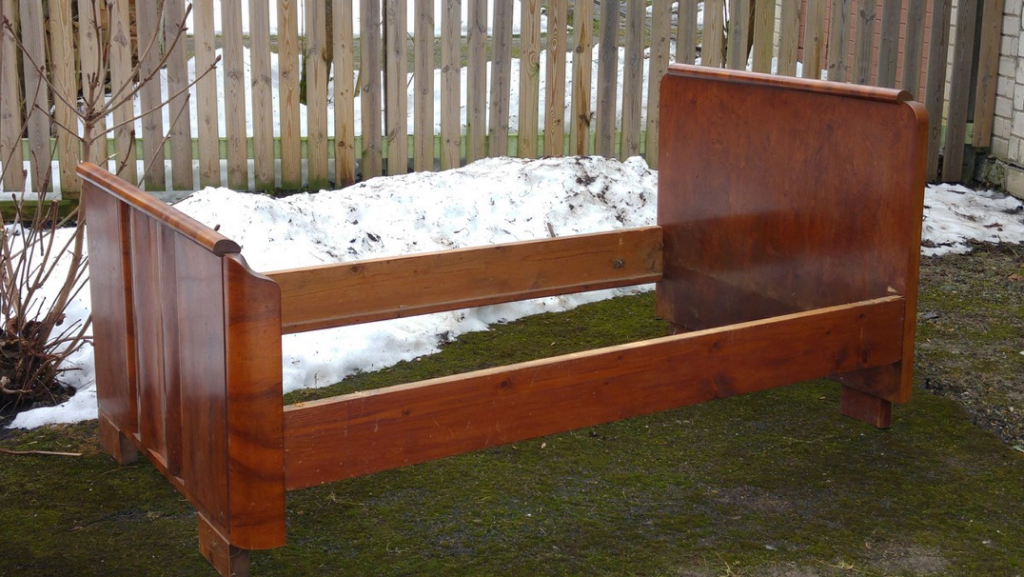
The choice of one or another wood depends on the funds available and personal preferences. It is advisable to choose one that does not deform and does not require too frequent processing.
Drawings and diagrams of making a bed
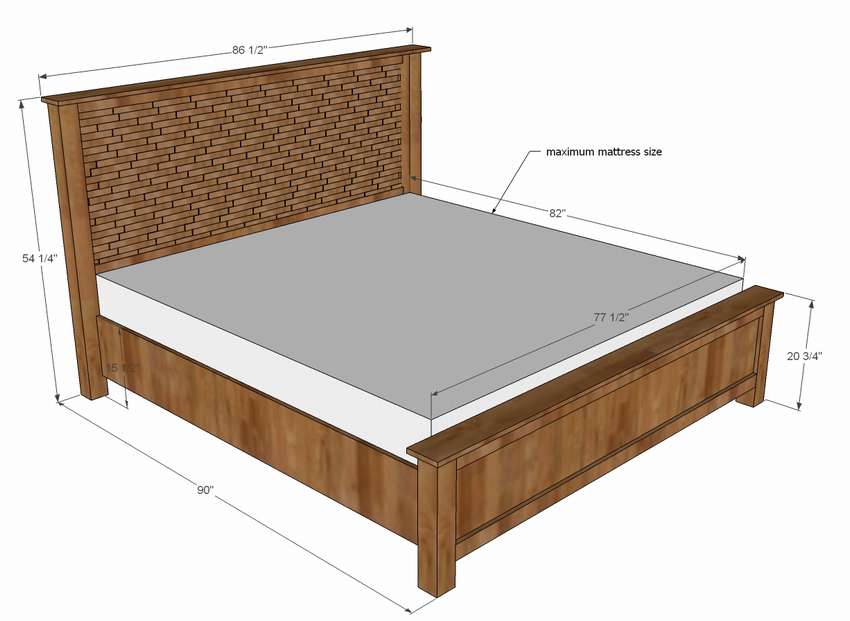
Making a bed with your own hands requires the creation of dimensional drawings and diagrams with projects and sketches. It is necessary to indicate the exact amount of materials, their location, dimensions, and so on. The final result depends on how clearly and correctly the drawing is drawn up.

Therefore, you need to devote as much time as possible to creating a sketch. If you can't create a drawing yourself, you can find a ready-made one on the Internet. You can edit it slightly if necessary.
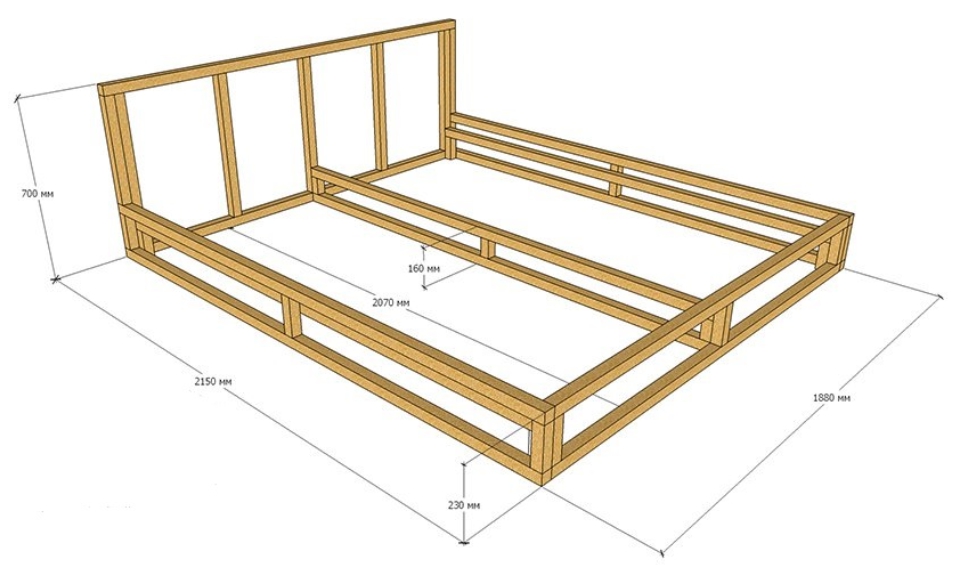
In order to draw up a drawing, you need to draw segments in accordance with the length, width and height of the product, after which you need to draw the shape and designate the dimensions of the future bed. It is necessary to create a sketch as detailed as possible.
Important! In order to make it easier to perceive the scale, you can sketch the bedroom and place the bed in the room in the drawing.
In the picture, first of all, you need to mark the front and rear headboards, racks and bars, as well as the central support and the base for the mattress. Thus, you can accurately calculate costs and accurately distribute the assembly steps.
Preparation of the necessary materials and tools
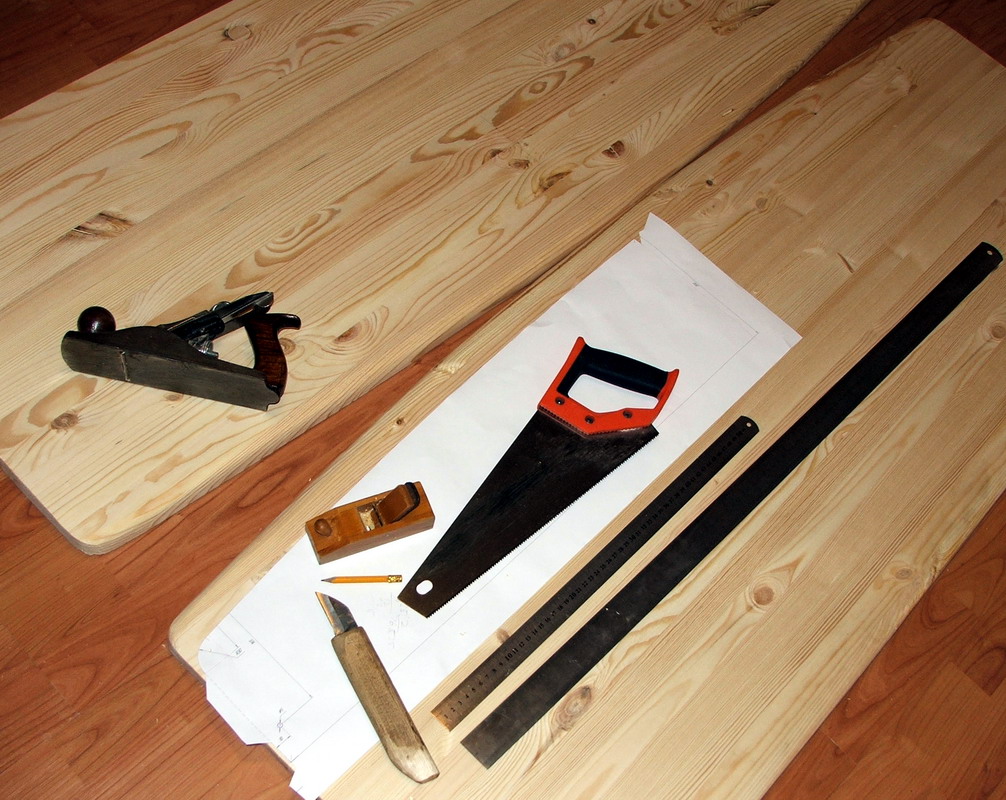
The choice of material and its quantity was mentioned earlier, so we will consider a set of necessary tools: a welding machine, a grinder, a file, sandpaper, an electric drill, a tape measure, a jigsaw, a screwdriver, a drill, a tape measure, an angle, a level, a pencil or marker, a grinding machine. It should be borne in mind that other tools may be needed.
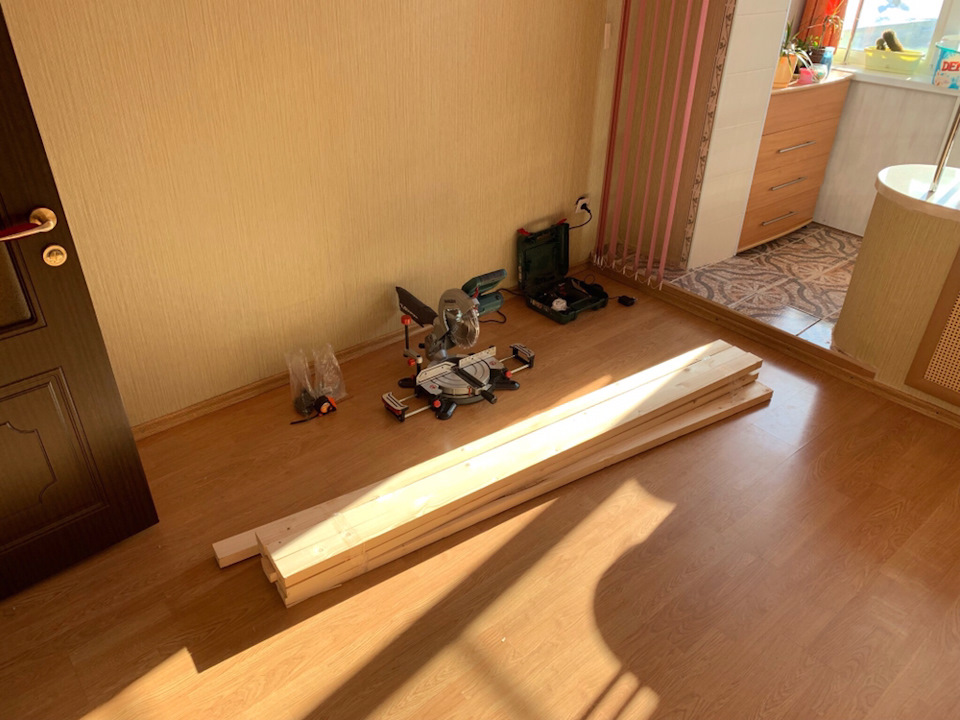
All the necessary tools and materials must be indicated on the drawing, so it will be easier to navigate in the work.
What you need for the fastening system
In addition to tools for mounting the bed, fasteners are needed. It is important to pay special attention to them, since the whole structure rests on them. You shouldn't save on them.
To collect a wooden bed, you will need: self-tapping screws for wood (several types in length), metal corners with a round rigid edge (they give the bed more reliability), nails (only for wood that does not crack from them). You also need to prepare clamps that will help ensure a more reliable bond.
Pay special attention to the choice of self-tapping screws:
- Measure the thickness of the first and second part;
- Add these values;
- Subtract 10 from the sum.
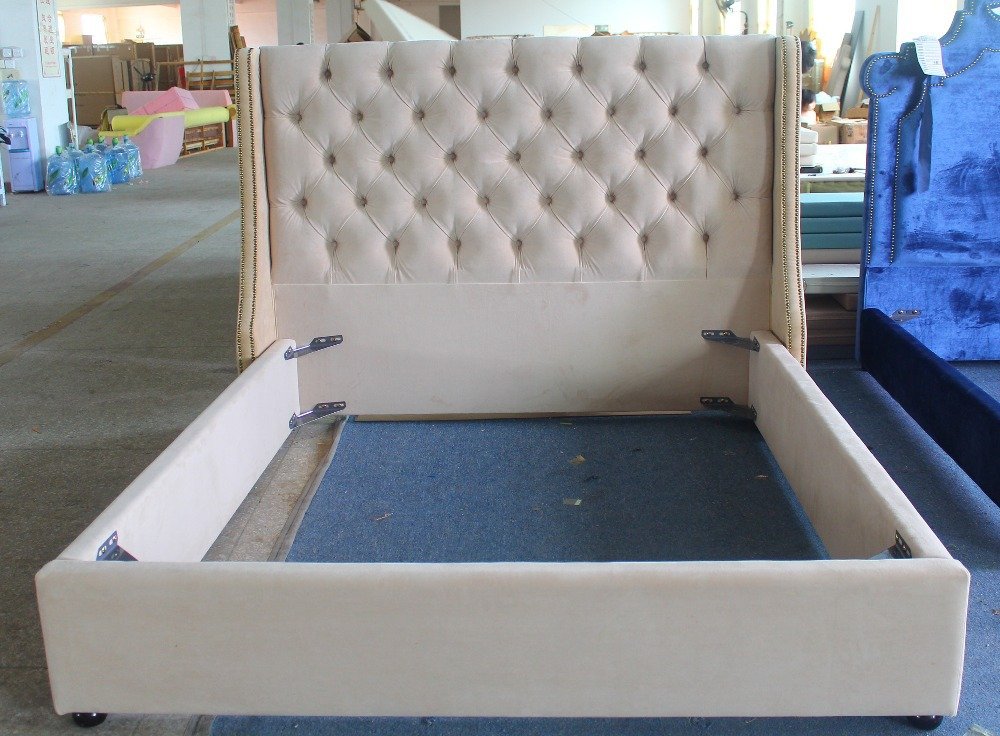
This way you can get the optimal screw length. It is recommended to purchase a little more components.
How to make a bed - a step-by-step description
The bed making algorithm depends on the model.If you previously did not have experience with self-assembly of furniture, then it is worth staying at a simpler option. Let's consider step by step the creation of various models.
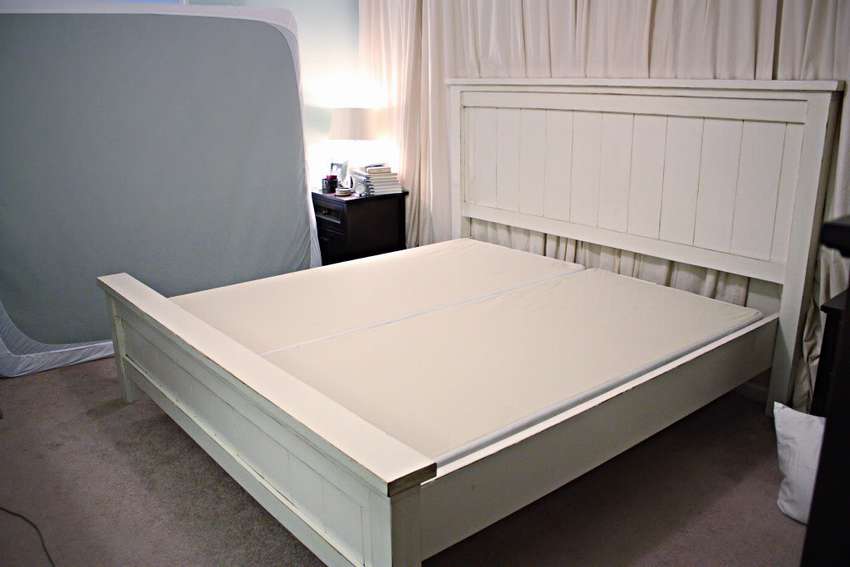
One bedroom
It differs in size, so the standard size of a single bed is 100 * 200 centimeters. To do this, you need boards 25 centimeters wide and 4 centimeters thick. The length of two boards is at least 2 meters, two more are at least one meter long, they will be used for the sidewalls.
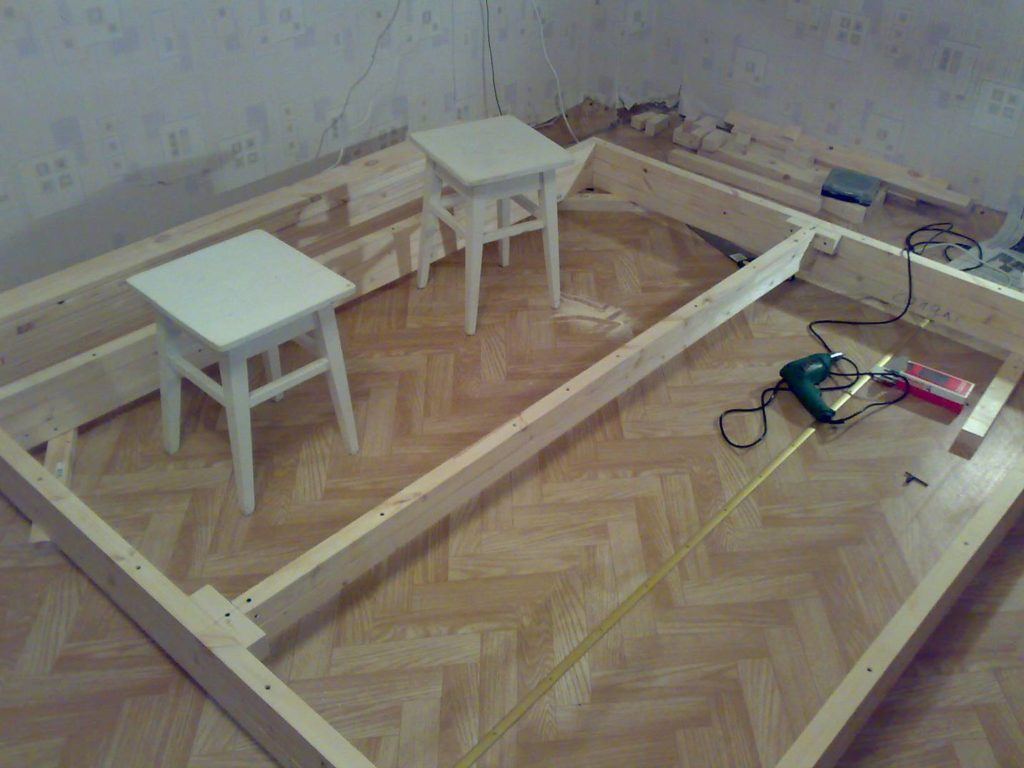
The first stage of assembly is the installation of the frame. The four above-mentioned boards must be connected with clamps to each other at right angles. It is better to do this either on the floor or leaning on four stools.
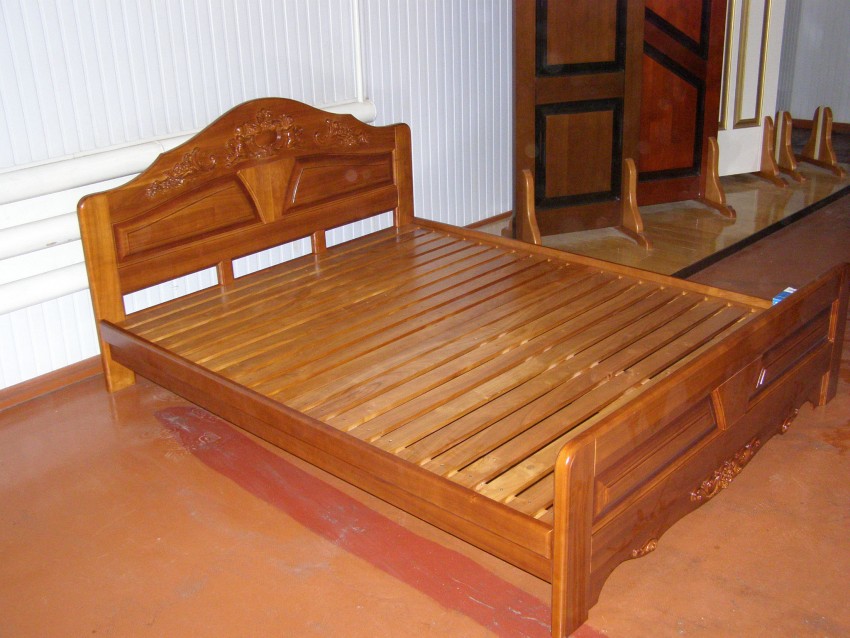
Connect the two shields with confirmations, then check that the diagonals are equal to each other. From a bar, cut two thicknesses for the legs and two for the shield. Try on the timber and insert the legs so that you get a right angle.
Screw the timber to the shield with screws ten centimeters apart. Using a clamp, fix the legs, then drill the hole through with an eight millimeter drill. This completes the assembly of the frame.
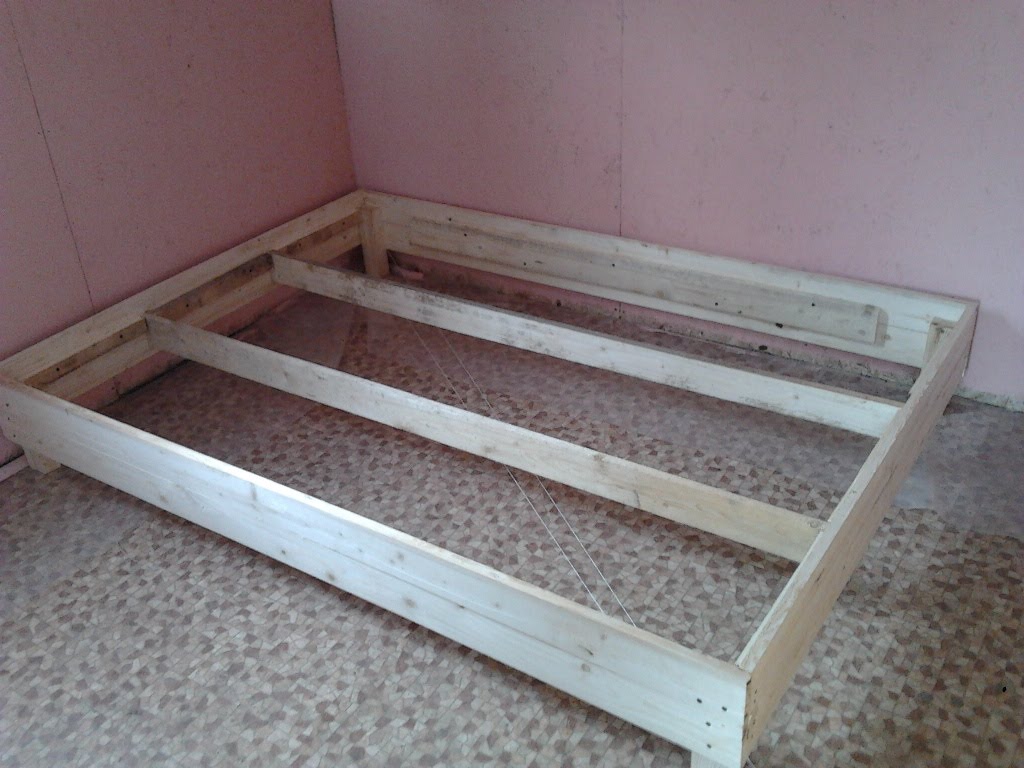
The second stage is the installation of the lamellas. Trim the boards to about 120 centimeters. Spread them out so that there is an indentation and screw them to the timber on both sides with screws.
Note! To make the design more reliable, you can attach a rigid rib in the middle.
Sand all the edges and cover with a special compound for wood (you can use varnish). This process is over. If necessary, you can upholster the bed with a cloth or leather using foam rubber, glue and a stapler.

Children's
Making a baby bed with your own hands requires the creation of dimensional drawings and diagrams with projects and sketches. It is a little smaller, so some other materials will be needed. Let's take chipboard as a basis. To do this, you will need: 1 sheet of chipboard, 2 drawers for the sides, 2 beams, 1 board for greater structural reliability, one wall for the front box, 15 slats equal to the width of the bed, a bar for legs (you can purchase ready-made ones).

The first step is to create holes with a drill under the confirmations. After that, a fragment for the headboard is cut out of the chipboard and fastened with a side bar and metal corners. In the same way, you need to create a headboard at the foot of the bed. The joints must be fastened with a confirmat. The result is a rectangular box.
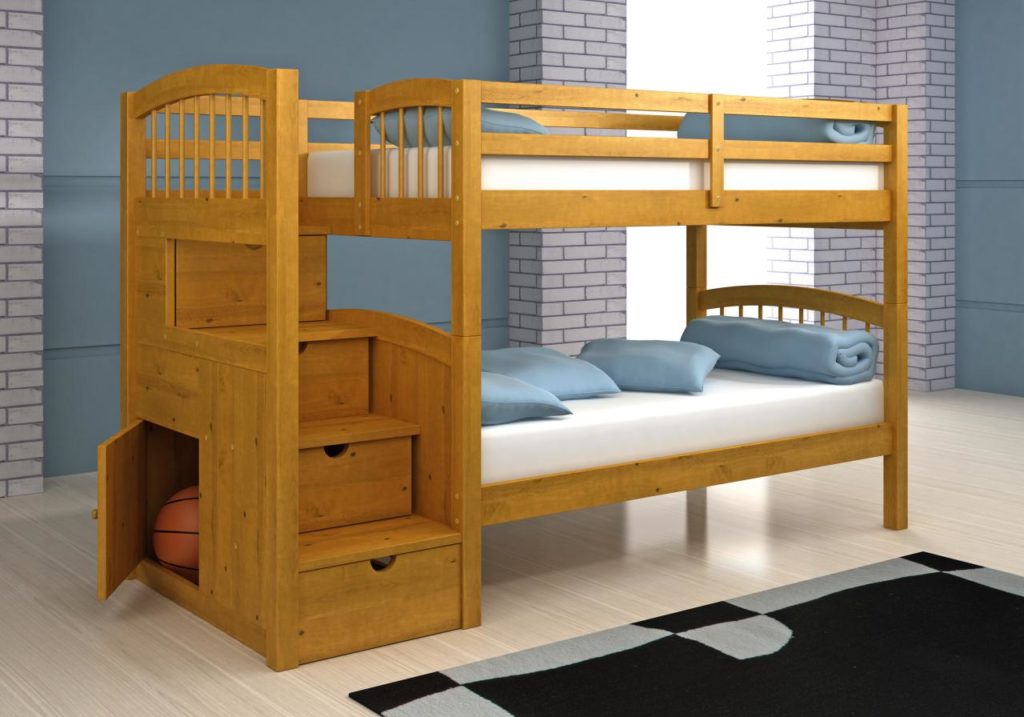
Second phase. In the middle of the box, you need to install a crossbar for support, attach the bars to the side boards from the inside. Insert the legs so that they are in the inner corners. On that beam for support, you need to lay out the slats, fastened in the form of a lattice. Screw the grate into the beam. The frame is ready, it remains to decorate and lay the mattress.
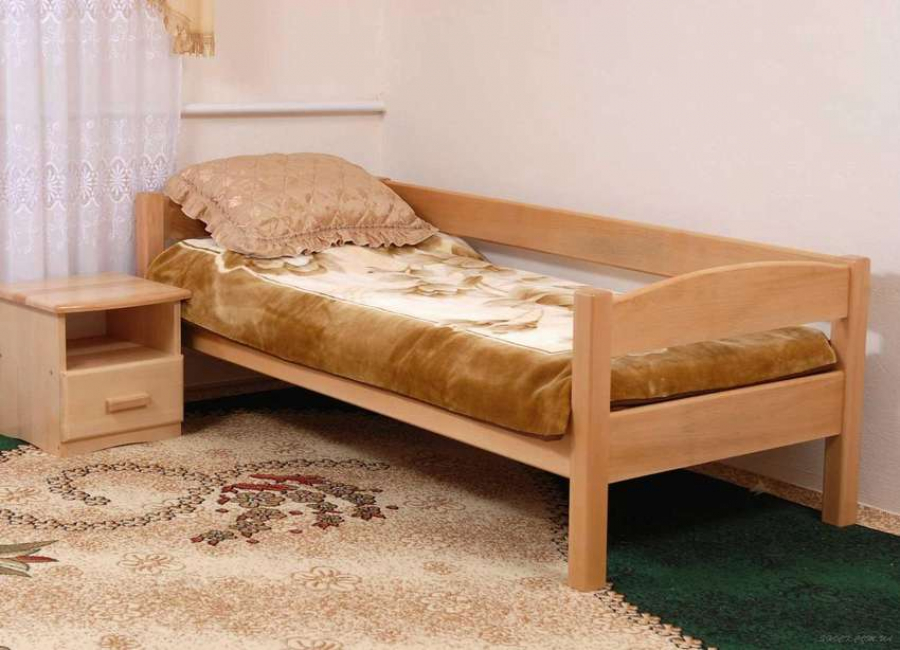
The structure can be varnished or, since the bed is still for children, it is better to cover it with colored paint. You can apply decoupage technique and transfer images of your favorite characters from fairy tales and cartoons.
From a bar
Before you start making a homemade bed from a bar, you need to decide on the dimensions, since the amount of materials will depend on them. You will need the following materials:
- Board for a frame 25 * 200 * 2400 millimeters in the amount of 4 pieces;
- Board for the support beam 50 * 100 * 2400 millimeters in the amount of 3 pieces;
- For decorating 25 * 50 * 2400 millimeters in the amount of 3 pieces;
- Beam for legs 100 * 100 * 2400 mm;
- 19 strips for rails 25 * 75 * 2400 mm.
You will also need self-tapping screws (3.5 and 6 centimeters) and metal corners.
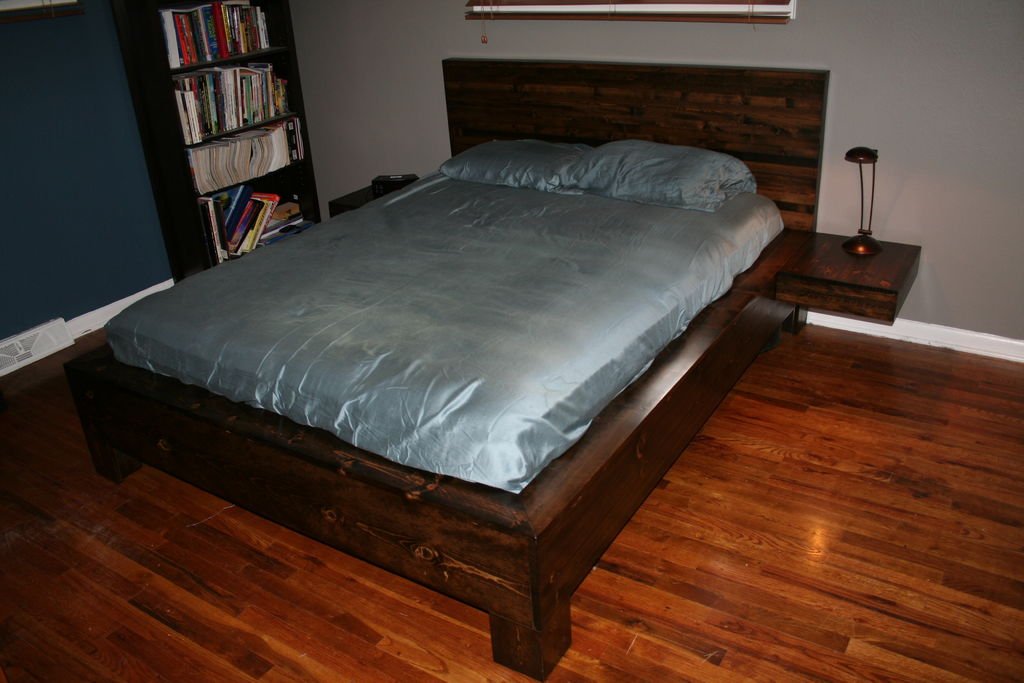
You can start by making the legs. From a bar you need to cut blanks of 10 centimeters (if necessary, the height can be changed). After that, 4 blanks are cut from the bar, equal to the size of the mattress. They are fastened together using corners. If necessary, you can attach a beam to the resulting box for additional support. After that, you need to install the crossbeams for shock absorption so that there is a distance of five centimeters between us.
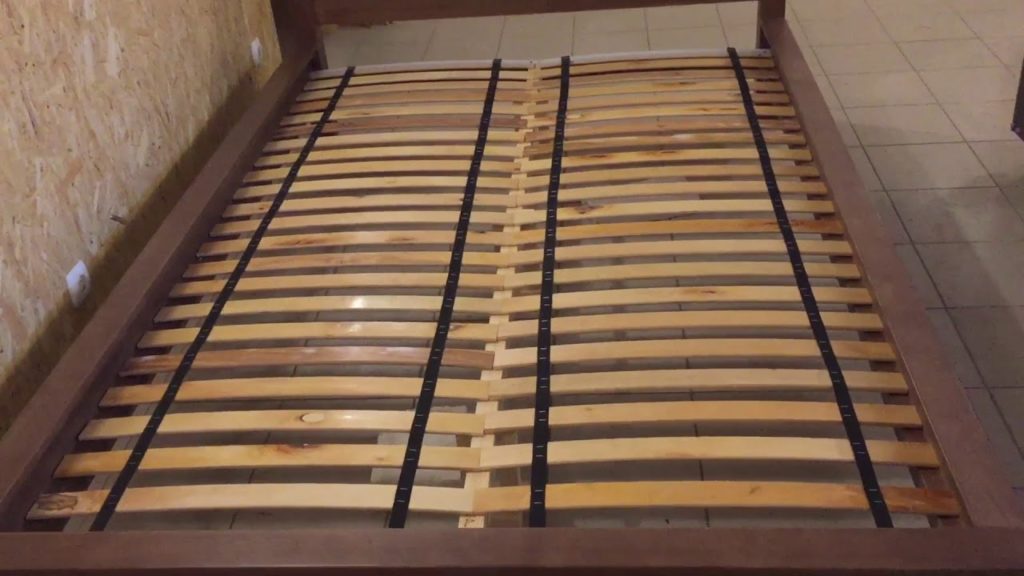
You can start making slats. Beams with a thickness of at least four centimeters with the help of self-tapping screws at a distance of 15 centimeters from each other are attached to the inner side of the sidewalls. At this stage, the stage of collecting the box is over.
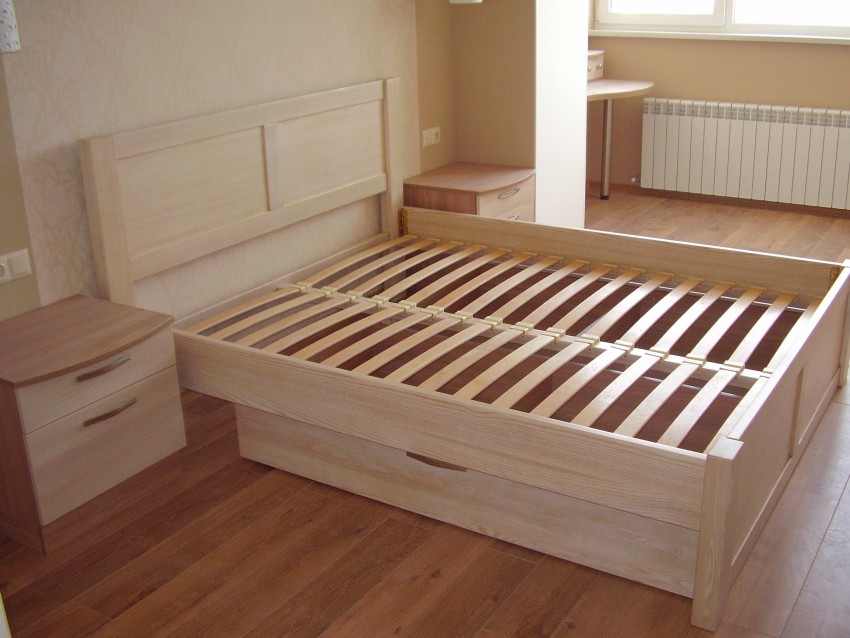
The second stage consists in making the headboard and backrest at the feet. For this, it is better to use chipboard, as this will simplify the work. Use a jigsaw to cut the desired shape and sand it with sandpaper. Also make the backrest at the feet. Connect with the box. Ready.
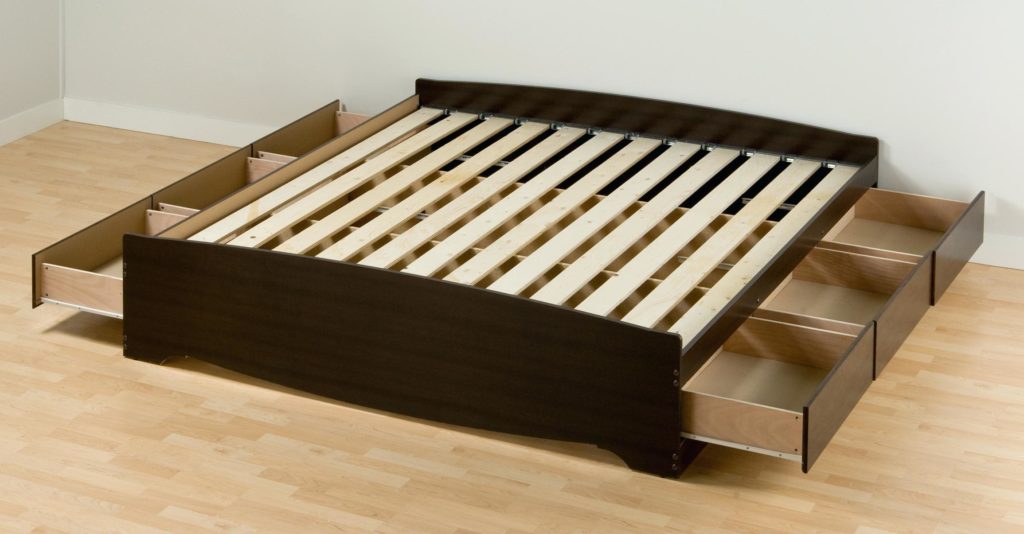
The third stage is finishing. The bed can be upholstered with a cloth using foam rubber, a stapler and glue. Or you can simply paint and varnish.
Chipboard
Let's take as a basis a standard double bed with dimensions of two by one and a half meters. You will need chipboard, side drawers in the amount of 2 pieces, 2 beams, a board, a wall for the front box and 25 slats (equal to the width of the bed) and a beam for the legs of the bed.
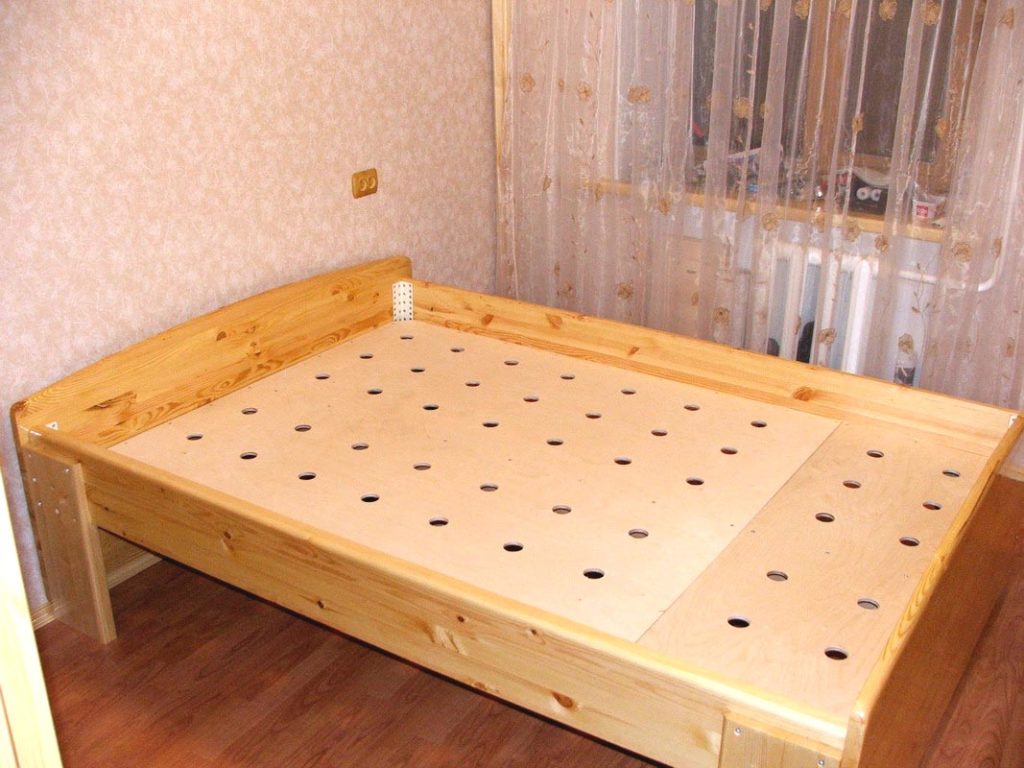
Drill several holes under the confirmations. Cut out the required shape from the chipboard sheet for the headboard, it is better to take a simple rectangular shape, since it is easier to work with. Using corners and tsars, attach the headboard, connect the joints with confirmations. As a result, you should get a finished box.
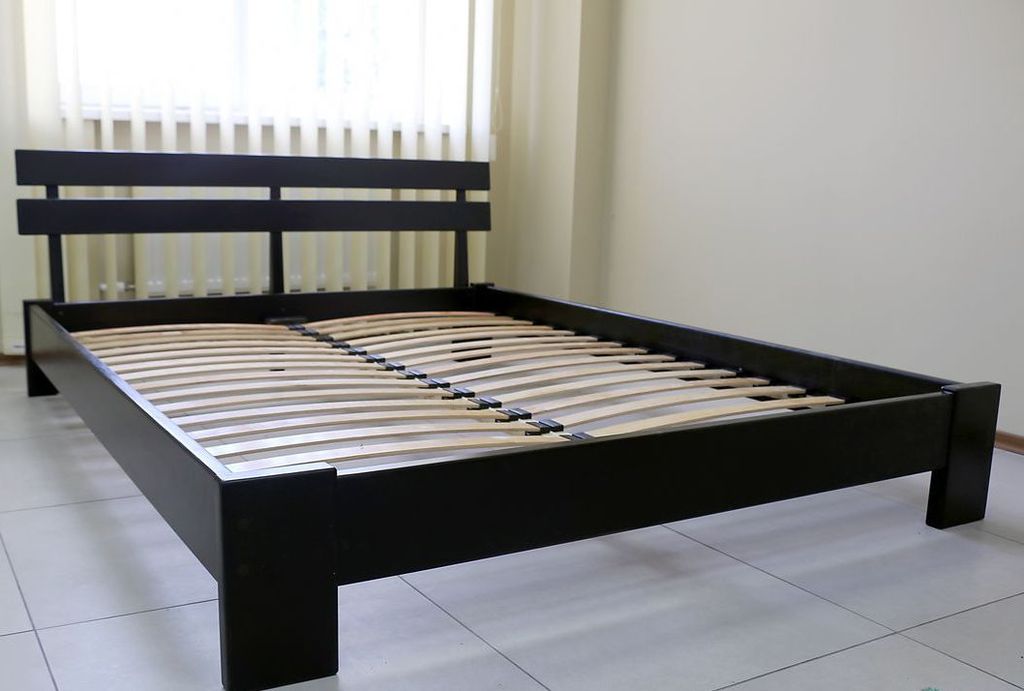
The second stage includes the installation of a lattice from rails. They need to be attached to the side walls so that the distance between them is about 5 centimeters. Also install a crossbeam for added stability.
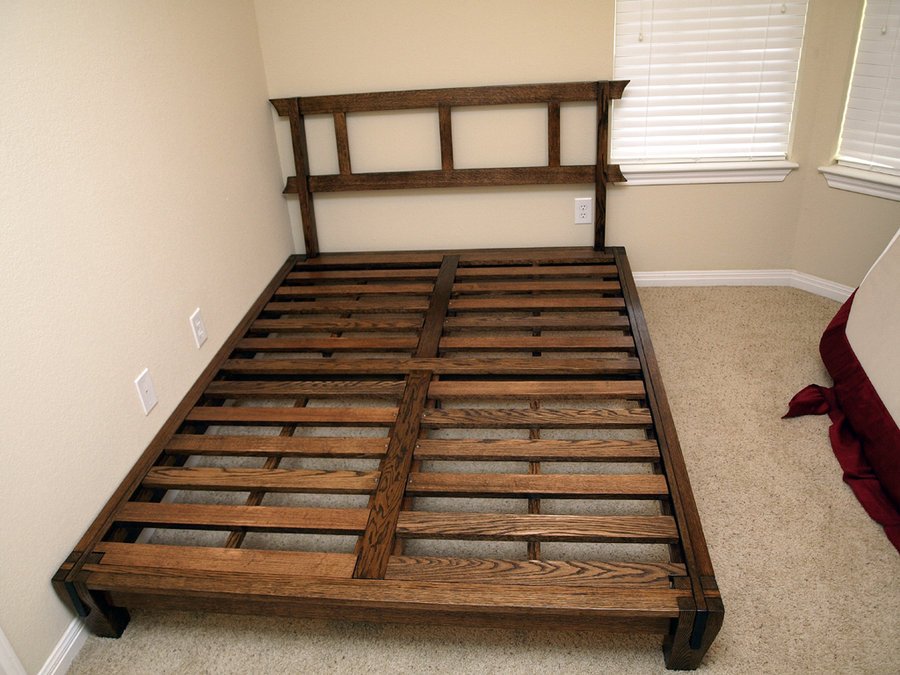
The third stage includes decorating. It is best to sheathe the bed with leather or leatherette. To do this, you need to prepare foam rubber, a stapler and glue.
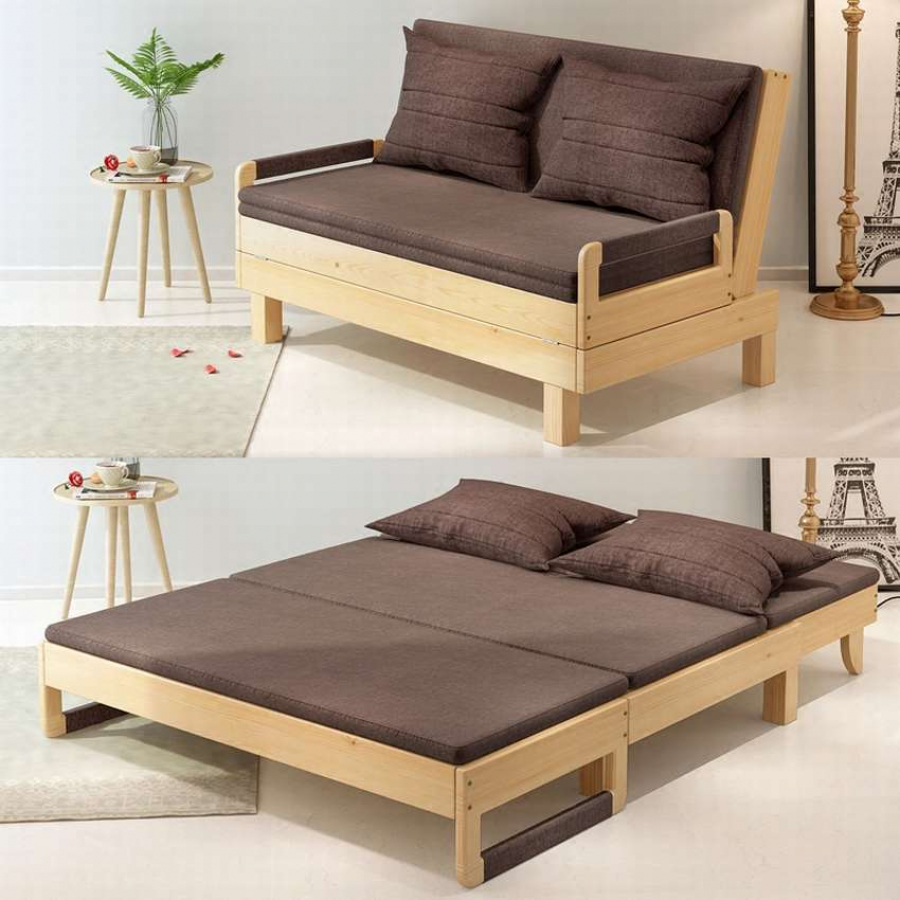
In the case when it is not possible to purchase a ready-made bed, it is worth making it yourself at home. To do this, you need to prepare the necessary tools, select the right wood, draw up a project. It is also very important to decide on the type of bed, since the amount of material and the complexity of the work depends on this.
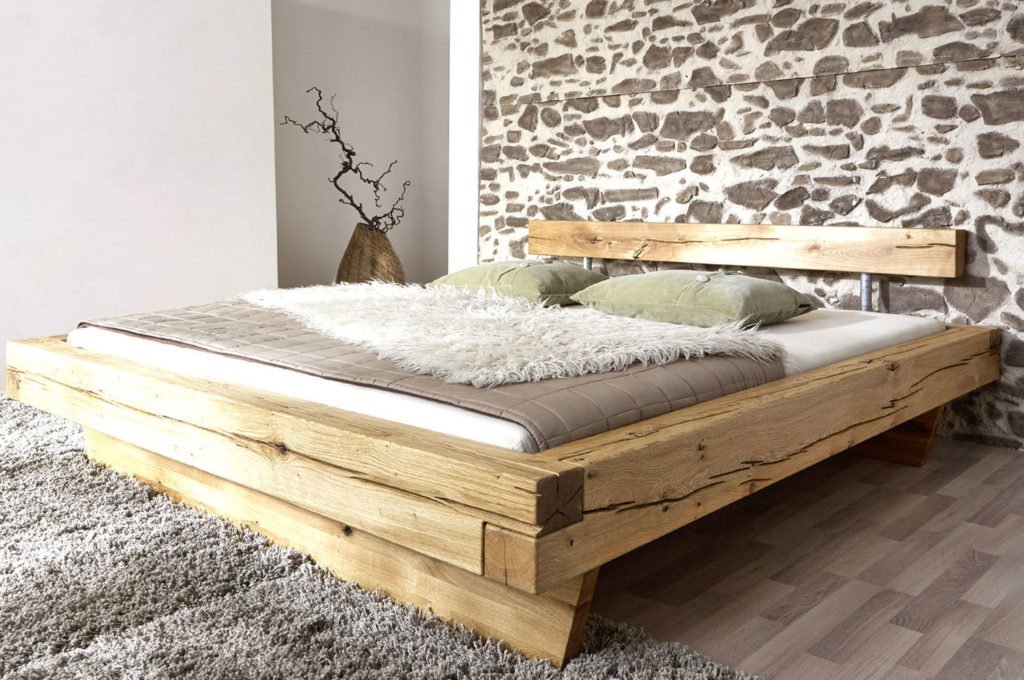
How to make a bed out of wood?
