How to make a do-it-yourself bed lifting mechanism
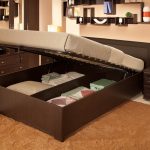
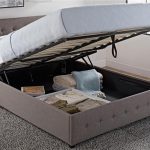
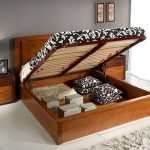
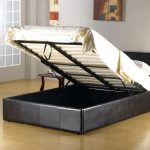
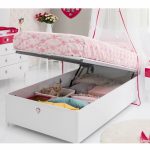
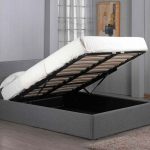
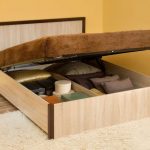
Lifting beds are very popular, especially in small apartments where space needs to be used sparingly. However, it is not always possible to find a folding bed of a suitable model and size. In this case, you can make it and install the lifting mechanism yourself.
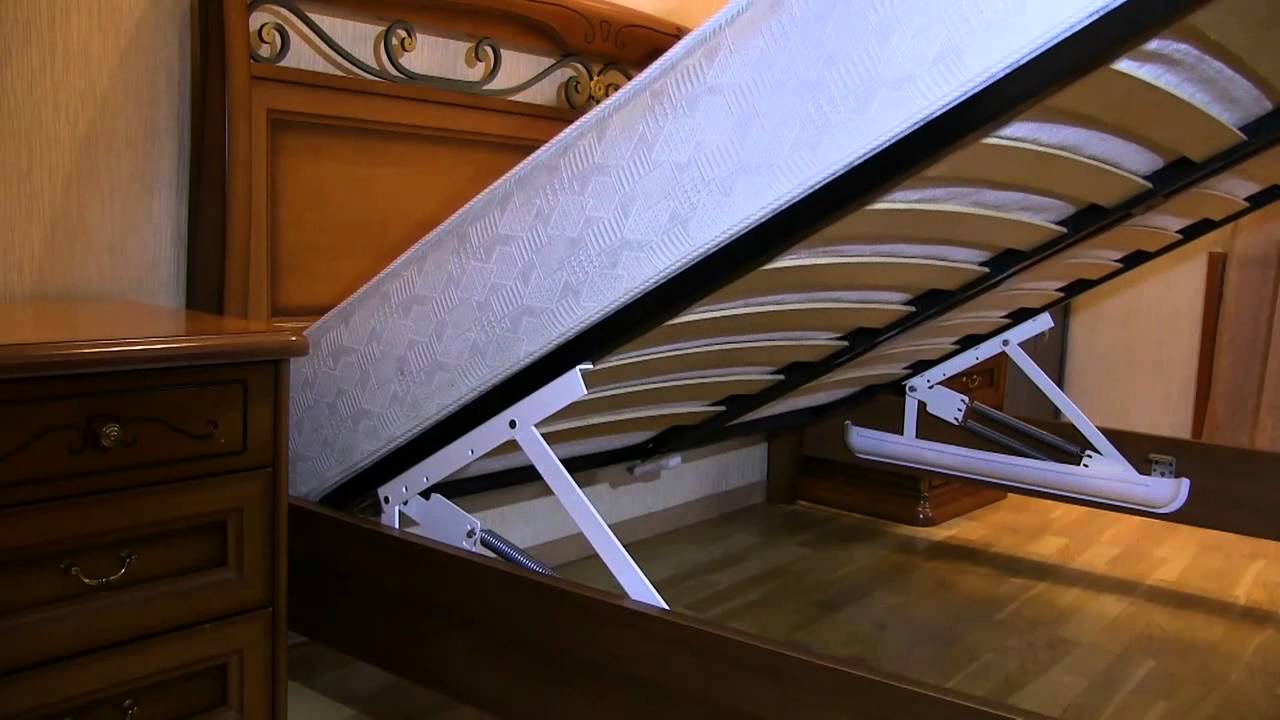
Types of lifting mechanisms
Before you make a lifting bed with your own hands, you need to choose the optimal lifting mechanism. The options are as follows:
- Manual looped. The most accessible and simple mechanism, which is used less and less. This is due to the complexity of the transformation, for which it is necessary to apply considerable effort, lifting the entire weight of the bed by hand. Because of this, the mechanism is not used for children's furniture. At the same time, due to the absence of springs, shock absorbers and other elements, the mechanism is characterized by high strength and durability.
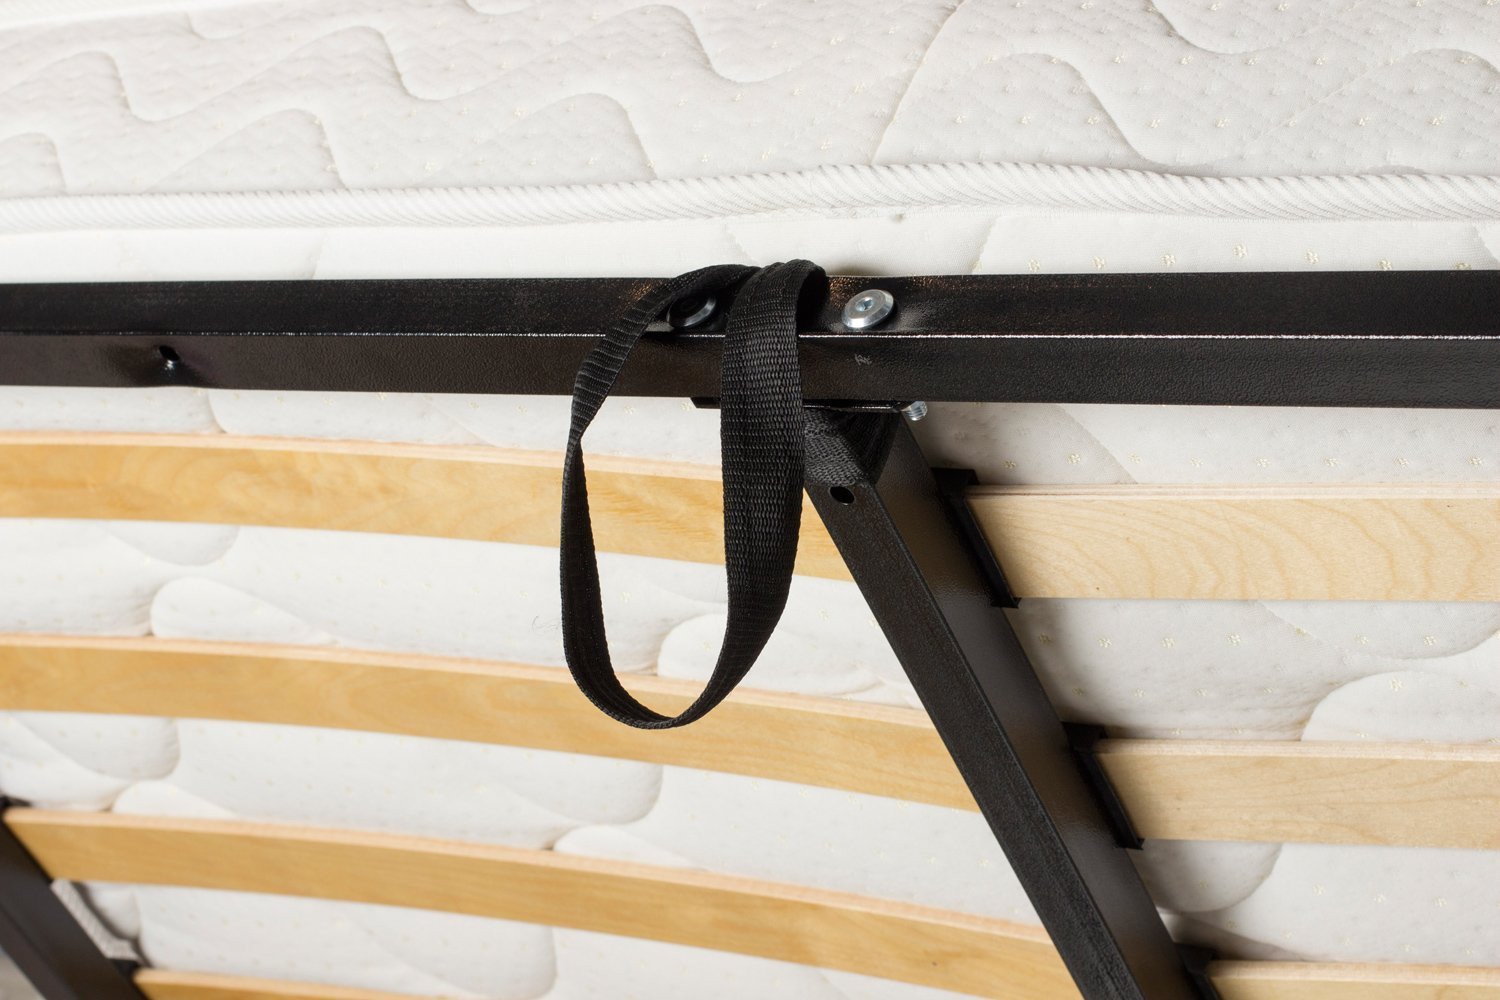
The hand lift is an affordable device with no springs or shock absorbers. - Spring loaded. Has a relatively low cost with high reliability. For lifting, coil springs made of high-alloy steel are used, the tension of which can be changed based on the weight of the mattress. Such a mechanism needs to be replaced regularly every three to five years, as the springs are subject to wear and tear.
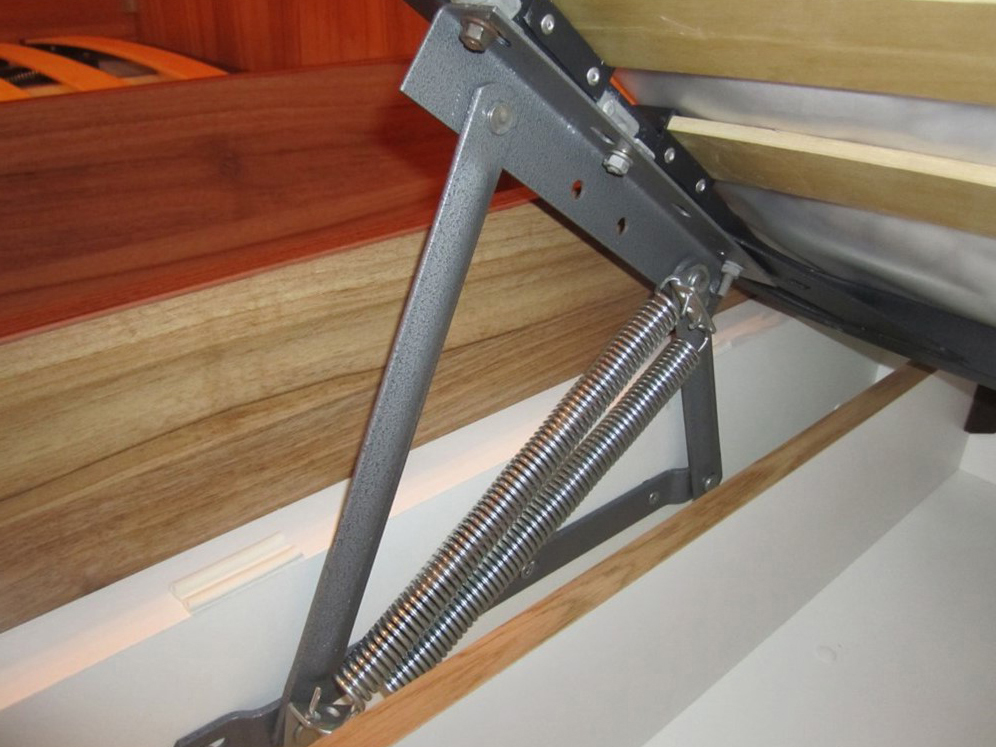
The spring system is easy to use. It has a short service life - no more than 5 years. - Gas. The most expensive, but at the same time reliable, durable and comfortable to use mechanism. Works quietly and smoothly, requiring little or no effort. For work, the energy of compressed gas is used, which is placed in a cylinder. The shock absorber is selected based on the size and weight of the bed and, if calculated correctly, can last about ten years.
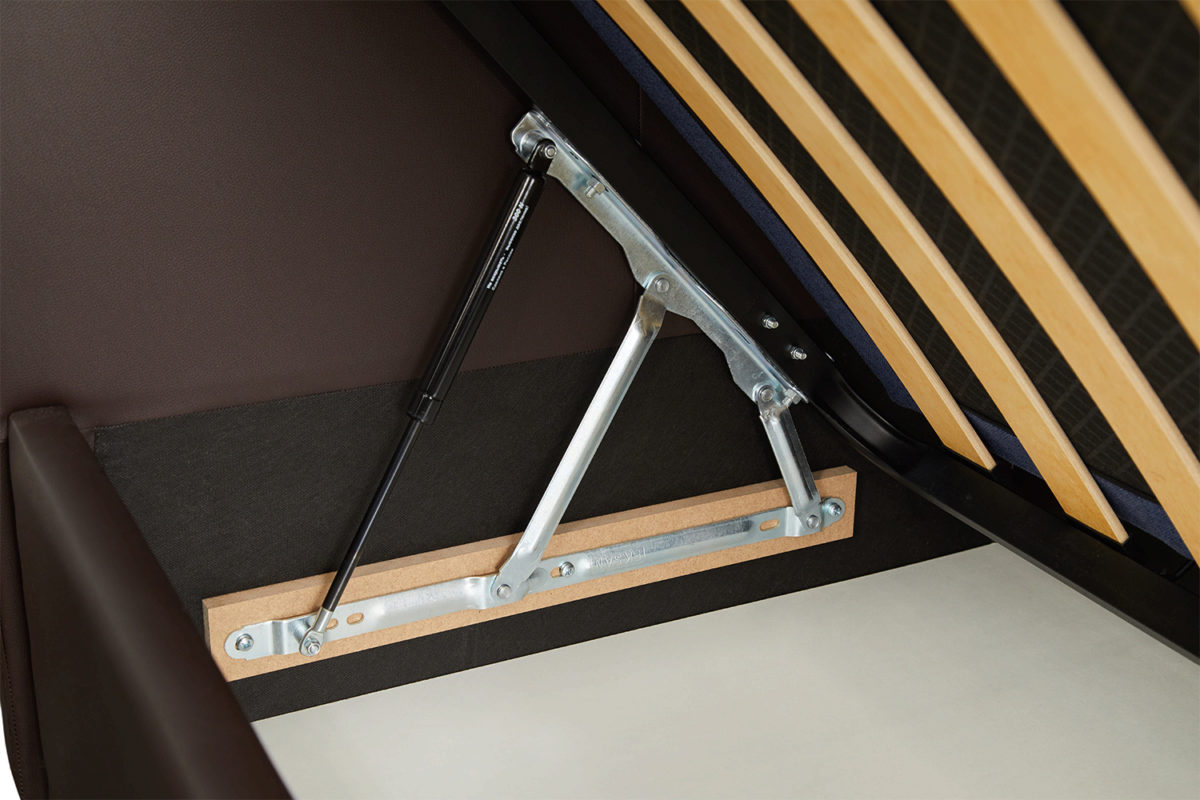
Note! The load of the bed rests not only on the shock absorbers themselves, but also on the attachment points, and therefore they should be chosen and calculated together.
How to make a do-it-yourself bed lifting mechanism
Before you make a bed with a lifting mechanism with your own hands, you need to draw up a drawing. It should reflect all the dimensions of the product with an indication of the thickness and distances, the parts and mechanisms used, the places and order of their fastening. To make a high-quality do-it-yourself bed with a lifting mechanism, the drawing must be made in two projections and contain only carefully calculated parameters.

Selection of tools
The construction of a bed with a lifting mechanism implies the use of the following tools:
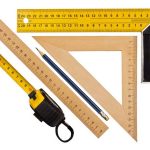
- pencil, tape measure and ruler required for marking;
- screwdriver, with which the frame parts are fastened;
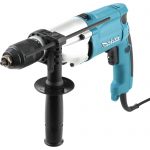
- a drill, which drills holes in the metal elements of the lifting mechanism;
- drills for metal and wood;
- a key and a drill for confirms, with the help of which the body is assembled;
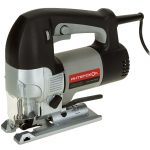
- jigsaw, which is used to cut MDF;
- an iron or an industrial hair dryer, with the help of which edging with melamine tape is performed;
- clamps used to fix the body during assembly;
- a knife with which excess tape is cut;
- a hacksaw, which is used to cut the boards;
- wrenches and heads;
- hammer.
Necessary materials
For work, you will need the following materials:
- self-tapping screws;
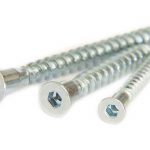
- confirmations;
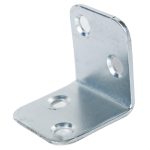
- metal corner;
- furniture corners;
- fiberboard sheet;
- edged board;
- MDF sheet;
- frame-insert for the mattress;
- melamine tape of the required shade;
- gas shock absorbers from 800 N;
- furniture legs;
- bolts, washers, nuts;
- metal strip;
- screeds;
- PVA glue;
- metal bushings.
Note! Instead of MDF, you can use chipboard, which is more affordable.
Mechanism creation process
Lifting mechanisms for different weights of the bed can be purchased ready-made, but with your own production you can be sure of their quality and reliability.
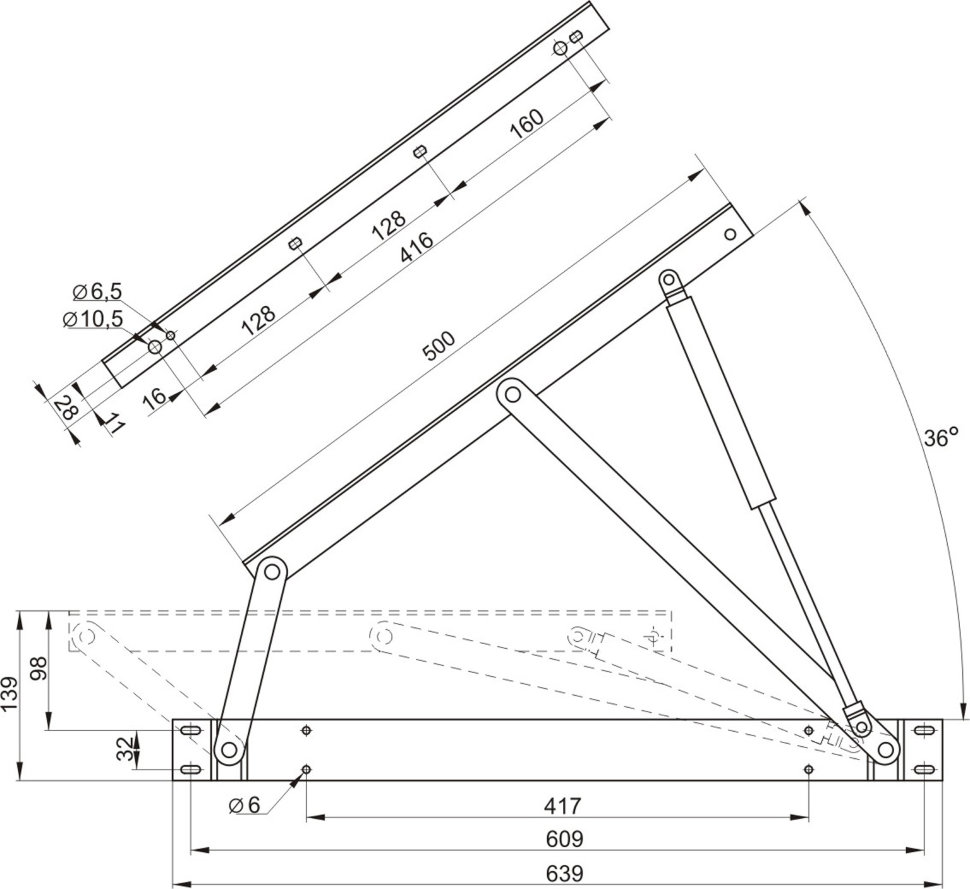
The work process is as follows:
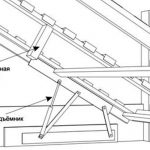
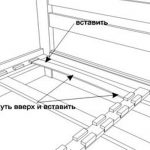
- Screw the top bar to the bottom of the base. For fastening, a bar is formed from rolled metal angles.
- Install the base of the lift, consisting of a pair of slats, on the frame elements.
- Attach a pair of bars to adjust the lift height and keep the grille in the raised position.
- Install the bottom bar, which is the support and makes the movement of the pivot points easier.
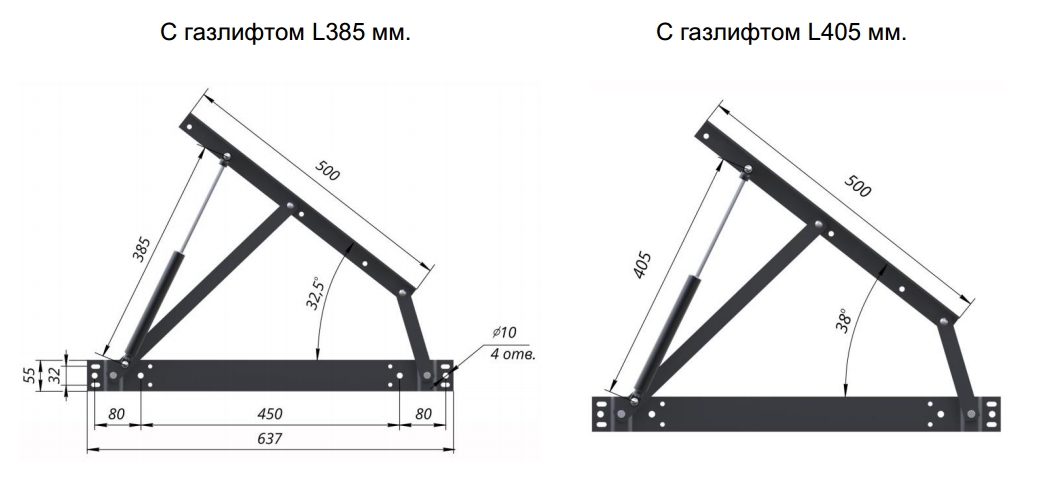
Important! At the joints of the bar with the hinges, it should have small deviations in shape from the plane angle.
It is convenient to use a small press to form the deflections of the metal strips required for the hinge attachment. You can find it in locksmiths.
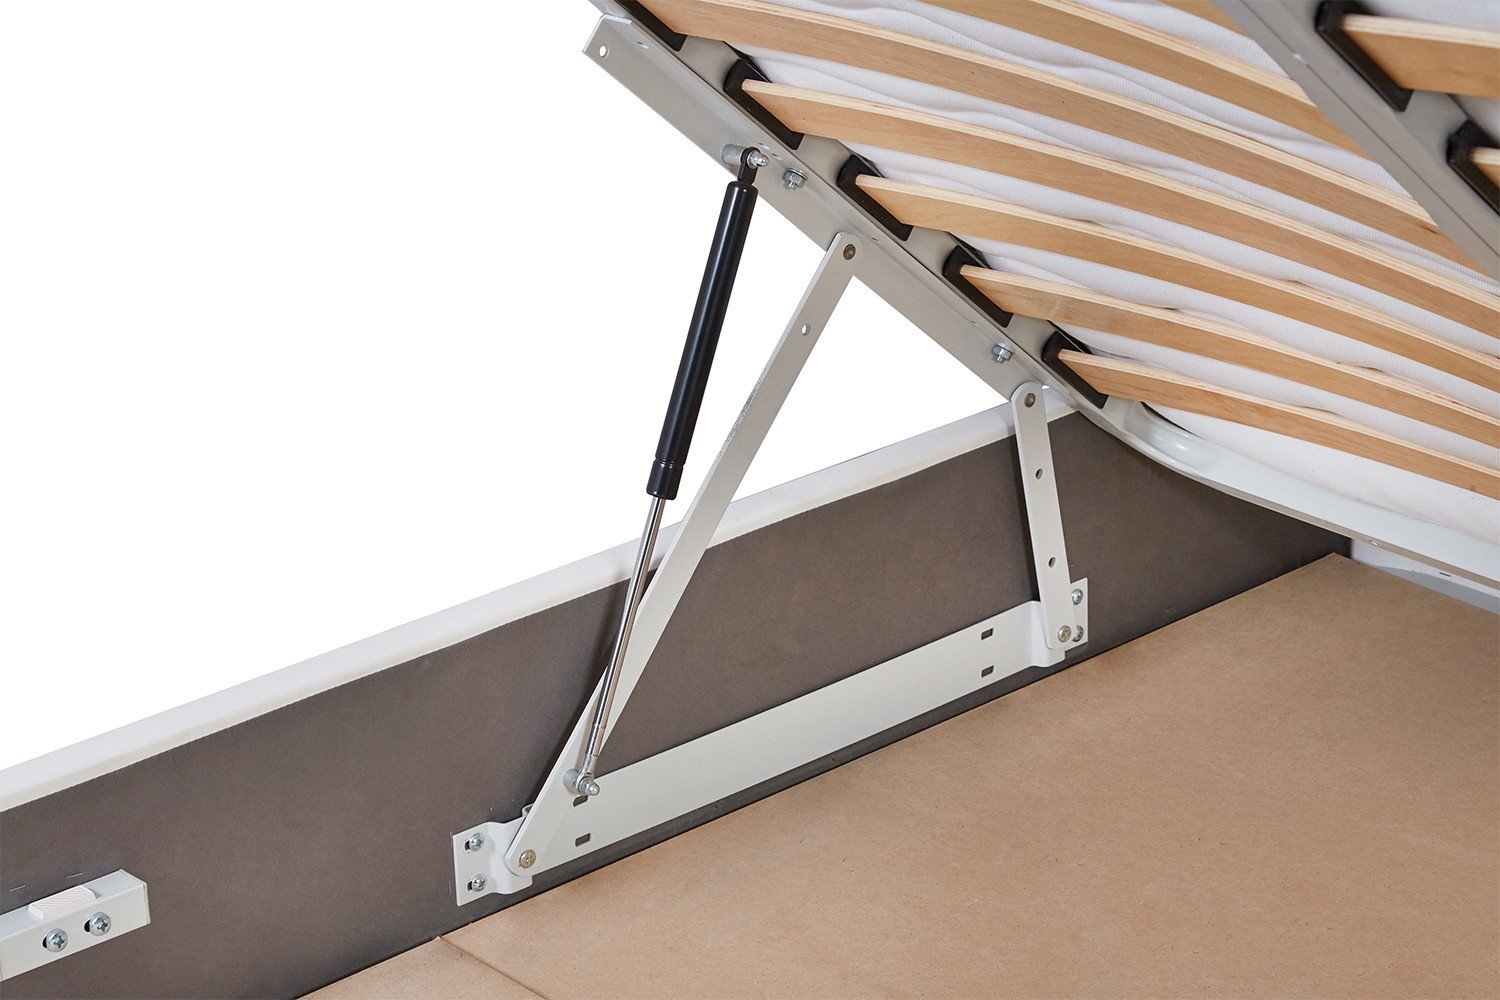
Self-assembly of the bed
First of all, it is necessary to prepare and assemble together the parts made of MDF, which are a frame:
- Mark out the MDF sheet in accordance with the drawing.
- Cut the slab into pieces that are convenient for cutting, and secure them to the workbench with clamps. Cut out the specified elements with a jigsaw. If these actions seem too complicated, there are no tools or special skills, then the cut can be made in a carpentry workshop.
- Clean the ends with a damp cloth. Apply melamine tape, heating with a hair dryer or iron, to all ends except those facing the floor.
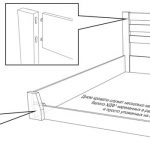
- Arrange the headboard, side drawers, transverse board and back wall. Drill a pair of confirmation holes from the outside of the gussets.
- Install the hardware using a Phillips screwdriver. Cover the confirmations with plastic plugs fixed with glue.
- Install the plastic corners inside the four corners using a screwdriver.
- Fasten the transverse board by connecting it to the sidewalls with steel corners fixed with screws. This is necessary to provide the structure with additional rigidity.
- Trim the fiberboard sheet to the required size and secure it as the bed base. To do this, the frame must be turned to one side. Fastening is carried out with screws along the entire perimeter.
- Drill holes in the middle of the drawers and in the lower corners of the frame. Install the legs in them.
Note! Plastic legs will not only facilitate the movement of the structure, but also exclude the contact of MDF with moisture during cleaning.
Further, with the help of a wrench and a screwdriver, the inset frame for the mattress is assembled. It can also be purchased pre-assembled, but this complicates transportation.

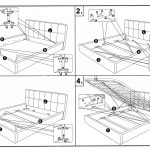
The final stage is the connection of the frame and mechanisms. This process may require outside help to ensure that the joints are straight and accurate. It is carried out as follows:
- Drill mounting holes in the metal frame of the insert frame.
- Fasten the lifts to the inner sides of the sidewalls with bolts. Fastening is carried out using through holes.
- Attach the upper lift elements to the frame. At this stage, the help of a person who will hold the insert frame will not hurt.
- Close the bolt heads from the outside of the frame with plastic plugs matched to the MDF color.
- Check for correct installation and secure fasteners. This must be done for the entire movable structure.

How to repair the lifting mechanism of the bed
If the entire lifting mechanism or its components fail, it is better to completely replace the mechanism. This is done as follows:
- Disassemble the bed and remove the old hardware.
- If the seats are intact, use them, if damaged, make new ones. To do this, it is necessary to drill holes on the box, of which there can be three or four, depending on the device and the size of the base.
- Fix the lower part of the mechanism to the frame using bolts.
- Attach the corner from the lifting structure to the structure and lower the base inside the frame.
- Drill the required number of holes on the sides of the frame. The location of the bottom plank must be taken into account.
- Make a gap of 7-10 mm between the box and the frame, tighten the bolts on the top plate.
- Connect the system with pistons, which should be attached to the upper and lower parts of the mechanism.
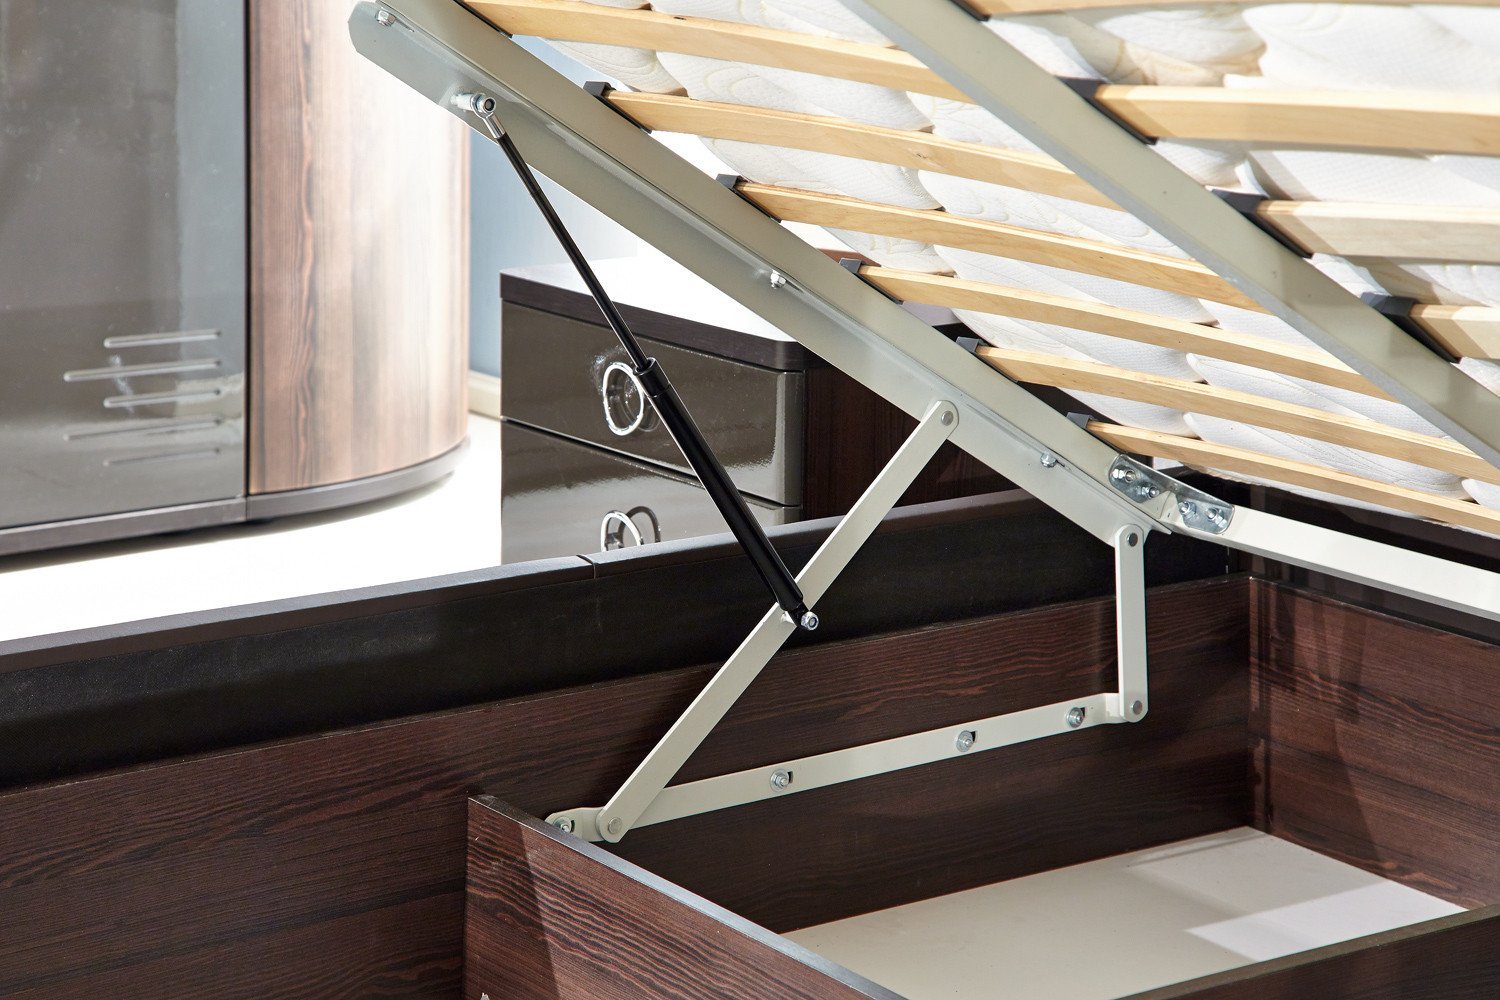
Note! To extend the period of operation of the mechanism, it is necessary to correctly calculate the load on it.

Making a bed with a lifting mechanism on your own is not an easy task that requires accuracy and careful work. However, as a result, you can get a unique product of high quality, ideally suited to the size and interior of the room.

Video: do-it-yourself bed with a lifting mechanism













































Discussions
It is easier to buy a ready-made lifting mechanism. Time is more precious. In general, it is easier and faster to order beds in the store than to make them yourself.