Do-it-yourself loft bed
The small area of modern apartments makes their owners go to all sorts of tricks in order to get an acceptable level of comfort, without denying themselves a full-fledged place to sleep or rest.

One of the solutions in such a situation may be the use of non-standard design solutions when organizing a berth. Therefore, a do-it-yourself loft bed, drawings and dimensions, diagrams and projects, sketches of which are easy to find for every taste and wallet, is just such a way out.

Required materials
For self-production, in most cases, it is recommended to choose a tree. Of course, if there are conditions, everything can be made of metal, but this will require both experience and special equipment.
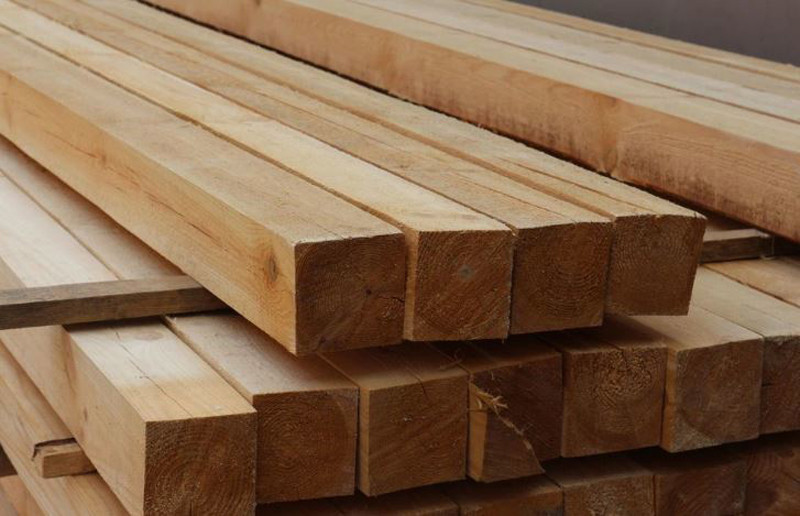
Usually, oak or beech timber (minimum 80x100mm) is used for the manufacture of the frame. If logs are supposed to be cut out of the timber, the thickness must be increased. Pine is also allowed, it is cheaper. The main thing is that the tree is dry! For rails and railings, you need a board with a thickness of 20-30mm. It is advisable to have at least a preliminary sketch of the future bed before buying - this will allow you to order the cutting of frame parts, which will greatly simplify its manufacture.
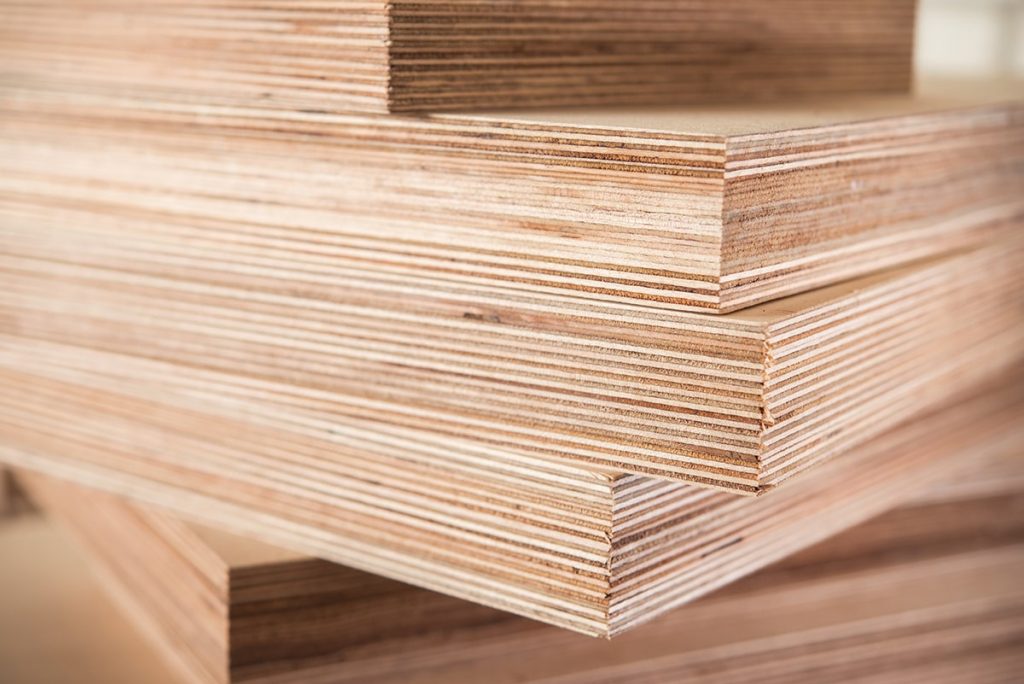
In addition, the presence of a diagram will give an approximate amount of fasteners and fittings, especially if the furniture is intended for multipurpose use. At this stage, it is necessary to decide on the option of a substrate for the mattress. Since it is most convenient to assemble an attic bed with a slatted base, you need to purchase a certain amount of slatted slats or a special ready-made kit.
Note! After assembly, the structure needs to be painted. If you intend to paint with a colorless varnish, you should choose a water-based furniture varnish.
Selection of tools
Of course, such work is best done in a workshop or garage, where there are both the necessary tools and suitable conditions. However, if the manufacture of a bed involves mainly assembly operations, this can be done at home.
In general, you will need:
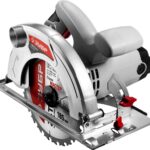
- Portable circular saw.
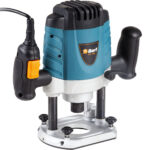
- Fraser.
- Electric planer.
- Jigsaw.
- Grinder.
- Drill with a set of wood drills.
- Screwdriver.
- Screwdriwer set.
- Additionally: hammer, hacksaw, mallet, wood glue, ruler, corner, tape measure, level, pencil.
Do-it-yourself loft bed drawings and dimensions diagrams and projects sketches
Despite the flight of imagination and the depth of design thought, all solutions, one way or another, will be derived from several typical schematic diagrams:
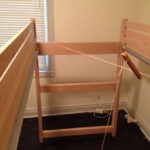
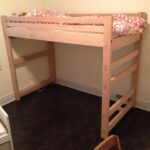
- Bed on four legs. The classic version, reminiscent of an ordinary bed, only with significantly "grown" legs. The berth is complemented by restrictive boards and stairs. The simplest scheme for self-production.
- Solution with two supports and wall mounting. The construction is similar to that described above. The exception is that one of the sides is attached directly to the wall. Not suitable for rooms with plasterboard cladding. Requires special fasteners.
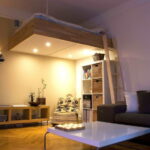
- Suspended option. The bed frame is suspended from the ceiling using special brackets. Distinguish between full suspension or partial (one side is fixed on the wall). This solution places special demands on the height of the room and the thickness of the ceiling.
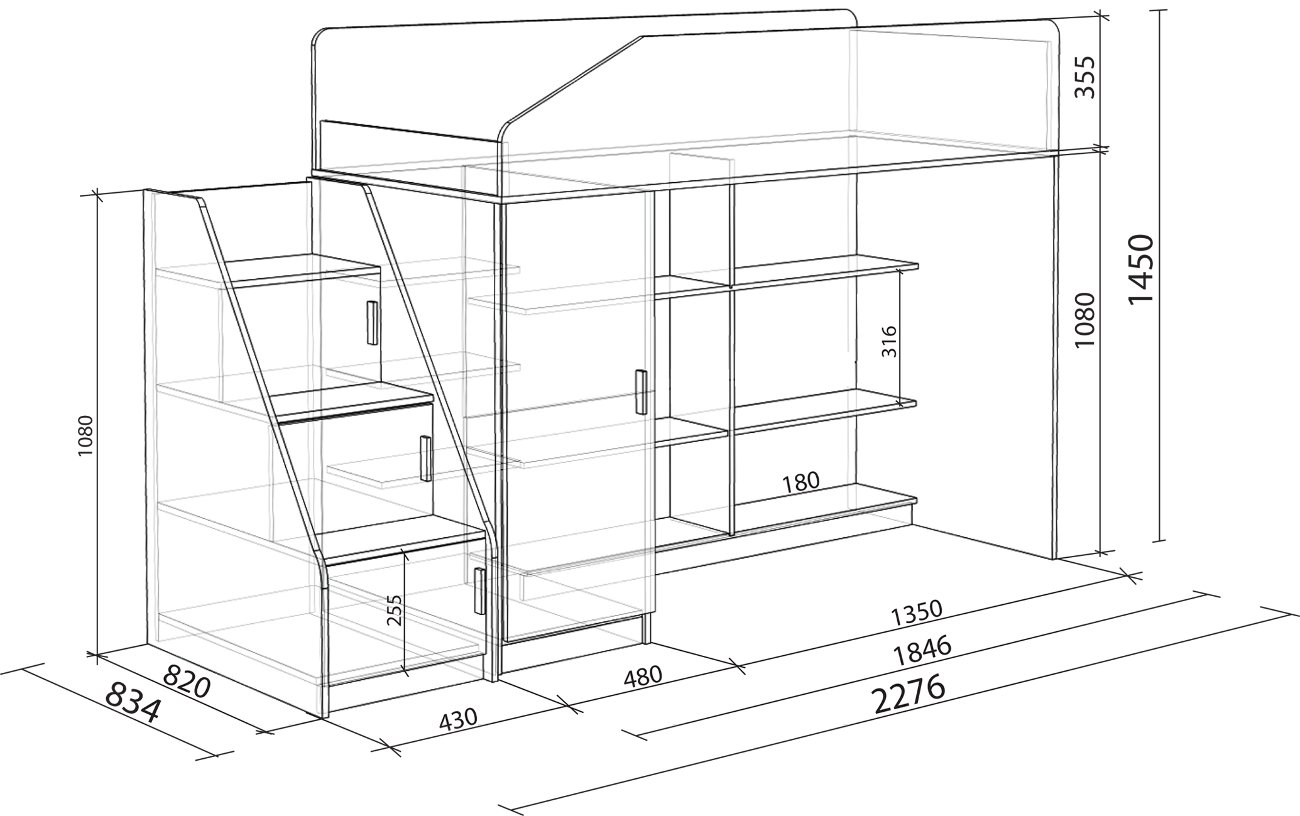
Important! The design should be started with a mattress - its dimensions will give the main dimensions of the structure. In addition, it is necessary to take into account the purpose of the bed (single, double), as well as for whom it is intended. If it is a child, its height should be limited (up to 120cm). For adults, this value increases to 180cm.

Baby bed
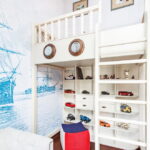
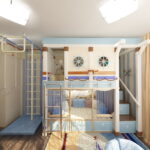
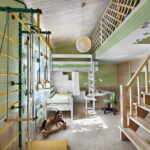
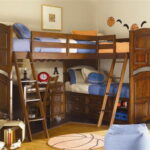
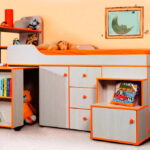
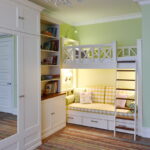
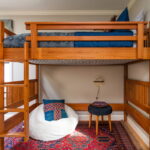
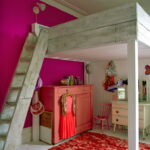
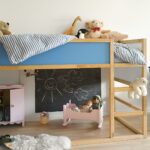
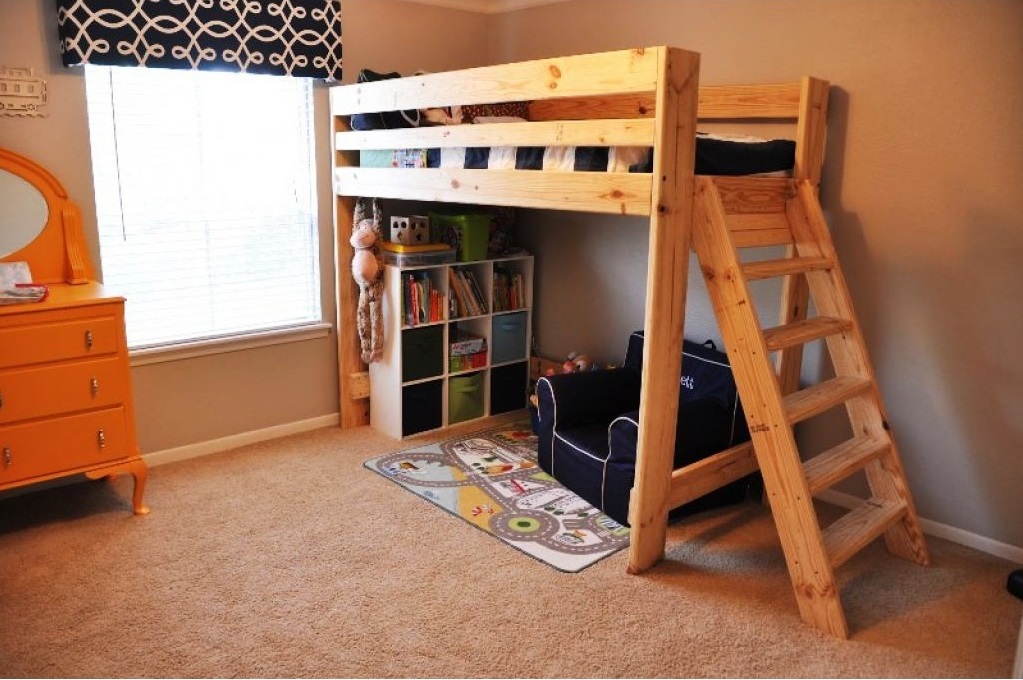
The typical version is an upper (sleeping) tier with a ladder and a play area below. An example of how to assemble an attic bed is shown in the figure.
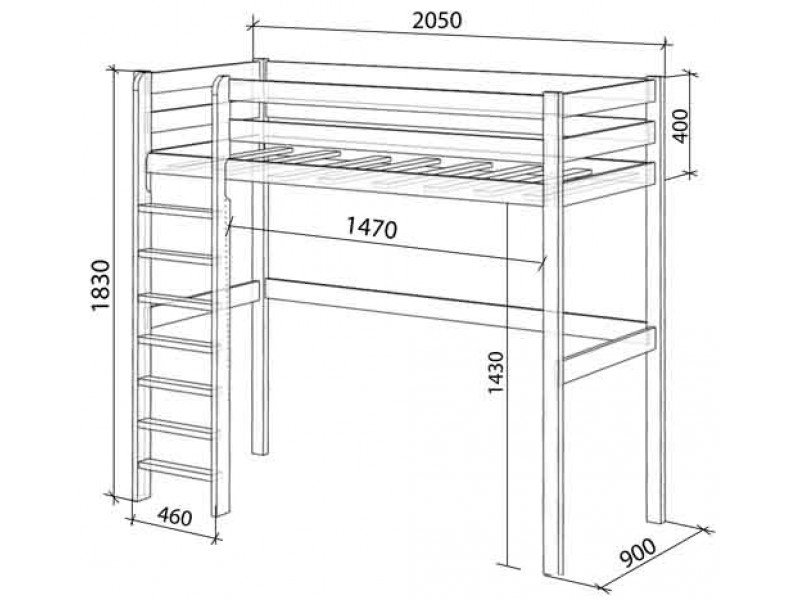
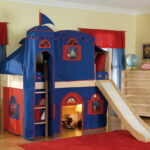
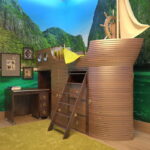
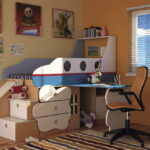
Depending on the gender and age of the child, as well as on the imagination and capabilities of the parents, the frames can be designed using a variety of decorative elements that turn the bed into a castle, into a house, into a car or an airplane.
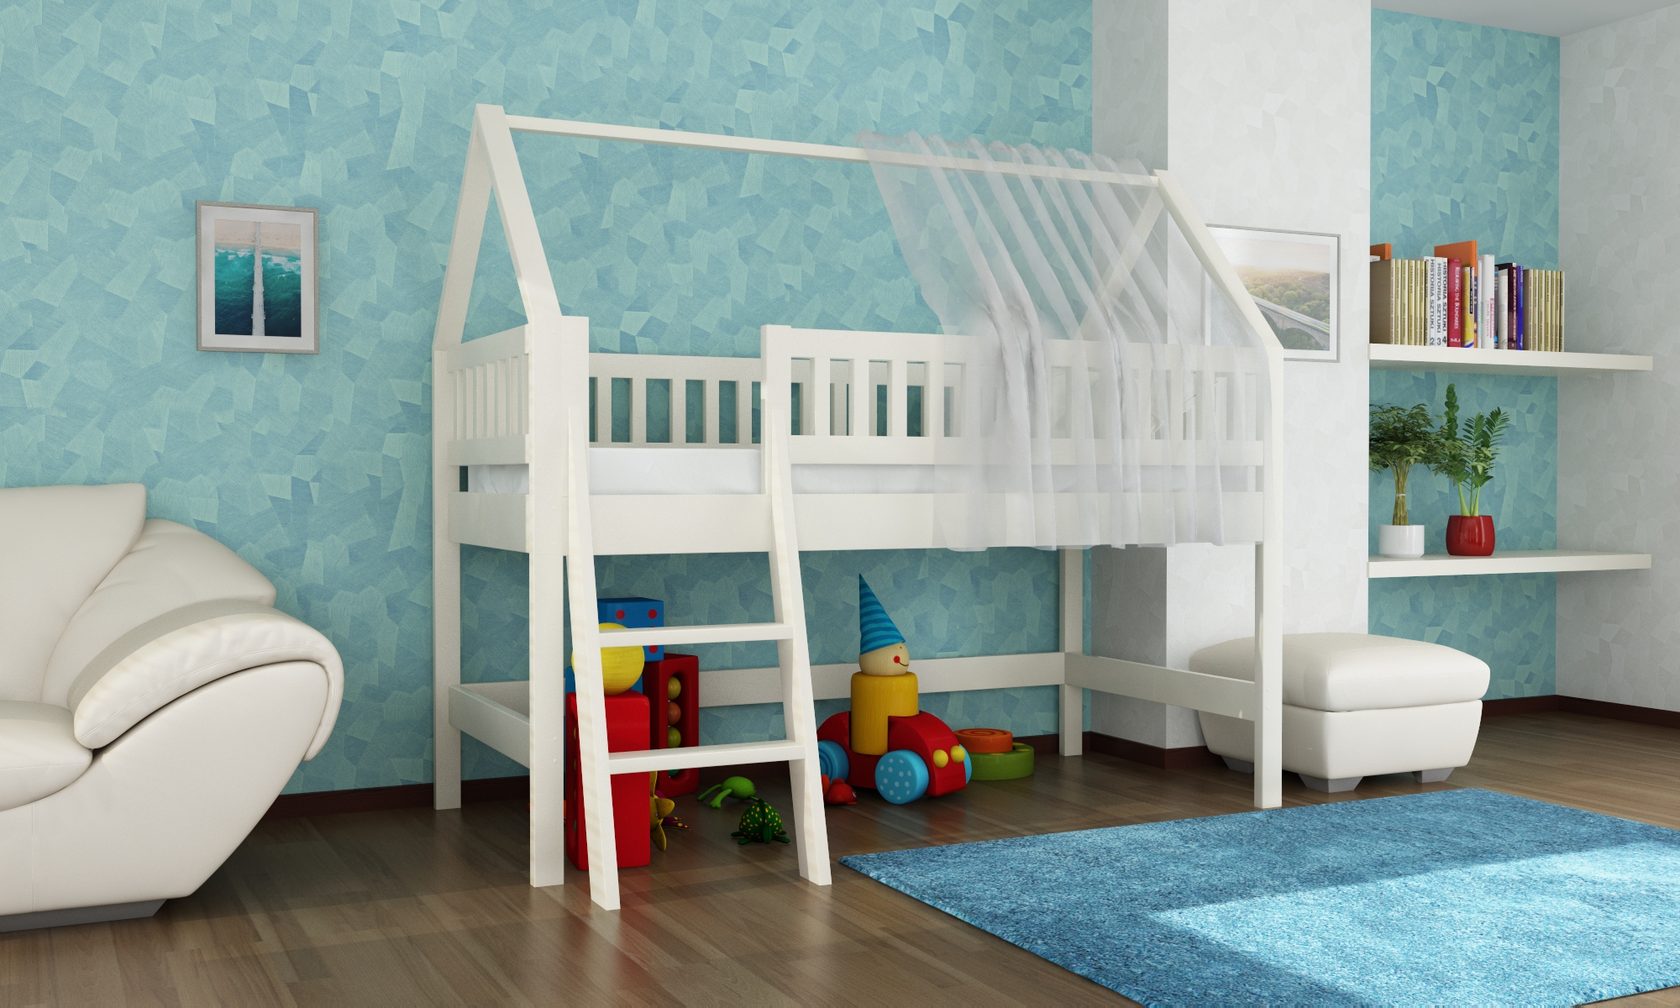
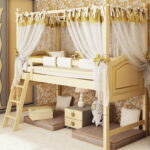
Canopy scheme
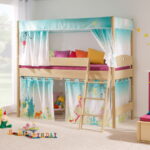
Structurally, such beds practically do not differ from conventional (typical) designs, with the exception of an increase in the height of the upper tier, where, in fact, the canopy and its attachments are hung (in the figure). Usually, either dense or translucent fabrics are chosen for it. In addition, it can be installed not only from above, but also to cover the lower part.

How best to add a ladder
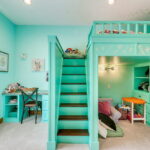
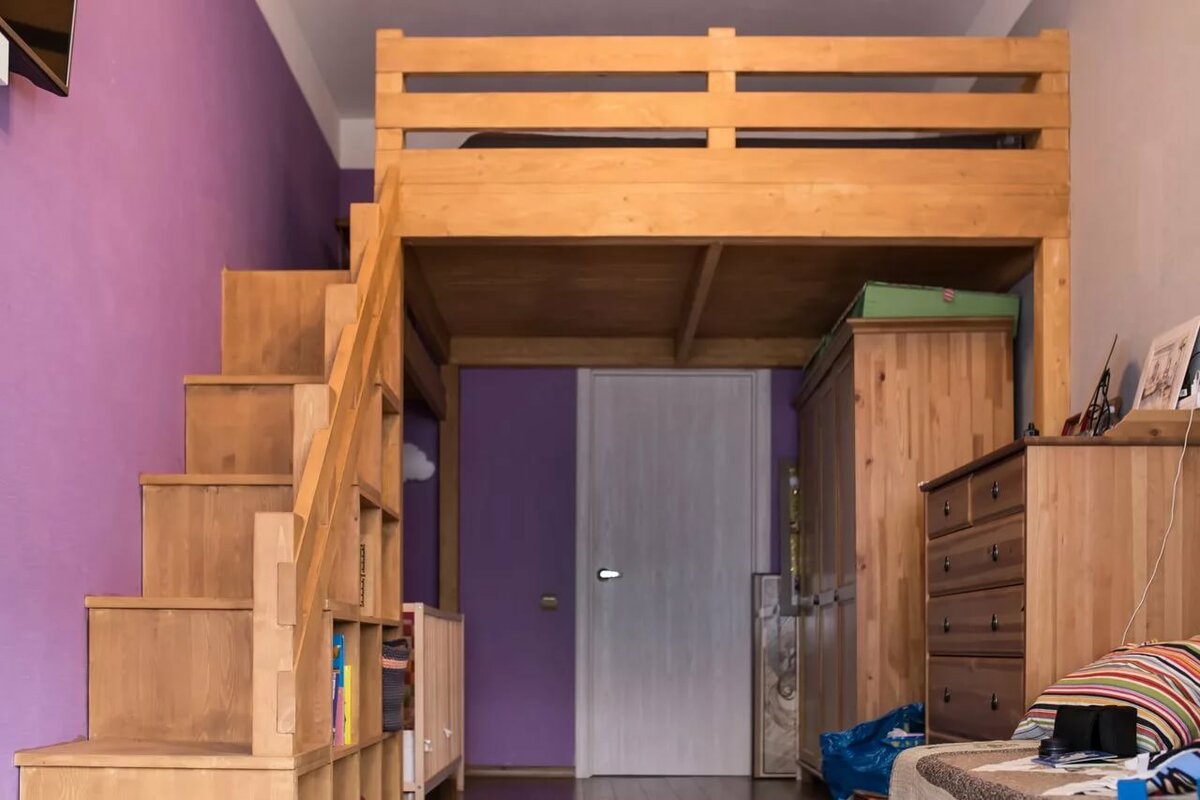
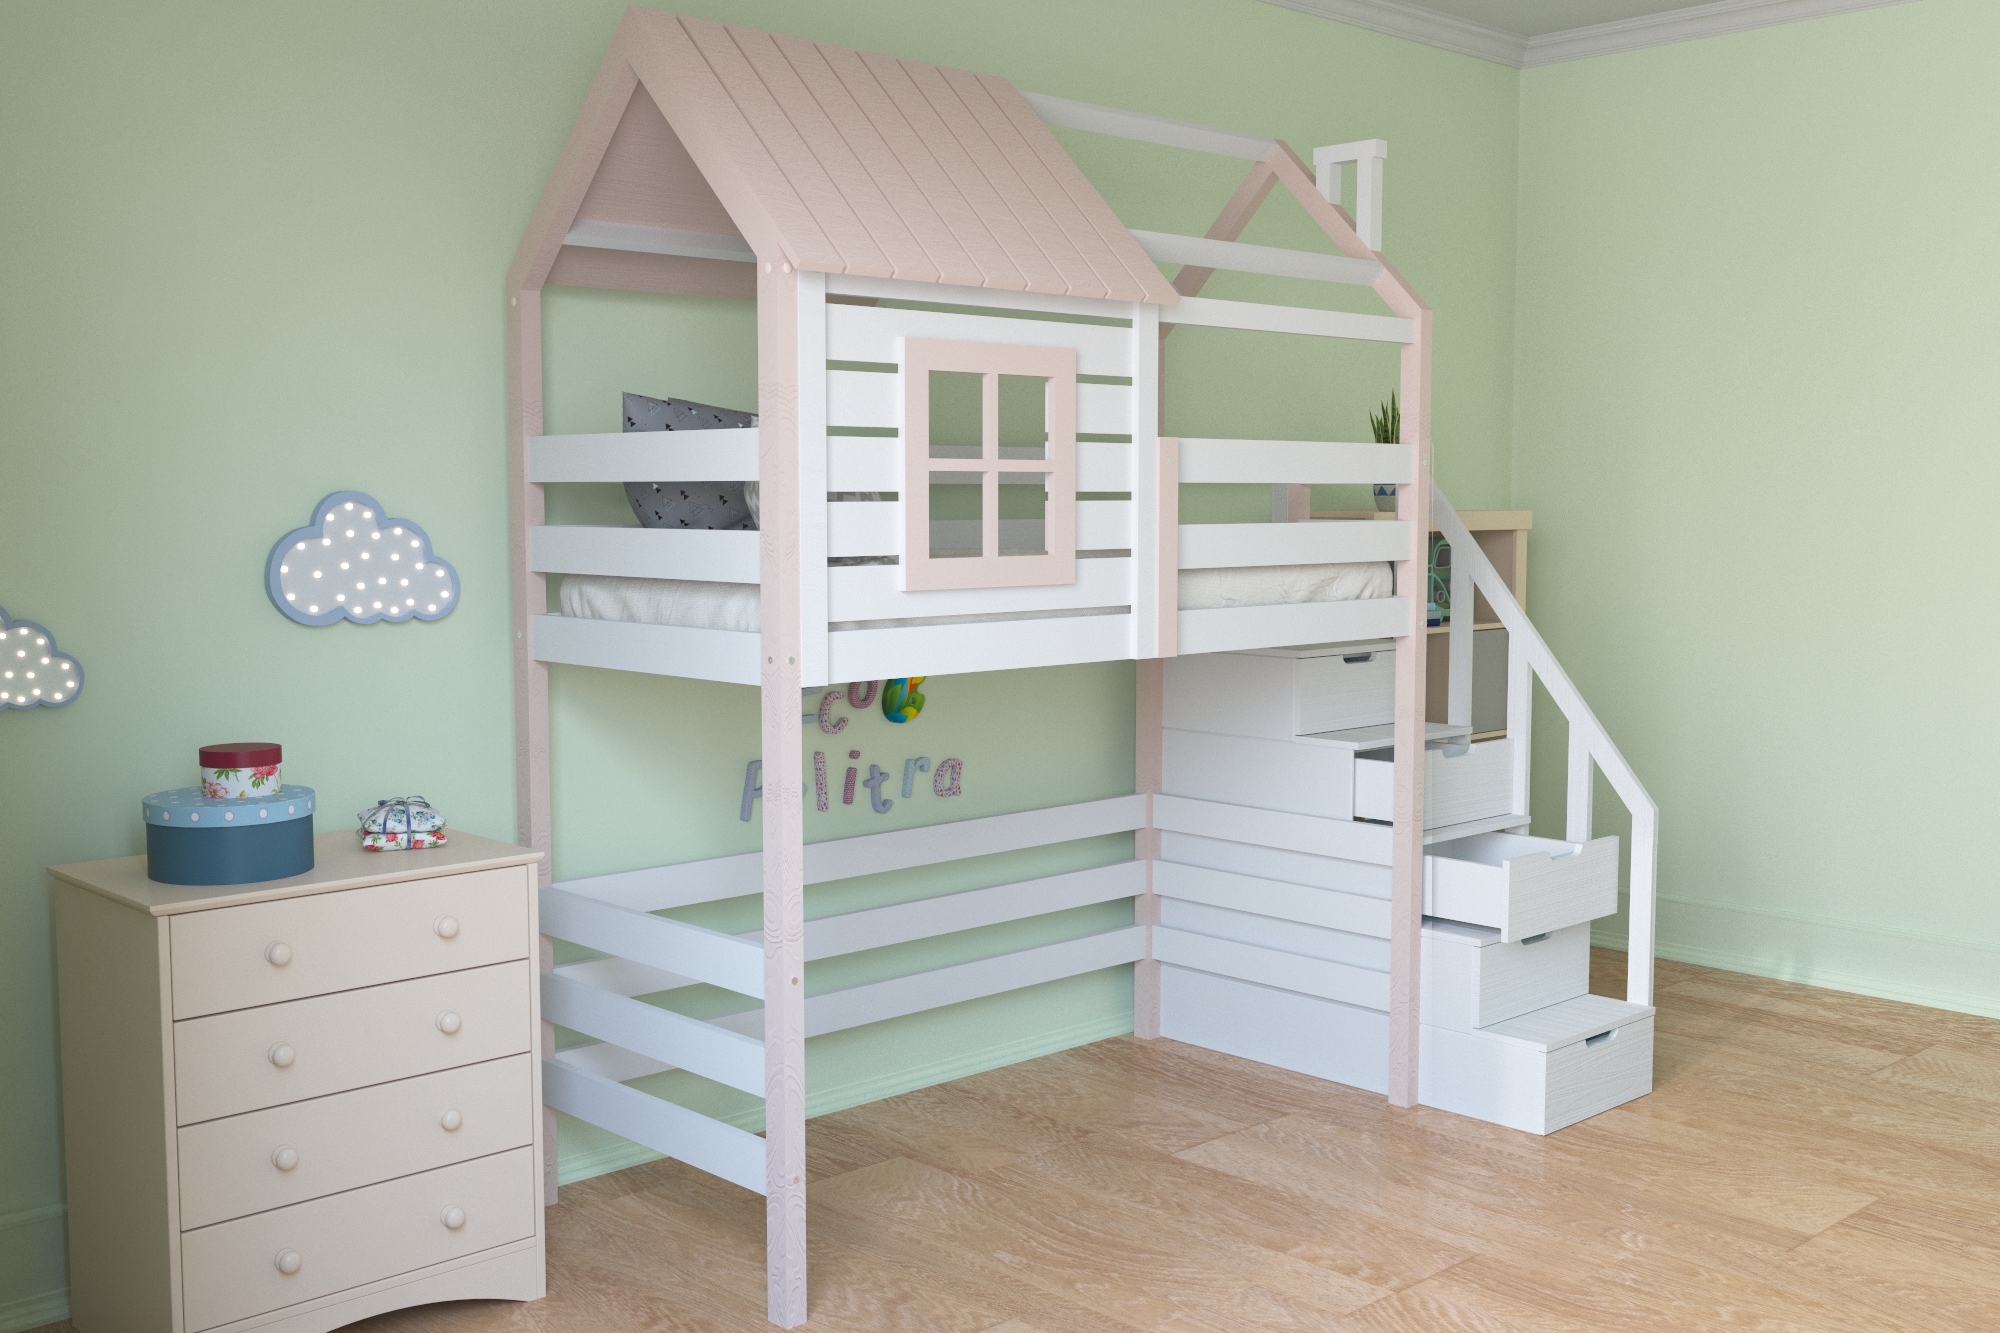
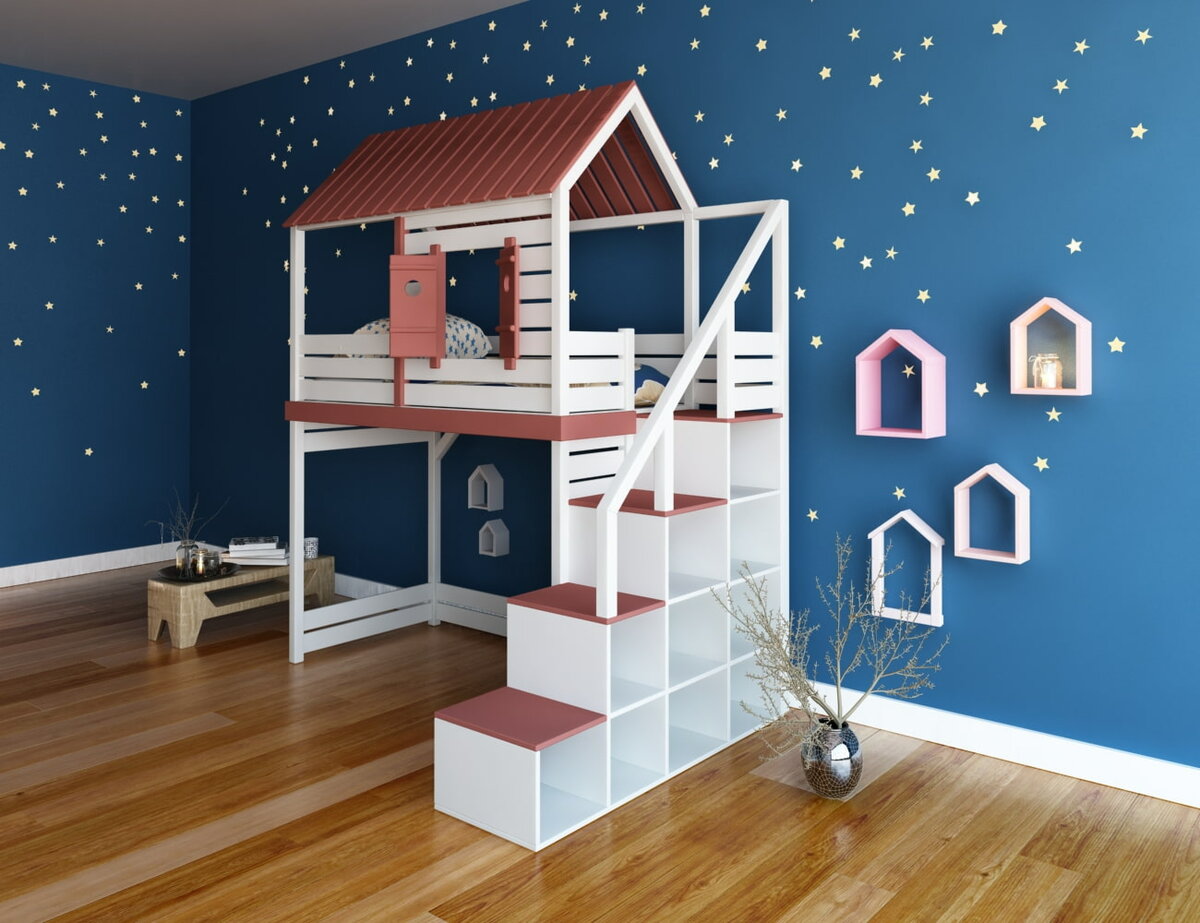
As a rule, the staircase is mounted on the side of the facade, but it can also be attached at the end. In addition, there are solutions showing how to assemble an attic bed using pedestals of different heights, whose surfaces form a cascade, along which it will be possible to get to the upper tier. There are also sideboard ladders. An example is in the figure.
Construction with a house on top
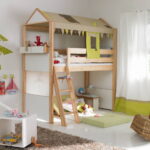
Sometimes children's beds are made in the form of a house. In this case, a superstructure that simulates a roof is added to the typical frame. You can hang it with a cloth or make a full cover. Such designs are not suitable for rooms with low ceilings.
Loft bus
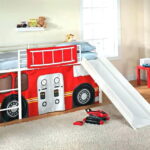
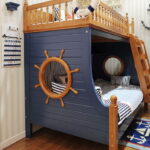
Again, this is a crib solution. Basically, such options are suitable for boys, although girls up to a certain age are happy to play and sleep in them.

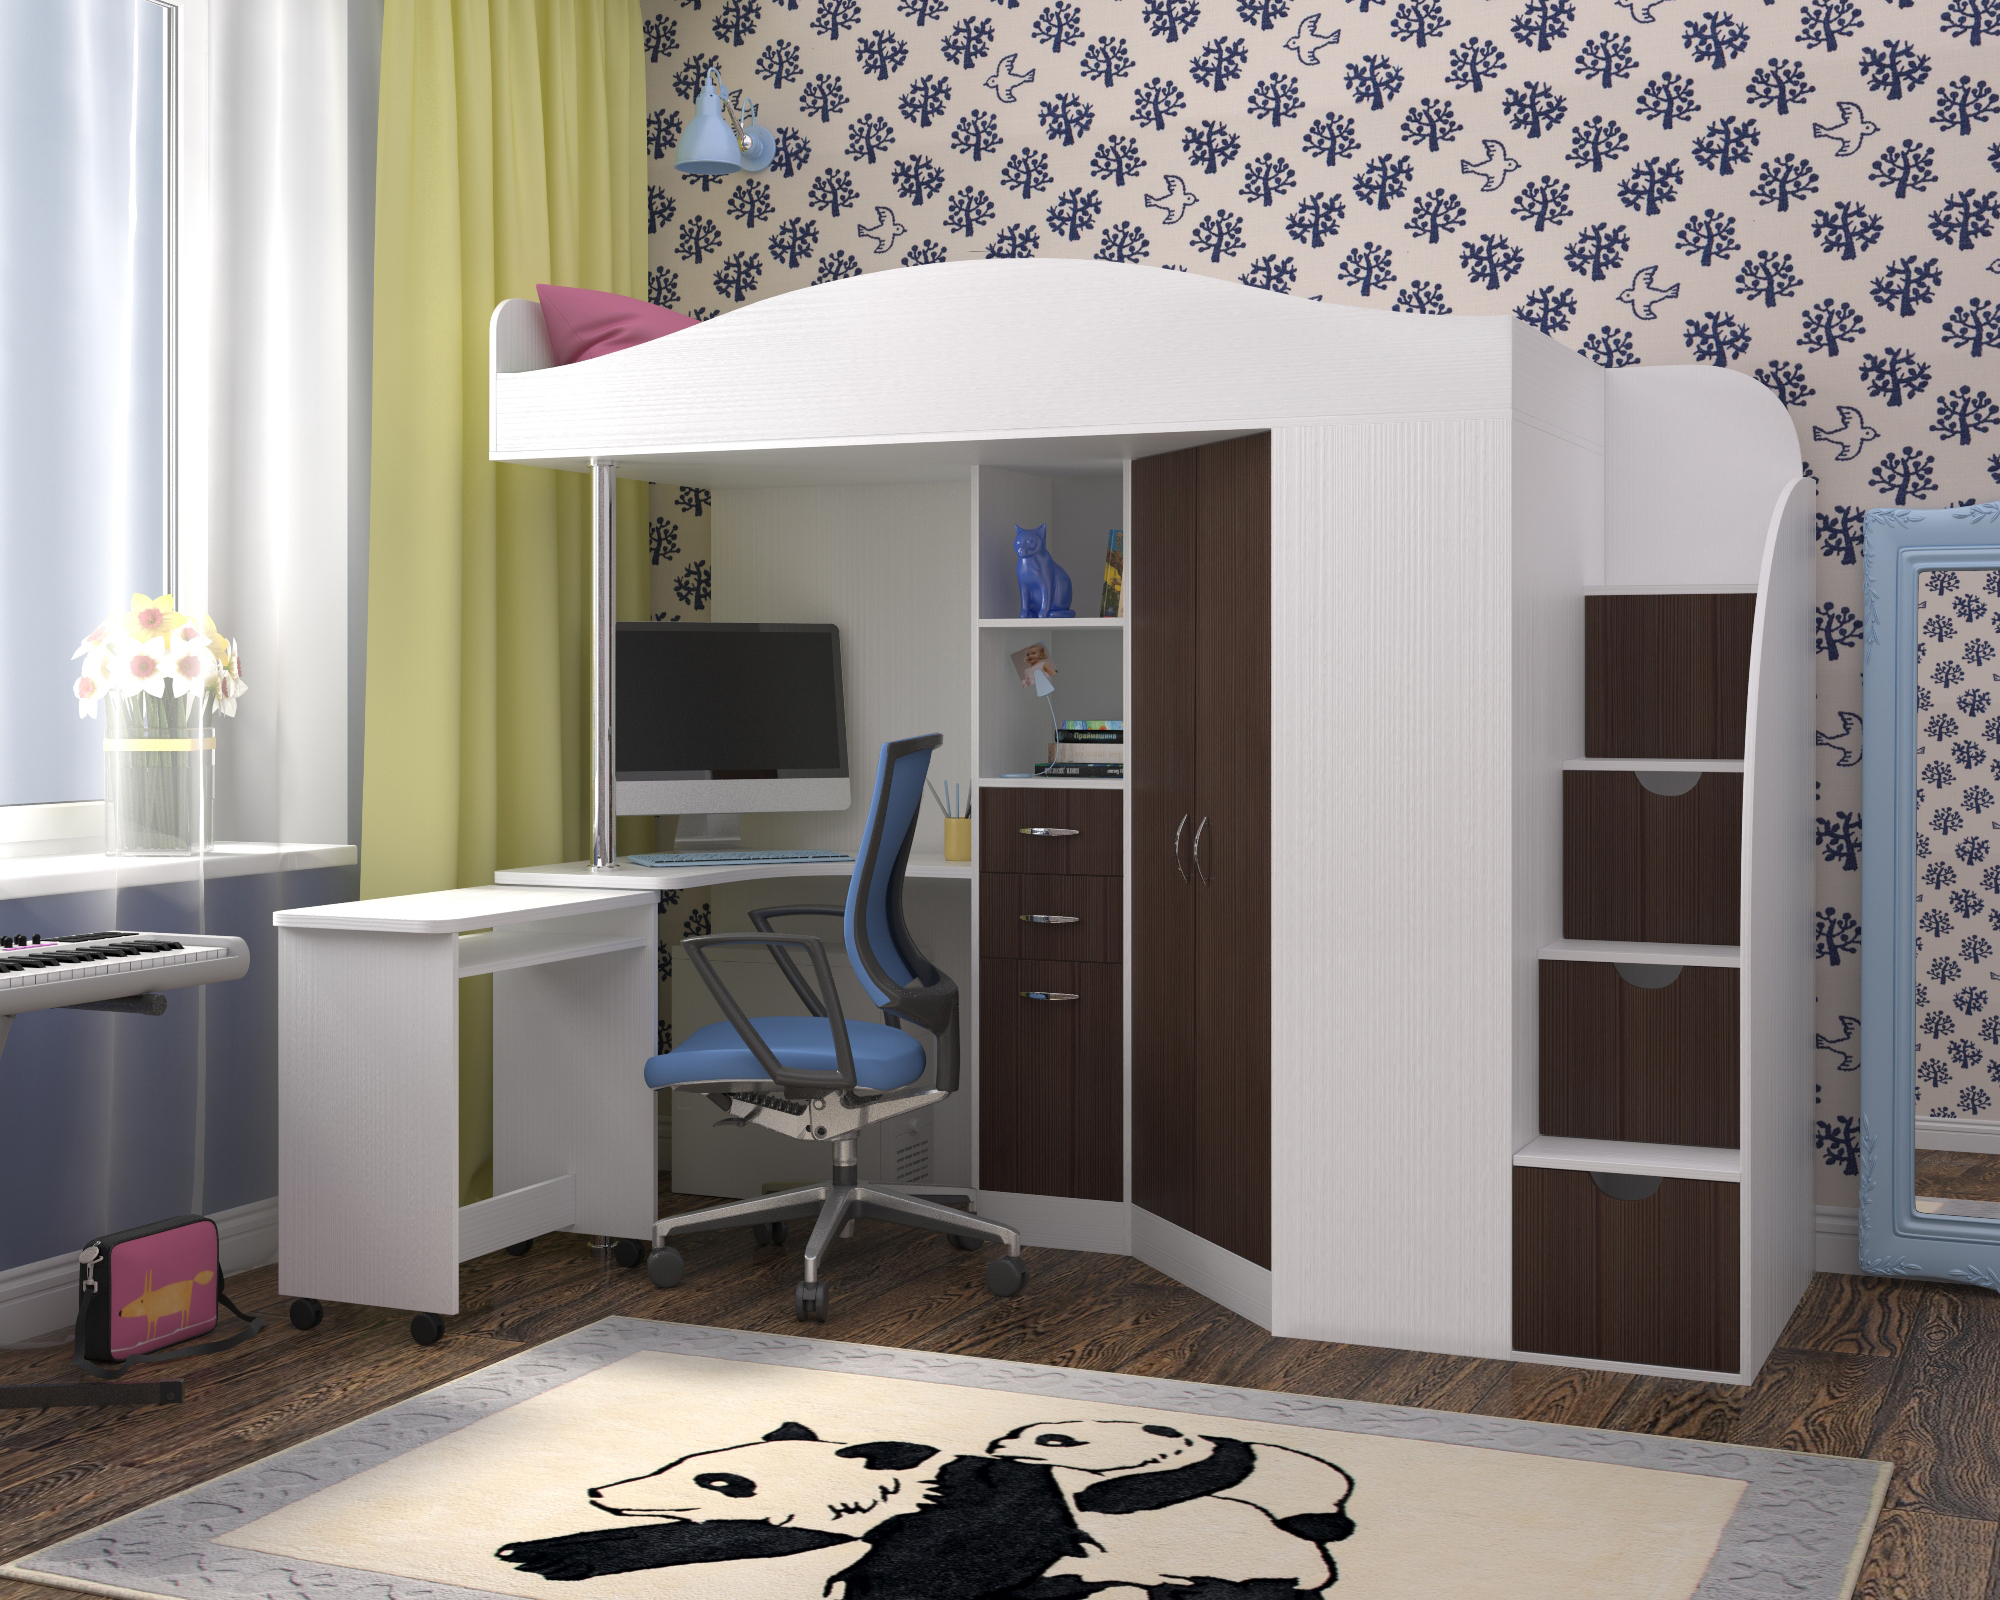
Model with wardrobe and table
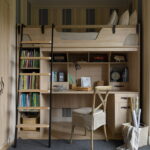
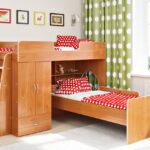
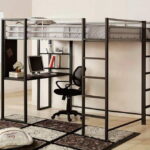
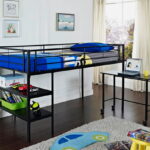
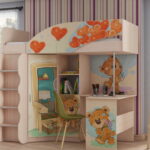
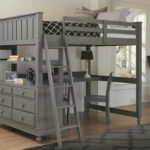
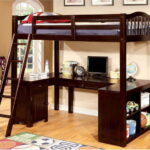
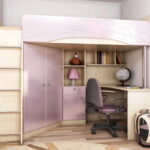
The most common scheme.Suitable for both the nursery and the study. In addition to the table, there are various drawers, cupboards, dressers and shelves. Often the table is purchased separately.
How to assemble an attic bed
To describe the general principle of assembling such structures, it makes sense to dwell on the classic version with four supports and a ladder. It is necessary to understand that the given instructions determine only the order of actions, answering the question “what?”, But do not give an answer to the next one, “how?”.
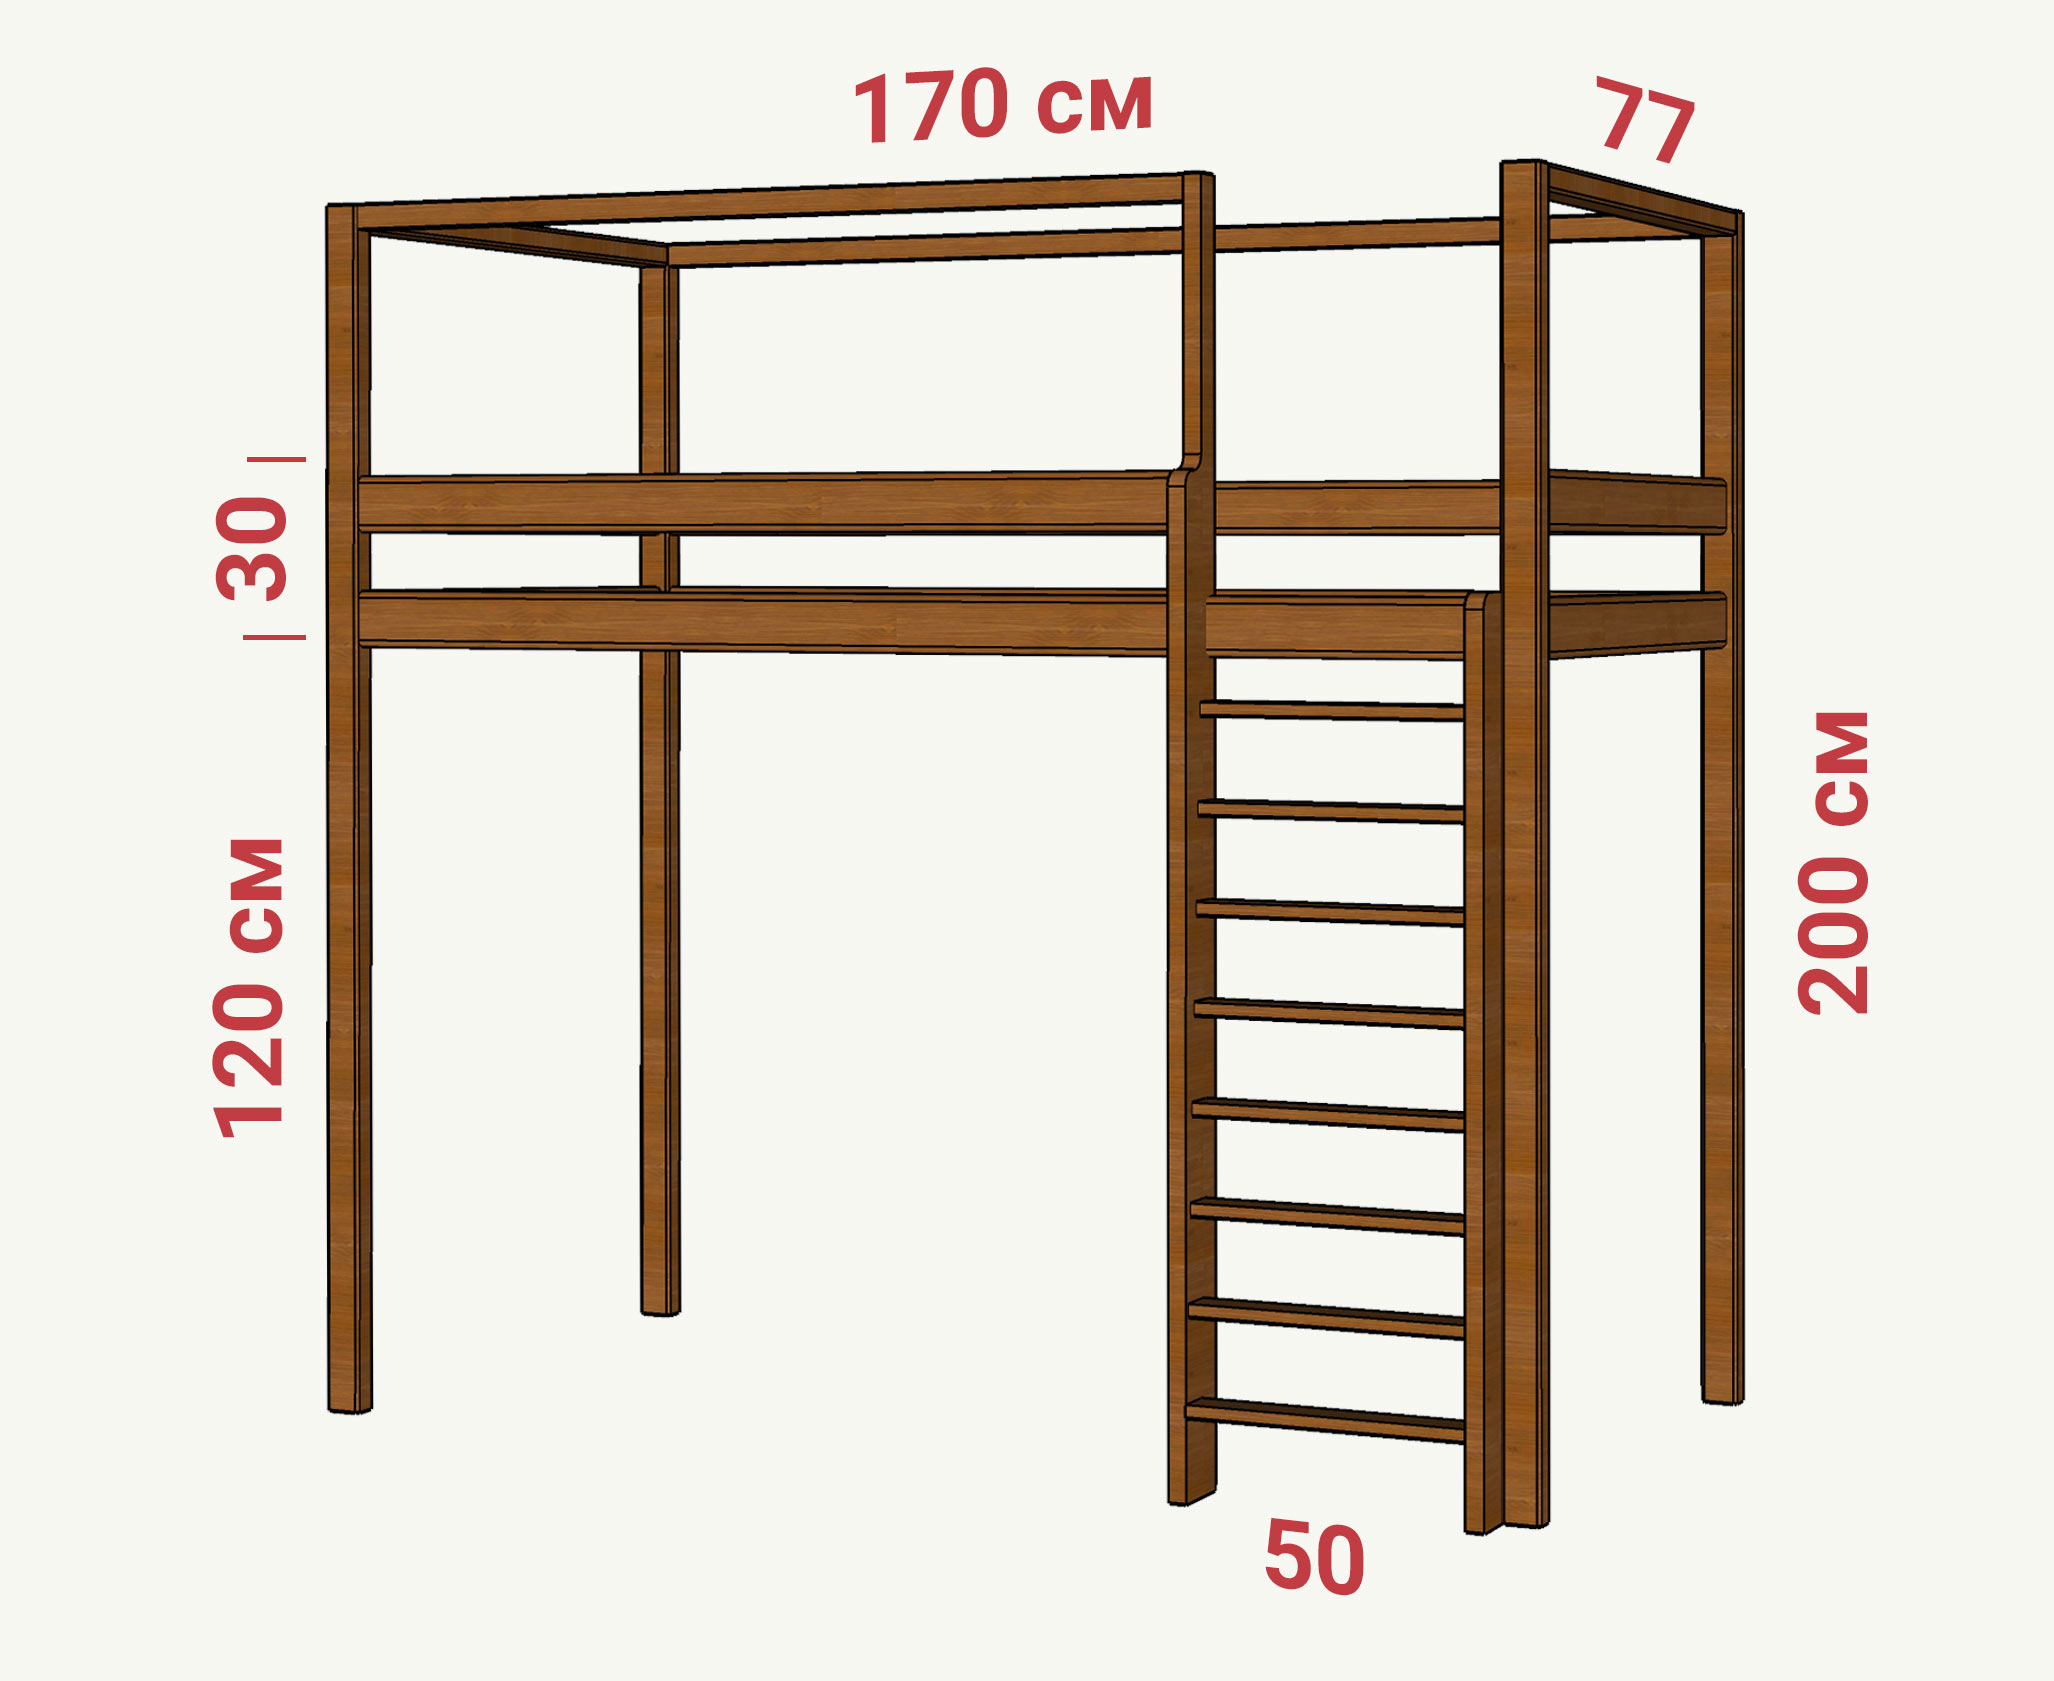
Assembling the structure of a classic loft bed can consist of the following operations:
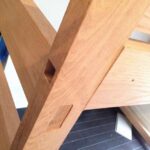
- Frame preparation. Confirmates, dowels and construction glue are used for connections.
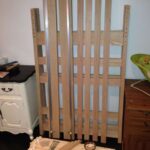
- Fixing the base. The crossbars are located at a certain distance and are attached to the logs or shelf on the uneven bars with screws. Do not make too large a gap between them - for a spring mattress, this distance should not exceed the diameter of the springs. If the base is solid, the prepared sheet is simply stacked on top.
- Installation on supports. Before assembling an attic bed, you should consider how to mount the frame on vertical posts. It is best to use metal corners. However, neat wooden bevels will also be very reliable. At this stage, it is required to strictly verify the perpendicularity of the corners, otherwise the structure will be unevenly loaded and quickly become unusable.
- Handrail preparation and installation. For handrails, it is preferable to choose a rail with rounded edges. It is located at a certain interval, both horizontally and vertically, especially if the railing is higher than 45 cm.
- Installation of lower horizontal struts. Here you can do with dowels alone. When installing, it is necessary to apply glue to the ends of the jumpers and into the holes for the pins.
- Assembling the stairs. Depending on the option chosen, the ladder can be either attached, removable or non-removable. The distance between the steps must be taken into account. For a baby bed, it should be made smaller than the standard one. In this case, it is desirable to provide for a way to reinstall the steps in the future.
- Final tweaking. This is where the surface is sanded, sharp corners are corrected, and edges are rounded.
- Painting. Most often, colorless furniture varnish is used, less often wood staining is used.
Thus, trying to apply the described options, you can optimize the space well, and not only in a small apartment. An attic bed with your own hands, drawings and dimensions of the scheme and projects, the sketches of which can be successfully selected for the design of the room, can become the very highlight of the interior, thanks to which it will turn out to be truly unique.
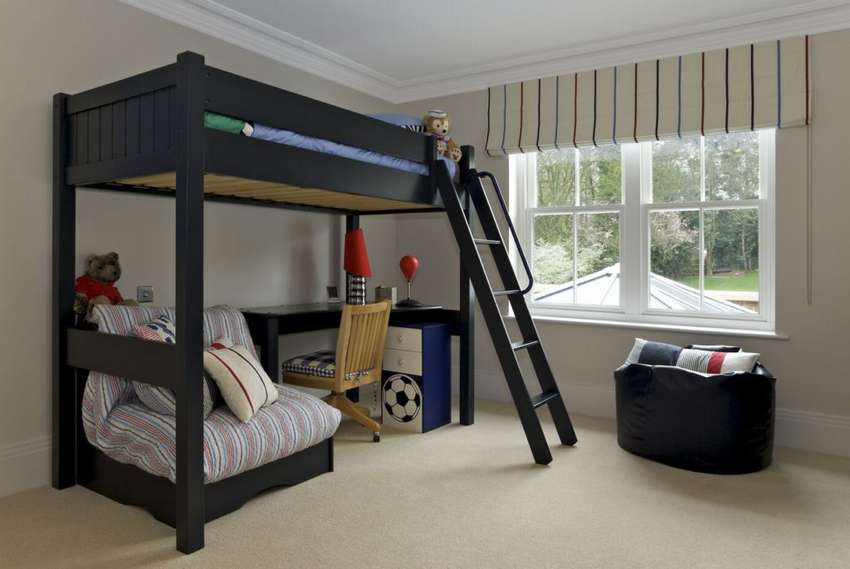
Video: do-it-yourself loft children's bed
