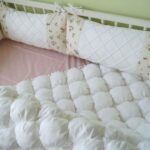
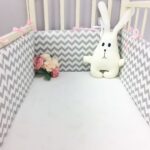
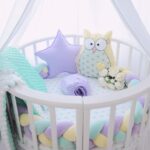
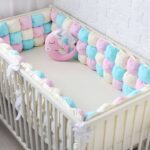
DIY step-by-step instructions for making bumpers for a baby bed
Modern mothers are trying to equip the baby's crib with special bumpers. This is done not only for decorative purposes, but also for additional protection of the child from falls, bruises and abrasions. In addition, the dense fabric and filling create a special atmosphere inside the bed, prevent the formation of drafts, and save you from colds.
For a baby of this kind, protection is quite an important part of safe sleep, calm development, and prevention of colds.
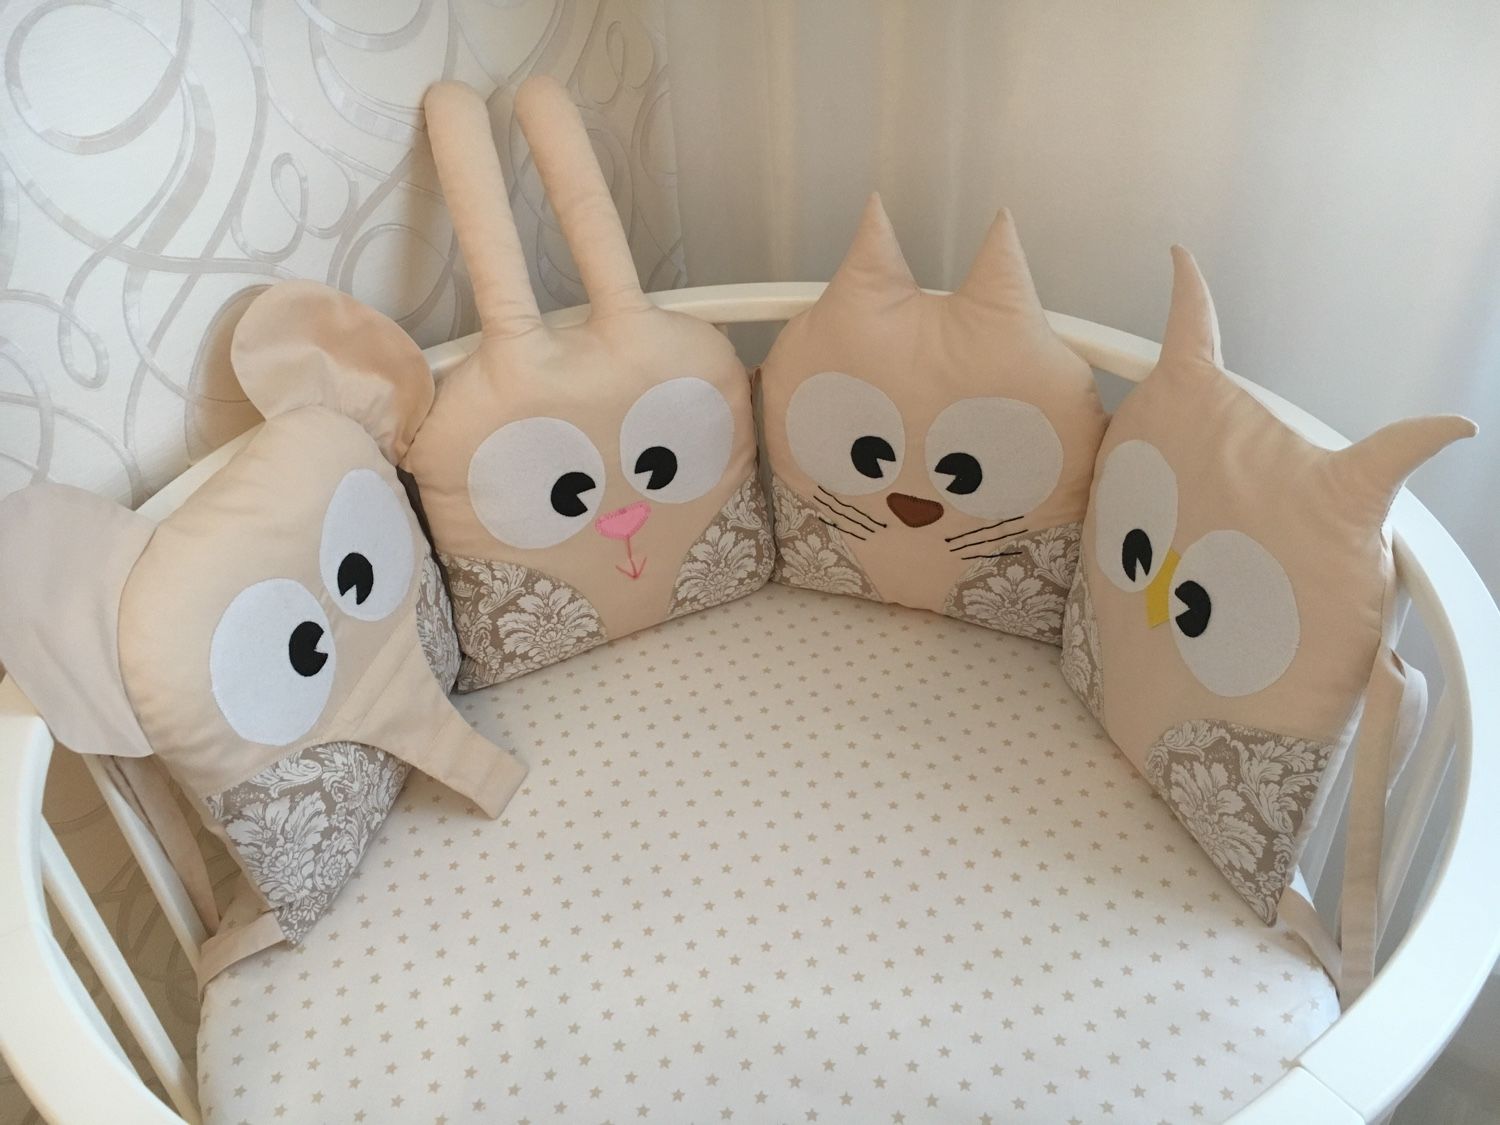
It is not necessary to spend a lot of money on the purchase of such protection, because you can make the sides for the bed with your own hands. Expert advice and ready-made patterns will greatly facilitate the work. Every mother will understand that it is quite easy to do such things at home and for a short time.
- What are the bumpers on the baby bed for?
- Advantages and disadvantages
- Varieties of sides
- What tools and materials will be needed for DIY making
- How to choose the right material and filler
- Calculation of the amount of fabric and measurements
- Patterns of sides for a crib for a crib
- Step-by-step instructions for making do-it-yourself sides
- Installing the sides on the bed
- Video: crib bumpers
- Beautiful examples of bumpers for a crib in the photo
What are the bumpers on the baby bed for?
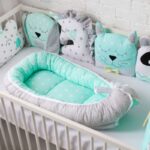
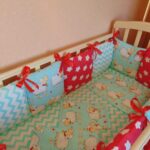
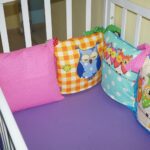
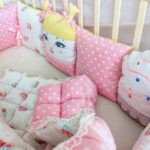
Such soft products perform several functions, the most important one being protective. Soft pillows that are attached to the walls of the crib protect the baby, create additional coziness and comfort. A wide range of design solutions allows you to choose the sides not only based on the gender of the child, but also according to the personal preferences of the patterns. Bright drawings will attract the child's attention, amuse and entertain him.
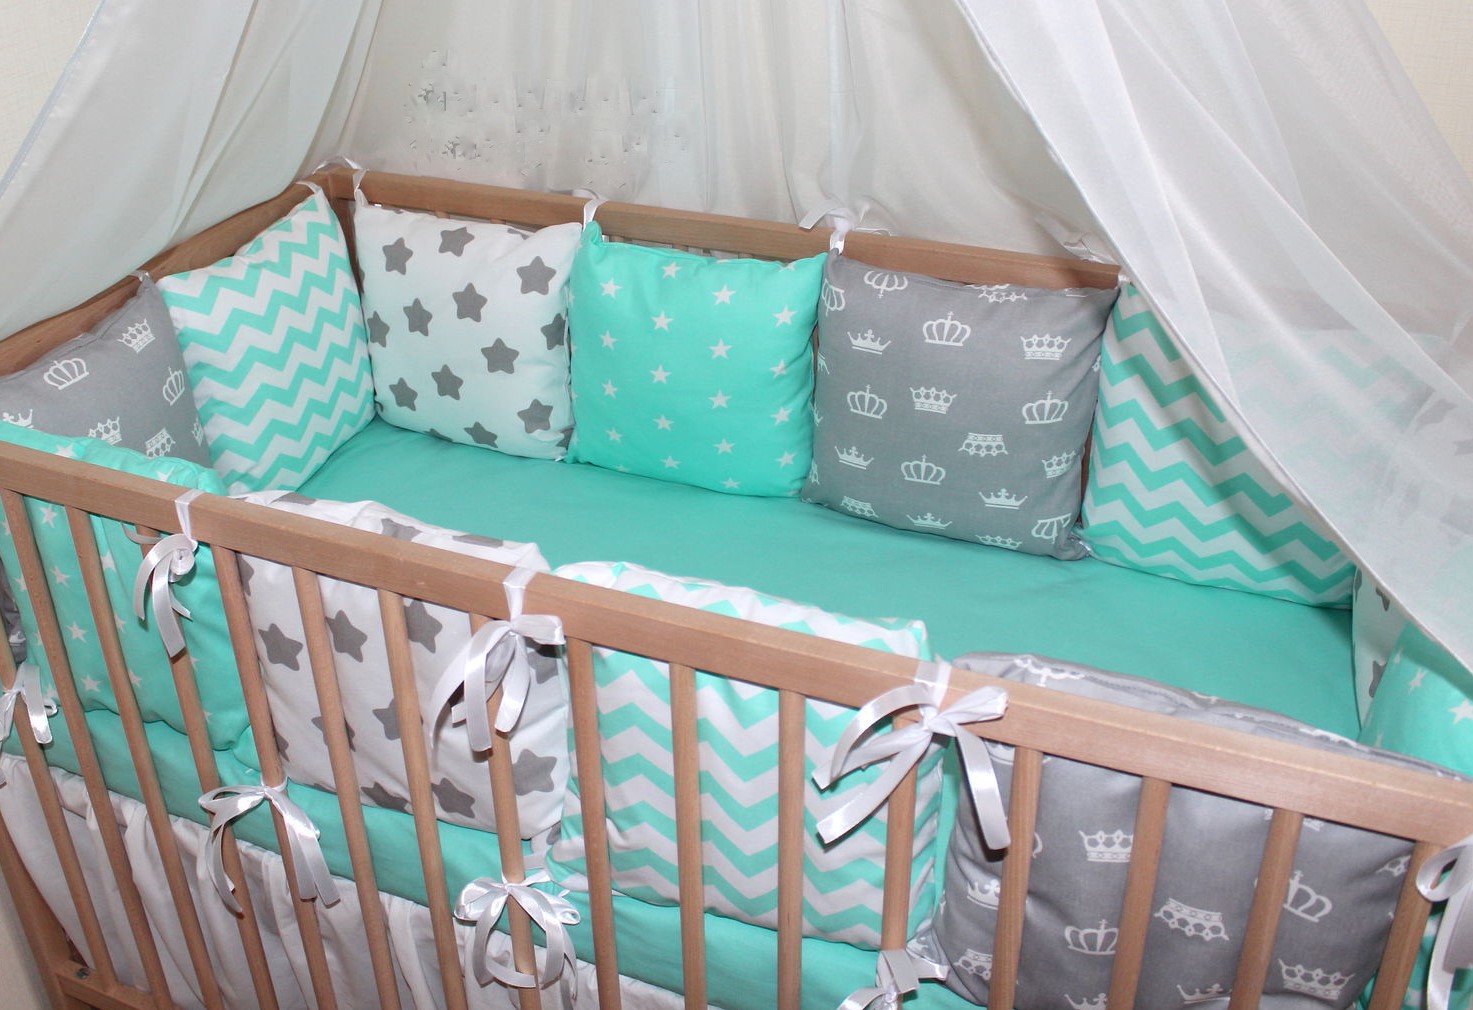
Correctly selected pictures will positively affect the development of the baby.
There are also secondary functions - this is the creation of a cozy atmosphere, a certain decor. Modern mothers are trying to make the nursery not only sterile and safe, but also to create a certain fabulous picture that will delight the eye.
Advantages and disadvantages
Such products are in great demand and are extremely popular. A similar trend in demand for the product was formed due to the fact that crib bumpers have a number of significant advantages that you simply cannot pass by. Among the main advantages are:
- Safety - soft sides can reduce the risk of injury, impact on the wooden surface of the bed. Toddlers start to be active early, and can move even in a prone position, such actions are often accompanied by injuries, and they are not scary with bumpers. You can also protect the child's limbs from dislocation, because you can often watch them pull their arms and legs into the cracks.
- Draft protection - fabric cushions do not interfere with normal air circulation, but at the same time prevent air drafts. Therefore, you can do regular airing with peace of mind.
- Prevents the toys from falling out, which can cause grief in the baby, sudden movements, attempts to get out.
- Providing the children's room with additional comfort, creating a special atmosphere conducive to harmonious development.
- Additional protection from aggressive sunlight that can interfere with restful daytime sleep.
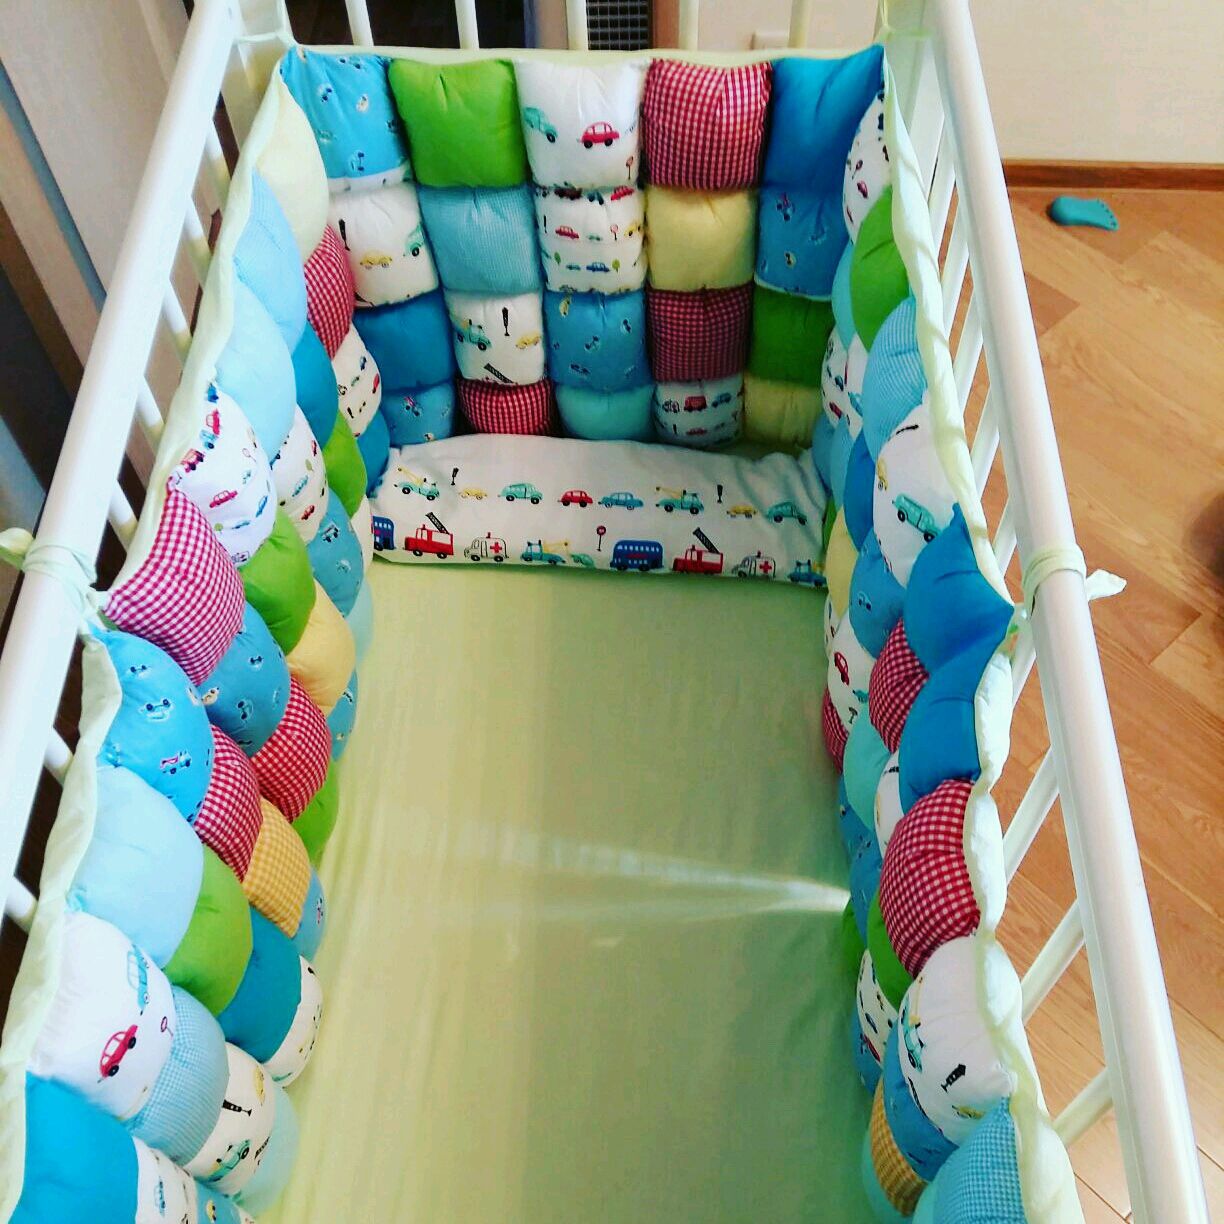
In addition to the advantages, it is worth mentioning the disadvantages, which also exist. Among the disadvantages are the following:
- Dust settles on the sides, which can provoke allergies, so regular cleaning is required.
- Serve as an obstacle so that the child can observe everything that is happening around.
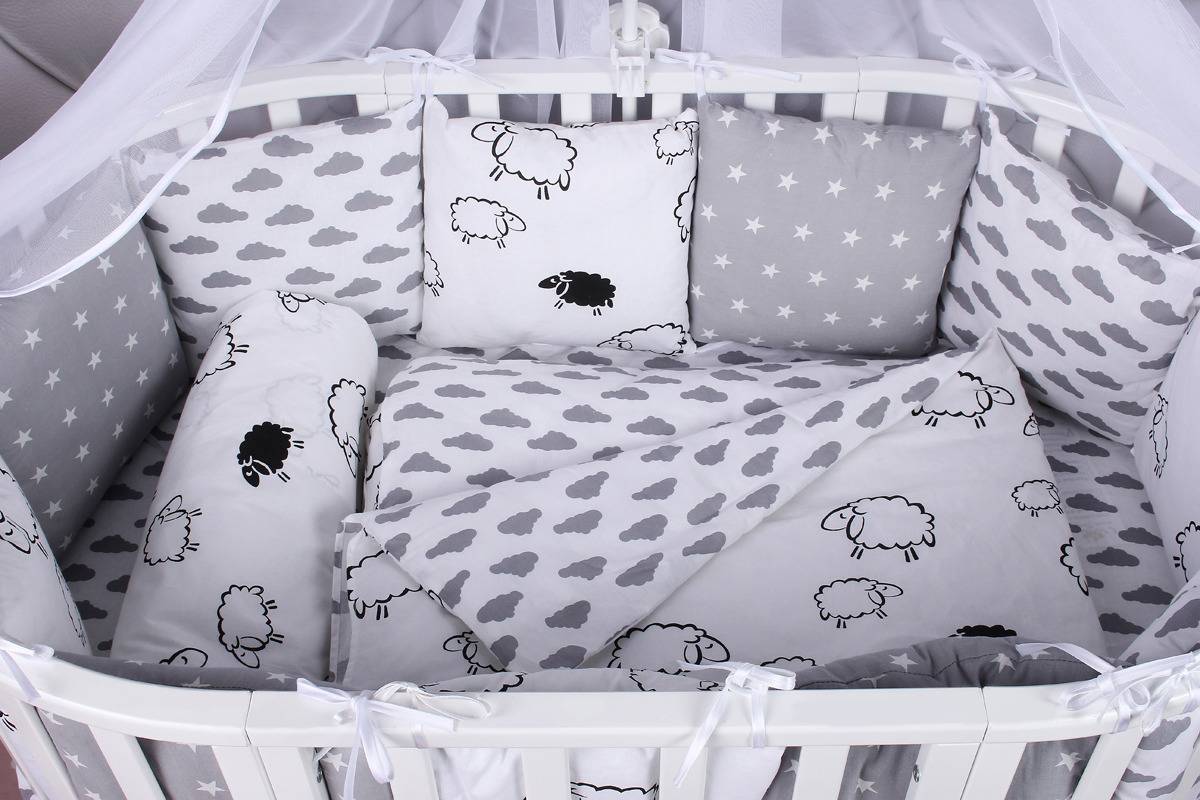
However, it should be noted that such disadvantages are minor compared to such significant advantages.
Varieties of sides
Before answering the question of how to make a sideboard for a bed with your own hands, you should understand the variety of such products, model options and distinctive features of each type.
There are the following varieties:
-
Replaceable covers at the sides. This model has a separate pillow. As a rule, natural fillers are used for them. The covers resemble pillowcases, only the closing mechanism is made with a zipper. The advantage of this option is the fact that several covers can be sewn, and the pillows will not be "naked" when washed.
However, one should not forget that the baby is able to contaminate not only the pillowcase, but also the pillow itself, therefore, in case of severe contamination, full cleaning cannot be avoided.
- Separate details in the form of pillows. Differs in the possibility of using the amount of filler that is needed in a particular situation. You can make the pillows as fluffy as possible for maximum protection and increased comfort.
- Overpriced models. These models are able to cover not only the wooden rods of the product, but also the bed itself as a whole. They perform two main functions to the maximum: protect the baby from drafts, and reduce the possibility of injury. But such products block the child's ability to inspect everything that surrounds him outside the crib. Only the view from the top, that is, to the ceiling, will be available.
- Low sides that partially overlap the wooden rods. There are options that obscure half, or ⅔ of the height of the fence. The advantage of such models is that, on the one hand, the child is protected, and on the other hand, there is an opportunity to observe everything that happens.
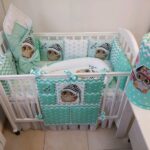
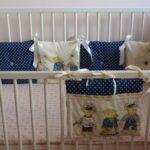
- Bumpers with sewn-on pockets. An interesting enough option, it allows you to mark toys in pockets, come up with various games.
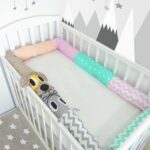
- Rollers. There are no distinctive features for manufacturing or fasteners. Everything is done in the same way as with conventional bumpers. It is not used very often, since because of their size, the rollers cannot protect the child's head from bruises. But if it is hot in the house, then this option is quite optimal, since it will provide fresh air circulation.
When making the sides for a baby bed with your own hands, you should take into account such indicators as:
- fastening method;
- product material.
There are a lot of fastening options, then methods such as ties, locks or Velcro can easily open if the child pulls on them if he wants to rise.
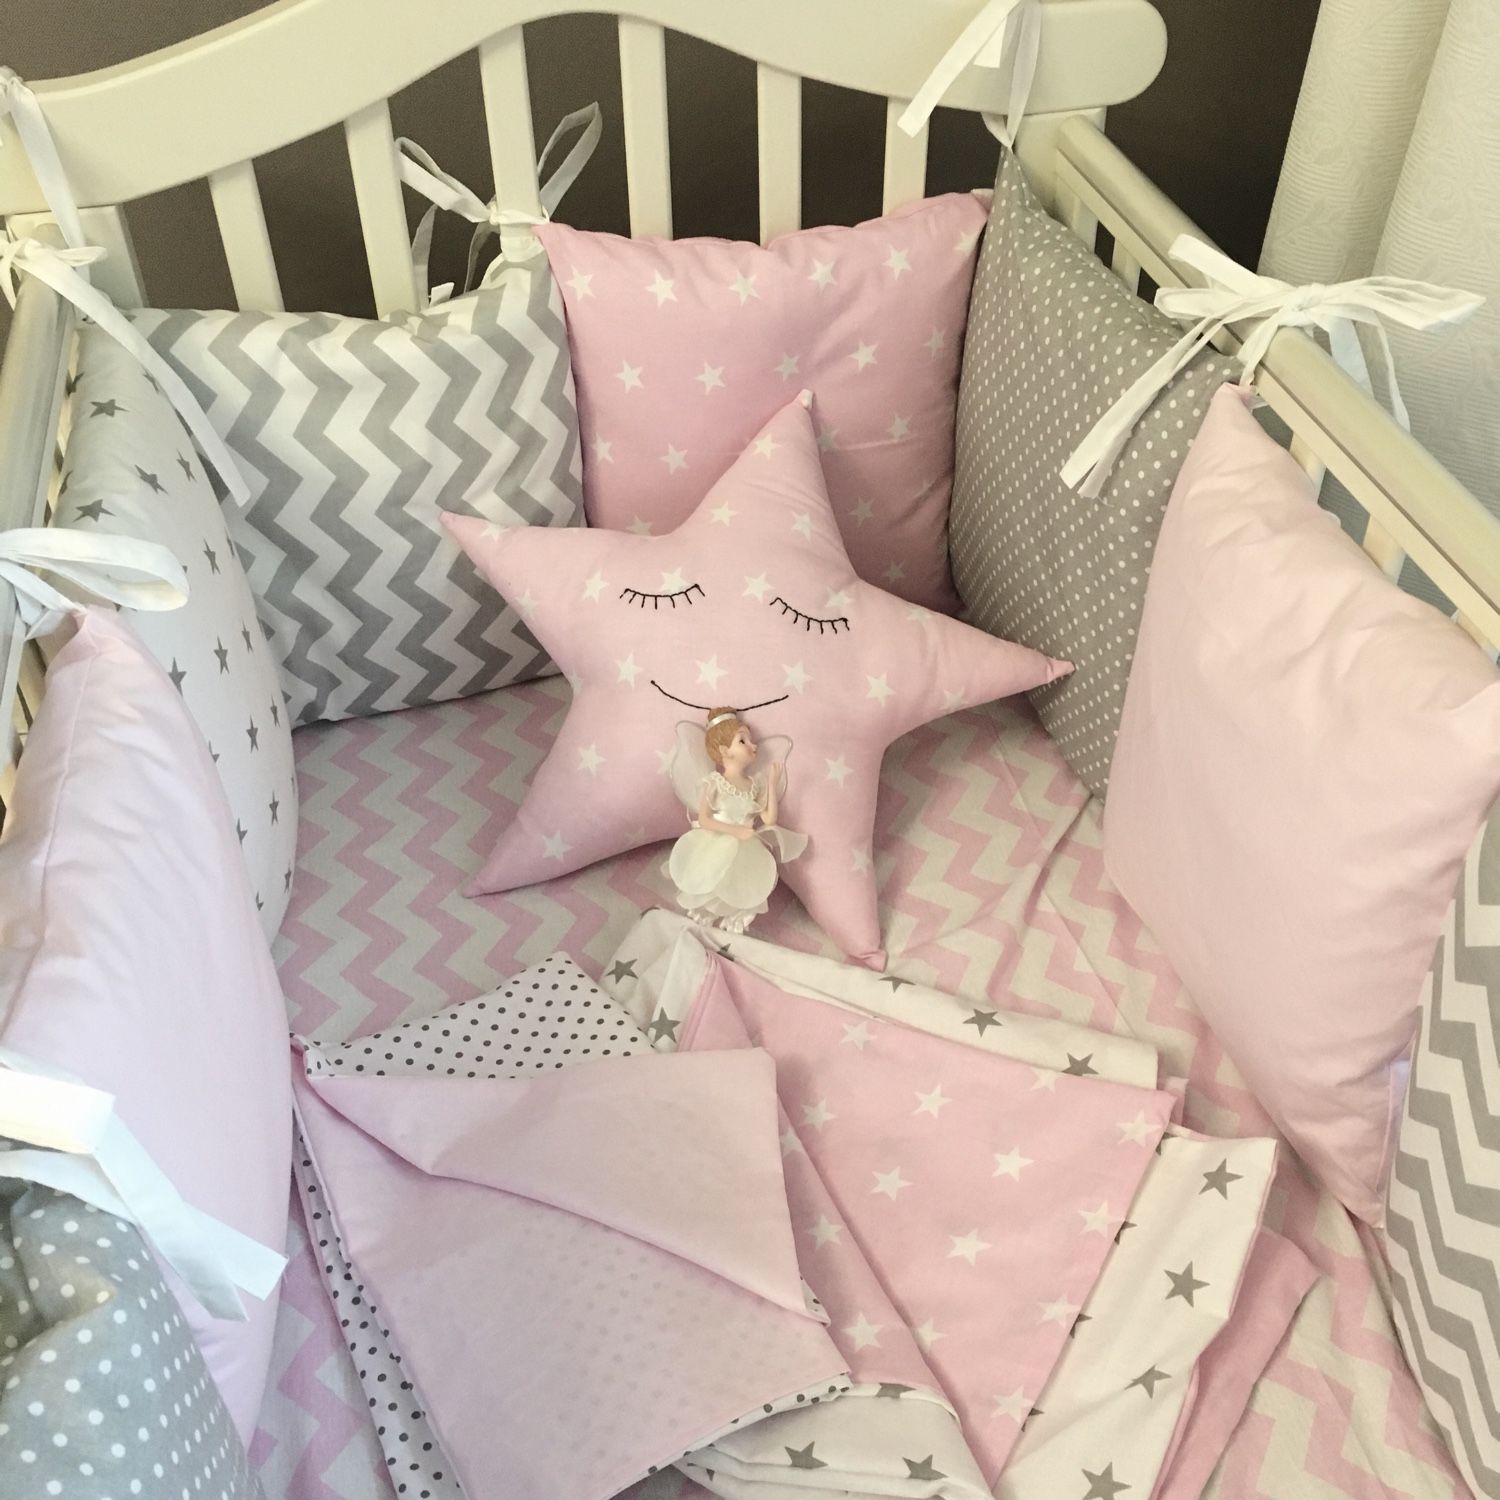
Choosing the right material for sewing a product is also an important point. Natural materials are most suitable, as others can be irritating and give poor air flow.
What tools and materials will be needed for DIY making
Inexperienced needlewomen can find themselves at a dead end when it comes to choosing the necessary materials. The same can be said for the list of required tools. Therefore, there is a basic set, which consists of:
- Determination of the model and sketch of the future product, thanks to which you can calculate the amount of required materials, fabric, filler.
- Pieces of fabric that, after stitching, will serve as Czechs.
- Filler (you should worry about a sufficient amount, as a rule, such parameters are indicated in the sketches).
- Connecting parts of each element into one overall composition.
- Needles and threads (the first must be of sufficient size, the second must match the color of the selected fabric).
- Chalk for marking on fabric, paper, metrics.
- Safety pins (they can be used to pre-fasten the parts before working with the needle, they allow you to fix the parts in the desired position).
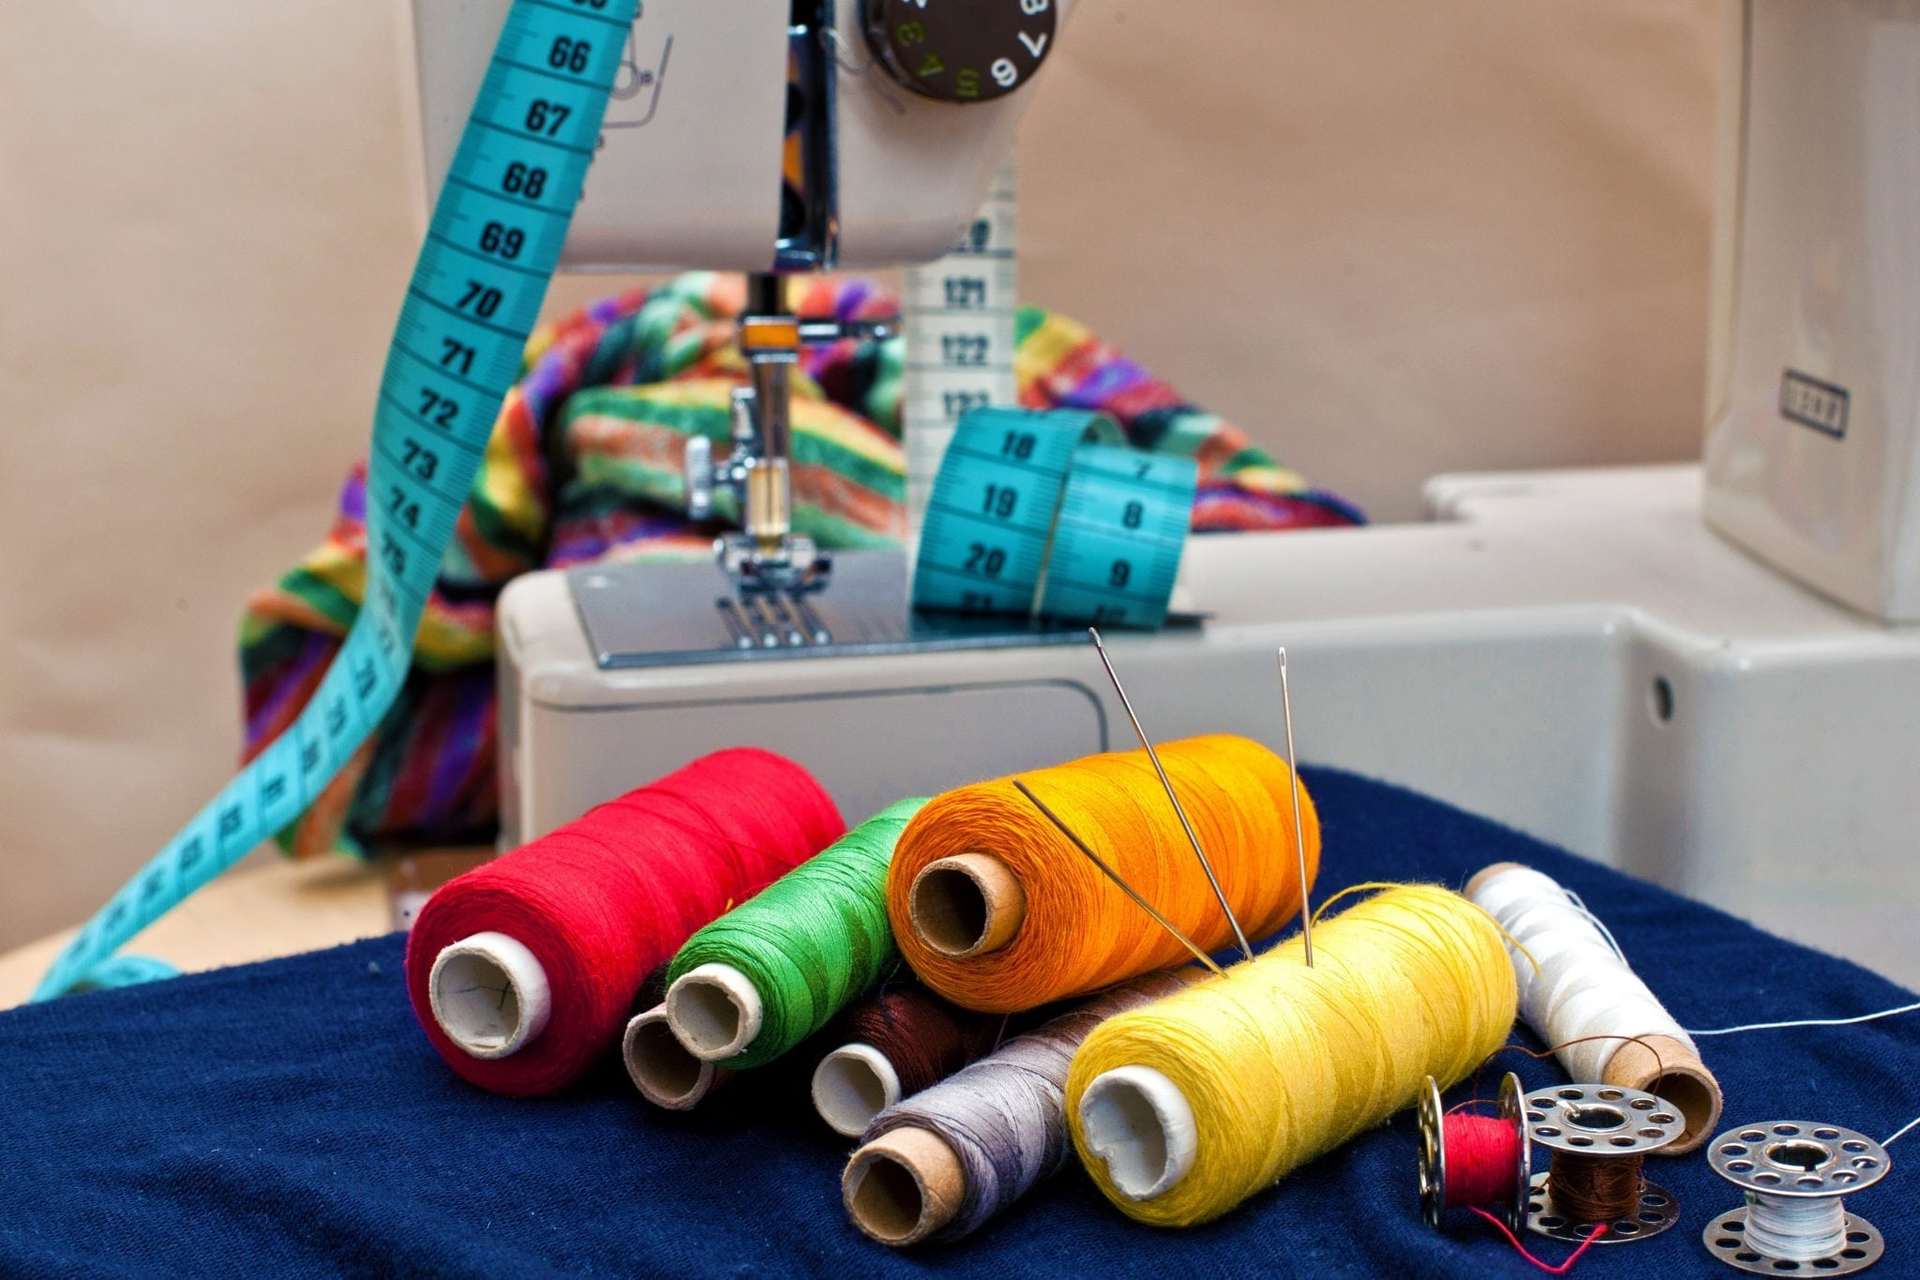
If the house has a sewing machine, then the work will be done much faster, the seams will be stronger. But if there is no such equipment, then it is quite possible to get by with an ordinary needle.
How to choose the right material and filler
To make a beautiful and practical product, special attention is paid to the material that will serve as a "bag" for the filler. When choosing a fabric, the following nuances should be considered:
- pleasant to the touch;
- natural fibers;
- pastel shades;
- hypoallergenic.
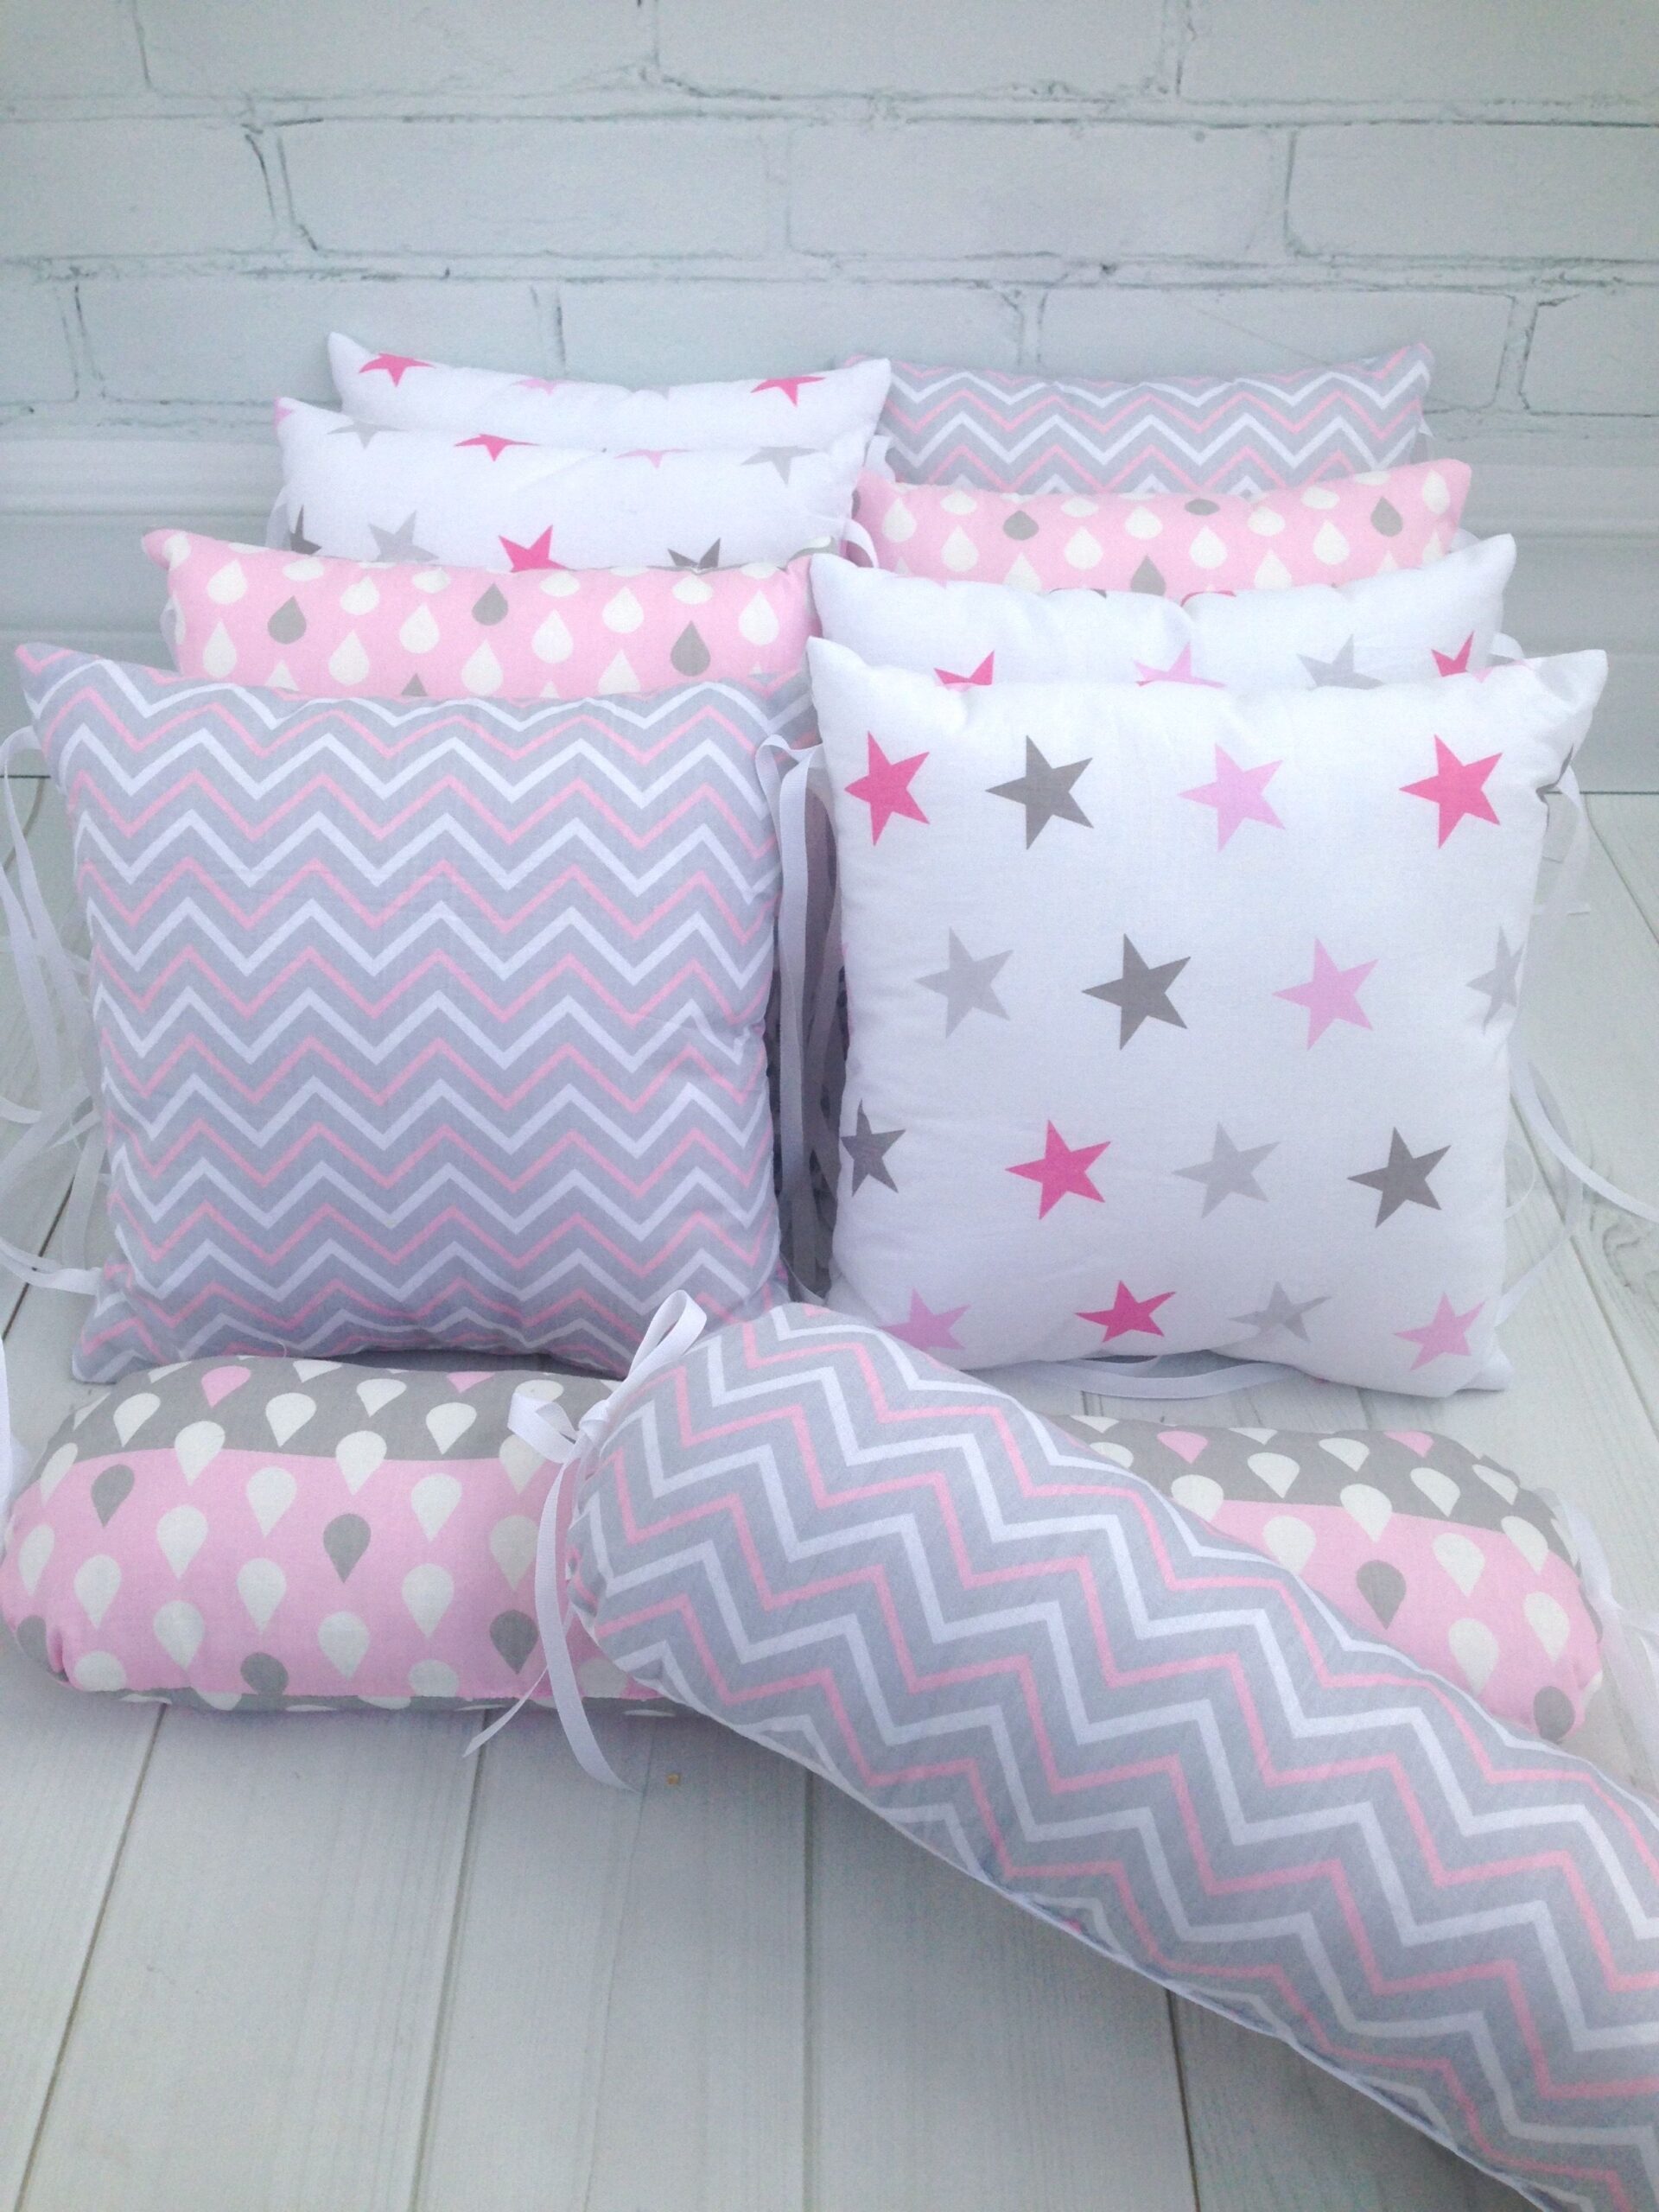
The most suitable options would be: chintz, bike or flannel. They are of high quality, easy maintenance, long service life.
The choice of filler should also be considered carefully, synthetic fillers can cause allergic reactions and much more. For children under six months, the following types of filler are suitable:
- foam rubber;
- synthetic winterizer;
- holofiber.
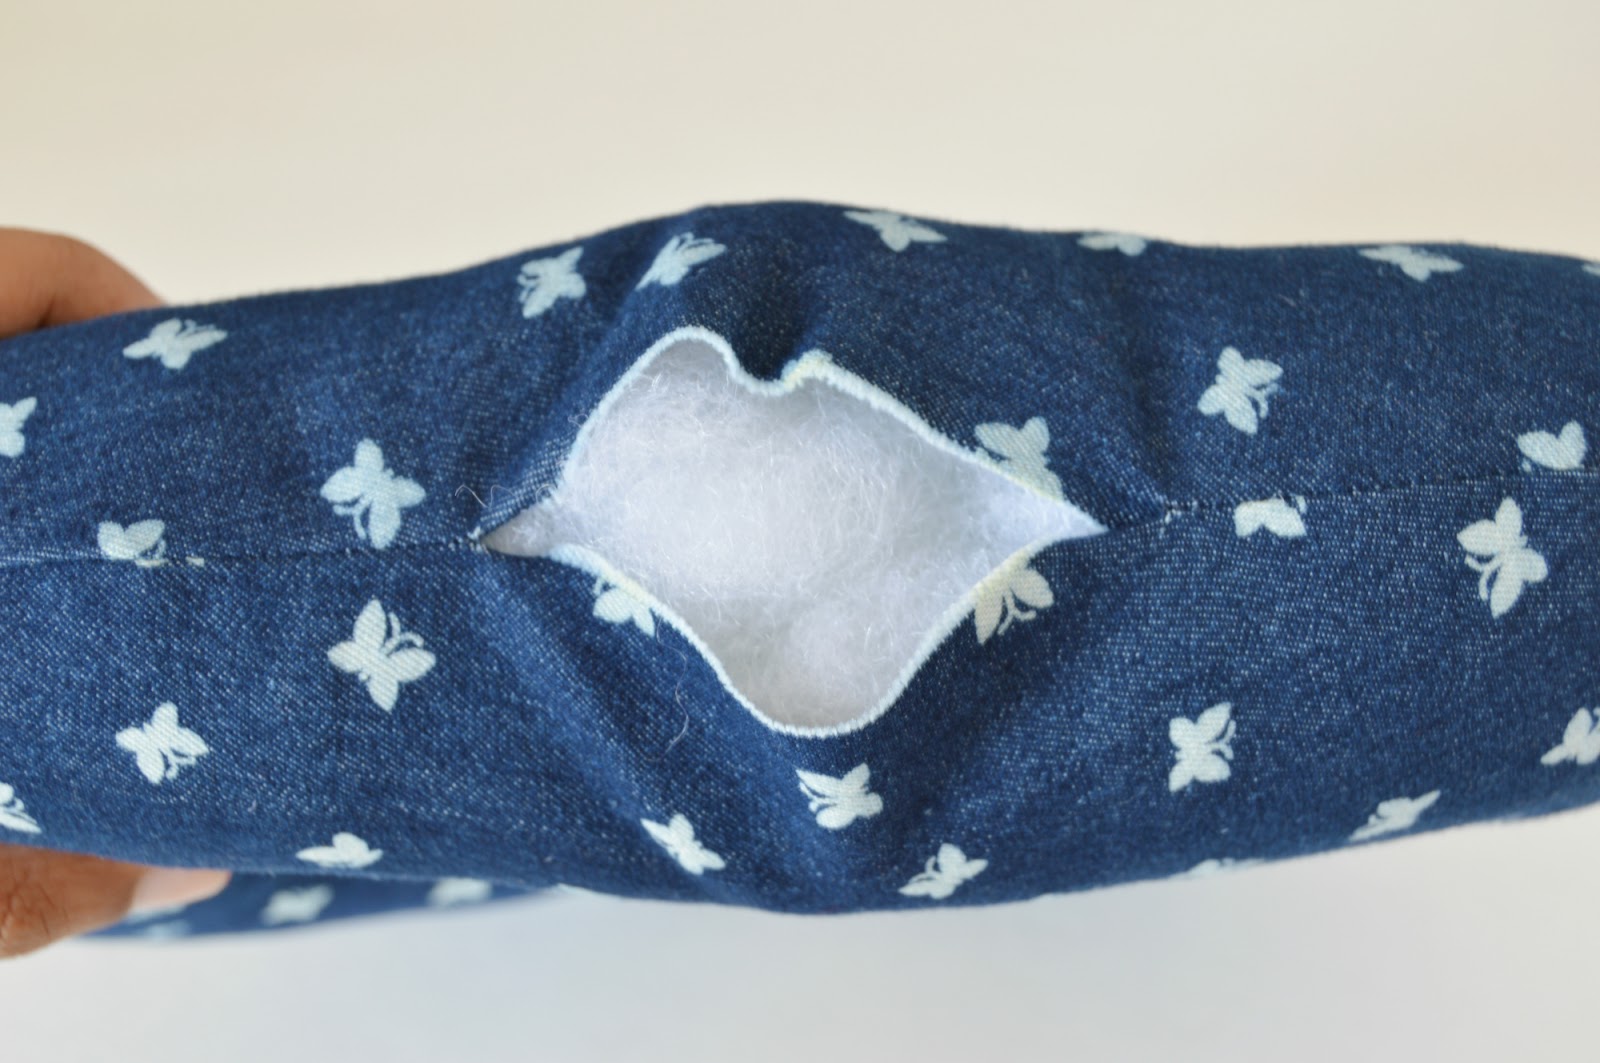
Sometimes a little small croup is used for filling, this will help develop fine motor skills in the child. What material is suitable depends on the model of the sides. Alternatively, you can mix several fillers.
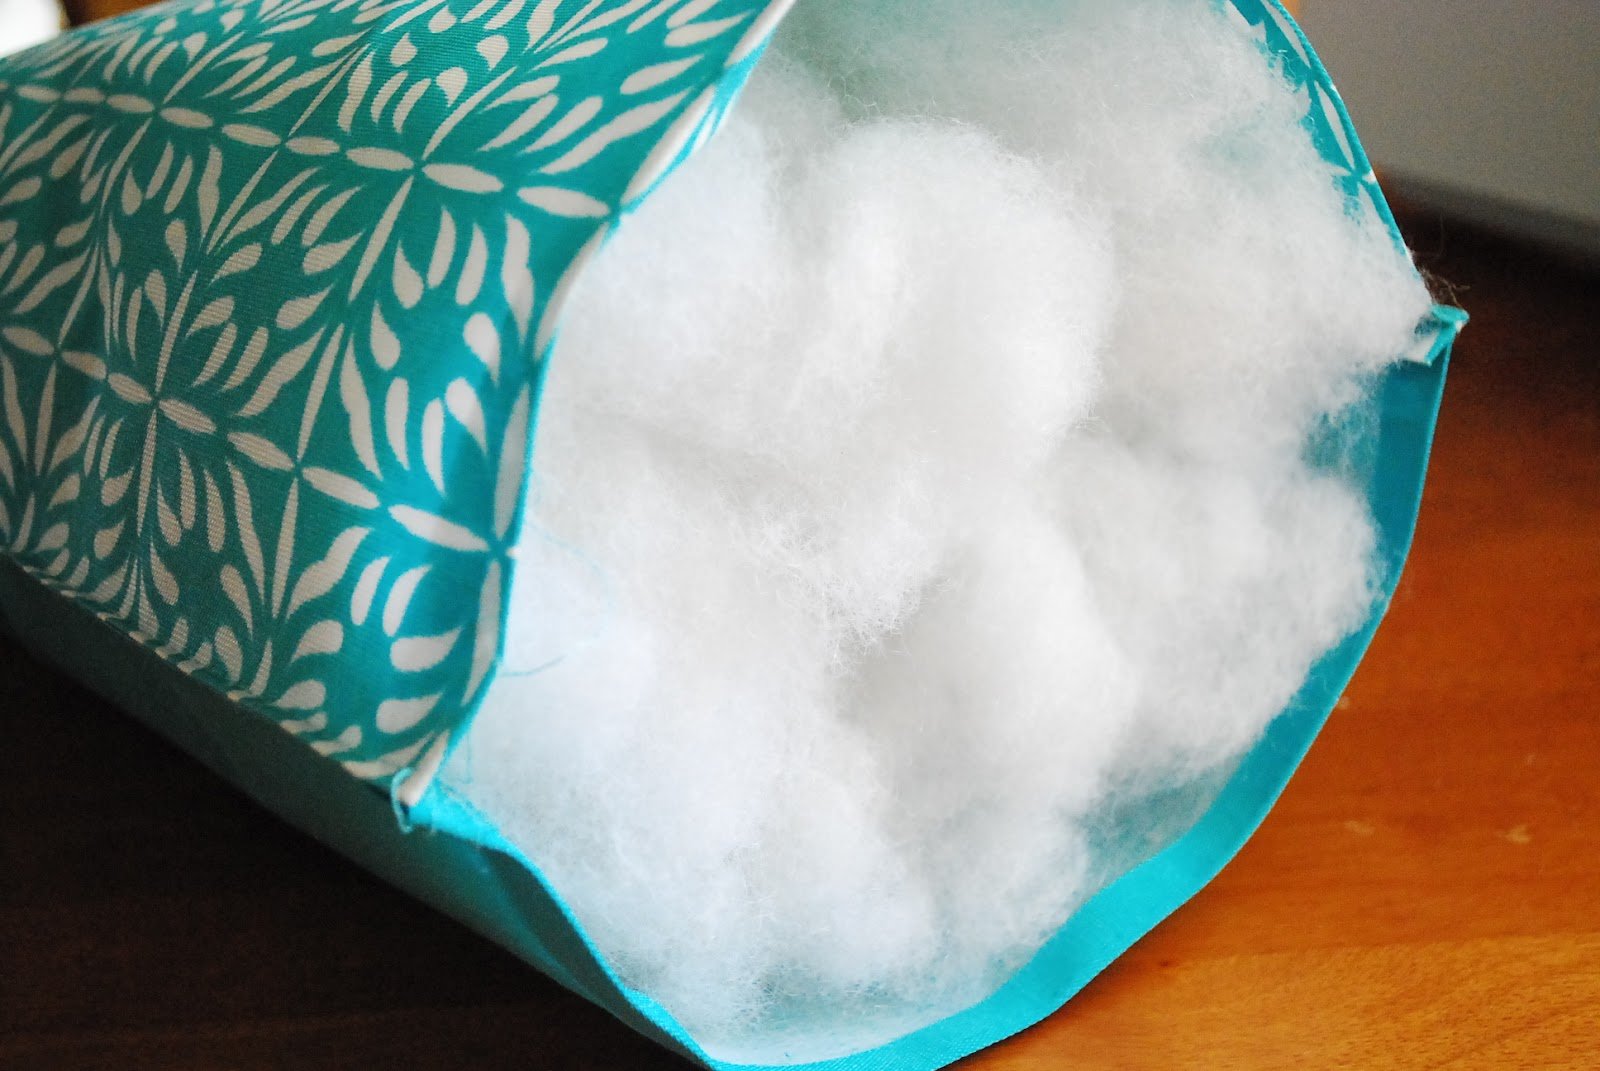
It is strictly forbidden to use down, it can cause allergies, it is poorly breathable.
Calculation of the amount of fabric and measurements
There are some guidelines for how to size one part based on design considerations. Such tips will help needlewomen to make the correct calculations regarding the amount of fabric required.
Calculations are carried out as follows:
- If the sides are made of small parts that resemble pillows, then you need to make two identical parts for the headboard and the opposite side. The side pieces may need several parts.
- Giving preference to the classic version, you will need the parameters of the width and length of the crib. Starting from the footage, four paired elements are sewn.
- If the products are curly, then for the correct counting of the elements, you need to focus on the number and parameters of one pillow.
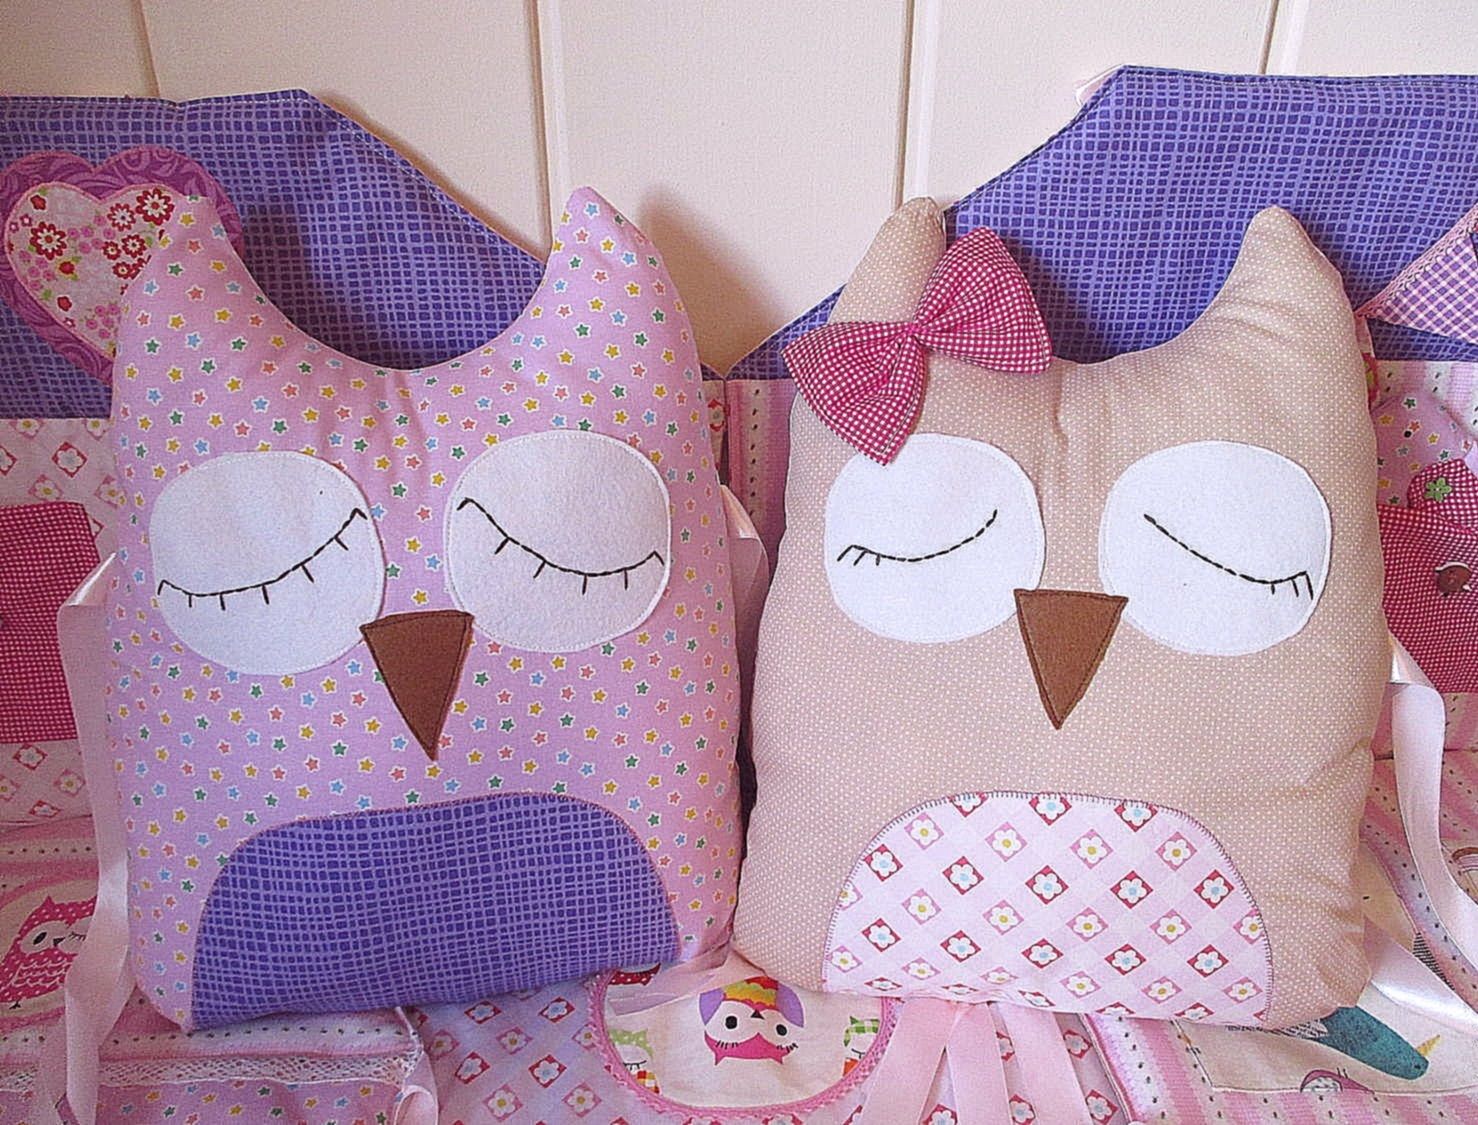
Standard calculations may not always be relevant. First of all, you need to rely on the individual measurements of the baby's crib, width, length and height. Therefore, you first need to use the metric to get all the data on dimensions, and only then calculate the number of elements.
Patterns of sides for a crib for a crib
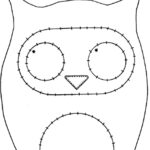
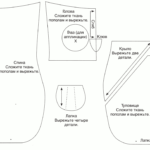
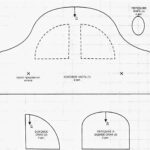
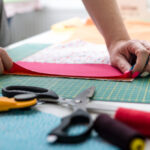
Preparing patterns is one of the most important elements in creating your own bumpers. The correctness of this stage directly affects the future design, its appearance. They are done as follows:
- Sketch work.
- Attach the sketch tightly to the fabric.
- Size marks for each part (using pencil or chalk).
- Circle the part, taking into account the seams.
- Cut the blanks.
Further, safety pins will come to the rescue, they will help fix the paper options with the fabric as firmly as possible, which will help to make accurate patterns, without deviations.
Step-by-step instructions for making do-it-yourself sides
After all the preliminary steps are completed, the patterns are ready, you can proceed to the most important process - the manufacture of the sides themselves.
The general algorithm includes the following order of work:
- Making patterns, transferring them to paper, so that in the future you can transfer the actual dimensions of the parts to the fabric.
- Preparing the filler cover. It is necessary to sew three edges, leave the third free so that it is easy to fill the space.
- After filling with the required amount of material, the last free edge is sewn.
- Based on the parameters of the product, covers are sewn. The clasp can be in the form of a zipper, buttons or velcro.
- A tape is sewn to each corner of the part, with its help, future sides will be attached to the crib.
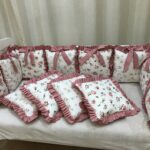
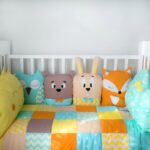
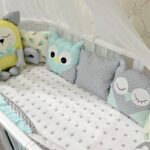
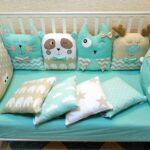
Various decorative elements will help give regular pillows an interesting look. For example, ruffles will make the design itself more elegant, unlike those offered in stores. You can use other decorative elements, sew on the covers the image of animals or cartoon characters.
Installing the sides on the bed
When installing each part of the side to the crib, an important indicator is the correct and reliable fasteners. If the sides are not tied tightly enough, then the child can untie the element by lightly tugging on the part. In the absence of parents, such cases can lead to injury, shock and other unpleasant consequences.
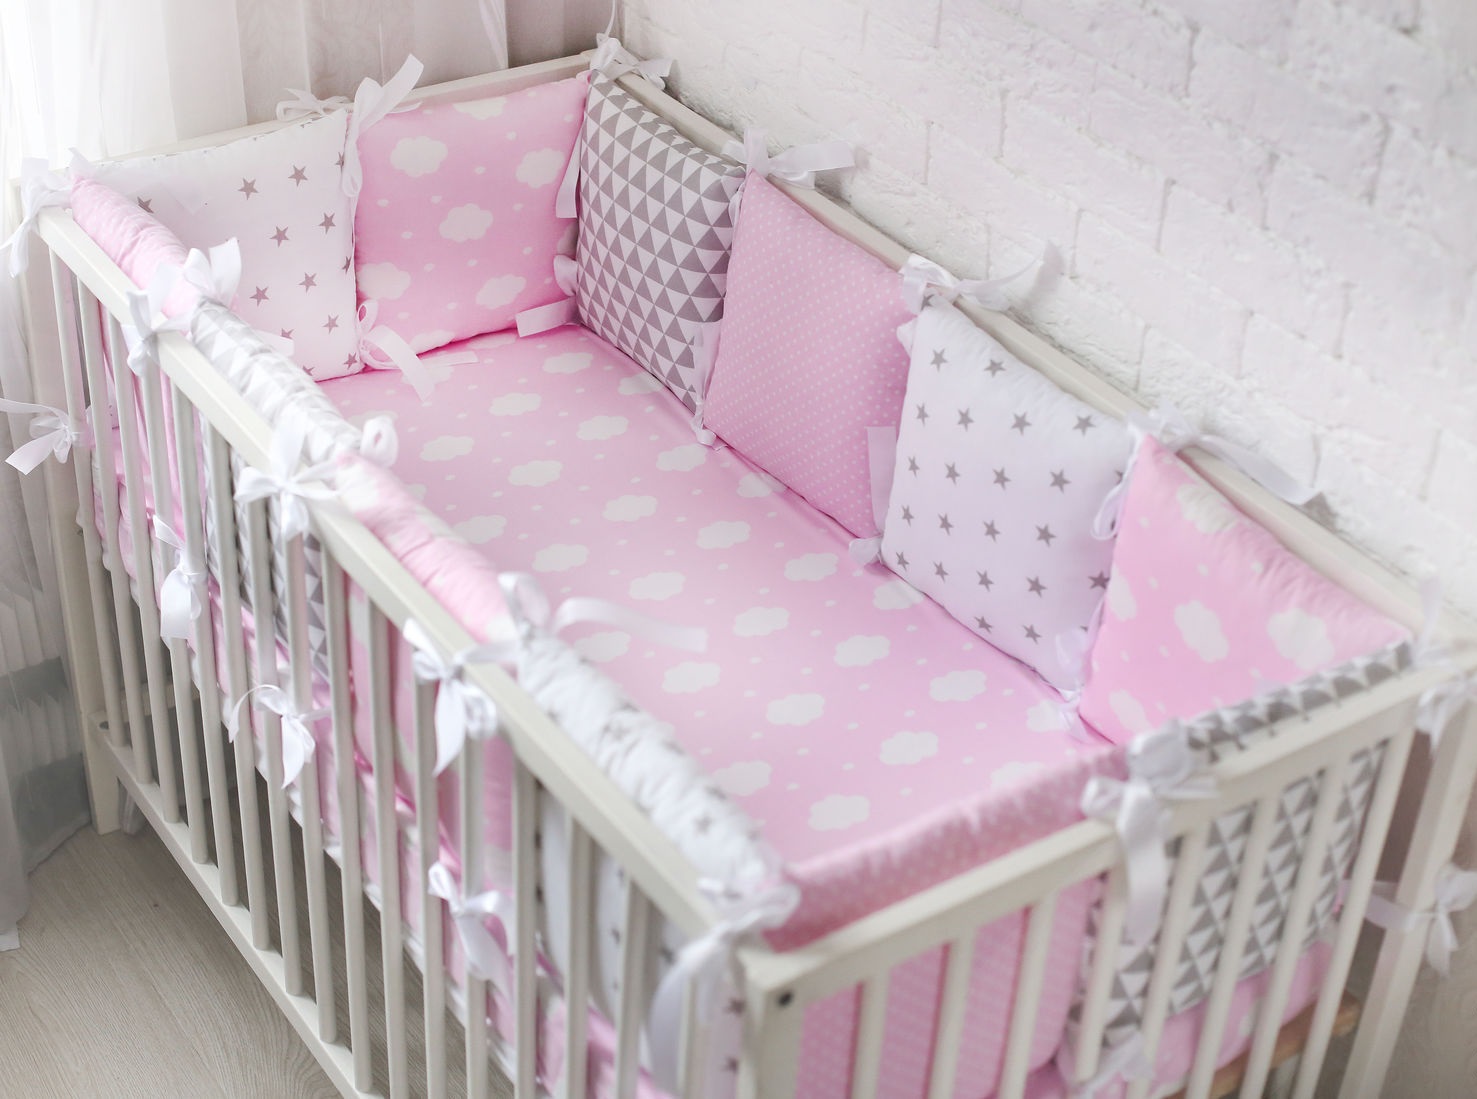
Therefore, when attaching the sides, be sure to check every detail for strength. If tapes or cords are used for fastening, then it is better to hide the free edges or make them inaccessible to children's hands. Thin ribbons that will be freely available can fall into the hands of the child.
It's no secret that children love to move and wave their arms a lot, one awkward movement and the lace may be at the level of the neck. Therefore, these precautions are very important.
Video: crib bumpers
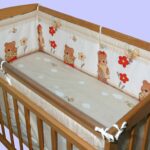
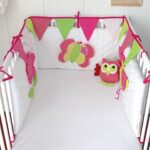
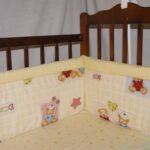
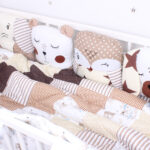
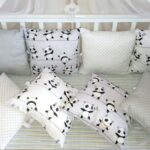
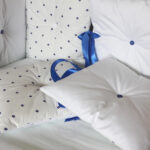
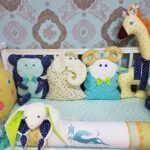
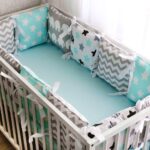
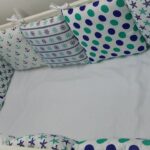
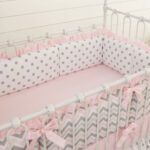
Beautiful examples of bumpers for a crib in the photo
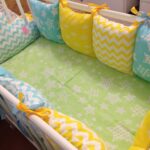
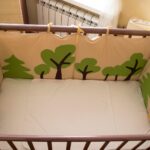
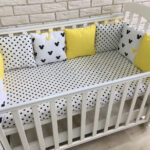
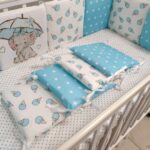
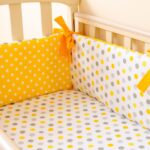
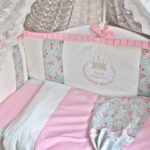
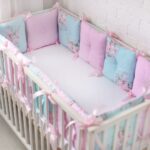
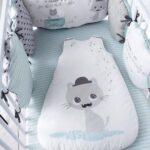
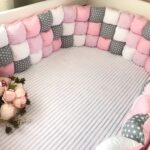
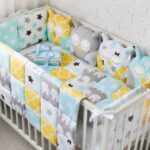
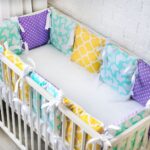
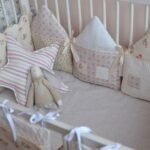
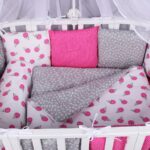
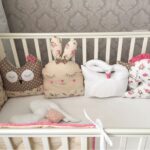
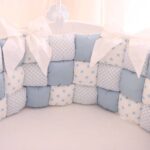
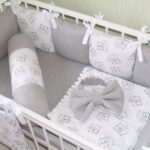
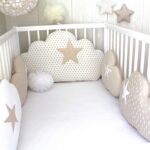
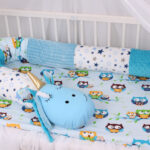
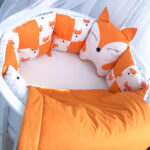
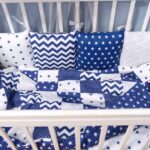
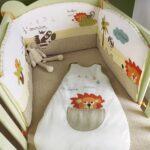
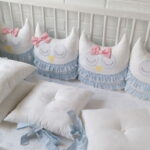
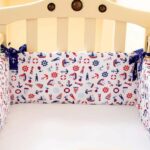
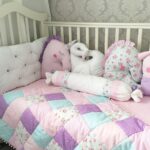
The textile market offers its consumers a fairly wide variety of options. You can find interesting models that look interesting, stylish and unusual, and at the same time, the sketches for sewing are quite simple. Therefore, it will not be difficult to sew such protection without resorting to store options.
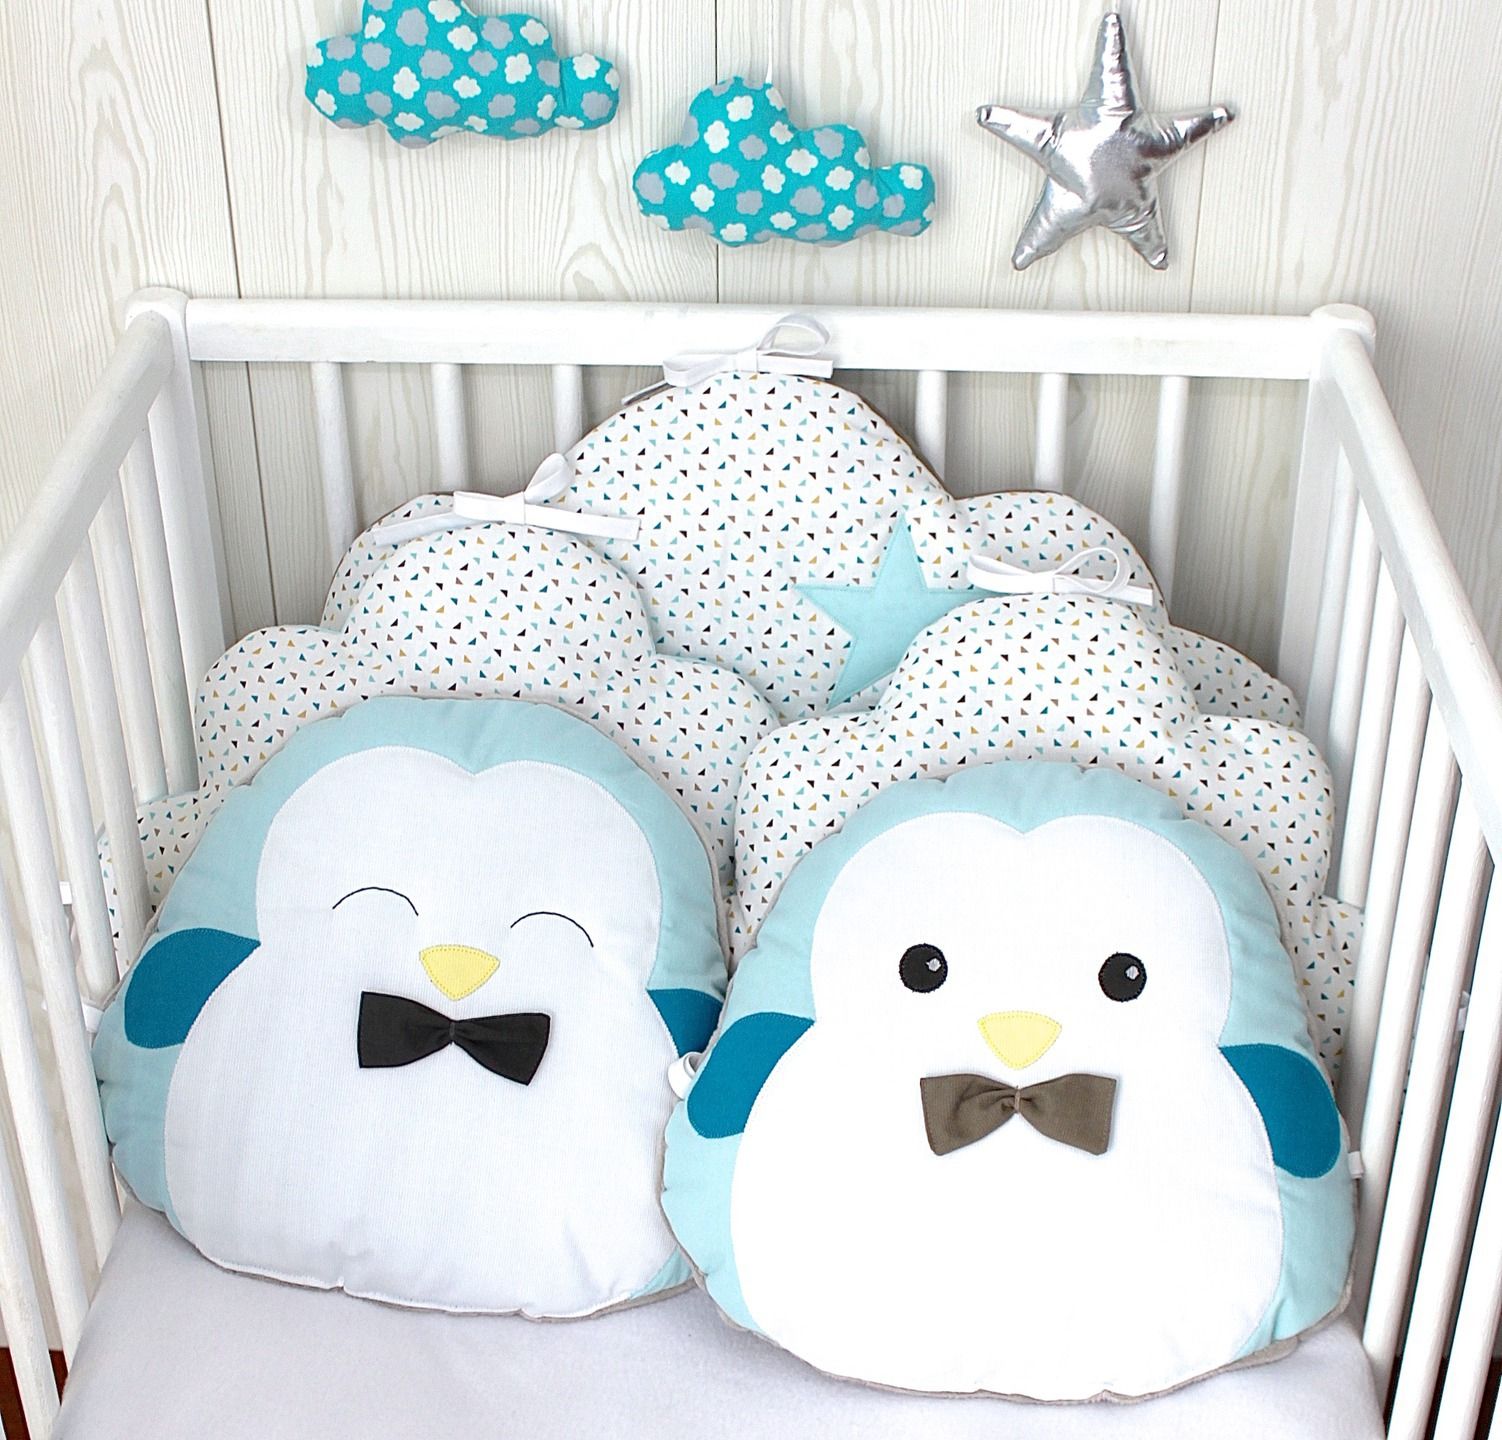
Moreover, in the store you may not find a suitable model, but with your own hands you can create the option you dreamed of. The main thing is to follow the instructions and clearly follow the sequence of work. With the help of interesting fabrics, you can develop your own design that matches the interior of the children's room.
