Step-by-step instructions for making a bed with a lifting mechanism
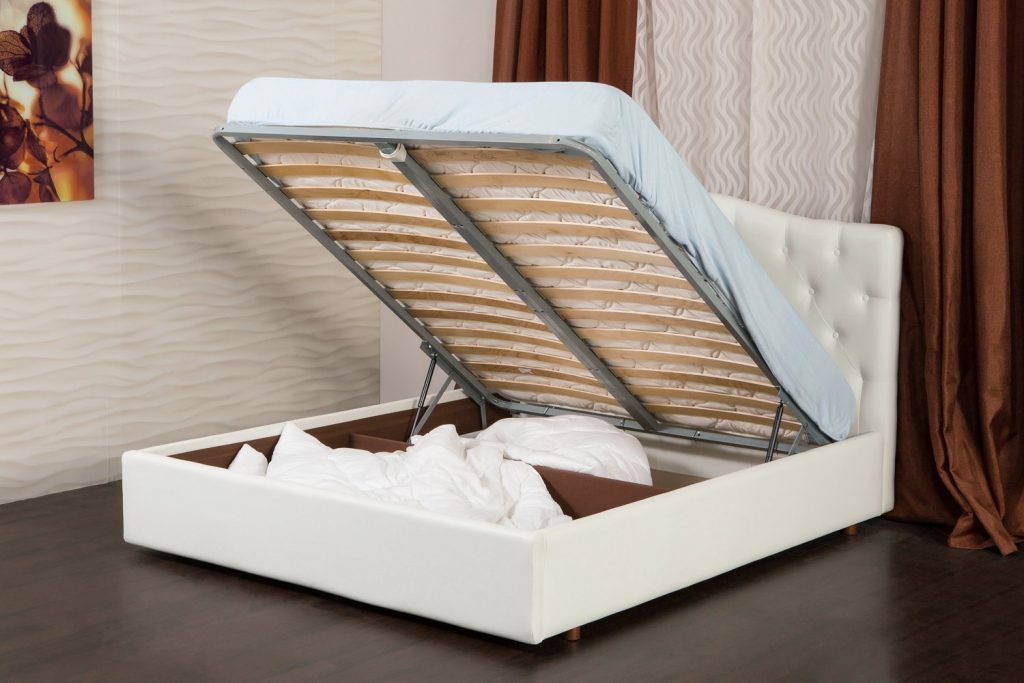
In a house or apartment with a small area, the most pressing issue is space saving. Therefore, when choosing furniture in such a home, you should pay attention to its ergonomics. Optimal use of the limited square footage of the bedroom will help the installation of a lifting mechanism on the bed.
With a little time and effort, you can get the perfect piece of furniture and save space as much as possible.
- What are the advantages and disadvantages of DIY furniture
- Choosing a bed model and a lifting mechanism
- Drawing and sketching
- Preparation of the necessary materials and tools
- Step-by-step description of making a bed with a lifting mechanism
- Video: how to make a bed with a lifting mechanism with your own hands
What are the advantages and disadvantages of DIY furniture
Buying a new piece of furniture is an expensive option, although it does not have to be of high quality, strong and durable. In this case, many resort to self-production and collection of interior items. Consider the advantages and disadvantages of DIY furniture.
First, let's dwell on the disadvantages:
- Lack of experience can affect the quality of work. If you want to save money on your purchase, you can pay twice as much. Lack of experience, inability to work, incorrect calculations can lead to serious mistakes.
- The presence of some danger in the work. Failure to work with some tools can cause serious injury.
- It is not always possible to save money. Sometimes it is much cheaper to purchase a ready-made product than to assemble it yourself, since the purchase of some materials can come up to an impressive amount.
- Difficulty of the process. Despite the excellent end result, the process itself is quite exhausting. You need to be as focused and attentive as possible.
- It will take a lot of time. Self-manufacturing of parts, assembly is a long and laborious process.

It should be borne in mind that there is a possibility that the end result may not turn out as expected. You need to be prepared for this. Given all the disadvantages, you need to be sure that this process is necessary.
Consider the advantages of making furniture with your own hands:
- There is an opportunity to take into account all your wishes. Ready-made products do not always fully satisfy the wishes of the consumer.
- Confidence in quality. When making your own furniture, you can use the highest quality materials, completely control the process.
- The pleasure of the end result. This point should not be overlooked, as pride in your creation is of great importance.
- The opportunity to save. It is not recommended to prioritize this item, but still the ability to reduce costs pleases many.
Knowledge of the negative and positive factors will help resolve the issue of making a lifting bed with your own hands.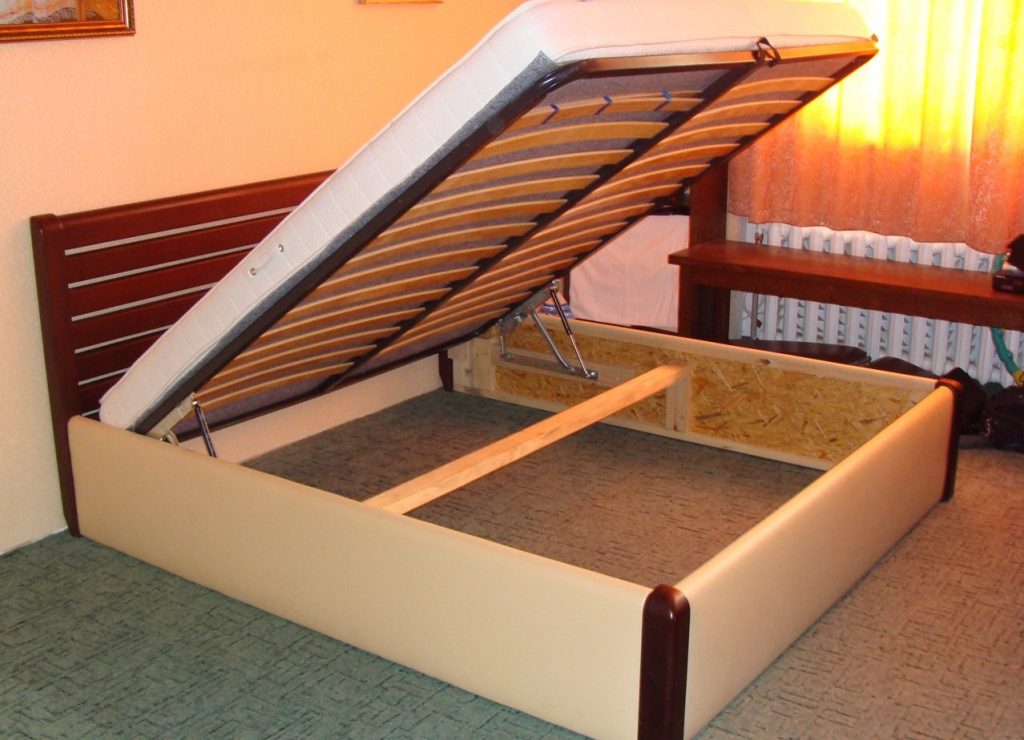
Choosing a bed model and a lifting mechanism
Initially, you need to choose a bed model with a lifting device.
Among the models of bedroom furniture are:
- single;
- one and a half;
- double.
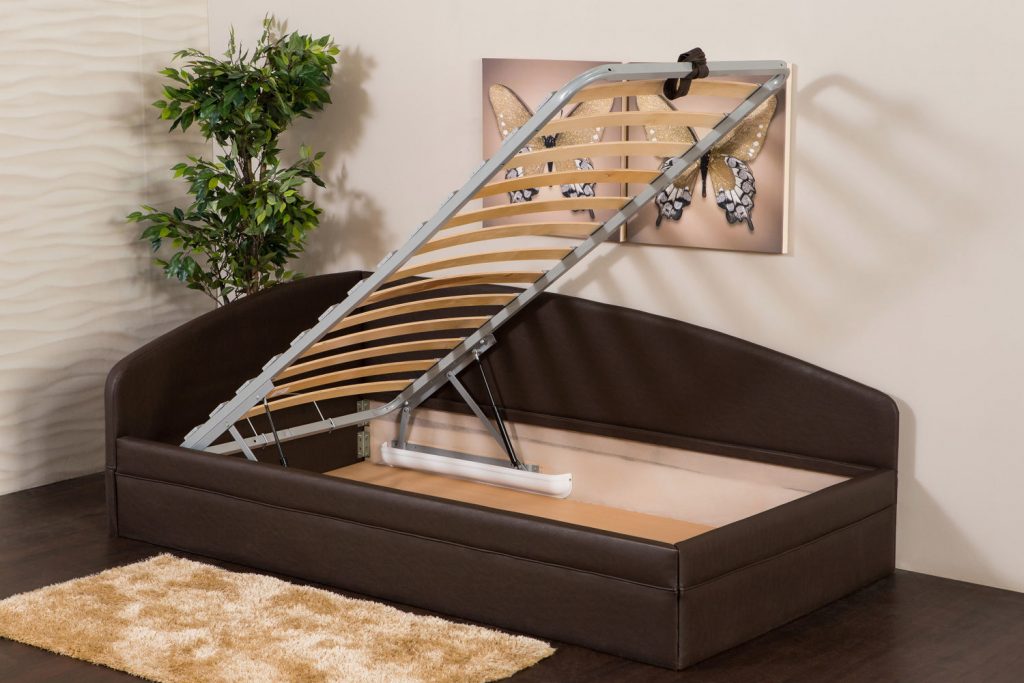
Single and one and a half bedrooms are small in size, economical, they are chosen for children's bedrooms. It is best to install it in a corner.
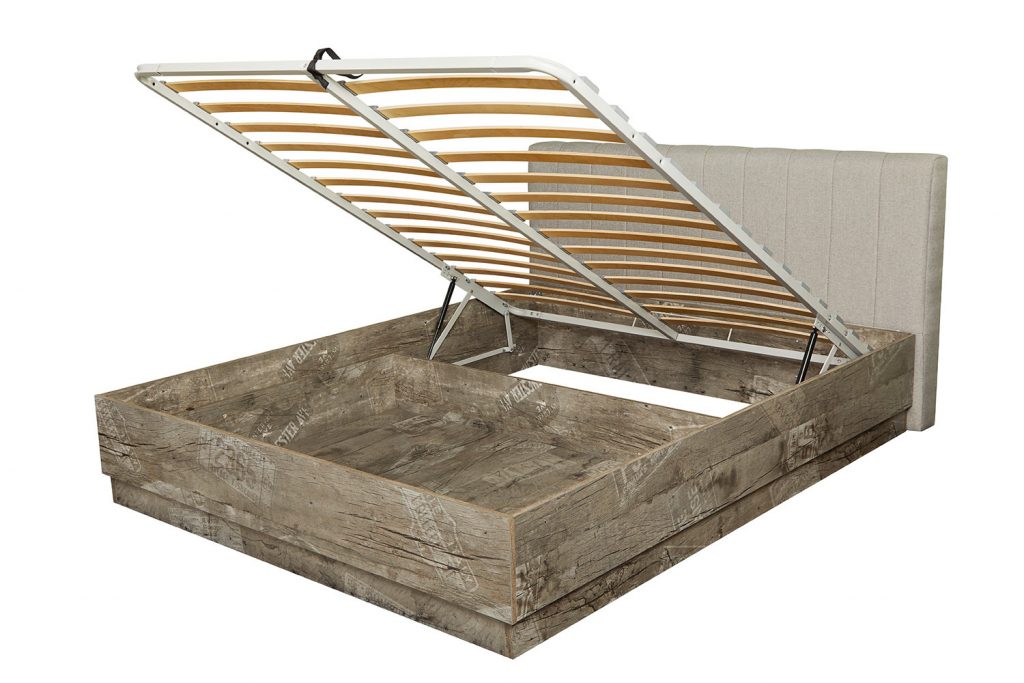
Doubles are used in the bedrooms of teenagers or adults, they take up more space and are better placed in the middle of the room.

Consider the models of the lifting mechanism:
- Manual lifting. It is necessary to apply physical effort, therefore it is not particularly convenient to use. But it is this type that has the longest service life, reliability and durability.
- Coil springs. A simple and reliable way, but not durable - their service life is about five years. The big plus is the low cost.
- Gas shock absorbers. With their help, raising the bed is simple and quiet. Service life over ten years, capable of lifting voluminous mattresses.
You also need to consider the type of bed itself. If the structure is light, then it is better to use springs or manual lifting, and with a large weight, it is recommended to give preference to gas shock absorbers. You can highlight vertical or horizontal rise.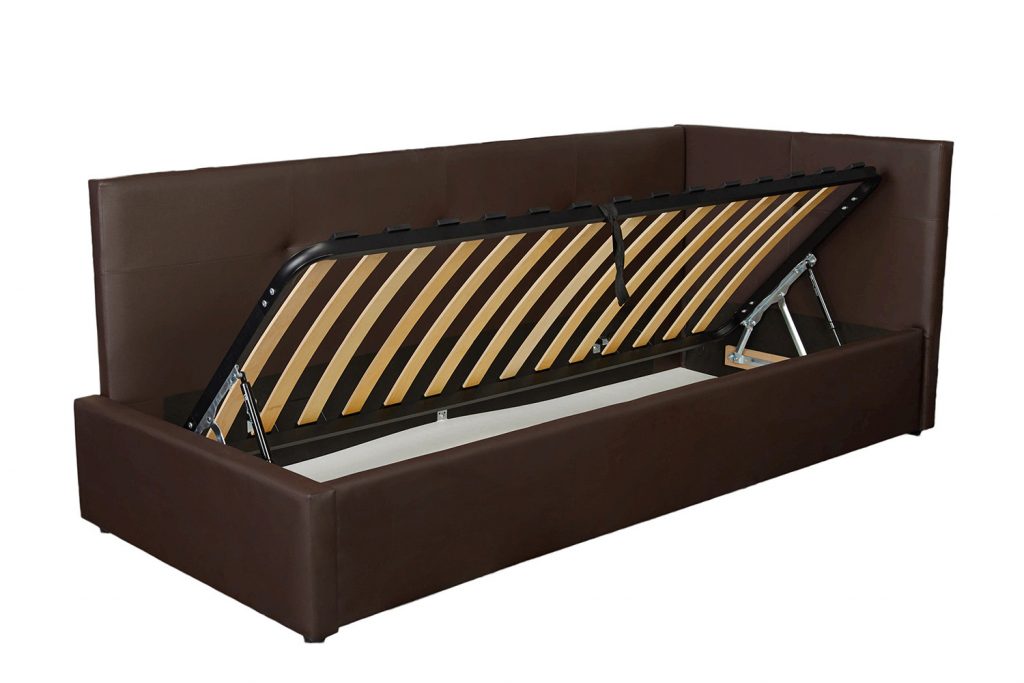
Drawing and sketching
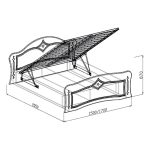
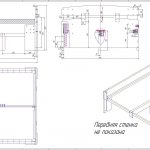
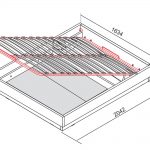
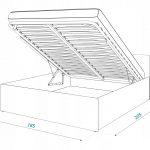
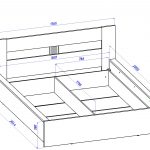
The second stage of preparation for making a bed with a lifting mechanism with your own hands is drawing up a drawing or sketch. It is necessary to work out in detail all the nuances and order of work. The drawing details the dimensions, shapes, constituent fragments, fasteners, component parts and much more.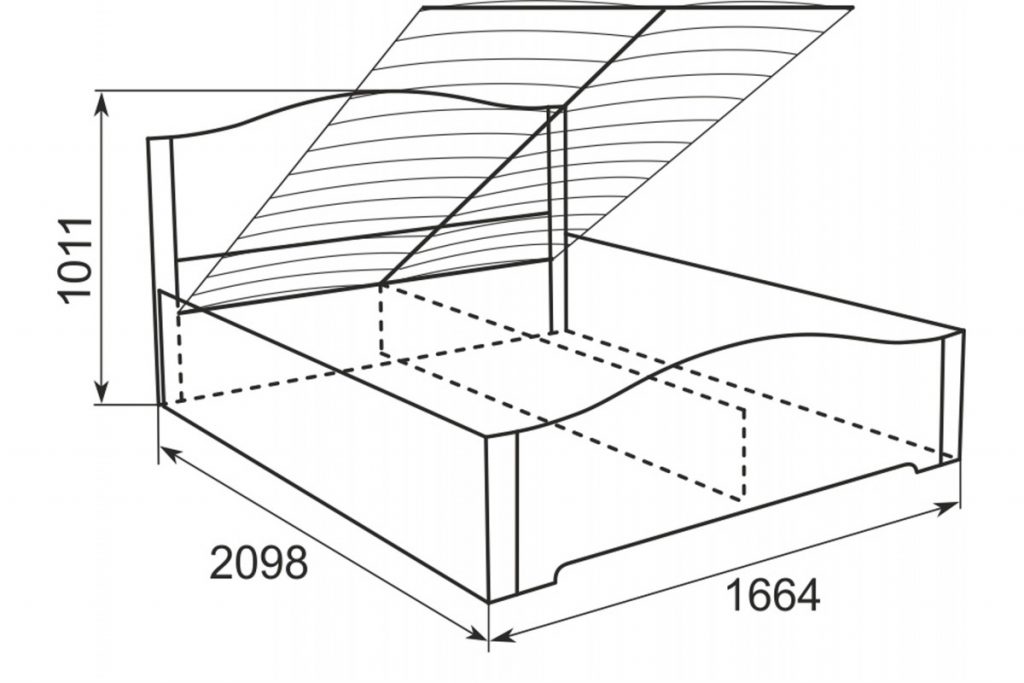
The bed is a box of 4 rectangular pieces and 4 transverse pieces that form the bottom. The correct sketch should include the parameters of the mattress, since the dimensions of the structure will be developed on their basis. Standard sizes: length from 1.8 meters and width from 0.8 to 1.8 meters. If additional built-in elements are planned - shelves, drawers - they must also be described in detail on the drawing and the methods of their fastening.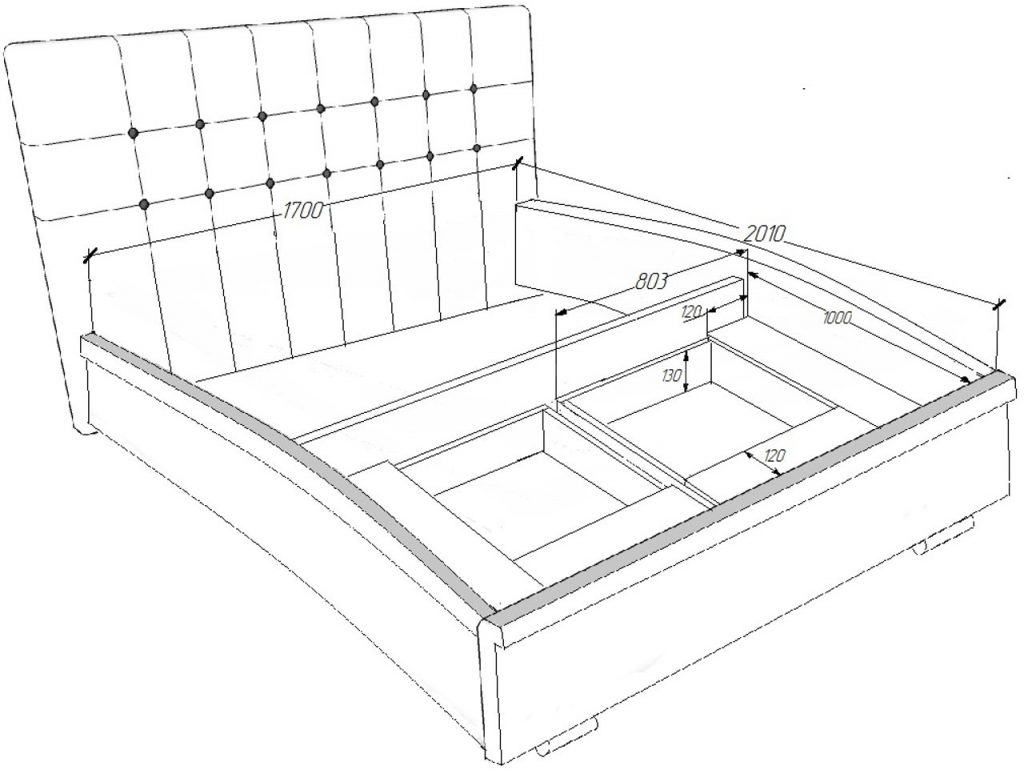
You also need to create three drawings: in the first, the general appearance of the future structure is sketched, in the second, detailed information about materials and sizes, in the third, the procedure for carrying out all the work is described. Thus, in the end, you get a ready-made plan for the manufacture of a structure.
In the absence of experience in drawing up such a drawing, then it is worth resorting to the help of the Internet. Here you can find a variety of options for sketches, which can be modified and supplemented at your discretion.
Preparation of the necessary materials and tools
The third stage of preparation is the choice of materials and tools. You need to understand that it is impossible to predict everything that may be needed in the process. Therefore, you need to be prepared for the fact that something additional may be needed during work.
Among the materials for making a bed, wood should be preferred. They are affordable, easy to handle, and reliable. It is better to take solid natural wood, it will come out much more expensive, but its advantages are difficult to overestimate.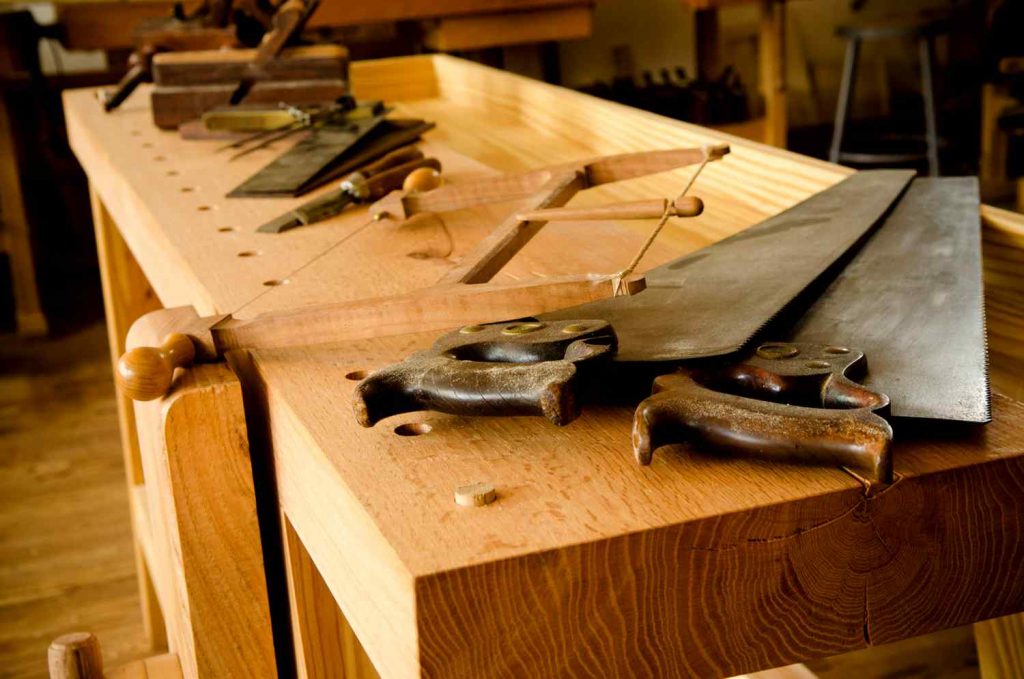
You will need the following tools: self-tapping screws, an electric drill, a screwdriver and screws, confirmations, corners, an edging tape, bolts, nuts and washers, a lifting device, screwdrivers, a tape measure, a level, a stapler for furniture, a welding machine, a hacksaw, sandpaper, foam rubber, pencils or markers , clamps, construction hair dryer.
Step-by-step description of making a bed with a lifting mechanism
Having prepared everything you need, you can proceed directly to the manufacture of the lifting bed. Let's consider all the stages in detail.
Manufacturing of a lifting frame
The lifting frame is the basis for the main function of such a structure - the ability to lift. Let's take a closer look.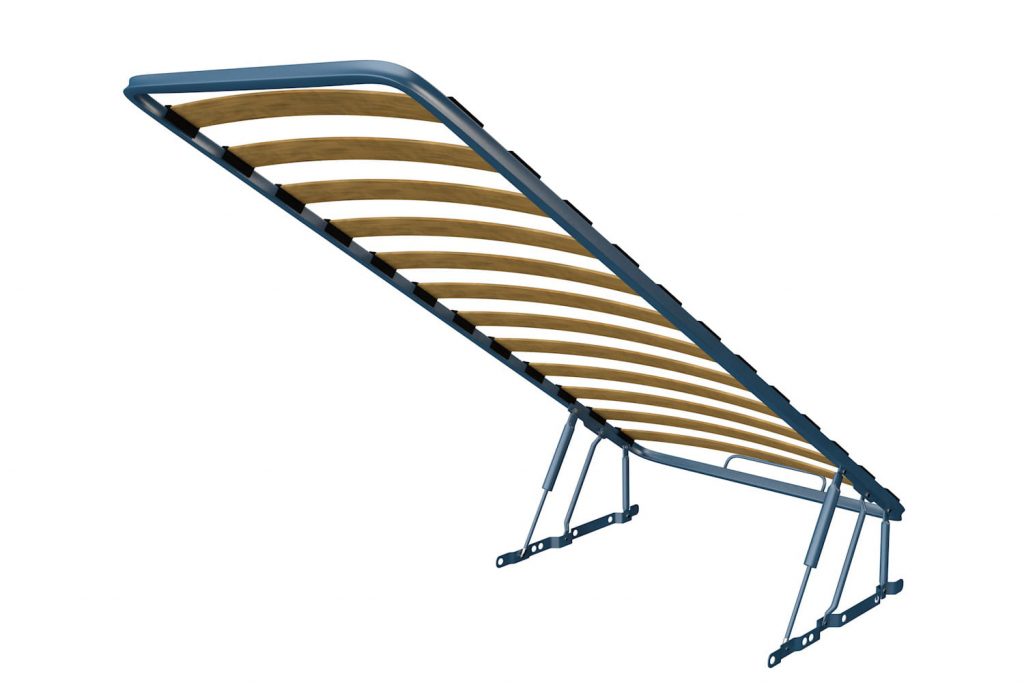
Pay attention to the strength and reliability of the structure, since the entire bed will be supported on it.
The work includes two stages: manufacturing and processing. The first means:
- Prepare the frame parts.
- Assemble the bases with calibrated boards. This is best done on a flat surface.
- Screed the resulting structure with metal corners and furniture glue. All cuts need to be processed with sandpaper, make sure that the caps of the screws are slightly buried in the tree.
- If you intend to make a large bed, then you need to make a central partition for greater strength.
- Attach the strips with self-tapping screws on the inside of the sidewall and align them with the bottom edge. Reiki should be approximately 20 * 80 centimeters.
- In the role of slats, you can use slats, the length of which should be equal to the width of the future bed. Attach them to the support rails about 15 centimeters apart.
The frame is ready, now it needs to be processed. To do this, it is necessary to process the boards with sandpaper, and then cover with wood varnish.
Installation of an inset frame under the mattress
After making the lifting frame, you need to start installing the insert under the mattress. It will increase the reliability of the structure and extend its life, so this stage cannot be skipped when making a double bed.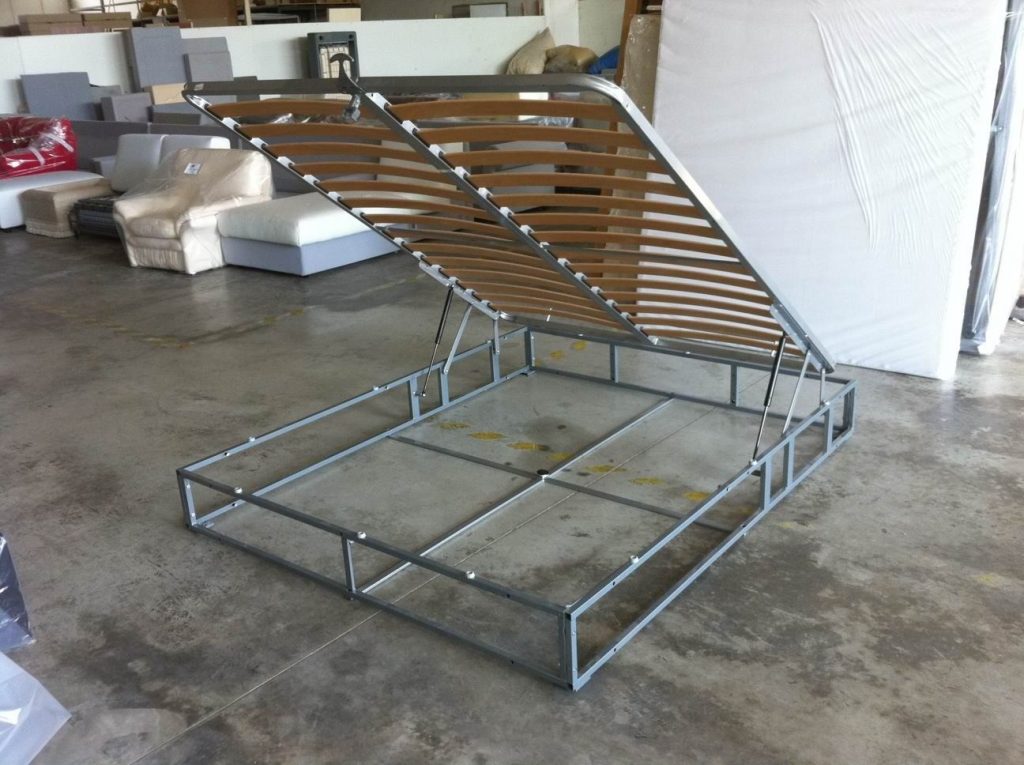
For installation, you need a steel profile and wooden strips. It is necessary to act in accordance with the drawing made earlier. First, cut the profile with a grinder, connect the parts with a welding machine. Fasten the struts between the transverse and longitudinal fragments, this will increase the strength and avoid arbitrary lifting of the structure. Finish the ends and attach the legs if necessary.
Headboard manufacturing process
Any material can serve as a basis: plywood or natural wood. Apply the markings, and then use a jigsaw to carefully cut out the shape of the back. This element can be given any shape you like.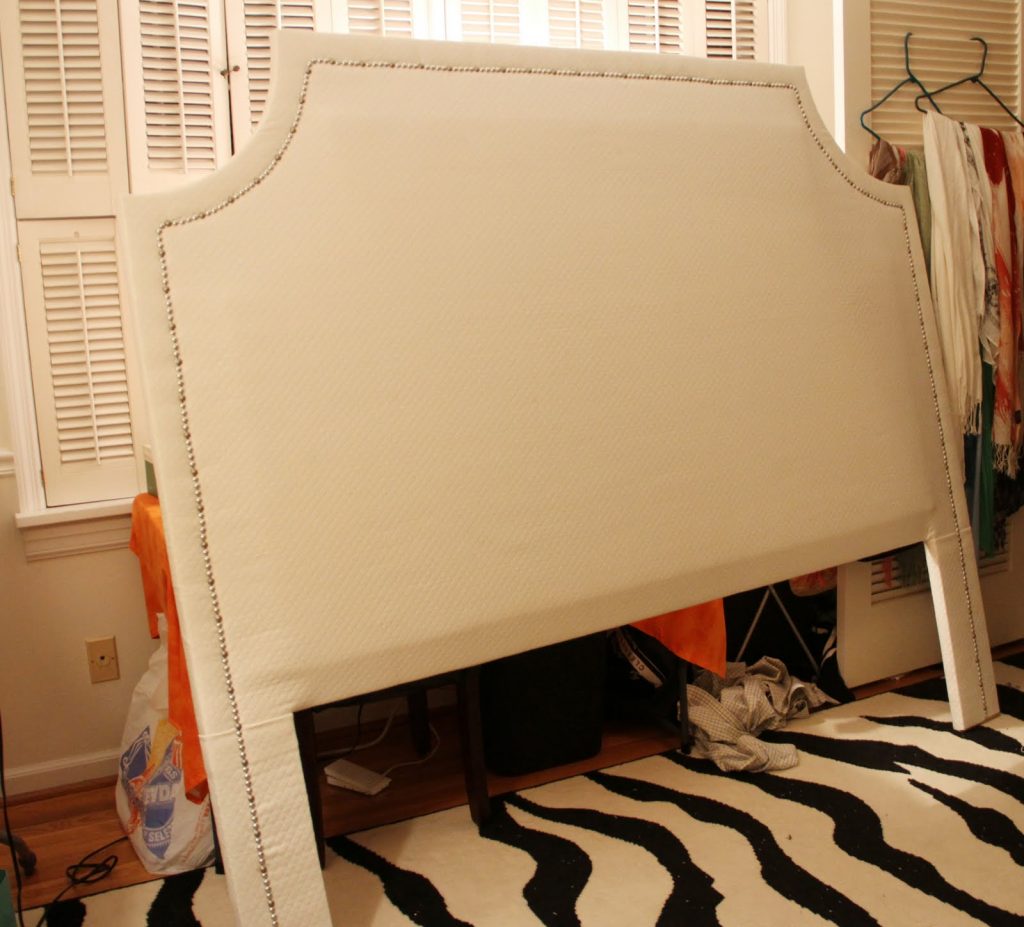
The simpler the shape of the headboard, the easier it is to trim.
Get a furniture stapler, trim material, and a foam sheet. The sheathing should be soft and airy; for this, lay two sheets of foam rubber between the plywood.
Making the main frame
An integral part of any bed is its main frame, which consists of:
- side drawers, front and rear backrest, bottom of boxes;
- mattress flooring created from slats or planks.
Be sure to place emphasis on ensuring that all elements are securely fastened.
Making the main frame
Let's take as a basis the standard dimensions 2 * 1.8 meters. Take 2 boards of 2 meters for the side edges. For the end, take two boards of 1.8 meters each, connect them with self-tapping screws and corners. All boards should be fastened at right angles.
Install a rigid rib through the longitudinal axis, fix the legs (if needed). Cover the structure with varnish.
We install lifting mechanisms and supports
To install the lifting mechanism, you should fix the upper bar and the bed grate with rolled steel, then attach the two bases of the mechanism to the bar to lift the structure. Fix the bottom bar so that it is located on the main box and check the strength of the structure and its function. Installing the mechanism is the easiest step, so even a beginner can handle it.
Sheathing and finishing
The last and final step in making a lifting bed is decorating. You can do without it altogether and just varnish the wood, but if you want to finish, then you need to choose a material for this. The most commonly used are the following:
- the cloth;
- leather or leather substitute.
Cover the frame and headboard with the material of your choice. In order for the upholstery to be airy and soft, it is worth using foam rubber. A stapler and glue will help to carry out all operations.
You can make a canopy. To do this, you need to install beams under the ceiling, and secure the fabric.
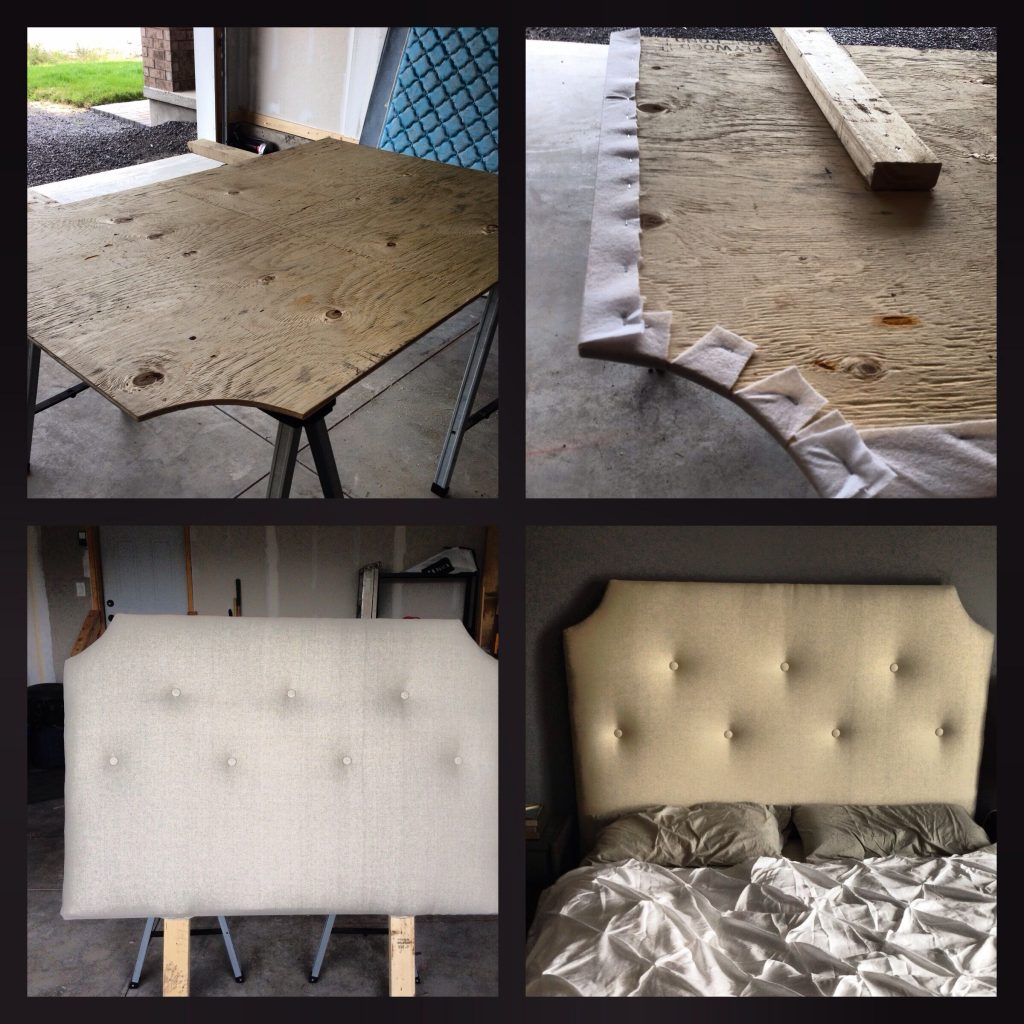
First, glue the foam rubber to the surface, wrap it around the inside of the bed and cut off any excess. When attaching leather or fabric, it is better to use a stapler rather than glue. Smooth the material over the surface, and attach the edges with staples. Metal corners can be used at the corners for added strength.
To make a double bed with a lifting mechanism with your own hands, you must strictly follow the instructions, carefully measure and be patient. As a result, you will get a chic homemade bed that will help you successfully save space in a small room.
Video: how to make a bed with a lifting mechanism with your own hands
