Methods for assembling and attaching a canopy to a crib
A canopy is a rather useful element of a child's room, providing additional comfort for a child. However, for full and safe use, it must not only be correctly selected, but also correctly secured.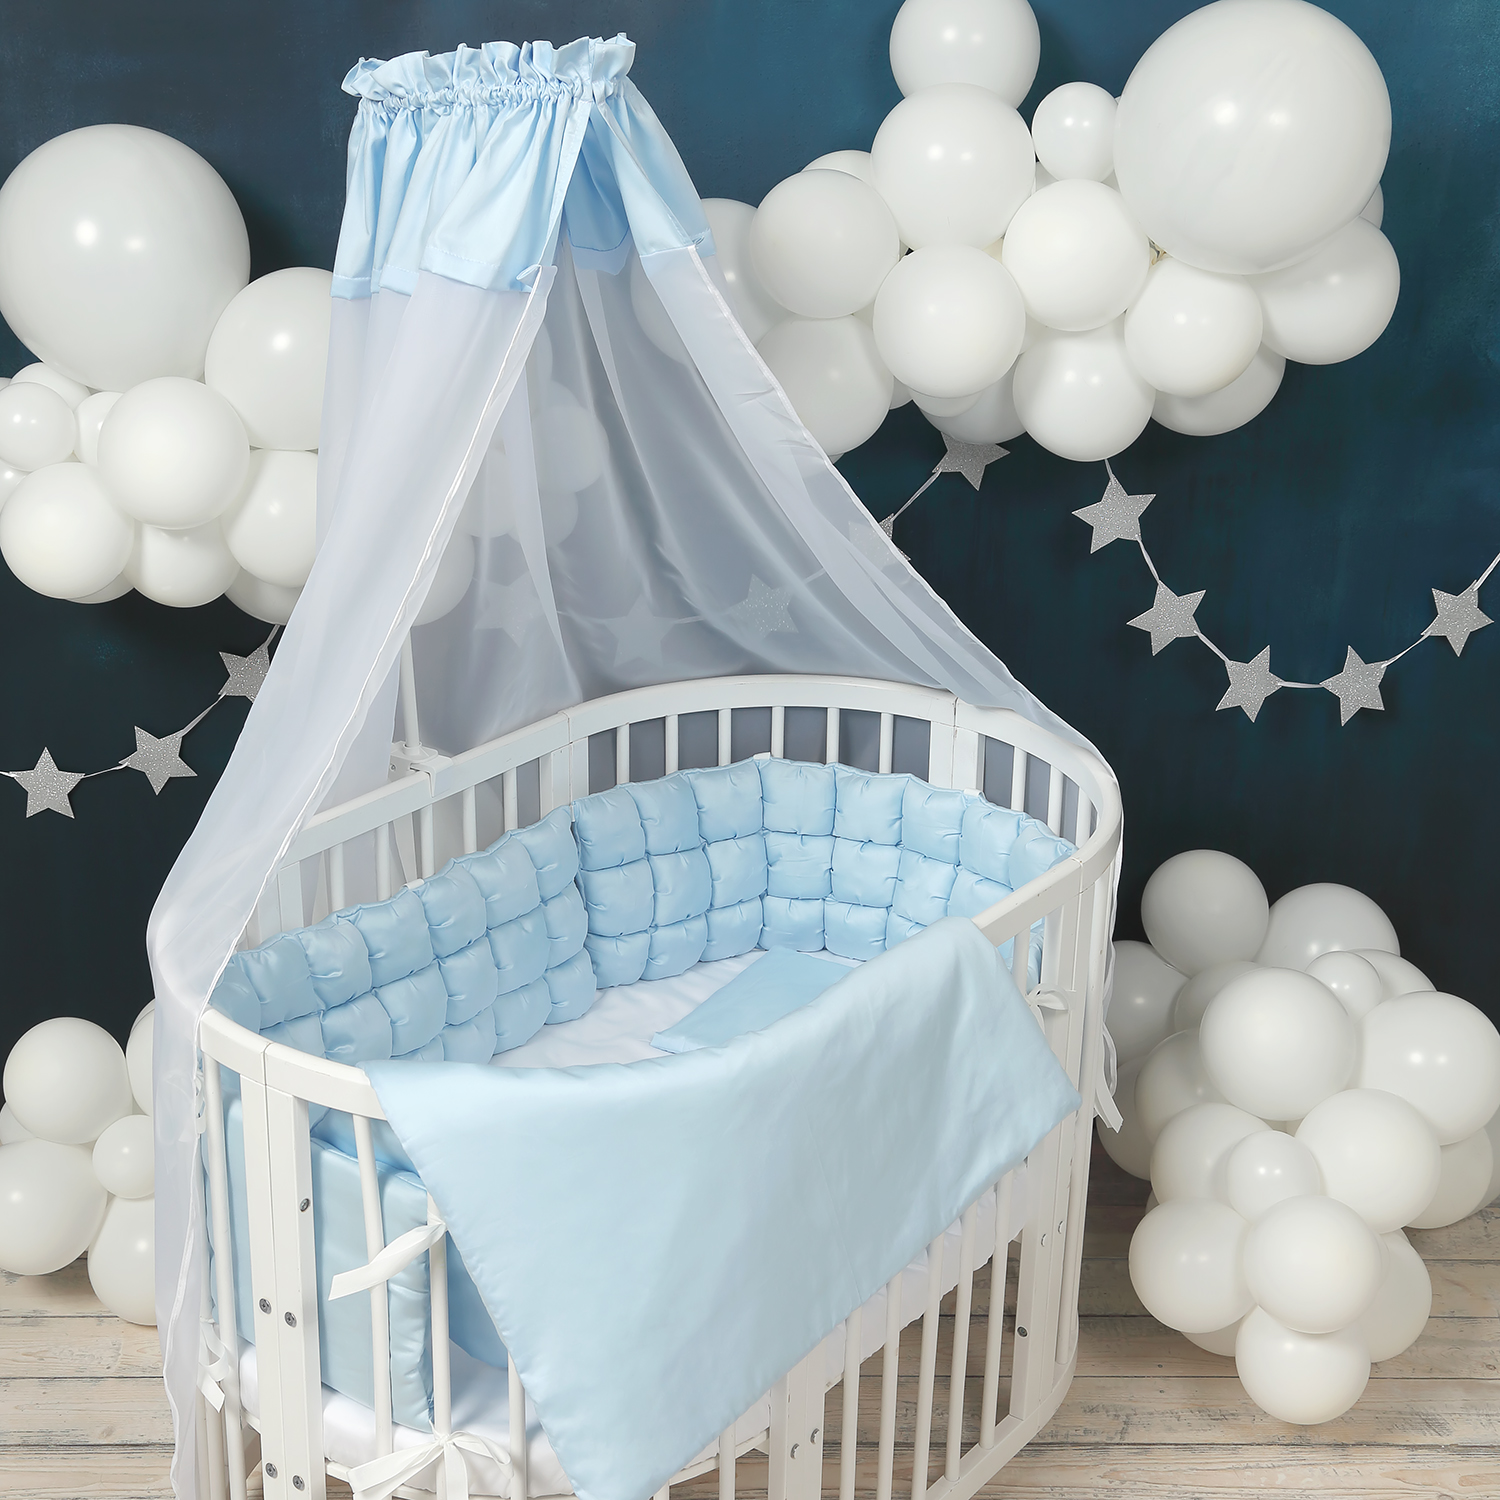
Advantages and disadvantages of a canopy on a crib
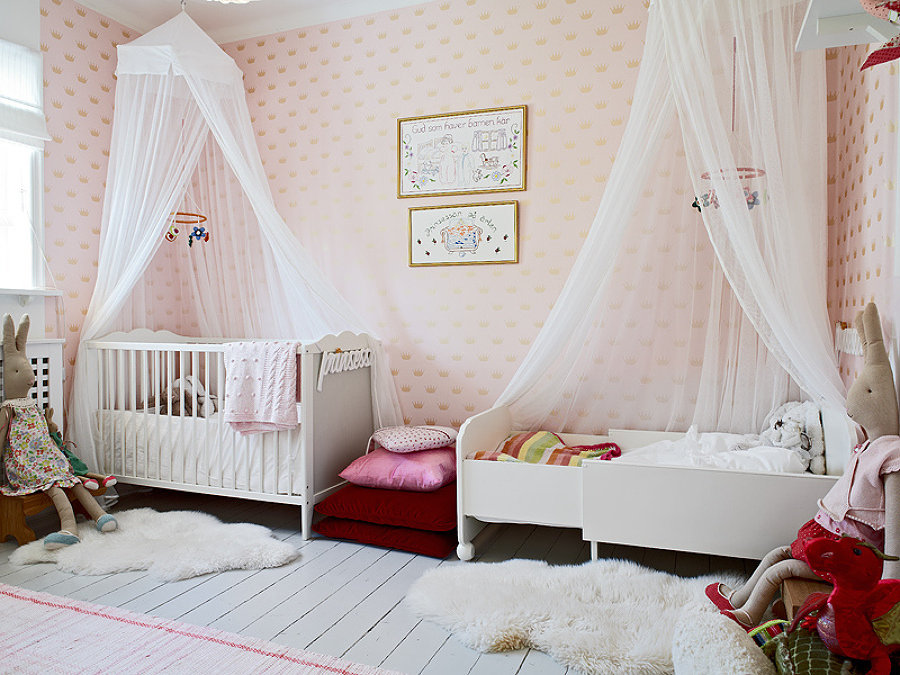
There is no consensus regarding the advisability of installing a canopy. However, one cannot deny the presence of a powerful psychological aspect, which implies the importance of creating a cozy and secluded space for a baby, who at first will feel uncomfortable in an open space.
Also, the benefits of a canopy include the following:
- protection of the child from sunlight, noise, draft and dust;
- creating the comfort of a limited space;
- prevention of meeting with insects;
- decorative component, since the canopy serves as an unusual piece of furniture.
The disadvantages of this design are usually:
- collection of large amounts of dust and, as a result, the need for frequent washing;
- reducing the amount of fresh air available to the child;
- the risk for the baby to become entangled in the fabric or fall under the collapse of the structure and get injured.
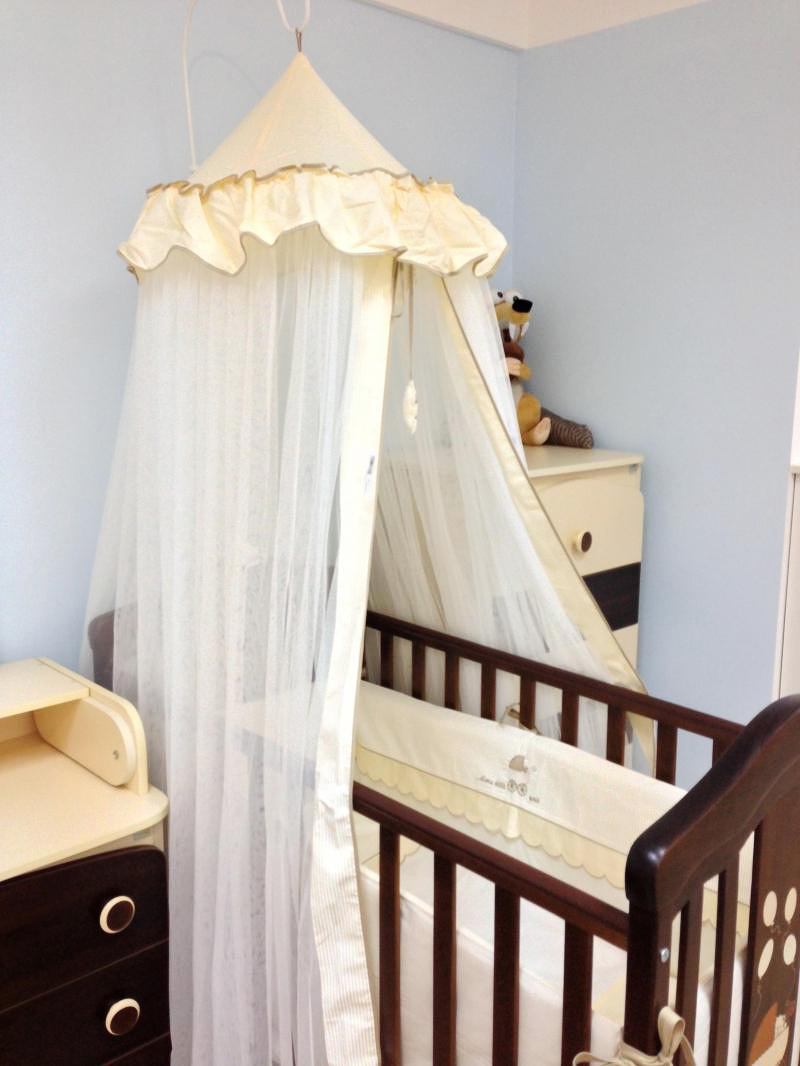
To ensure normal air circulation, it is recommended to choose a canopy made of thin, delicate fabrics.
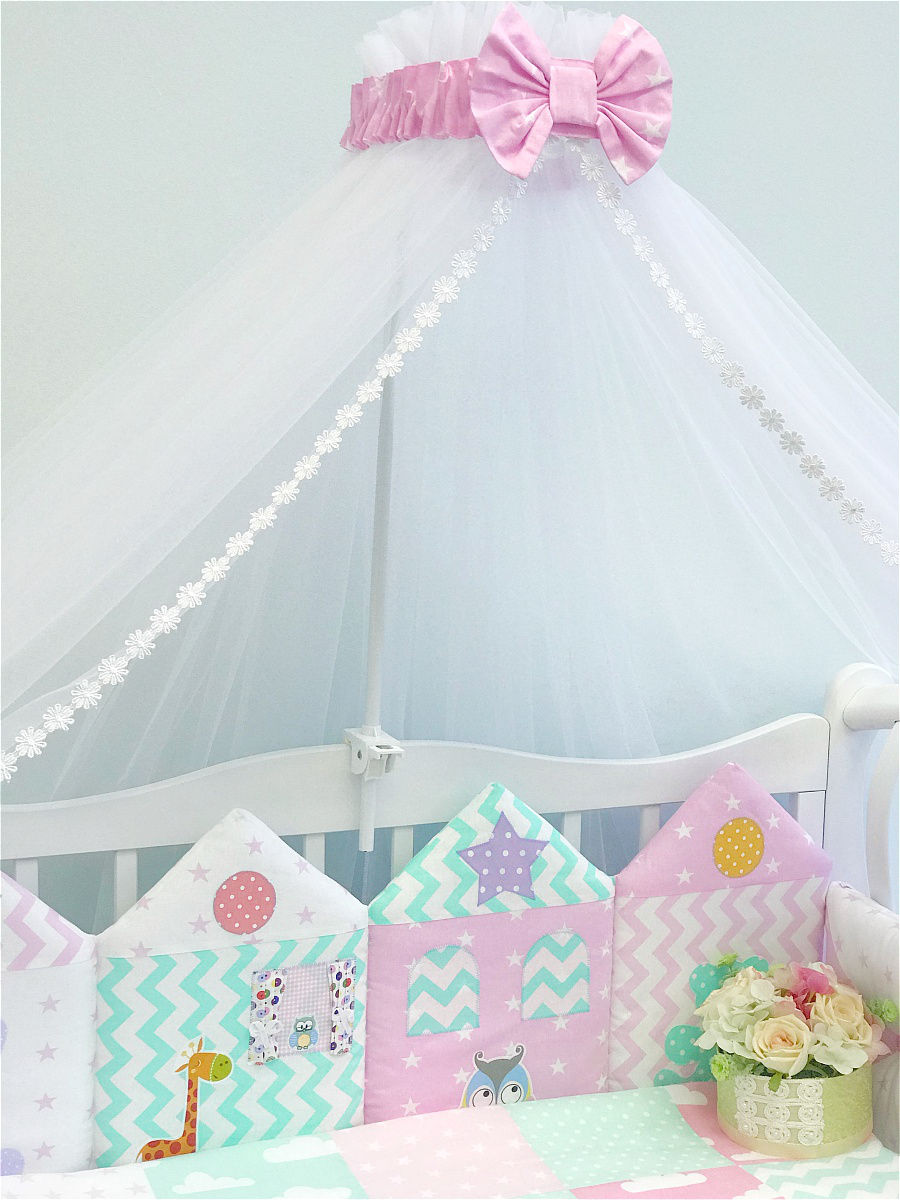
Varieties of fasteners for canopies and their features
There are several types of how the canopy is attached to a crib:
- Wall mounted. The canopy is fixed on the wall near the crib. Thanks to this, you can easily choose a canopy of any suitable length, but moving the bed to another place will be problematic.
- Freely. The structure is installed on the floor without being secured, which makes it easy to carry, but gives it wobbly and instability.
- To the ceiling. Ceiling mounted and very nice looking. At the same time, transfer to a new location will be difficult.
- To the bed. It is considered the most optimal option, since the structure is easy to assemble and does not cause difficulties with moving the bed. In this case, the canopy can be fixed on a wide back, headboard, or around the entire perimeter.
Methods and options for location
Before attaching the canopy to the crib, you must choose the appropriate installation method. The determining factor in choosing a holder is the location of the bed relative to the walls and furniture.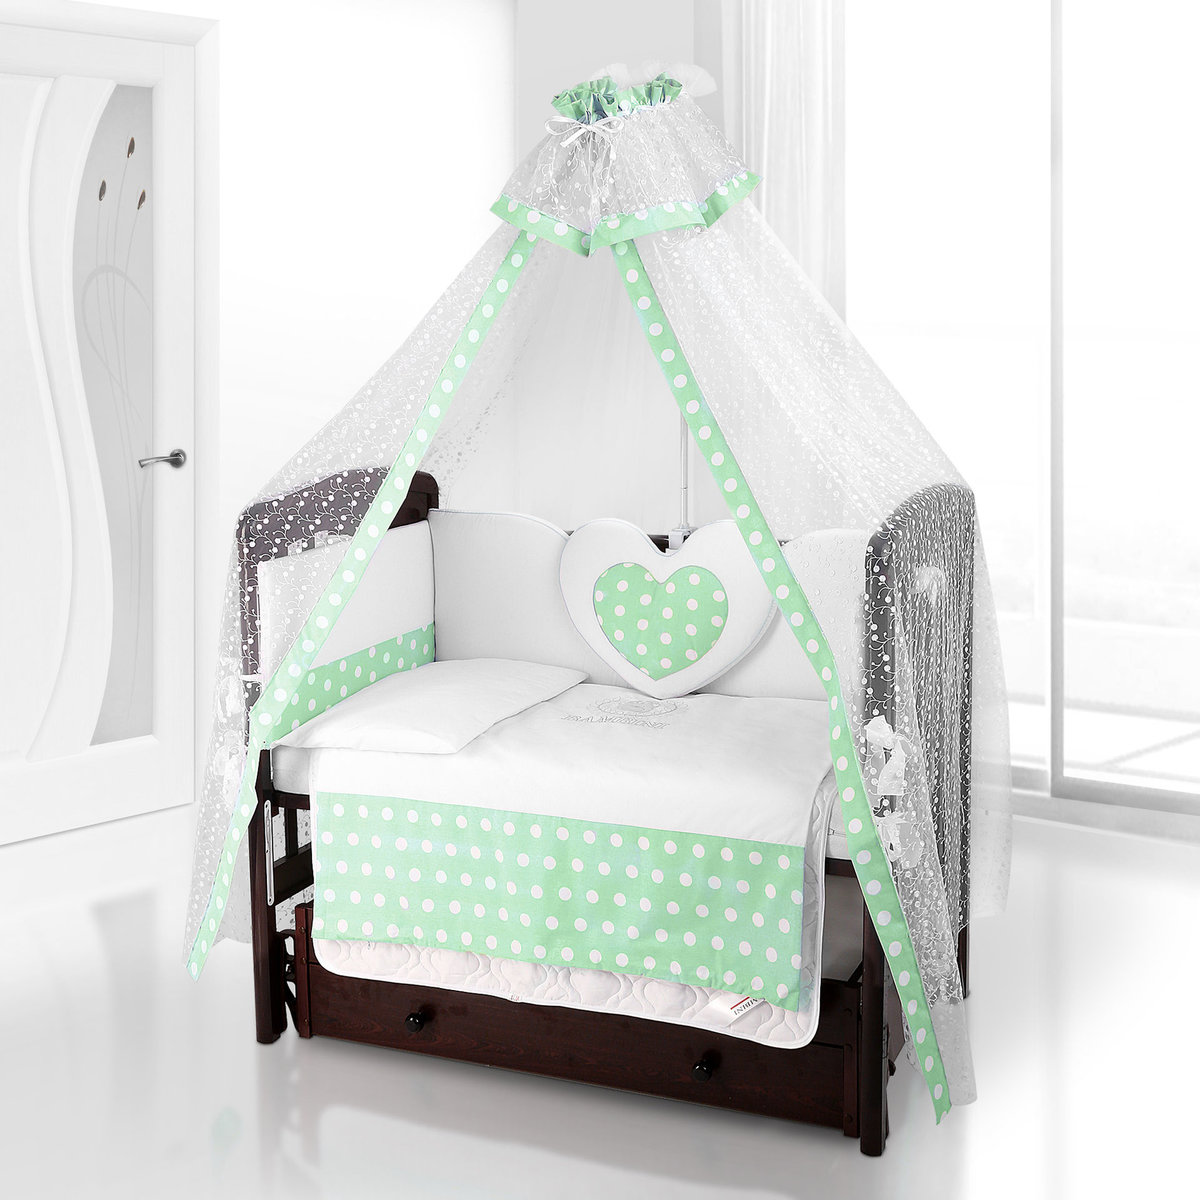
Stationary
This type of attachment is optimal if it is not planned to rearrange it before the child grows out of the crib. The holder can be fixed to:
- side of the crib;
- headboard;
- ceiling;
- the wall of the room;
- floor.
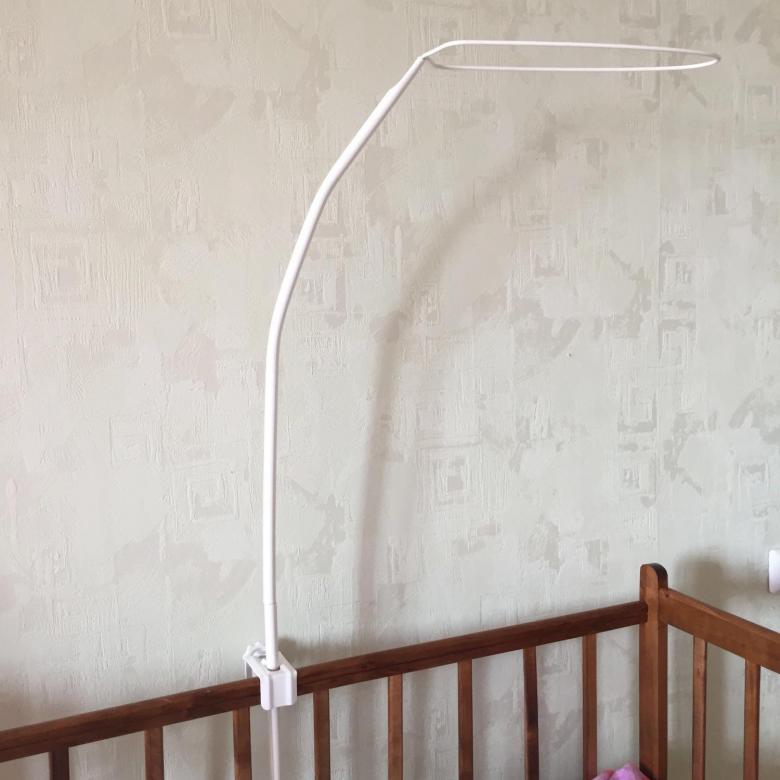
For mounting on the ceiling, it is necessary to determine the permanent location of the bed and, based on this, outline the boundaries of the holder. The fasteners are screwed according to the mark.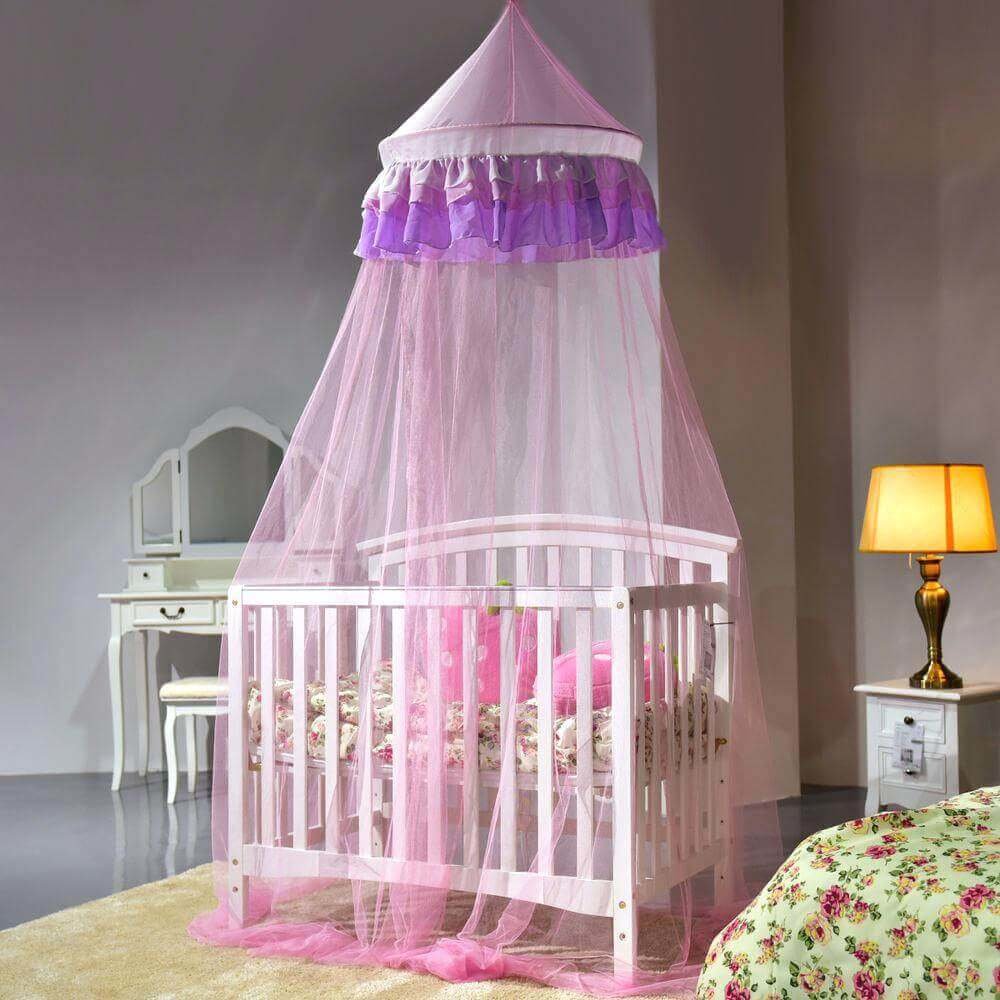
If you do not have ready-made fasteners, you can use an embroidery hoop or a metal bar.
When using the hoop, they are fixed with a ceiling hook used to attach the chandeliers. With the help of ribbons and Velcro, chosen to match the fabric, the material is fixed to the circle. If a bar is used, then it can be positioned either along the edging of the berth, or along, in the center. The fabric is fastened with special hooks, evenly distributed along the length of the bed. The material should be taken with a margin, since it should cover the sides of the crib.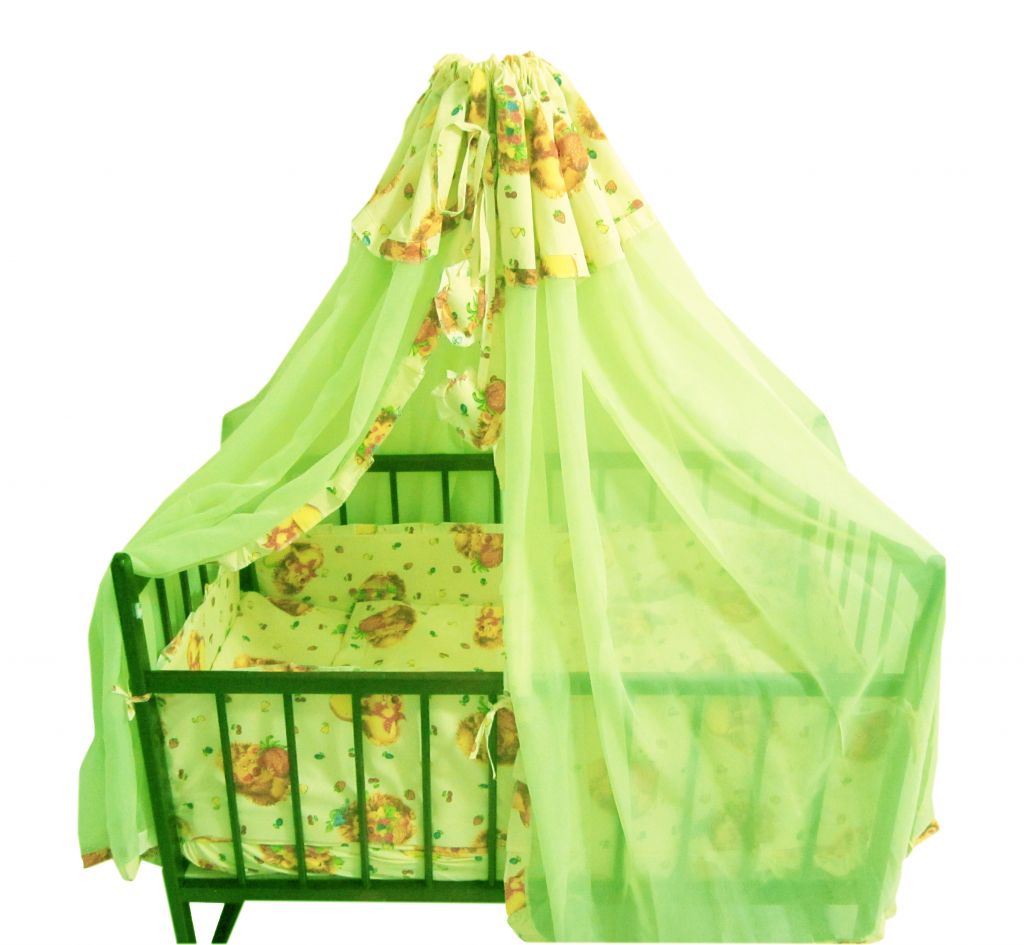
After the child grows up, the mount can be used as a decorative item. For example, for boys, the canopy can be transformed into a sail, and for girls, it can be converted into an airy resting place, complemented by carpet and pillows.
When the canopy is fixed to the wall, it also acquires a decorative function, especially if the material fits into the interior design of the room. When choosing a holder, special attention is paid to the strength and reliability of the fastening.
Mobile
This mount looks like a tripod with a ring. It is often attached to the wall of the crib by putting the fabric over the ring. The holder can be made of metal or plastic and is fixed with brackets, which allows for height adjustment.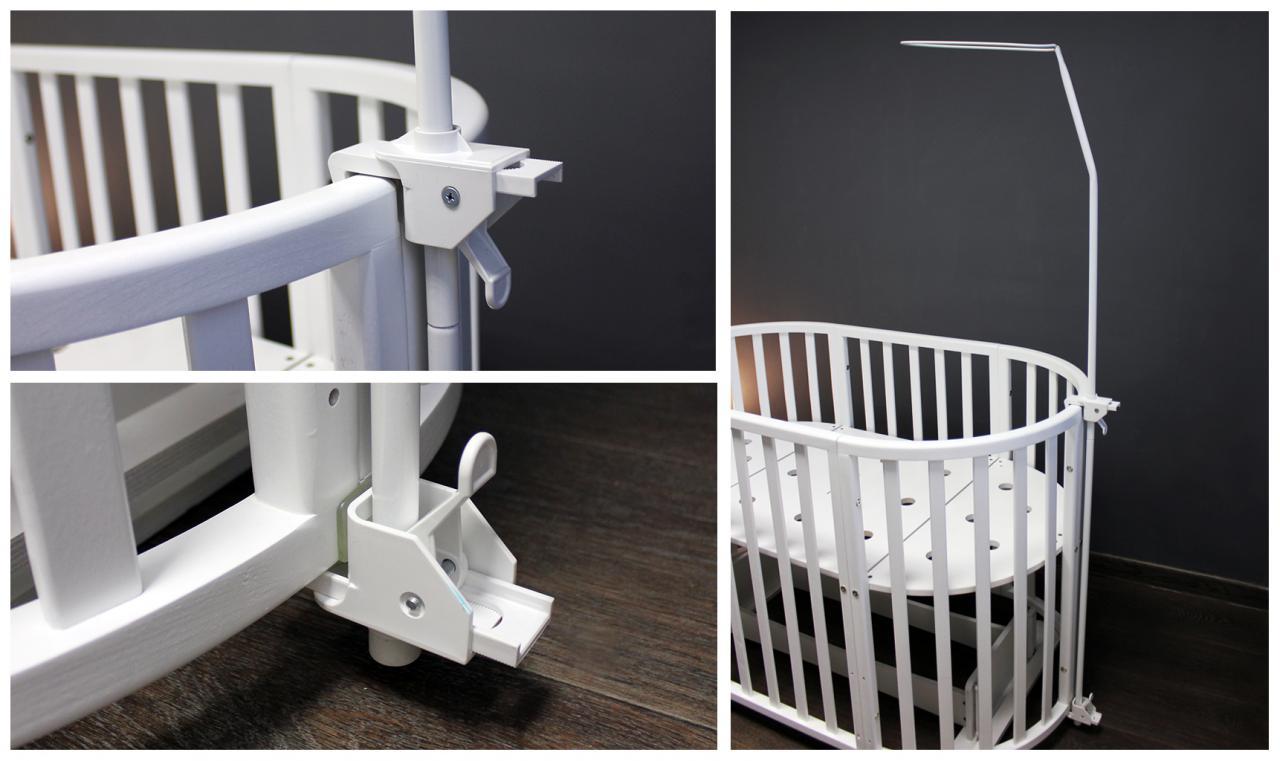
When mounting, leave a distance between the bottom of the tripod and the floor to prevent scratching when rocking.
You can fix the mobile holder in the center of the crib side or at the headboard. It depends on the style of the room and personal wishes. After fixing the holder, it is necessary to pull the canopy over the ring. This is done using special pockets or ribbons and Velcro. In their absence, the fabric is simply sewn on. Next, you should distribute the folds of fabric evenly and in such a way that they do not interfere with access to the child.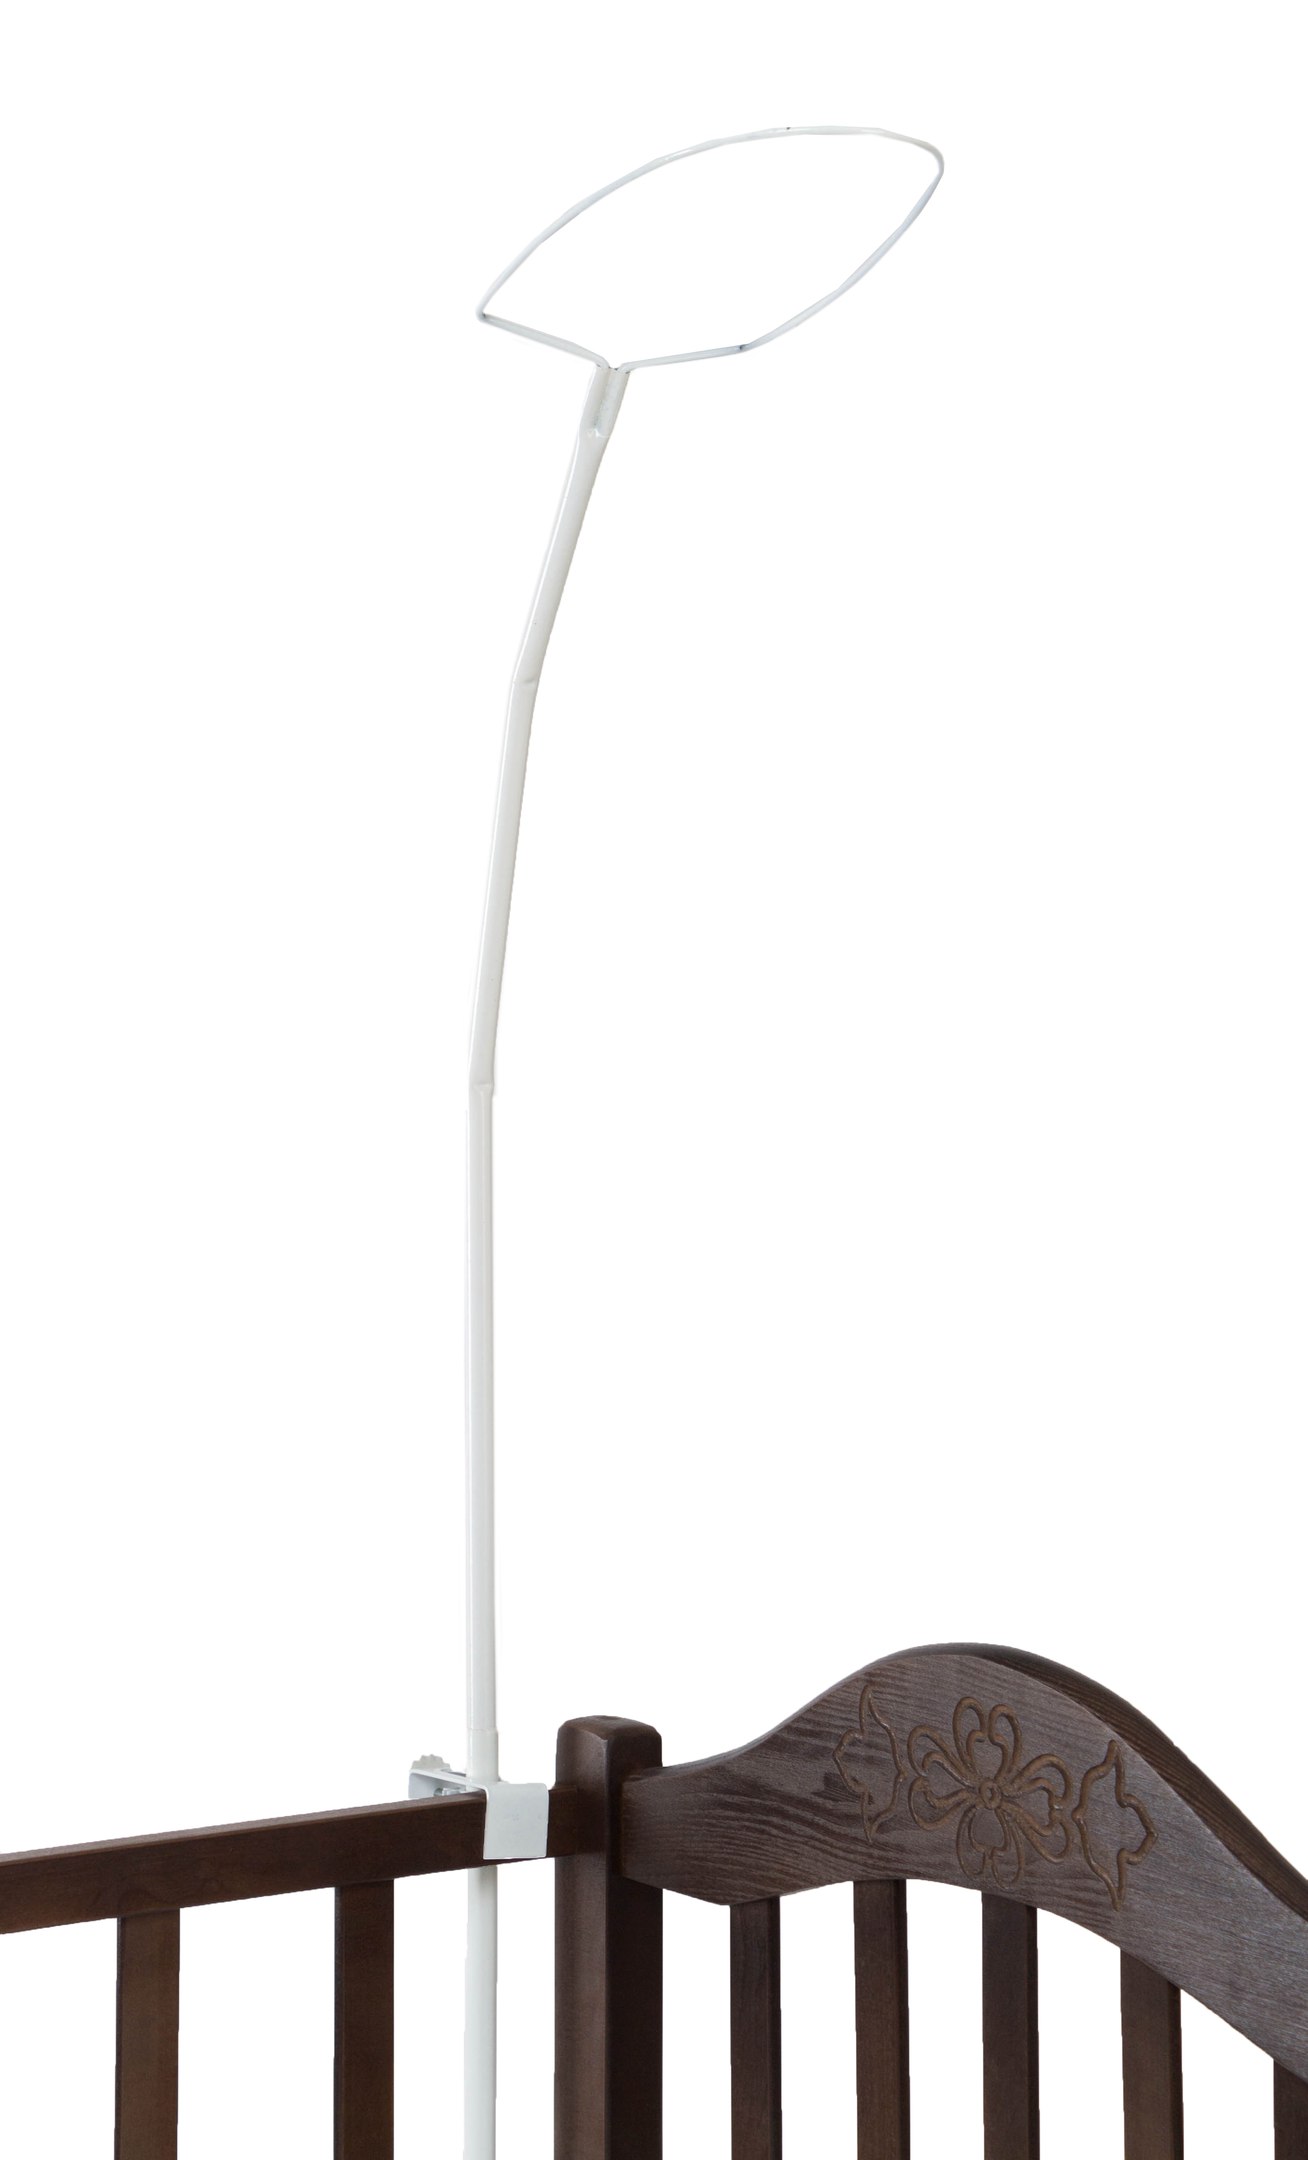
On a stand
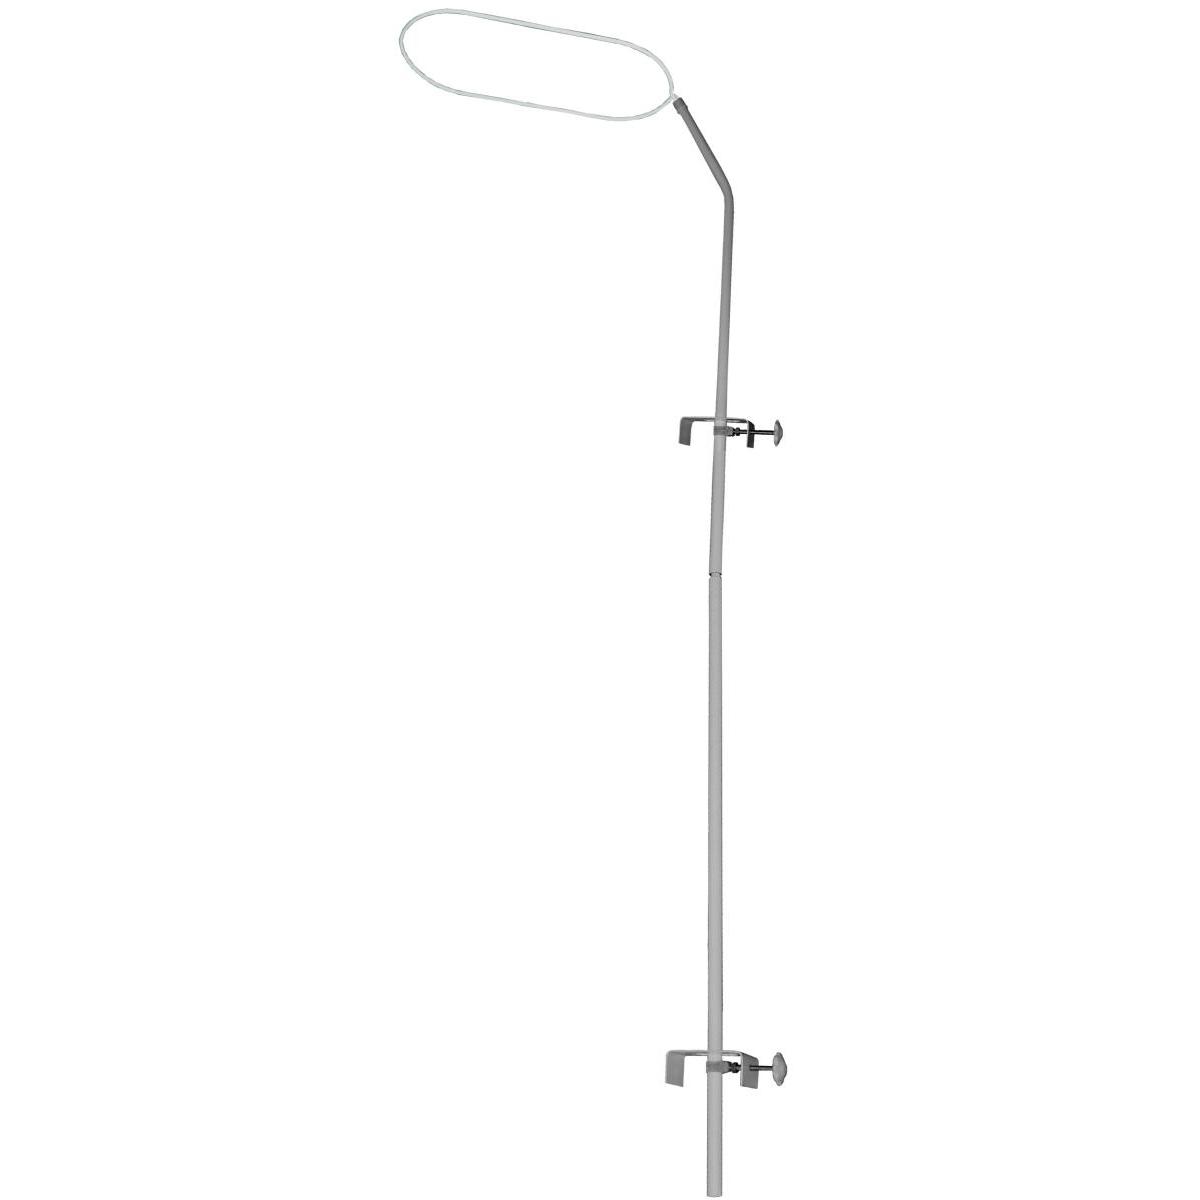
In this case, the holder has the form of a free-standing structure consisting of a height-adjustable holder, a ring and a flat leg. The advantage of this installation method is the ability to transport the canopy outside the crib, for example, on a visit or on the street, which allows you to maintain a familiar environment for the child. Also, it does not require installation in walls or ceilings, which allows you to leave no traces.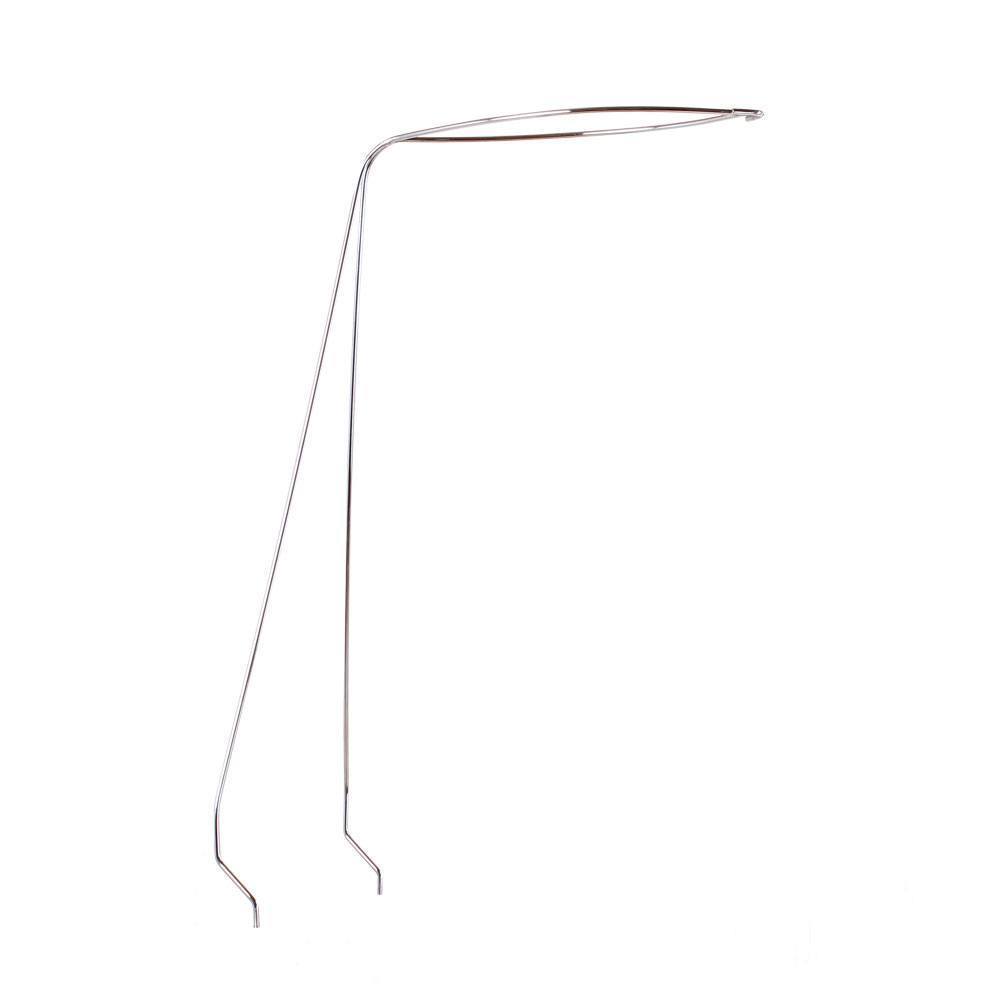
The disadvantage of this design is the relatively low weight and, therefore, instability. Therefore, if animals live in the house, this type of holder should be discarded.
How to assemble and install a canopy on a baby cot
Holder assembly features
The holder is needed to fix the canopy over the bed.
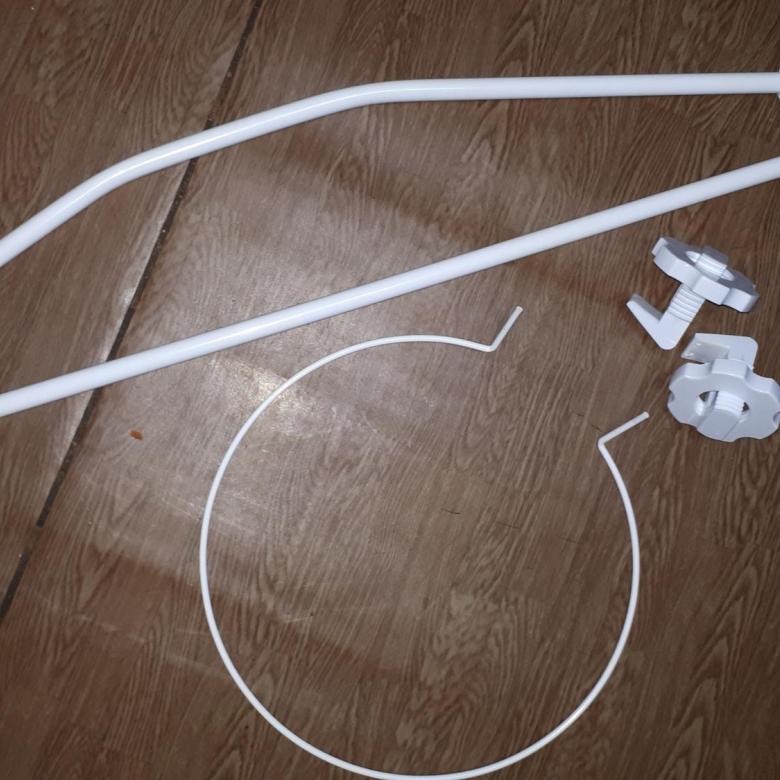
It is a bracket consisting of the following parts:
- curved pipe;
- straight pipe with adjustable length;
- clip for the bed;
- canopy ring;
- mount that allows you to fix the ring.
Before assembling the structure, it is worth choosing the length of the holder. To do this, the fully assembled bracket is fitted to the bed and adjusted to the optimum position.As the child grows up, the length of the bracket should be increased, gradually removing the canopy from the crib.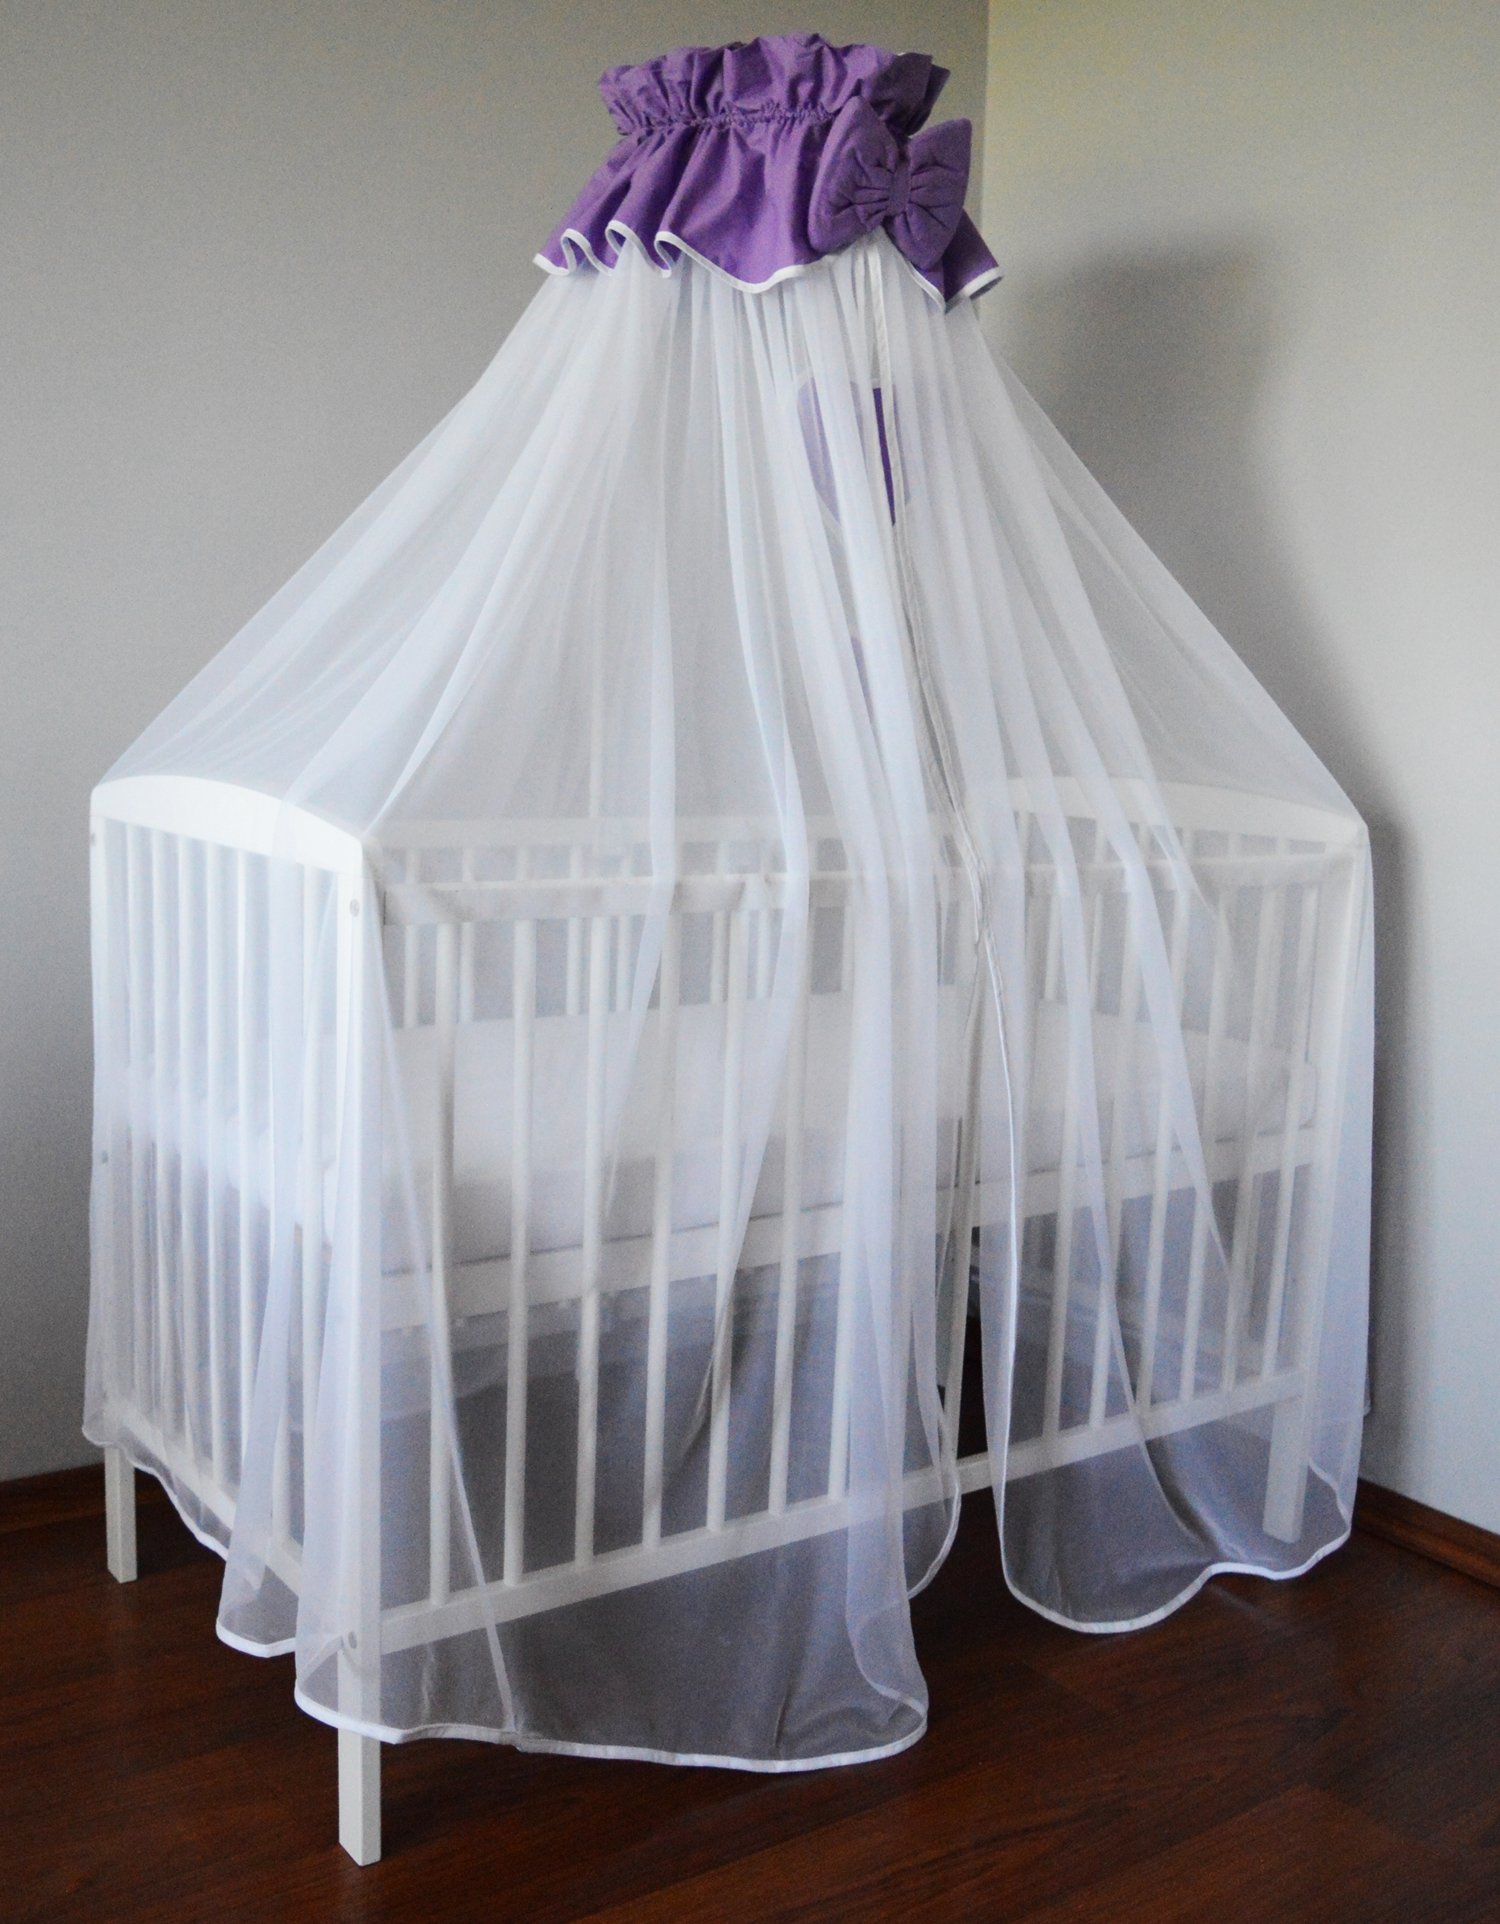
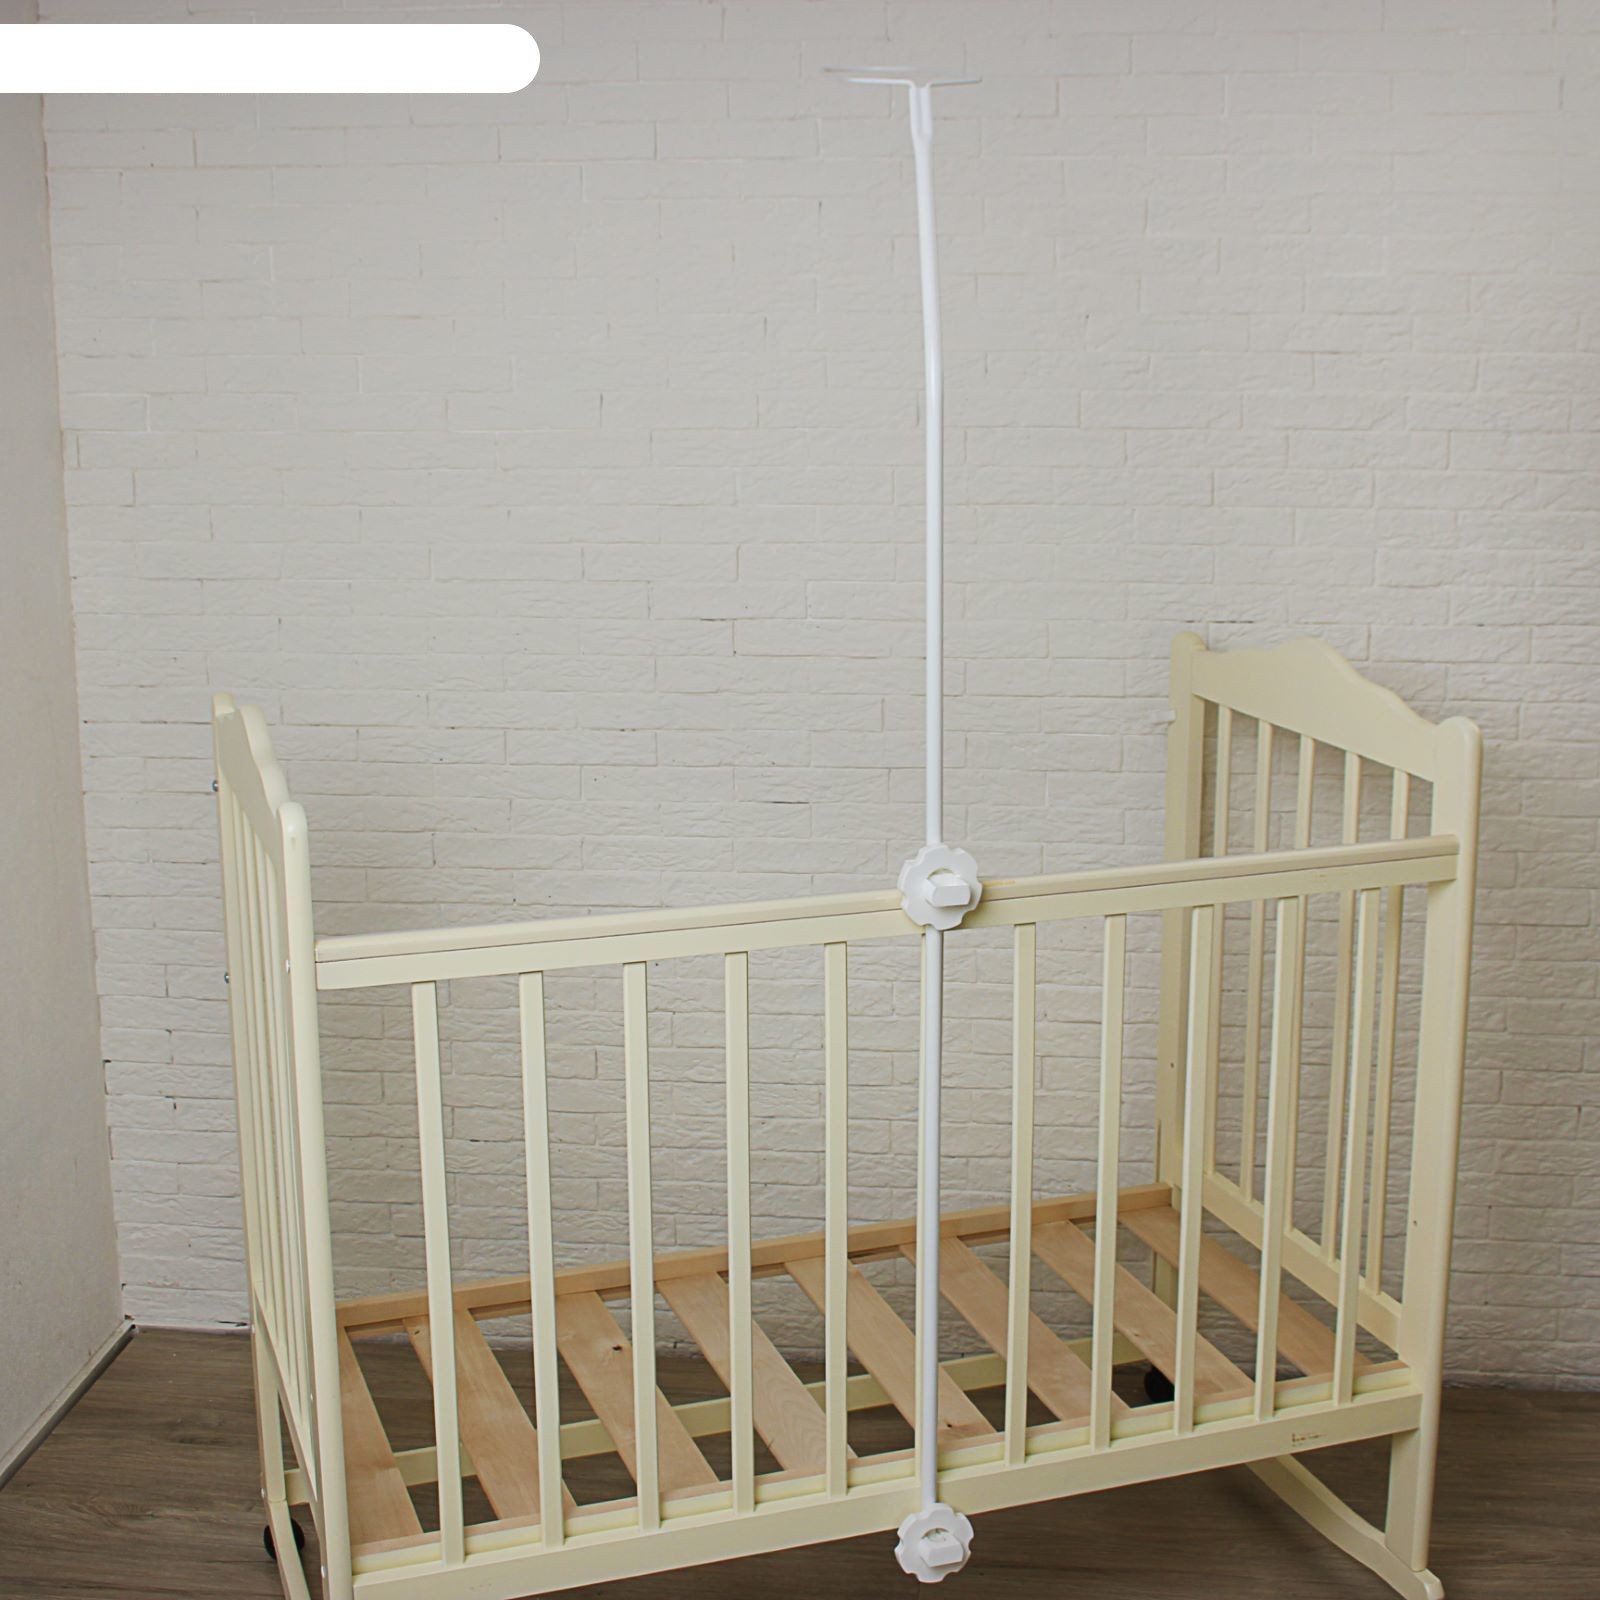
Mounting and installation procedure
Before attaching the canopy to the crib, you need to map out a suitable place. Further actions are as follows:
- Attach the tripod tubes to each other.
- Attach the canopy fabric to the ring. If it is disconnected, then the material is strung, if not, it is fastened with tapes or Velcro.
- Attach the ends of the upper part of the holder to the tripod.
- Using the appropriate fasteners, fix the tripod in the selected location and tighten the screws securely.
- Close all connections with plugs.
- Spread the fabric around the edges of the crib.
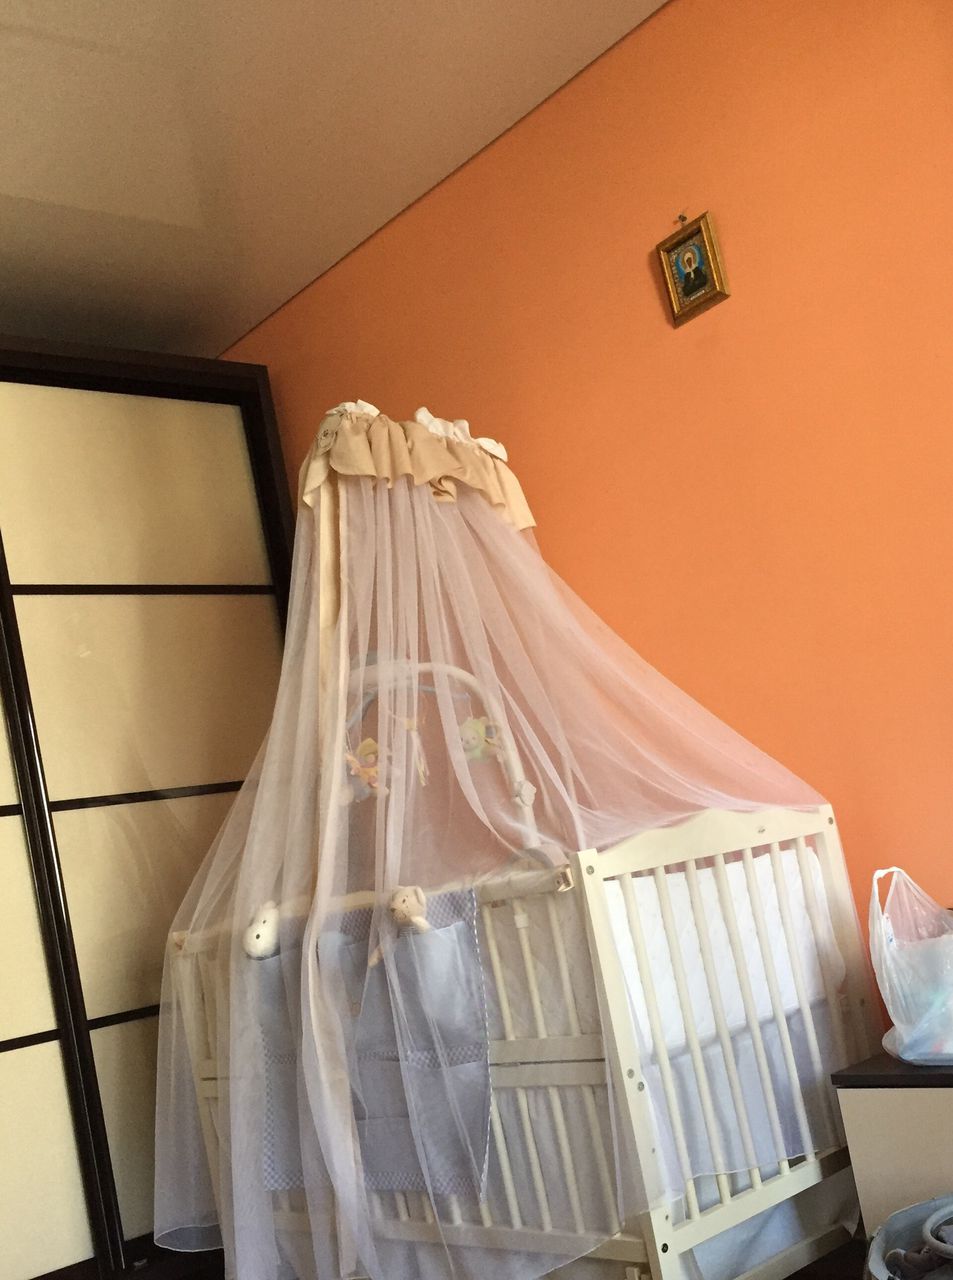
After completion of the installation, all elements must be checked for strength in order to prevent the structure from collapsing.
How to make a canopy with your own hands - step by step instructions
For the manufacture of a canopy, you should give preference to natural fabrics. A lightweight mesh fabric is the best option, but linen, cotton or chintz will also work. The main thing is that the material passes air and light well. It is worth choosing a color in accordance with the style of the room, but the shades should be pastel colors, which has a beneficial effect on the quality of the child's sleep.
To sew a canopy, you will need the following:
- the cloth;
- scissors;
- tape measure;
- sewing machine;
- games and sewing threads;
- pins and ribbons for fastening;
- ring or ready-made bracket.
The edges of the fabric can be trimmed with satin ribbons to create nice folds.
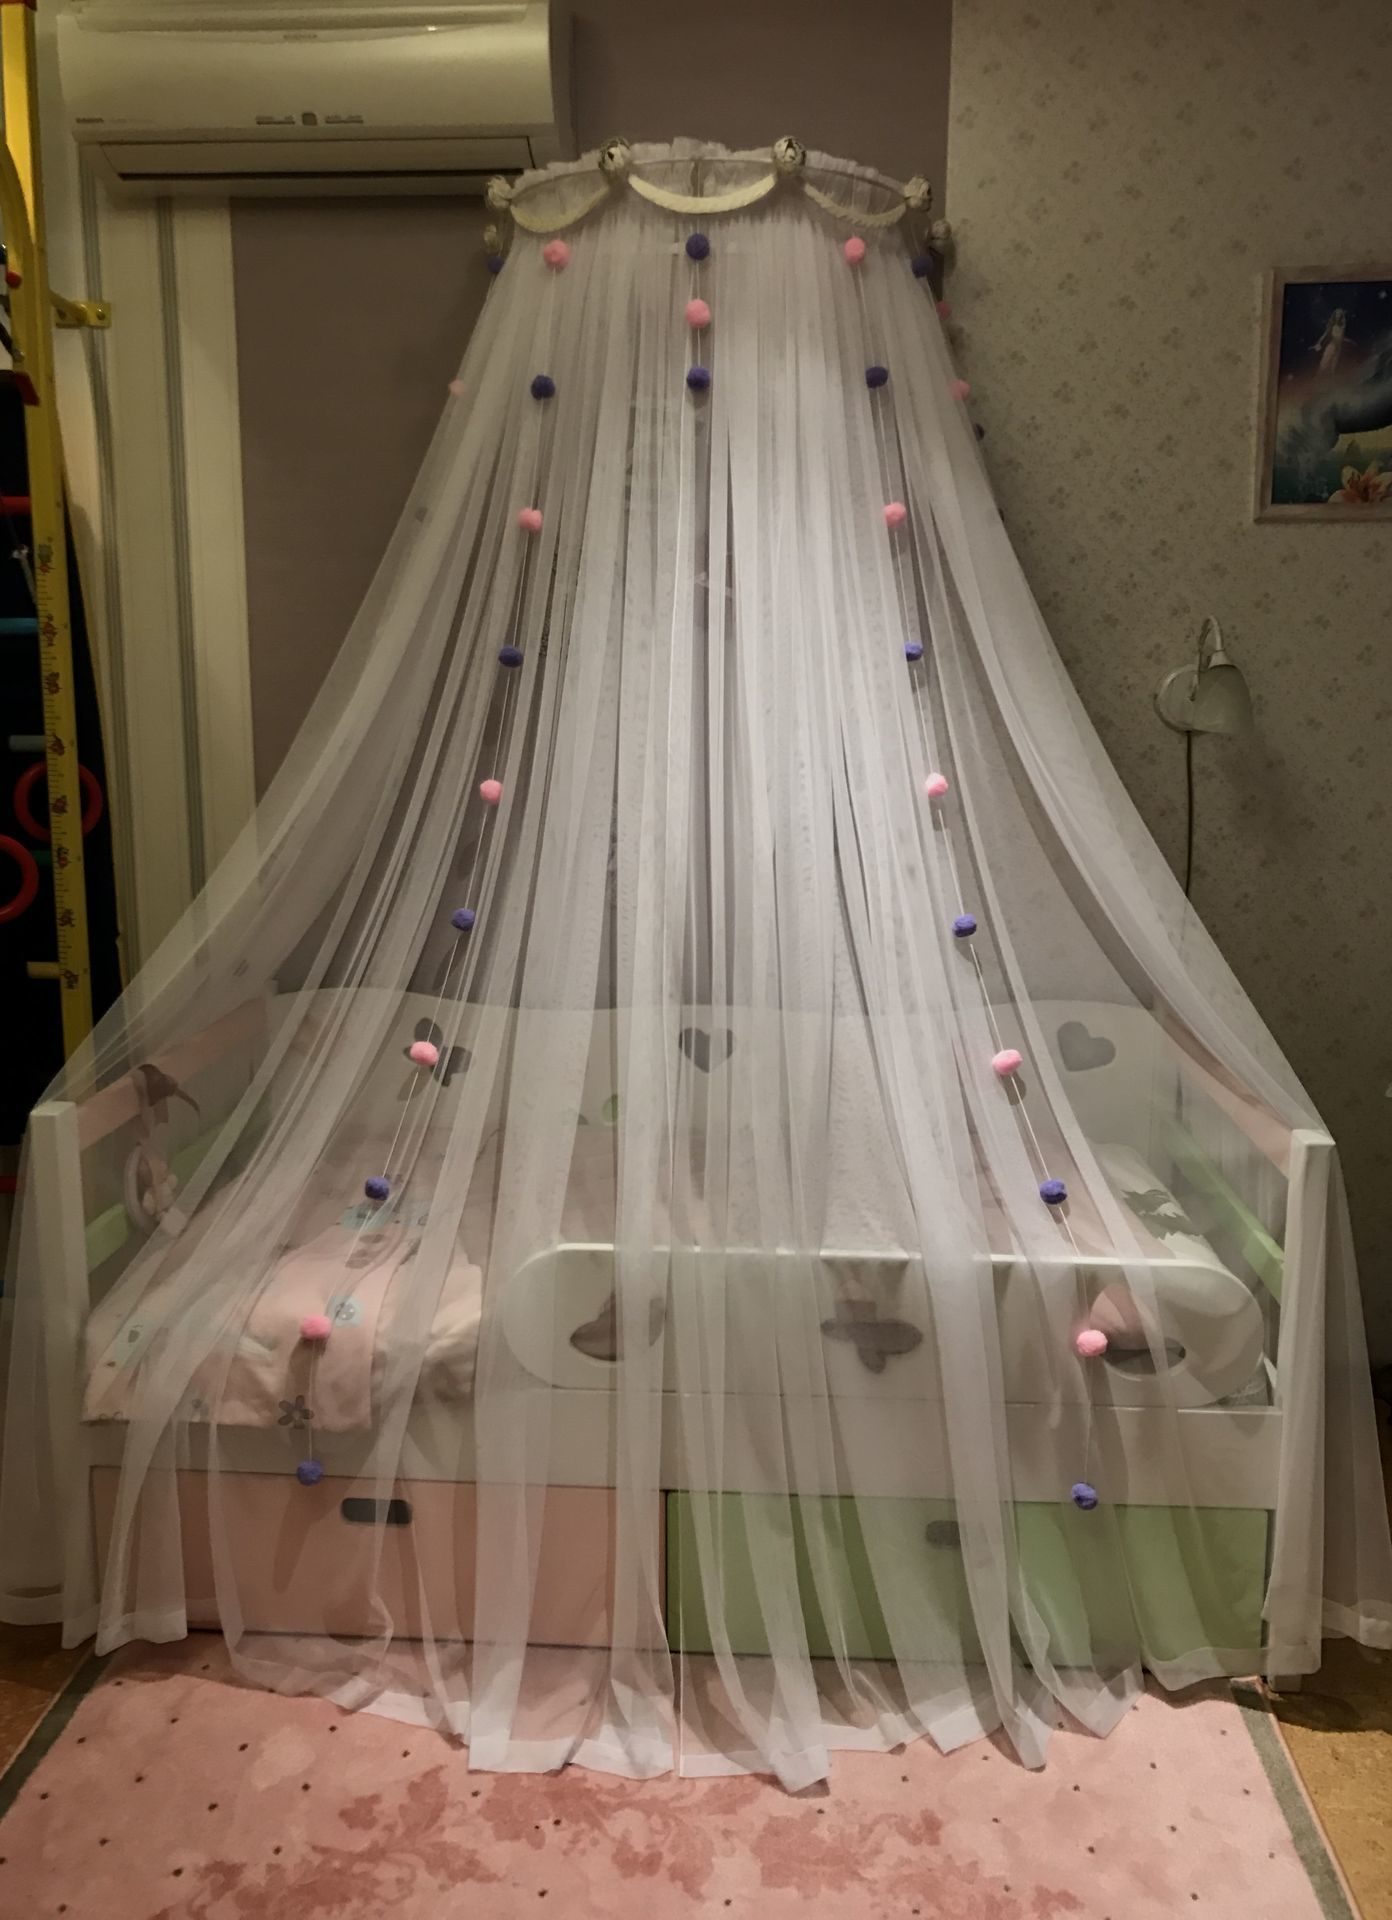
The step-by-step manufacturing process is as follows:
- Draw a pattern of the desired size.
- Cut the fabric in half, put the halves on top of each other with the front side inward.
- Put the pattern on top and circle the contours, making a rounding.
- Tie off the long side, leaving about 30 cm. Sweep the edges.
- At the top of the workpiece, mark two lines located at a distance of 5 and 20 cm from the edge. With a needle, collect the upper edges so that their length is equal to a meter.
- Trim the edge of the canopy with frills or ribbons.
- Pull the canopy over the mount and straighten the folds.
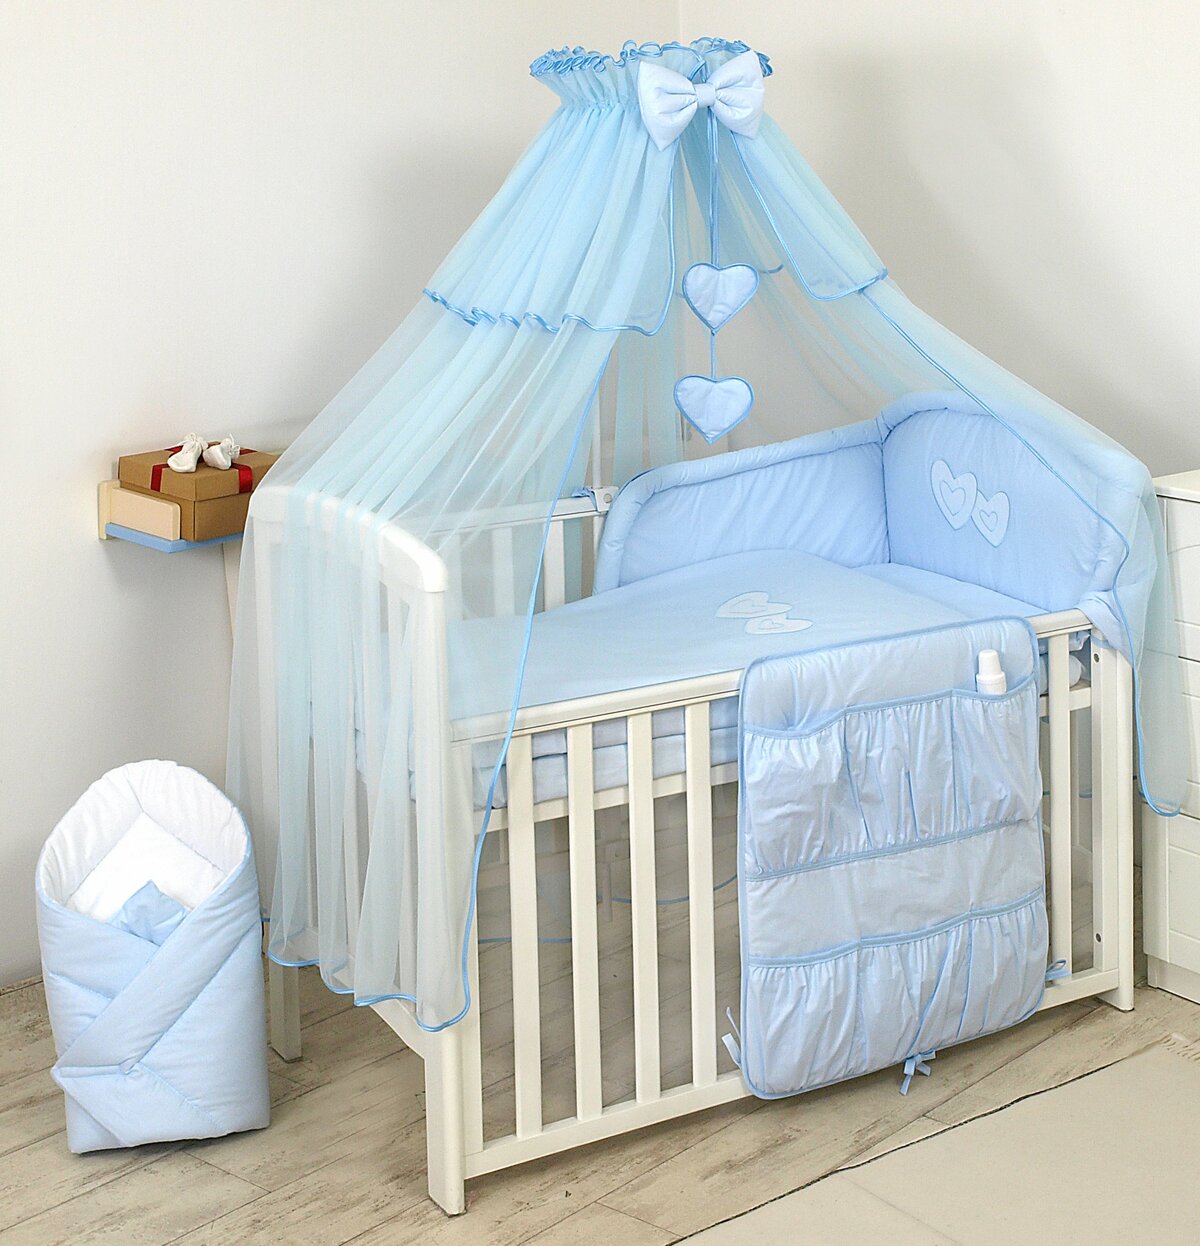
Before you hang a canopy on a crib, you need to decide on the type of attachment and the desired appearance. The process is not difficult, but the result obtained will provide complete rest and comfort for the child.
Video: how to put a canopy on the holder
