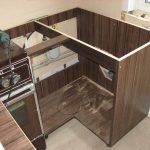
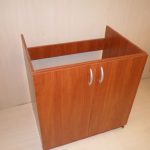
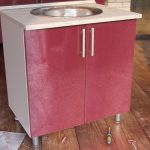
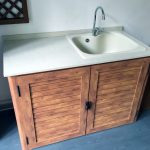
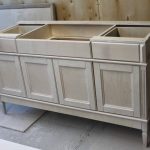
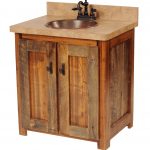
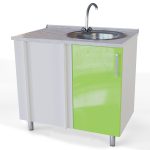
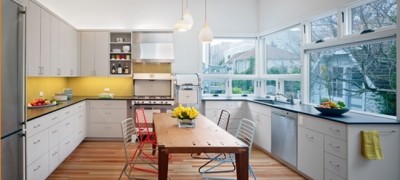
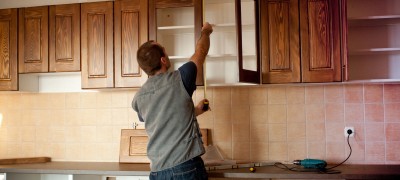
Manufacturing and selection of a cabinet for a sink in the kitchen
A good choice of furniture and its correct arrangement will help to solve many problems for creating a cozy and practical kitchen - from functional to aesthetic. An important element of the headset is the cabinet under the sink. How to make a cabinet for a kitchen sink with your own hands, what material to choose, where to install - these questions arise for novice craftsmen in the first place.
Pros and cons of self-made curbstone
When making your own furniture, you can plan a design according to your own taste, take into account the size of the room and the subtleties of the placement of communications, as well as many other factors. This will result in a more practical and profitable option for many reasons:
- Substantial budget savings. The finished product will undoubtedly cost several times more, and often you can only overpay for the brand.
- You can also save on labor costs, since furniture manufacturing services are also expensive.
- Choose any available or most suitable material, at your discretion and pocket.
- Get or hone your own skills, embody the most daring and creative ideas: equip the bedside table with additional shelves, niches or hanging structures.
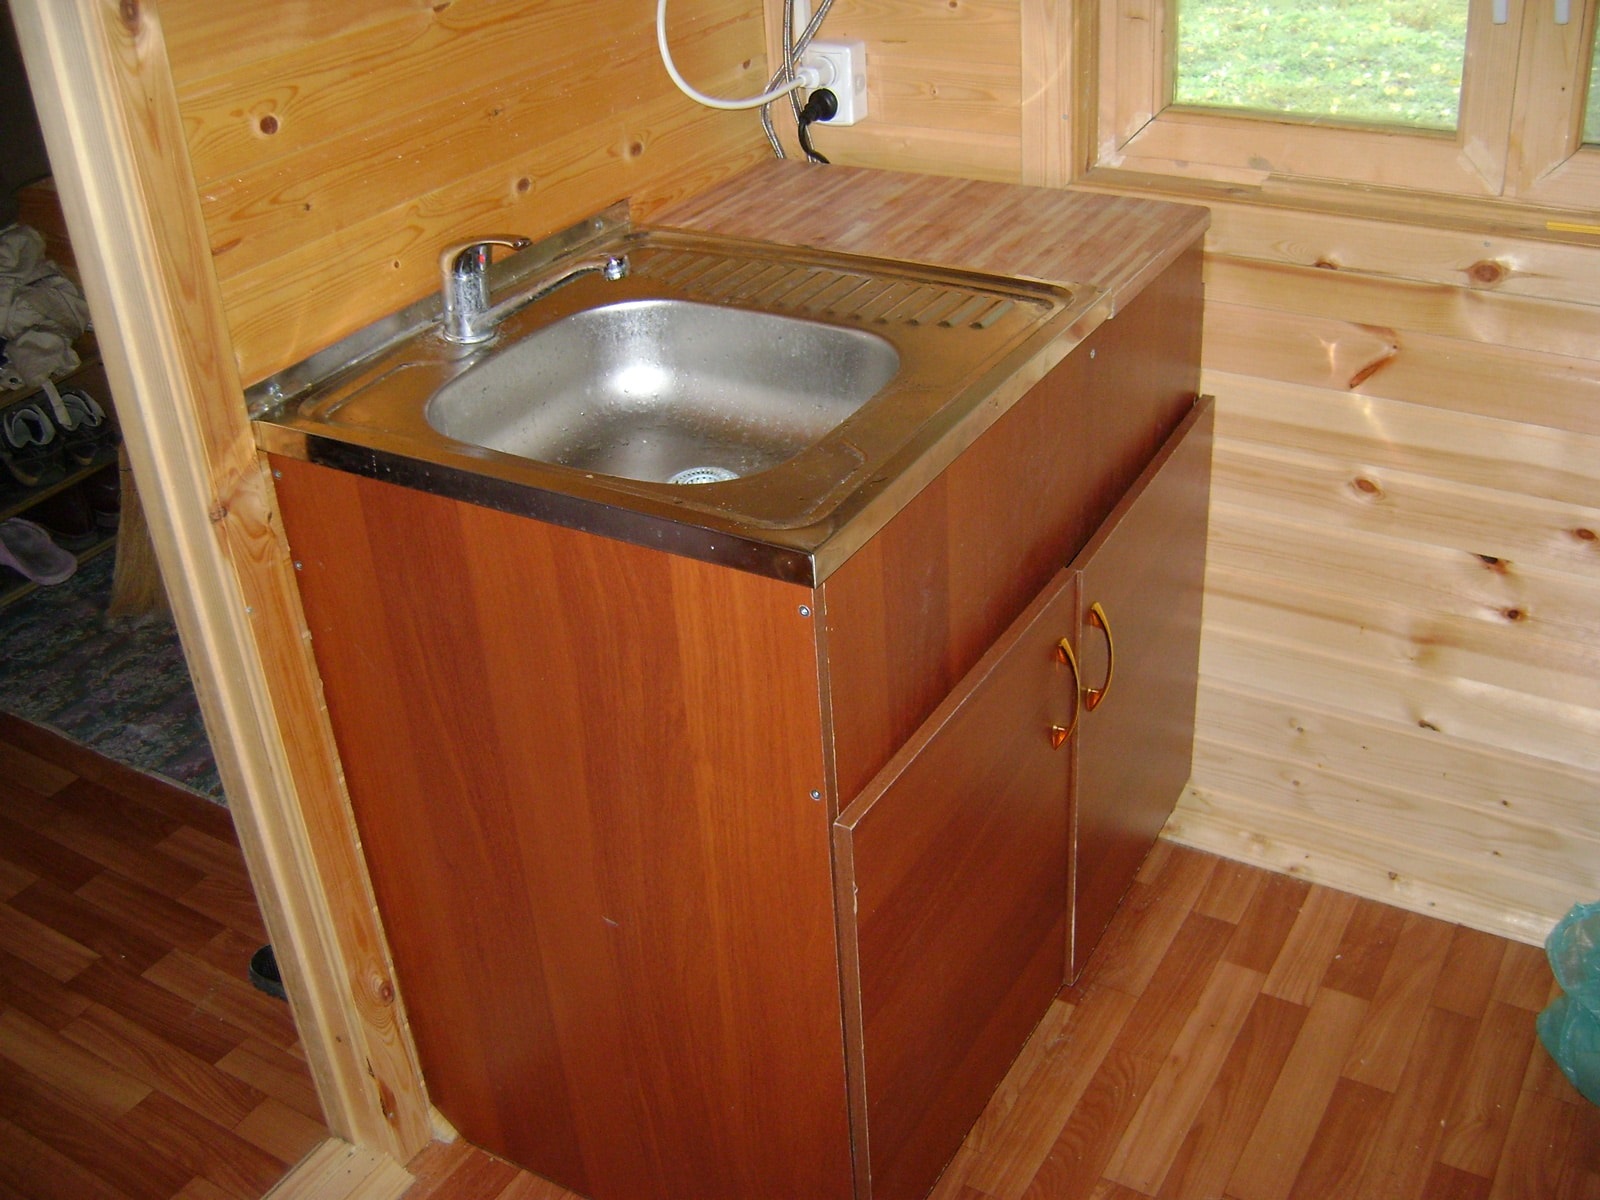
There is also a downside to the medal - the disadvantages of making a kitchen set include the following:
- It is required to have at least minimal experience and skills in many areas: joinery and carpentry, plumbing and be able to develop drawings.
- You may need to purchase or rent expensive equipment: an electric drill, a circular saw, etc.
But if the master expects to continue making furniture on his own, any financial investment will certainly pay off. Of course, the first steps are taken by trial and error, so it is better to start with simple structures and not the most expensive material. Even if you have to redo, the damage will not be so great.
How to choose kitchen furniture
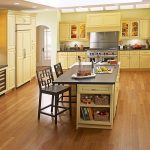
The main parameters for choosing kitchen furniture is the size of the room. The number of installed cabinets and their location depends on this. A cabinet with a sink in this matter occupies a special place, since for a kitchen with a small area, its correct placement can significantly expand the working area. Structures are of the following types.
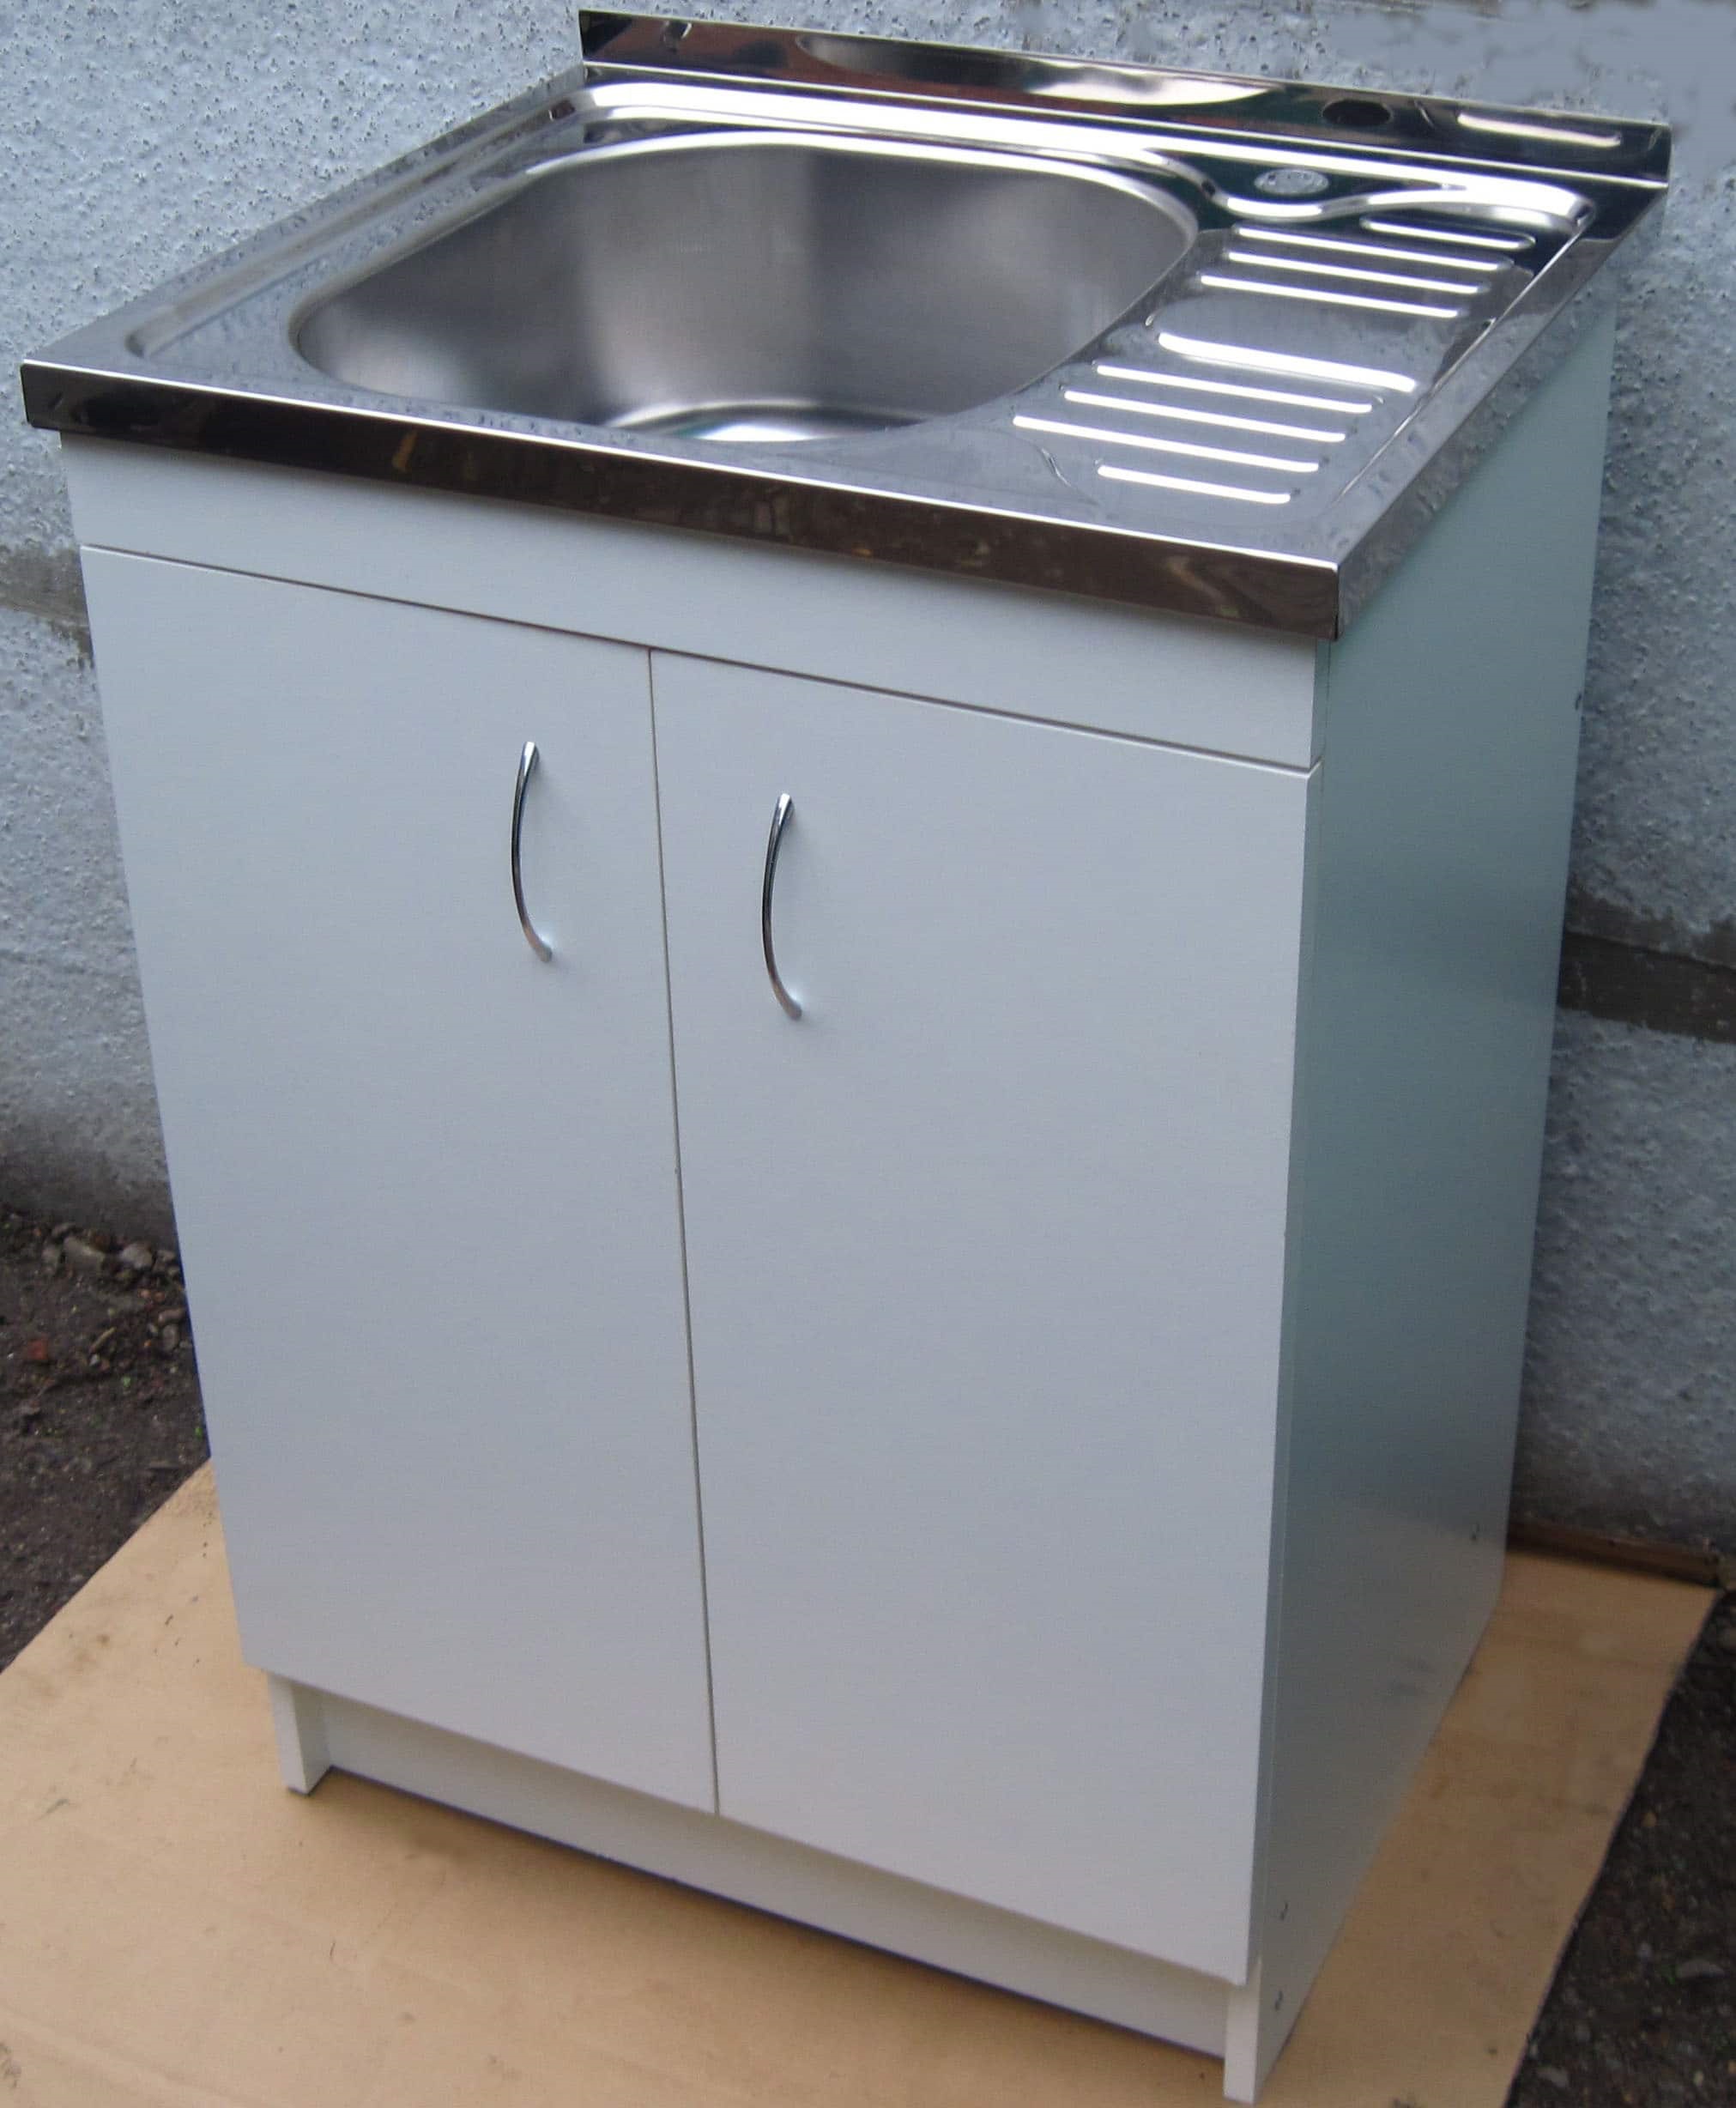
Straight floor
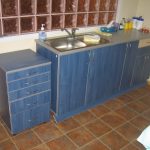
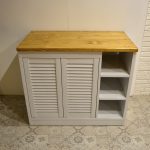
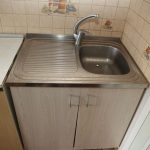
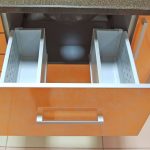
The most common option that suits any room. They hide communications, securely hold the sink, can be of various sizes and equipped with additional shelves.
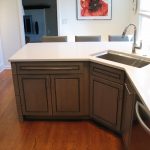
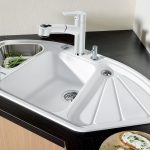
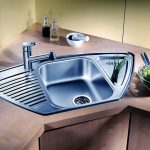
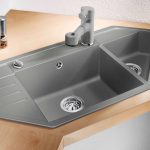
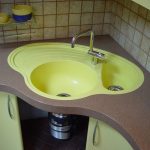
Corner, L-shaped
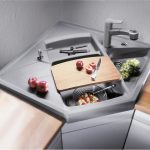
They will help save space, since corners are rarely used practically.

Trapezoidal
These are large enough roomy cabinets, behind which you can not only hide a trash can, but also use them to store things and equipment.
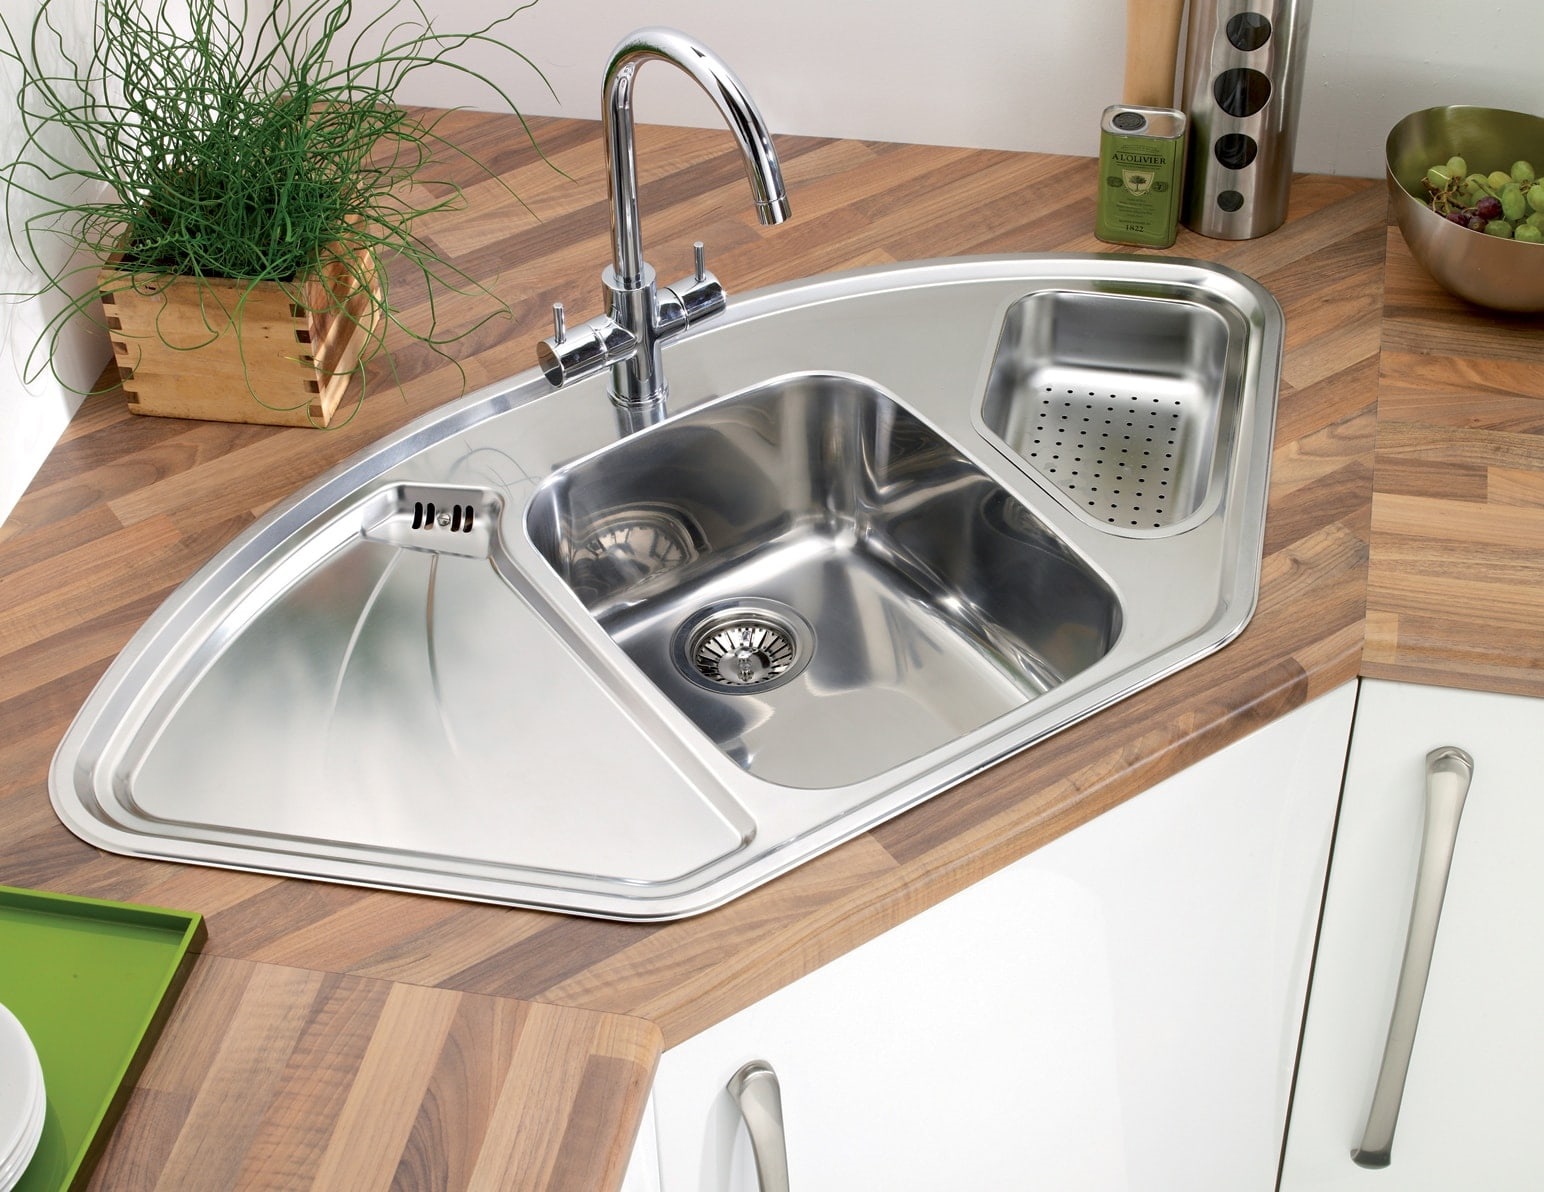
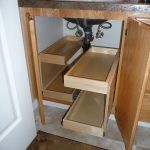
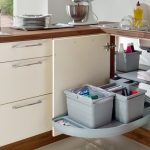
Additional Information. It is popular to equip corner and trapezoidal pedestals with hinged structures - "carousels" and baskets. It is not difficult to mount them, but the resulting comfort will be appreciated.
The nuances of choosing a sink
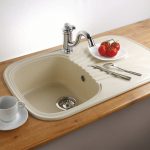
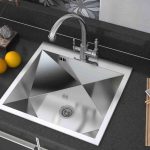
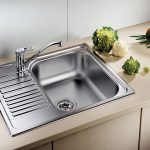
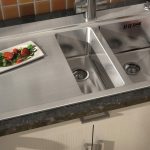
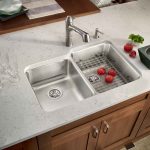
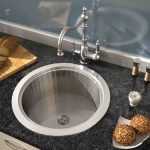
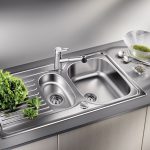
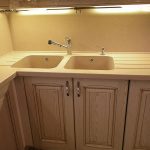
The sink under the cabinet can be of various sizes and configurations: round, oval, square and non-standard. They can be equipped with one or more bowls, different in volume and purpose. The main thing to pay attention to is the type of washbasin and the material from which it is made.
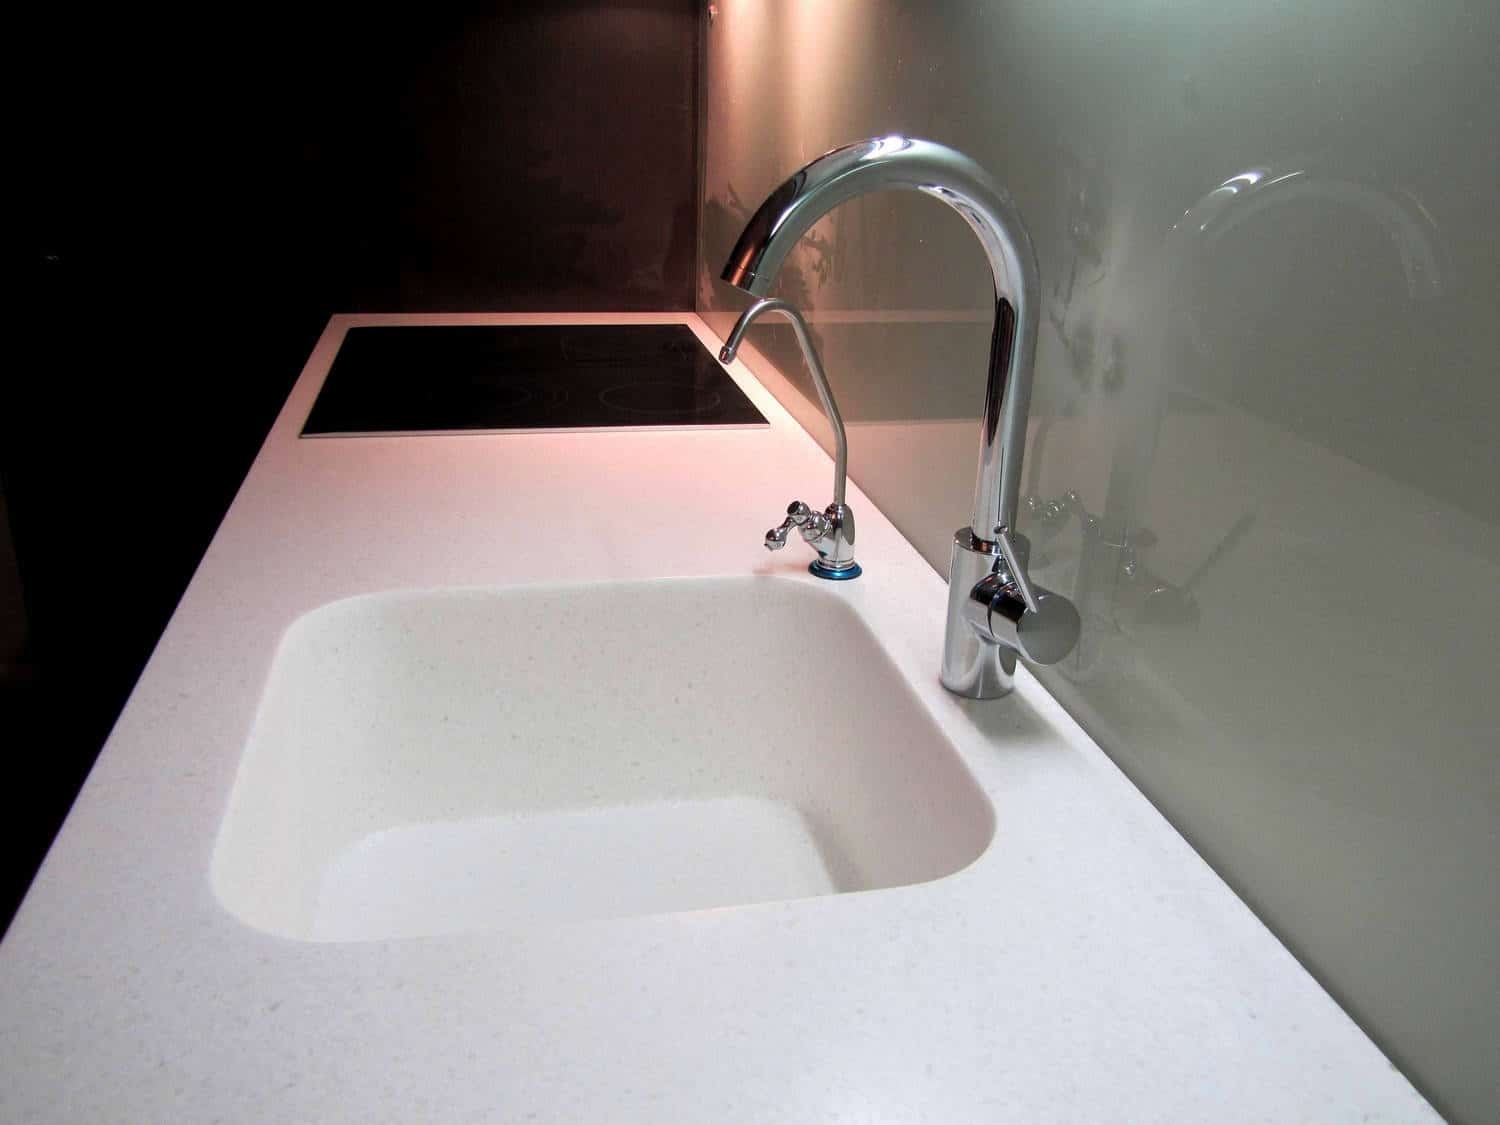
There are these types of sinks:
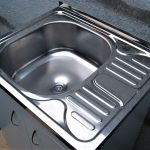
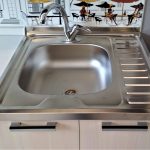
- An invoice that lies on top of the curbstone. It is attached to the cabinet along the edges, so installation will not be difficult.
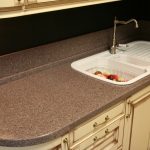
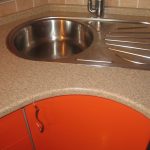
- Mortise is applicable in a monolithic countertop - here a hole is cut out according to the shape and size of the sink, where it is mounted.
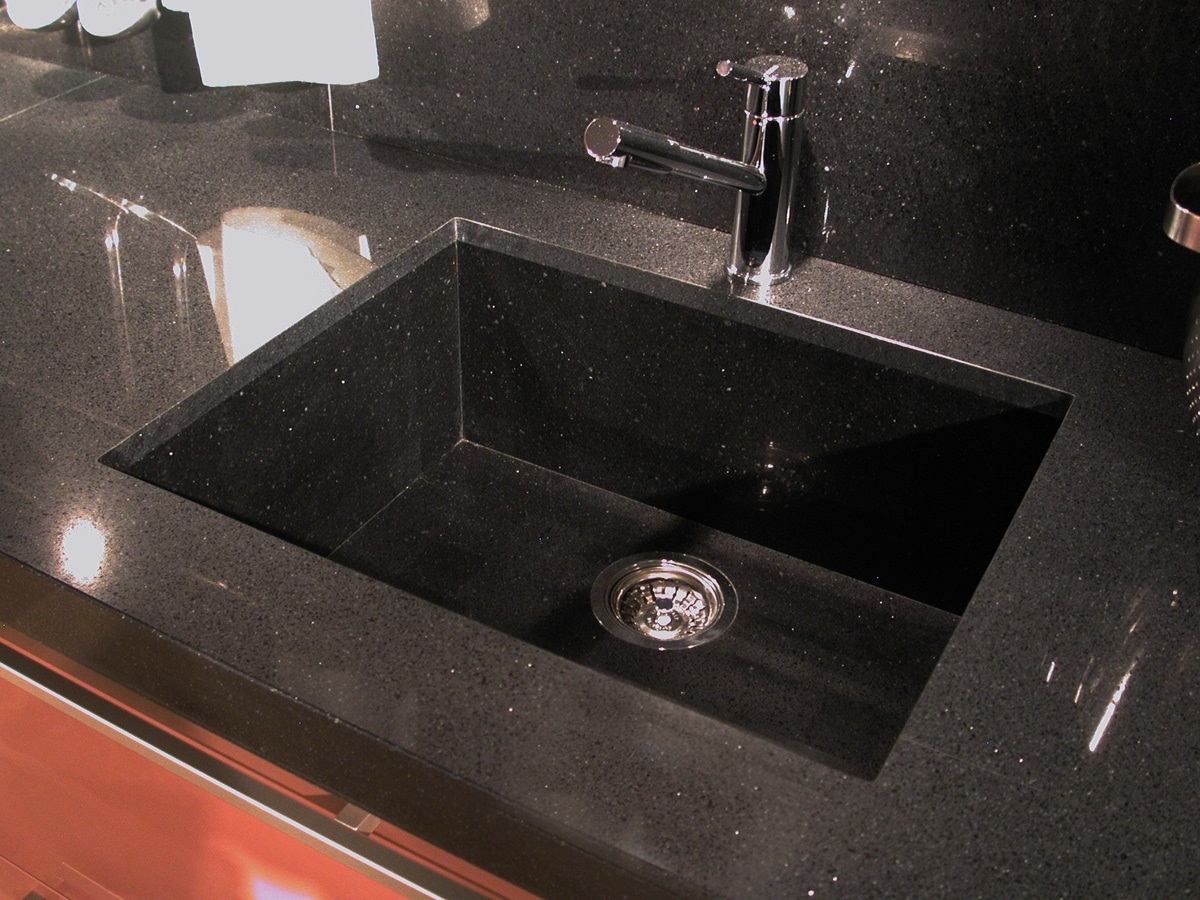
In addition, there are integrated washbasins that are inseparable from the countertop and are manufactured together with it. As for the material, the assortment here is also quite wide. The most popular are stainless steel, ceramics and artificial stone.
How to make a do-it-yourself sink cabinet
An important step in the manufacture of a sink cabinet is planning. Detailed development of the sketch and drawing of the vanity unit will help save time and avoid many annoying oversights. It is advisable to pay attention to such nuances:
- Decide on the model and place of installation of the cabinet and sink, sketch out a sketch, taking into account the placement of the main communications and equipment.
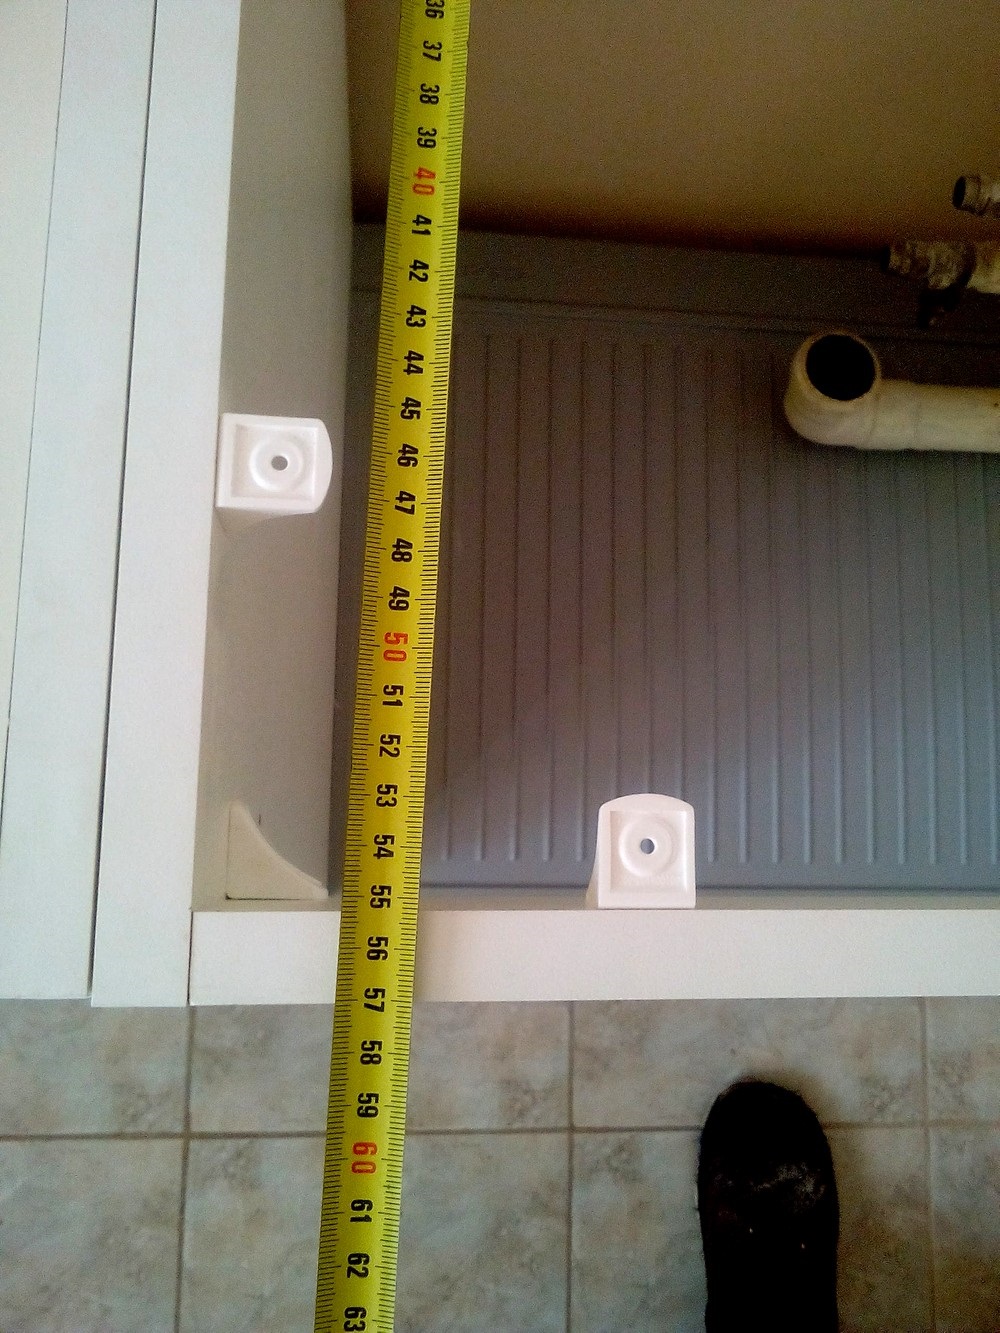
- Measure the free space where the curbstone will be installed.
- Develop drawings indicating the overall dimensions of the product and separately each component of it.
- After that, you should decide on the material, prepare the necessary tool, and you can start implementing the idea.
Drawing and diagram
The diagram will visually demonstrate the design features, taking into account the location of the pipes and siphon, so that it can function normally. Consider the dimensions of all the necessary elements: frame, side walls, doors and pallet.
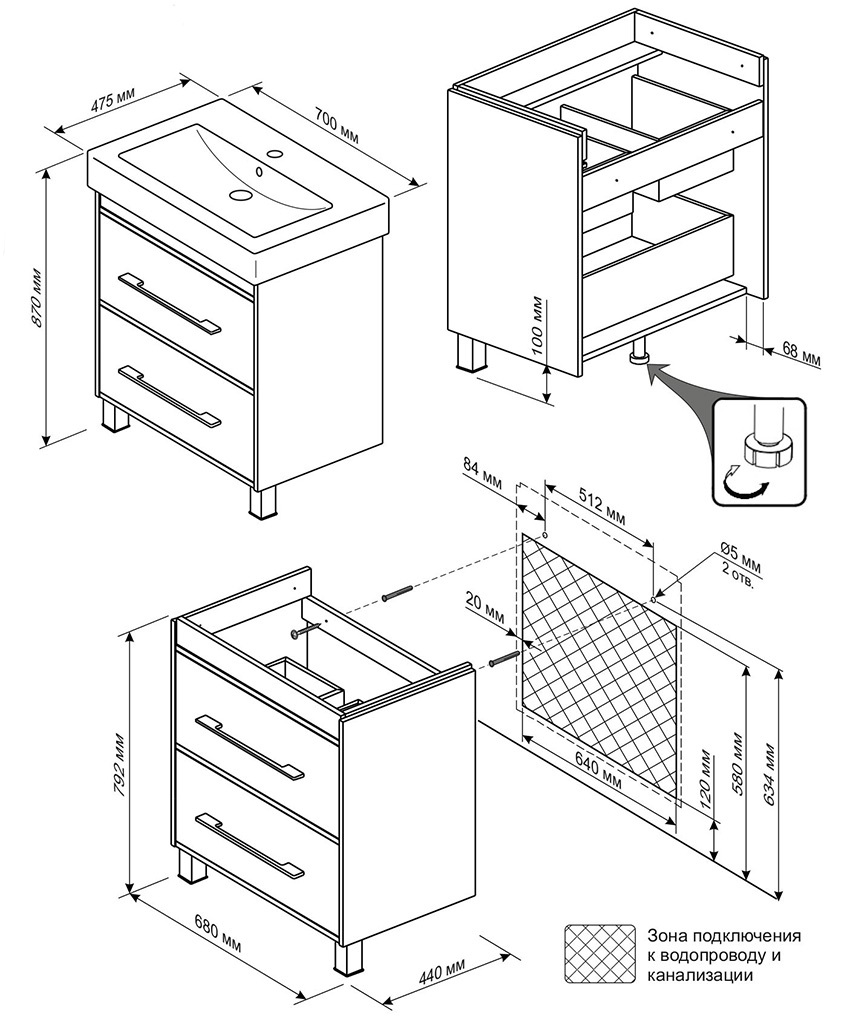
It is also important to take care of the detailing of additional elements: the number of shelves, carousel, fittings, and more. For each structural element, a detailed drawing should be developed, indicating the dimensions.
Important! When calculating the dimensions, it is important to take into account the thickness of the side wall - therefore, the internal usable volume may decrease. For chipboard it is 16-18 mm.
Choice of tools and material
The complexity of the project depends on the choice of material for the curbstone. The following are considered popular in the manufacture of kitchen furniture:
- Wood. An expensive material, difficult to process and subsequent care, because it absorbs moisture too much, which contributes to its deformation.
- Chipboard. The most popular and inexpensive option. Easy to process, but requires additional lining and edgebanding to minimize harmful resin fumes.
- MDF. It is the safest material, also affordable, but more durable and practical than chipboard.
Artificial stone products require specialist skills and professional equipment. A novice master should practice using materials that are accessible and easy to process. You will also need to stock up on the necessary fittings, cladding tape and plywood for the back wall. The following tool will come in handy in your work:
- electric drill;
- electric saw or jigsaw;
- screwdriver and screwdriver.
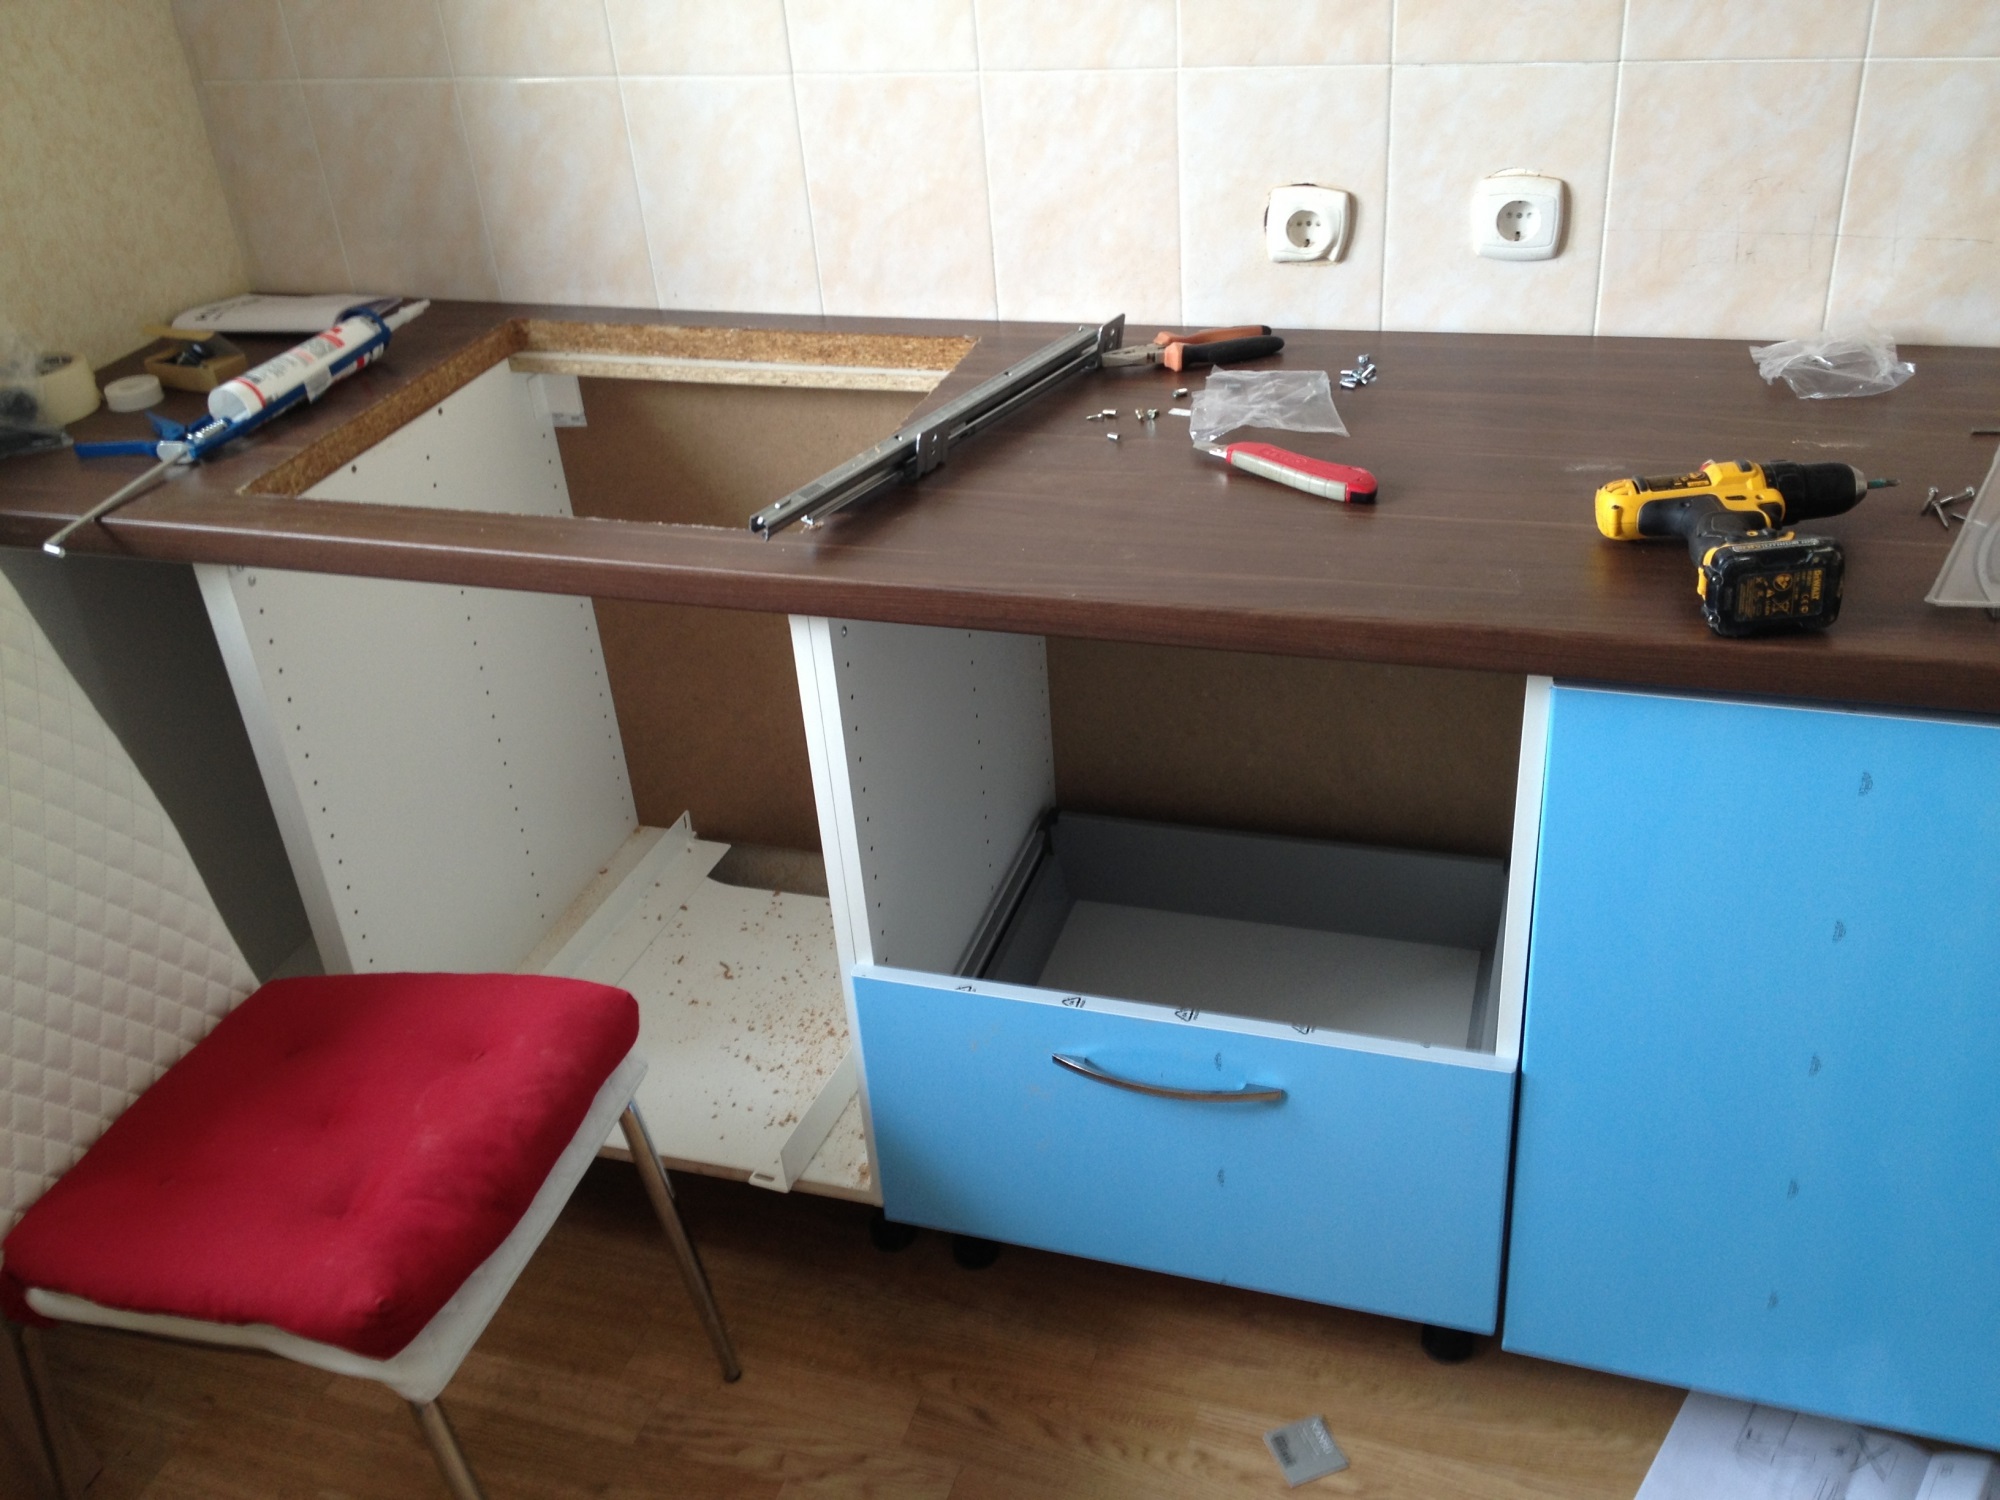
You should stock up on a pencil and tape measure, buy screws and screws, door handles, corners and hinges. Additionally, they purchase a putty, sealant and construction glue.
Preparatory stage
Having purchased the necessary materials and tools, as well as having made drawings of the future product, you can start preparatory work. They consist of the following stages:
- Transferring the elements of the curbstone to paper, observing the dimensions.
- Cut out sheets according to the applied drawings. Saw out the two side walls, the pallet, the top, the bottom plinth and the top struts.
- Corresponding holes are made at the joints.
- The edges are cleaned with sandpaper, treated with putty and pasted over with an edge.
Important! The opening for the inset sink is marked on the countertop. Then a hole is drilled, and the desired hole is cut using an electric saw.
Make sure that all dimensions are in accordance with the drawings. After that, you can start assembling the parts.
Door calculation
Particular attention should be paid to the calculation of the dimensions of the doors, since it depends on how well they will fit and open freely. To do this, you should:
- Measure the width of the baseboard and countertop.
- Subtract these dimensions from the total height.
- Subtract twice the edging thickness (4 mm).
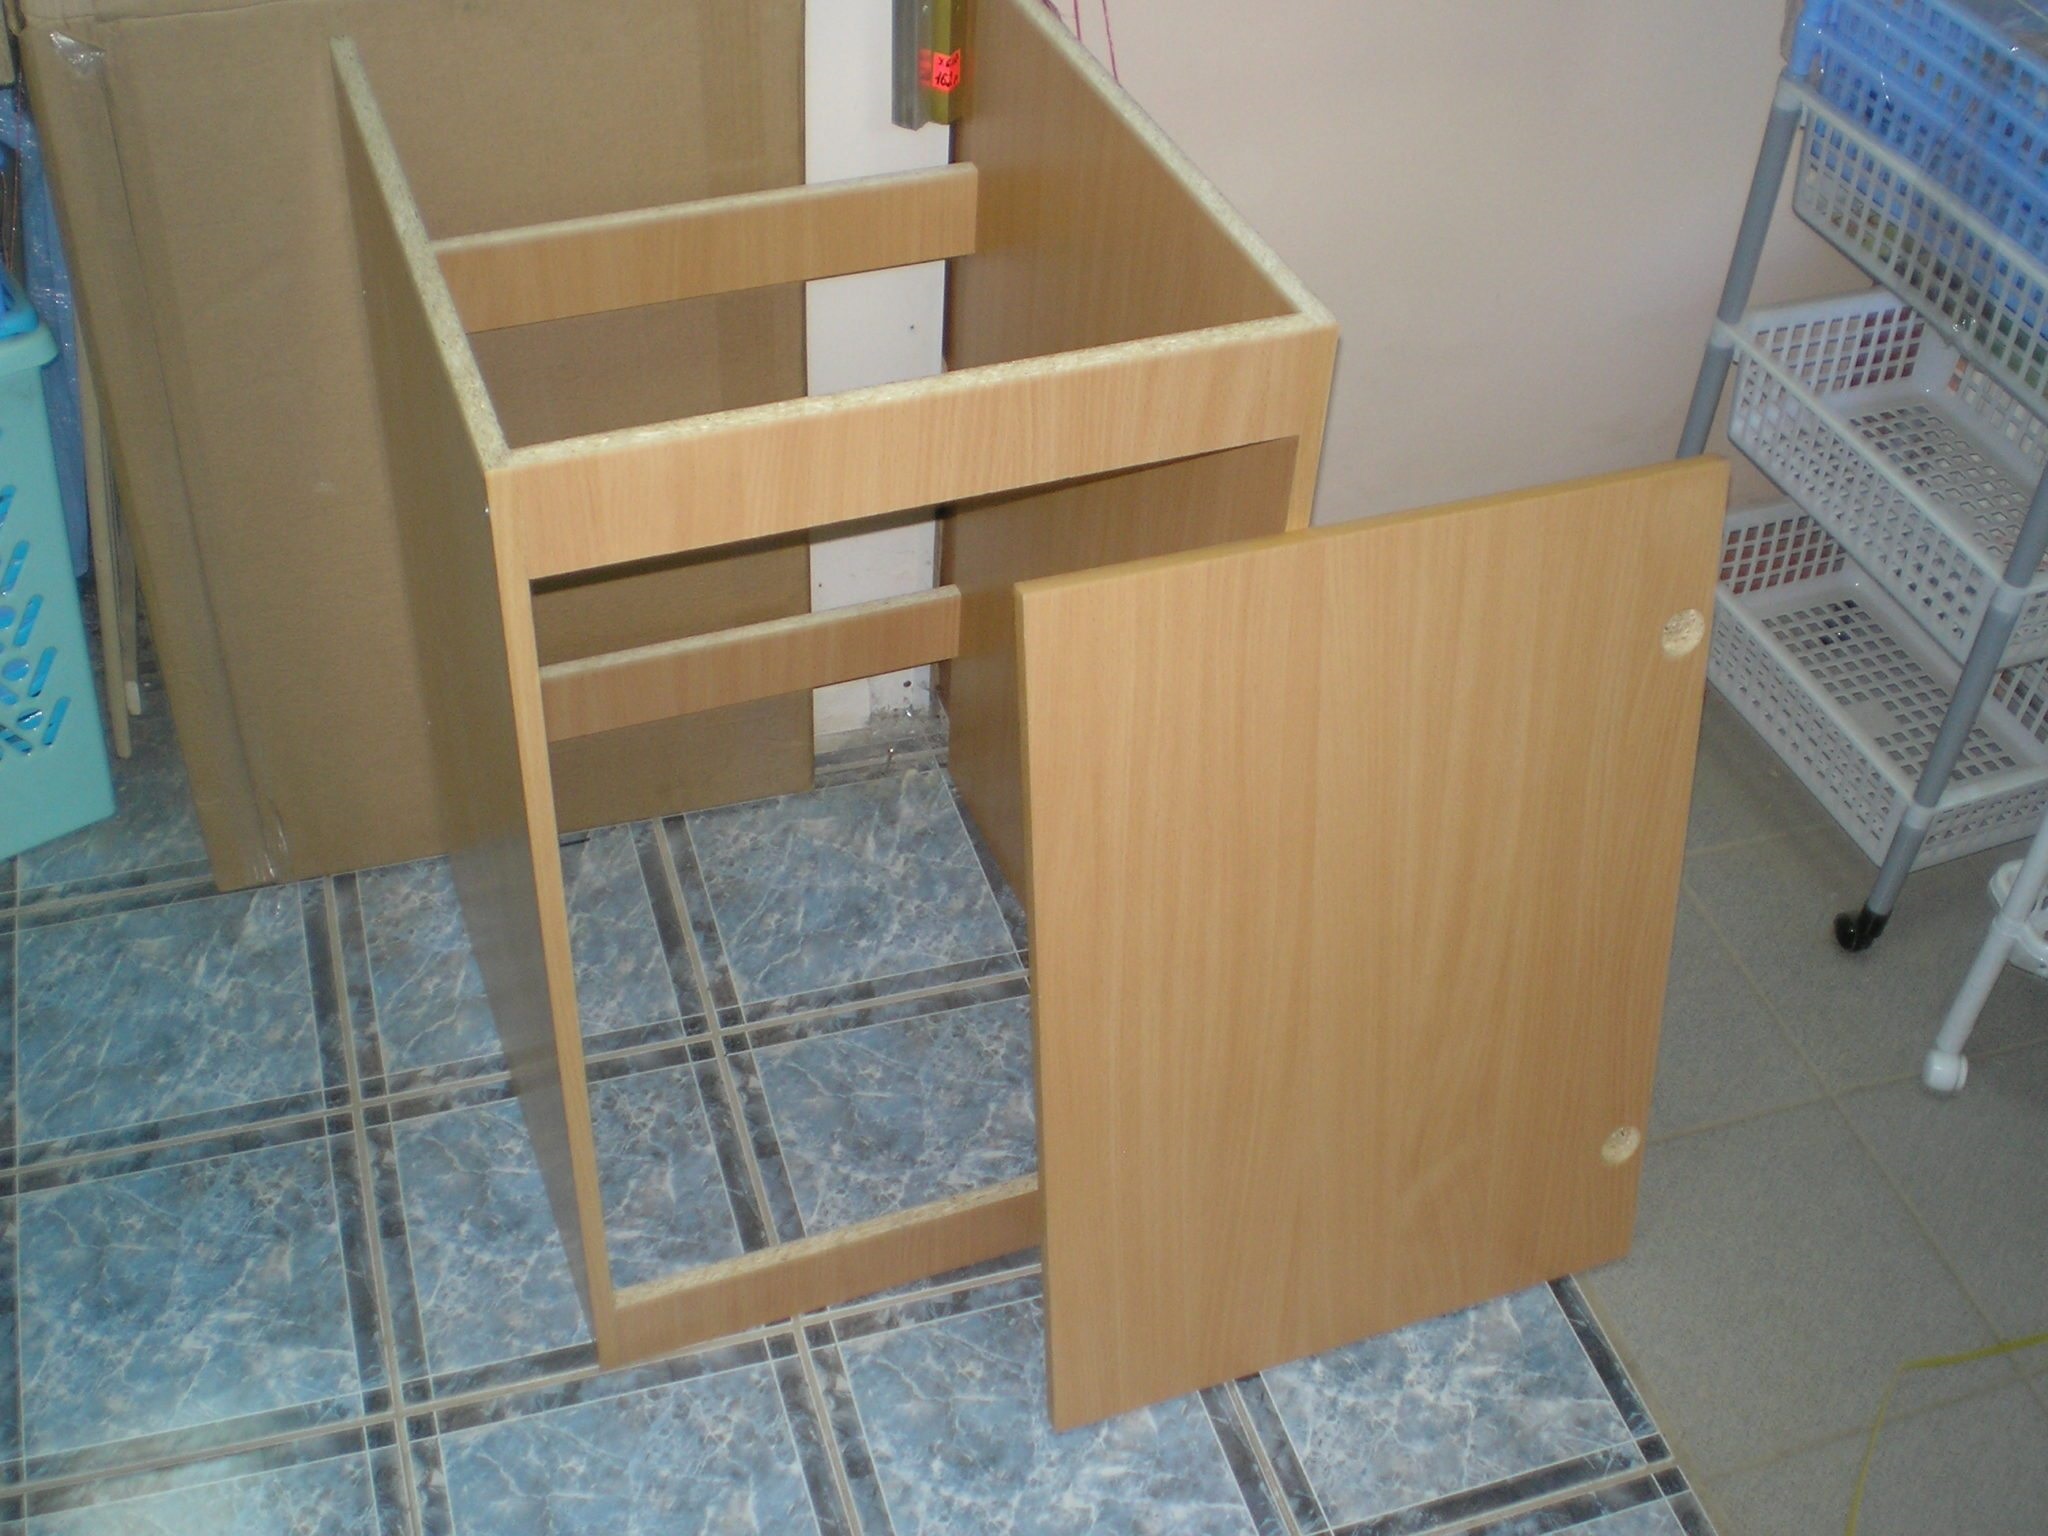
With a height of 800 mm, a baseboard width of 80 mm and a worktop of 25 mm, this value will be 691 mm (800-80-25-4).
The width of the door is calculated as follows: the total width of the bedside table is divided in half, then the width of the ends on both sides (4 mm), the gap between the doors and adjacent pedestals (2 mm each) are subtracted from the obtained value, and add another 2 mm for fidelity. That is, with a cabinet width of 800 mm, the width of each door will be 390 mm.
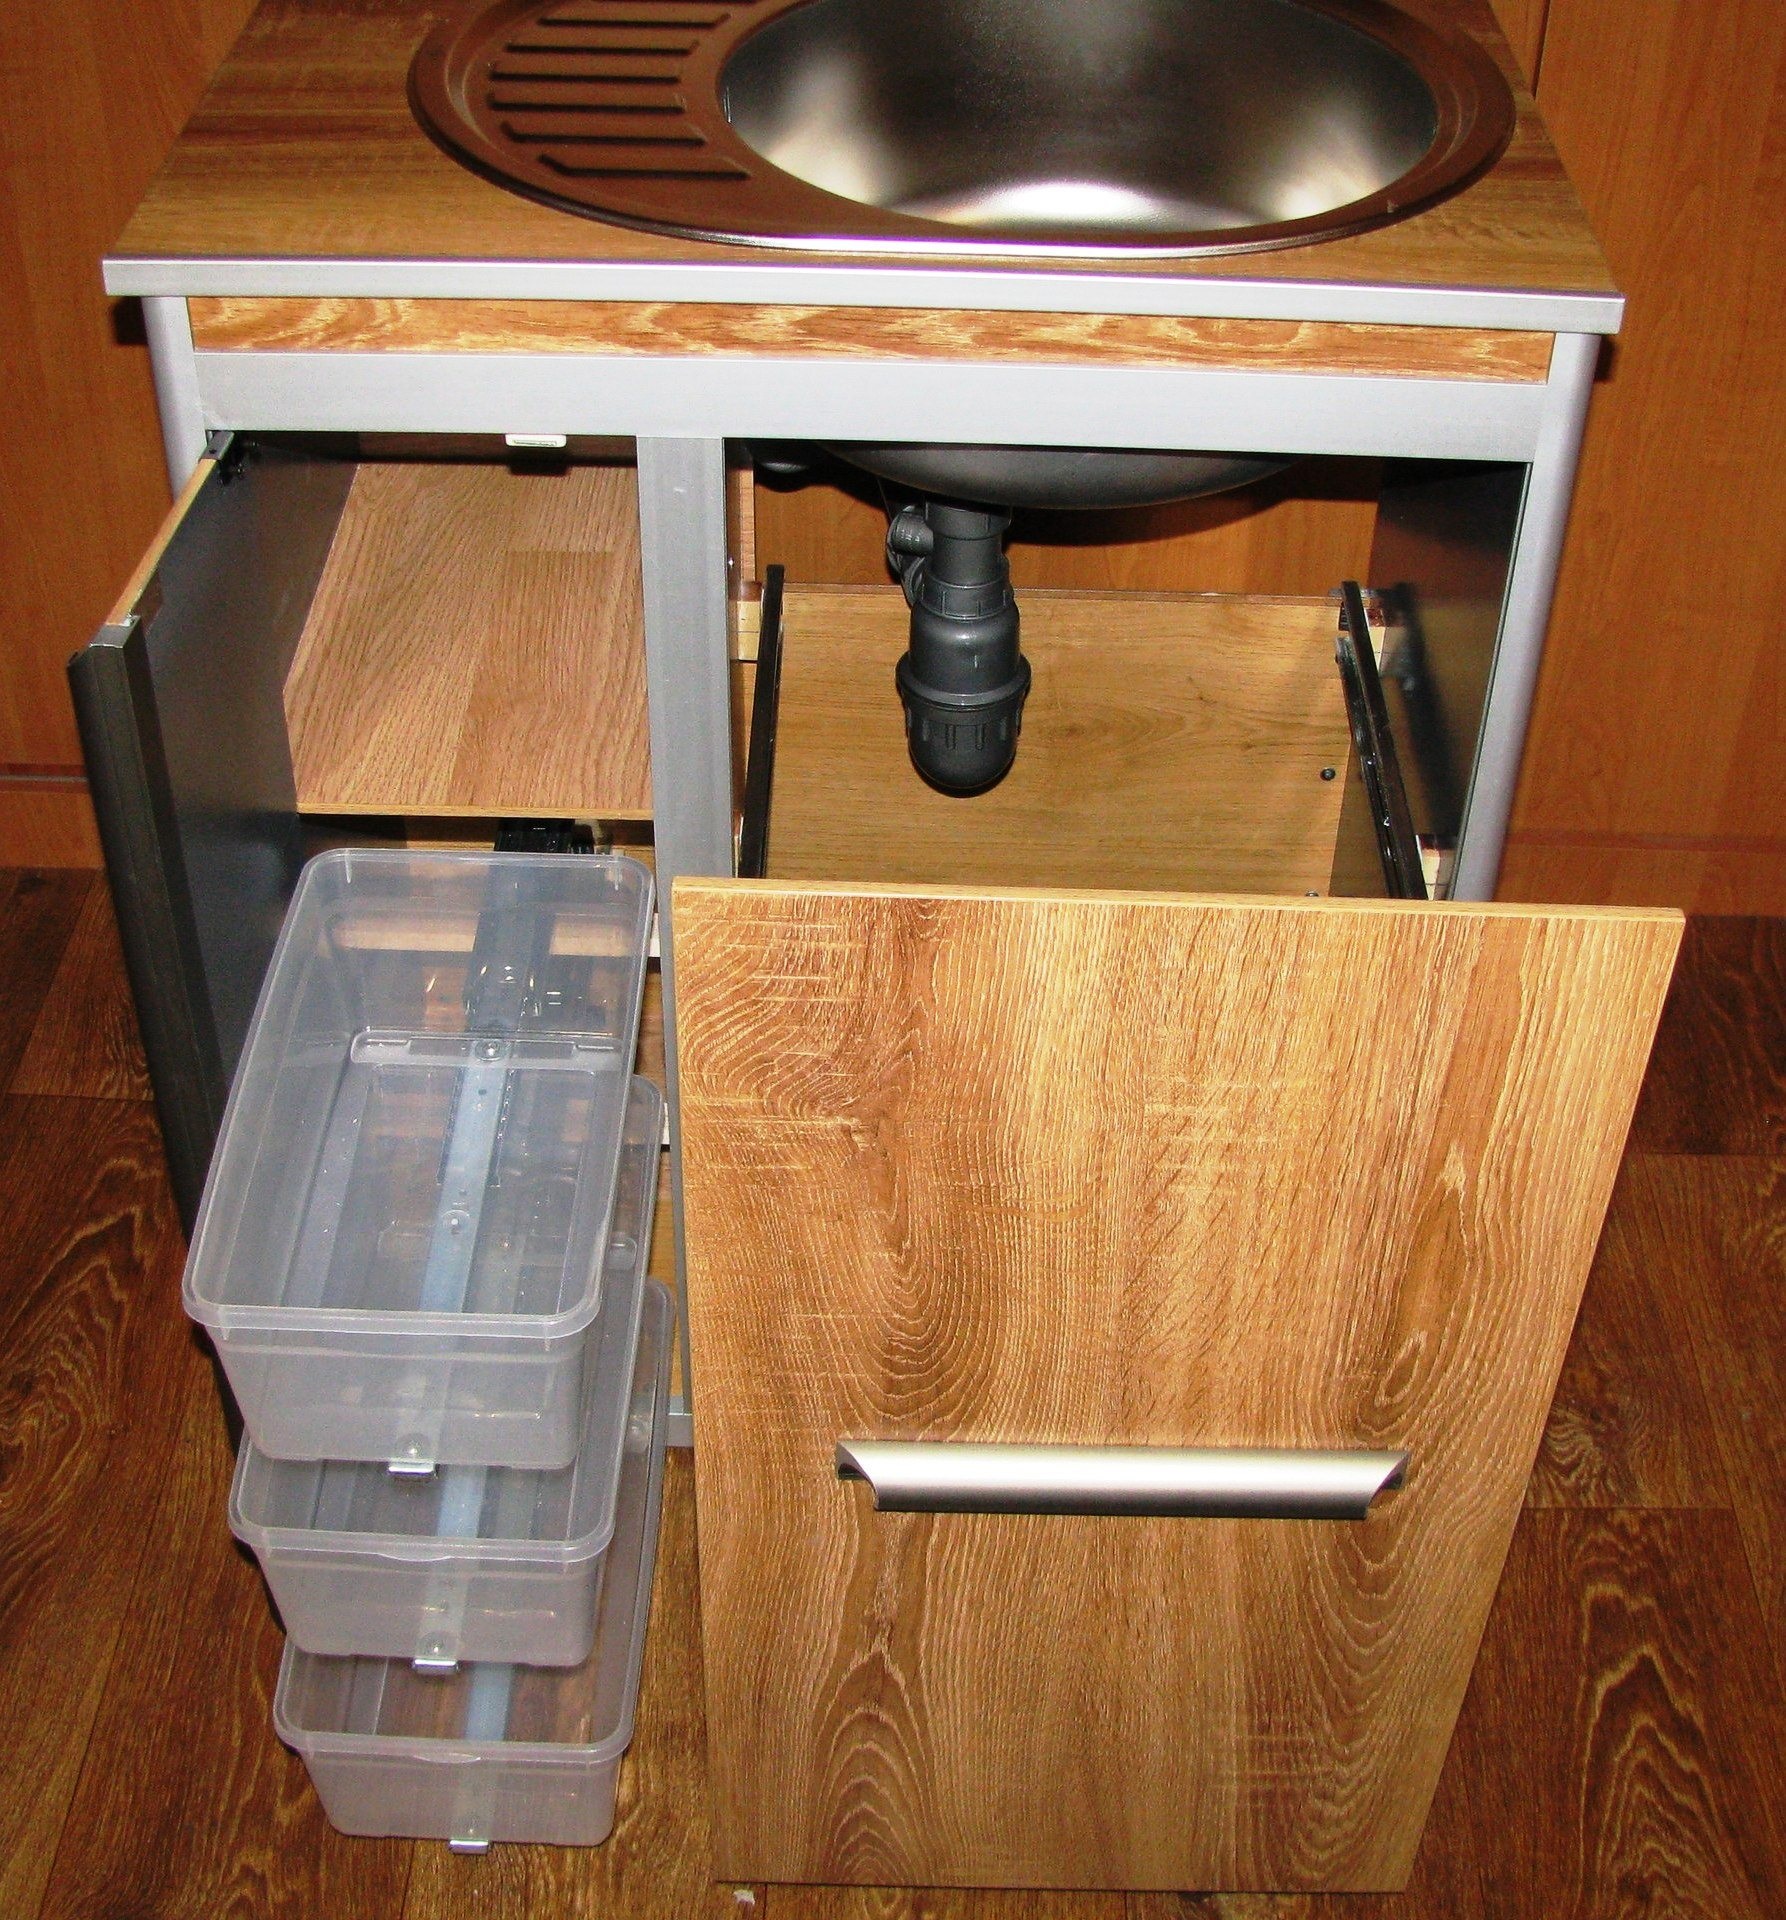
Assembly
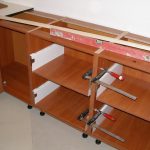
After the manufacture of all the main elements, they begin to collect the entire structure. This happens in the following sequence:
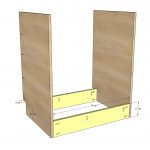
Initially, the sidewalls and the pallet are connected, fastening them with corners and self-tapping screws.
- Install the bottom plinth.
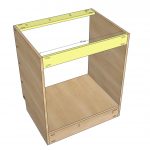
- Transverse strips are fixed: the first on the facade, the second on the back wall.
- Install shelves.
- Check the structure for distortions.
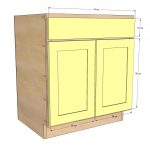
At the final stage, the doors should be attached to the bedside table and marks for the recesses for the hinges. Cut openings for the mount and mount it. Now you can install the handles and magnets.
Sink installation
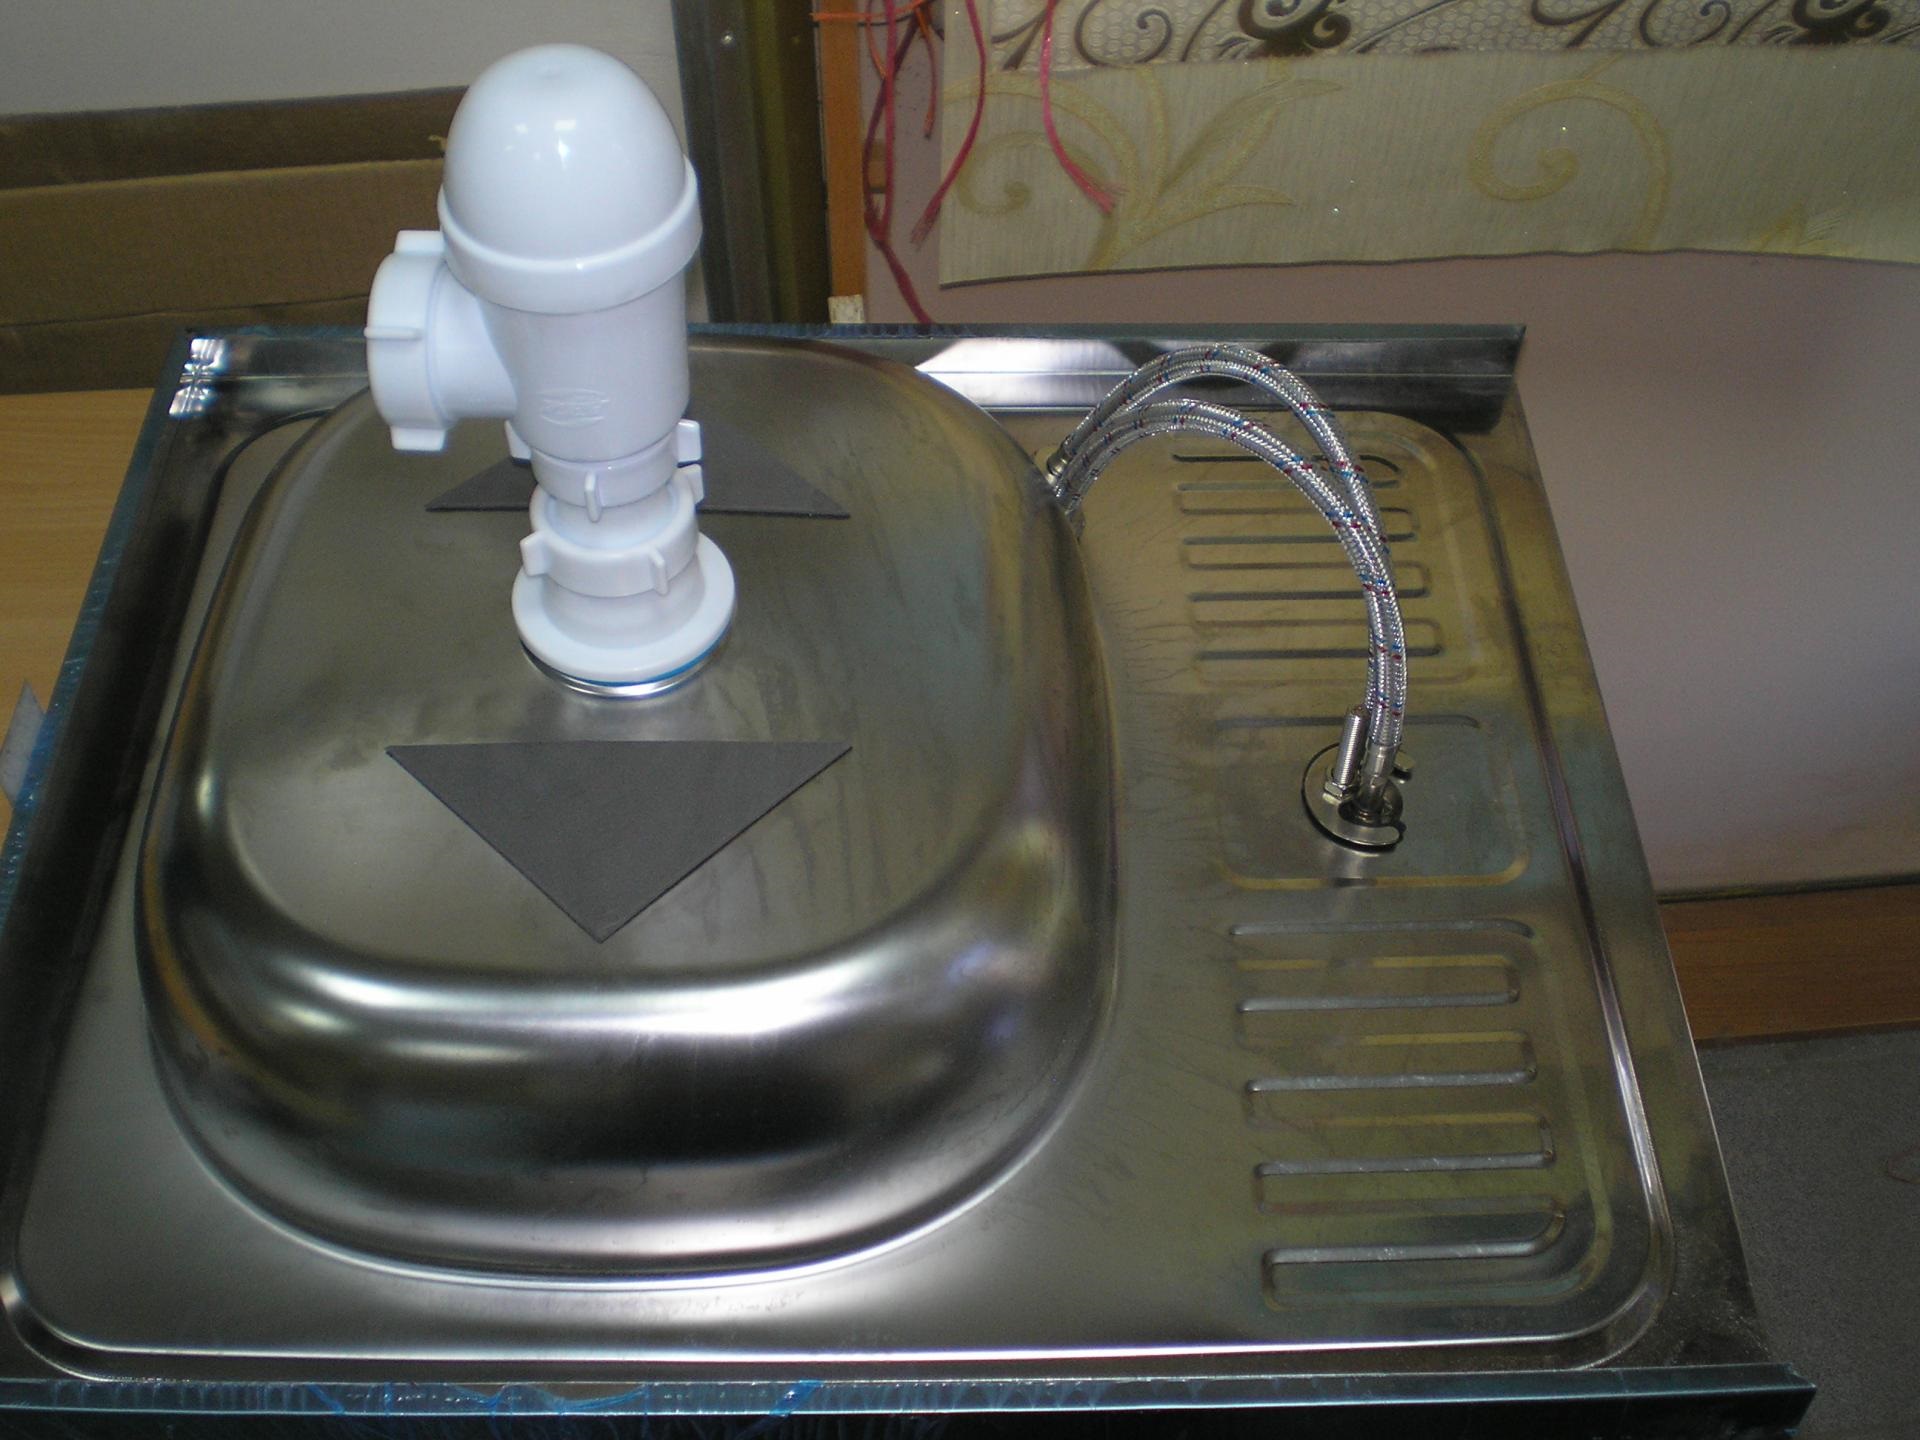
The installation of the sink is carried out depending on its design. The overhead is mounted using fasteners or plastic corners. A mortise sink can be fixed in a pre-cut opening with a sealant, after which it is advisable to install a heavy object for better fixation.
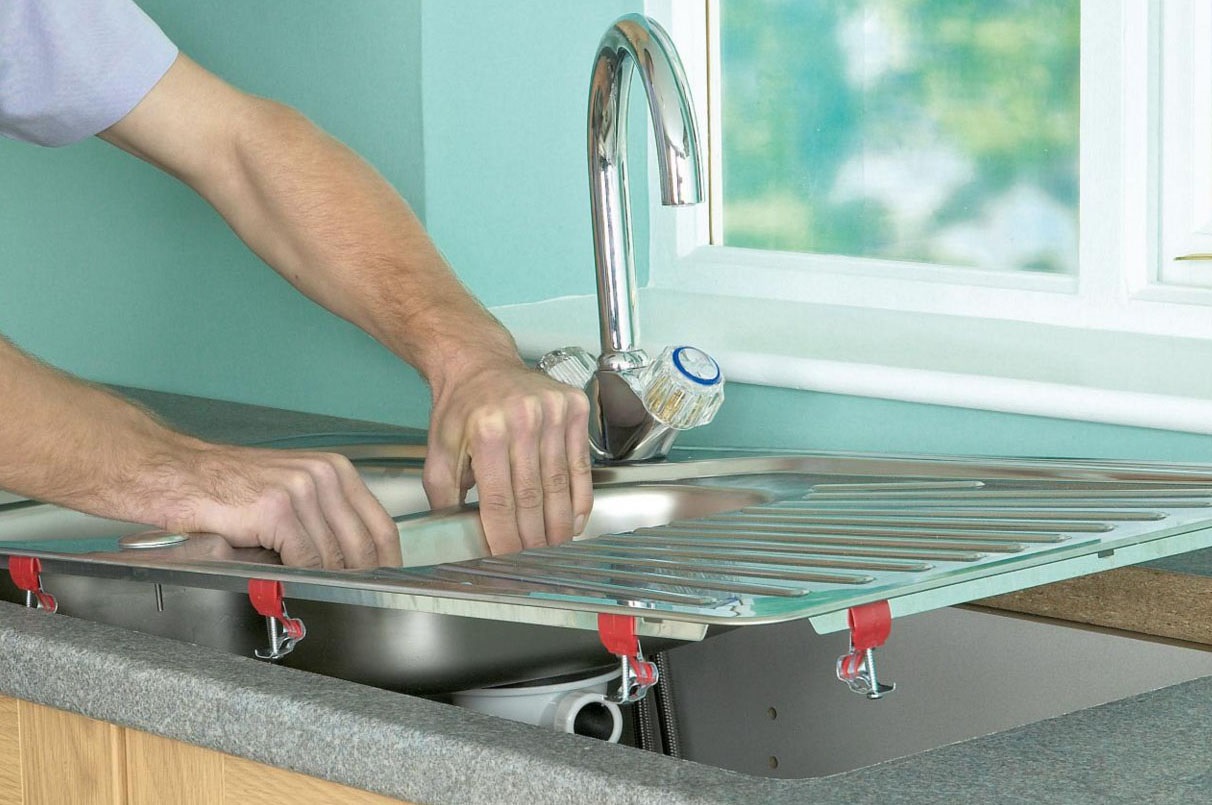
It is recommended to fasten heavy sinks with self-tapping screws. In any case, it is important to apply sealant to the ends - this will help eliminate unwanted gaps.
Where to put the curbstone correctly
Correct placement of the cabinet will help to conveniently zone the room to ensure comfortable cooking and free movement. There are several common installation options:
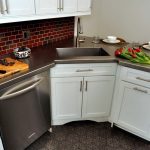
- A sink in the corner of the kitchen will save space and the cabinets will be deep and comfortable for placing kitchen utensils.
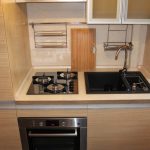
- Built-in option under one worktop. It is best not to install the sink next to the refrigerator and hob. Ideally, between two work areas.
- Near the window. The sink should be located from the glass unit at a sufficient distance so as not to splash during operation.
In any case, when choosing a design, one should proceed from the area of the room and subsequent comfortable use. Experience shows that making a sink cabinet with your own hands is a simple process, and as a result, you can significantly save money and get the interior of your dreams.
Video: DIY cabinet assembly
