How to make a do-it-yourself concrete countertop - a step-by-step guide
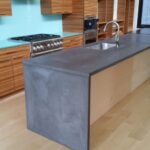
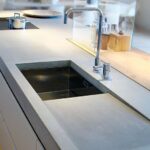
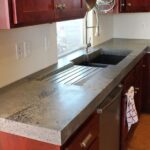
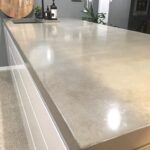
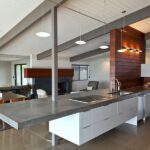
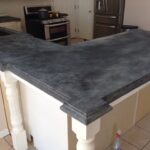
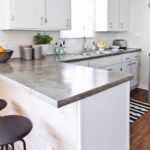
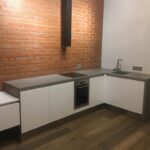
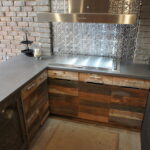
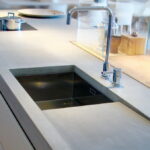
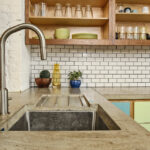
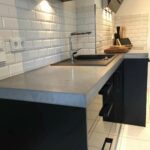
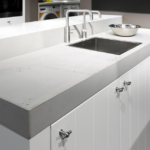
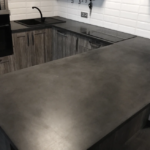
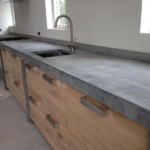
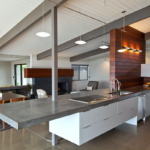
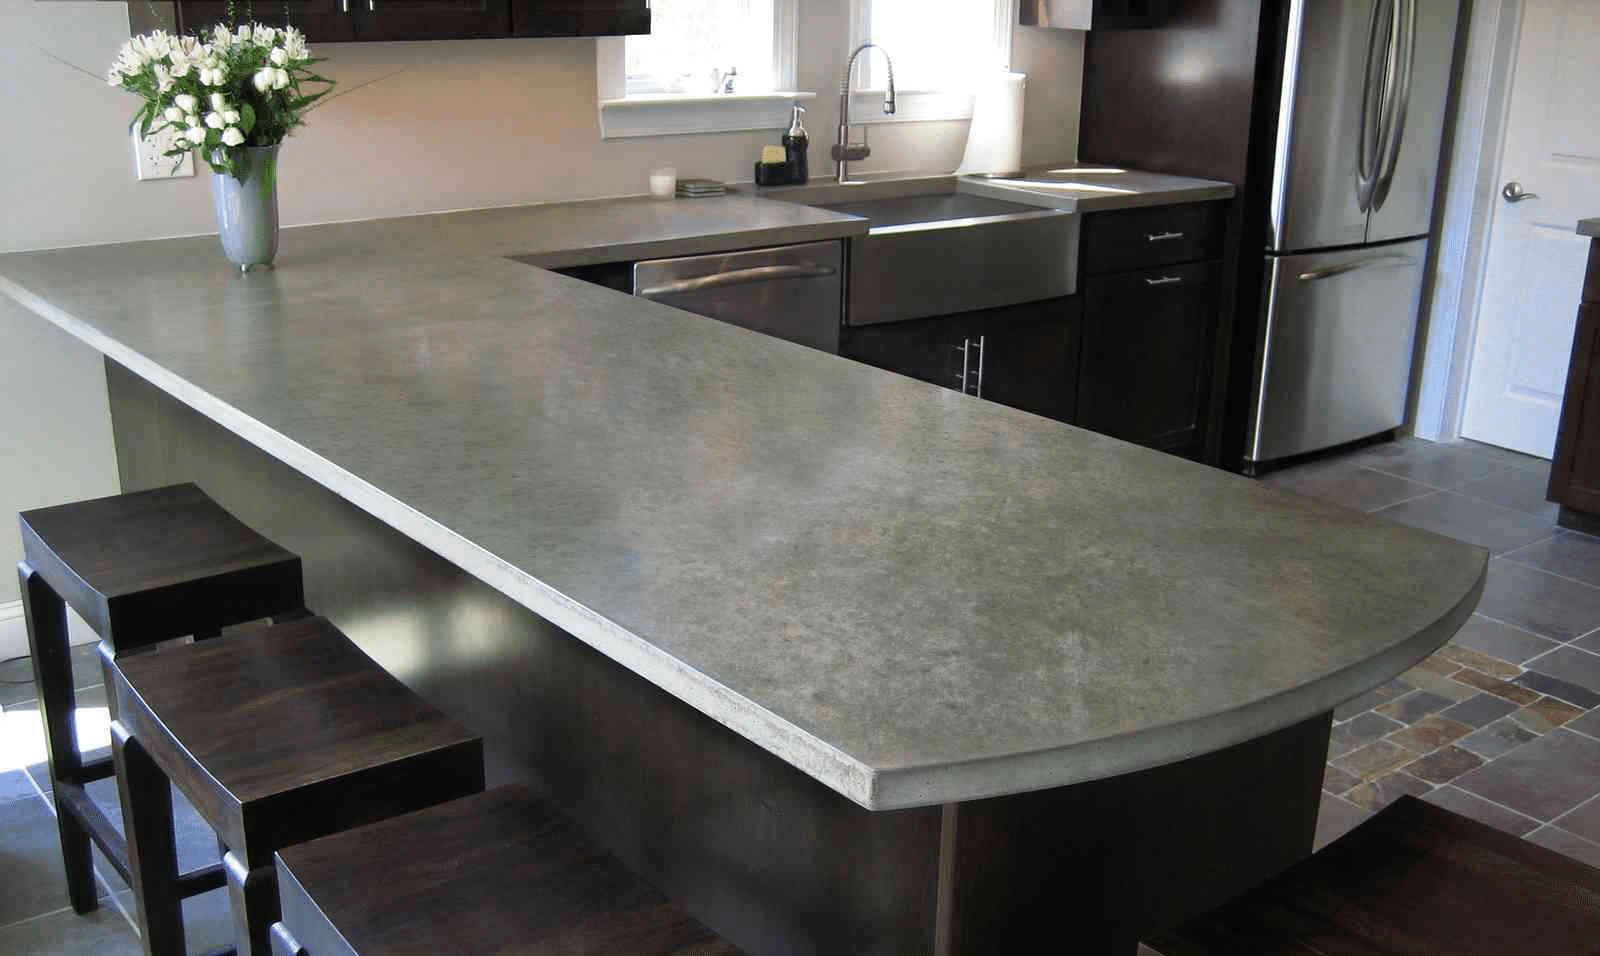
Concrete countertops look spectacular in the interior of a kitchen or study. Even a beginner can make such an exclusive on their own. It is enough to have auxiliary tools, a day or two of free time and the desire to do an exclusive thing.
- What you need to know about kitchen concrete countertops
- What tools and materials will be needed for DIY making
- Creation of drawings and diagrams
- Preparing the formwork
- We make a hole for the sink
- Reinforcing frame and installation of the supporting structure
- We process the joints
- Concreting process
- Decoration
- Face layer solution
- Fill the main layer
- Final stage and decoration
- Examples of ready-made concrete countertops do it yourself
- Video: making concrete countertops
- 50 designs of concrete countertops for the kitchen
What you need to know about kitchen concrete countertops
We are accustomed to the fact that concrete can be used to make a staircase or foundation. But it turned out to be a versatile material from which you can make garden furniture, a bar counter, and a countertop.
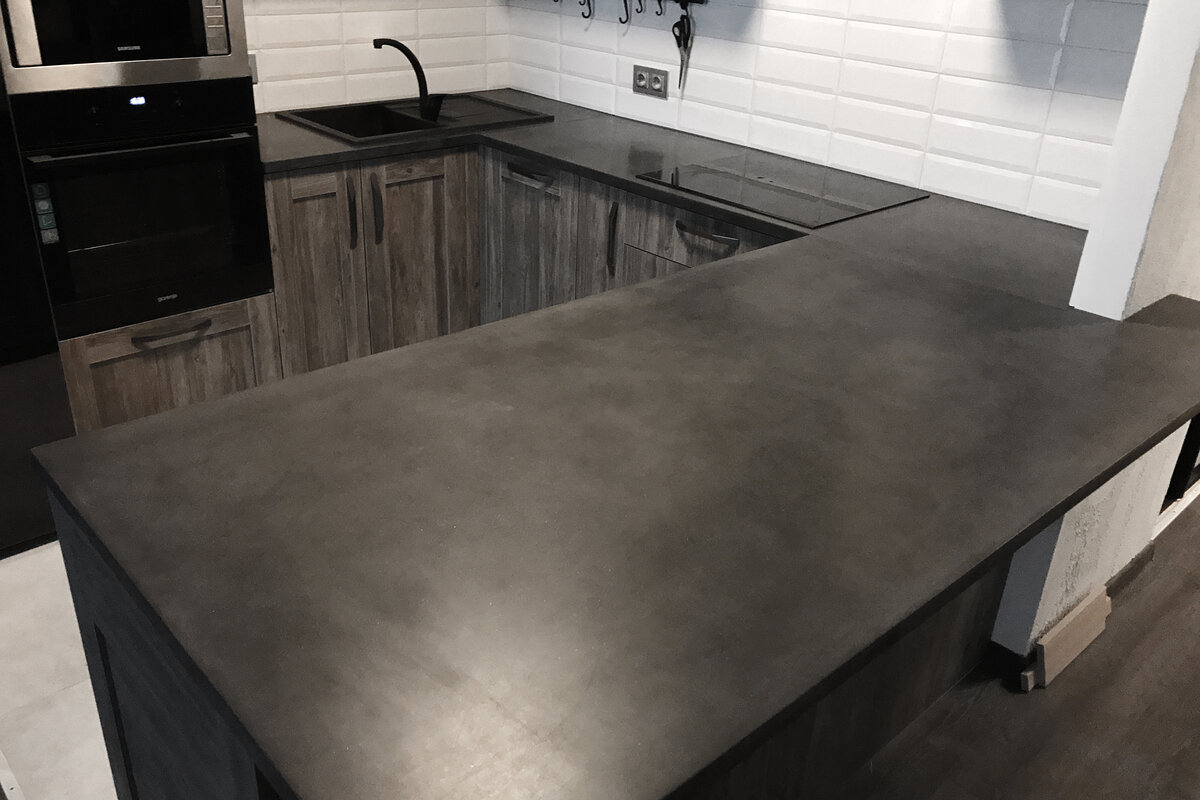
There are undoubted advantages in working with concrete material:
- The diluted concrete takes any shape. It is flexible, easy to correct and shape. Your possibilities are almost endless.
- Concrete can be painted, polished, sanded, decorated with additional elements. Any processing changes its appearance. A concrete countertop can be incorporated into the interior of any style direction, from classicism to loft.
- Concrete has heat-resistant properties. It tolerates temperature changes and mechanical pressure well.
- You will not find such a durable and reliable tabletop anywhere else.
- Concrete is an environmentally friendly material that does not emit harmful vapors or other substances hazardous to humans.
- The cost price of a concrete table is comparatively lower than that of wood or marble.
- You can combine concrete with other materials such as glass or wood.
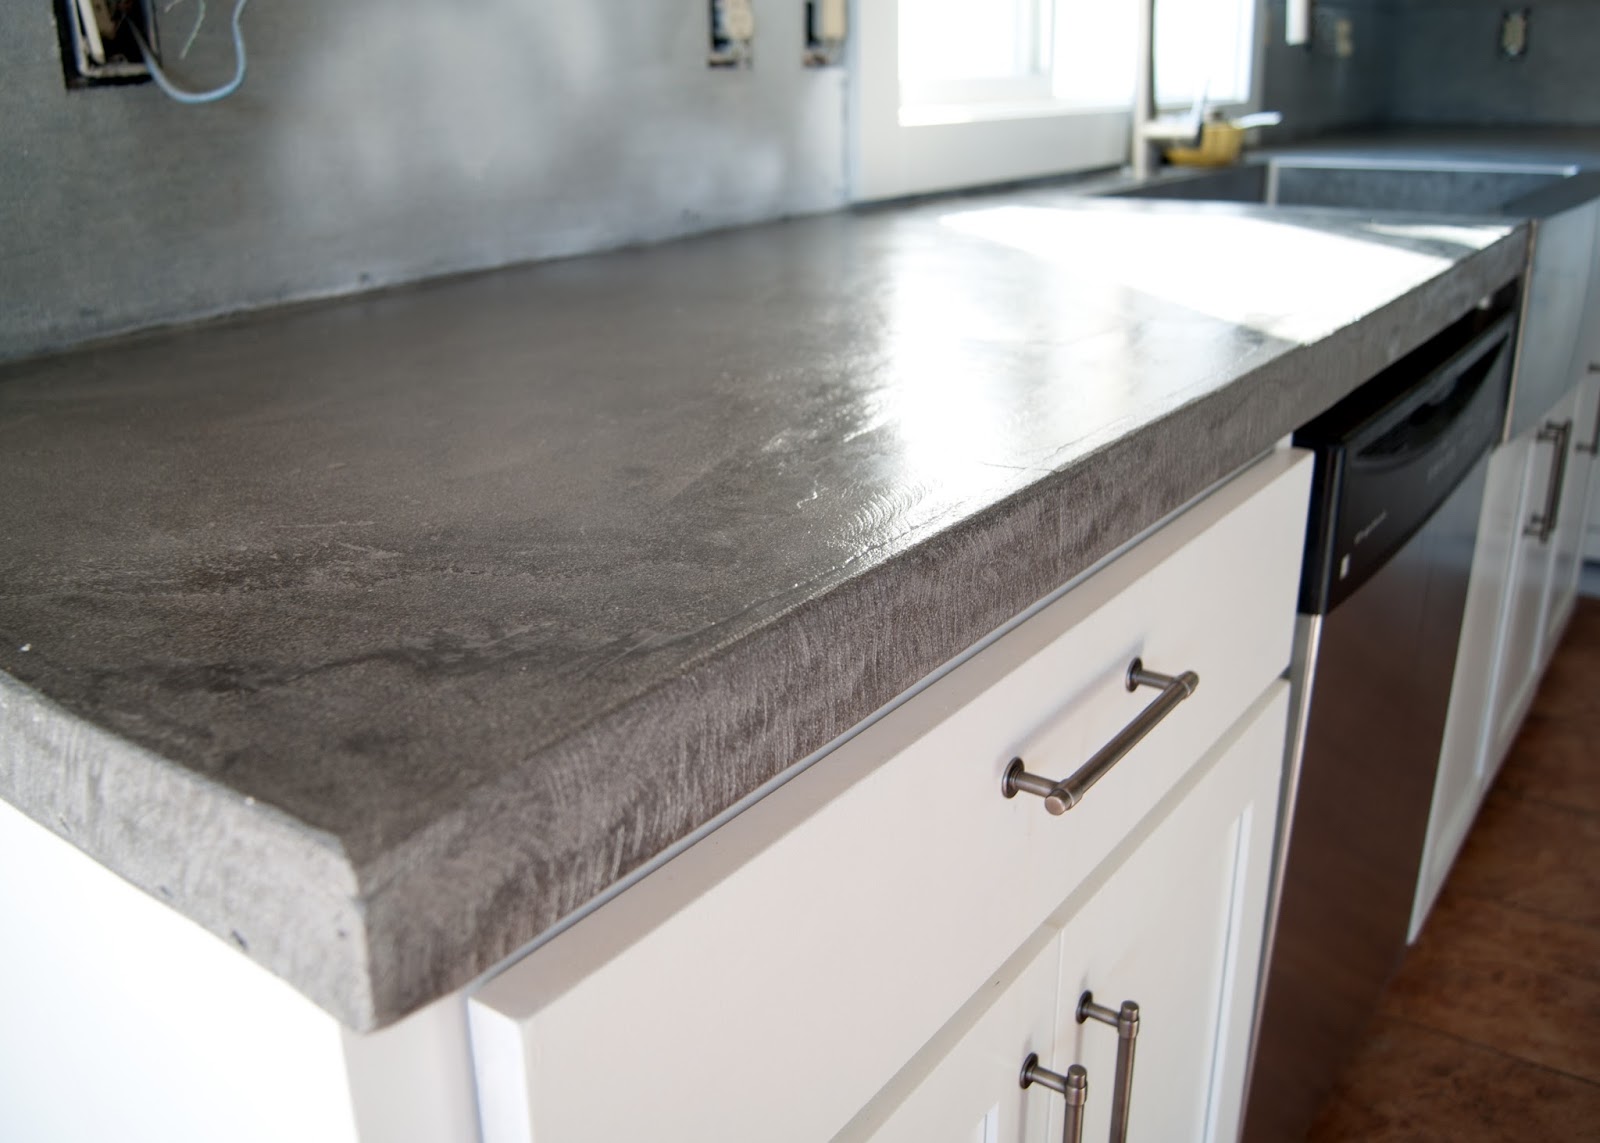
Of the minuses of a concrete countertop, several points should be noted:
- The surface should be protected from water and dirt. The porous concrete structure quickly absorbs moisture and dirt. It won't be easy to clean.
- You cannot cut food or cut fabric on such a table. Scratches easily remain here, and the attractive appearance is lost.
- If the structure is installed incorrectly, cracks or chips may appear.
- Not all cleaners are suitable for concrete. The composition of the cleaning liquid must not contain abrasive particles and aggressive components. Choose a product that is neutral in composition.
- Hot objects can leave marks on the surface that are difficult to remove. Use special coasters for hot dishes.
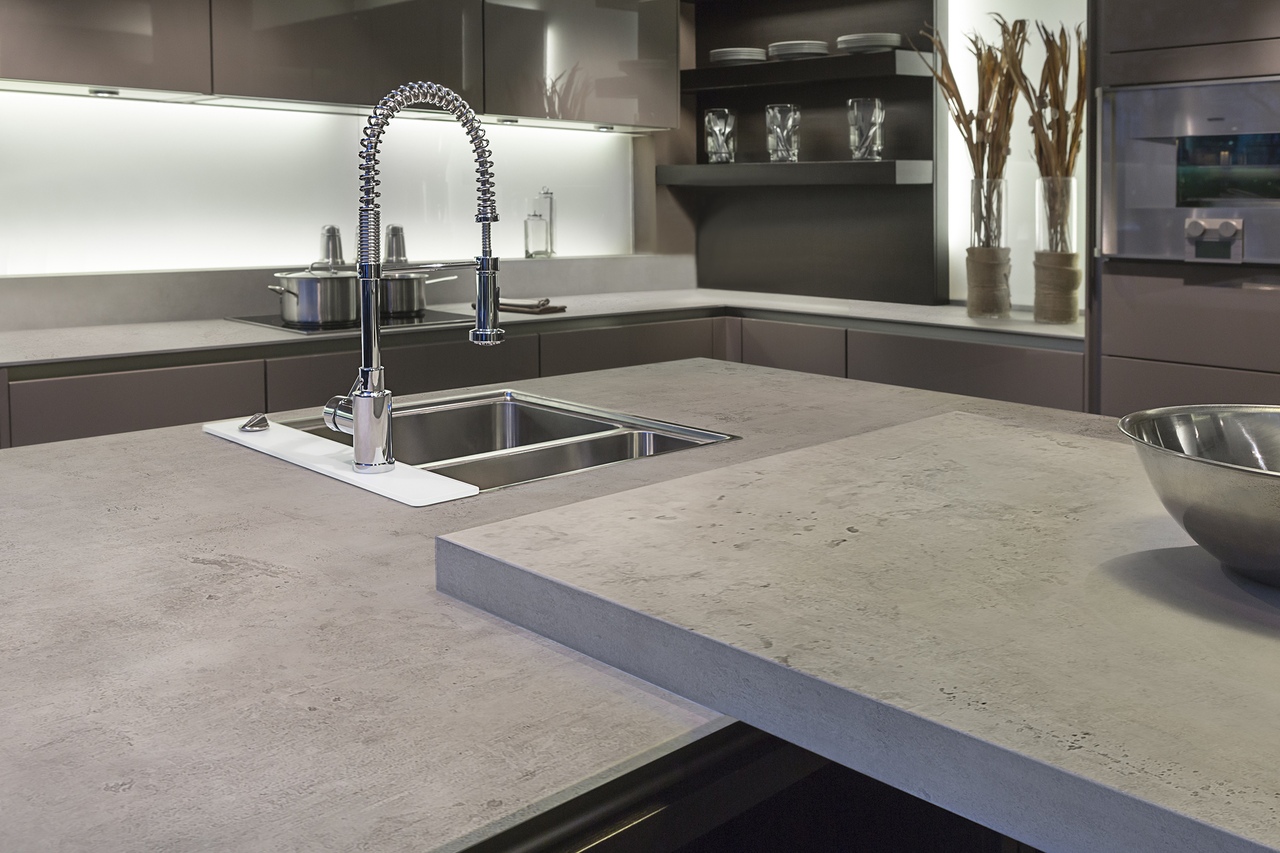
What tools and materials will be needed for DIY making
A do-it-yourself concrete table is made according to standard building technology. It is important to observe accuracy in calculations, accuracy when mixing the composition and patience in order to watch several training videos on this topic. To get ready for work, you need to purchase:
- concrete of class not lower than M400;
- river sand, but any other will do;
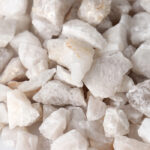
- gravel, crushed stone or marble chips;
- color scheme, if you plan to paint like granite or other "noble" material;
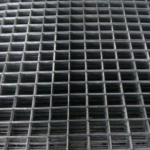
- reinforcing mesh with cells 25 * 25 mm made of metal or fiberglass;
- Chipboard or film faced plywood;
- bar 30 * 50 mm
- self-tapping screws;
- metal corners;
- construction polyethylene in a roll;
- concrete mixer or construction mixer;
- bucket;
- pencil, note paper;
- yardstick;
- building level;
- mallet;
- shovel;
- mortar bucket;
- putty knife;
- angle grinders and wheels;
- silicone sealant;
- liquid Nails;
- screwdriver;
- jigsaw.
This is the minimum set of tools you will need to create a concrete mix countertop. Once you've got everything you need, it's time to start creating your project on paper.
Creation of drawings and diagrams
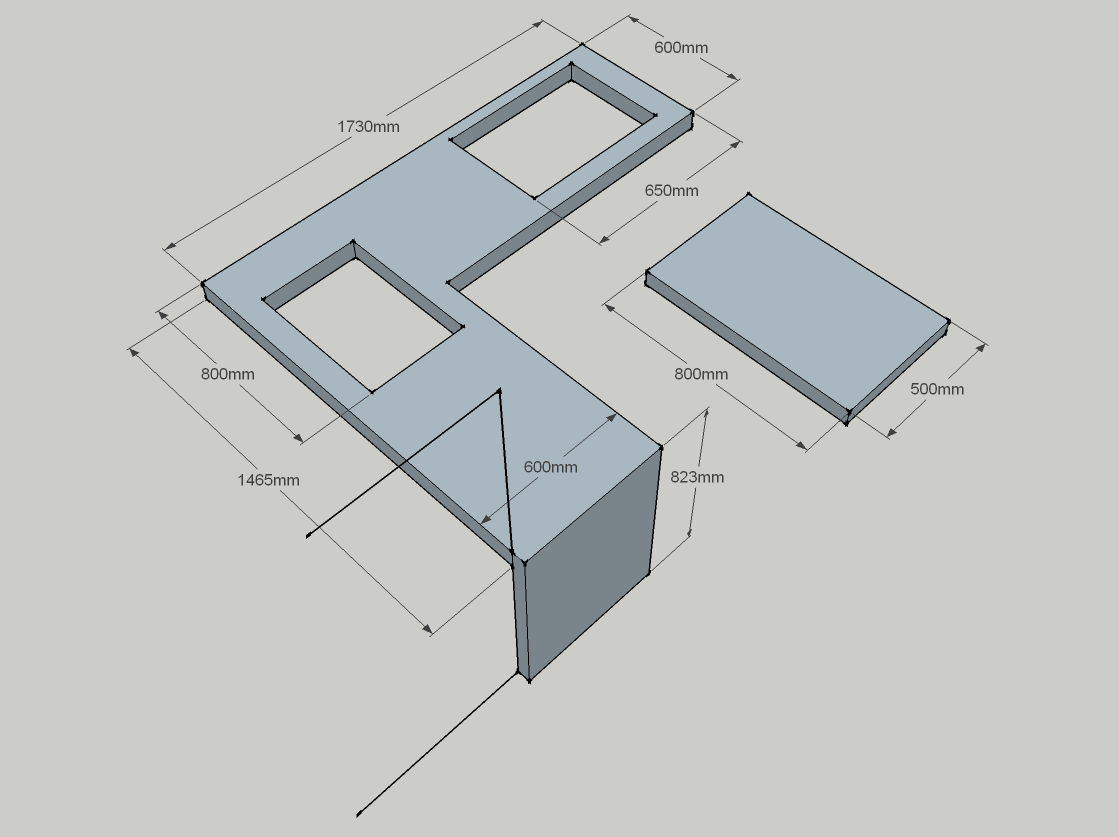
To avoid possible mistakes in the early stages, make the most accurate measurements. Measure all parameters, including the location of the sink, sockets and other nuances available in the countertop area.
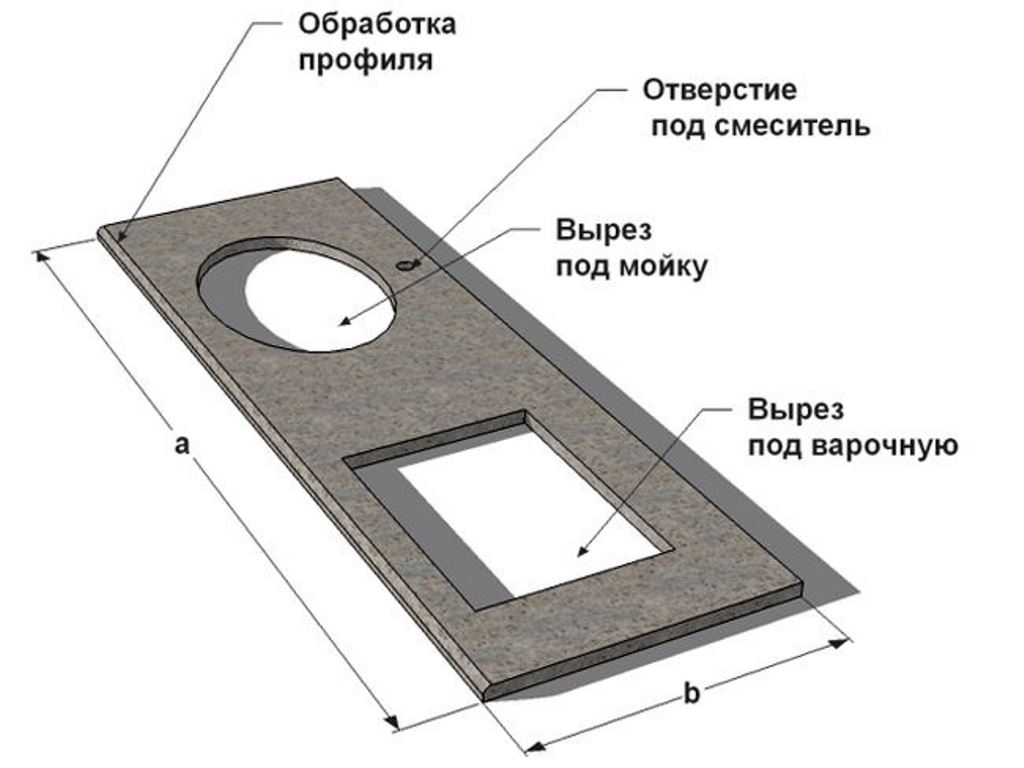
If you plan to make a hole for the sink, check the numbers several times. This is where every millimeter counts. If the countertop will have impressive dimensions, it makes sense to pre-divide it into fragments and cast in parts. It is more convenient to do the joints at right angles. It is not recommended to make the tabletop thicker than 5 cm.
Preparing the formwork
To give the future countertop a certain shape, formwork is made. For this, a plywood sheet is taken and laid on a flat, flat surface. Make sure that the plywood does not tilt or twist anywhere. Install and fix a timber 50 mm high around the perimeter. This is the optimal value so that the finished worktop is strong enough and does not collapse under its own weight. All joints are fastened from the outside of the beams with corners or self-tapping screws. Do not try to fit them tightly together at this stage. All cracks and unnecessary holes are then filled with sealant.
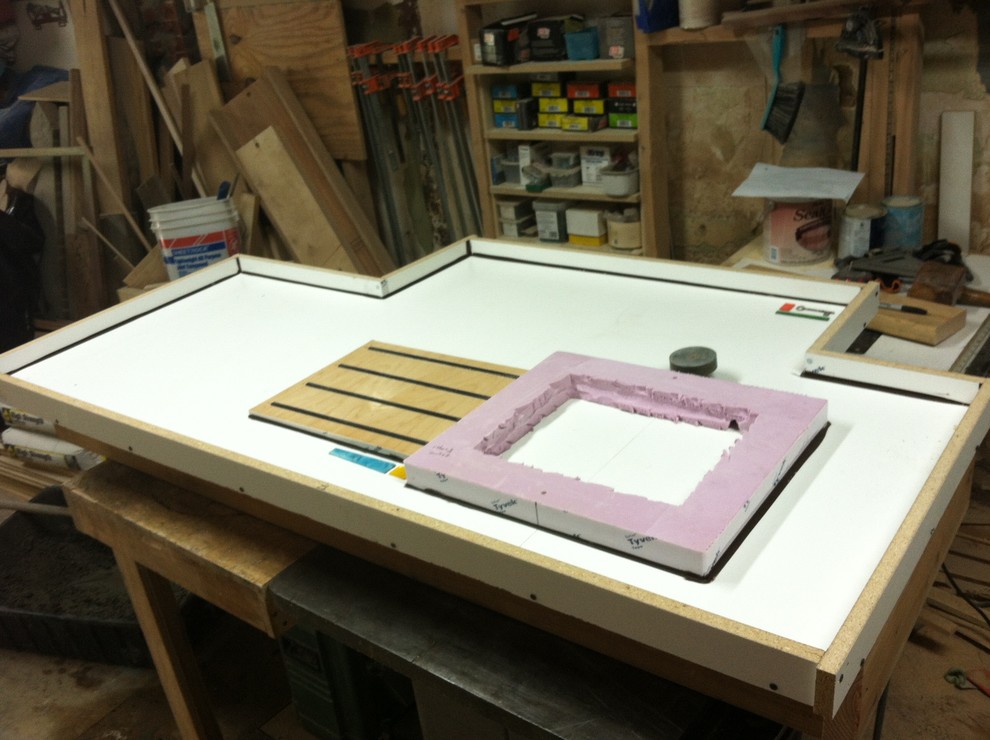
Then place plastic wrap in the formwork so that no creases or folds remain. Any unevenness will reflect on the future concrete surface. You can lubricate the inside of the polyethylene with technical oil to make it easier to remove the concrete structure.
We make a hole for the sink
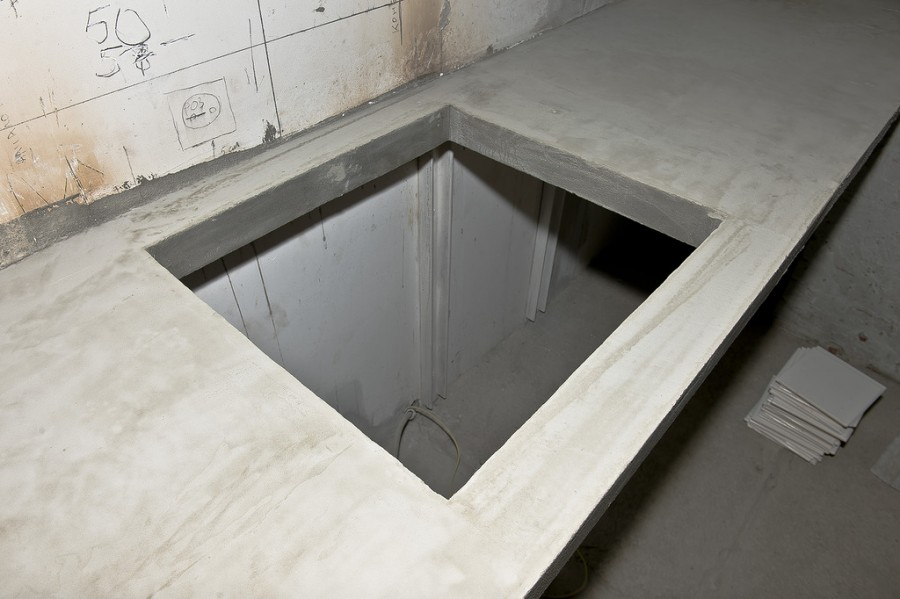
If a sink cuts into the table, a hole must be prepared for it in advance. Here, the accuracy of measurements and accuracy in preparing the formwork are important. Check yourself several times to be sure of the finished result.
Manufacturing features for overhead models
If you intend to mount an overhead model, then make a preliminary drawing of it on paper. Circle it around the perimeter and transfer the outlines to the plywood. Then measure the height and width of the sides so that the sink fits into the finished hole after the concrete has dried.
How to make for embedded
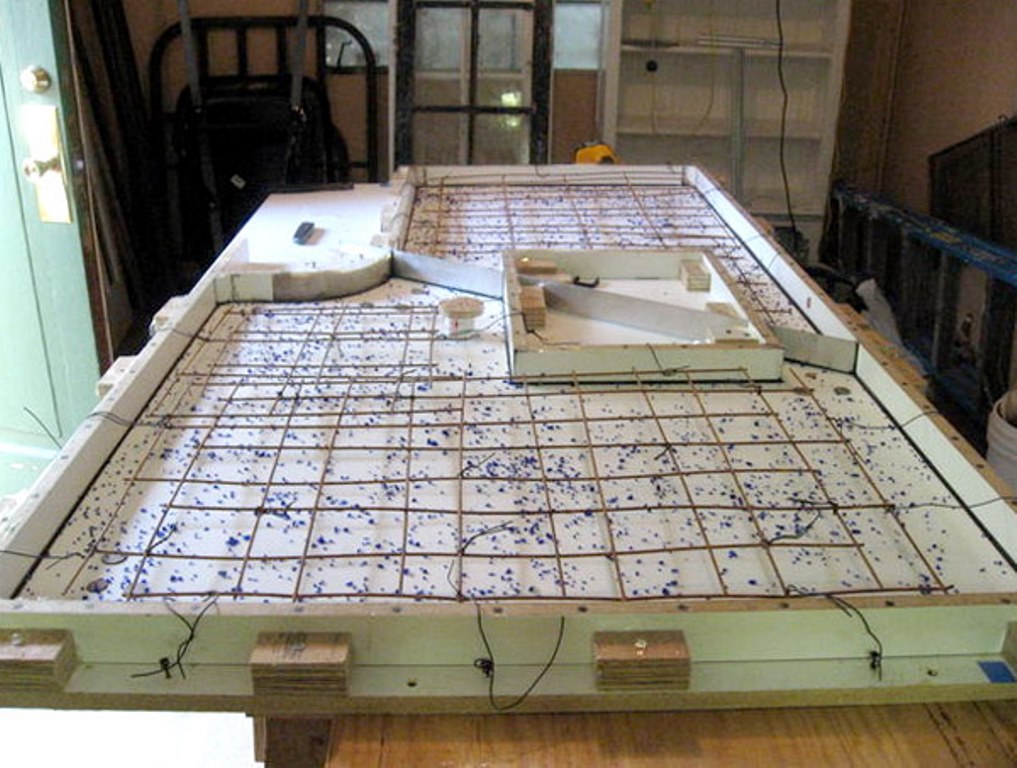
If the sink is built-in, make a preliminary drawing along its edge. Lay beams of 50 * 50 mm along these lines. They are fastened together and fixed on plywood with self-tapping screws. The bars inside the structure can be taken much higher than the outer edge. This is to prevent the concrete from accidentally flowing into the sink hole.
Reinforcing frame and installation of the supporting structure
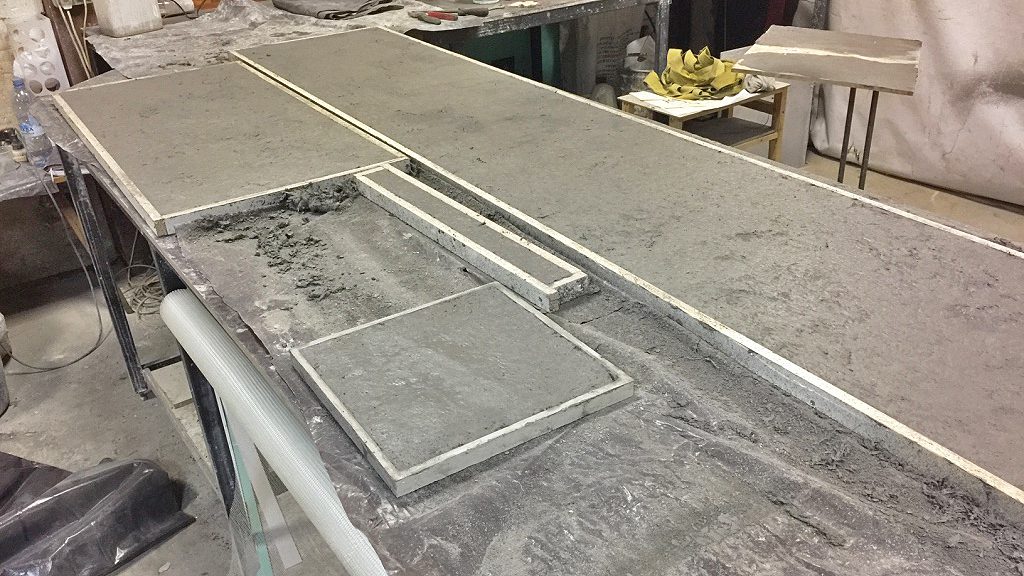
Reinforcement mesh or cut wire is laid so that there is at least 25 mm distance from the edge of the formwork. It is unacceptable that pieces of the reinforcing frame stick out from the finished product. Make sure that the frame does not exceed the beams in height and does not rest against the bottom of the plywood. Otherwise, wire fragments may remain on the surface of the finished product.
We process the joints
When you have the formwork ready, it's time to process the joints, remove all irregularities and gaps. It is convenient to do this with a silicone sealant. It quickly hardens, penetrates into small cracks and cracks. The dried sealant can be additionally polished to give it the desired shape and smoothness.
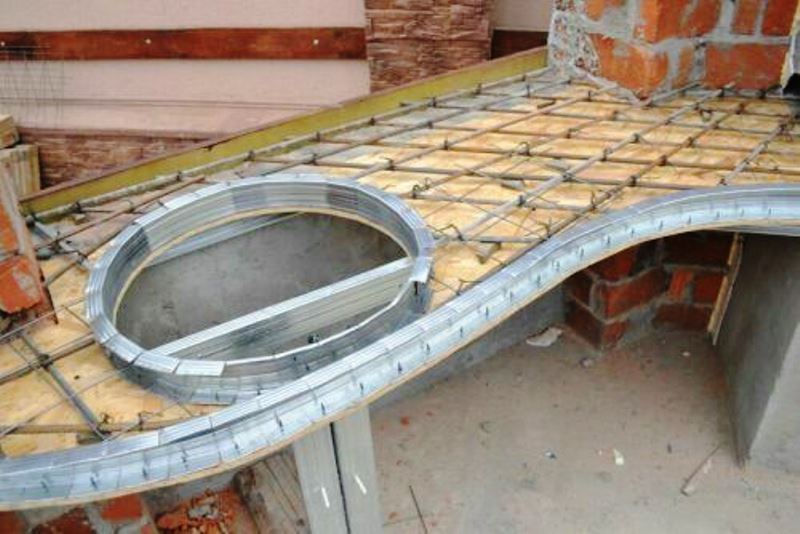
Do-it-yourself concrete furniture with rounded edges looks especially good in the interior. It is convenient and less traumatic in everyday life. The rounding of the edge is done at the stages of formwork and processing of joints.
There are two ways to do this:
- A curved metal sheet is attached to the joining area of the boards. Silicone is poured between the angle of the beams and the rounding of the metal insert.
- If there is no suitable template, you can take a piece of pipe or glass of the required diameter. Place it in the corner of the formwork, fill the resulting space with sealant and wait until it dries. Then remove the item and sand the silicone to the desired shape.
Concreting process
To prepare a concrete mixture, you must take:
- cement, 2 parts;
- sifted sand, 3 parts;
- plasticizer;
- water.
If you are adding color pigment to your formulation, do so during the dry-blend step to get a uniform color. Dissolving the paint in water, add the mixture to the concrete mixture. This is how beautiful "marble" stains are obtained.
There is another recipe for creating a do-it-yourself countertop:
- cement, 1 part;
- sifted sand, 2 parts;
- marble chips, 4 parts;
- water, 0.5 parts.
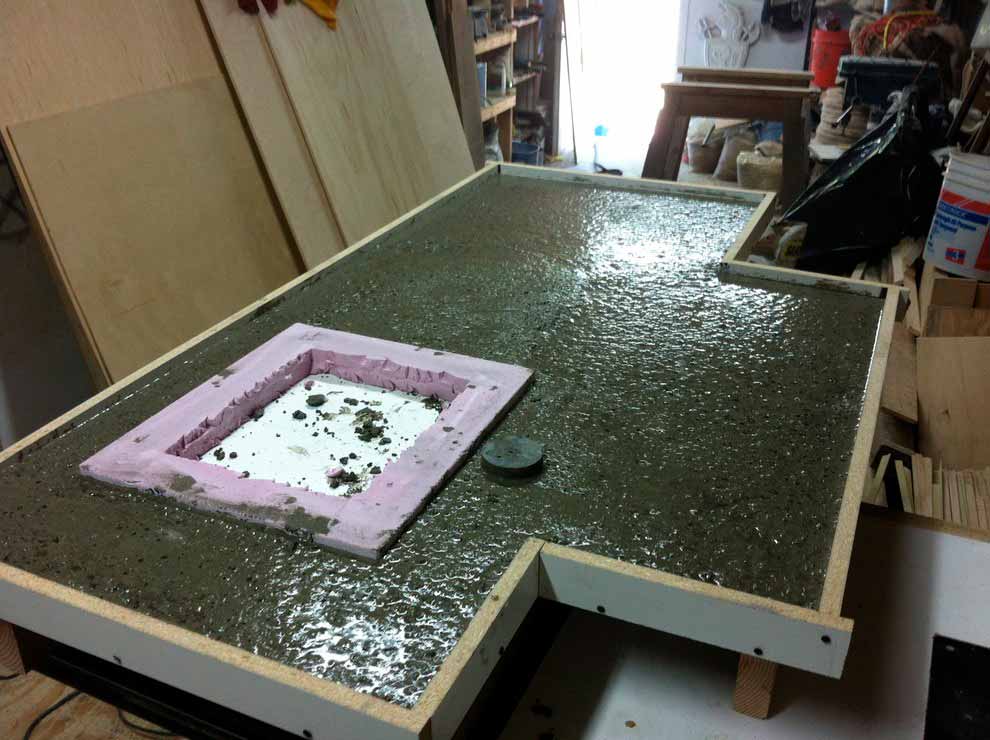
It is possible to fill the formwork with concrete at a time or to fill in layers. In the first case, the tabletop has a single concrete structure. In the case of layer-by-layer pouring, expanded clay is added instead of crushed stone. It makes the whole structure easier and more convenient for further installation.
Decoration
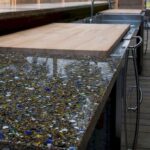
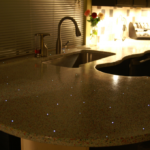
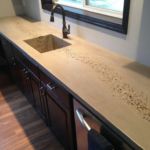
Before pouring the face layer, you can beautifully lay out decorative elements at the bottom of the formwork. Here, various beads, pieces of glass, horseshoes and even memorable souvenirs can be used as decorating elements. Try to lay out a wire ornament as a decor. After pouring the concrete, wire fragments, glass or metal texture will show through on the surface of the countertop.
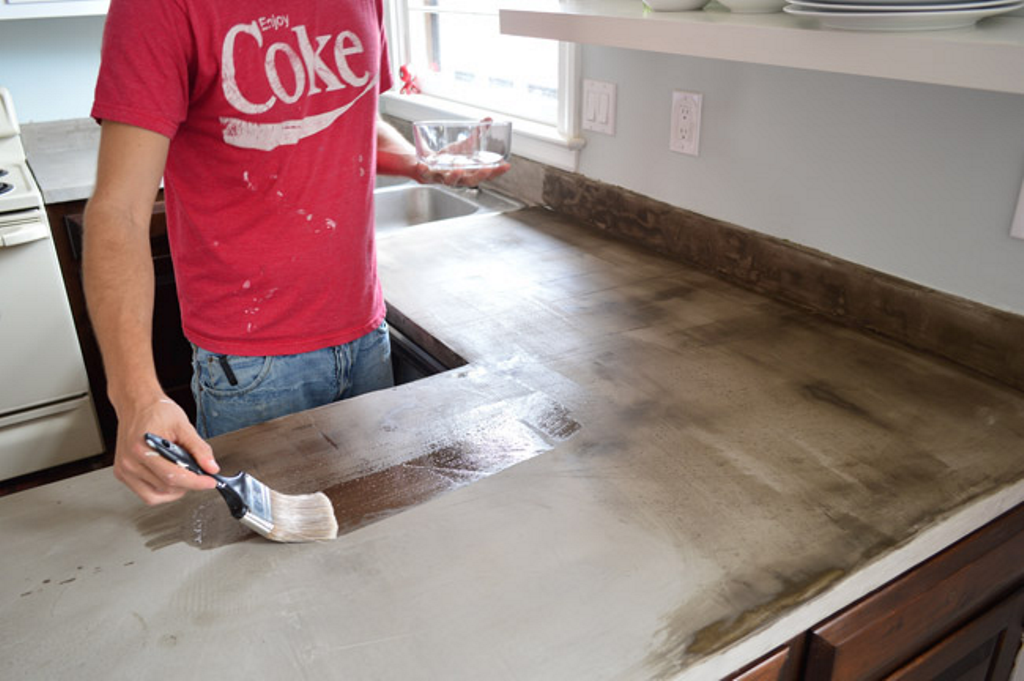
Having spread the decor on the surface of the plywood sheet, make sure that it does not move. To do this, glue each piece to the desired location. This will ensure that you end up with the pattern you planned.
Face layer solution
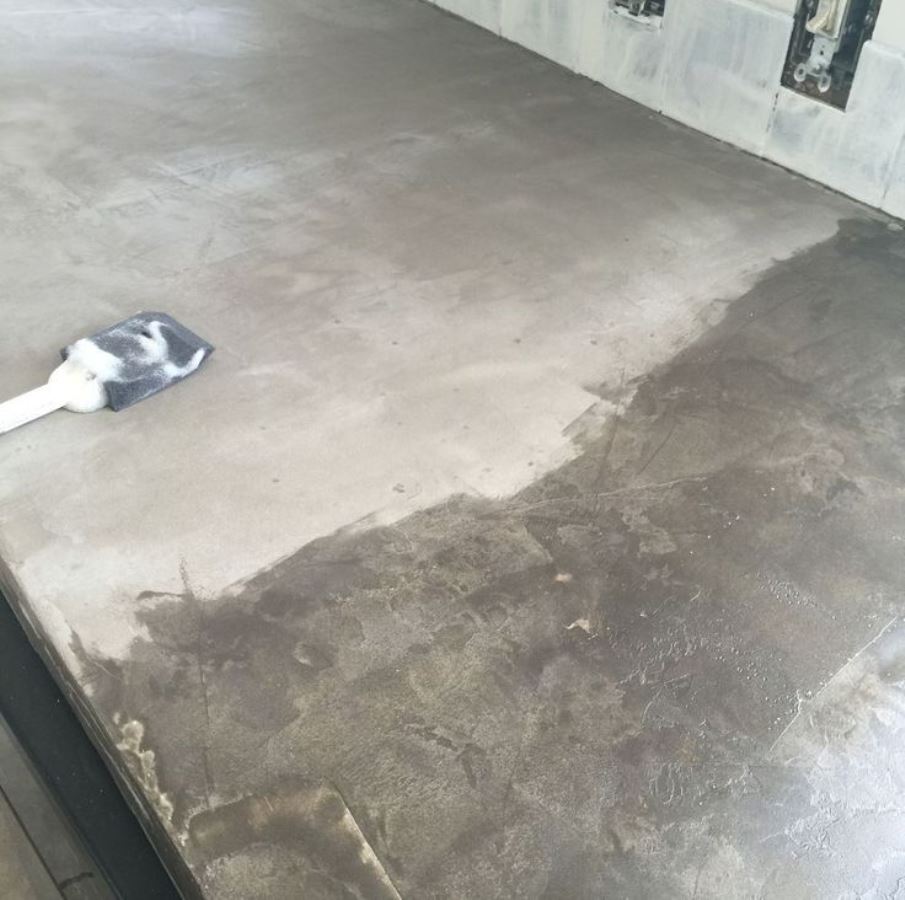
For the solution of the face layer, cement is mixed with water. Then add crushed stone, sand or marble chips, depending on the recipe. Stir well to avoid lumps. The peculiarity of the composition is that they take a finer grinding of sand or gravel, without large fragments or sharp edges. Add slightly less water than indicated in the recipe. This will help you avoid small holes on the surface of the finished product. For the face layer, the mortar is poured to the level of no more than half of the formwork.
Fill the main layer
The main layer is poured about 30 minutes after the facial. This time is enough for the concrete to set and freeze a little. Here the solution is created according to a classic recipe with consistent proportions of all components. After filling, wait for the new layer to set. Then cover the countertop with plastic wrap for a day. After the time has elapsed, the polyethylene can be removed and the concrete covered with a damp cloth.
Final stage and decoration
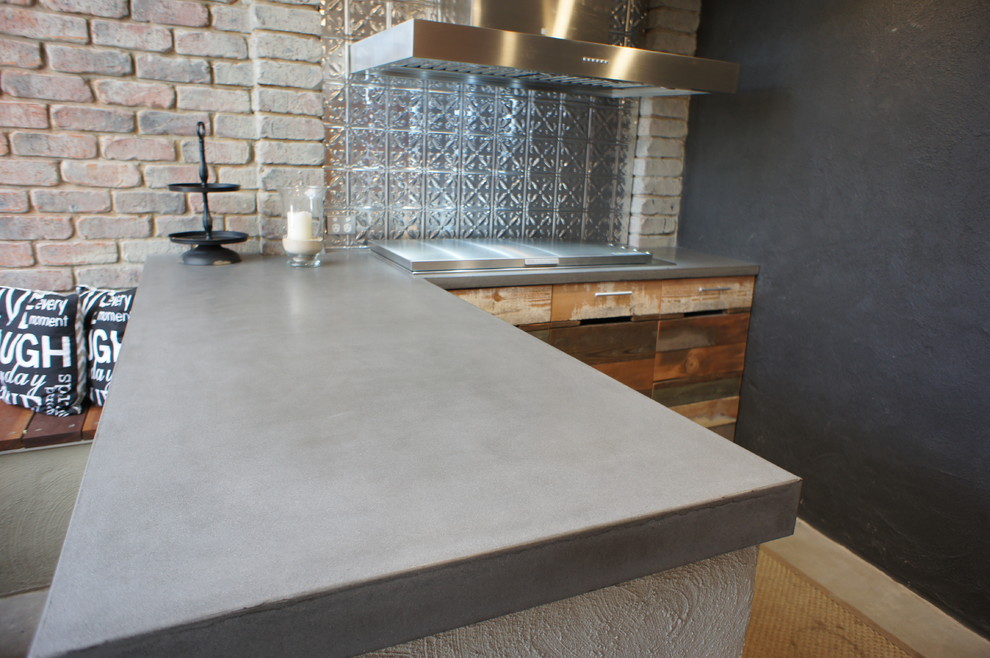
Disassembling the formwork requires care. Disassemble the entire structure, remove the sides. Turn the formwork over and tap it over the entire surface with a rubber mallet. This will allow the cured concrete mix to easily separate from the plywood sheet.
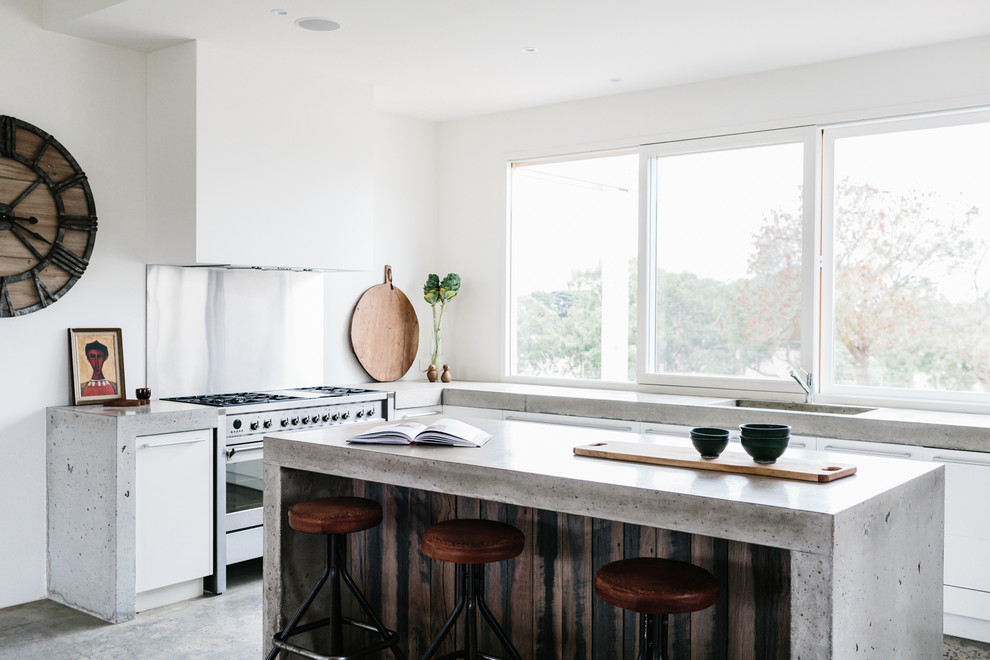
After the concrete is completely dry and you have disassembled the formwork, you need to grind the surface. This will smooth out all irregularities, remove glue and air pores, and prepare the countertop for further painting or varnishing. In the process of grinding, the decor embedded in the concrete texture also appears. All small stones, glasses and beads will not "play" if they are not polished beforehand. You can also cover the countertop with decorative tiles or make a cladding under a natural stone.
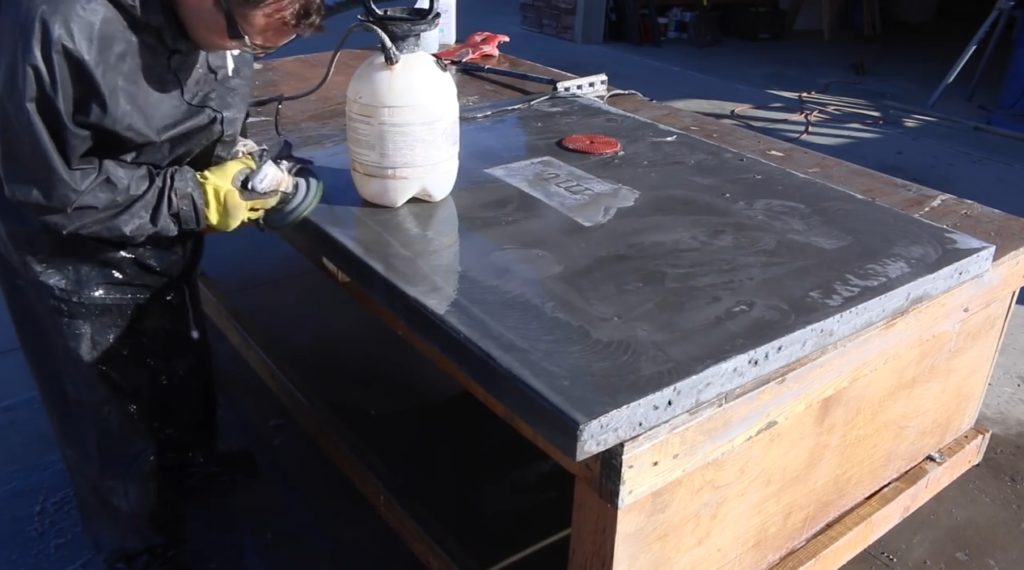
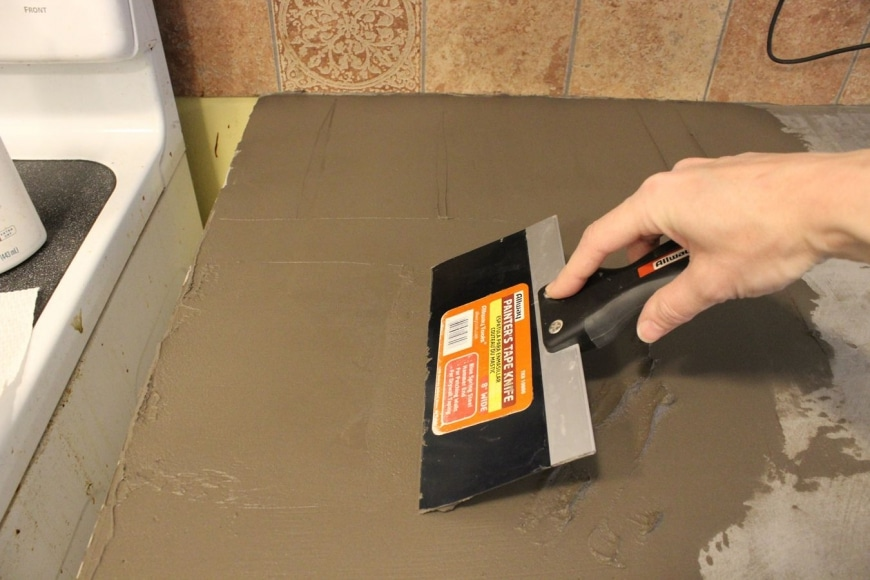
Then the surface is leveled and smoothed with acrylic-cement composition. Mix the mixture to a semi-thick mass and apply to the surface of hardened and sanded concrete. This will fill in all cracks and cracks. The mixture must be applied at least three times, allowing each layer to dry well. Sand the surface between steps to avoid “waves” and unevenness. The last, third layer is not sanded, but left overnight until completely dry. Finally, the table top is sanded. Critically evaluate the finished work. Are there any cracks and pores left?
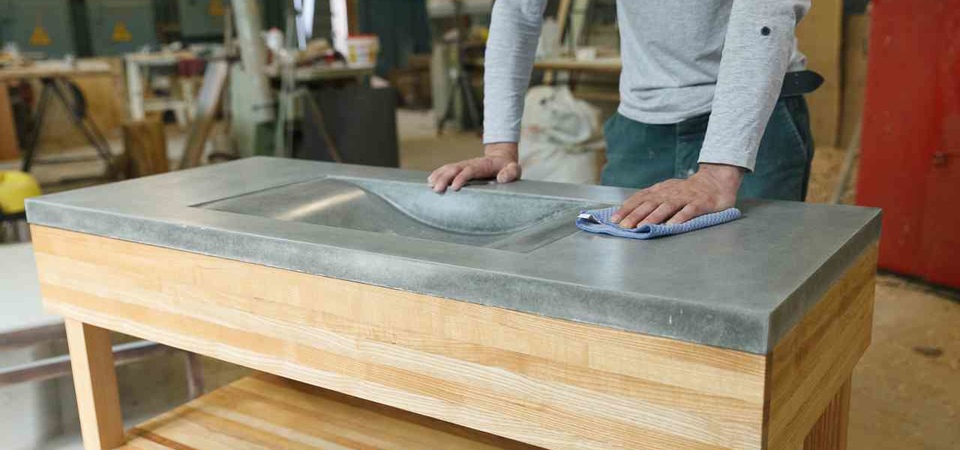
The polishing step adds an attractive and smooth finish to the countertop. Keep in mind here that the polishing pad must be wet. Then apply the primer in one or more coats. Remember to dry well every time you apply your varnish. It remains only to polish the tabletop with wax and, after hardening, clean it with a soft towel. Your countertop is almost complete.
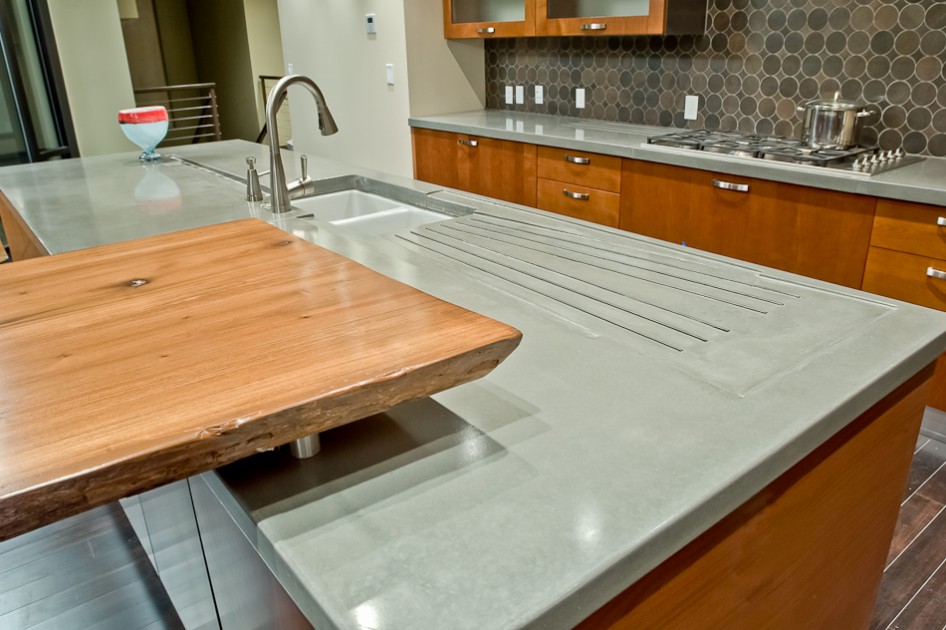
Examples of ready-made concrete countertops do it yourself
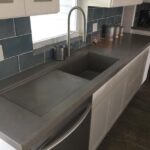
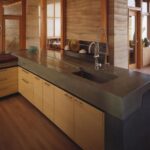
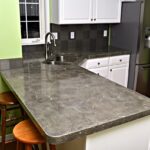
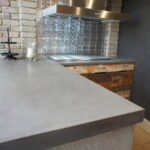
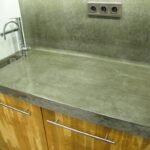
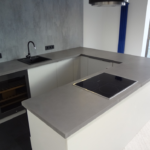
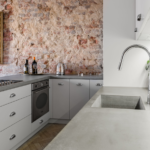
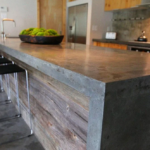
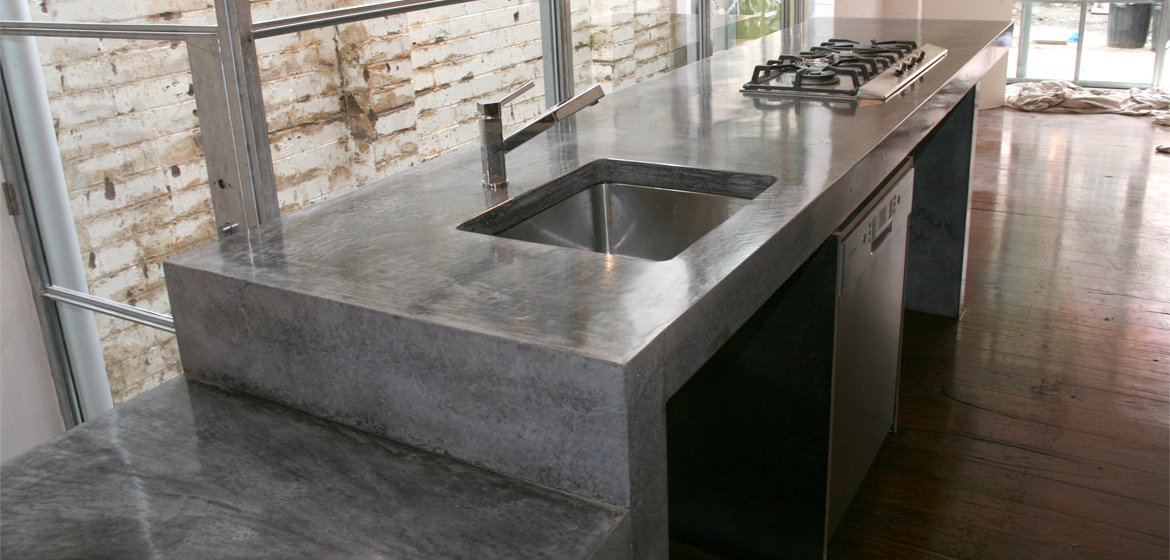
After the countertop is ready, completely dry and finished, it is time to assemble the furniture. To do this, assemble a frame from wood or metal structures. Route electrical wires if this is a kitchen table and appliances will be installed on it. Install a sink and other necessary items.
Video: making concrete countertops

