How to fix a kitchen countertop with your own hands
The countertop is one of the most commonly used items in a kitchen set. Even without noticing it, the housewives exploit them with a maximum load, which many cannot withstand.
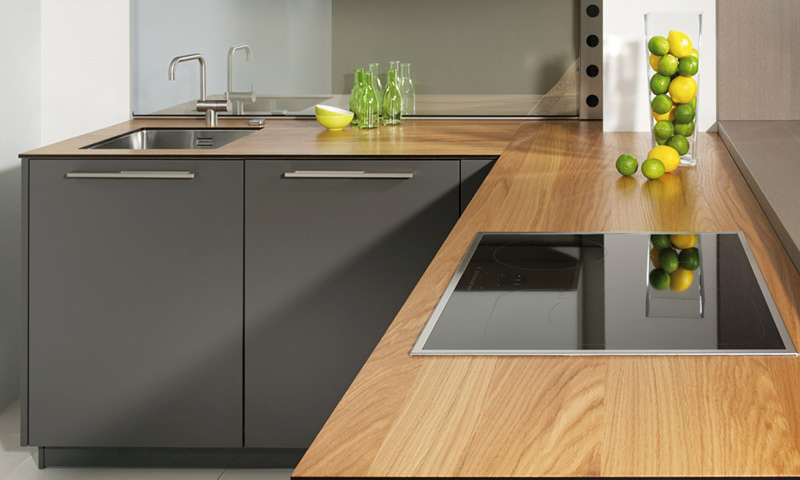
Nevertheless, many types of damage to the kitchen linen can be completely dealt with on their own. Repair of laminated chipboard countertops is described in this article.
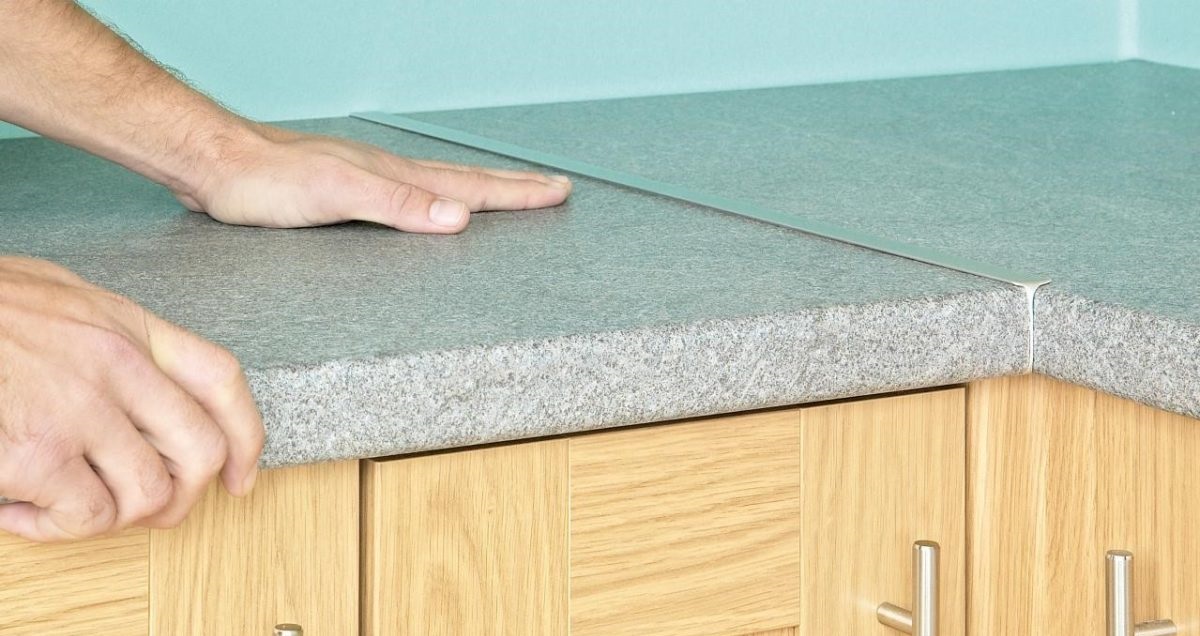
By its type, mechanical damage to the surface is in the form:
- holes;
- scuffs;
- chips;
- scratches;
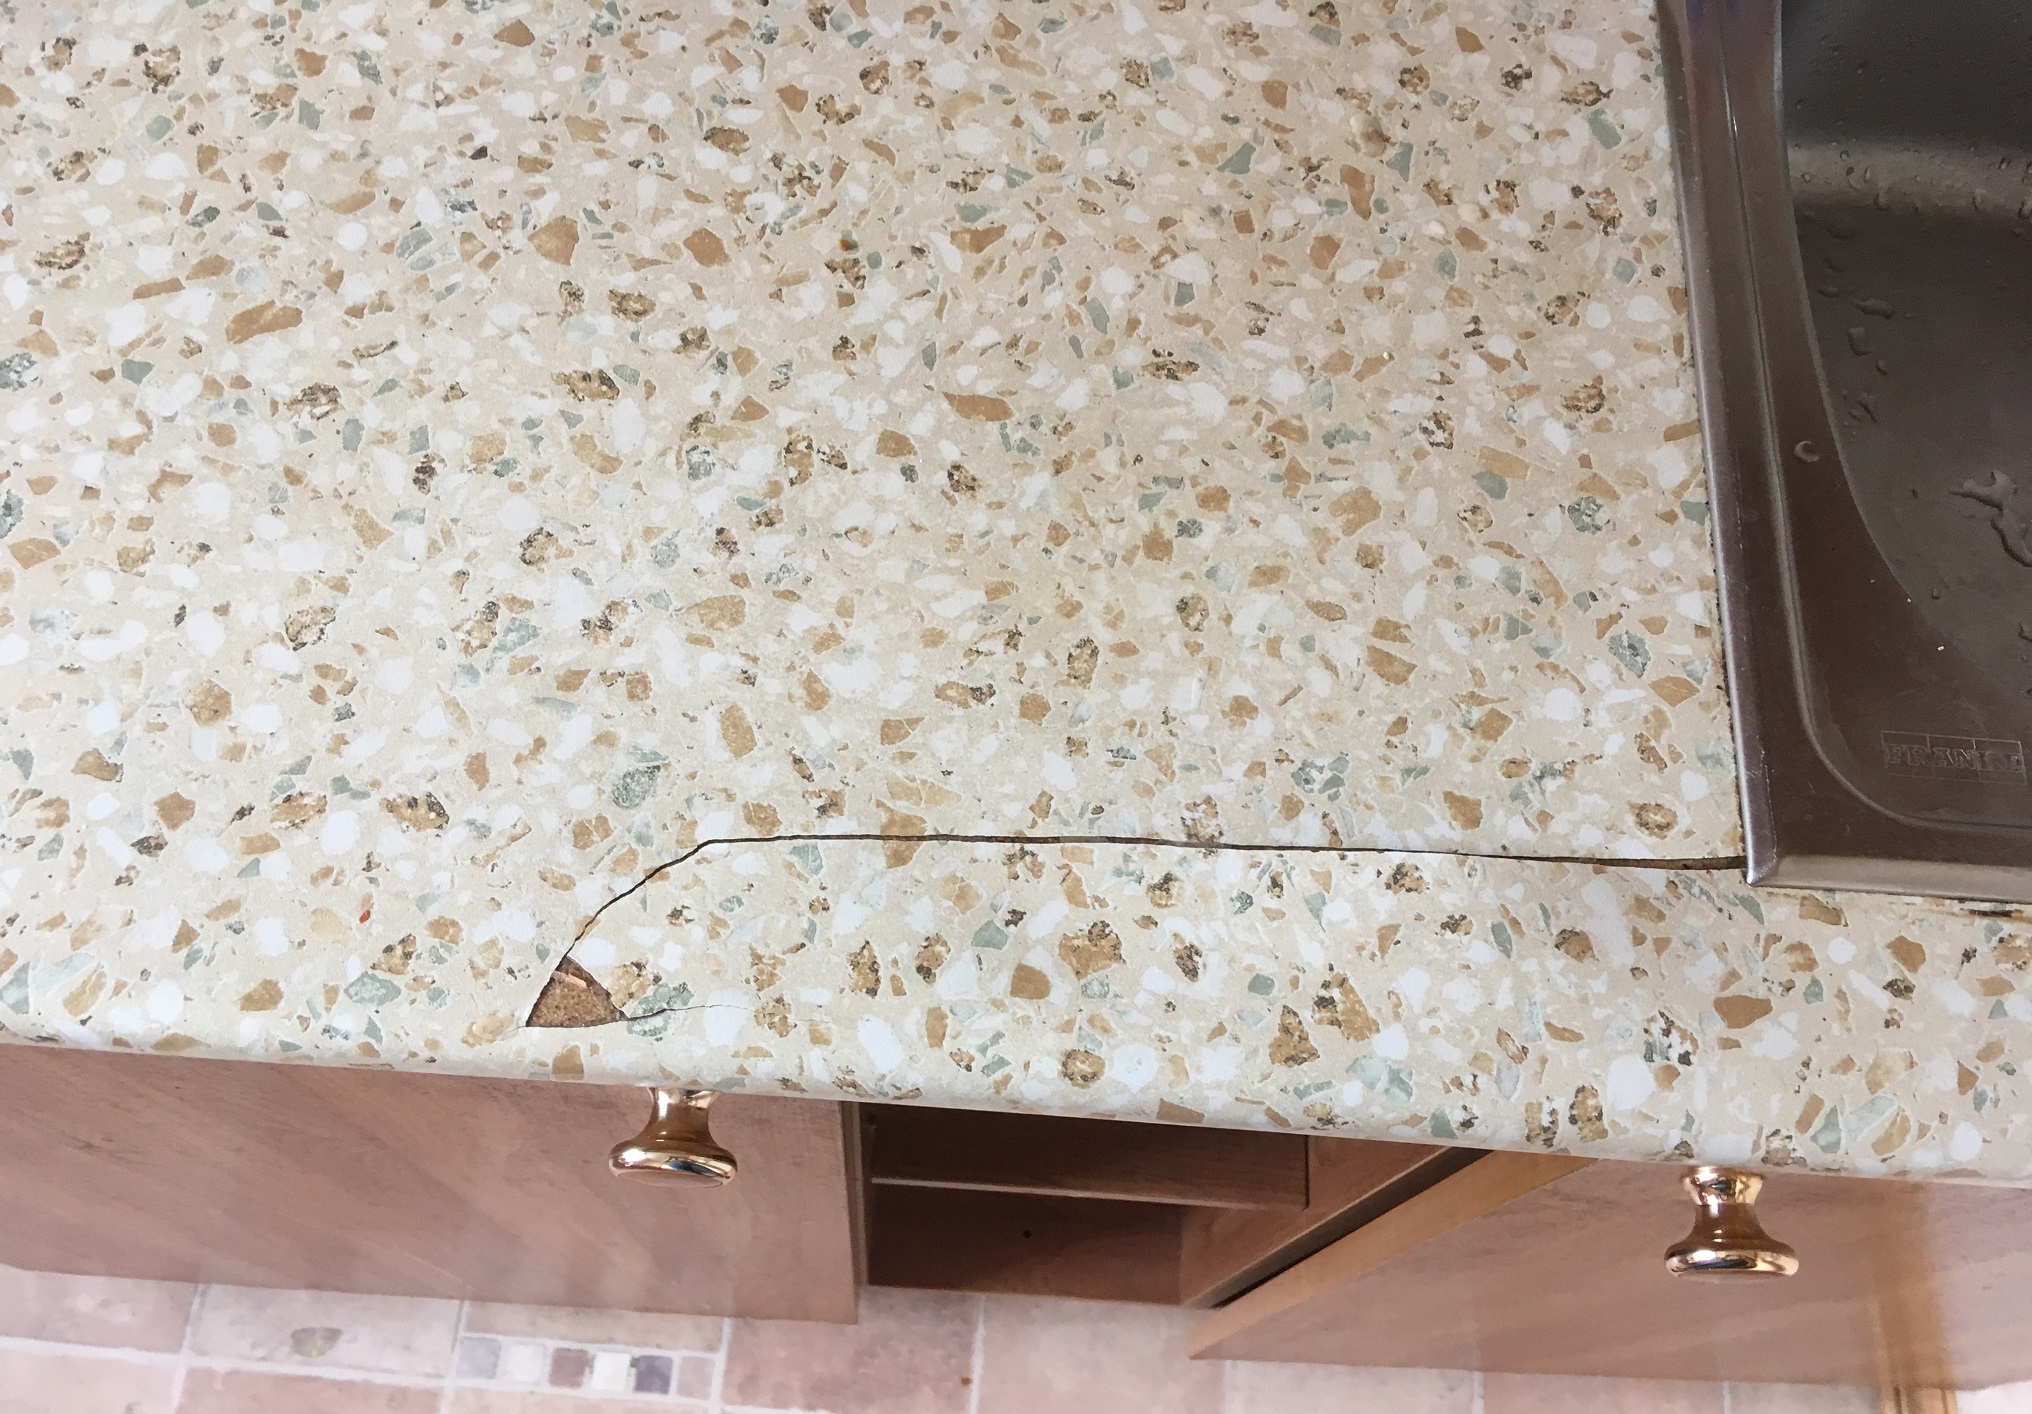
- cracks;
- soaking;
- burnt places.
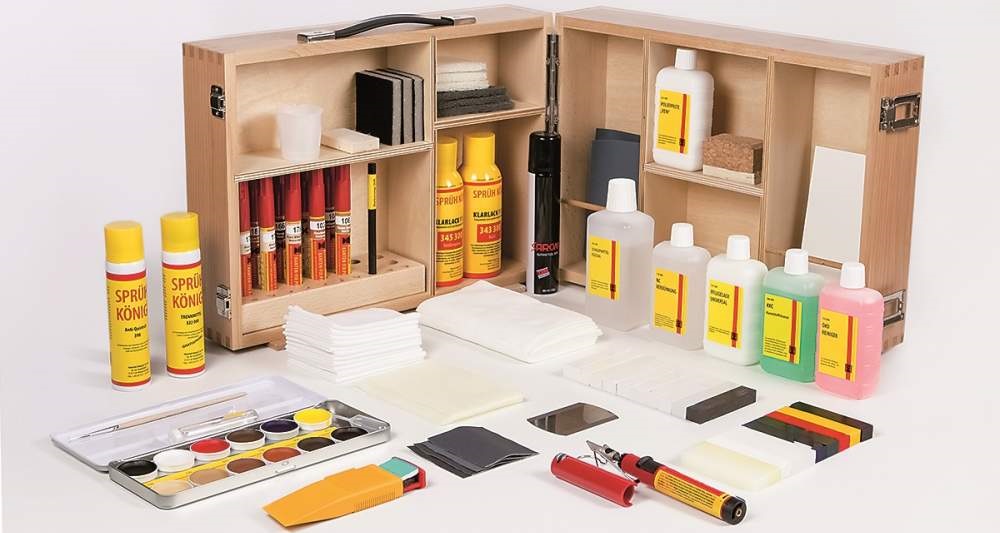
Before starting repairs, you should have the following materials on hand:
- wax (preferably in the color of the canvas);
- matting furniture marker;
- small plastic spatula;
- PVA glue;
- file;
- soft felt fabric;
- furniture varnish;
- sandpaper.
Holes
It is quite easy to repair holes on the surface, because most often they are not too deep.
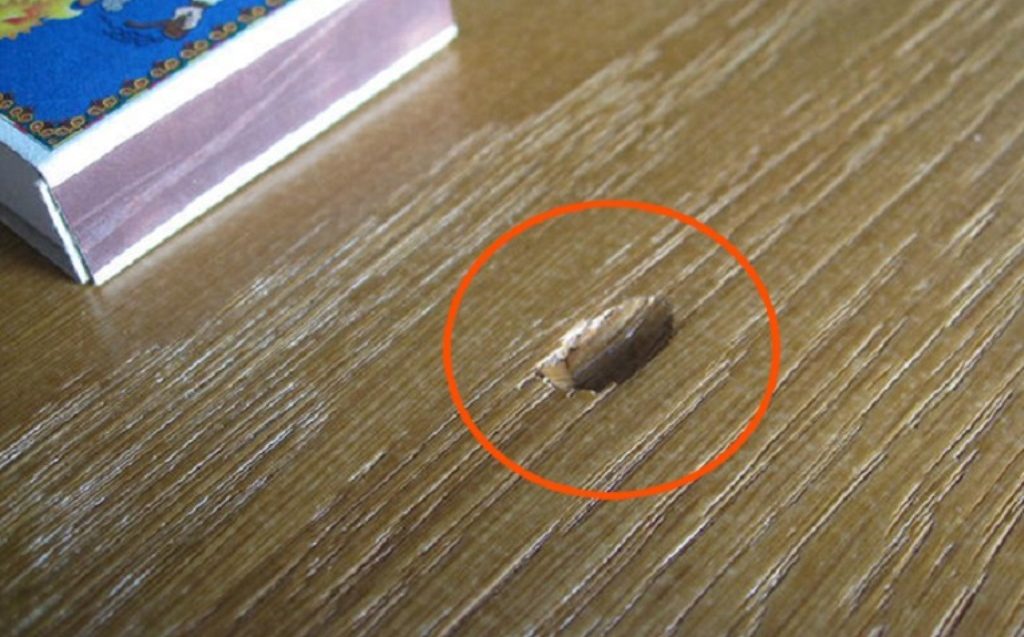
First, you need to clean the hole with a file, for a better setting of the wax. Then, thoroughly degrease the top of the hole with solvent or alcohol.
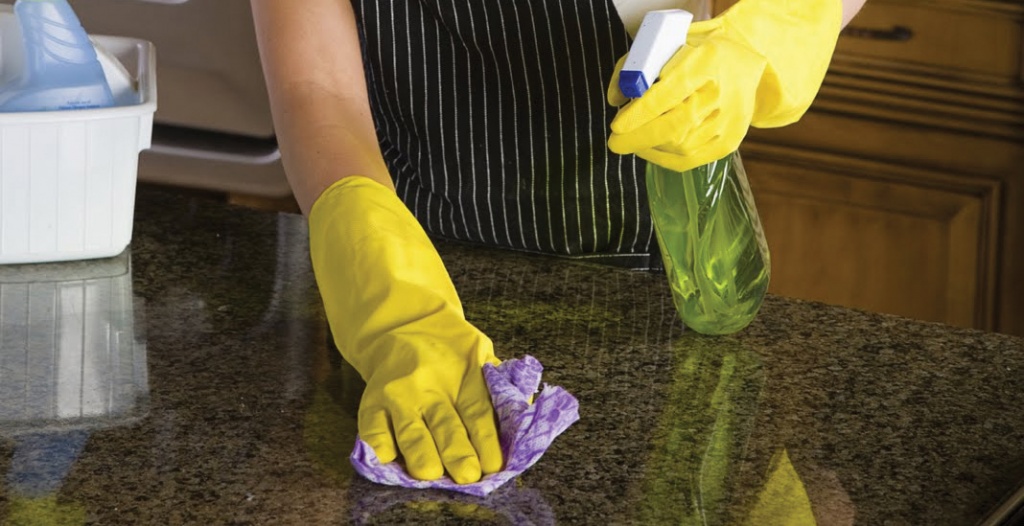
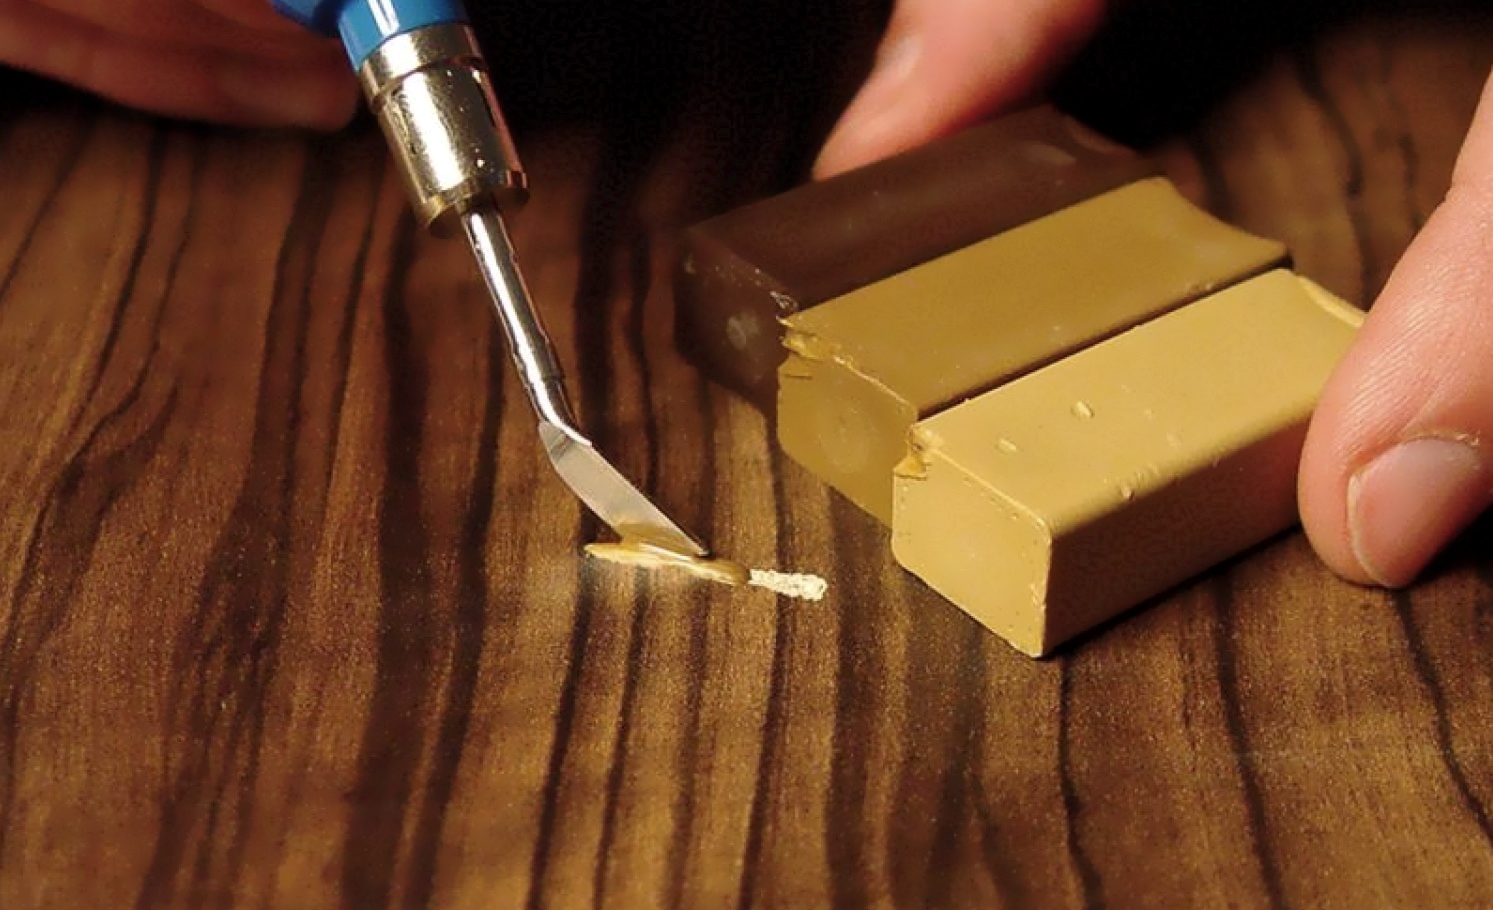
After the degreaser has dried, heat the wax until soft. To make it easier for yourself the final stage of work, it is recommended to immediately select the filler to match the color of the material.
Fill the hole with wax, leaving some of this material on the surface of the countertop.
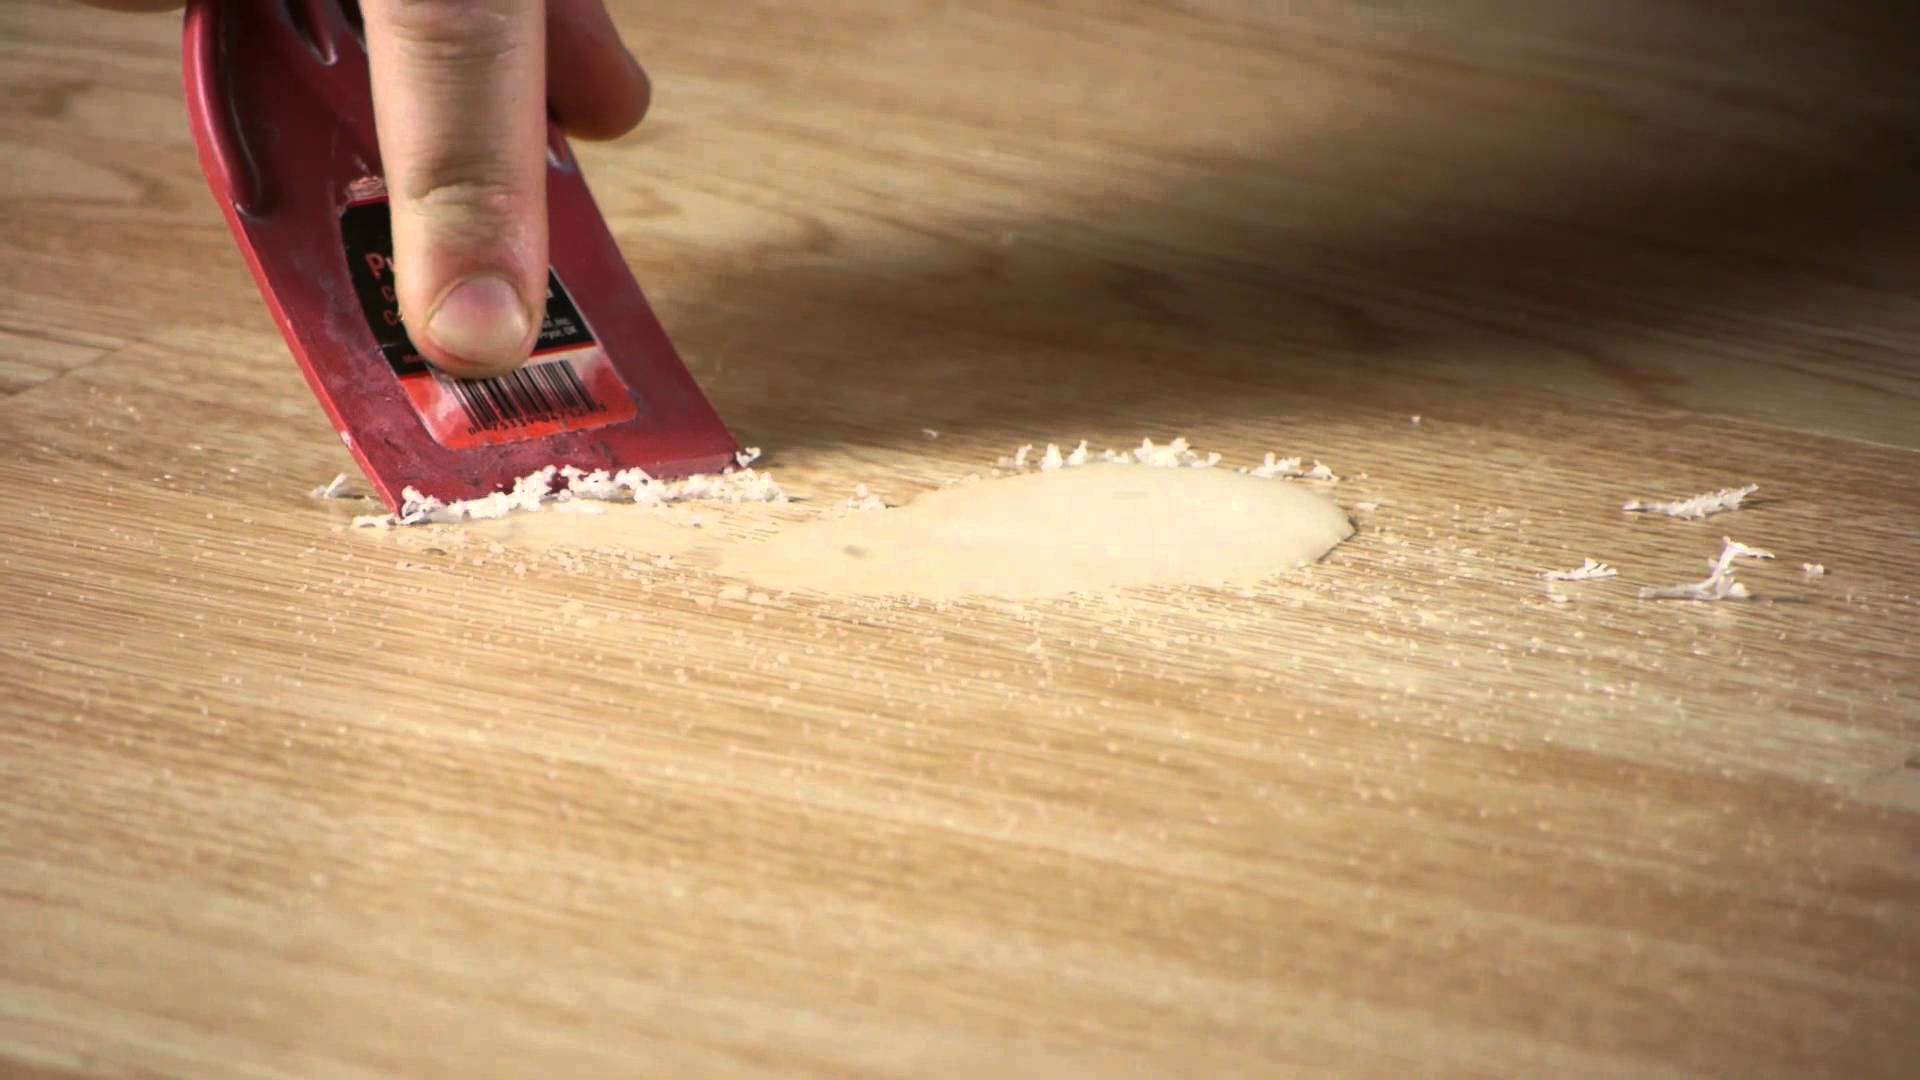
We polish the place of repair well with a felt rag. If the texture of the wax after polishing matches the rest of the surface, we finish the work.
If you need additional coating with furniture varnish, we carry out such manipulations. After some time after the varnish has hardened (16-24 hours), polish it again with felt.
Scuffs
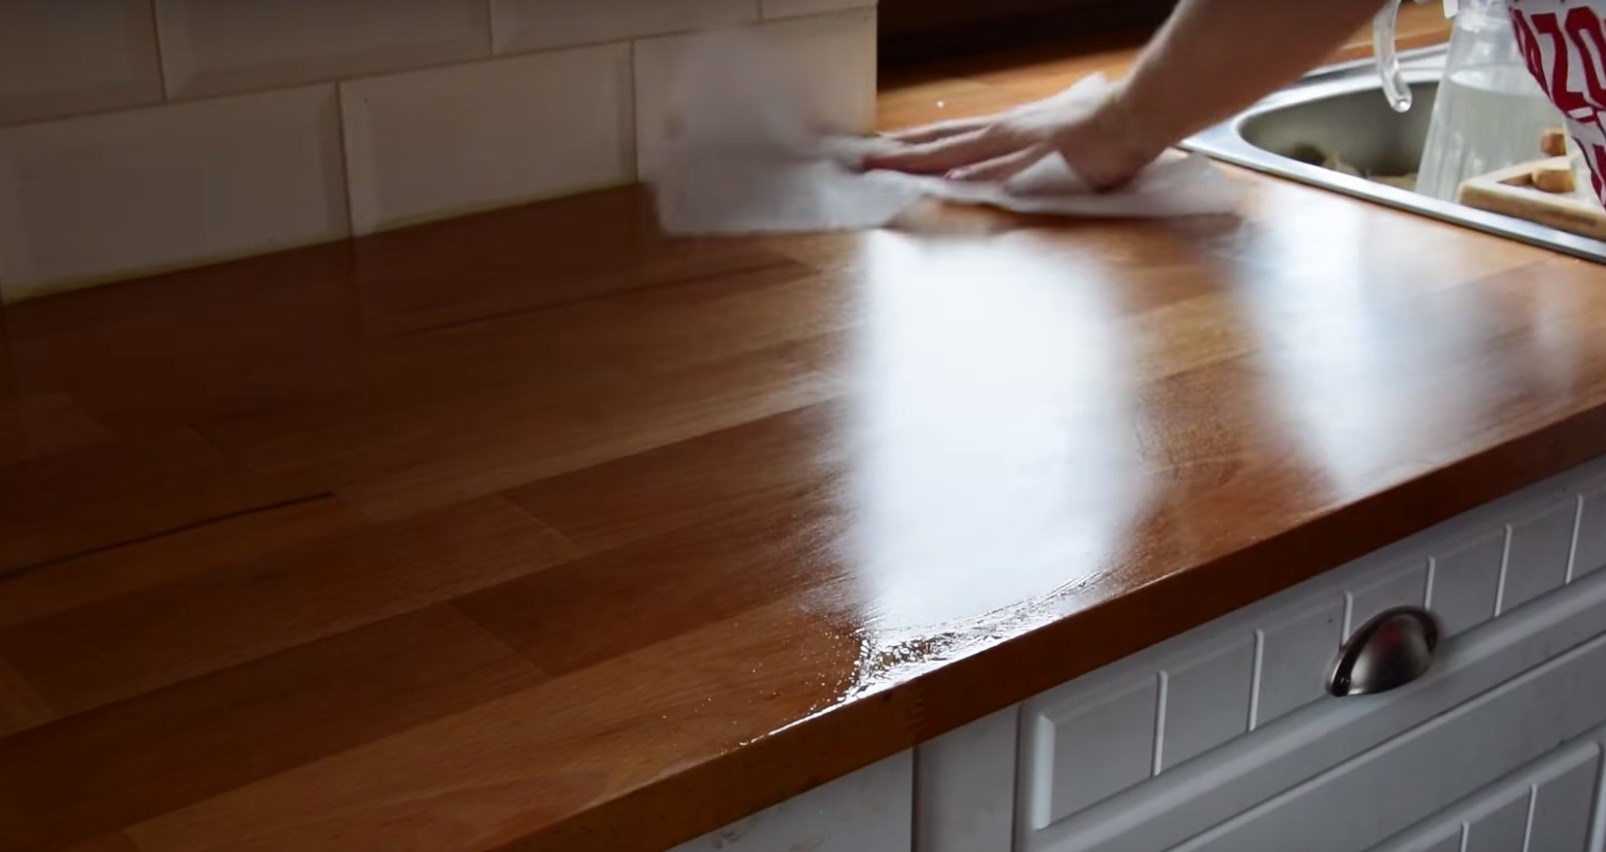
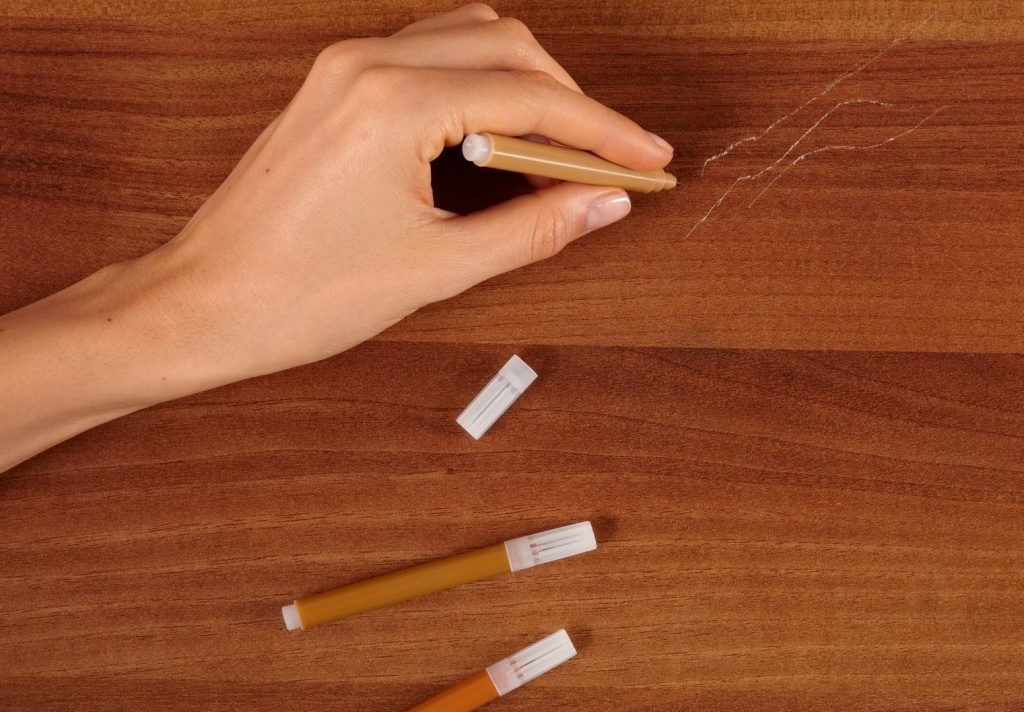
Scuffing is one of the easiest defects to fix. The depth of abrasion is small, just rub the damaged area with a furniture felt-tip pen. It is not worth working with them directly on the surface. It is recommended to pre-dye a soft cloth, for example, silk, with it. And then use this rag to treat the worn area well.
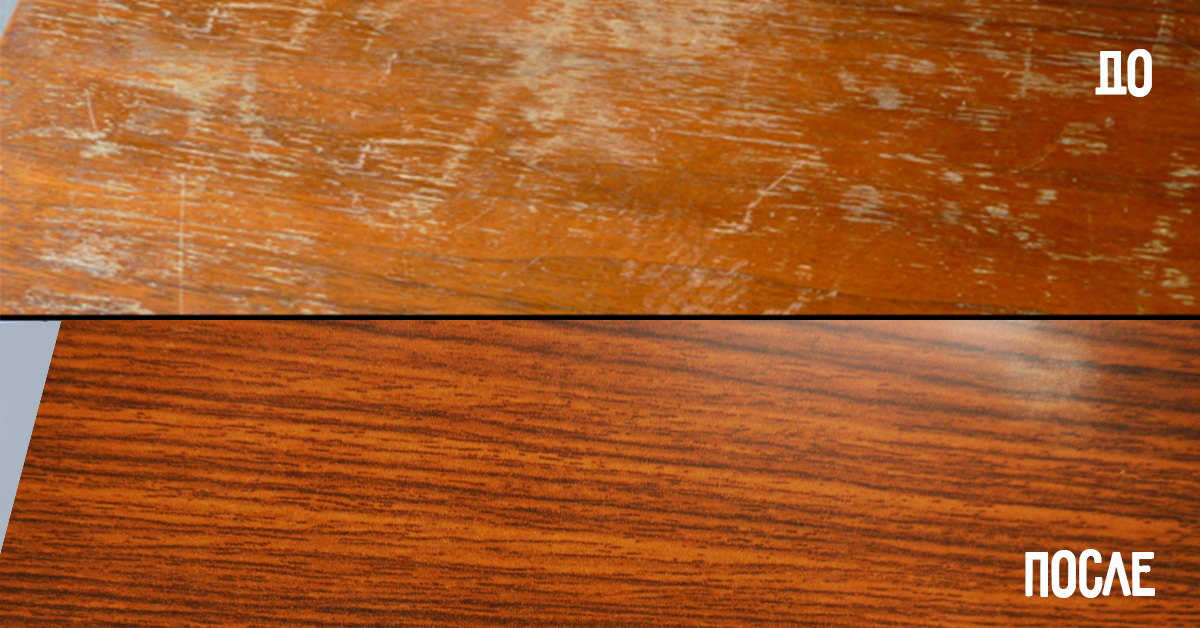
In this simple way, you can cope with shallow scuffs. If the size of the defect is too large, we paint the surface with a felt-tip pen of the appropriate shade, and then polish the resulting place with a piece of cloth.
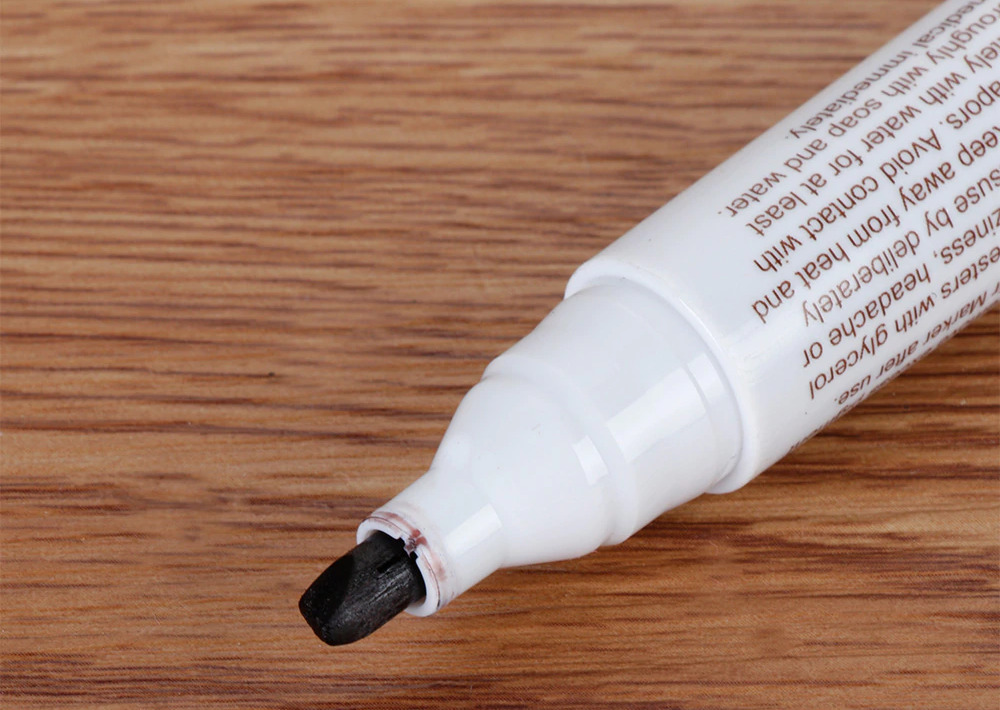
If it is necessary to restore the varnished surface, before painting with fine emery paper, we thoroughly clean the place of wear, carry out degreasing, and only then paint. After the furniture marker has dried, we cover the place of work with varnish, which we also polish 16-18 hours after application.

Chips
Chipping occurs quite often, because in the kitchen there are a lot of crockery and cutlery with sharp edges.
Wax is required to remove the chip. Here, too, the main recommendation is to choose a material that matches the color of the countertop, because painting a wax base can be quite problematic.
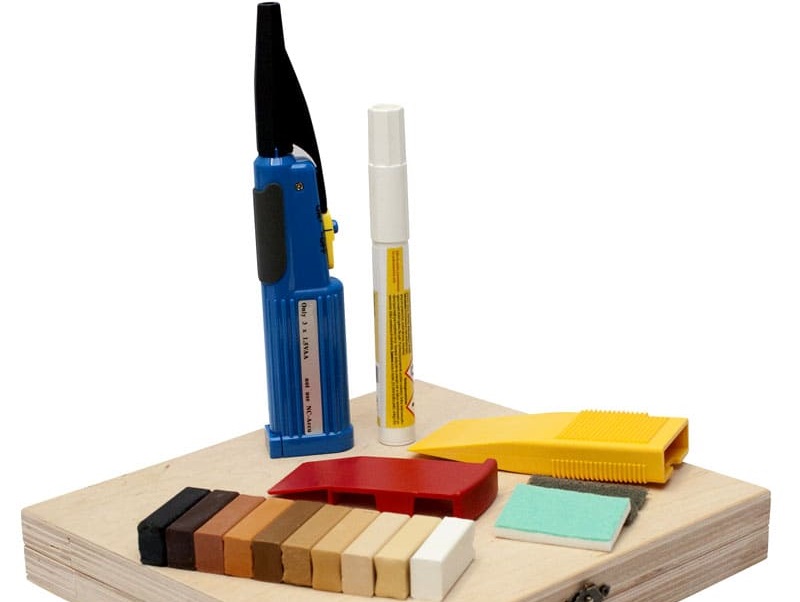
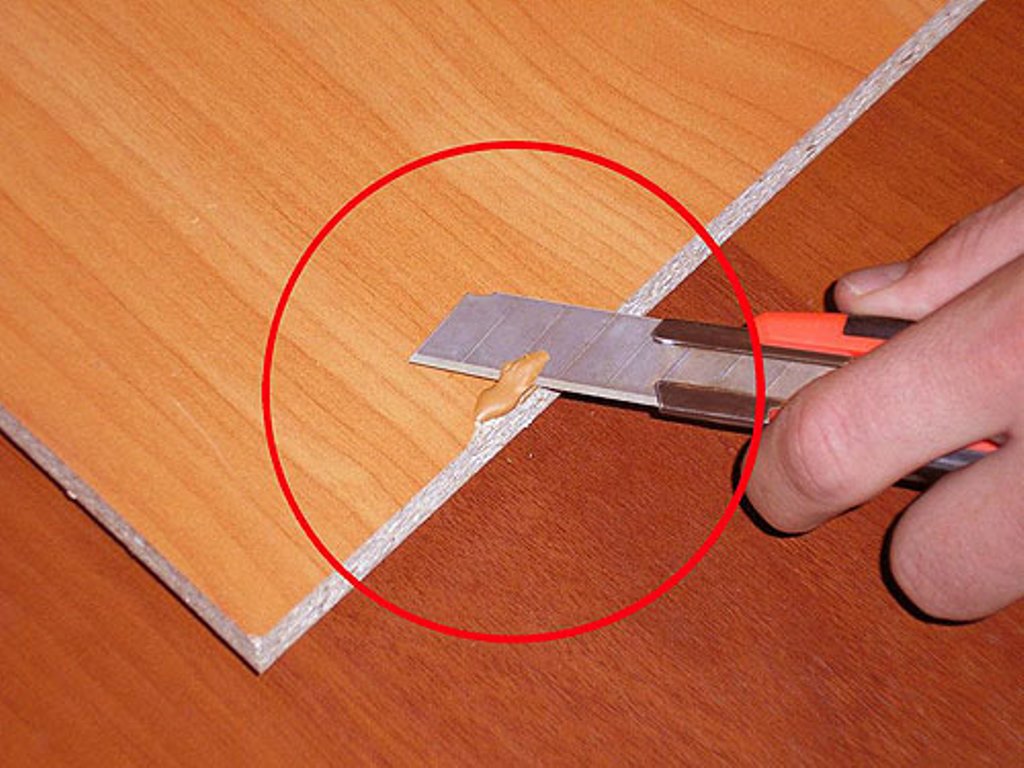
We cut it off, or we clean it well with emery, we drown the wax and apply it to the problem area. We are waiting for complete drying, polish - and you're done.
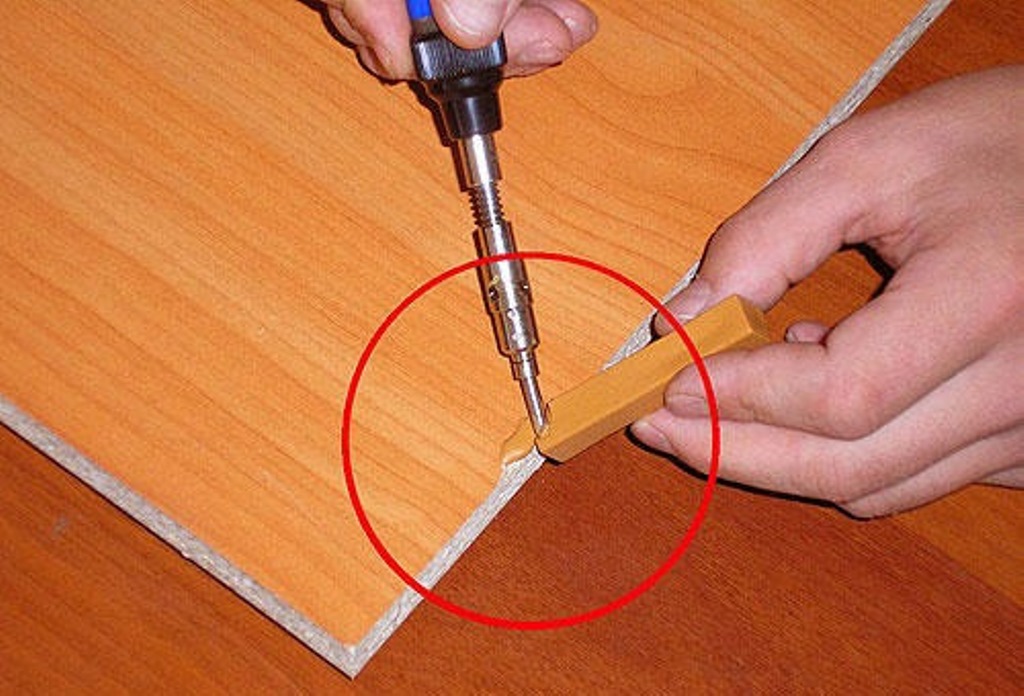
If you need to touch up the place of repair or varnish it, we complete the restoration process with such work.
Scratches
Removing scratches from a surface is as easy as scuffing, or even easier. Before starting work, degrease the surface. If the scratch is shallow, it can be easily wiped off with a piece of wax (often you don't even need to heat it).

With a scratch depth of more than 3 mm, we perform work on preliminary cleaning of the surface from dirt for a better adhesion of the wax.
Then we polish the place of work with a piece of felt. If necessary, tint with furniture varnish. It is recommended to use ear sticks for small scratches, for larger ones you will need a brush of the appropriate width.
Note! If there are several deep scratches nearby, it is recommended to completely remove the surface layer of the countertop in this area. This will allow you to avoid repeated violation of the integrity of the treatment site during exposure to moisture - even with the most painstaking work, microcracks will certainly remain, growing over time.

Cracks
Cracks on the surface of a countertop are the most common reason for a complete replacement. As the material most suffering from negative influences, the top layer will certainly become unusable after some time. And the thinner and cheaper the material of the top layer of the countertop, the sooner it will begin to crack.
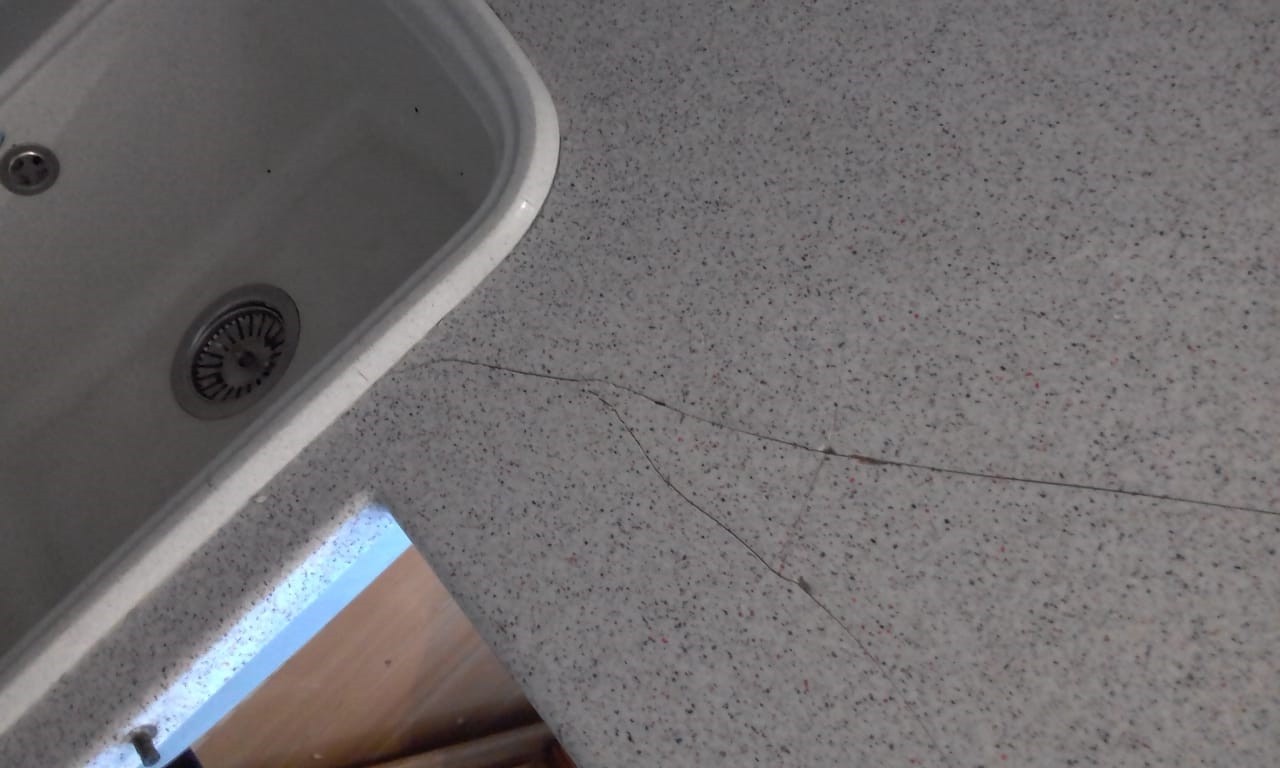
Before starting work on restoring the countertop from cracks, it is, in principle, necessary to assess the feasibility of such work.
A wide crack in the top layer across the entire worktop makes repairs impractical. Even the most painstaking work will surely crack again after a while.
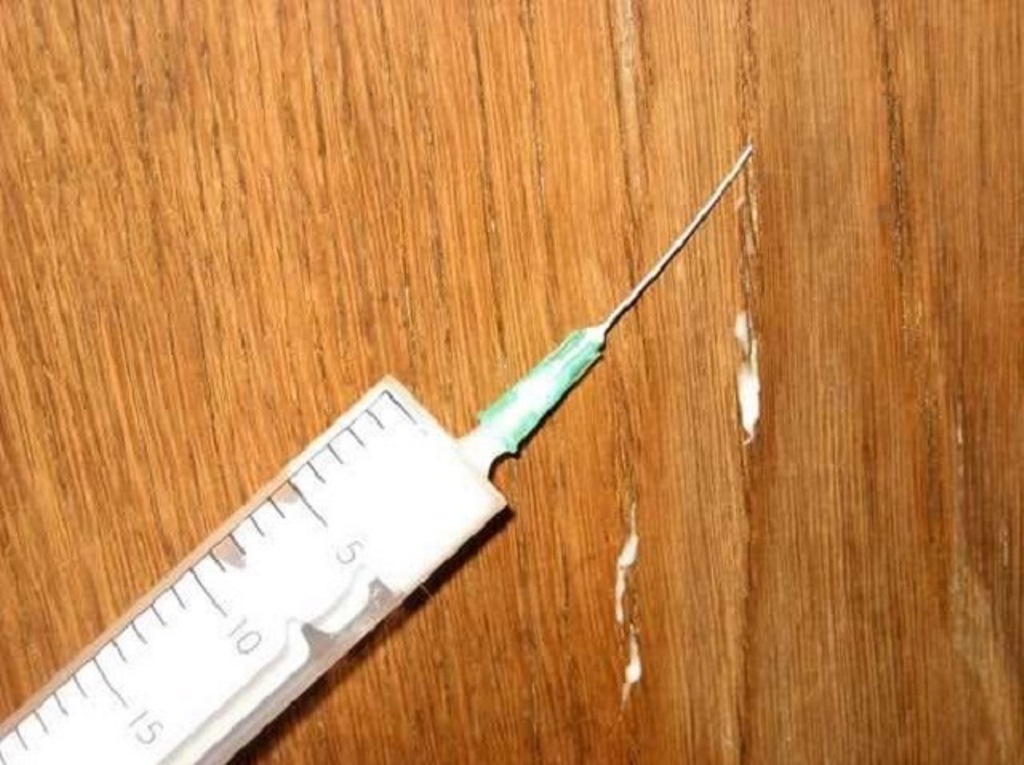
If it is shallow and small, we act according to the standard scenario.
We clean, degrease, apply wax, polish. Additional painting and varnishing as required.
It is recommended to immediately apply wax of a suitable shade; due to the large size of the cracks, it is not always possible even for professionals to restore the uniformity of the surface color.
Soaking the countertop
Soaking is another fairly common case of countertop damage.The reason for its appearance is the prolonged exposure to moisture, therefore, most often the edges are exposed to such defects.

Soaking immediately attracts attention, so many people strive to eliminate such a problem as quickly as possible.
Note! To eliminate this problem, a complete dismantling of the tabletop is often required.
First, dry the countertop thoroughly. Then mechanical cleaning of the soaking point from rotten parts is carried out.
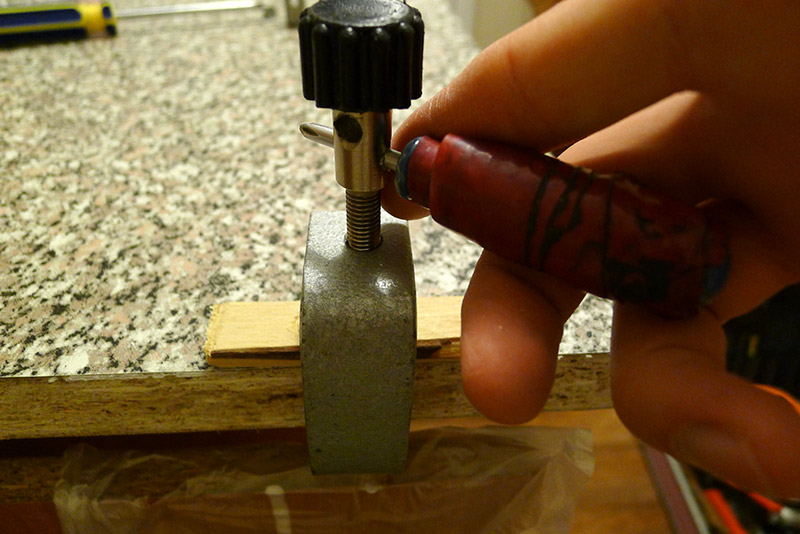
After that, furniture glue is mixed with sawdust into the formed cavity, you can even use the remnants from the previous step.
Note! Now it is important to press the layers to be glued as best as possible from the sodden side.
We leave the worktop under load for at least 24 hours. The more the load exerts pressure on the repair site, the smoother and more uniform the result will be.
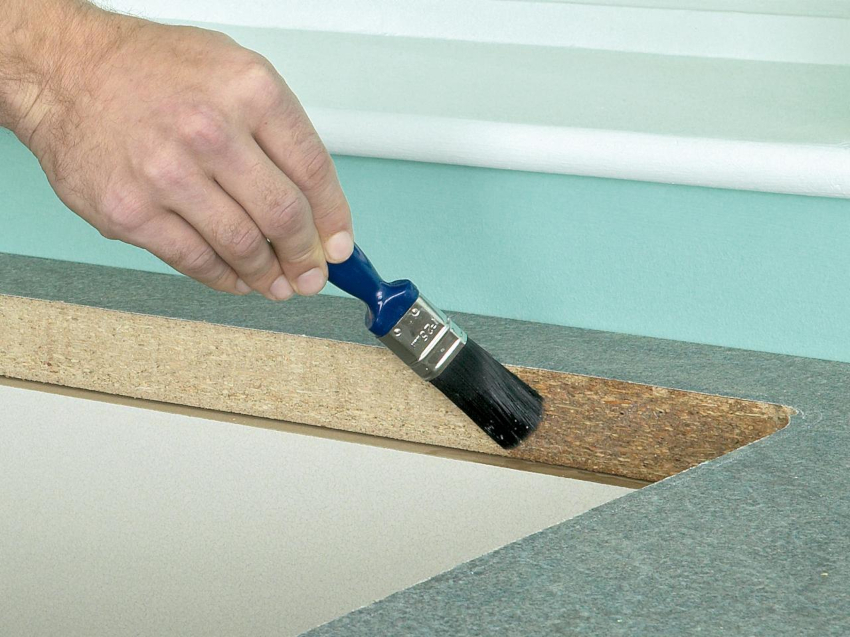
After the glue has dried, we put the countertop in place. It is recommended to treat the open and unprotected side surfaces of the tabletop with silicone sealant, it will prevent repeated damage.
Burns
Burn-through occurs from exposure to the surface of too hot dishes. Before you restore the kitchen countertop from chipboard, you need to get rid of the visible burn-in place. We work with sandpaper or a file, if necessary.
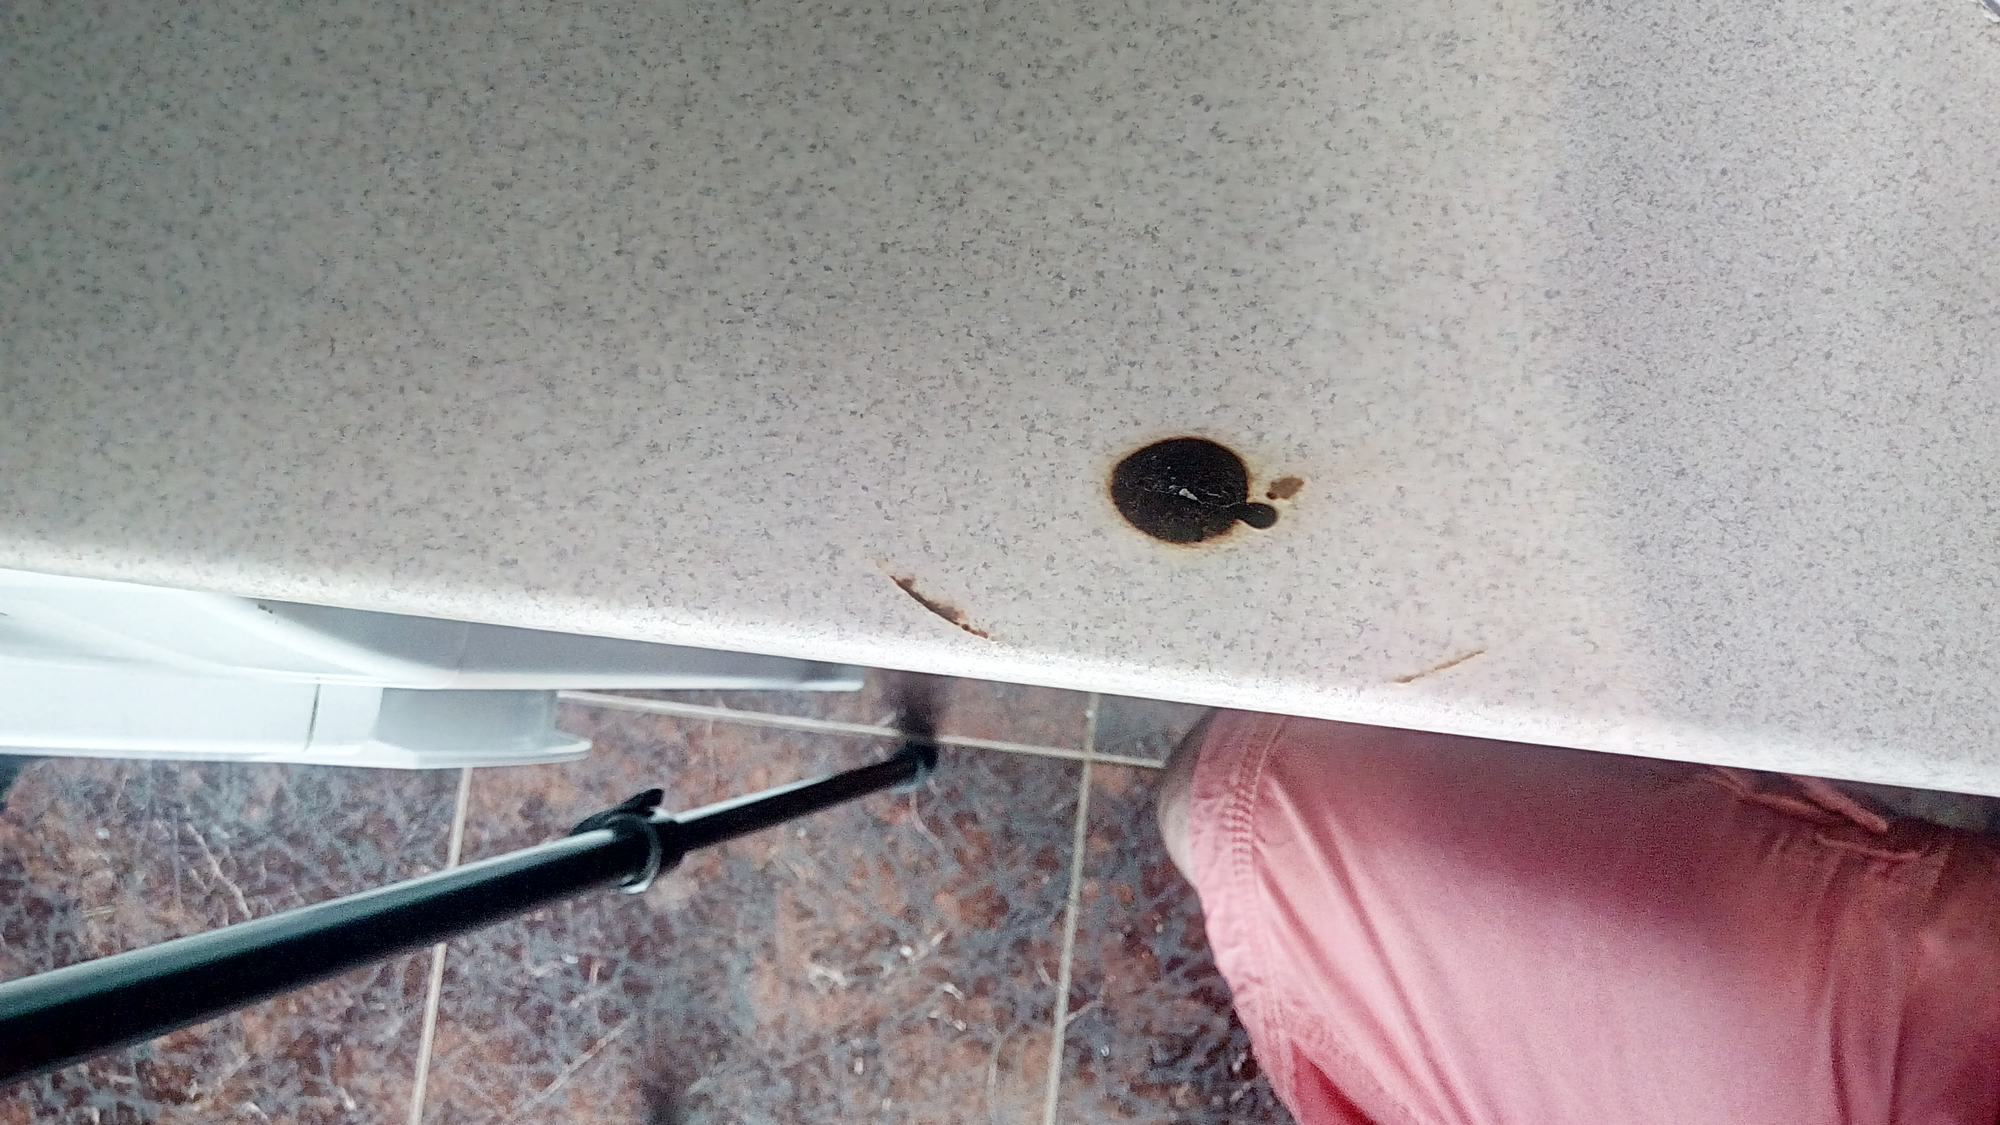
And then we carry out the same algorithm as for a scratch - fill with wax, grind, paint or varnish.
Following our simple tips, you can easily, quickly, and most importantly - economically bring your countertop to its original appearance.
Video: repairing a bulged chipboard countertop
