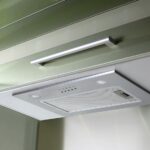
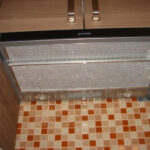
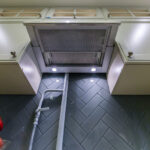
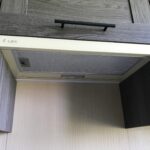
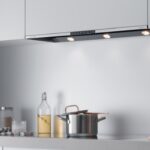
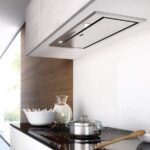
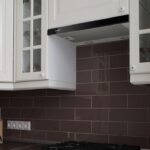
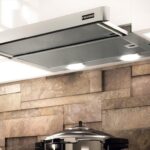
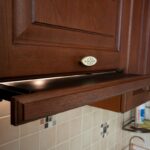
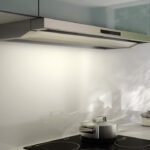
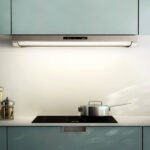
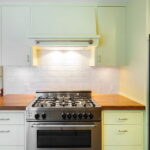
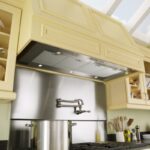
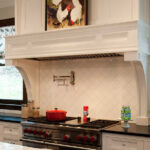
How to properly integrate the hood into the closet
The installation of a cooker hood is carried out with the aim of capturing and removing vapors from cooking. The core functions and correct operation are based on forced removal, but not filtration or air renewal.
The latter functions can only take place in terms of marketing manifestation, further increasing the cost by installing carbon, ionizing filters. The relevance of using such kitchen equipment is especially noted if the kitchen is equipped with gas stoves.
It is important to understand! Standard exhaust ventilation is capable of effectively removing no more than 20% of combustion products or unburned gas per cubic meter. m. for one hour of operation of a household burner. That is why the installation of the hood is recommended, first of all, for apartment buildings. The output can be realized through a common ventilation system.
Installing a hood in the kitchen, even with low performance, will avoid:
- poisoning by combustion products;
- fatty deposits on furniture;
- accumulation of dirt on the ceiling;
- the rapid spread of odors in the room.
- Exhaust technology device
- Installation rules
- How to insert a hood into a kitchen cabinet
- Fastening process
- How to cut duct holes
- Installation of all elements
- What to do if there is not enough power
- Video: installing a built-in hood in the kitchen
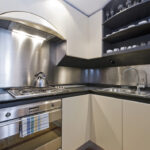
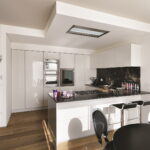
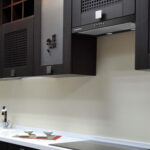
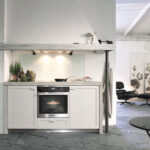
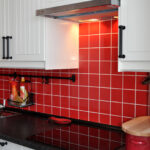
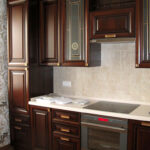
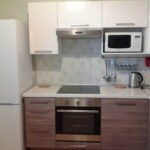
- Photo 50 design options for built-in hoods in the kitchen
Exhaust technology device
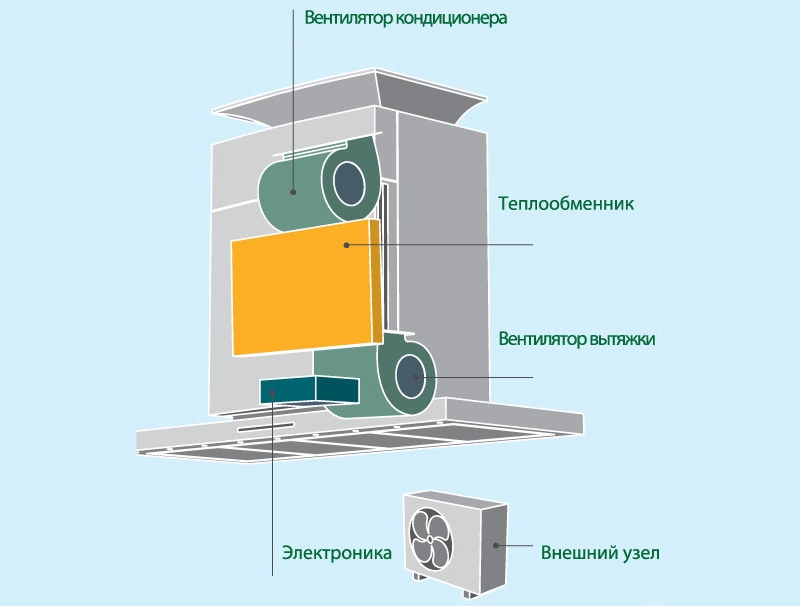
Before integrating the hood into a kitchen set, it will be logical to understand its structure. It is based on a centrifugal fan, which is driven by a terminal block and a speed switch.
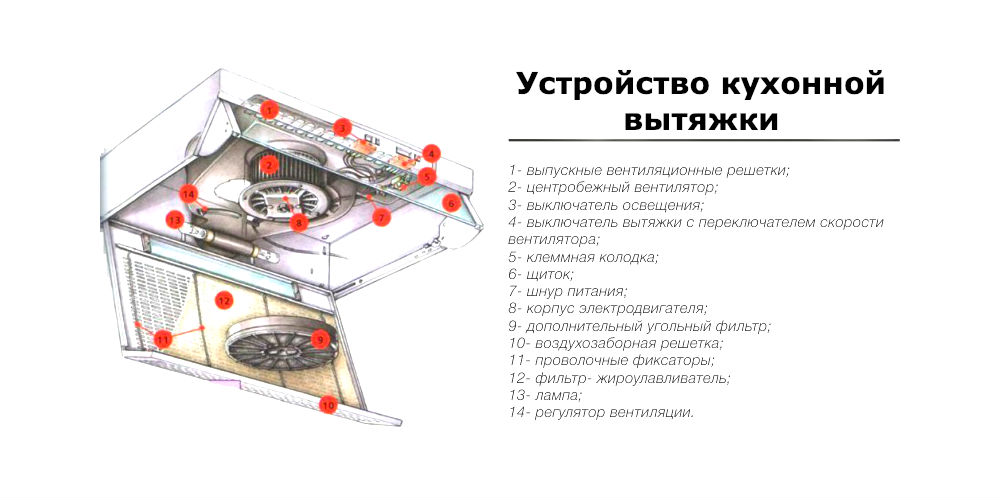
The motor driven by a variable household network creates an effort to absorb at least 112 liters of air / minute. This figure increases upon removal of the grease filter, but this manipulation is not recommended.
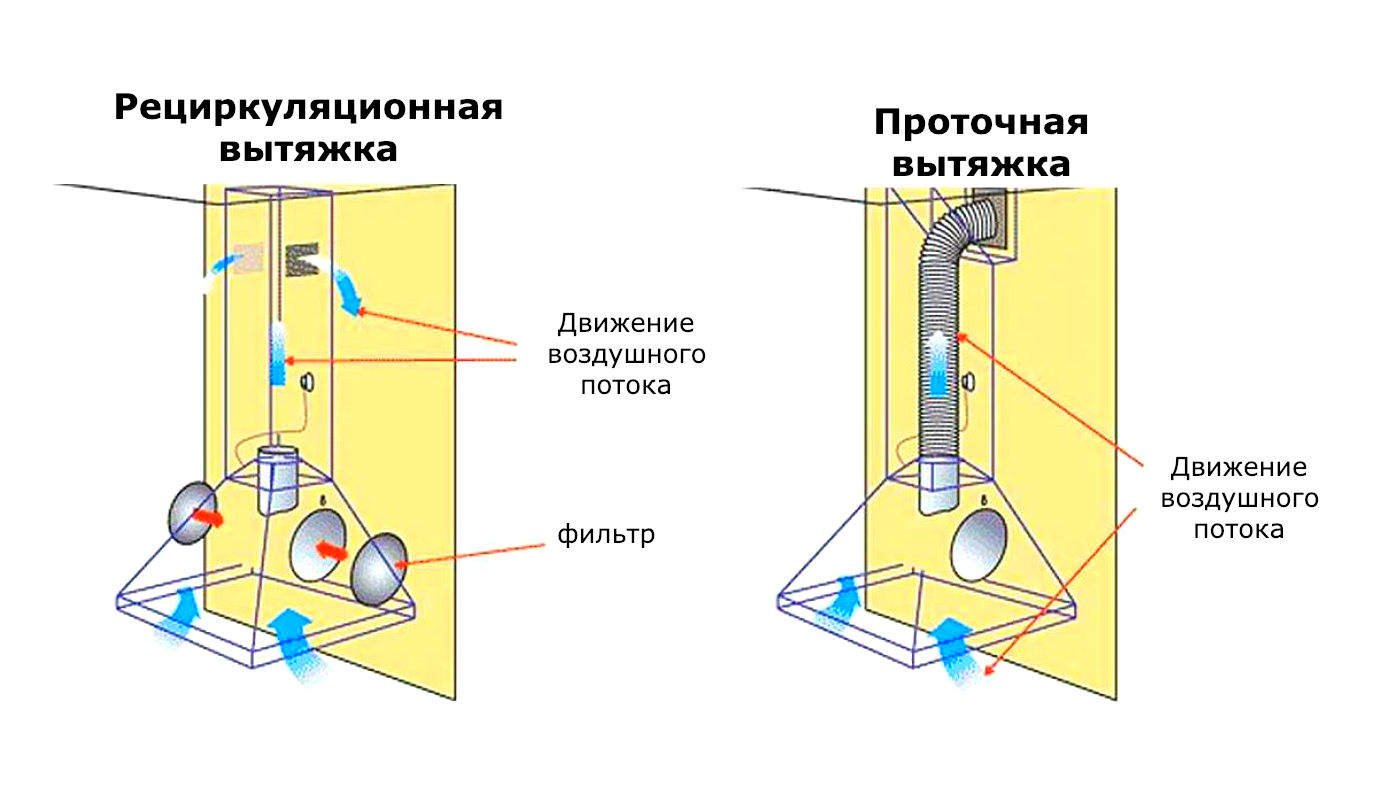
The remaining elements of the exhaust equipment device include the following:
- exhaust duct ventilation grilles;
- lighting switch;
- shield;
- power cord;
- outer casing of the electric motor;
- wire clamps;
- backlight lamp;
- regulator of active, passive ventilation.
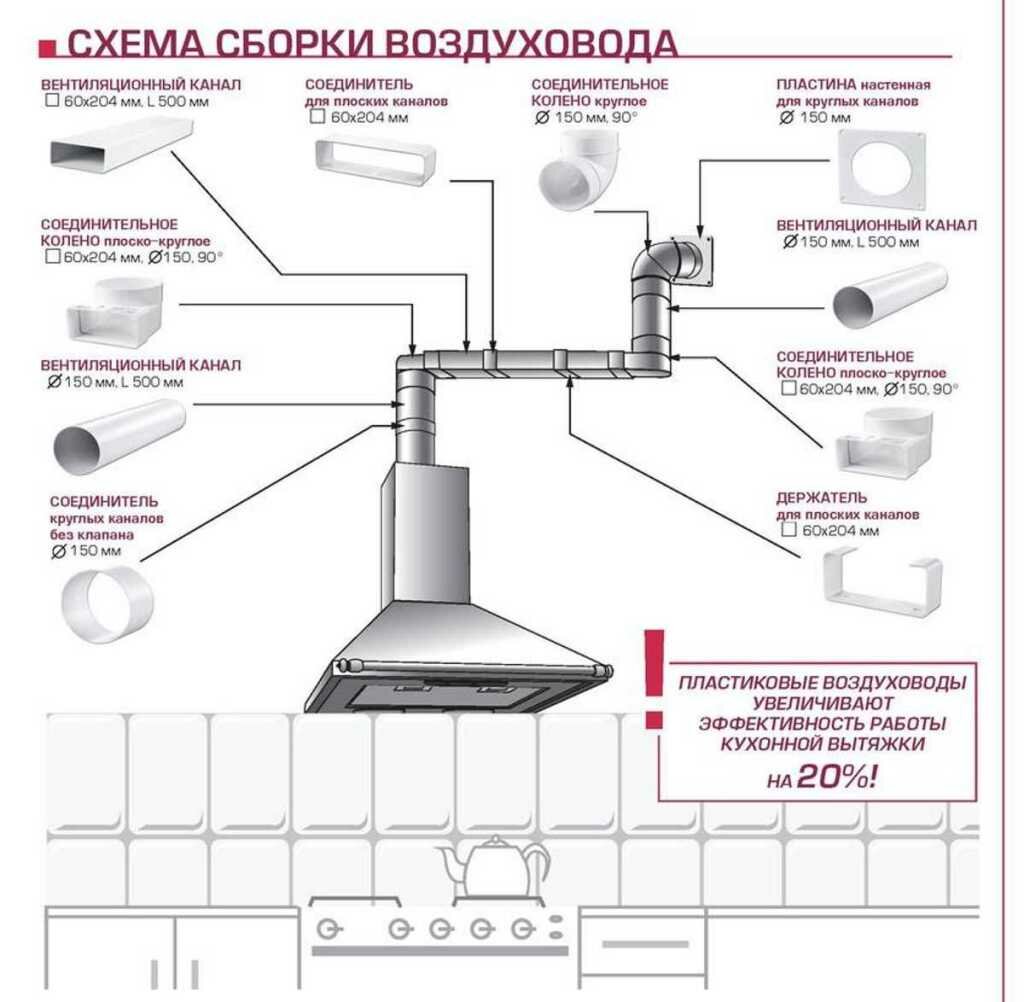
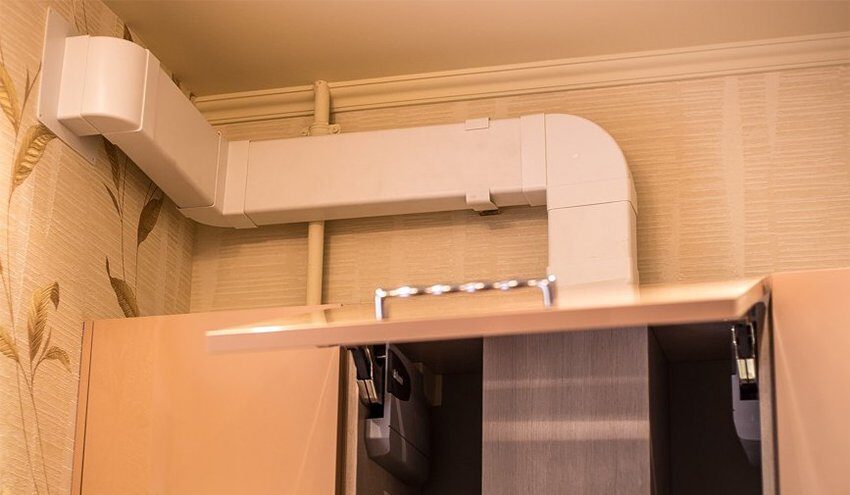
It's important to know! The duct assembly diagram is made inside the kitchen unit or on its upper plane. The use of plastic fittings with 90 degree corners, as well as ventilation ducts with connecting elbows, is permissible and does not affect the throughput of the drainage system.
Thus, most of the questions regarding how to build an extractor hood into a cabinet with your own hands are solved. It remains to follow some rules for the placement and assembly of the outlet line.
The complete collection duct assembly consists of the following elements:
- ventilation duct;
- connectors for flat ducts;
- round connecting elbow;
- wall plate for round ducts;
- the connecting knee is flat-round;
- round duct connector without valve;
- holder for flat channels.
Installation rules
The first rule is to compare the size of the kitchen set. If the cabinet for the hood is suitable, has a margin of internal usable space, and its bottom plane is made of material with a thickness of 10 mm or more, you can start making holes.
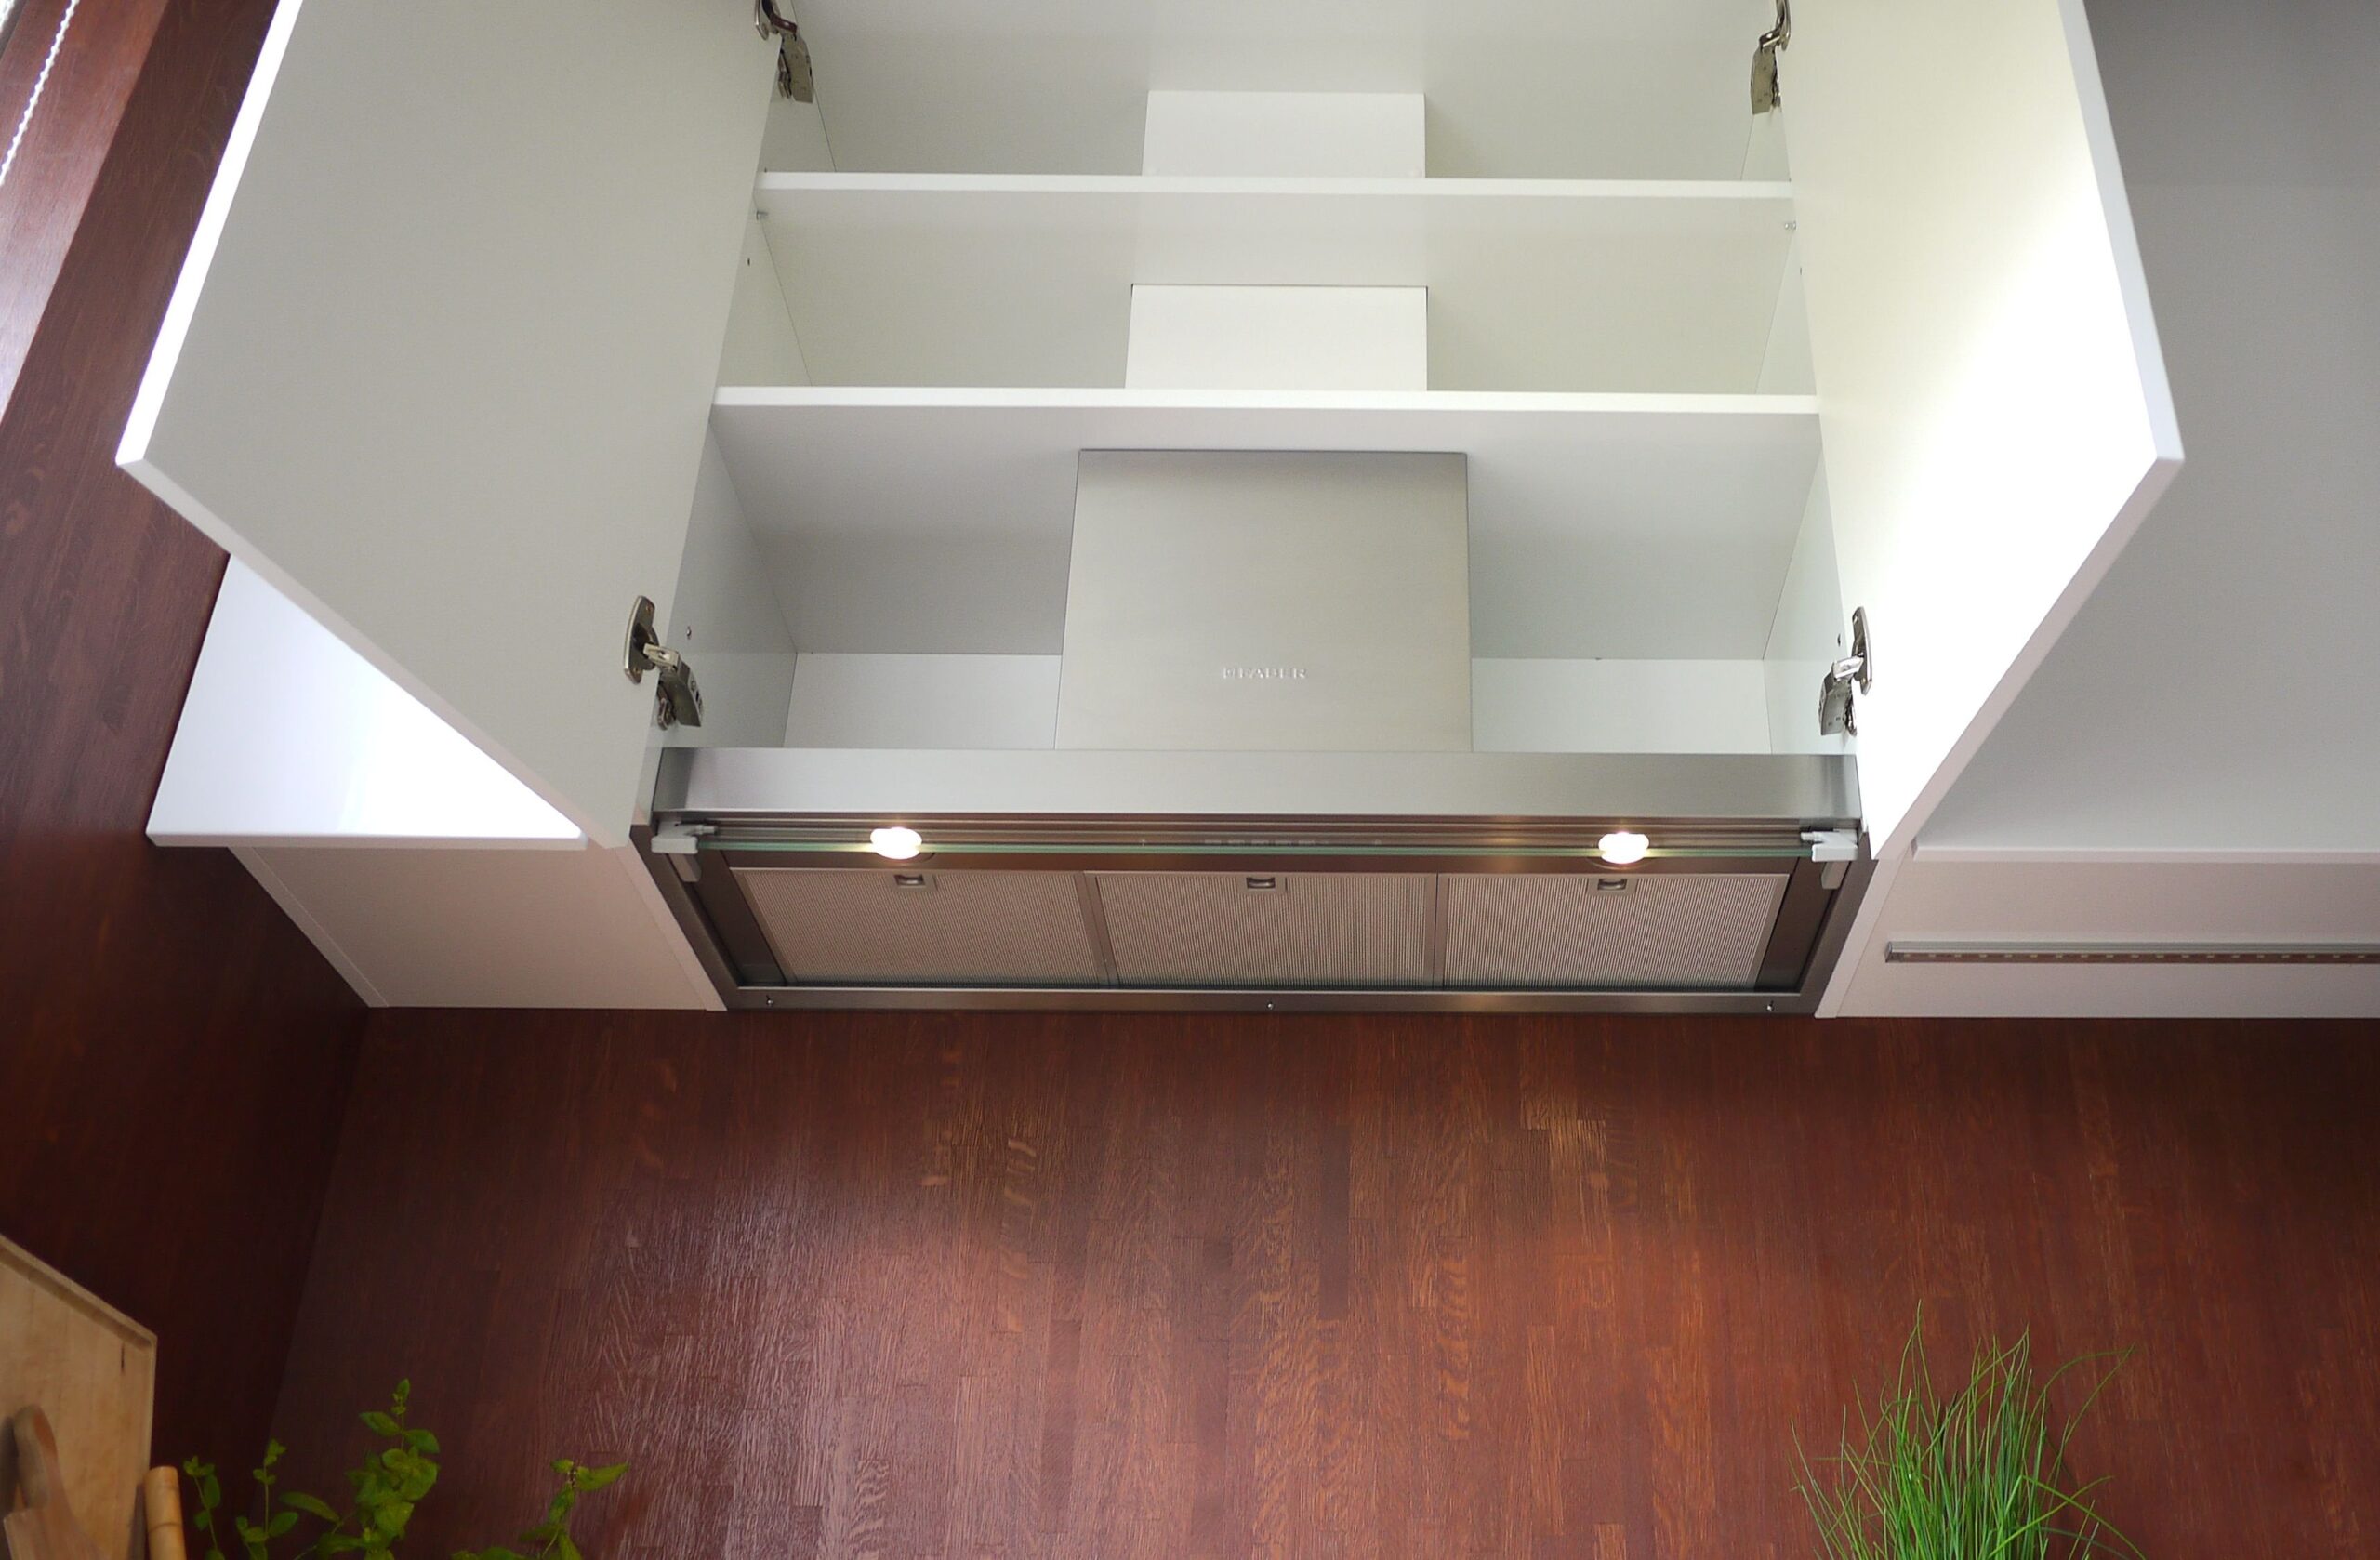
All mechanical cuts are not protected from moisture, therefore secondary sealing is carried out before installing the hood. For this purpose, a household or aquarium sealant is used. Complete drying takes up to 2 hours, and the resulting layer also performs a passive property - damping vibrations, reducing noise at medium and high fan speeds.
The second critical rule is the supply cable technology. If a 220V socket is not provided in the kitchen set, the extension of the supply cable, or its connection with other network connections, takes place exclusively by means of clamping terminals.
Worth knowing! The copper terminal blocks on the bus can withstand twice the current rating. This will exclude a fire hazard in the room.
Since the supply network has a voltage of 220V, and the device itself is in contact with the pair, it is required to lay a dedicated grounding line with a wire cross-section of up to 0.5 sq. Otherwise, even without the possibility of electric shock to the operator, the build-up of static electricity will negatively affect the condition of the hood components. First of all, the welds and dots of the outer casing begin to rust.
How to insert a hood into a kitchen cabinet
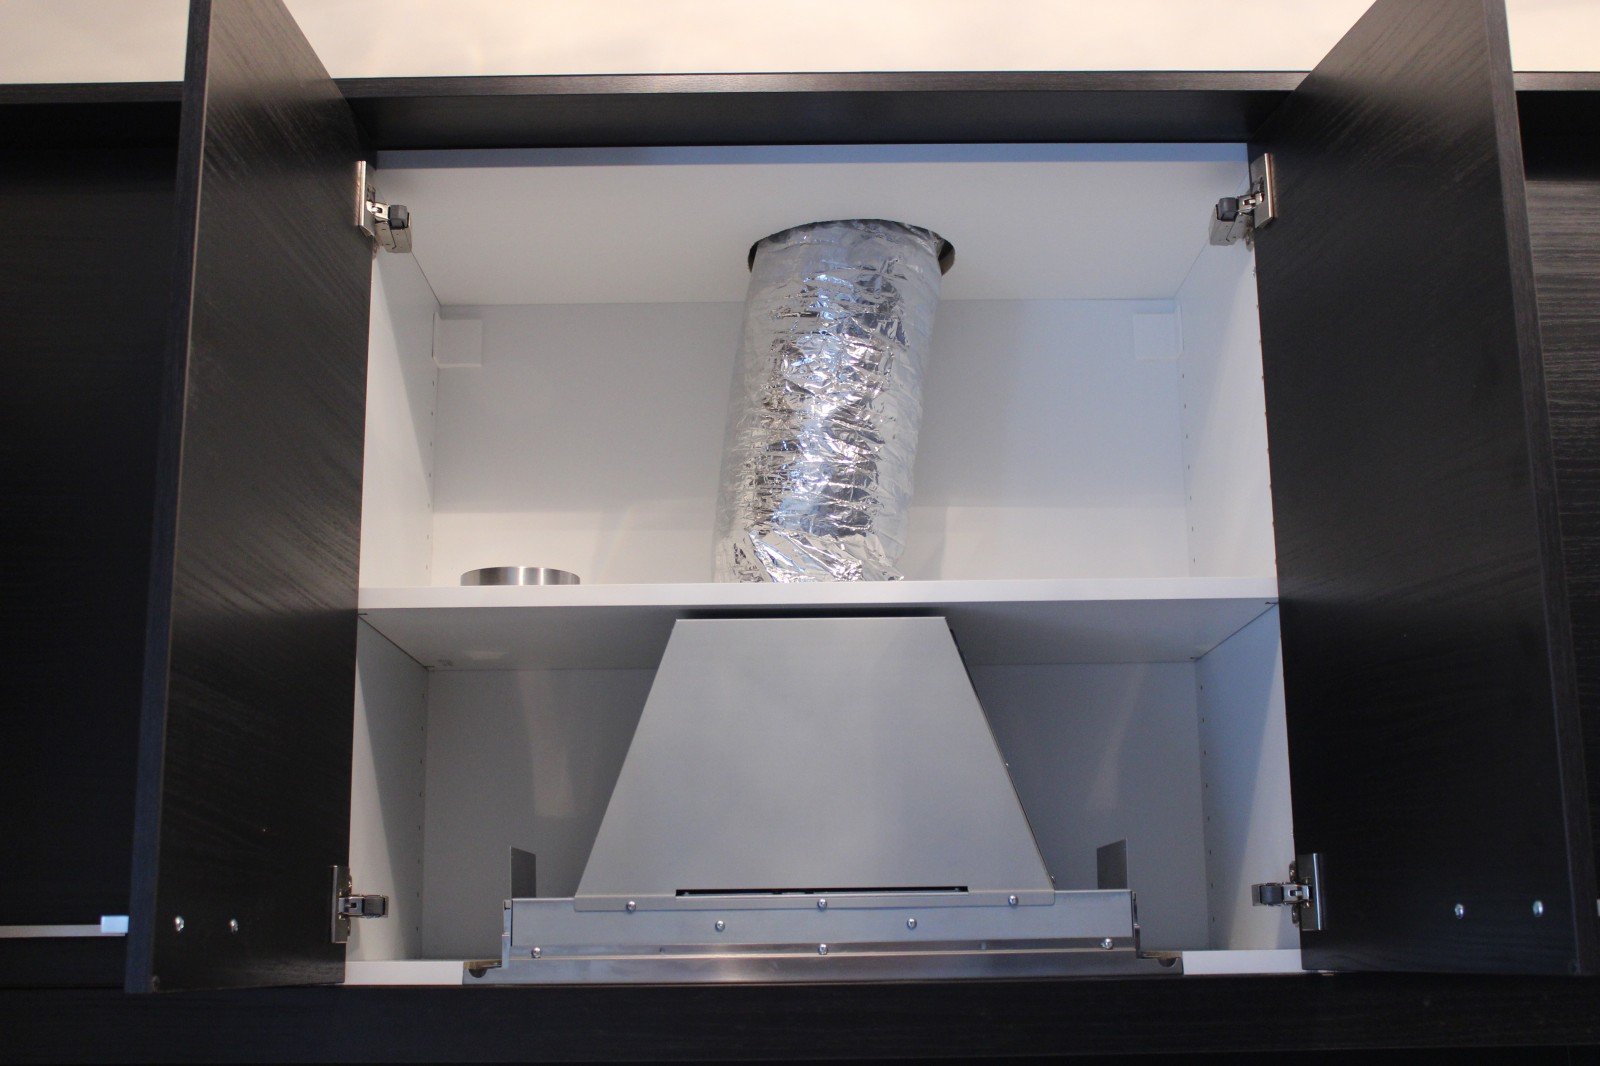
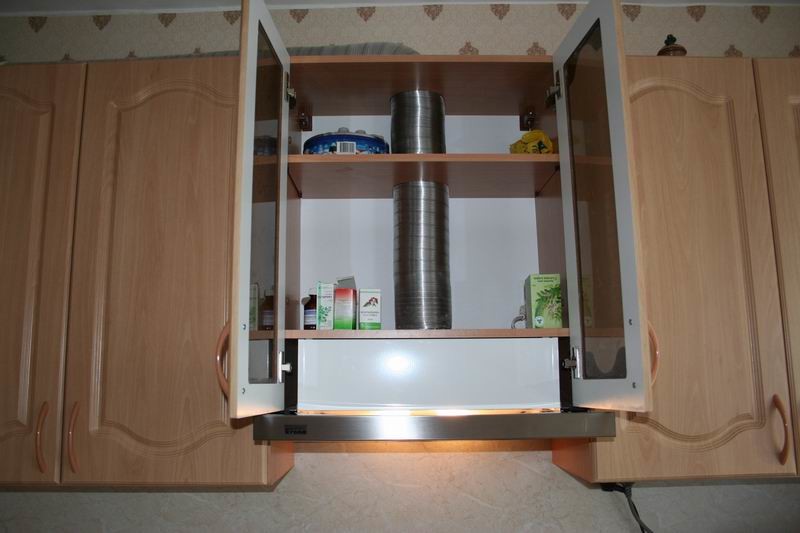
Dealing with the question of how to integrate an extractor hood into a cabinet, one has to face the task of modernizing an existing hanging cabinet. All work on inserting into the cabinet is carried out according to the following principle:
- Dismantling the locker.
- Back panel jointing and door removal.
- Marking the plane of the bottom part with a pencil and a ruler.
- The corner points are pre-drilled with a drill, the diameter of which will allow the jigsaw blade to be passed through the hole.
- The resulting edges are treated with a sealant.
Fastening process
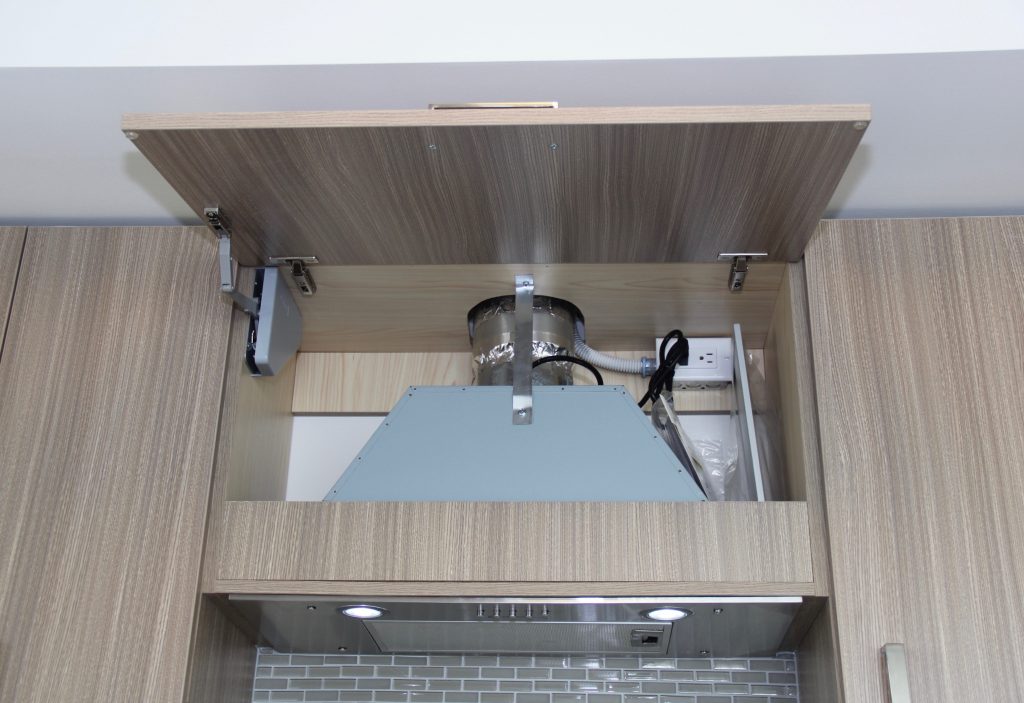
Installation of a built-in compact or full-size hood into the cabinet is carried out using standard fasteners. As a rule, these are metal plates and corner spacers, which are attached to the bottom shelf of the cabinet using the "pie" method. The result is achieved quickly if you follow the instructions of the product. If the latter, for some reason, does not have fasteners, you can resort to using a single plastic profile.
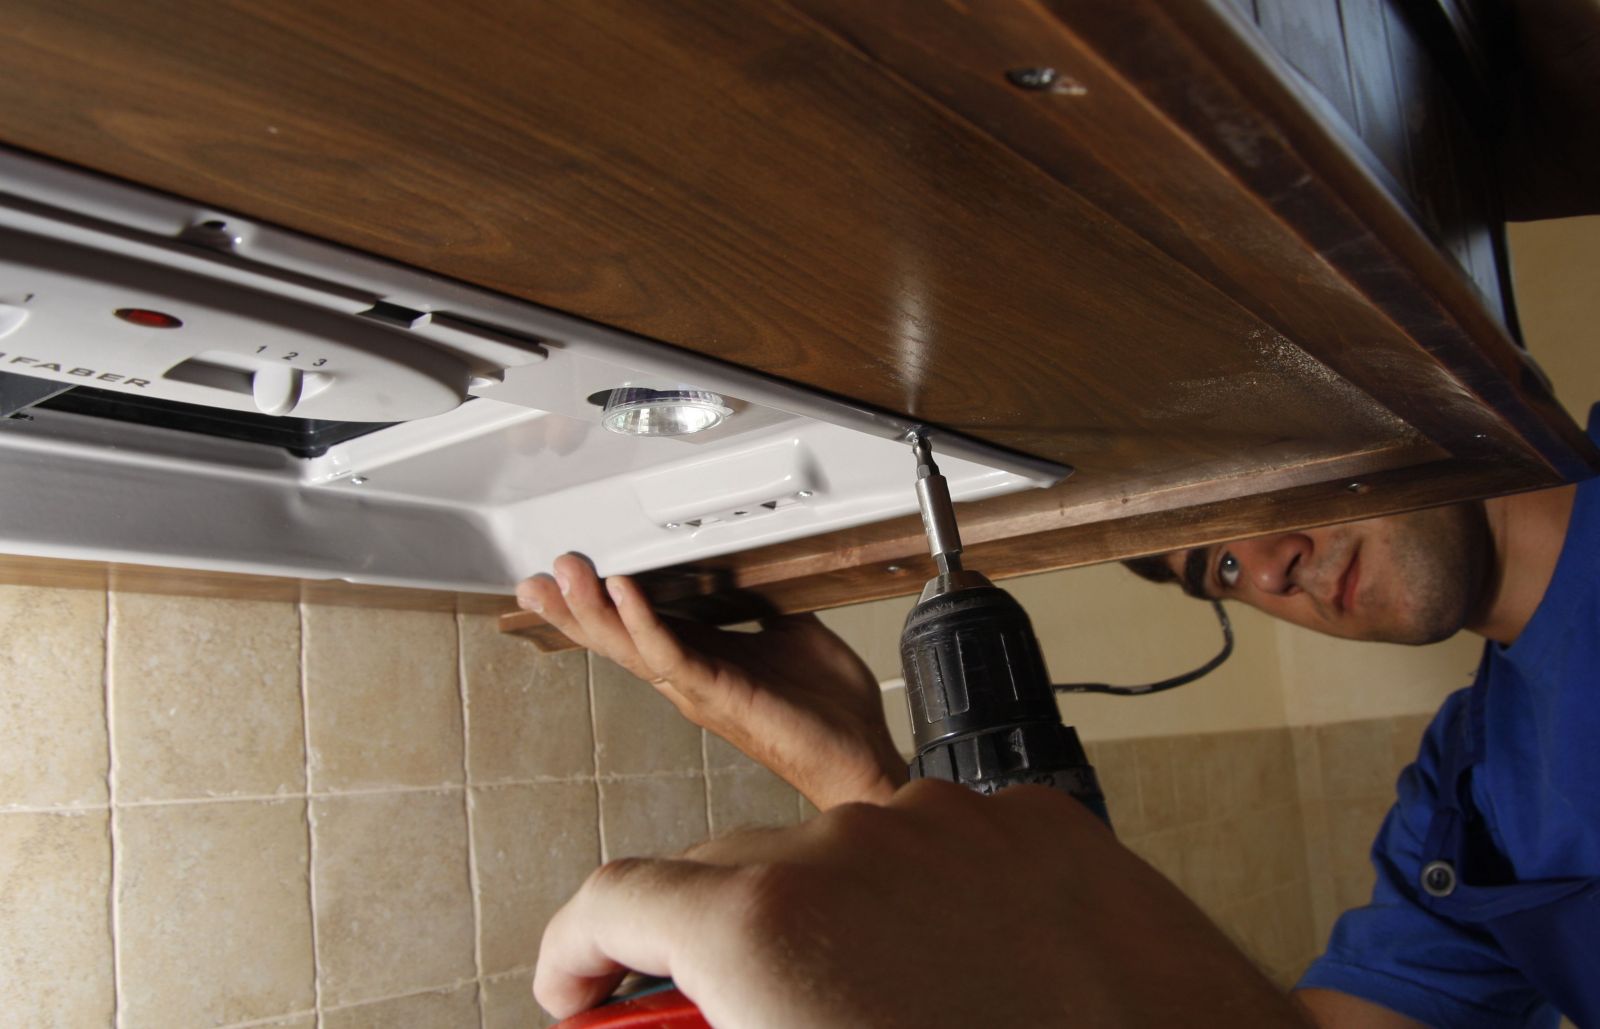
The sequence of actions is as follows:
- you need to mount the profile on self-tapping screws with a step of no more than 5 cm;
- all attachment points are pre-marked with an awl;
- the outer profile is attached to the wall, ensuring the reliability of fixing the hood and its main point of support;
- using bolts without caps, the hood is fixed to a single profile in the places of regular holes.
How to cut duct holes
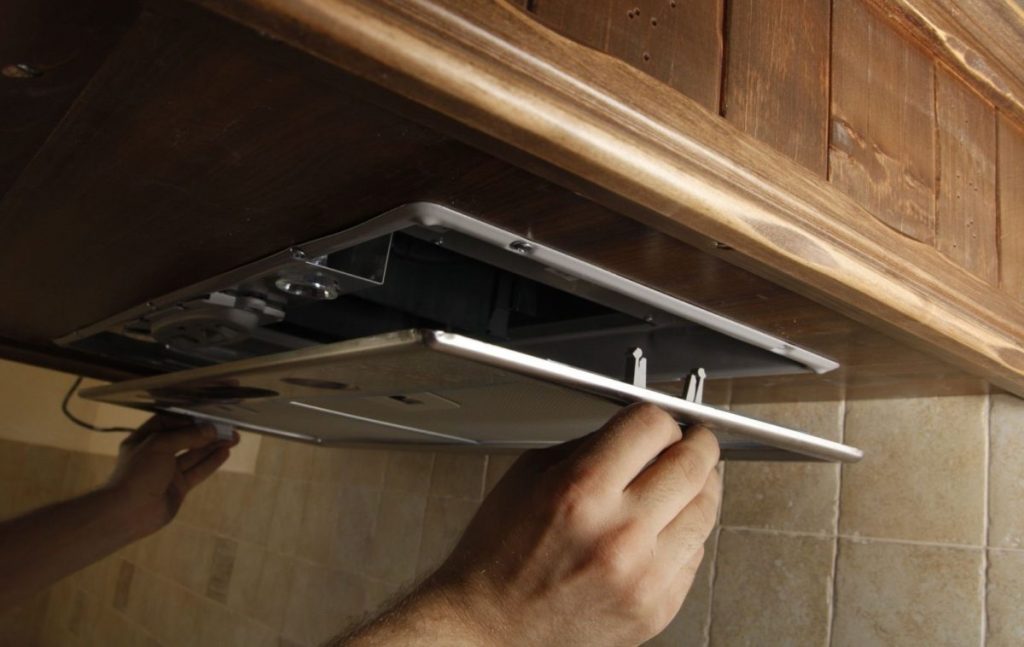
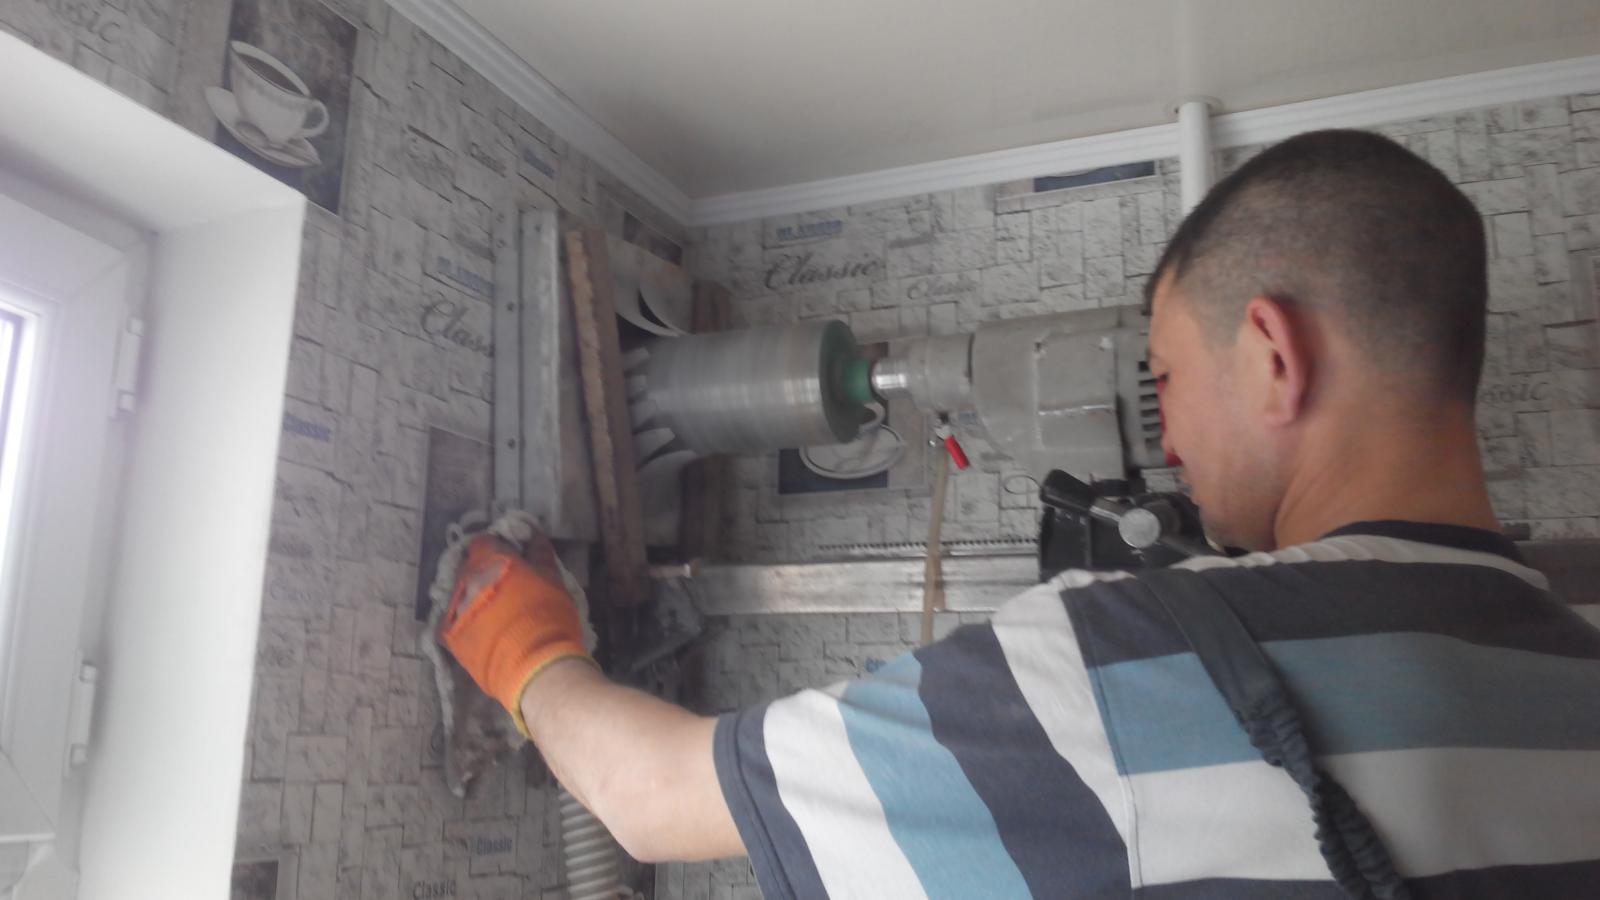
The easiest way to make a hole for the duct system is to use a crown of the appropriate diameter on the drill. If there is no such tool, you can trace the element of the channel to be mounted with a pencil and perform frequent drilling with a regular drill along the perimeter of the contour. Removal of the excess element occurs with a hammer and chisel. It is necessary to establish the first direct channel using a level.
Installation of all elements
How to quickly install a built-in hood in a hanging cabinet in the kitchen with your own hands is already clear from the above material. It remains only to correctly assemble the air duct system. Installation of the latter is carried out along the factory grooves, always using sealing silicone tabs. They guarantee tightness, relieve the kitchen from hum and whistle when the hood is running. Provides a natural opportunity to mount with a large pitch on the inner or outer walls of the headset.
What to do if there is not enough power
A logical measure is to replace the device with a more productive one. If this is not possible, you can remove the existing filter, especially the duplicate carbon one. This will add up to 5% power from the nominal parameters, but will significantly increase the noise level.
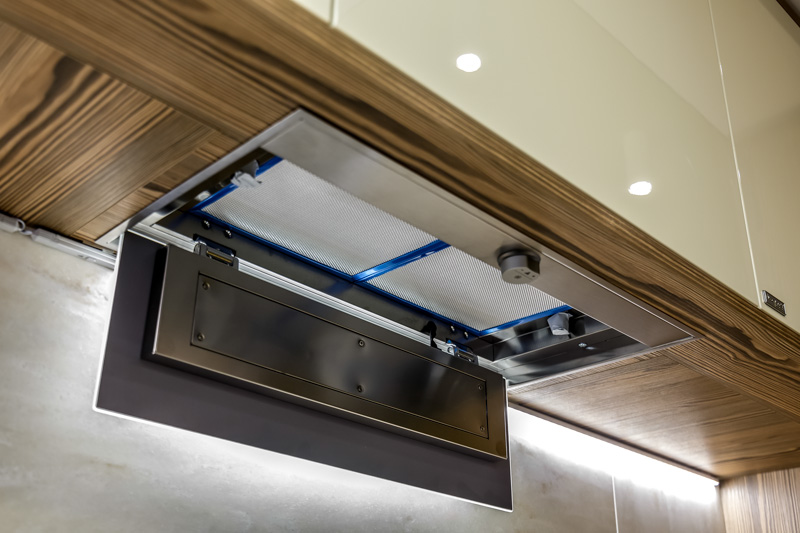
It is recommended to increase power by partial replacement of control elements or the electric motor only after the expiration of the official product warranty. Such work is carried out by workshops for the repair of household appliances. Changing the layout of the technical part does not entail requirements for changing the air outlet communications.
Video: installing a built-in hood in the kitchen


