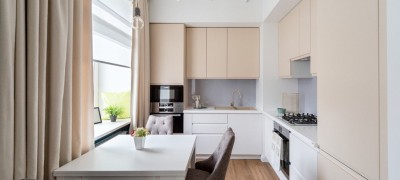
How to calculate a kitchen set yourself
Designing a kitchen is possible without the help of a designer, if you correctly calculate your strength and make the right drawings. In addition, you may not like the stylist's decision or want to make your own edits a few days after approval. When you do a project yourself, you can control and modify the work at any stage.
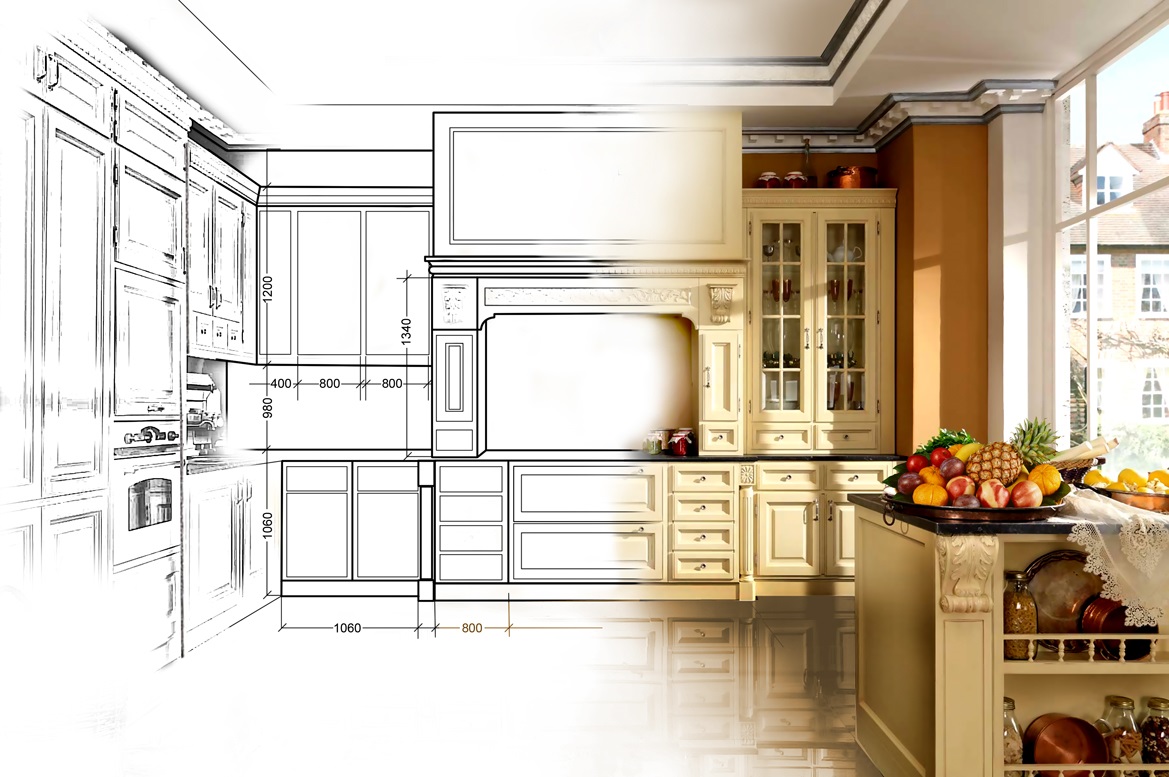
- Kitchen design from scratch
- Options for the location of the kitchen set
- Features of the design of the kitchen set
- Edging parts
- Features of designing corner cabinets
- What to consider when designing a drawer
- Placement of equipment and sockets
- How to design a very small kitchen
- Video: how to calculate the kitchen
- Options for the location of the kitchen set - 50 photos
Kitchen design from scratch
The calculation of kitchen furniture does not require special mathematical knowledge. It is enough to accurately measure all the indicators, write them down and not confuse them during sketch sketches.
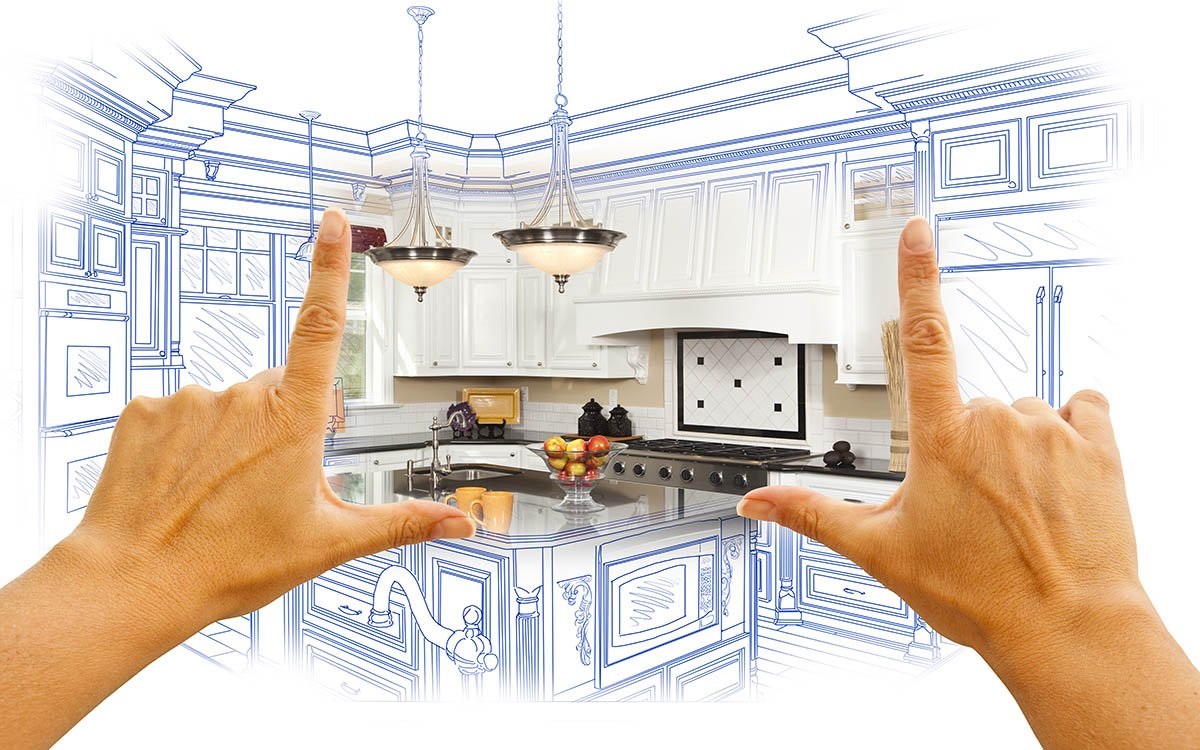
Sketch blank
For a preliminary sketch, you will need to measure, record and sketch to scale:
- wall length;
- the width of the wall;
- wall height;
- location of windows;
- where are the entrance and balcony doors;
- sockets and ventilation.
Mark all this in the diagram so that at the first stages you understand where and what kind of kitchen furniture is placed. Then define the so-called "working triangle zone". This is the constant path that is made in the kitchen between the sink, refrigerator and stove. You shouldn't have obstacles, decor or furniture along the way. Depending on the layout of the kitchen, there will be a dining area.
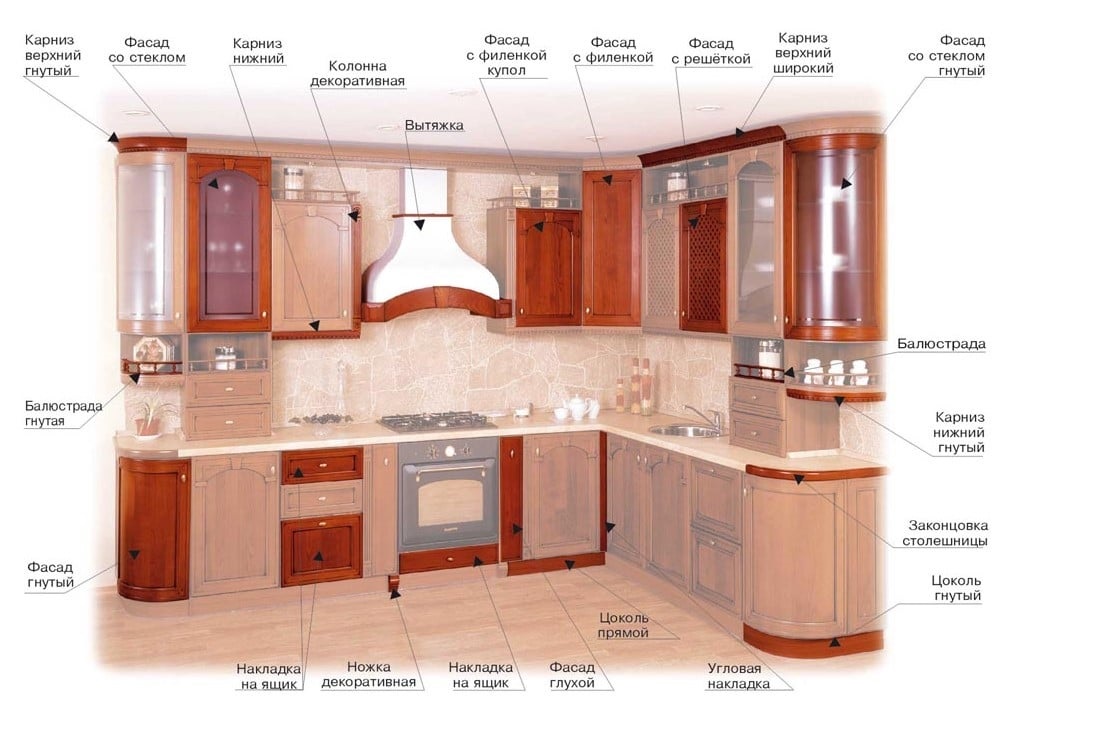
When you have placed the main composition on the sketch, set aside the remaining space for cabinets, a dishwasher, other appliances or furniture.
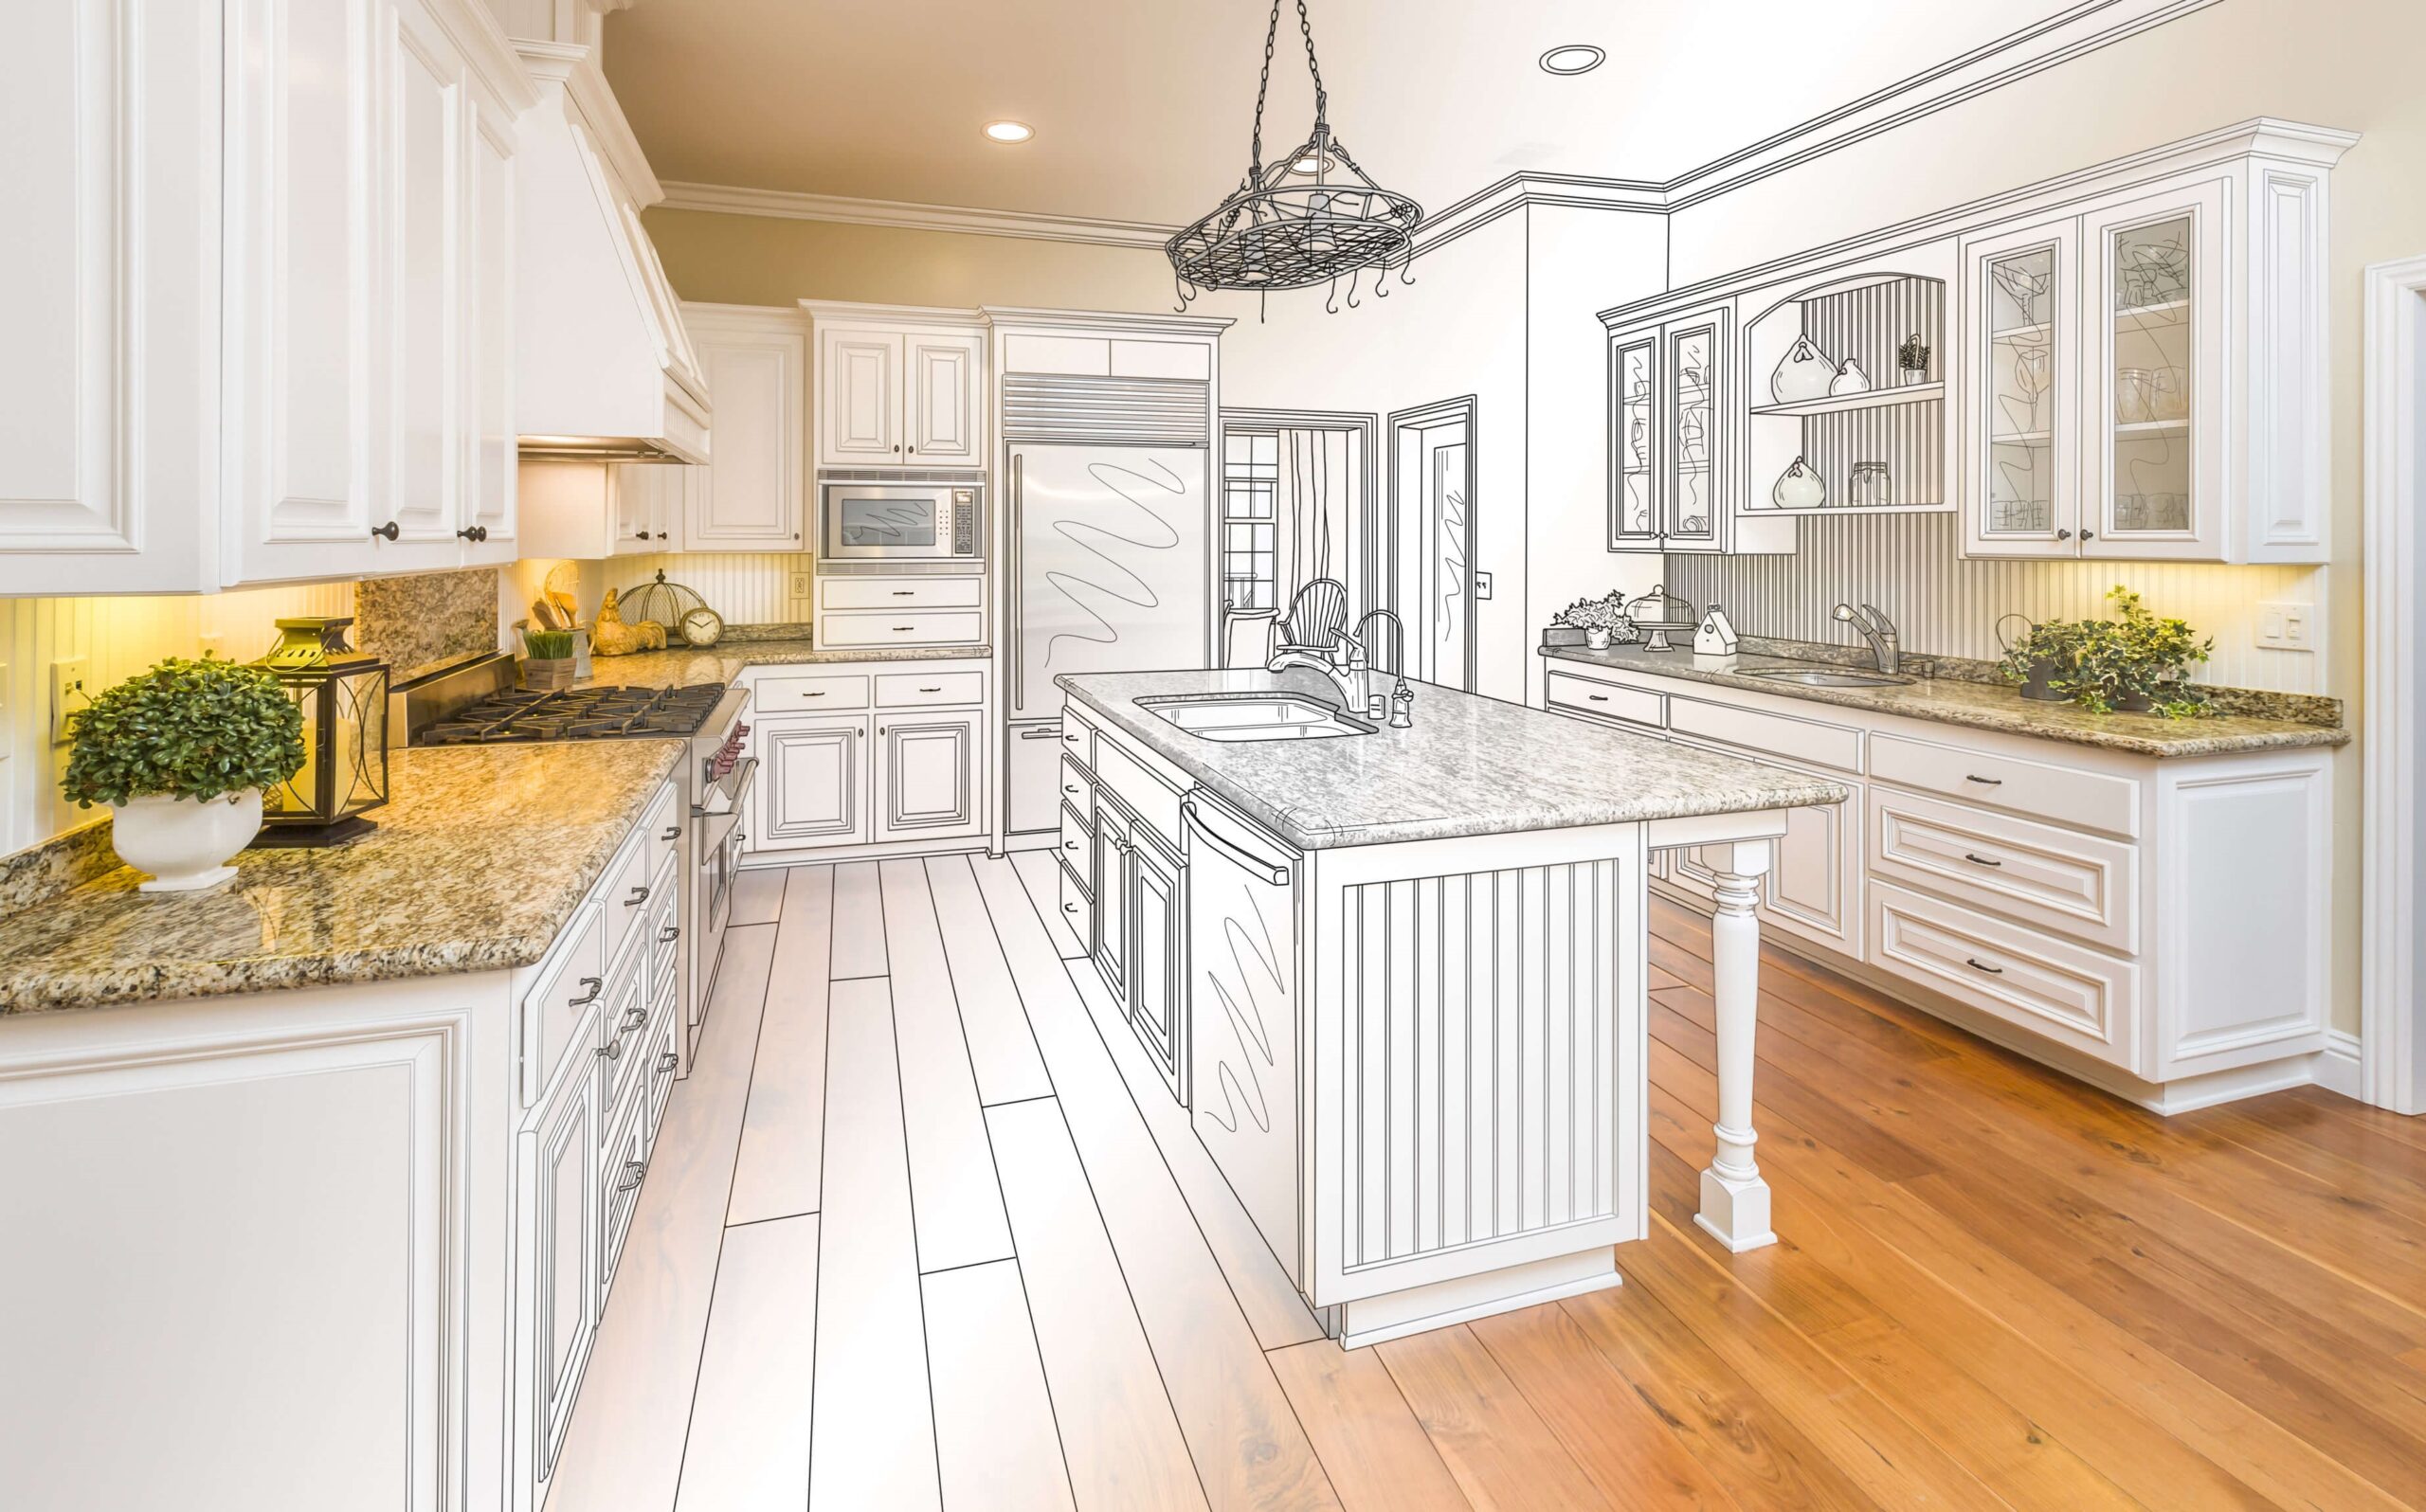
Determination of the minimum complete set of kitchen units
How to calculate a kitchen set yourself? Before ordering a kitchen set, you need to familiarize yourself with the concept of a basic set. This is a single set of kitchen furniture blocks with a length of 2.4 meters.
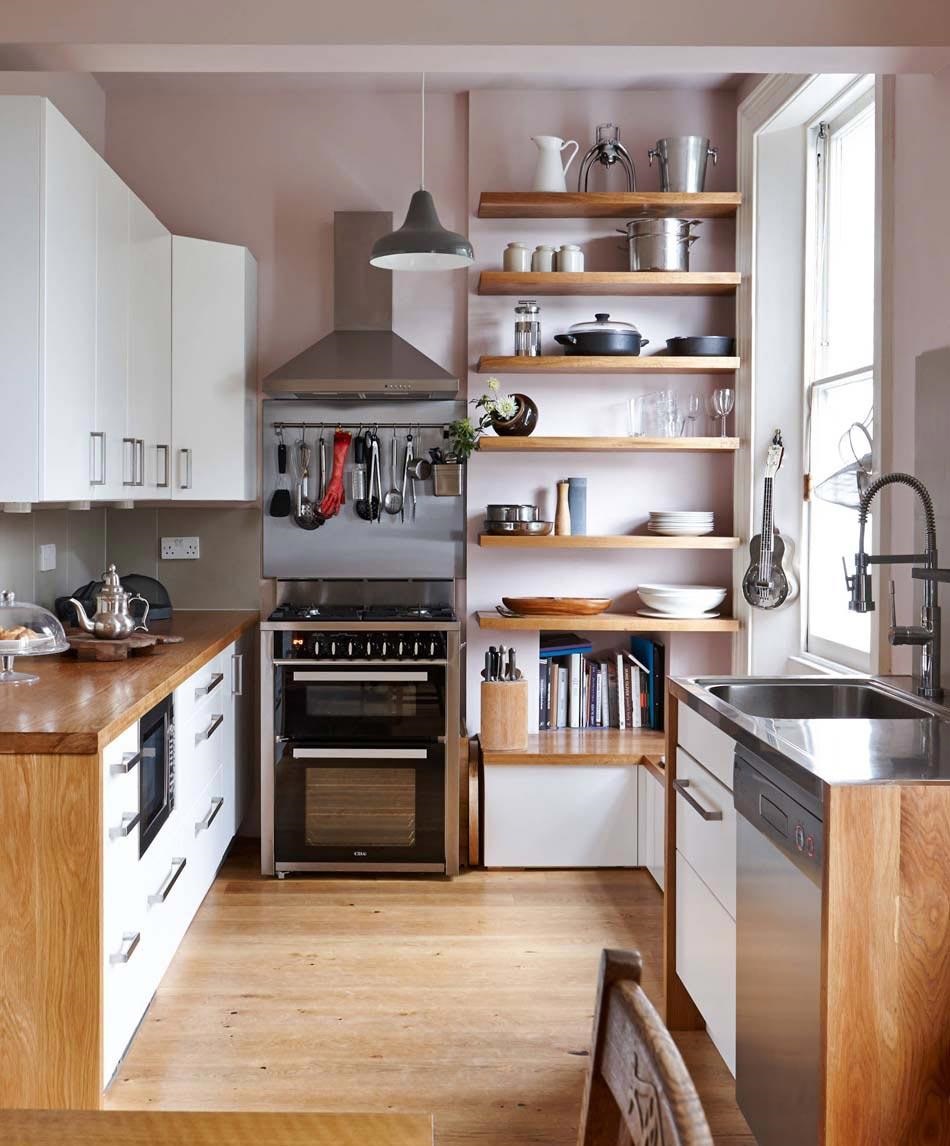
Placed here:
- 3 wall cabinets 60, 45 and 45 cm wide;
- 4 lower cabinets (under the sink, under the oven, and two 60 cm wide cabinets);
- moisture resistant tabletop;
- base;
- water stopper.
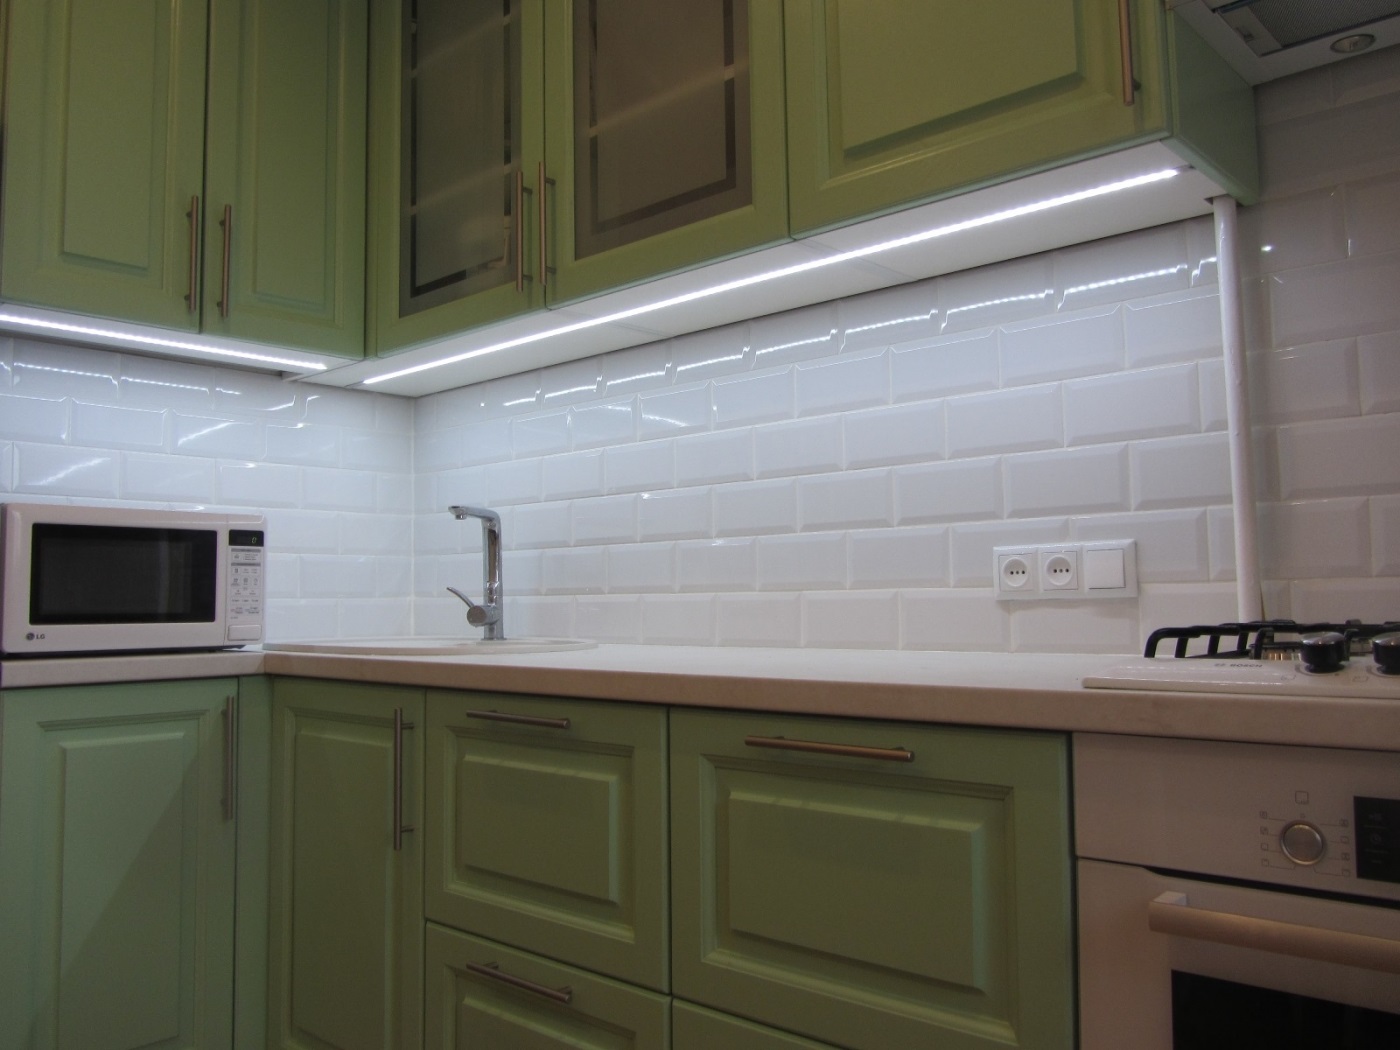
Having such a standard kitchen set, its minimum configuration, it is more convenient for the seller and the buyer to speak the same language. Depending on the area and type of premises, it is easy for you to calculate your configuration and its pricing policy.
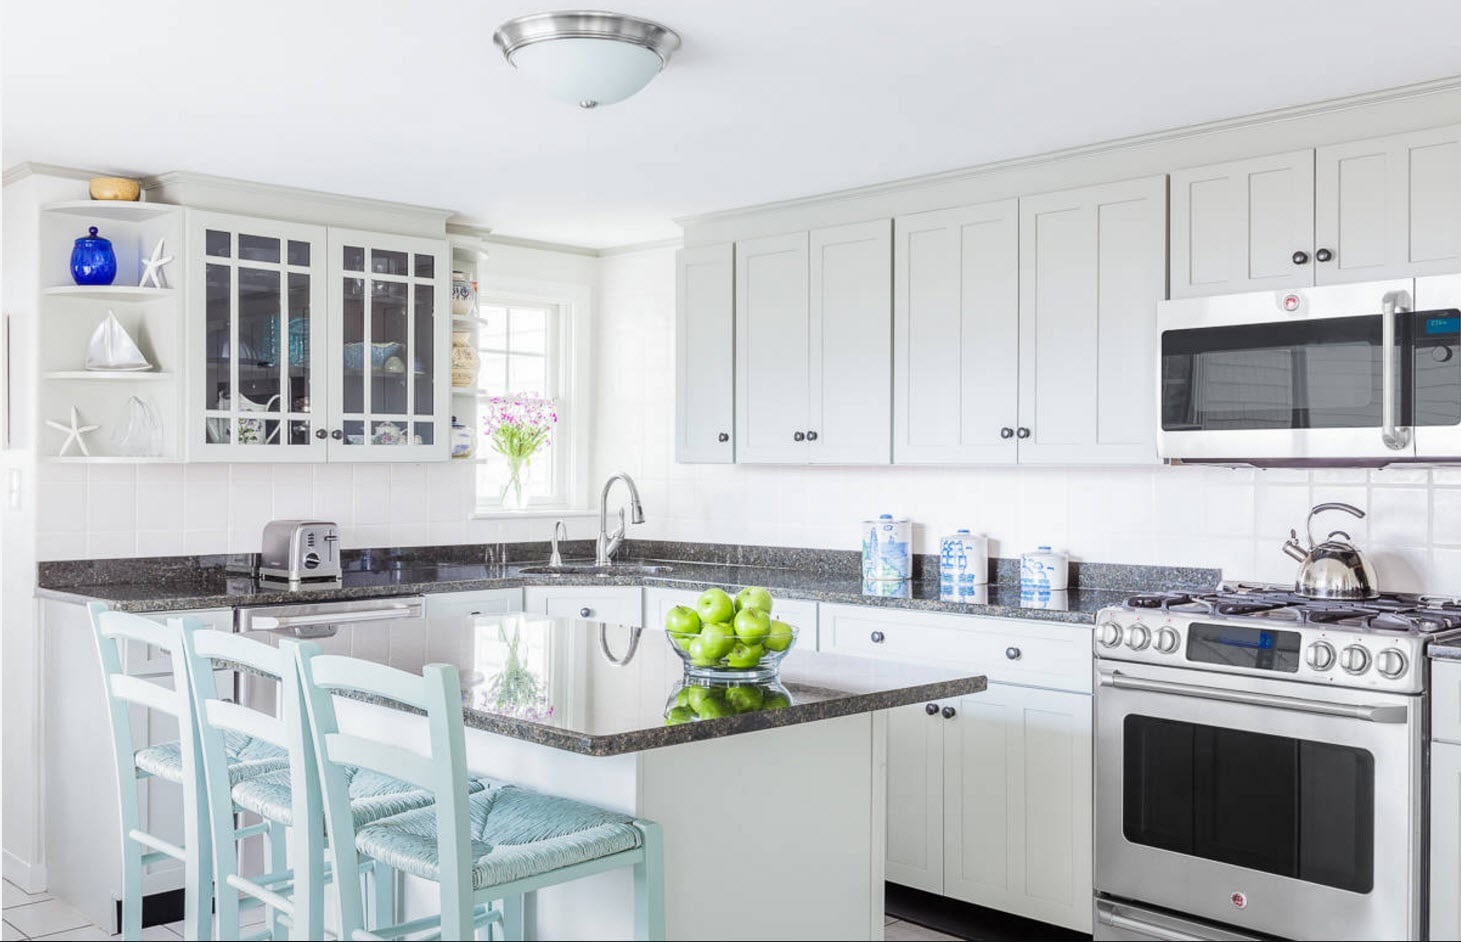
Options for the location of the kitchen set
The layout of the kitchen determines the convenience and comfort during cooking and eating.
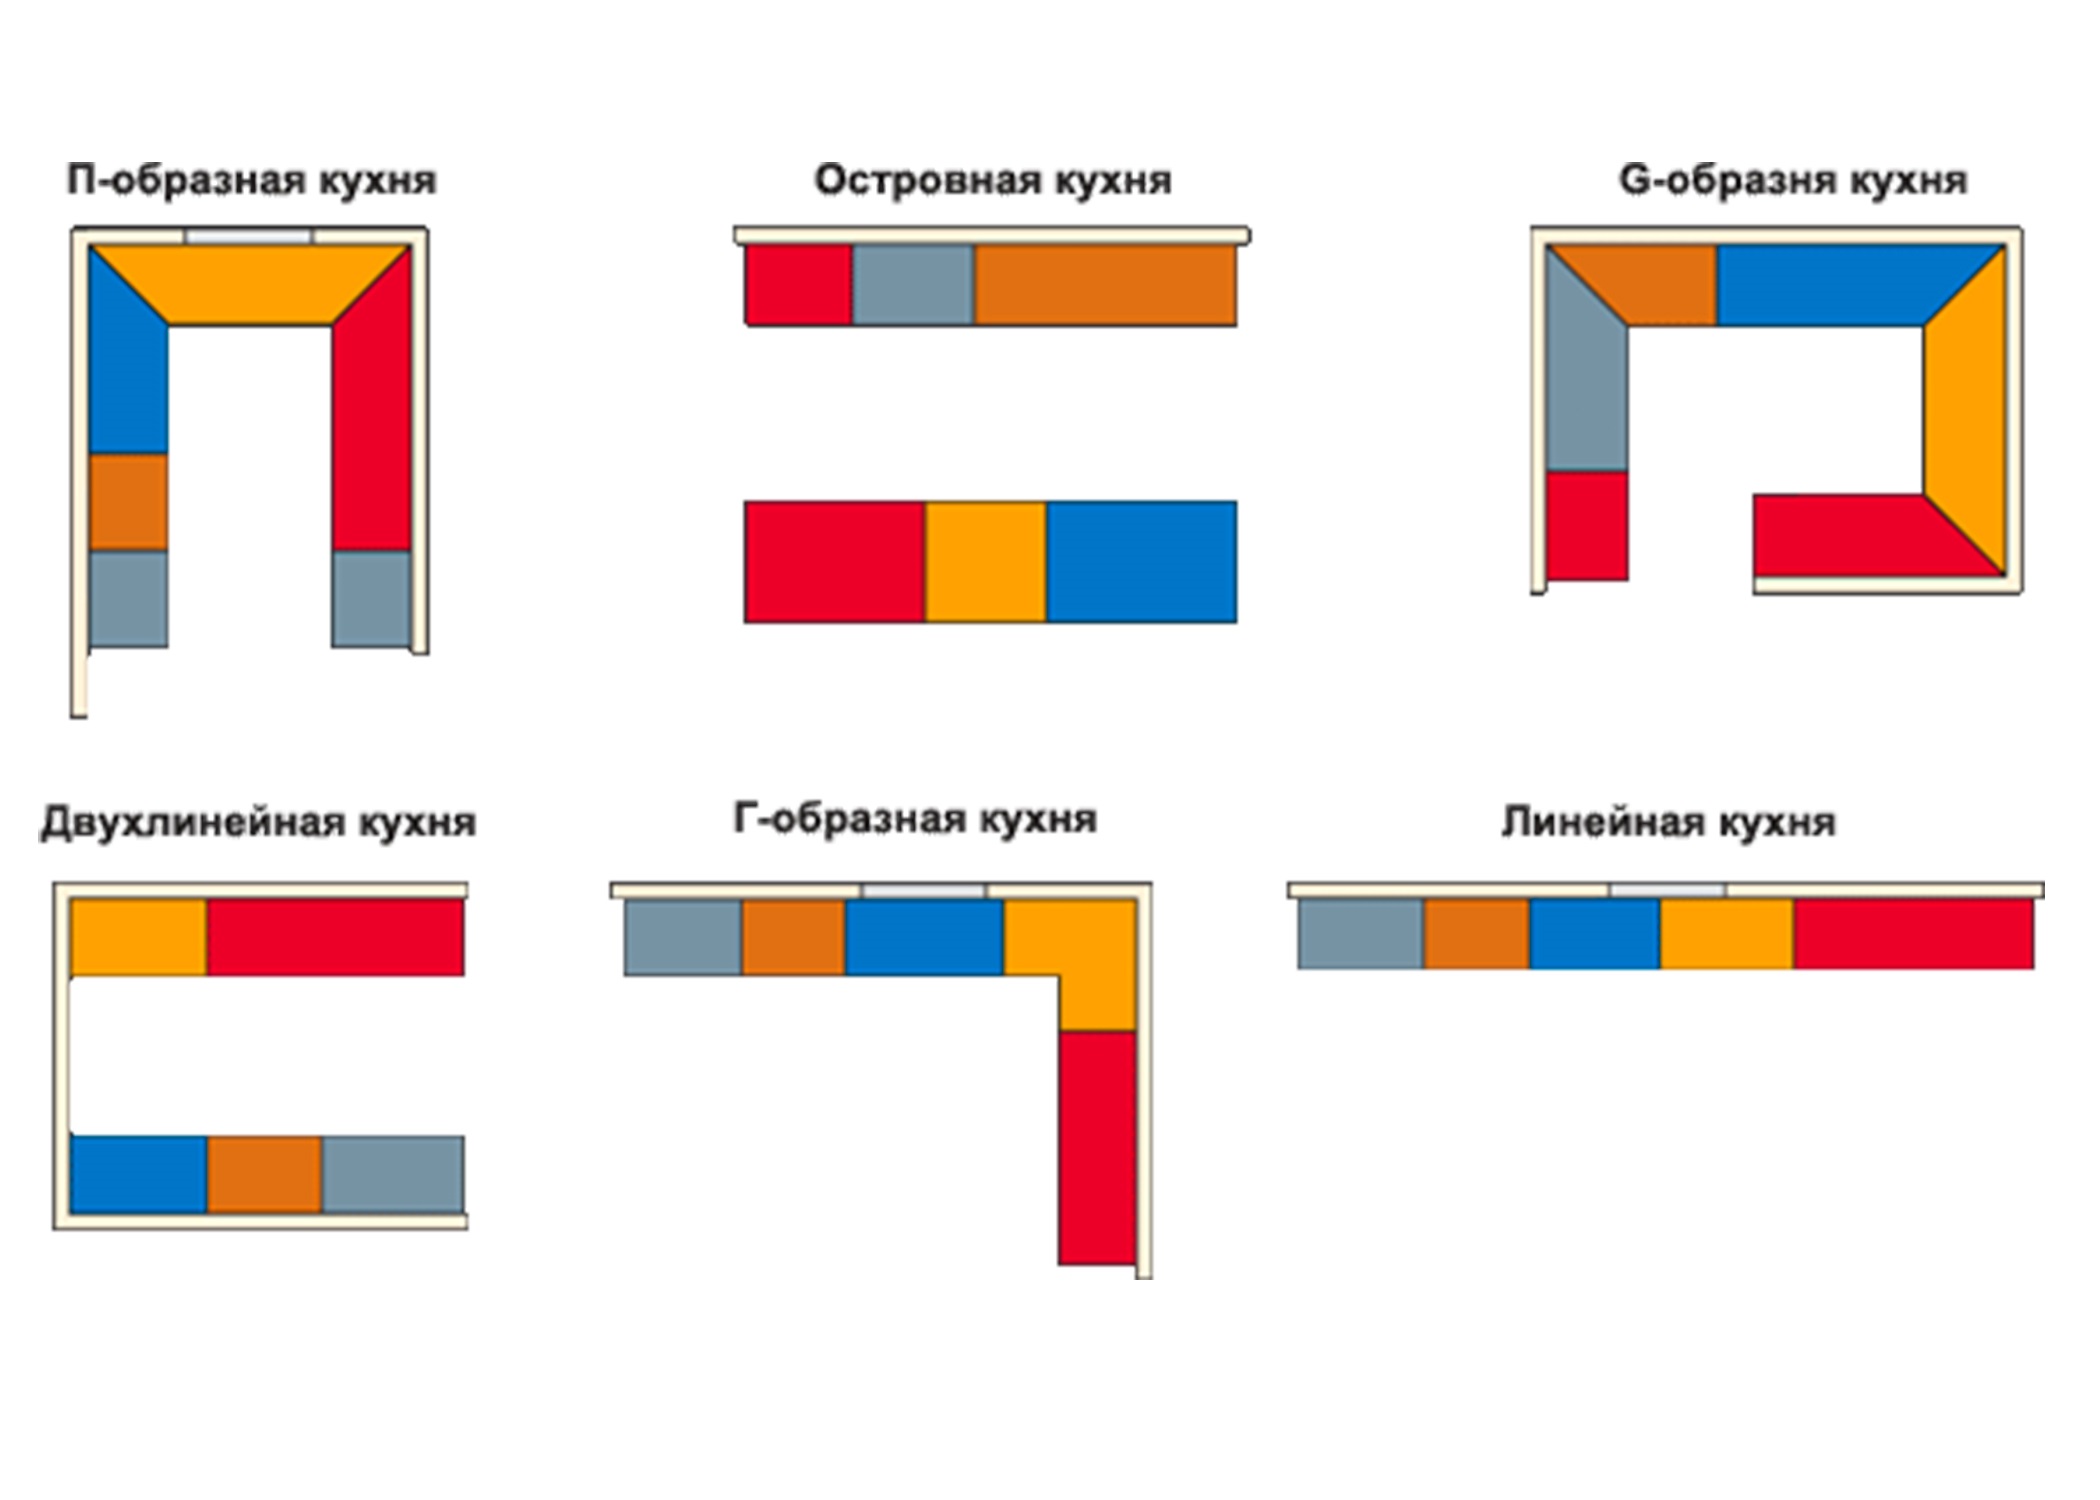
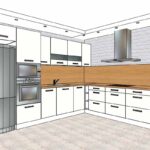
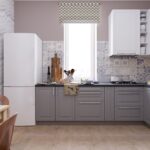
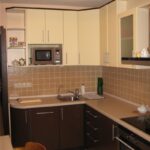
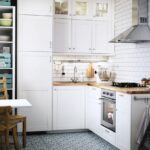
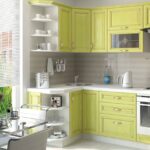
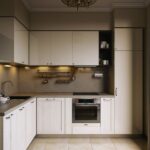
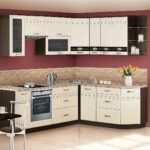
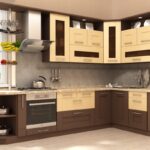
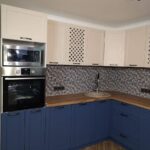
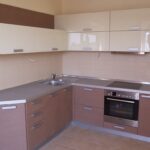
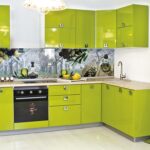
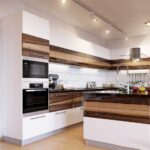
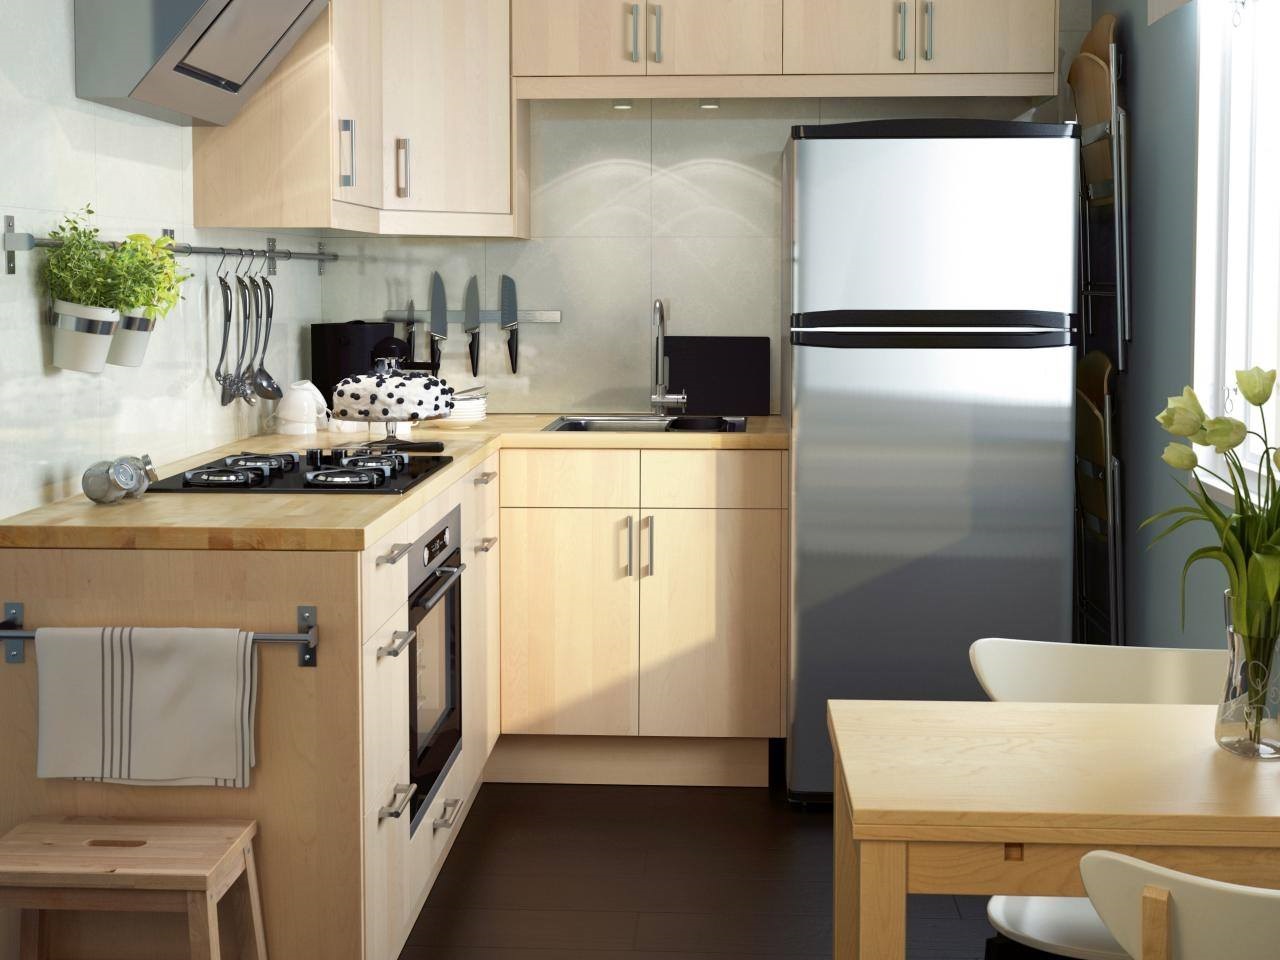
Corner (L-shaped) placement
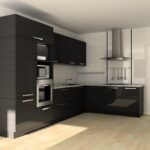
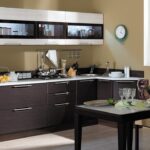
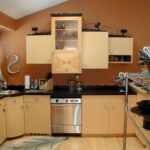
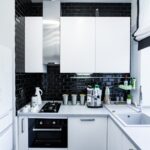
The classic placement of the kitchen set in the form of the letter "L".This is an option for square or rectangular rooms. The rule of "working triangle" is observed here, since there is a lot of free space in the middle. Corner placement of kitchen furniture is not suitable for a narrow or very small room.
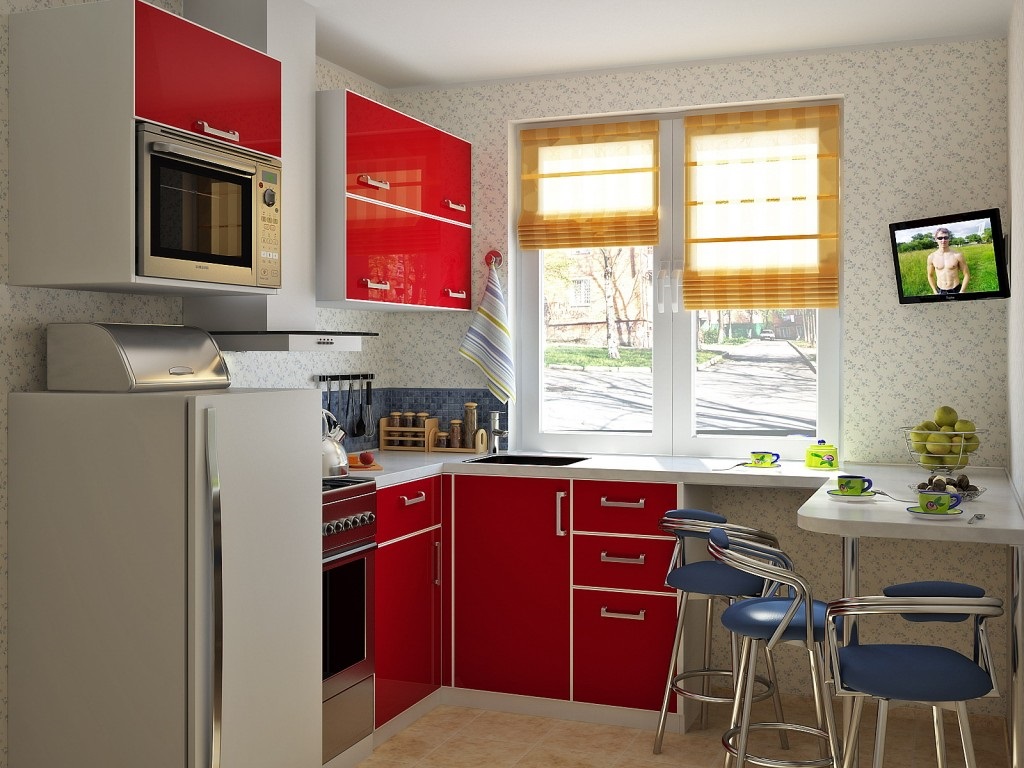
U-shaped placement
The U-shaped placement of the headset occupies three walls at once, usually two long and one short. Many household appliances can be placed here, including a washing machine and dishwasher. A large number of cabinets allows you to arrange all the services and kitchen appliances.
Peninsular accommodation
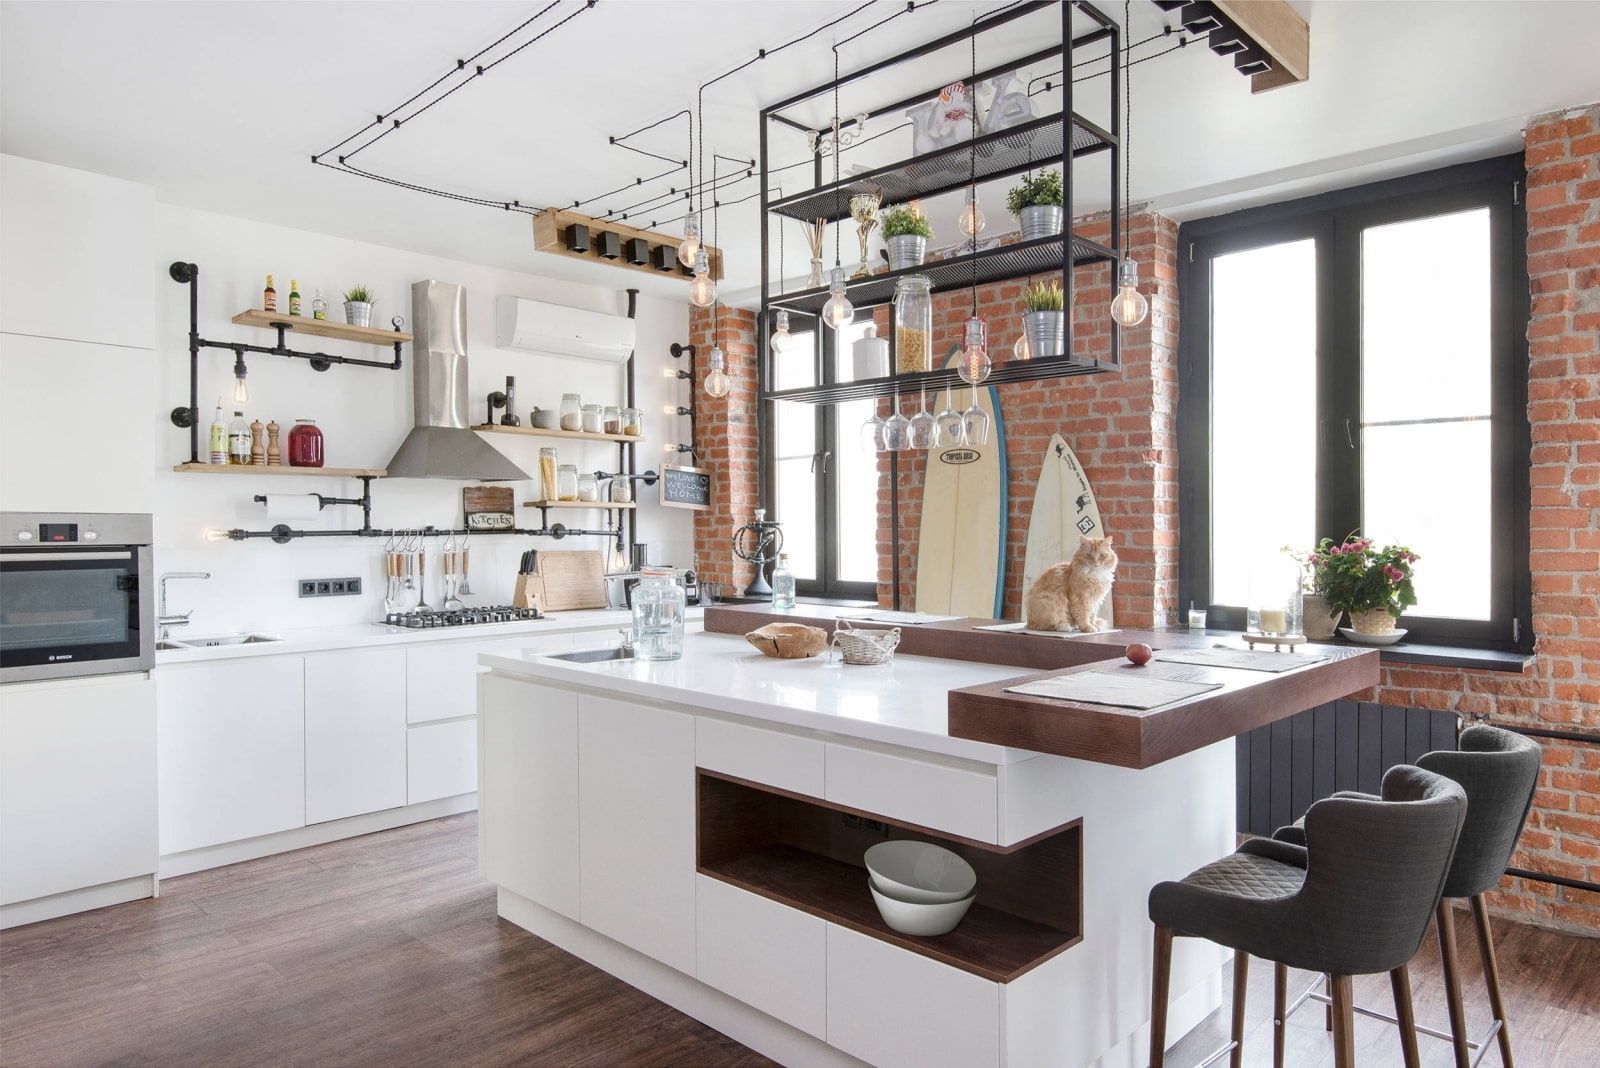
The peninsular layout method is a combination of the L-layout and the island layout. Here, one long wall and part of the second, a short one, is fully occupied. At the same time, a small protrusion appears. That is, the "island", which is tightly adjacent to the entire kitchen structure of the headset. Usually it is a small work table with a bottom cabinet, dividing the kitchen into a work and dining area. But there are other options as well.

Island location
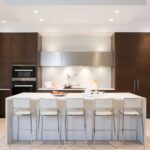
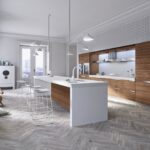
The island layout combines elements of a linear and a separate "island". This is a combination of dining and work areas. One of the walls is occupied by a kitchen set, and in the middle of the free space there is either an element of the working area or a dining table. The "island" can be of any size, from a bar counter for one to a huge table for a large family.
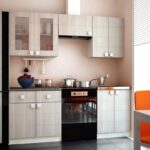
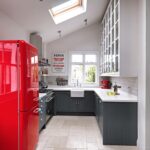
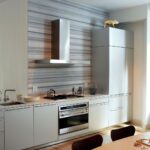
Linear arrangement
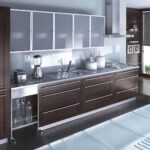
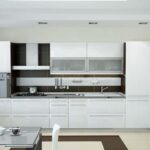
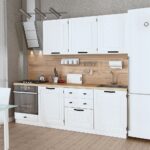
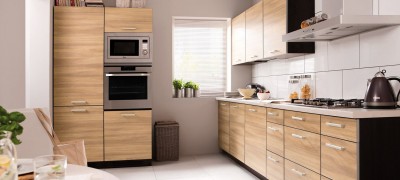
The linear arrangement is good for small spaces, studios or narrow kitchens. One of the walls is completely occupied by kitchen furniture and appliances. During cooking, a person moves in a straight line from the refrigerator to the sink and to the stove. The rest of the free space is set aside for a small dining area, folding table or bar counter.

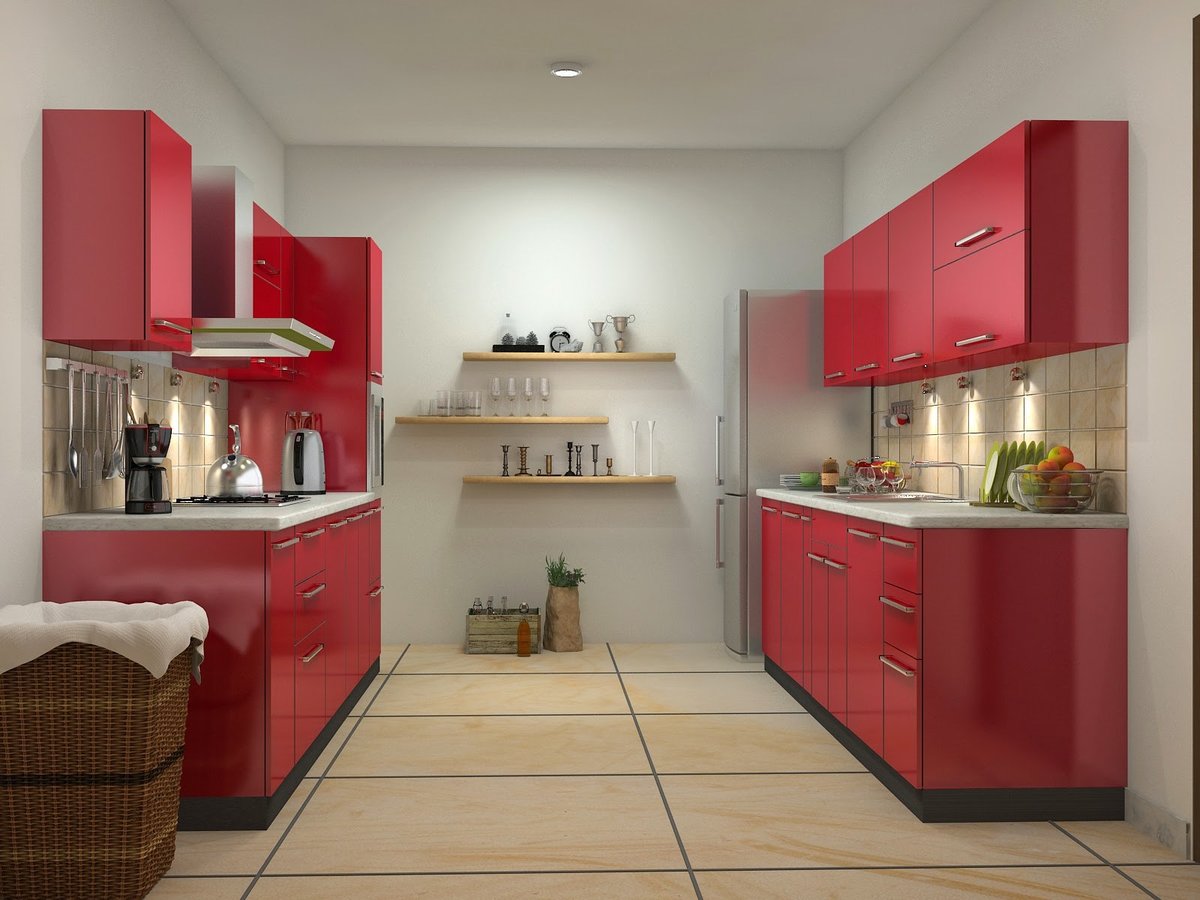
Two-row arrangement
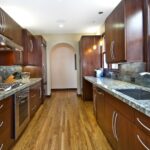
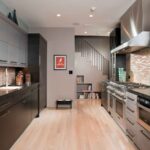
A two-row or parallel design method provides for the location of the headset and equipment along the walls "facing" each other. In this case, a sink and a refrigerator are on one side, and a stove and cabinets on the other. This option is suitable for a spacious kitchen with large bright windows.
Features of the design of the kitchen set
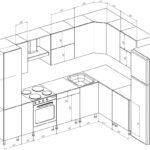
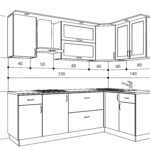
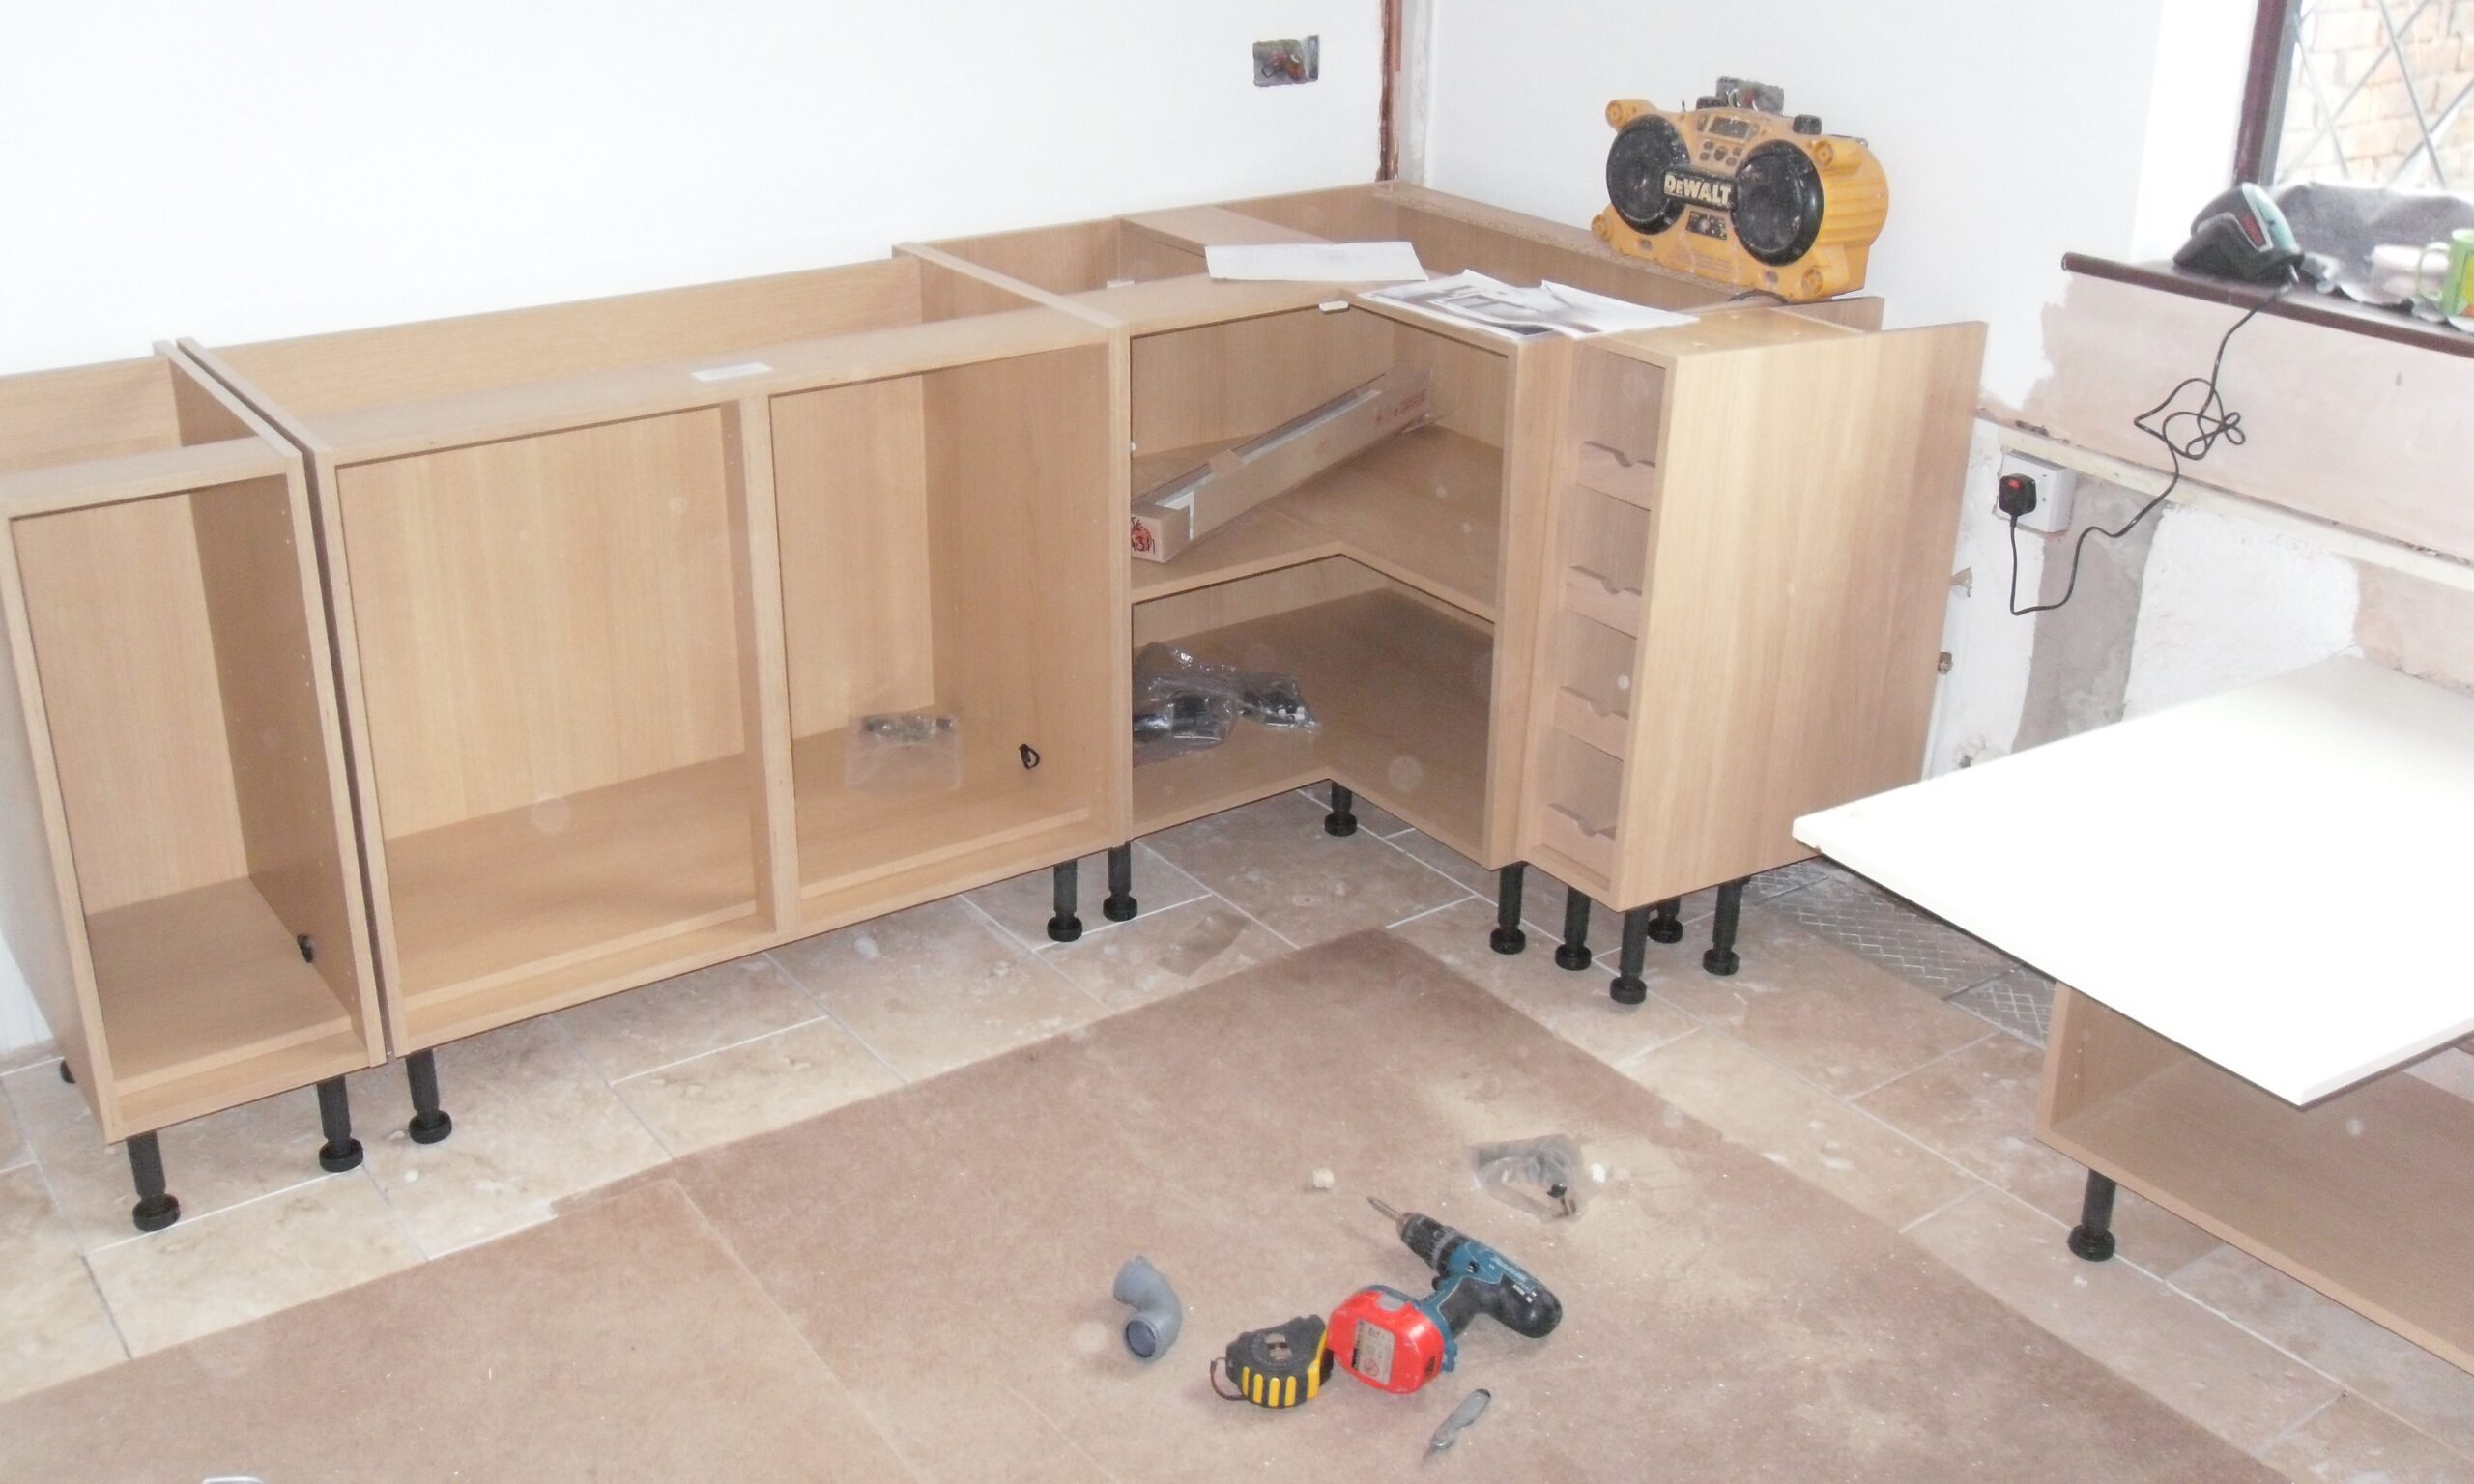
After you have created a sketch, made accurate calculations, selected a layout and decided on the material, you transfer the drawings to the workshop. Projects of kitchen sets with dimensions, the creation of parts, the choice of fittings can be given to professionals. In the workshops, wood is cut into the necessary parts.
Edging parts
Having received the necessary details, it is important to process the edges correctly, since they cannot be hidden with paint or varnish. For this, the edges are edged. This is the gluing of all visible zones along the thickness of the wood with melamine or plastic tape.
- Place the part vertically with the cut at the top.
- Melamine or plastic tape has an adhesive side.
- Place the adhesive side of the tape to the cut.
- For the best adhesion, the cut with the melamine tape is heated with an iron at medium temperatures through a blank sheet of paper.
- To prevent the plastic tape from melting from the iron, use a heat gun to heat it.
- If you need to remove all excess and protruding fragments, wait until the part has completely cooled down.
- Use a knife or other sharp tool to trim off the unnecessary edge.
- Round off the corners, remove roughness and roughness with sandpaper.
Features of designing corner cabinets
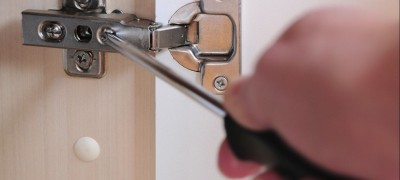
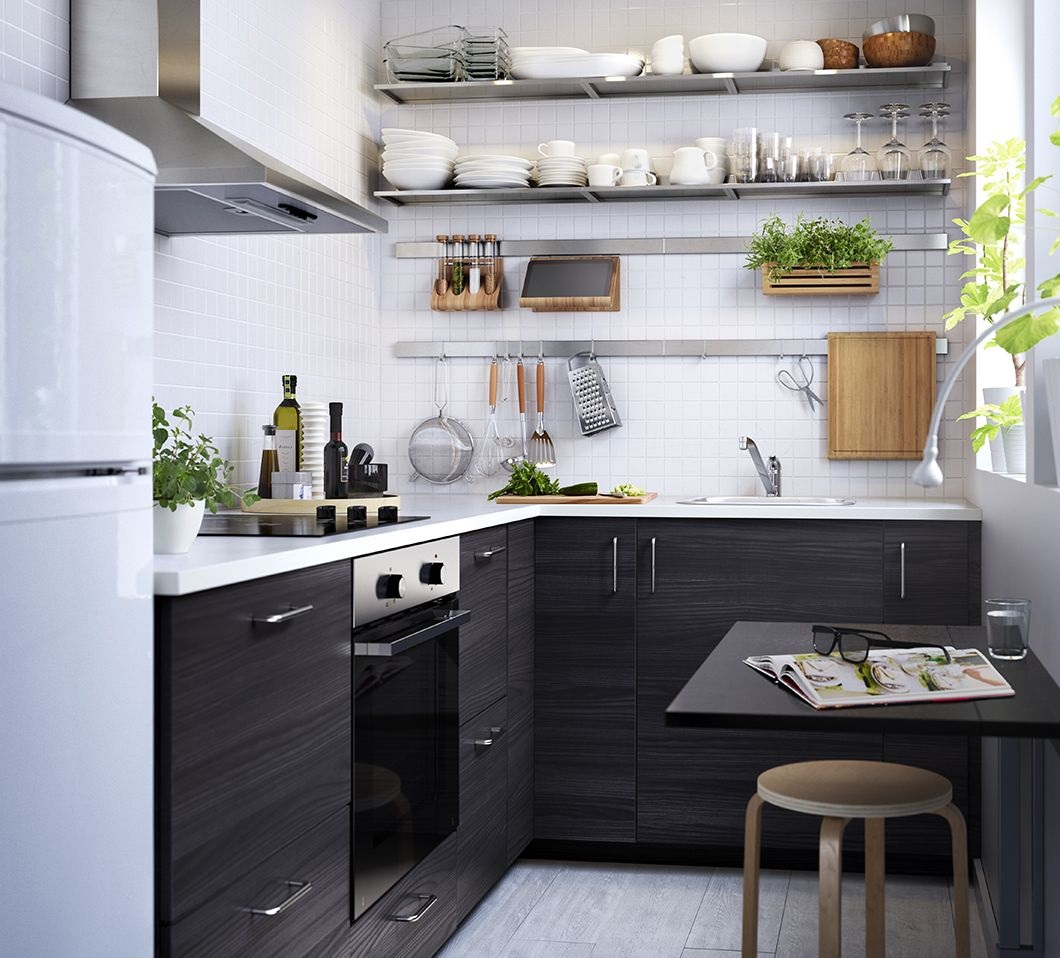
With a U-shaped or L-shaped layout, you need to design a corner cabinet. If the building blocks are interconnected at right angles of 90 degrees, drawers and opening doors must be carefully planned. In this case, special inserts are made. This prevents doors and drawers from intersecting with each other.
If the corner cabinet is connected at a 45 degree angle, during the assembly phase, the bottom and roof of the cabinet are installed between the sides, and not at the top. Only in this case will you get an even facade and it will be possible to attach the hinges.
What to consider when designing a drawer
The drawers are functional and roomy. There are two types of such elements:
- the metabox box works on a roller system with metal guides;
- a box made of chipboard, which is made according to individual measurements.
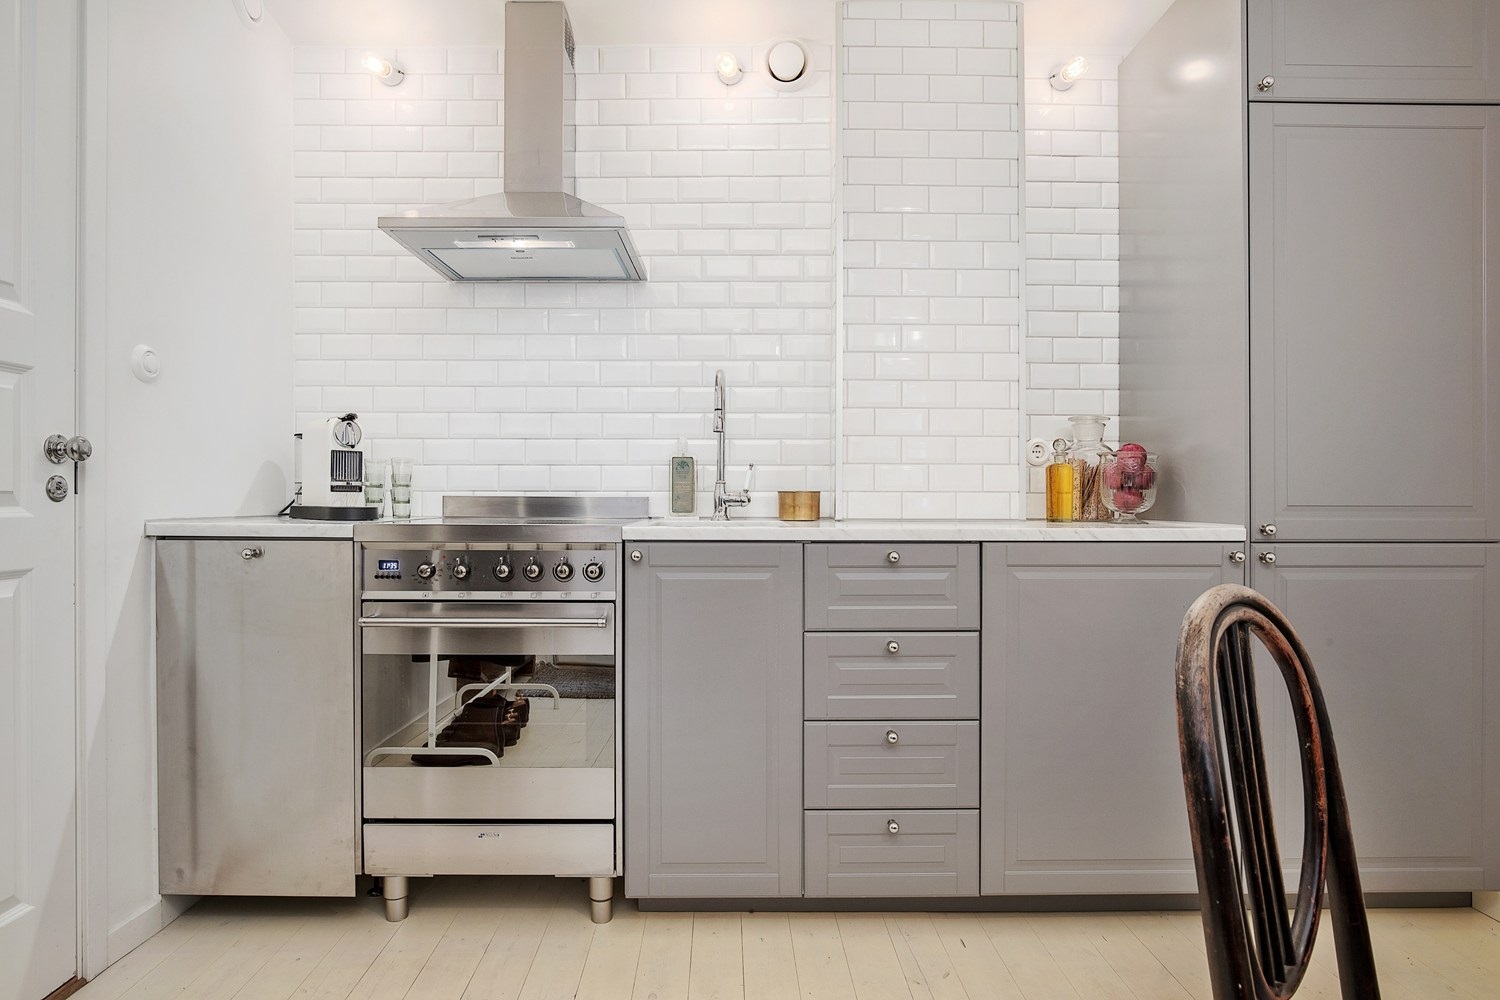
It is also worth understanding the differences between ball and roller guides.
- Roller guides are attached to the bottom edge of the bottom of the drawer or cabinet. This is a budget and durable fittings option that does not need to be lubricated. The drawer does not slide out completely, which means that you do not get a complete overview of the contents.
- Ball guides are attached to the center of the drawer. They allow a complete roll-out and provide a complete view of the kitchen utensils.
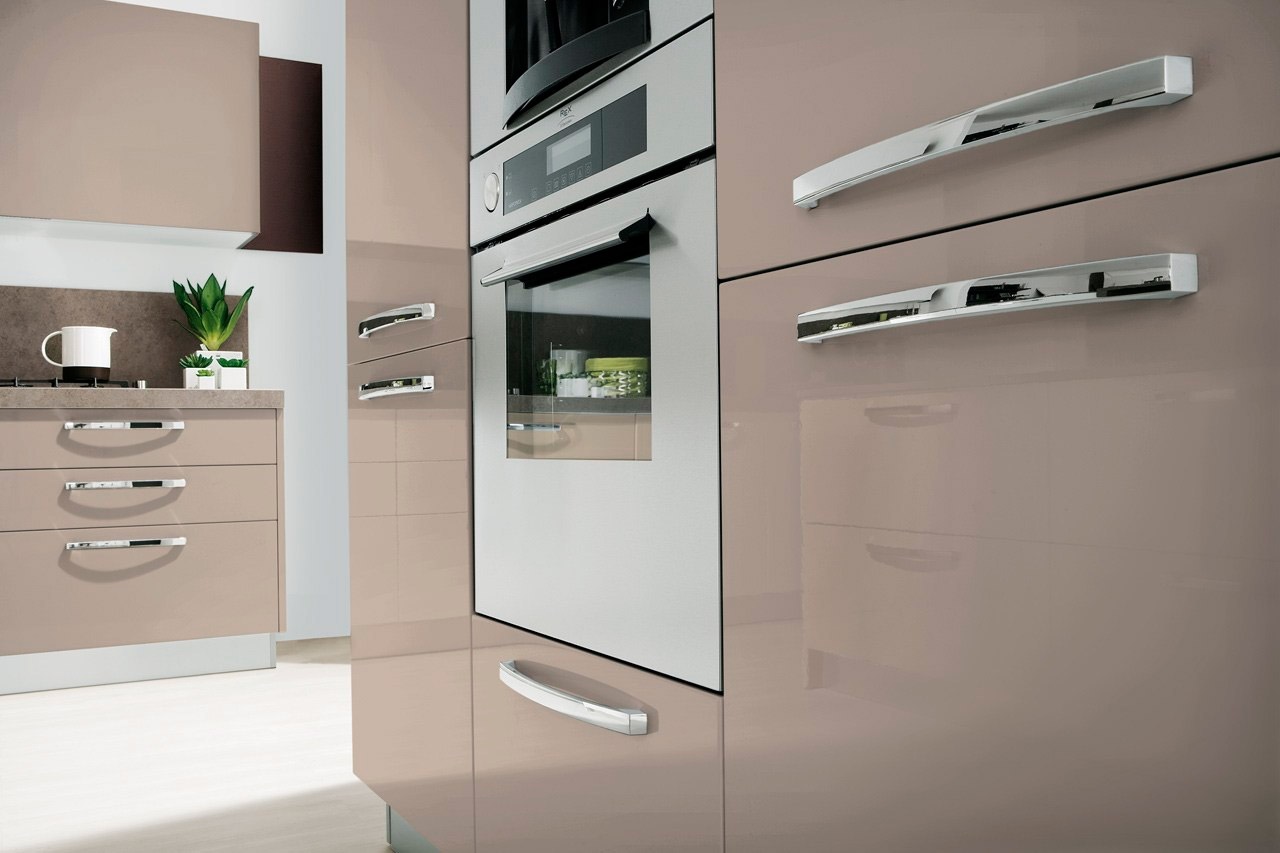
What type of guides you plan to use, you need to know at the sketch stage. Because for roller skates, a tolerance of about 1 mm is made.
Placement of equipment and sockets
The electrical network and sockets are thought out at the time when you create the first sketches of kitchen sets. Even if you don't have a dishwasher now, but are planning to buy one in the future, be sure to make an outlet for it. Otherwise, after a while after creating your dream kitchen, you will have to solve new problems of lack of network connection points.
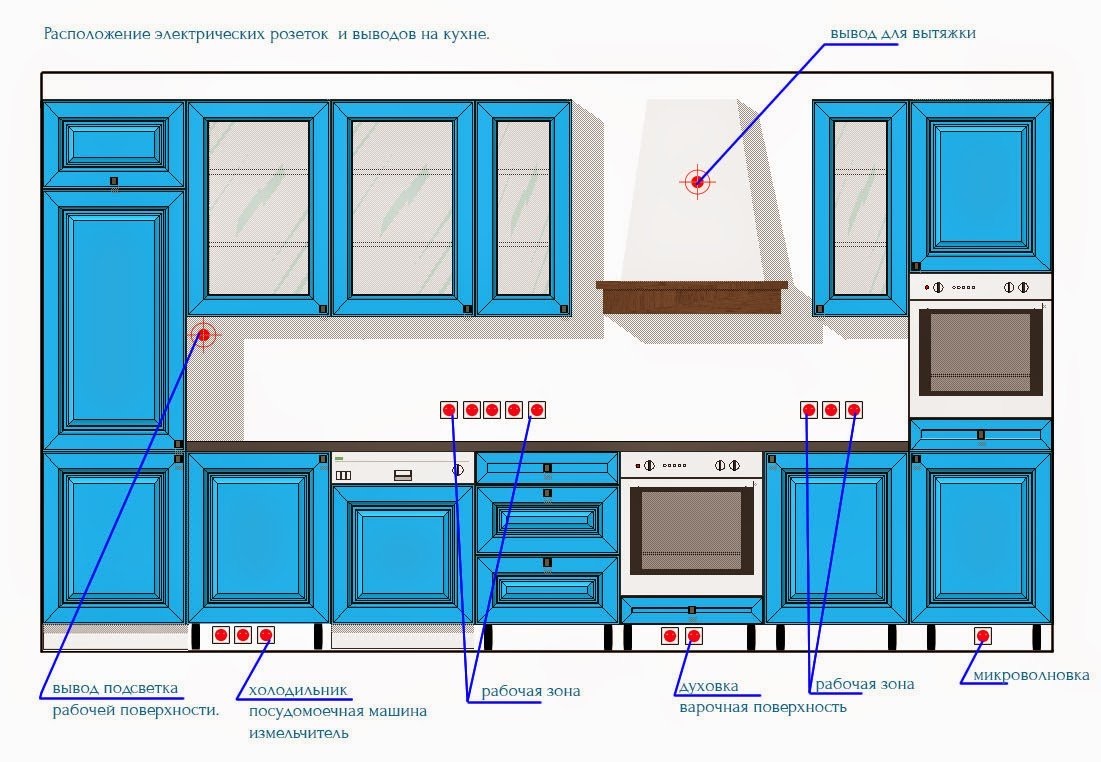
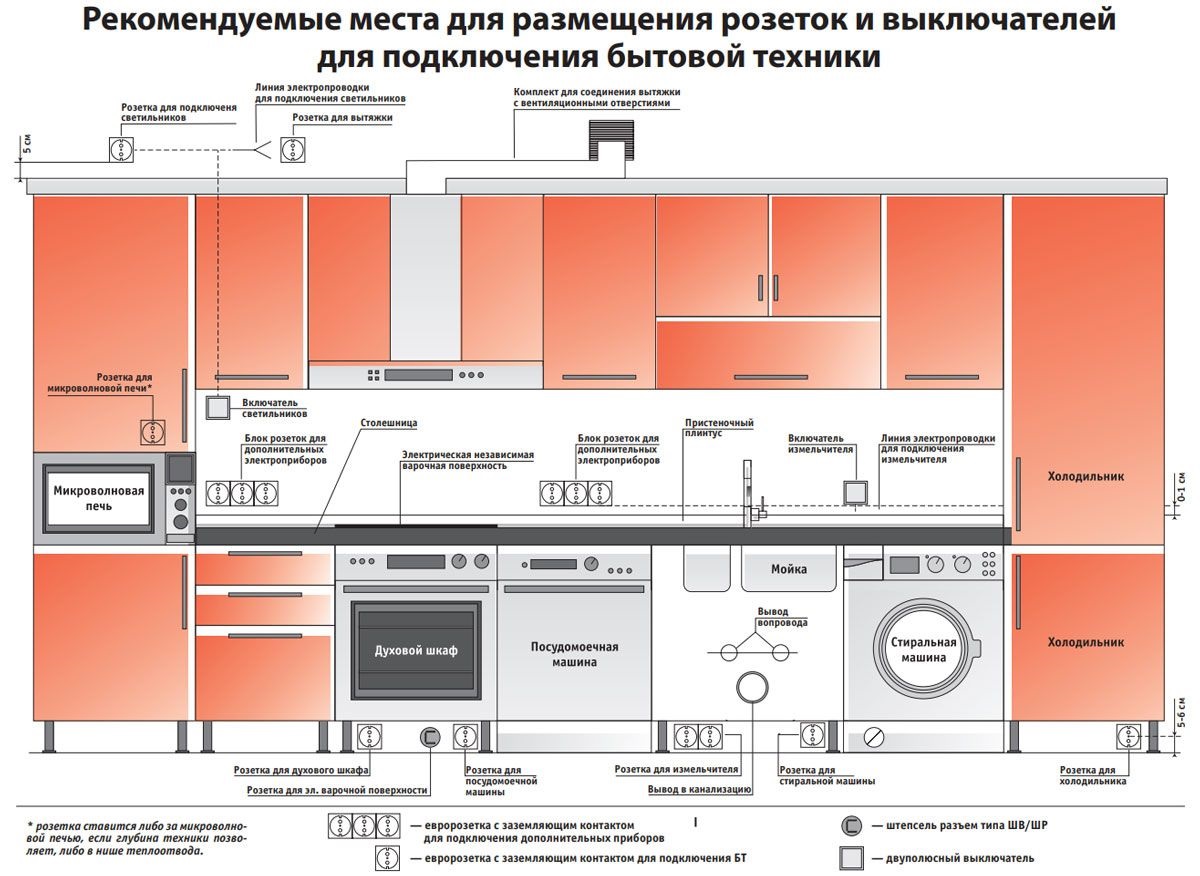
Each built-in technique must have its own socket.
- For the hob and oven, make two sockets so as not to connect a double or tee. Do not set the outlets too high or low. The best is considered 0.6-1 m from the floor level.
- The refrigerator usually has a short cord. The socket must be in the area of its placement and on the side from which the wire comes out.
- For a washing machine or dishwasher, the sockets are located quite low, 20-40 cm from the floor level.
- If you plan to install a socket just behind the appliance, add 5-10 cm to the depth so that the appliance fits into the niche.
- Place the microwave oven and coffee machine at shoulder or eye height. Since this is a technique that is used on a daily basis, sockets should be freely available.
- The hood requires a separate outlet, which is designed in the upper zone behind the kitchen cabinets.
How to design a very small kitchen
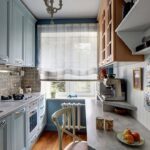
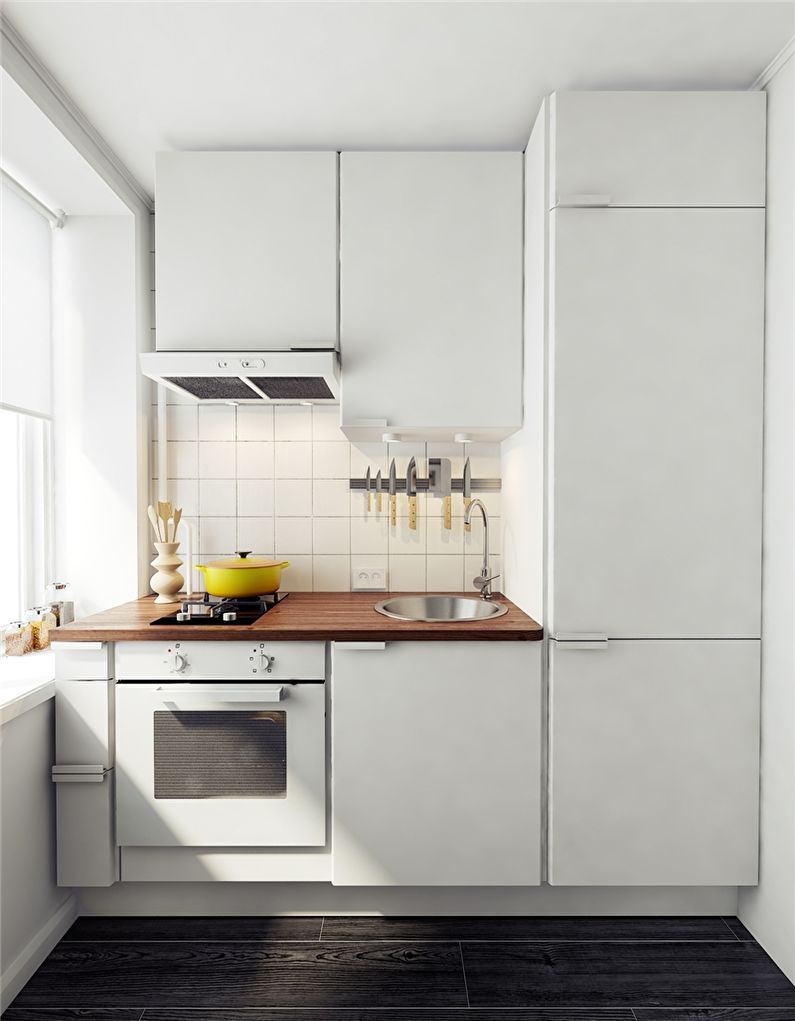
In a small kitchen, use every useful centimeter. Even small rooms can be made cozy, comfortable and comfortable.
- If possible, move the dining area to another room. This way you can create a workspace as comfortably as possible.
- Remove the hinged doors that open inward. Make an arch or sliding structure.
- Make a kitchen set to order or do it yourself. Only individual measurements will give you the maximum functionality of the furniture.
- Take your room design seriously.Make a kitchen in light colors without large patterns with reflective surfaces.
Now that you know almost everything about the layout, the location of appliances and outlets, it's time to take a critical look at the kitchen. You may want to improve and transform, replace or create something with your own hands.
Video: how to calculate the kitchen
