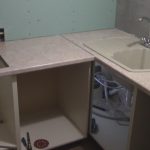
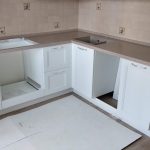
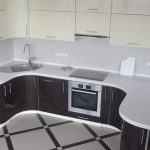
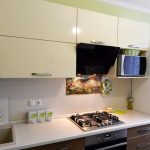
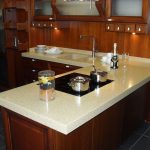
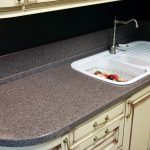
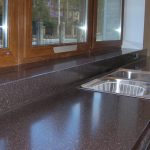
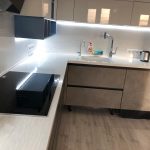
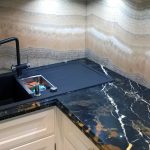
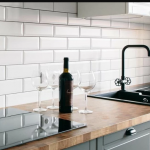
How to install a countertop on a kitchen set
When buying kitchen furniture, it becomes necessary to install it. Installation is usually carried out by specialists. However, the ease of assembly of some elements of the kitchen set allows you to do it yourself, if you wish.
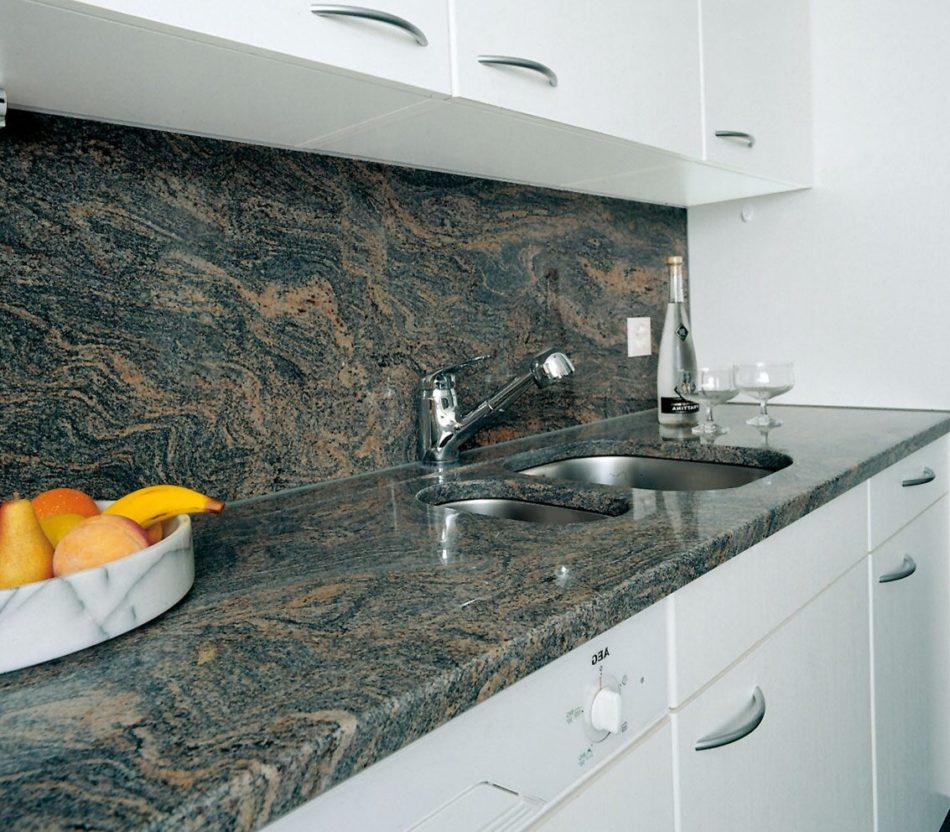
One of these elements is a food processing table, nicknamed by housewives as a countertop.
What and how is the tabletop attached
The main support that supports the table top is a volumetric cabinet. Fasteners are made from below using screws and various holders. Countertops, whose outer surfaces are usually made of durable materials such as stone or quartz agglomerate, often have a more pliable chipboard or wood backing.
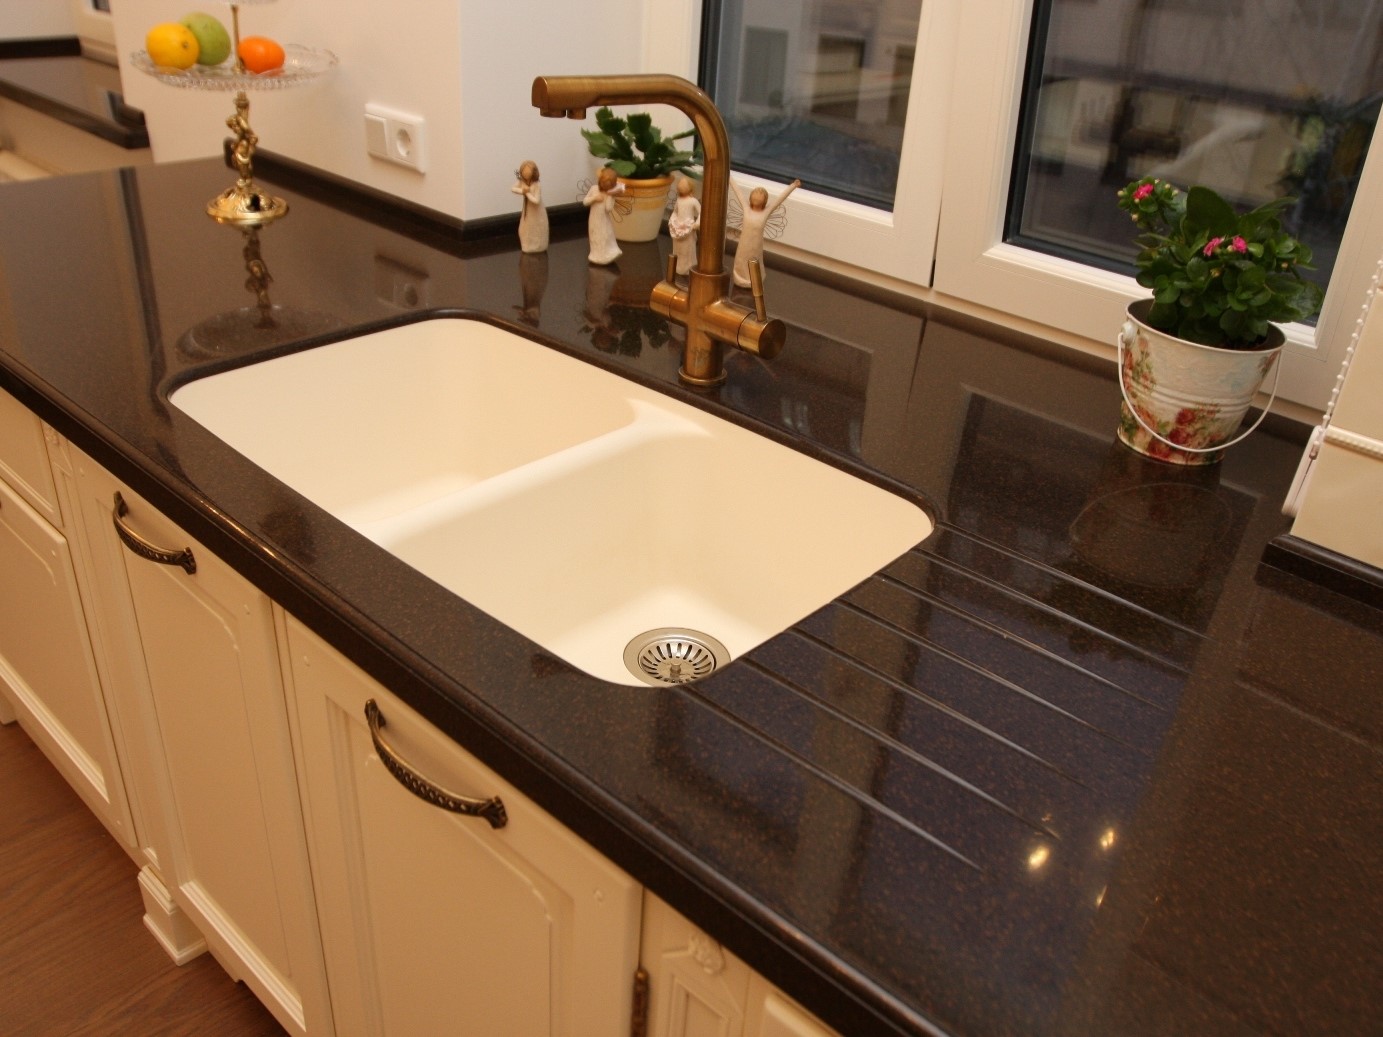
Thanks to her, the screws calmly fasten the cabinet to the tabletop. The substrate itself is bonded to a solid work surface by gluing, pressing and mechanical fastening. In the absence of a combined slab, the fastening of the stone surface to the solid cabinet (with the presence of the top) is done using mounting glue, side brackets and grooves on adjacent furniture structures.
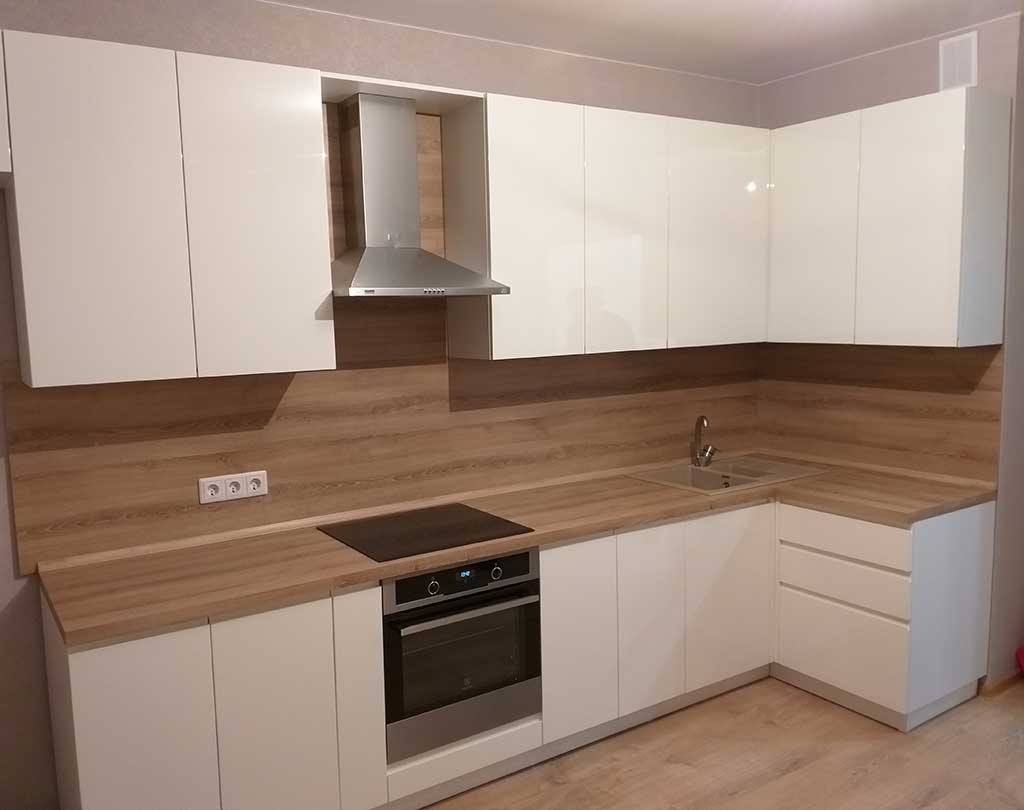
In some cases, grooves can be carved into the adjacent wall. At the same time, wall aprons (protective upholstery on the wall) are not used as a fastening element of the supporting structure, even if their surface is made of materials suitable for fastening.
How to remove a countertop
Dismantling the countertop depends on how it is installed. Also of no small importance are the properties of the surface material, which may require special delicacy.
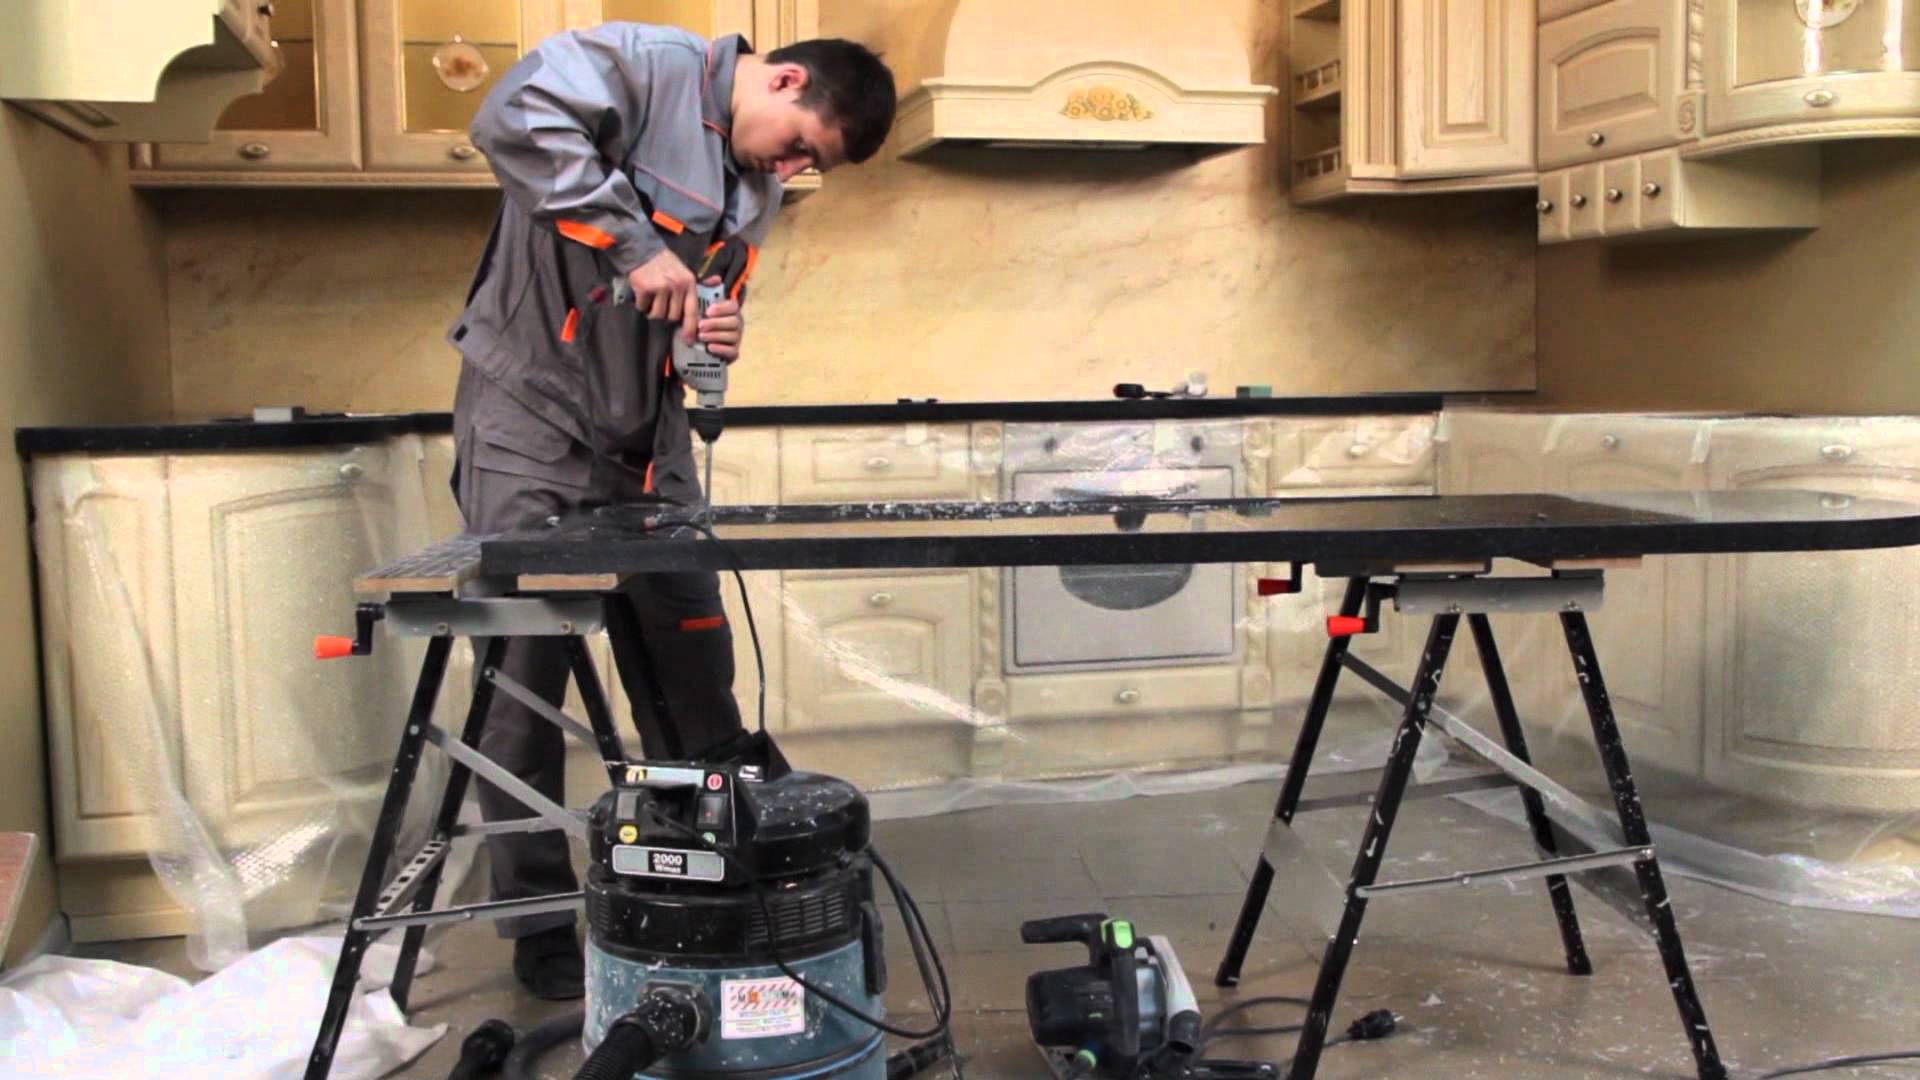
Dismantling by type of fastening can be divided into the following types:
- Removal of simple fasteners. Screwed-in corner brackets of wooden boards (or chipboard footboards) can be easily dismantled by simply unscrewing all fixed attachment points. It is more difficult when the supporting pedestal is monolithic along the front, without doors that open access to the elements fixed under the tabletop. In this case, you will have to disassemble adjacent furniture structures and look for an open (or openable) surface through which the master installed the slab. Sometimes such a place can be the open bottom of the carrier pedestal. In this case, you will have to pull out and put on its side the cabinet with the tabletop attached to it.
- Dismantling solid stone countertops. Removing heavy acrylic and quartz slabs planted unsupported on a sturdy cabinet requires special concentration and care. Inattentiveness of the installer can lead to the fact that accidentally jumping off the plate can seriously injure him. The first step in dismantling heavy slabs is to remove the skirting board and clean the side seams, which are filled with glue or polyurethane foam. If there are brackets that press the plate against the curbstone or adjacent furniture structures, these elements are unwound last.The next step is the process of carefully prying the stone slab with a large knife and cutting out the frozen glue mass.
- Removing worktops with glass and ultra-thin slabs. The fragility of glass and half-centimeter stone slabs forces the disassembly of the countertop very slowly and carefully. The installer must have construction gloves on his hands to avoid cuts from possible chipping of glass and stone. The dismantling process is similar to removing heavy stone countertops. The difference is that all procedures must be performed even more slowly and carefully.
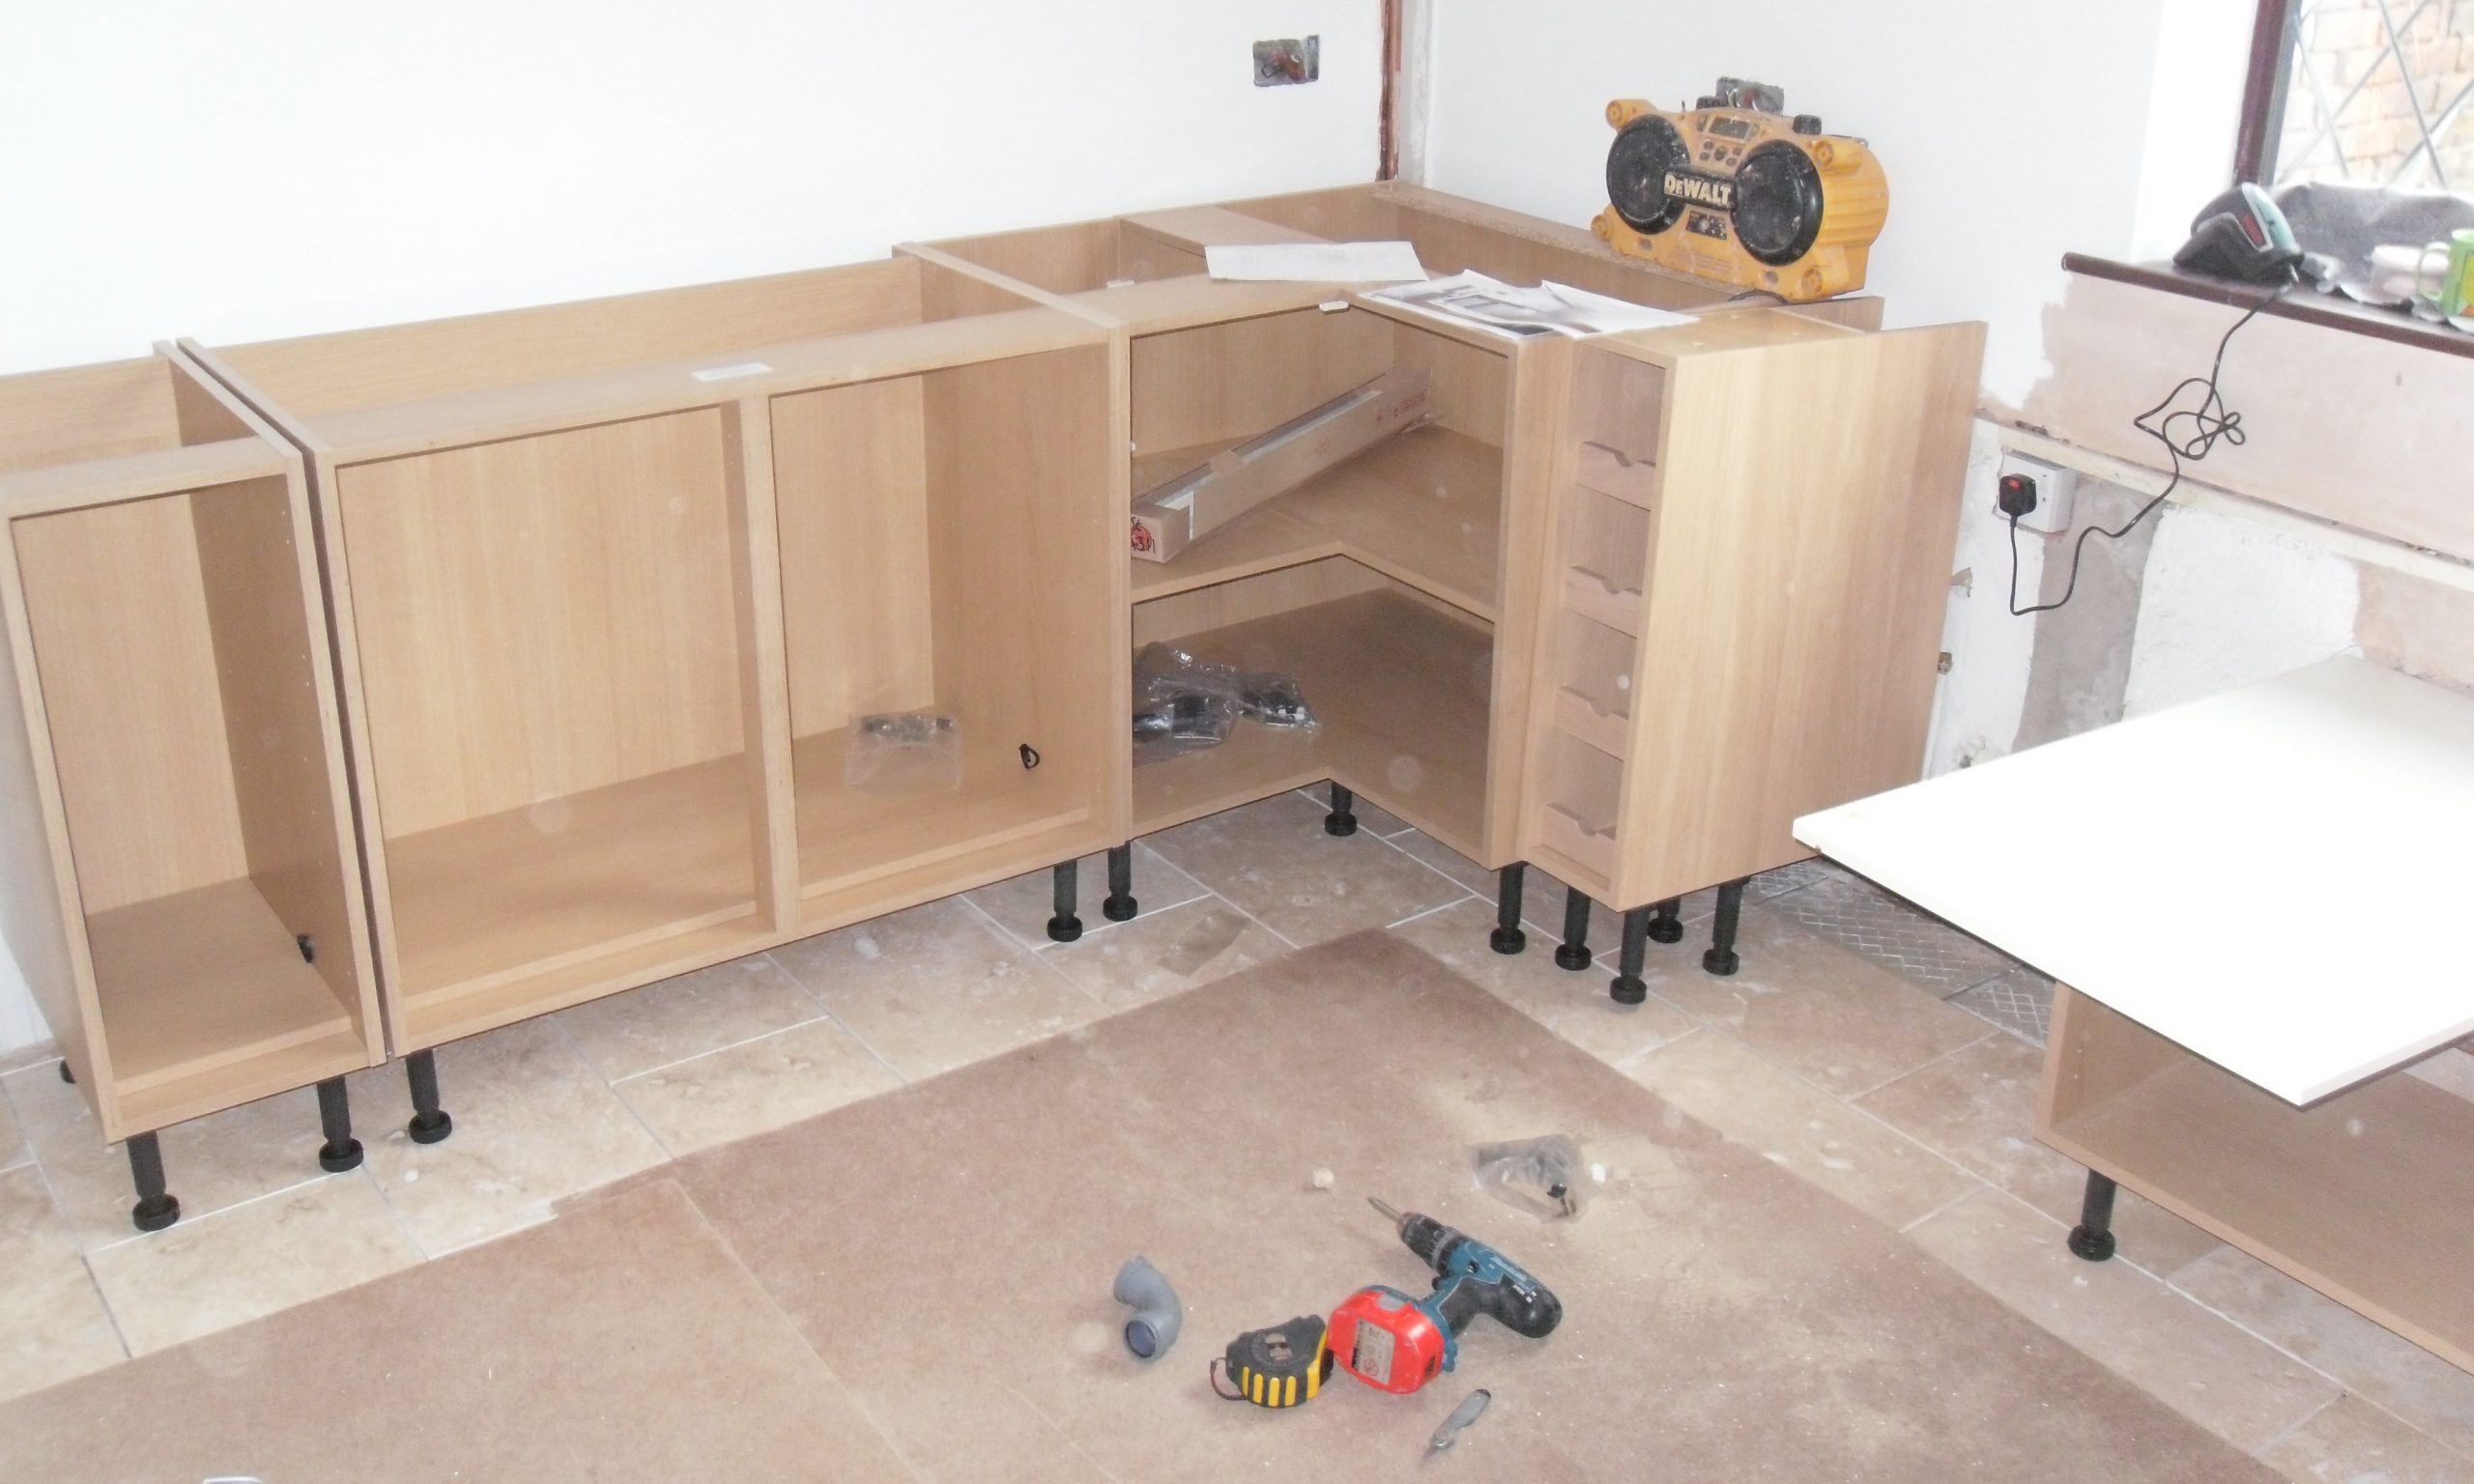
At the final stage, the weakened plate is carefully removed from the grooves (if any) or simply removed from the top.
Important! Forceful tearing of the stone slab from the adhesive layer is not allowed. It must also be remembered that when dismantling the countertop, it is required to observe safety precautions and stop all household work in the kitchen (using the stove, cleaning, etc.).
What tools and materials are needed to work
Depending on the type of countertop, the assembler uses a variety of tools, fasteners, mechanical devices and auxiliary materials.
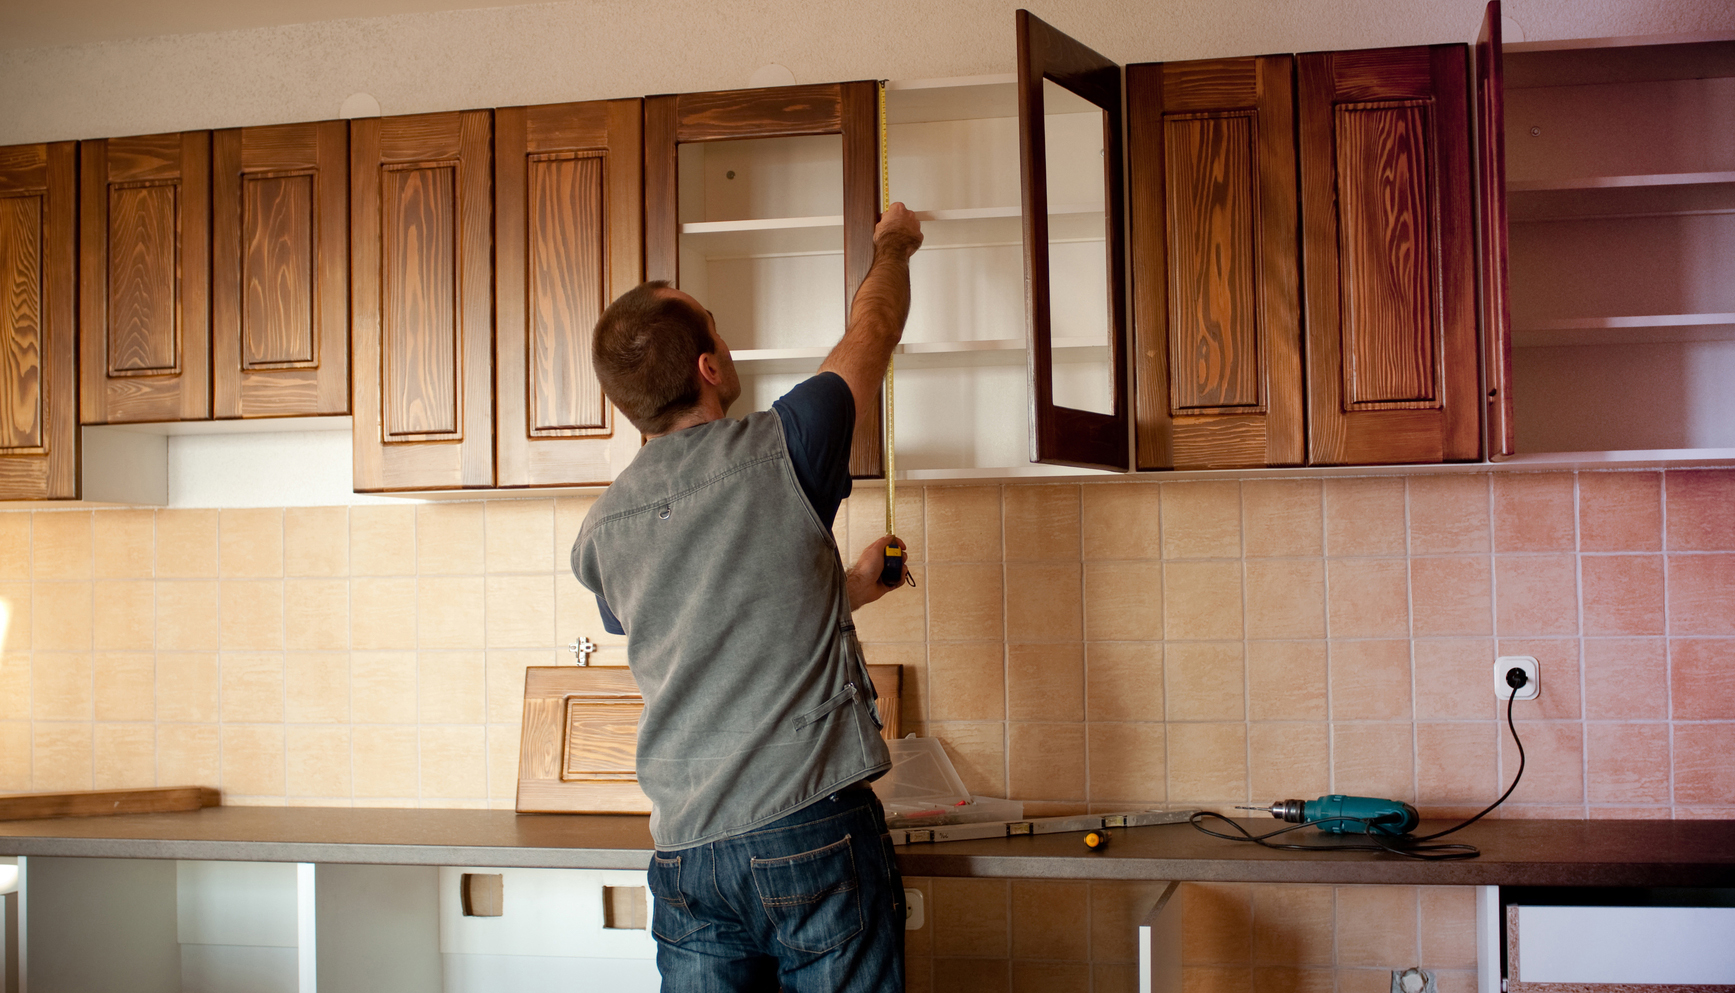
Their full list includes the following items:
- Screwdriver or Phillips screwdriver.
- Rubber hammer. It is used for knocking boards when landing on glue or polyurethane foam.
- Pliers. May be needed to bend metal holders.
- Long knife. For cutting hardened polyurethane foam or separating glued surfaces.
- Yardstick.
- Grinder with discs for cutting wood or stone.
- Building level and planks for underlayment. Helps to position the countertop in a perfect horizontal plane.
- Metal corners and brackets.
- Polyurethane foam, silicone sealant or construction adhesive.
- Screws, self-tapping screws and Euro bolts.
- Grooved boards. They are used when installing wooden tabletops. Small boards have protrusions and depressions on the sidewalls. They are assembled according to the principle of a constructor with the use of glue (or without).
- Furniture screed tools: eccentrics, threaded pin and washer, wooden dowels.
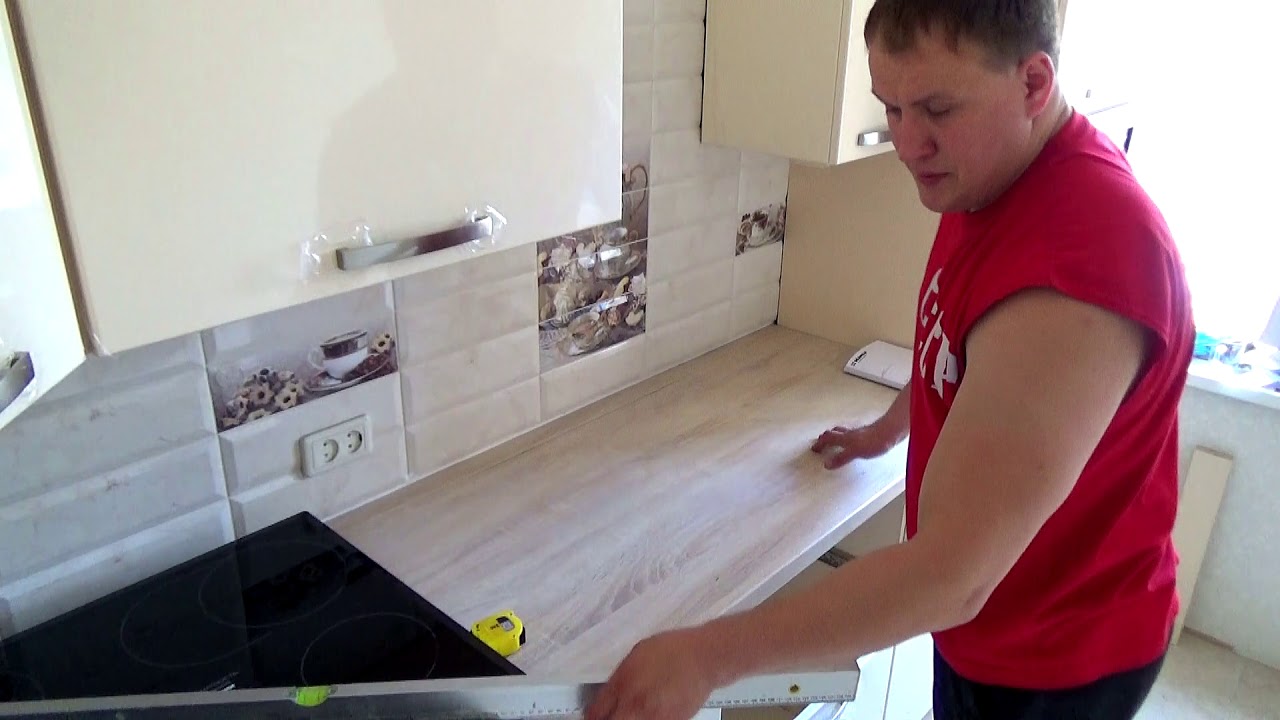
Do-it-yourself kitchen countertop installation
To understand how to properly install a countertop on a kitchen set, you need to have some technological knowledge about the assembly of supporting structures for the installation plates.
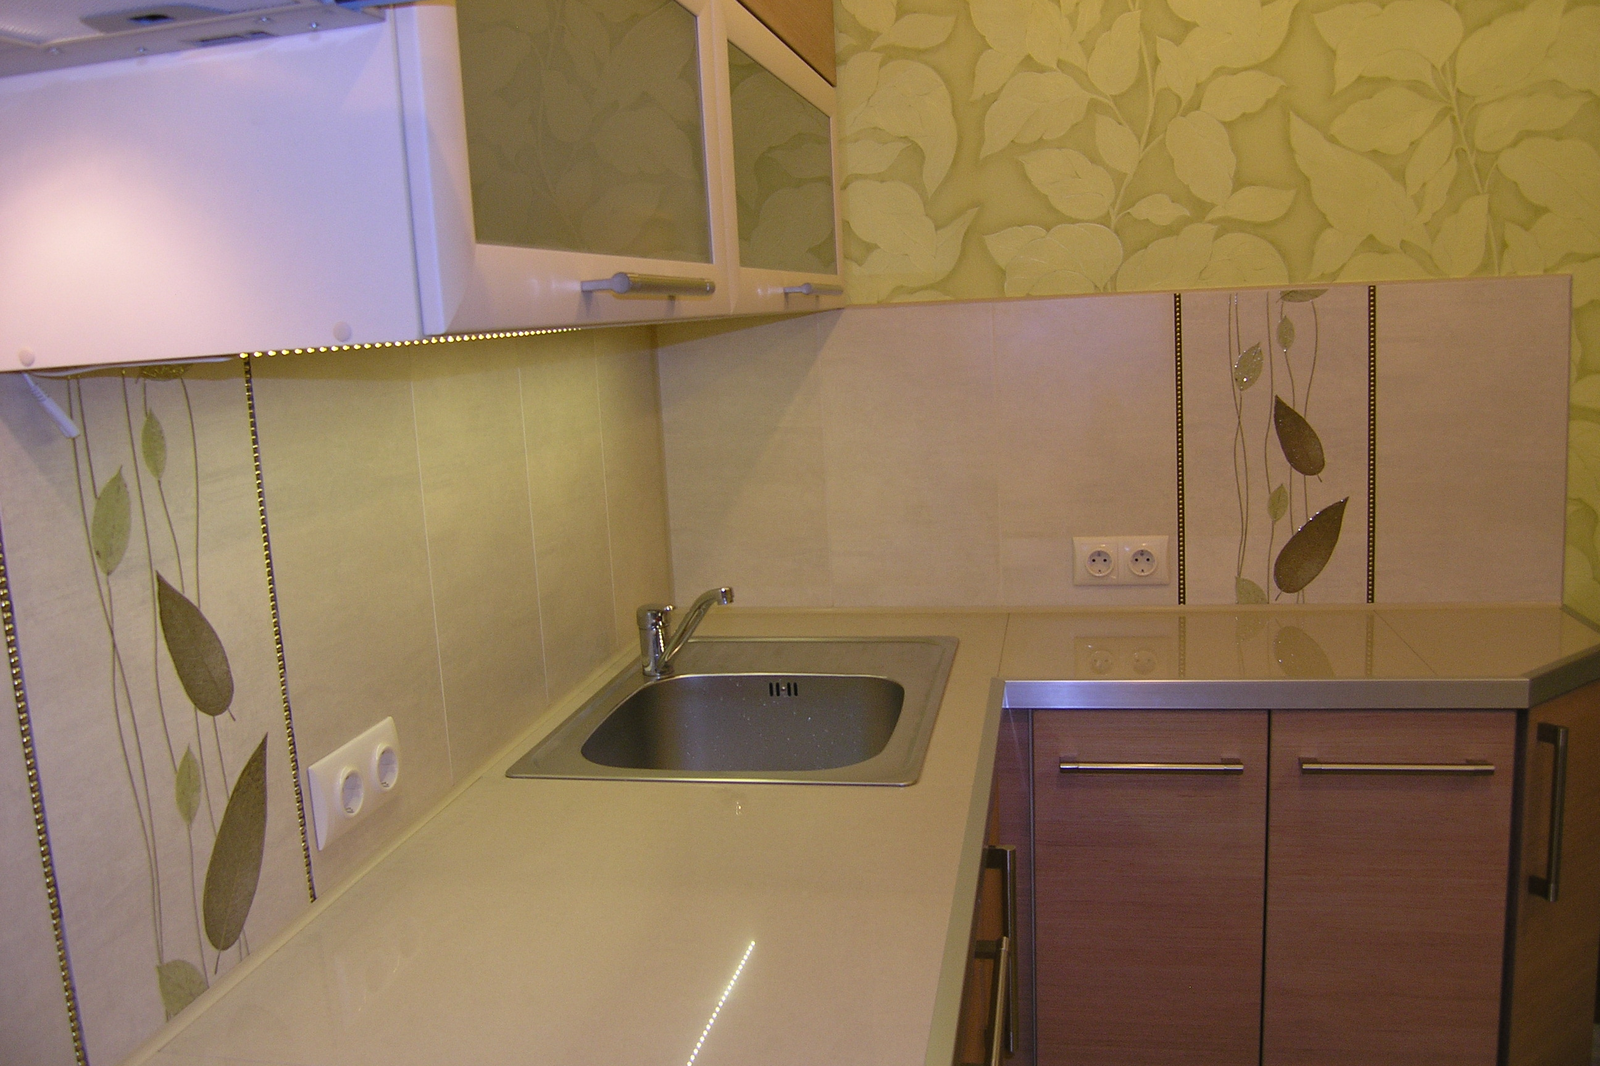
Surface preparation
Before starting the installation, it is necessary to measure the kitchen step by step, draw up a drawing of the assembled structure, select tools and materials. When all the preparations are finished, you can start assembling the countertop.
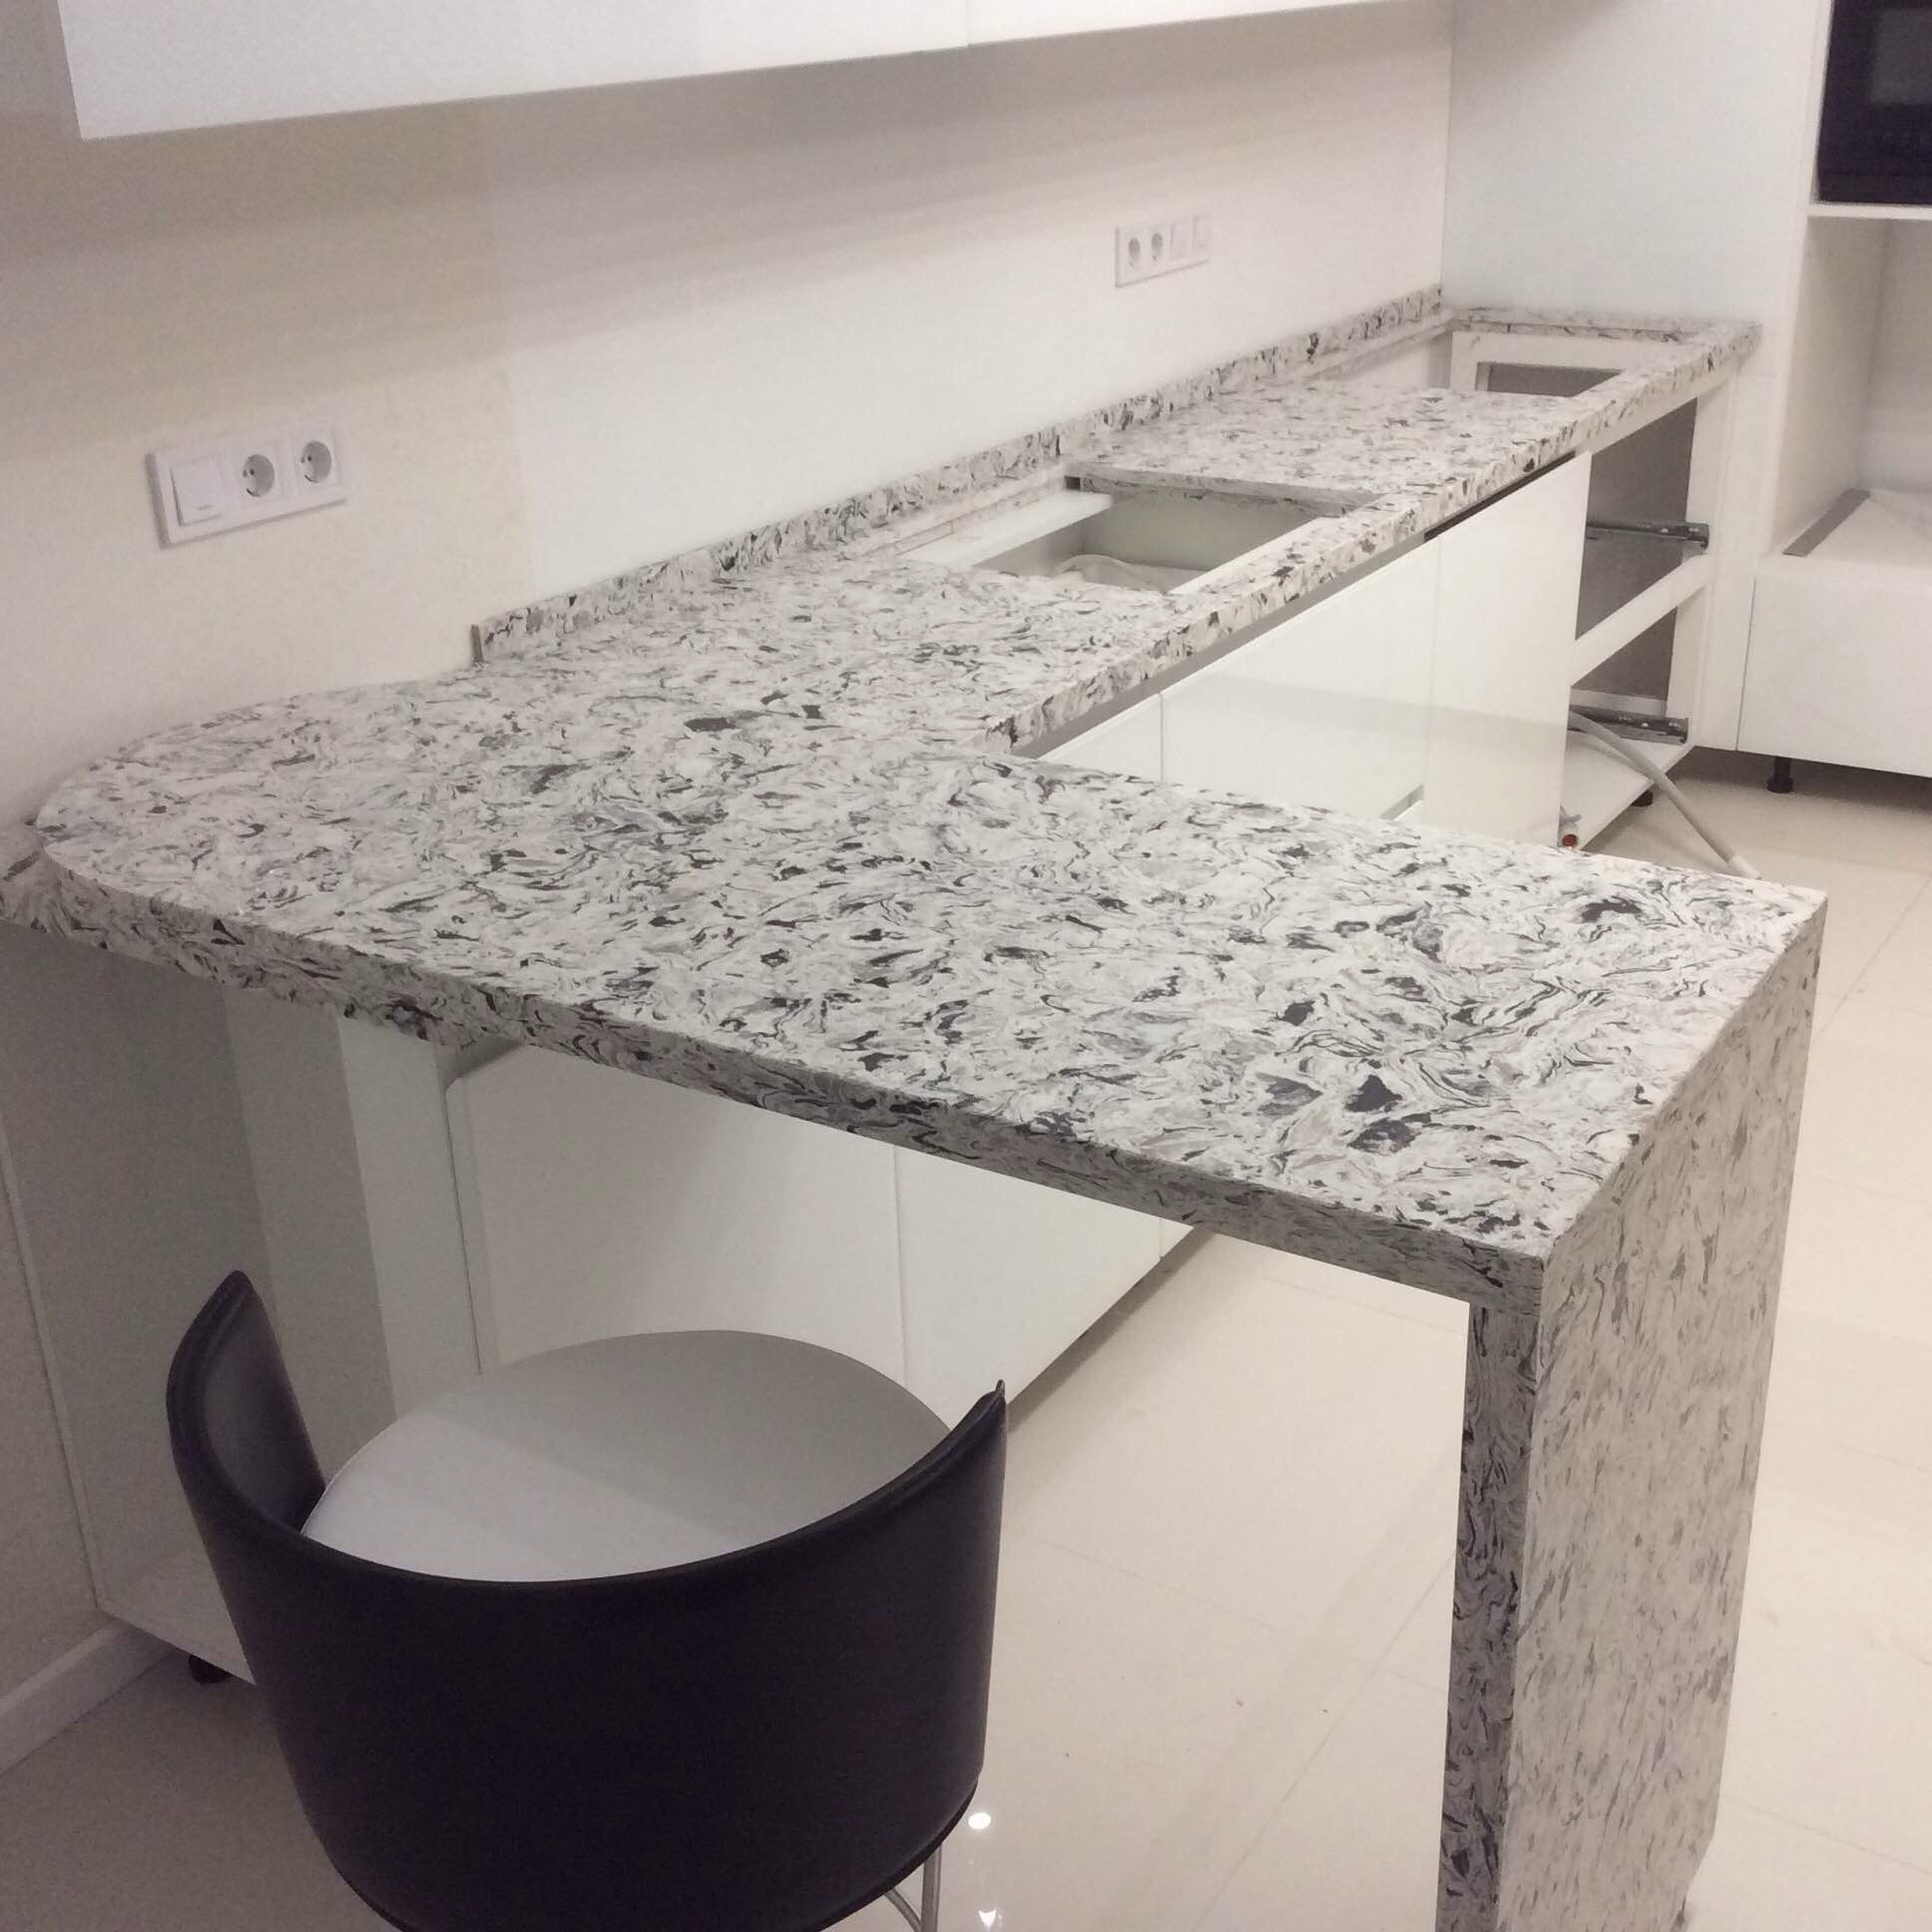
The place of installation of the countertop is processed first. If necessary, holes, grooves and fasteners are created on surfaces adjacent to the future structure. This includes cutting off the apron and removing the baseboard.
Docking fragments
The assembly of parts begins with the installation of the pedestal. Factory boards have straight side cuts, which allows them to be joined at right angles. The planes of the curbstone are rigidly fastened using reinforced corners and ties. The curbstone can be solid or with an open top.
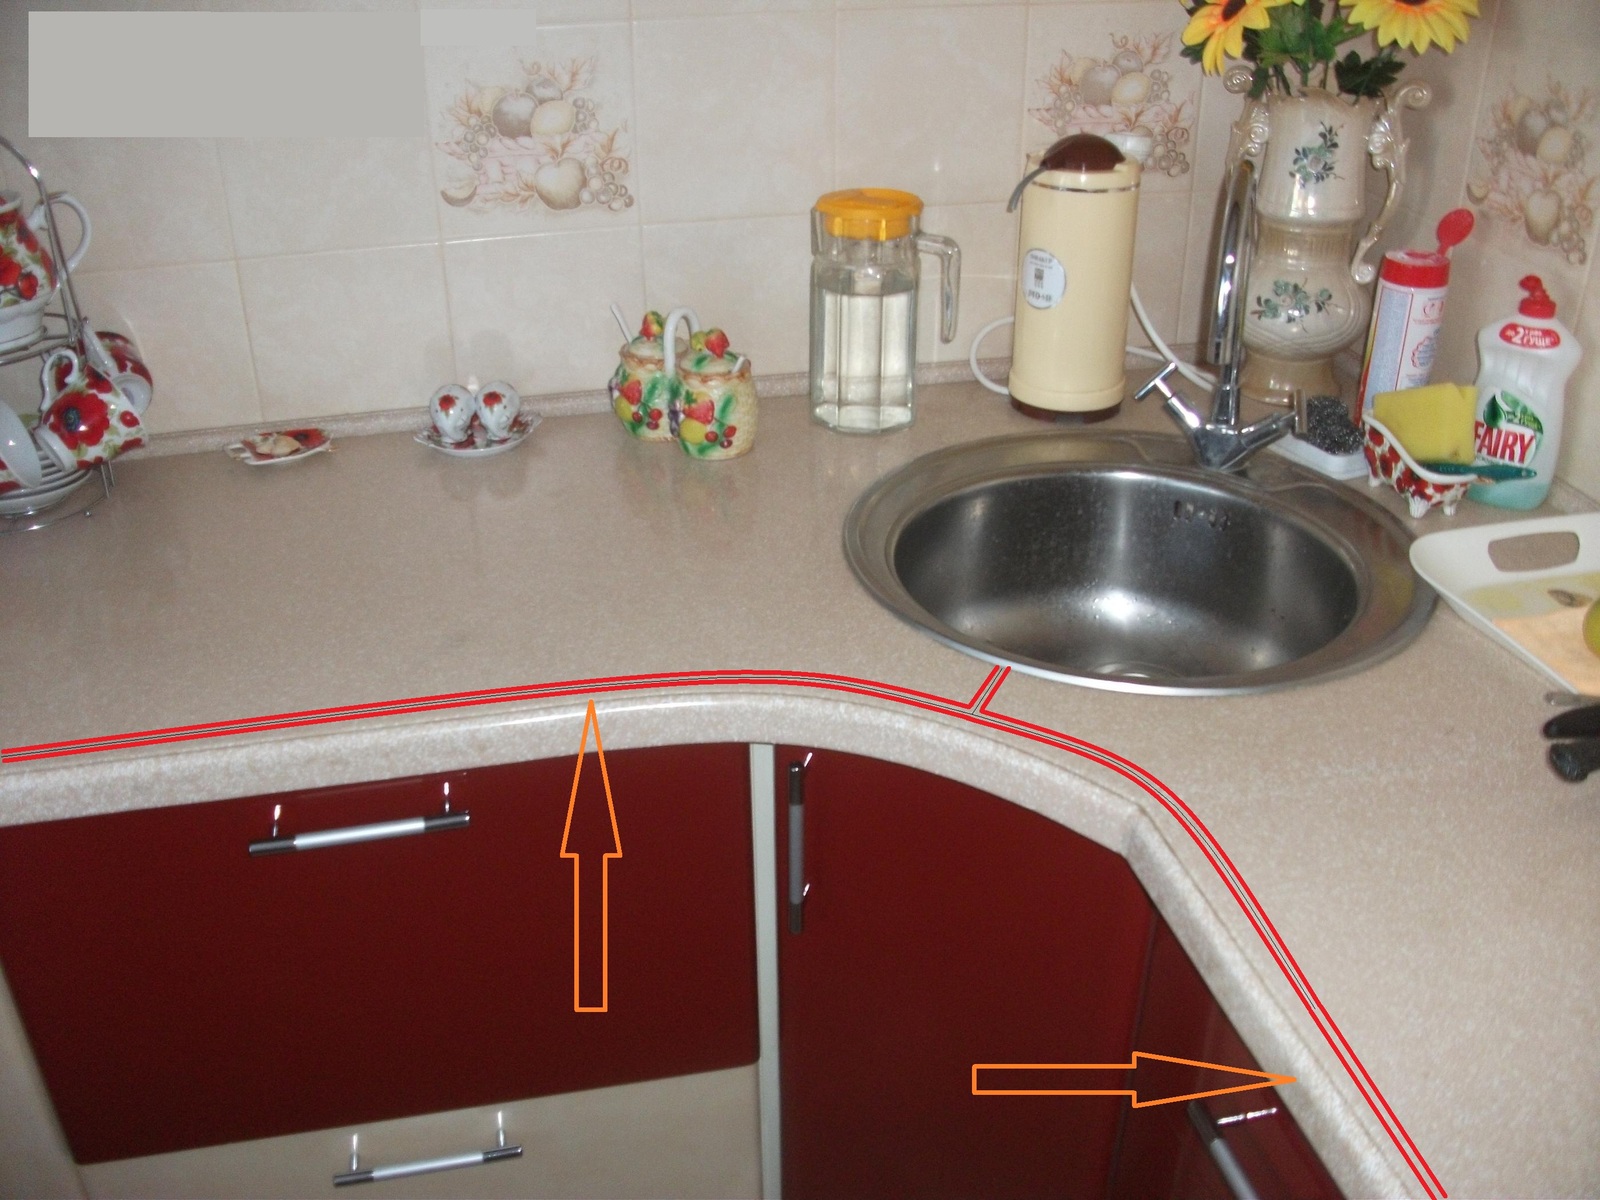
In the latter case, instead of the missing "roof" in the upper part of the curbstone, two boards are installed that do not protrude above the upper edge of the curbstone. A wooden tabletop or backing will be attached to them. For a properly assembled pedestal, the lengths of the diagonals coming from opposite corners should be equal.

If an error occurred during installation and the curbstone did not fill the prepared space completely, then the gap can be filled with a large U-shaped insert. In the opposite situation, the curbstone can be cut.
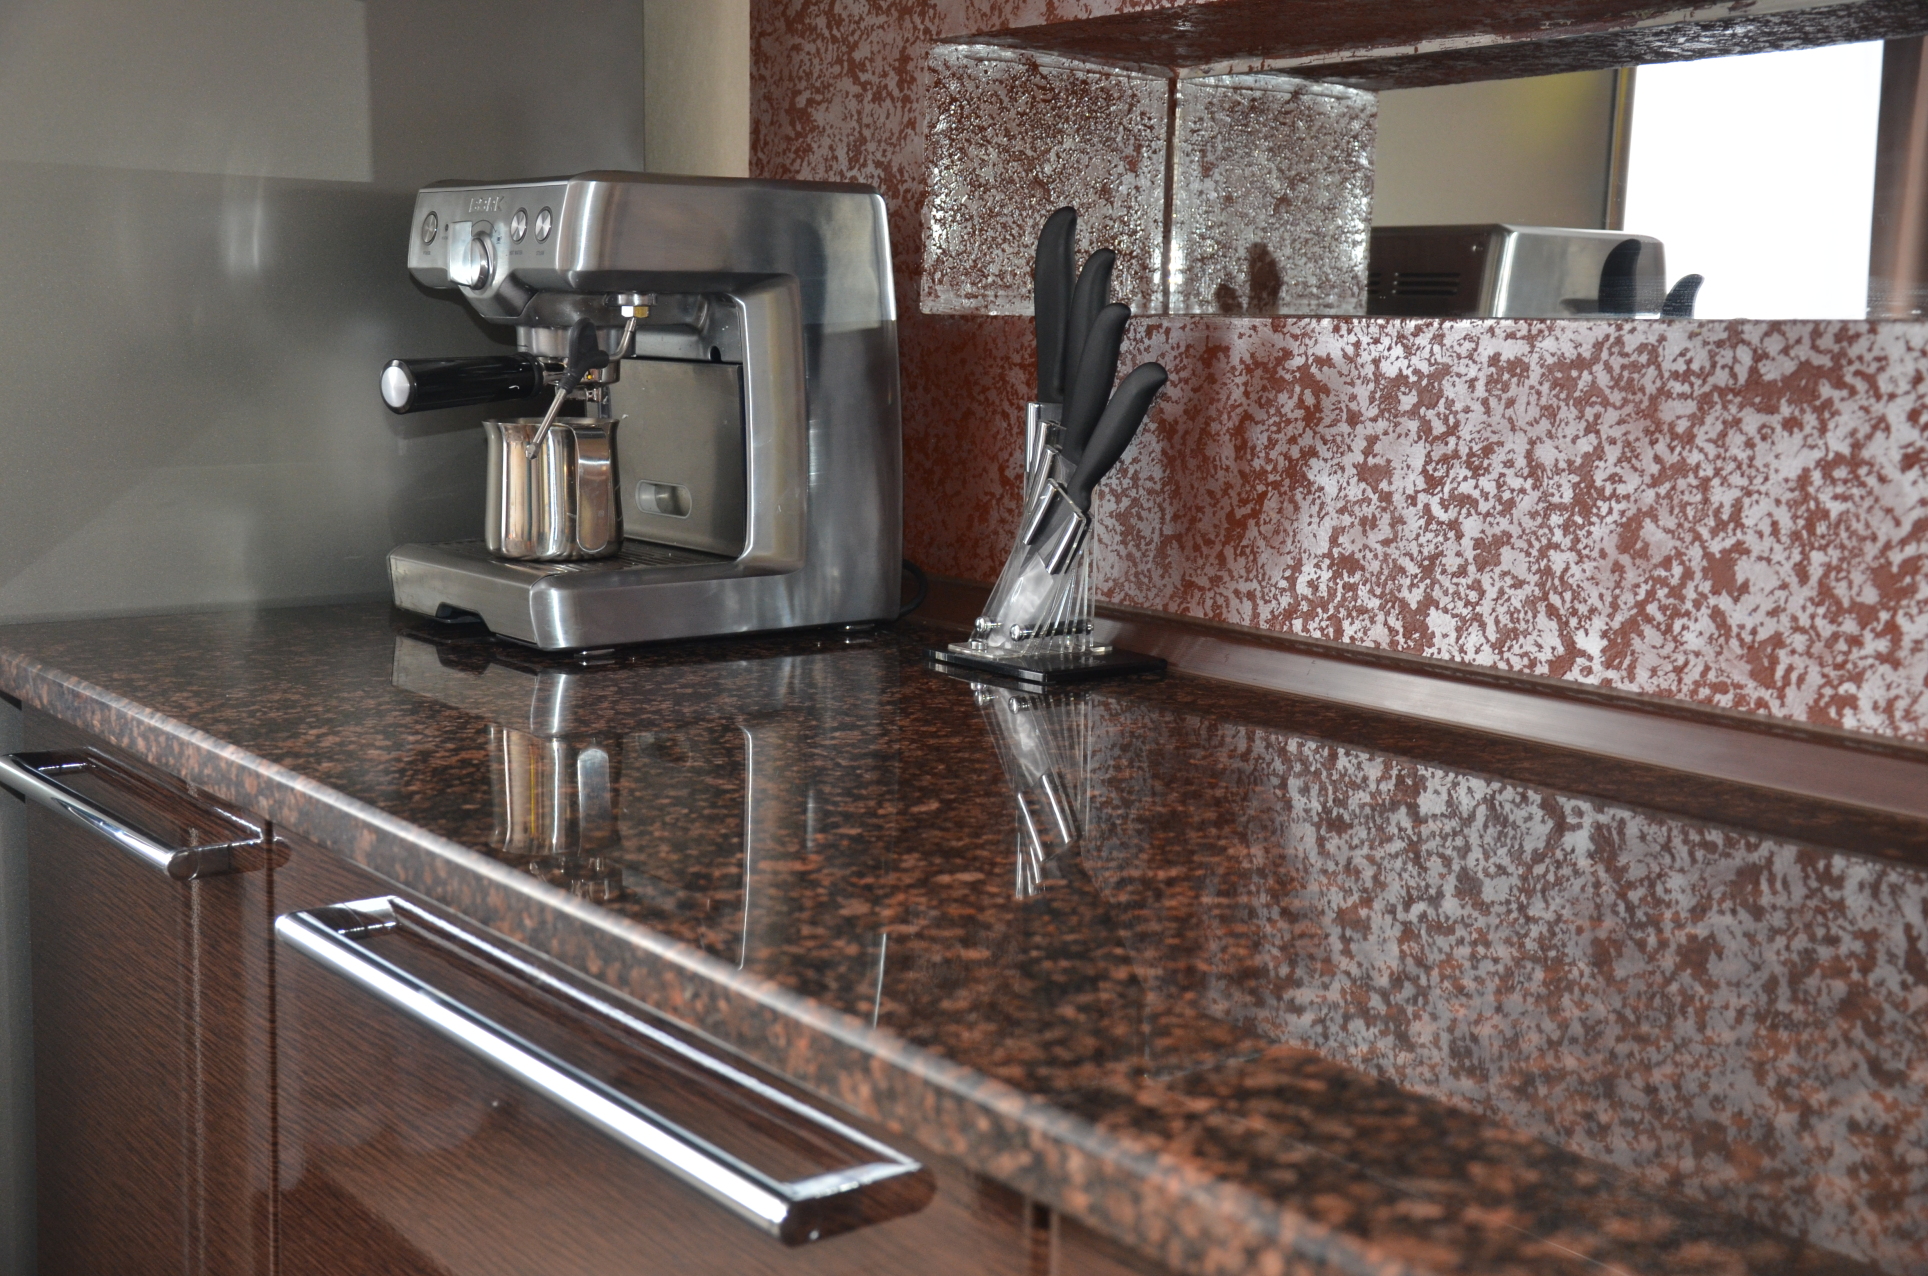
If possible, space is added by shifting adjacent furniture structures. Some brackets and corners are more convenient to install in advance, before the installation of the plate.
Installing the stove
Depending on the method of fastening, the tabletop is mounted mechanically (screws, ties) or by gluing. With the help of a level and backing strips, the horizontal plane of the slab is adjusted before bonding.
In the absence of a level, the plane can be brought out using an ordinary plastic ball. Rolling off the surface, the ball indicates the direction of the skew of the plate. When the final fitting is finished, the most crucial installation process begins. In this case, you constantly have to monitor the level of the plane in order to avoid skewing.
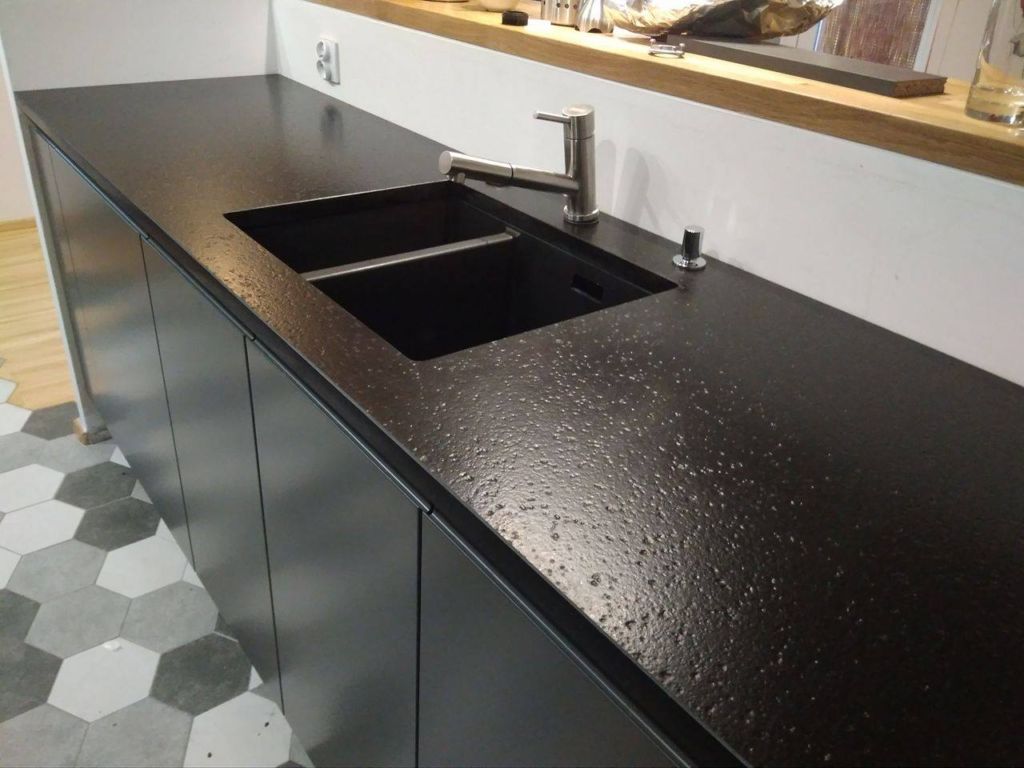
Heavy stone slabs are installed by the master with an assistant. Although such countertops are able to hold their position due to their own weight, it is still recommended to press them from the sides against other elements of the furniture set. For this, the joint seams are filled with glue or polyurethane foam.
Wooden or stone countertops on a chipboard substrate are screwed from below with screws (bolts, screw cutters) to the cabinet cover. In the absence of a cover, the curbstone is fixed to the boards replacing it.
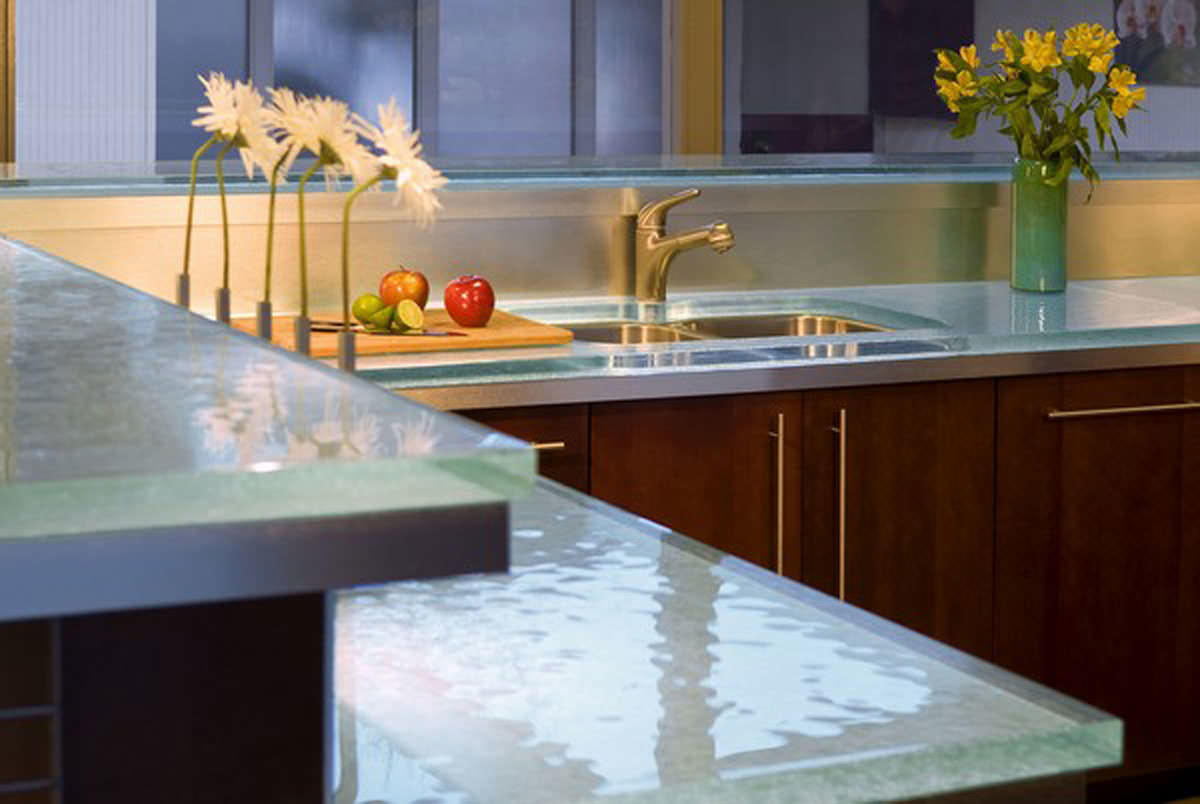
In conclusion, you can add that for a hand-made assembly, an amateur who does not have specialized skills, it is better to select countertops from a simple material (wood, chipboard and MDF). Stone, glass, metal and plastic require some experience in assembling similar materials.
Video: self-installation of the countertop
