How to install a stainless steel sink on a cabinet
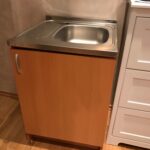
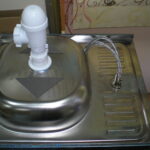
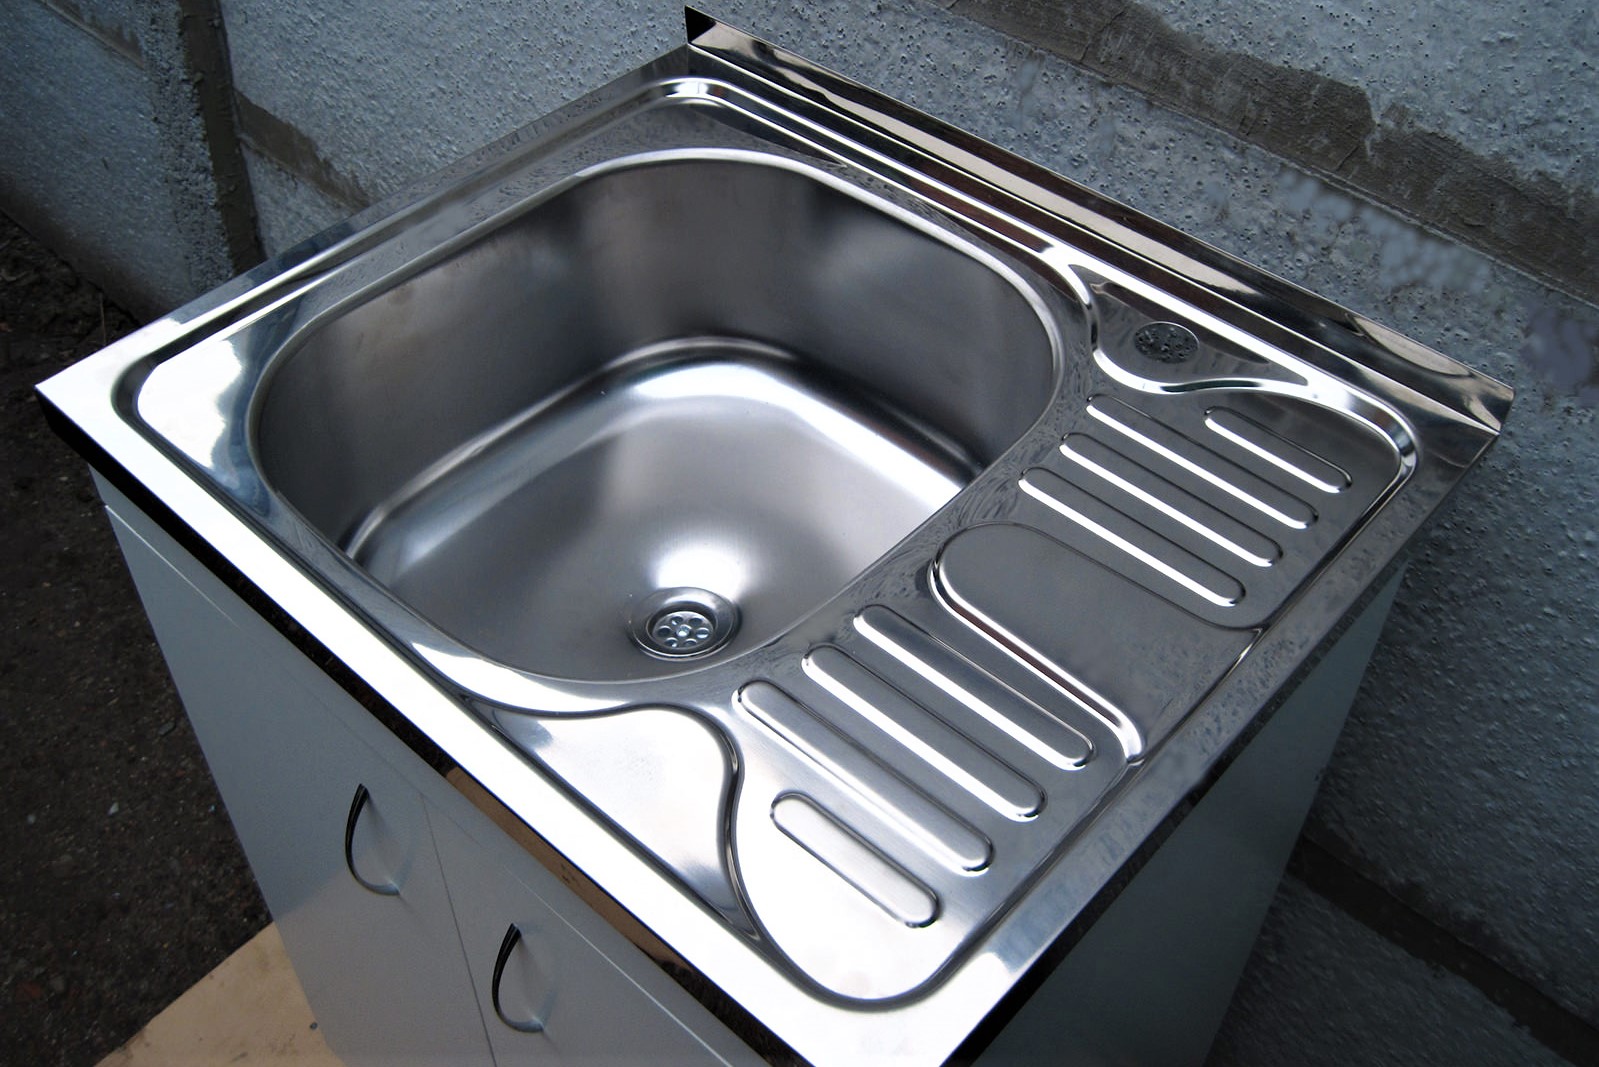
When it is necessary to repair and update furniture in the kitchen in a budget format, it is best to use a cabinet under the countertop sink, which is made of stainless steel. Due to the simplicity of the design, you can assemble the elements of the product yourself. But for this, you should know exactly how to fix a stainless steel sink on a curbstone, how to connect a tap (siphon) and carry out all the work on sealing the seams.
Preparation of materials and tools
Before installing the stainless steel surface-mounted sink on the cabinet, you should prepare all the necessary tools and consumables. Here's what you need without fail for work:
- Screwdriver or screwdriver.
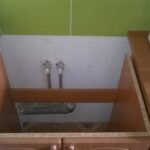
- A hacksaw, if the pipeline is open, is laid along the outer surface of the wall. In this case, you will need to saw the walls of the cabinet so that you can push it tightly against the wall.
- Flexible meter, ruler, corners, level, if the horizontal installation should be checked.
Making a kitchen cabinet for a sink
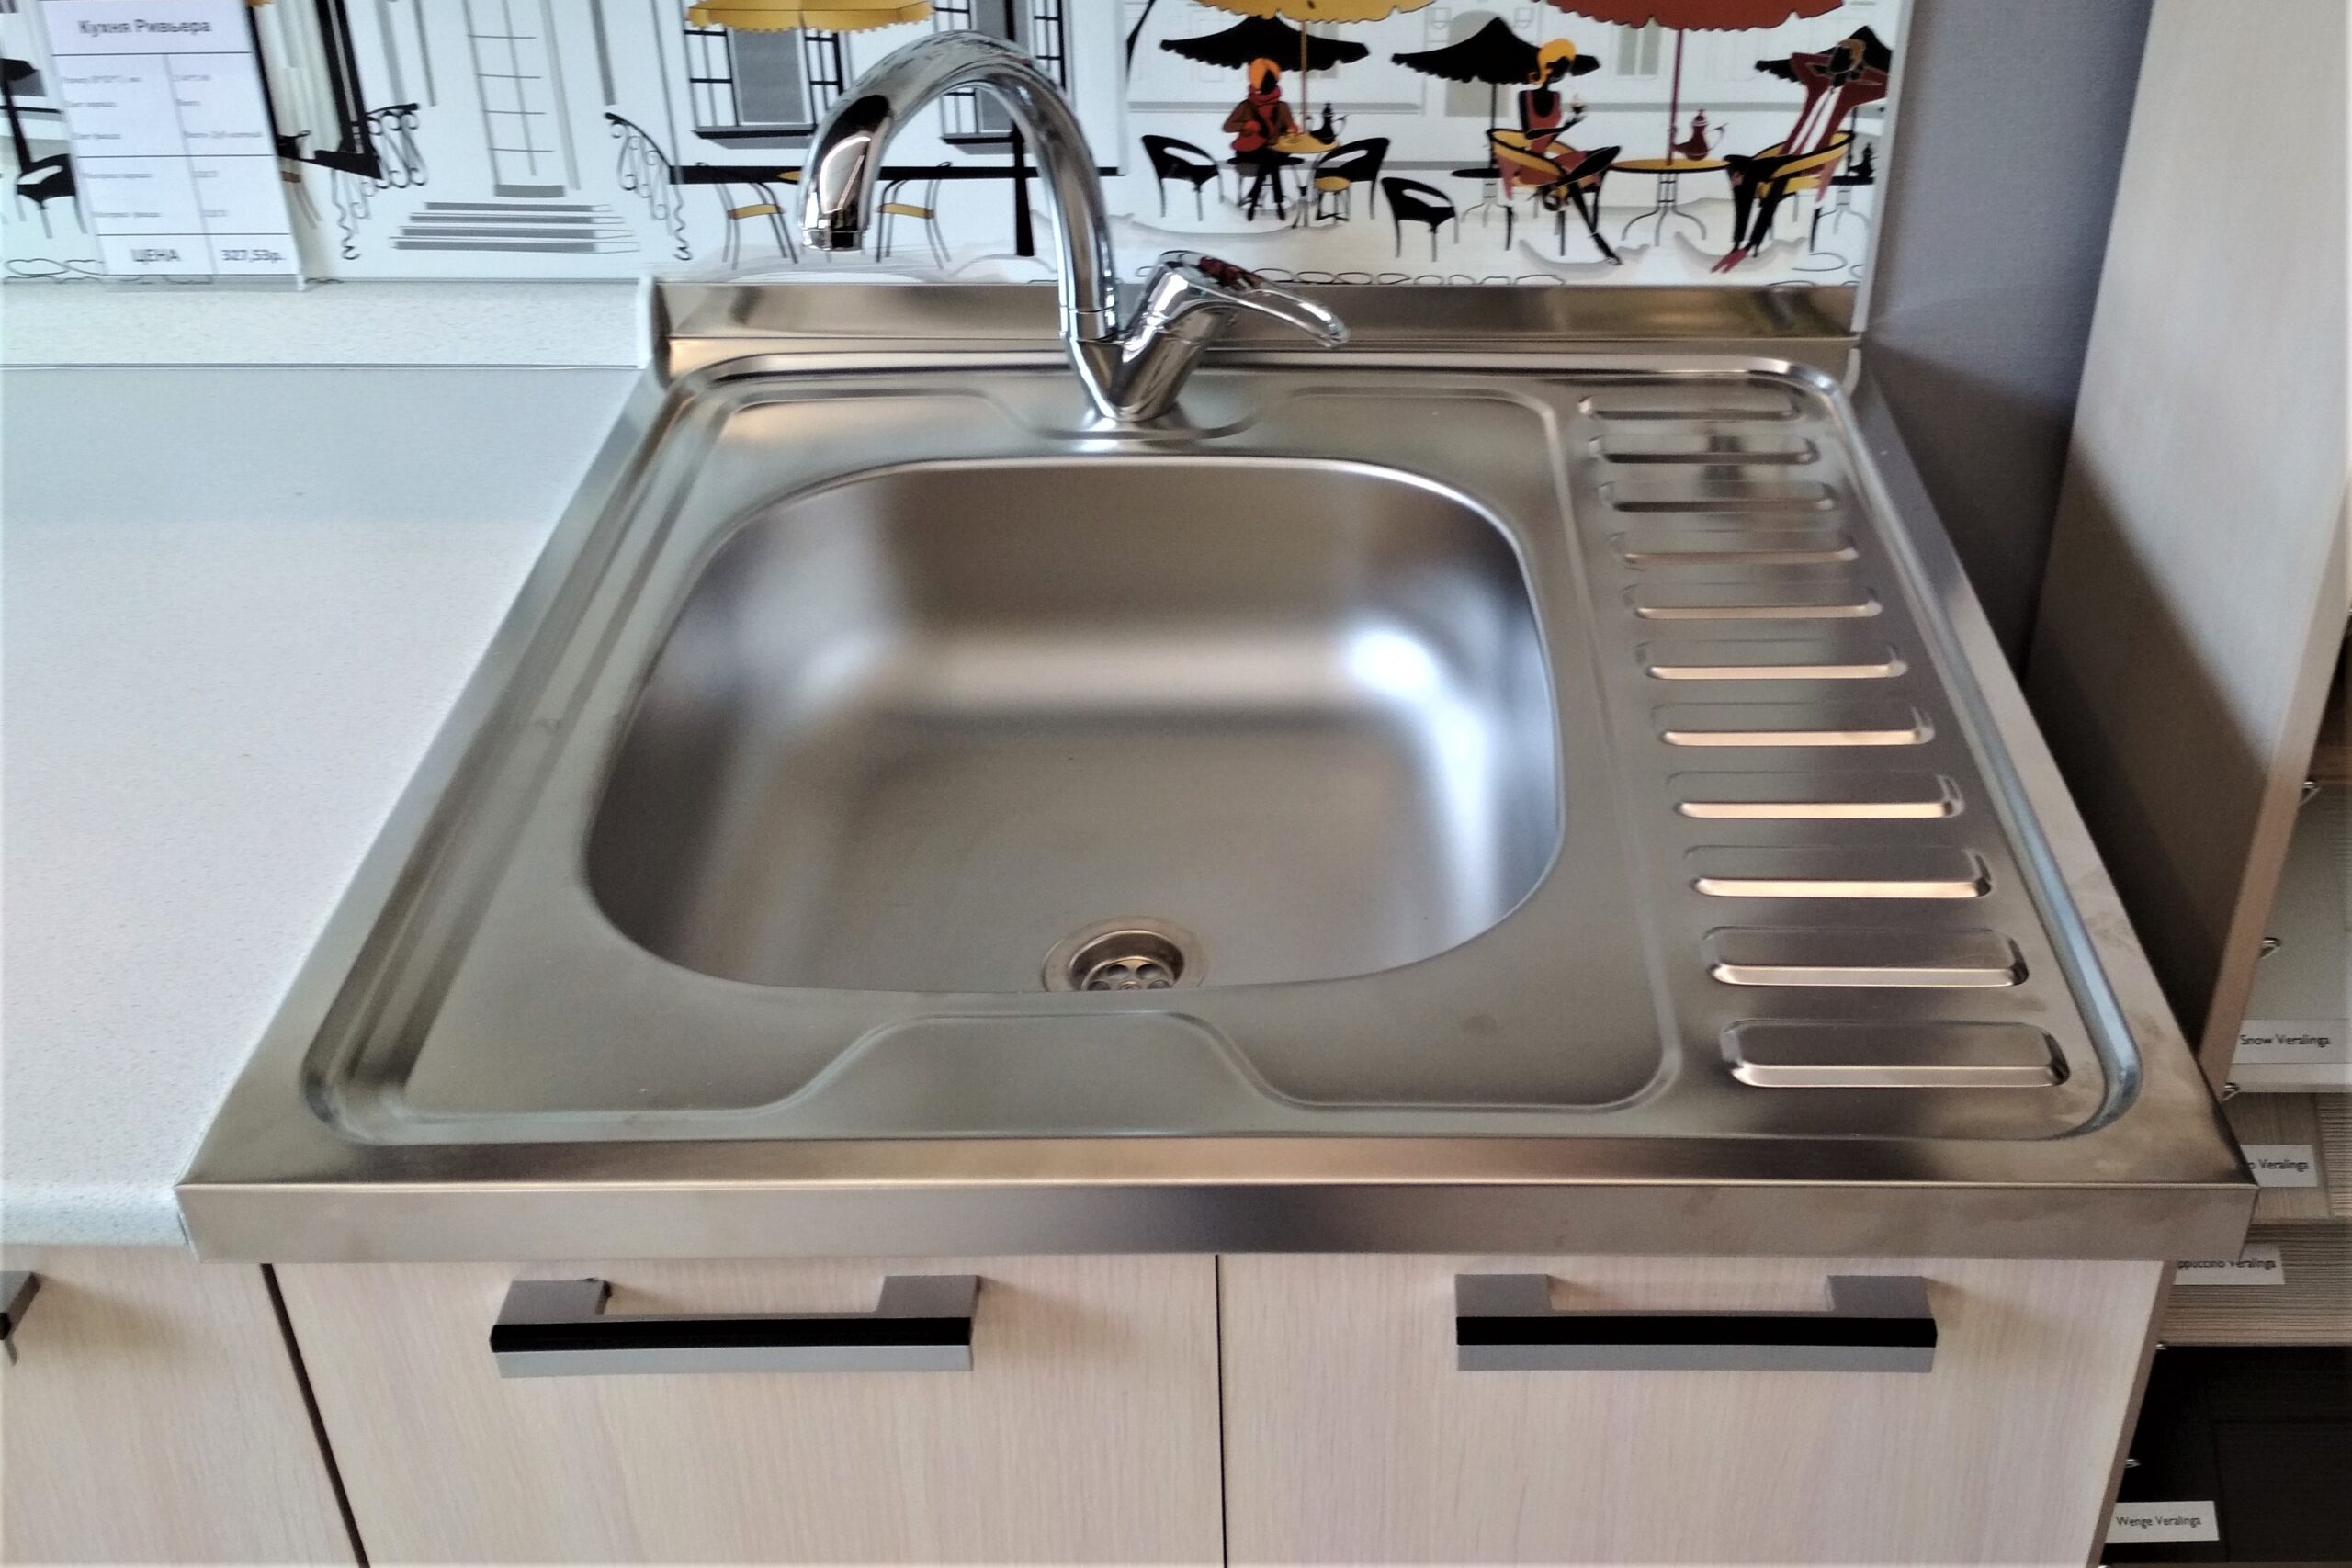
There are 2 options for this method of installing a stainless steel sink:
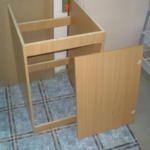
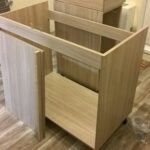
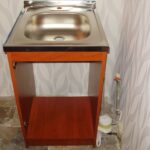
- When buying a cabinet or a complete set of kitchen furniture. In this case, the section that will be fixed in the place of the room where the sink is to be installed must be open from the top. That is, represent a cabinet with a frame, side walls, front doors and a bottom.
- The second option is to make a stand yourself.
Naturally, for the second solution to the issue, you will need to acquire:
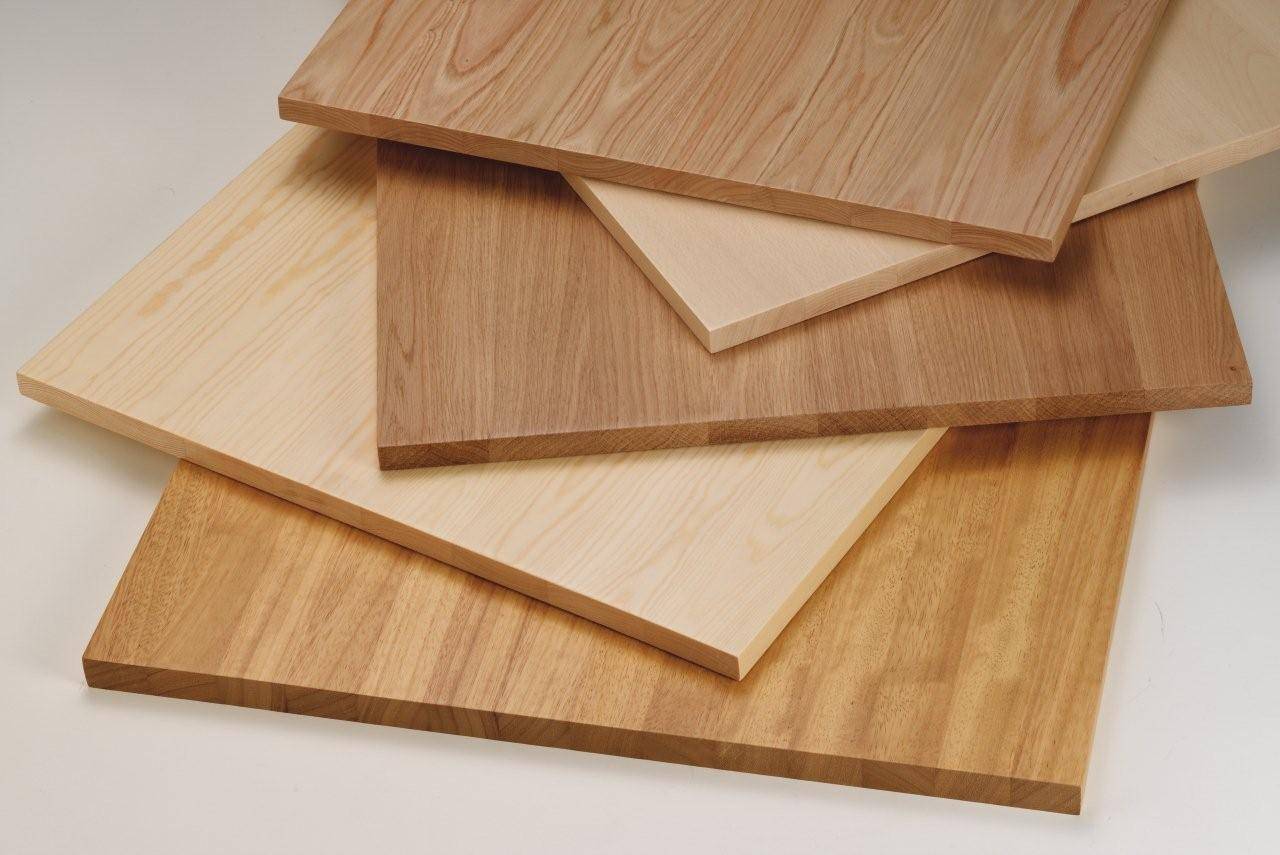
- Lumber - a beam will act as them, in a section of which should be about 10x20 mm.
- MDF, chipboard, fiberboard for creating sides, bottom and doors.
- Metal corners.
- Screws for connecting elements.
- Additionally, you may need glue.
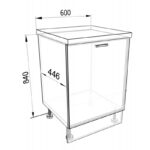
After that, a drawing is selected in accordance with the dimensions of the stainless steel sink, which is planned for purchase.
At this point, it is important to consider the following parameters:
- The sink can be simple, that is, it can consist exclusively of the bowl itself. Most often, the dimensions in this case along the upper plane of the curbstone will be equal to - 600x500 mm. And the height is standard 850 mm. Although there are other options for the height of the working surface.
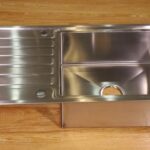
- The second option is a sink that has either a double compartment or a dryer that is located either to the right or to the left of the main sink. In this case, the dimensions along the upper plane are 600x800 mm.
- The depth of the shell is usually 150 mm.
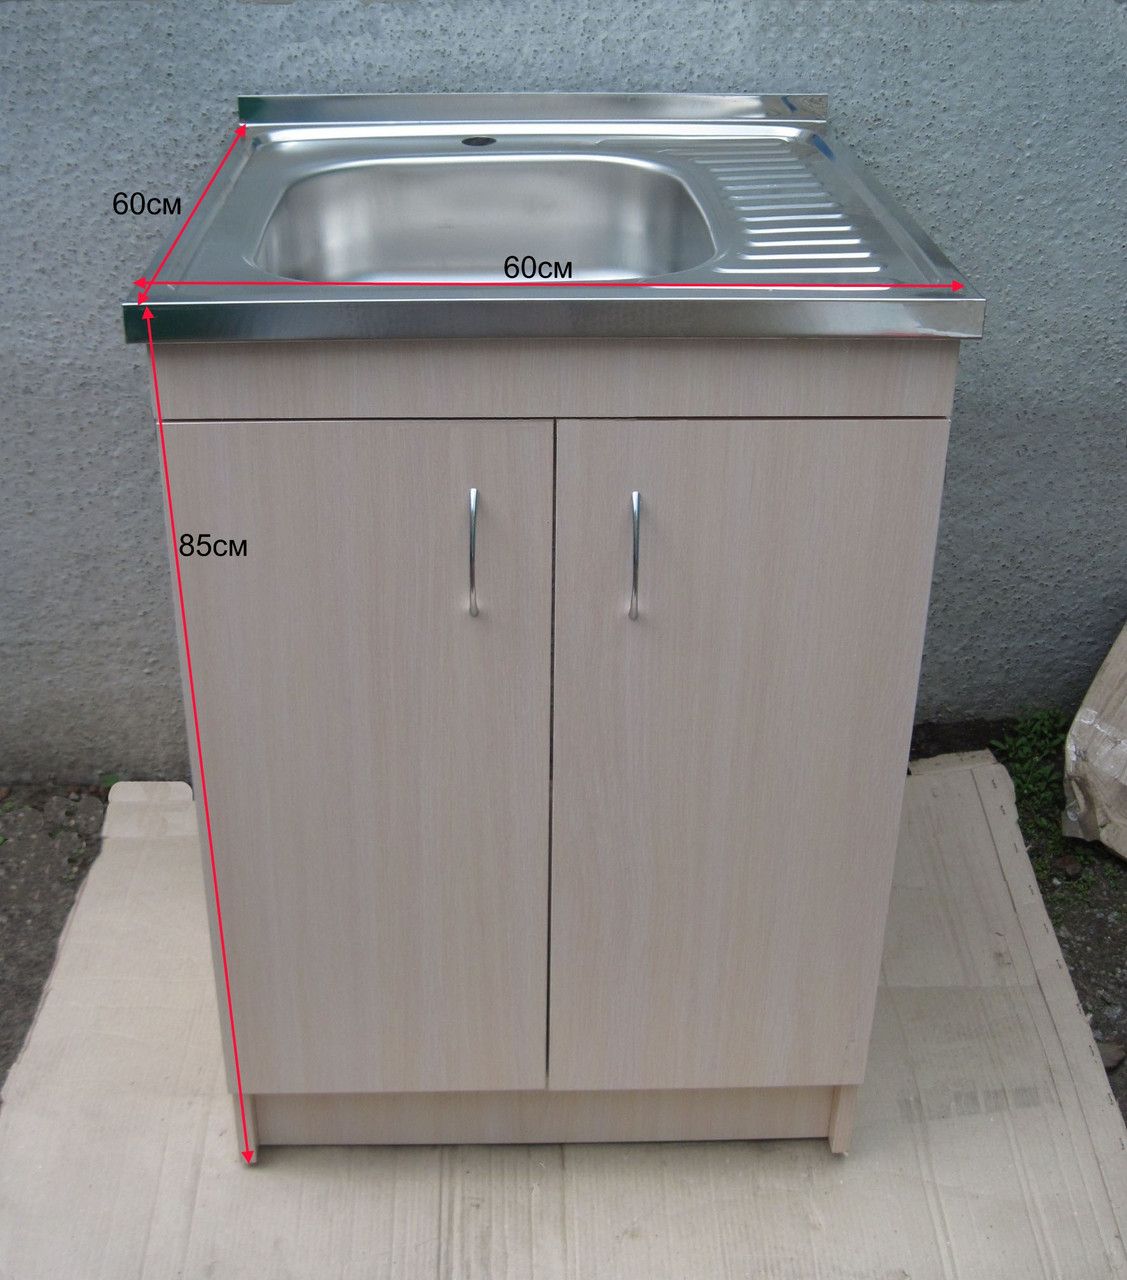
When making a cabinet yourself, first:
- Select a suitable drawing.
- Then the amount of materials required is calculated. Buy them.
- Cut in accordance with the dimensions in the drawing.
- A frame is made from a bar.
- Then, with the help of screws, the sides and bottom are attached to the frame, as well as the back wall.
- With the help of metal corners, the individual elements are fixed relative to each other. This eliminates distortion of parts during operation and exposure of furniture to stress.
- After that, the doors are sawn, they are trimmed along the end with a special edge in order to fix the open edge.
- Then they are hung on hinges, which are attached to the sidewalls.
- It is important to consider that along the upper plane, in the place where the stainless steel sink will be installed, should be located along the entire perimeter of the bar. It is on them that the sink is hung, as it were. They serve as a support for her.
Preparing the sink
After you have a cabinet at your disposal, on which an overhead sink will be installed, it is worth preparing it in advance for the installation process.
To do this, you need to perform the following manipulations:
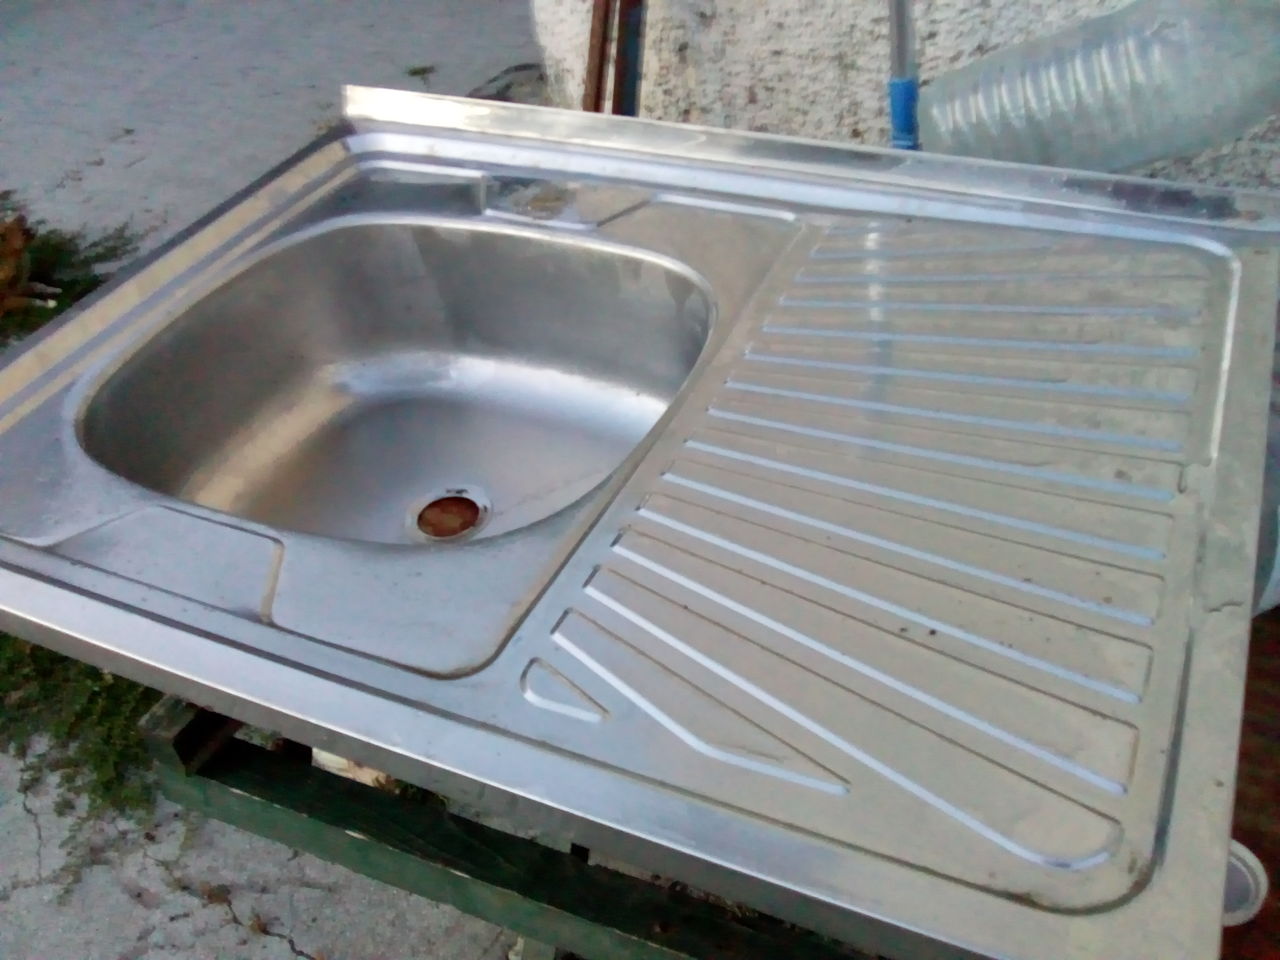
- Unpack the metal product. The packing film must be removed very carefully so as not to scratch the surface. Especially if it is glossy.
- Try it on carefully on a cabinet and make sure it fits snugly enough. It is important at this moment to analyze whether the sink fits too tightly on the sides and vice versa, whether it staggers. If she does not wear, then you will have to sharpen the sides a little in the place where it is necessary. If, on the contrary, it dangles too much, then you will have to stick thin chips on the sides.
- After that, in order to ensure long-term operation, care should be taken to ensure that the ends of the lumber are protected from moisture. To do this, they are treated with special materials that repel liquid or pasted over with a special edge film.
Installing a tap and a siphon
It is not so easy to install a siphon without experience. Therefore, those who did not have experience of such work should use the presented step-by-step instructions:
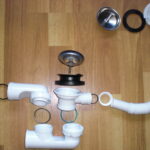
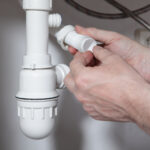
- A gasket is required to the bottom of the siphon. Then screw it up.
- The following parts must be attached to the branch pipe in strict sequence - a plastic nut and a cone-shaped gasket.
- Align the branch pipe with the flask.
- Then tighten the nut. Do this very carefully.
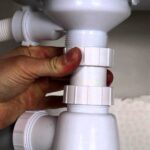
- Next, the pipe should be connected to the siphon using a compression nut.
- The cone-shaped gasket must be fixed on the back and this part is connected to the drain.
- A gasket is also placed in the drain hole. Here, an additional metal mesh is fixed.
- Then we fix the screw and attach the branch pipe.
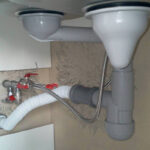
- At this stage, you should make sure that there are no distortions, and also make sure that the pipe does not touch the bottom in the sump. Otherwise, draining will be difficult or impossible.
Installation of a sink
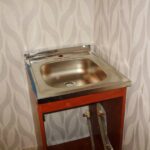
Immediately after collecting the curbstone and installing the siphon, you should proceed with the installation of a stainless steel sink. This is done by the following actions:
- You can fix a metal product using special fasteners.
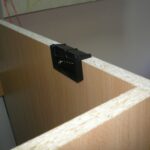
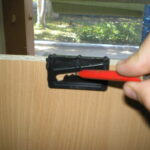
- But each of them must be fixed to the cabinet body. This fastening is carried out using 2 self-tapping screws. They are driven along the inner surface, but at the same time it is necessary to retreat about 10 mm from the top edge of the cabinet.
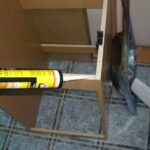
- After that, a sealant is applied in a thin layer along the inner edge of the metal product. It will allow you to securely attach 2 structures to each other.
- At the same time, if the upper end edge of the cabinet has not yet been sealed, then it is worth smearing it with a sealant.
- Then a gasket is fixed to the inner surface of the sink, which will ensure a snug fit.
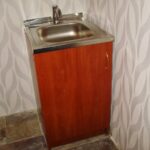
- After that, they assemble the sink and cabinet.
The situation with the installation of a mortise sink is more complicated if a cabinet with a countertop is purchased. In this case, you will have to make a cutout along the upper plane so that the sink can be attached. This method is more labor intensive.
Water connection
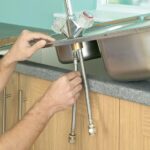
To connect to the central water supply, use special flexible hoses. It is better to give preference to reinforced ones, since they are able to last a longer period of time without changing their characteristics and without failing.
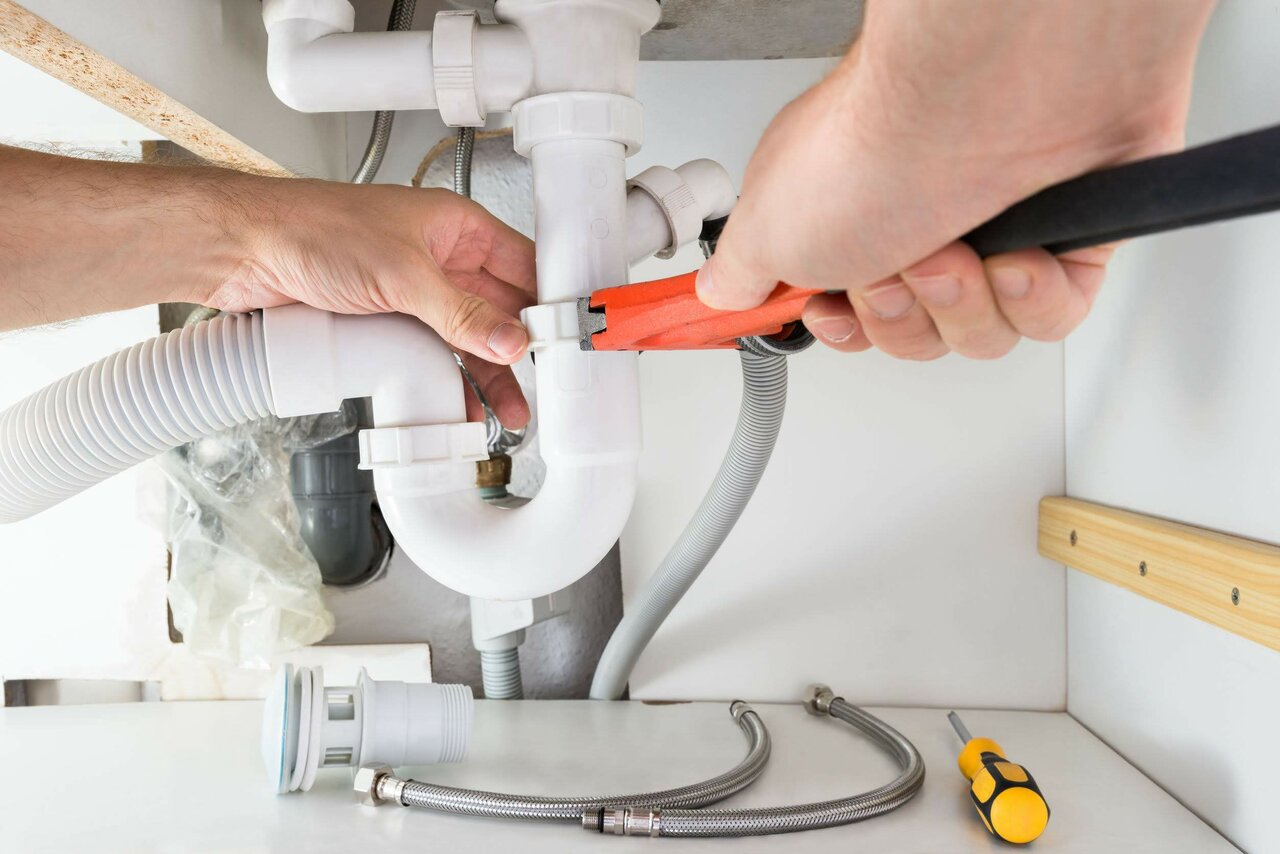
It is important to calculate their length so that it is enough from the place where the crane is fixed to the point of connection with the central pipeline. The hoses will be fastened with nuts. They must be complemented with washers with a seal to prevent leakage.
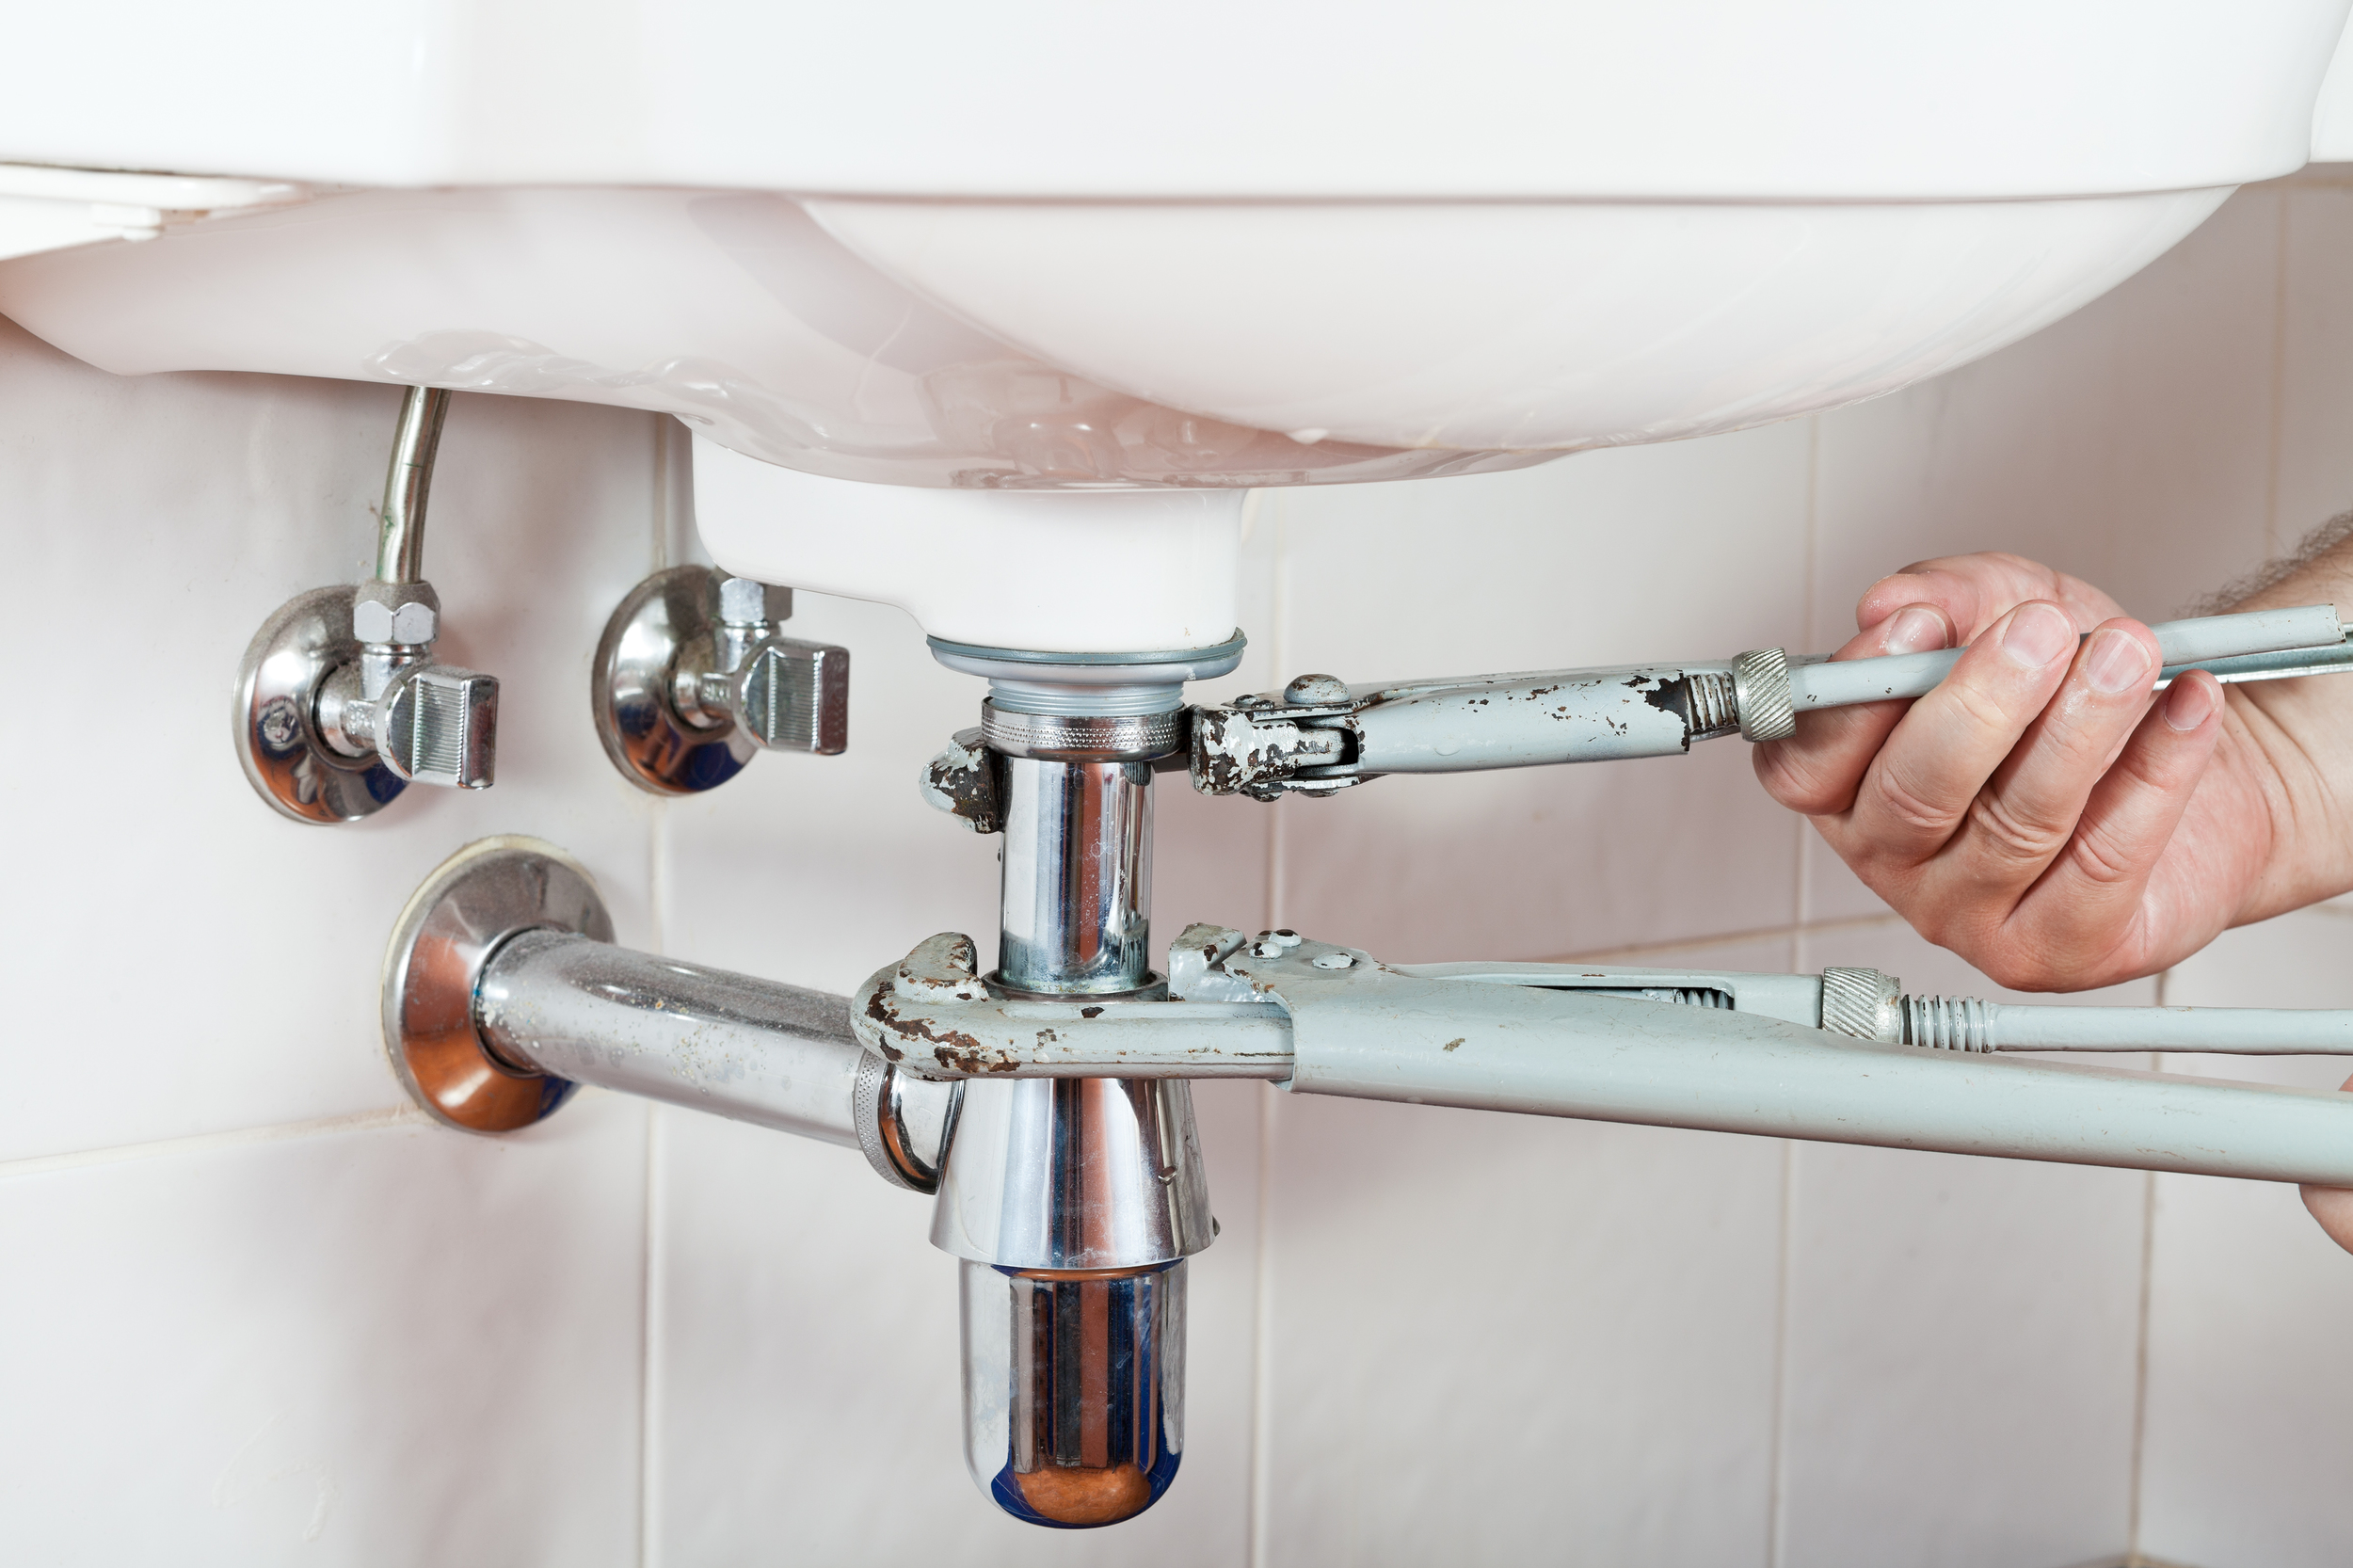
When this method of connection to the water supply is carried out, it is worth while tightening the nut to try to feel the moment when it is necessary to stop applying force in order to prevent damage to the thread. In addition, it is important not to overtighten the nut so that if the connection begins to undermine, there will be a thread lead for a more tight tightening and elimination of leaks.
Video: how to install and fix an overhead sink to the cabinet
