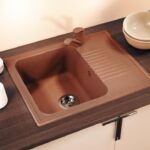
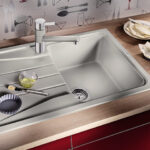
How to cut a hole in the countertop for a sink
Despite the fact that in our time the variations of the kitchen set are not limited by anything, most often the options available in the assortment of stores are not suitable for buyers. We have to look for a way out of this situation.
The easiest one is to buy a ready-made countertop. But arrange it yourself. That is, independently equip it with everything you need. At this stage, the question often arises: how to cut a sink in the countertop yourself?
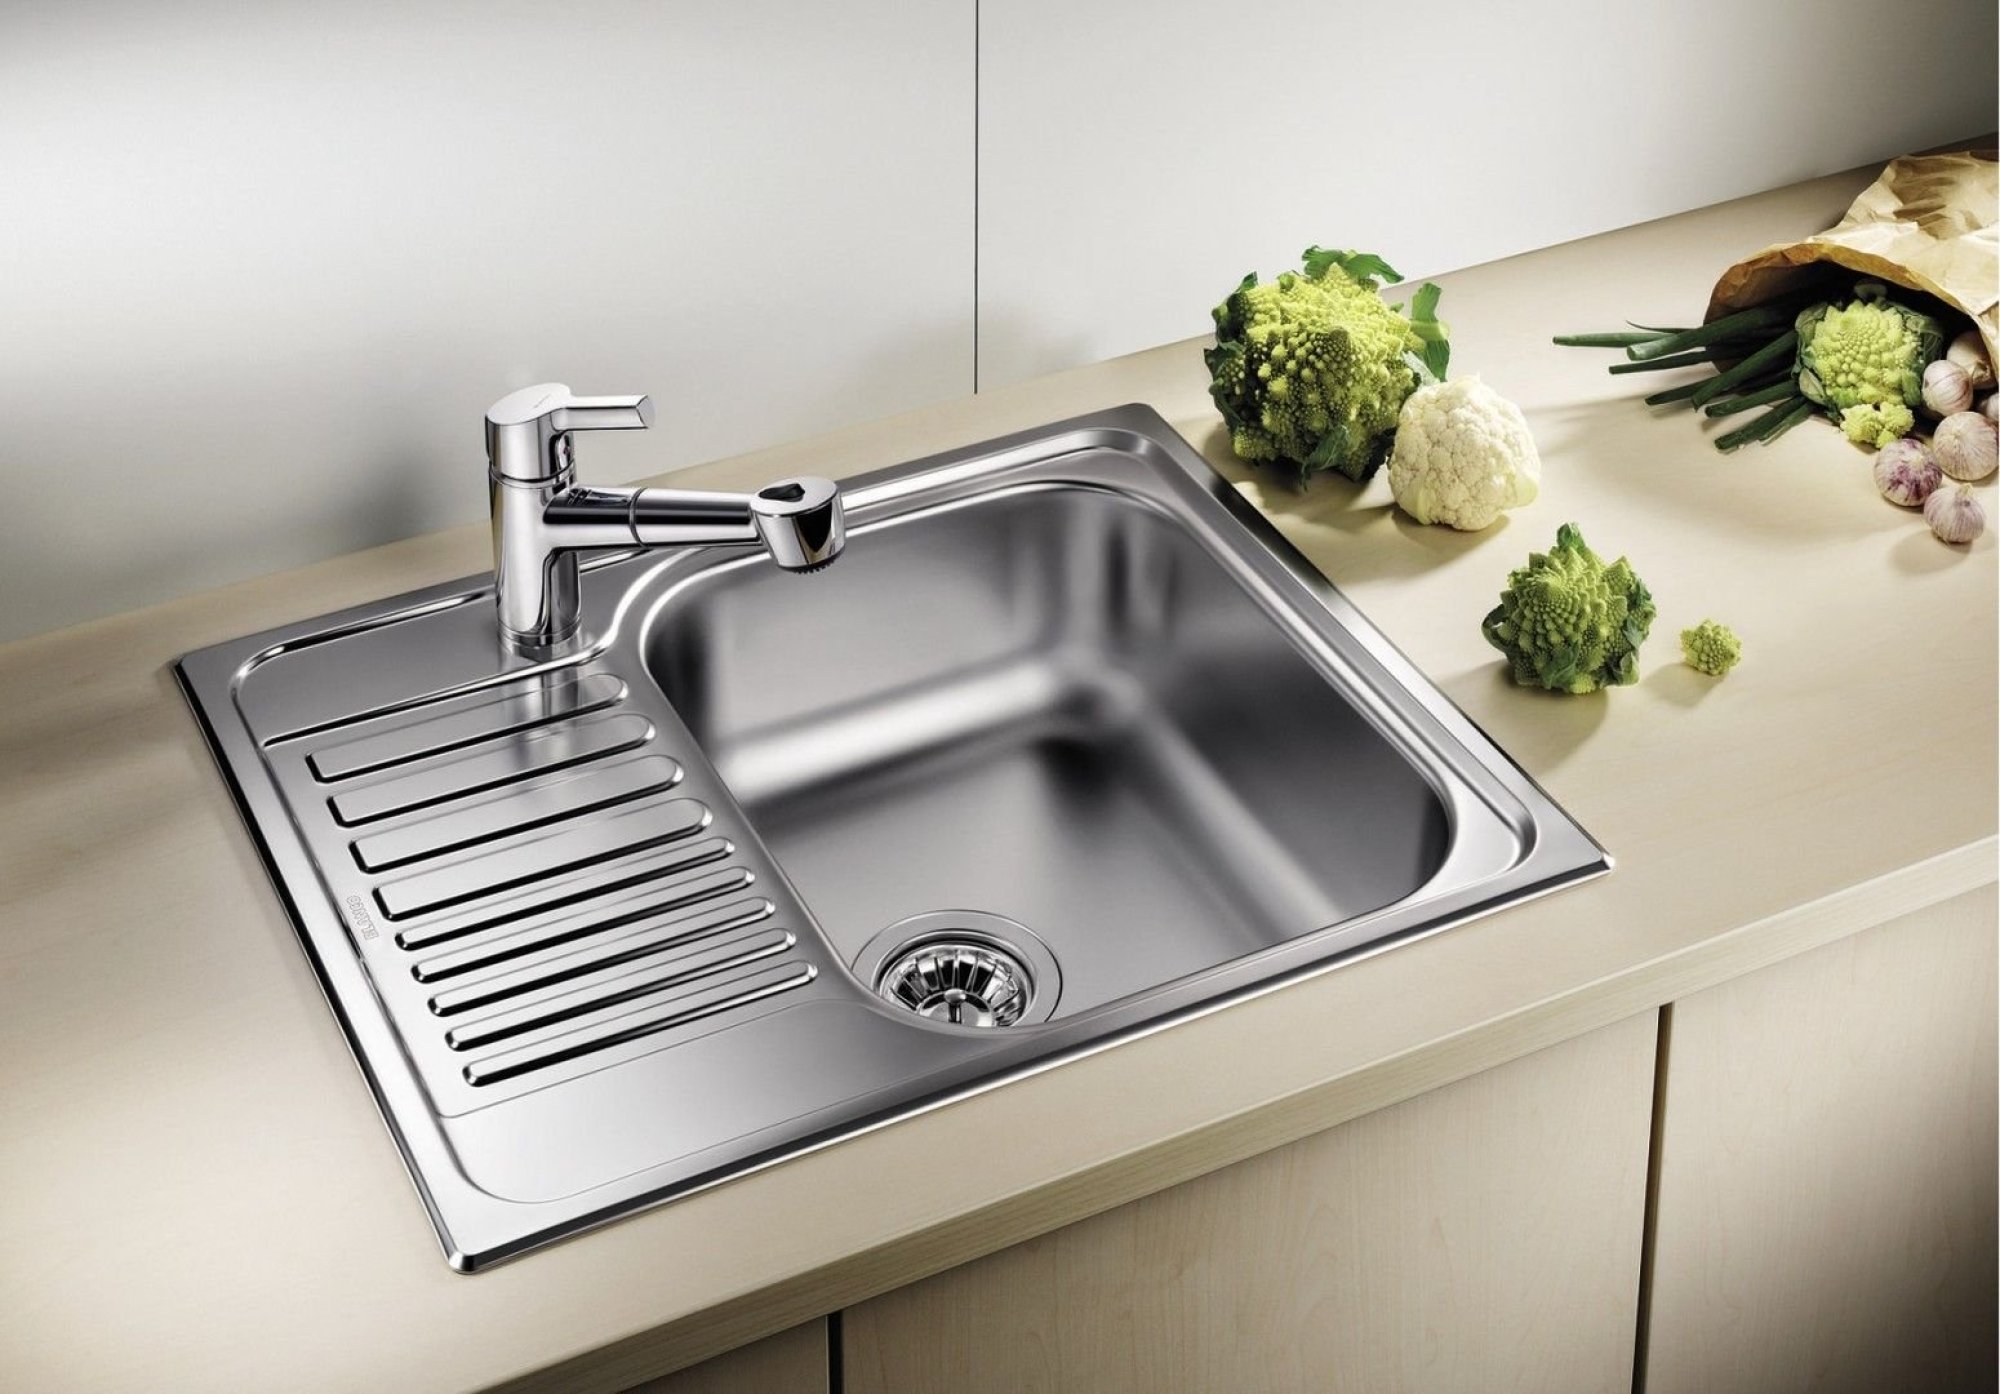
How to install a sink yourself
Everyone can install the sink on their own. This is very easy to do if you first prepare and study the instructions. The installation begins with the preparation of a plan and layout. Then work is underway to cut the main hole and install the structure. During work, it is important to observe safety precautions, since work will be carried out with sharp tools.
How to cut a sink hole in a worktop
Before you start cutting, you need to choose the right place in the countertop. It is selected, taking into account the distance for water drainage through the sewer pipe and the location of the water supply connection.
It is better to cut it at some distance from the location of the refrigerator and the stove, since work with water will take place in the sink. If it gets in, it can negatively affect the devices. It should sort of divide the kitchen into several zones.
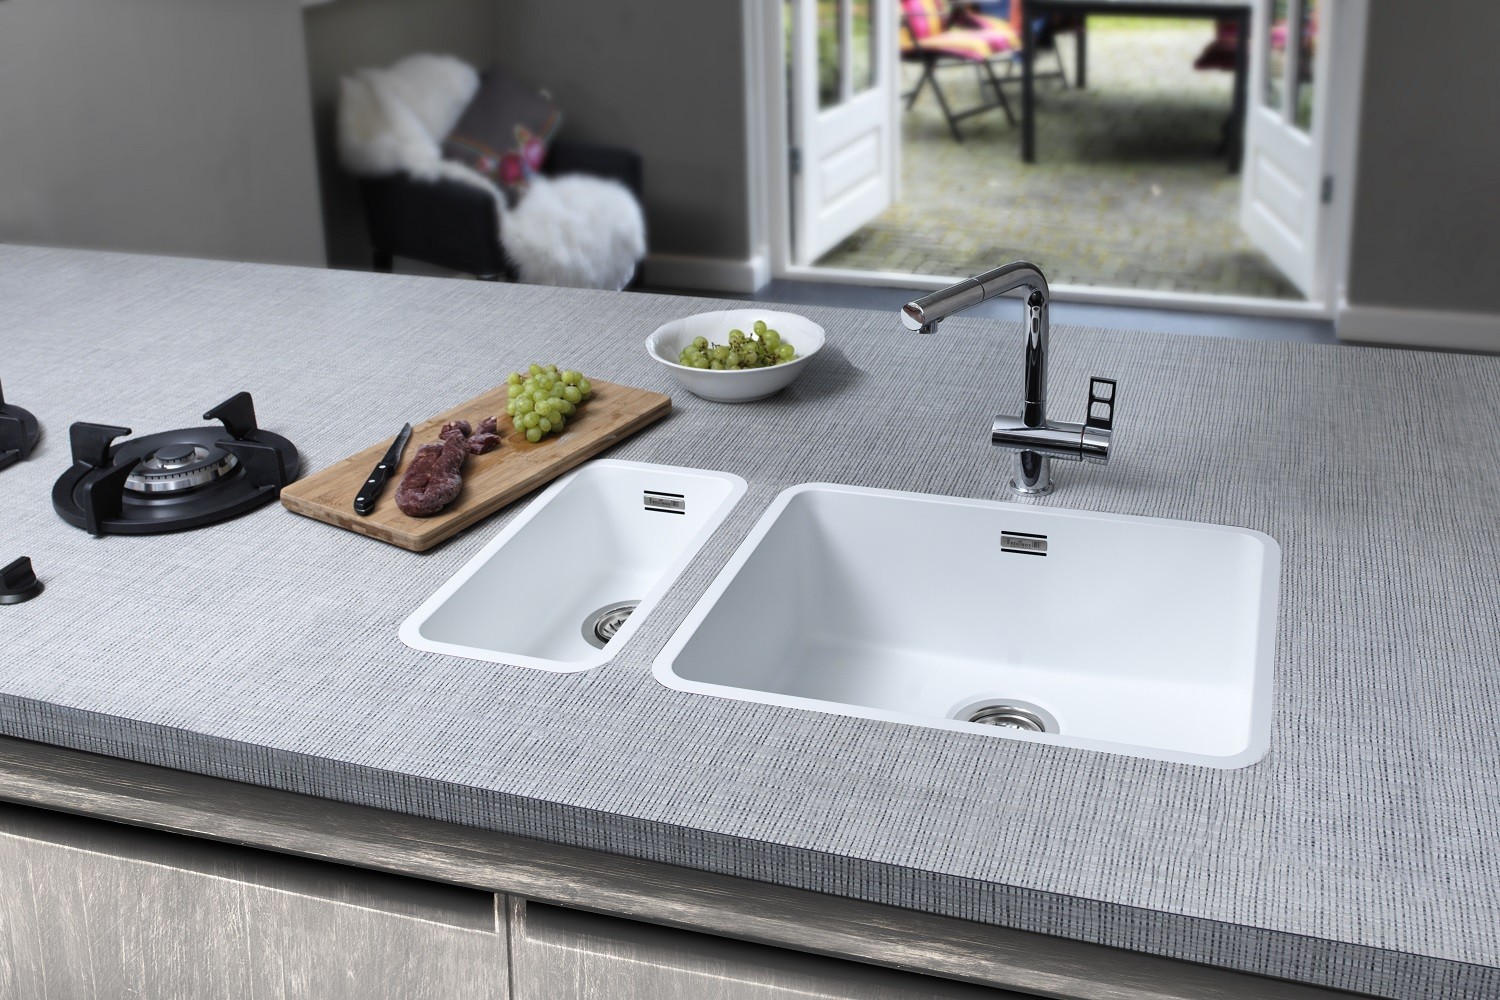
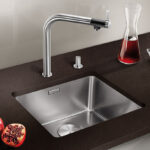
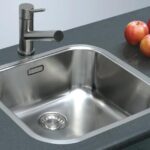
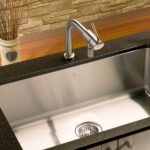
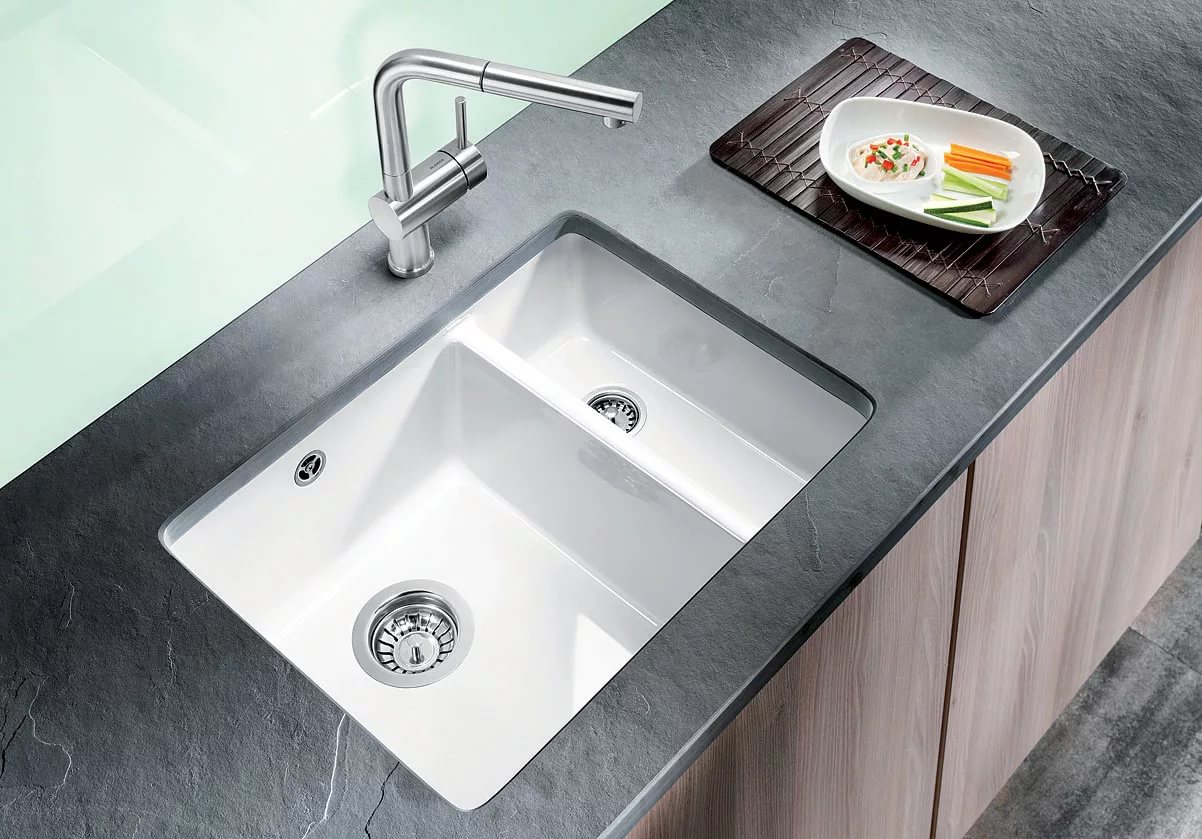
If you place the sink below the countertop, that is, lower it a little, then it will look very nice and interesting. For this, a hole is cut out slightly larger than the size of the structure to be installed. But you have to use additional tools for such a peculiar installation. These can be special mounts underneath the tabletop.
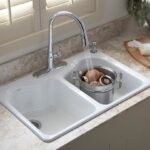
Flush with surface is standard. The difficulty lies in the fact that it is necessary to cut the correct depression, which will clearly match the dimensions of the shell. The thickness of the rim should be "close to" the hole in the table top.
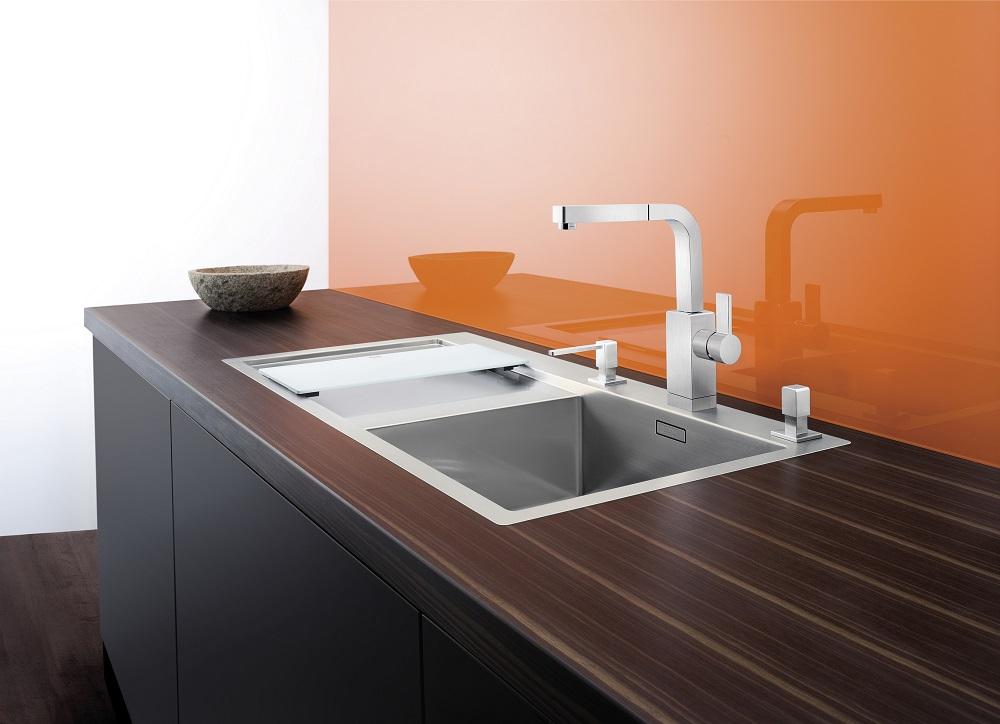
Another non-standard way to cut a hole for a sink is when it is located slightly above the level of the countertop. The hole is simply cut to half the size of the sink. This is the simplest option and does not require much effort and ability.
Performing markup
To carry out the marking, a template is pre-made from paper, which will correspond to the size and shape of the sink. For this, measurements are taken from it and transferred to paper.
Further, a simple work with a ready-made template is carried out. It is carefully cut along the contour. The main thing is not to leave for it, otherwise you will have to make another template. Then it is applied to the surface of the countertop and outlined from the front side.
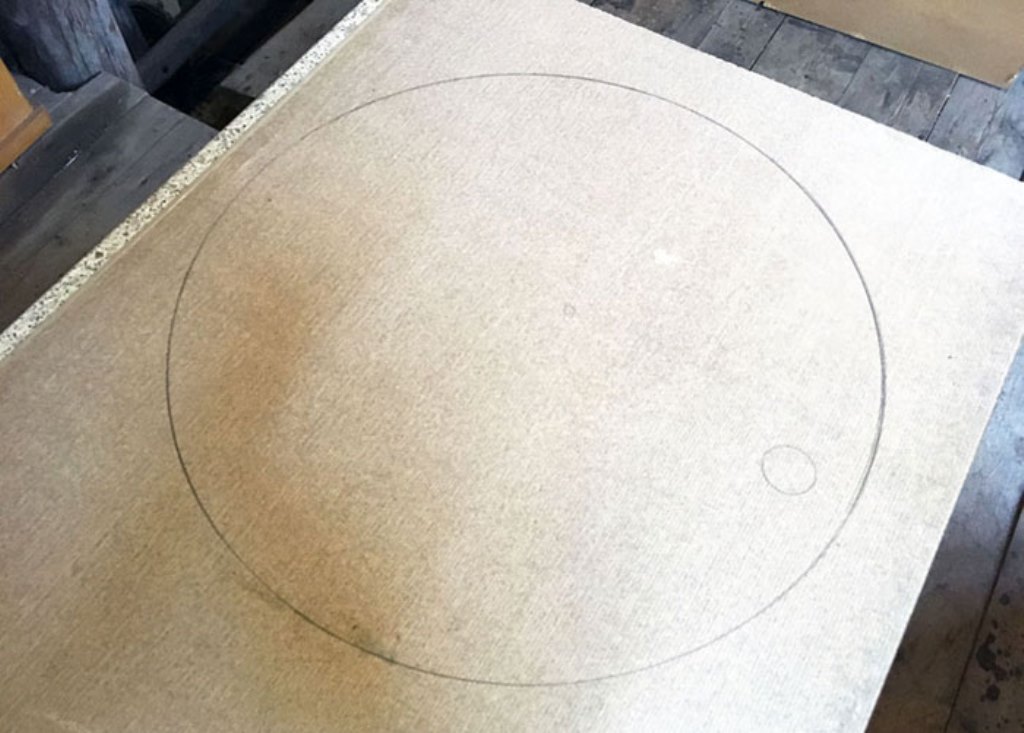
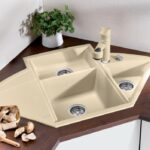
If the sink is of a non-standard shape, then you can use another scheme, how to cut a countertop for a round sink at the drawing stage. This happens in the following way:
- The design is released from film packaging.
- It is laid upside down on the material that will act as a template.
Important! The material should be firm and large so that it is convenient to cut and use it later.
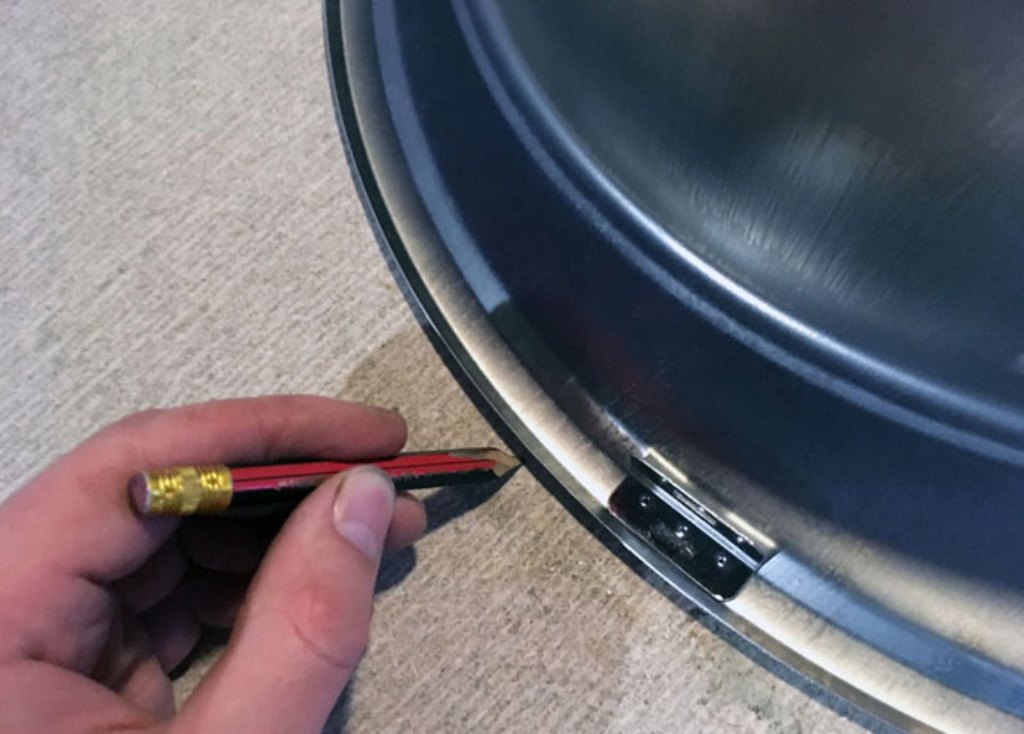
- The location is leveled and outlined along the contour of the side.
- The distance from the wall of the bowl to the side edge is measured. You can take a big step.
- The obtained measurements are transferred to the drawing.
Required tools and materials
In the process, you will need a lot of tools and devices. It is important to prepare all this in advance so as not to be distracted from the work and to perform it efficiently. List of materials and tools that will be needed in the process of cutting out a place for a sink and its installation:
- Electric jigsaw.
- Drill with various attachments.
- One square.
- A quality line.
- A simple pencil.
- Furniture corner.
- Fastening system for sinks (you can skip buying if included with the sink).
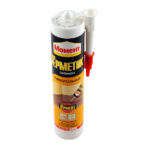
- Transparent silicone sealant.
- Sink seal.
- If necessary, additional materials and parts are purchased that are lacking in the sink set.
- Siphon.
- Connecting pipe for sewerage.
- Various fittings (mixer and diver).
Cutting a hole
The work on cutting the hole for the sink is carried out with extreme care. The bottom of the sink will subsequently fit into this hole. The quality of the work performed will depend on a properly constructed scheme. If initially the stage was completed according to all the rules, then problems should not arise. The process will go smoothly and the result will please.
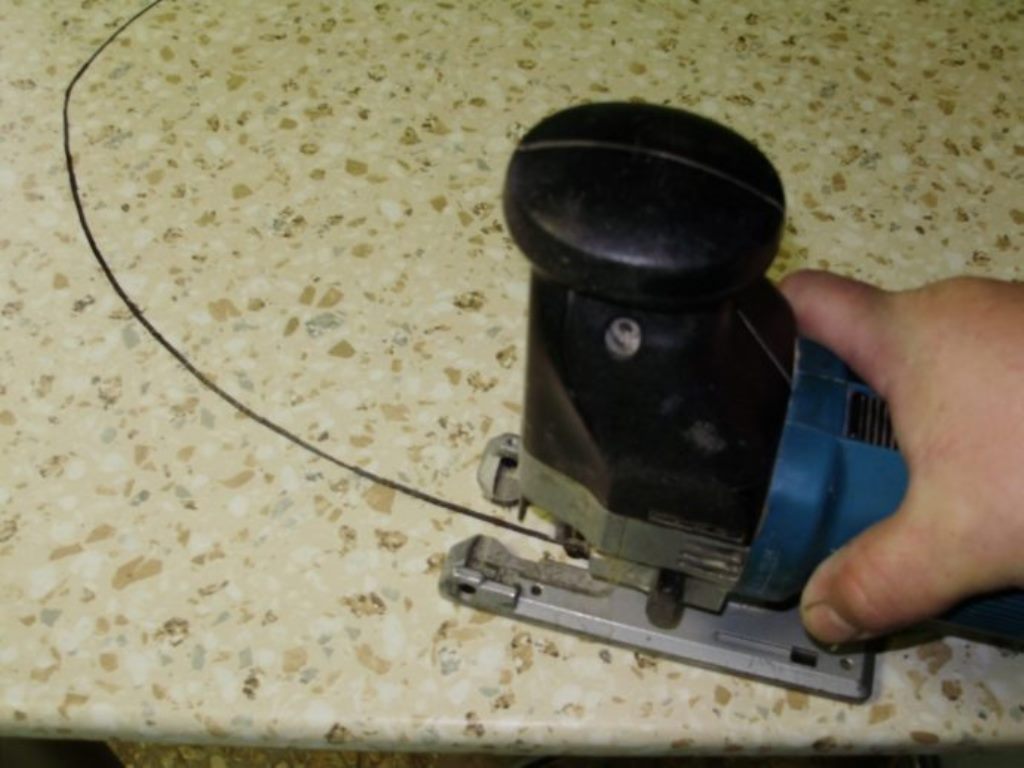
You can cut a hole in the countertop for a sink according to the following action plan:
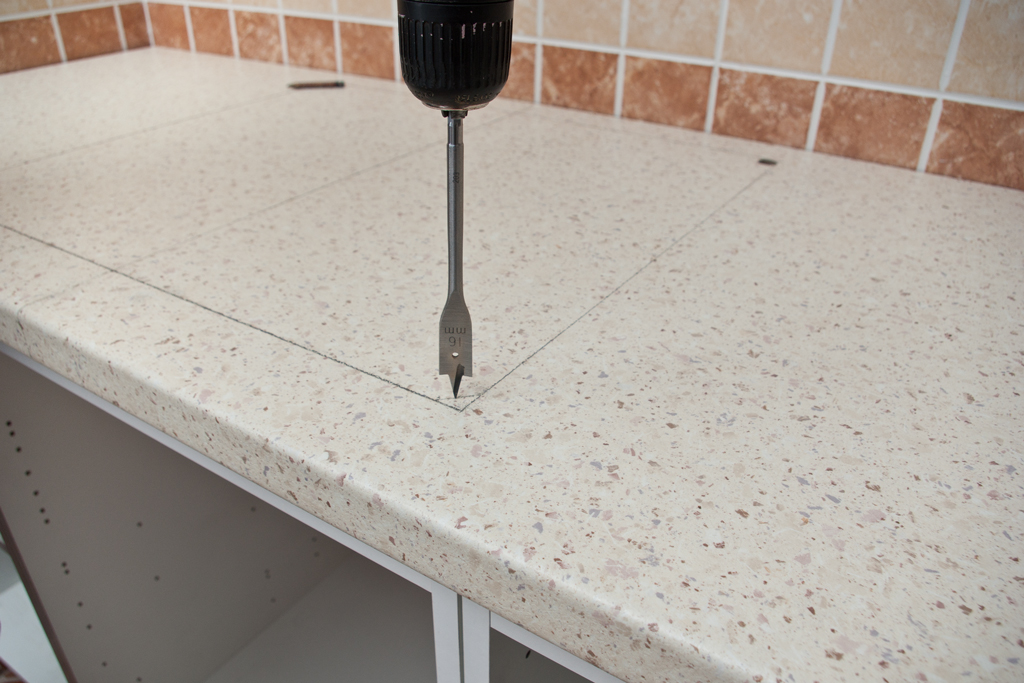
- According to the marking, one through hole is drilled in the surface of the tabletop. It should be located directly along the contour line of the bowl. A drill for this is taken at least 1 centimeter. A jigsaw file is inserted into the hole that has just been drilled, and only after that you can walk along the entire contour, carefully cutting it out.
- To obtain an even cut of the edge of the recess, it is carried out closer to the inner side of the contour. It is important to practically not touch the line, but to go next to it, but without a strong indent. If the sink is square, then it is necessary to make holes in the corners of the drawing in advance. This will make it much more convenient to cut. To prevent chips from appearing on the countertop, you can glue it with construction tape. If the line has ceased to be noticeable, then it is drawn directly on the tape.
- Since the material will begin to fall when sawing, it is better to support it with something. This saves the process and makes the cut much neater. If the work is not done alone, you can ask a partner to hold the tabletop while cutting. After the cut out part is removed with a slight movement. Everything is cleared of the resulting dust.
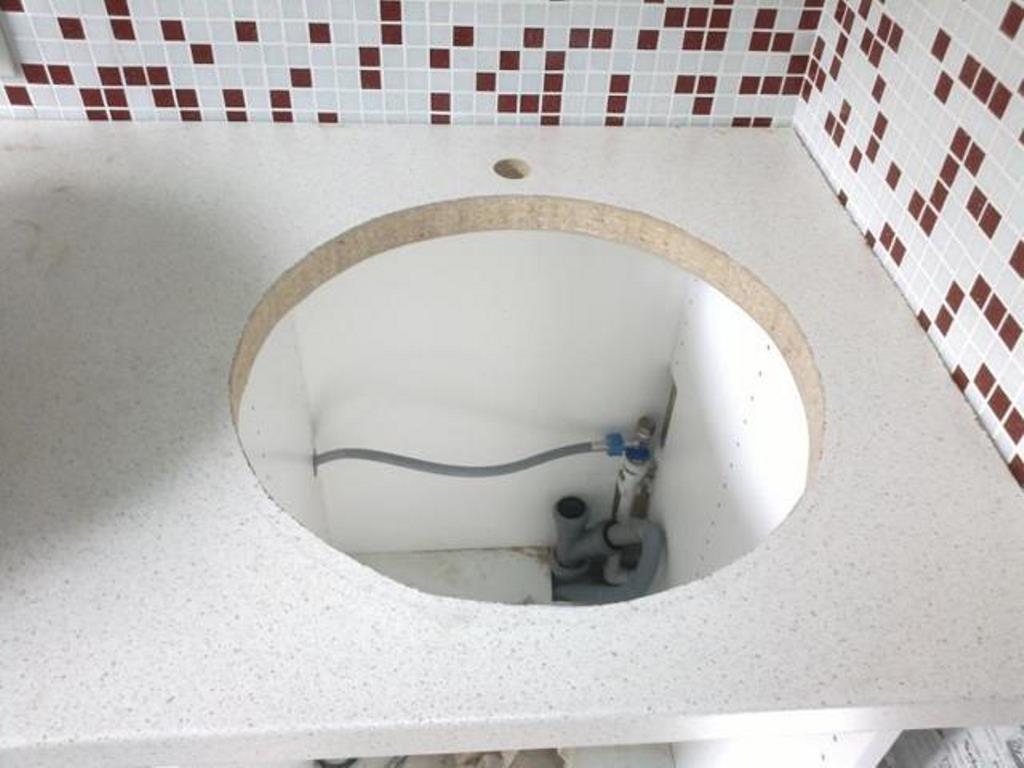
Important! Cutting a hole is the most crucial moment. The operation of the sink will depend on it in the future.
Installation of a sink
Before installation, you need to check everything for quality and coincidence. If there are any irregularities in the cut, they are immediately eliminated. Everything is tried on again and tested for strength. After that, the sink is installed. It is carried out using liquid silicone.
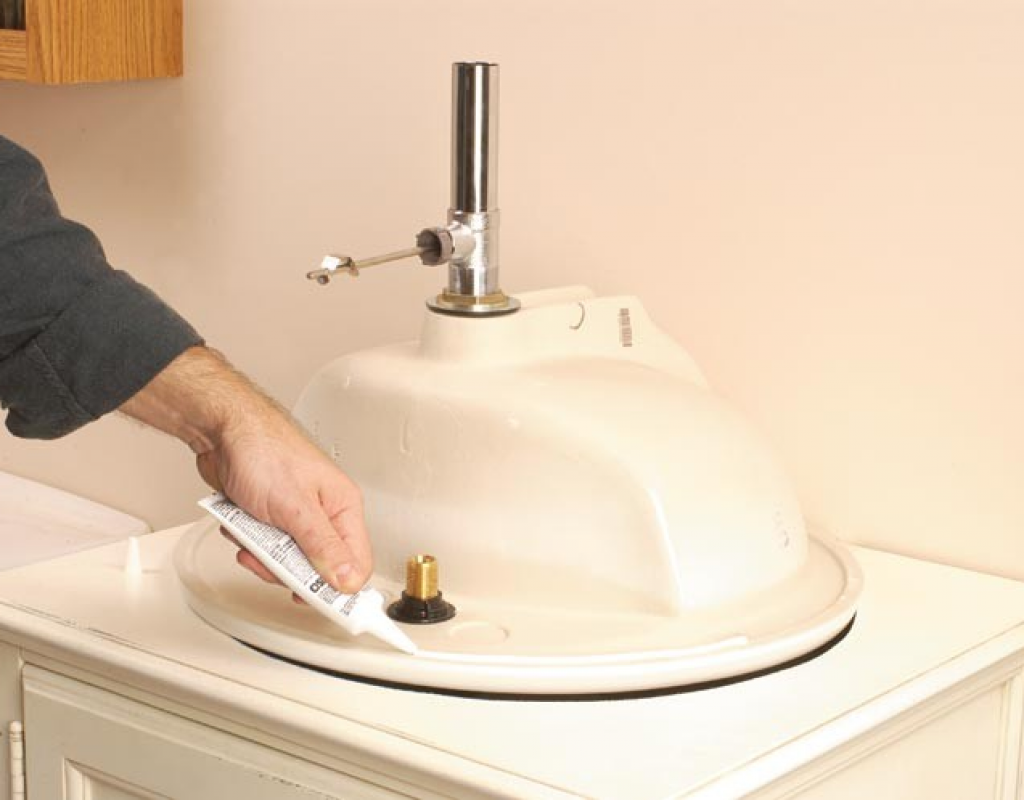
Step back a few millimeters from the hole edge line and start applying the silicone.This is done in the form of a flagellum; the thickness of the silicone should be slightly higher than the side of the sink. After that, it retreats from the first smearing by another 1 centimeter. The action is repeated again according to the same principle.
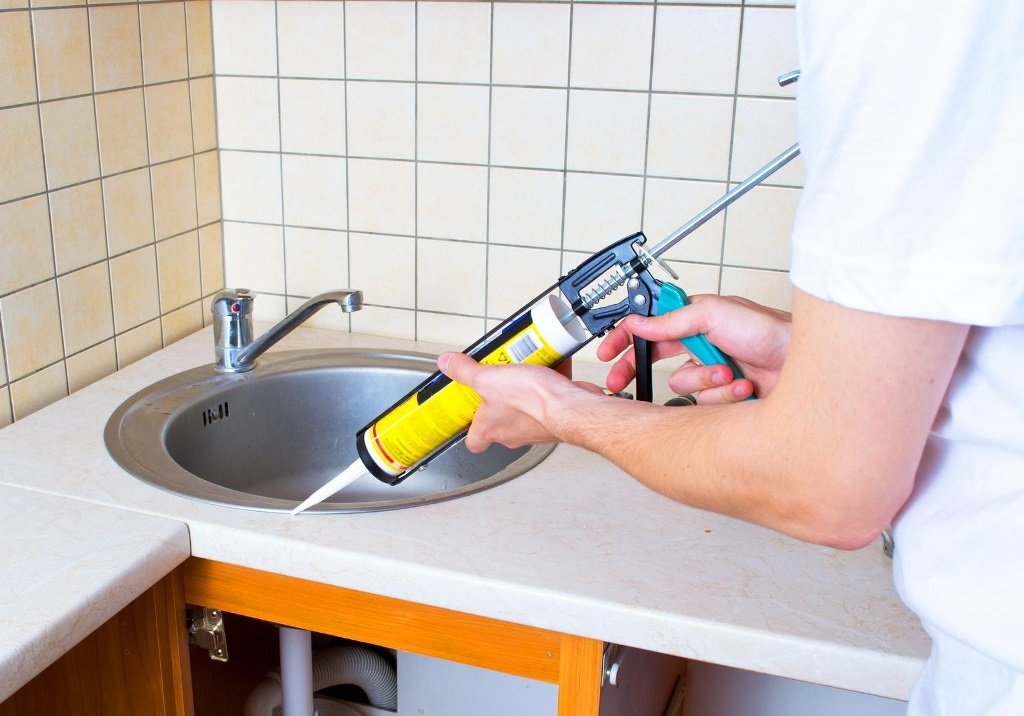
Within half an hour, the silicone should harden a little. You can check it gently with your hands. It shouldn't stick. Then you can try on the sink. It is inserted into the hole and pressed tightly against the edges. Silicone flagella should take its shape and hold together a little. In this position, the structure is left for 10-15 minutes.
After that, the sink is dismantled to test the silicone for stability. It must remain intact and not be disturbed in shape. If this has happened, it's time to proceed to the next equally important step.
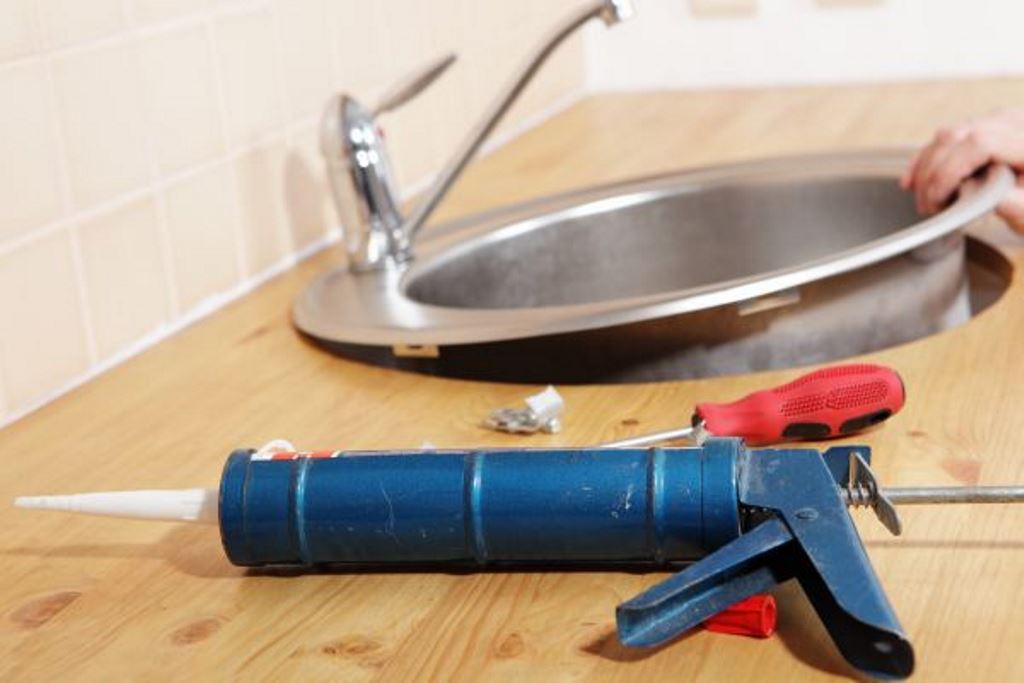
Communication connection features
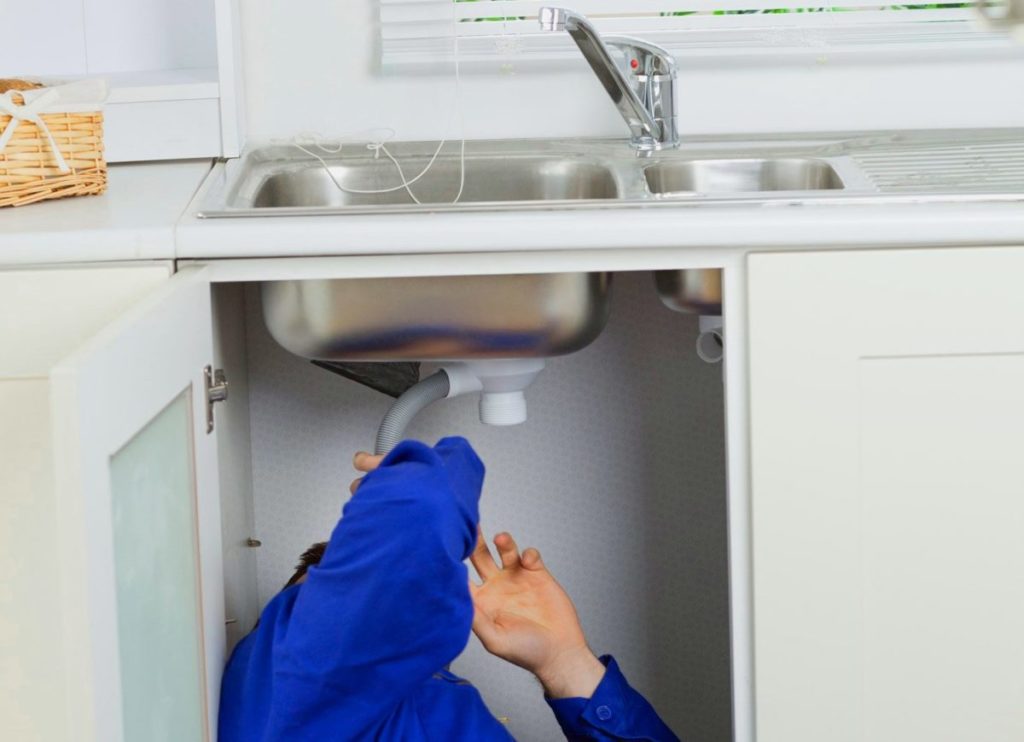
The next step is to attach the fittings to the worktop for the subsequent process of installing faucets and hoses. For convenience, the siphon is attached to an already installed sink.
The set with the sink should have specialized loops for a screw clamp, they will be in the shape of the legs. With their help, it is possible to tighten the sides of the structure to the tabletop much more tightly and reliably. Do not use heavy screws to tighten the fastening devices. If you overdo it, the sides of the sink can bend upward.
Installing a stone sink
The process is as follows:
- A sink recess in the countertop is being prepared. Then it is turned over with the wrong side up. The sink also turns over and is marked around the hole in the outer contour of the rim.
- Examining the markings, the most suitable groove is found. The edges of the stone sink are placed in it. A part of the array is selected in several stages, while the shell is tried on.
- The edges are sanded. Glue is applied. It is necessary to fill the groove with them. The parts to be joined are pulled together. All this should dry out for 12-14 hours.
- The edges of the sink are filled with epoxy. After drying, they are leveled.
- The bowl and table top are connected. Siphon and mixer are attached.
After reading the detailed instructions, the question will no longer arise: how to cut a countertop for a sink. The work will go quickly and without problems.
Video: do-it-yourself kitchen sink installation
