DIY step-by-step instructions for making wood worktops
Wood is a beautiful, eco-friendly, warm material. It is massively used in the manufacture of furniture, distinguishing it not only by its practicality, but also by its durability. In addition, natural wood has always given the interior a special chic and high cost, emphasizing the status of the owner.

Solid wood countertops are quite expensive, however, by making them yourself, you can not only save a lot, but also add some zest to the final result. This process is not easy at all. But having a great desire to put your soul into it, get certain skills and acquire a new design solution for the countertop, you can take a chance.
- Advantages and disadvantages of wood countertops
- Basic principles and rules for gluing boards for countertops
- Which tree to choose
- Choice of design and construction
- Drawing up drawings
- Required tools and consumables
- Step-by-step manufacturing guides
- Ways to decorate the product
- Examples of handmade wooden countertops
- Video: do-it-yourself wood tabletop
- Photo 50 designs of wood worktops
Advantages and disadvantages of wood countertops
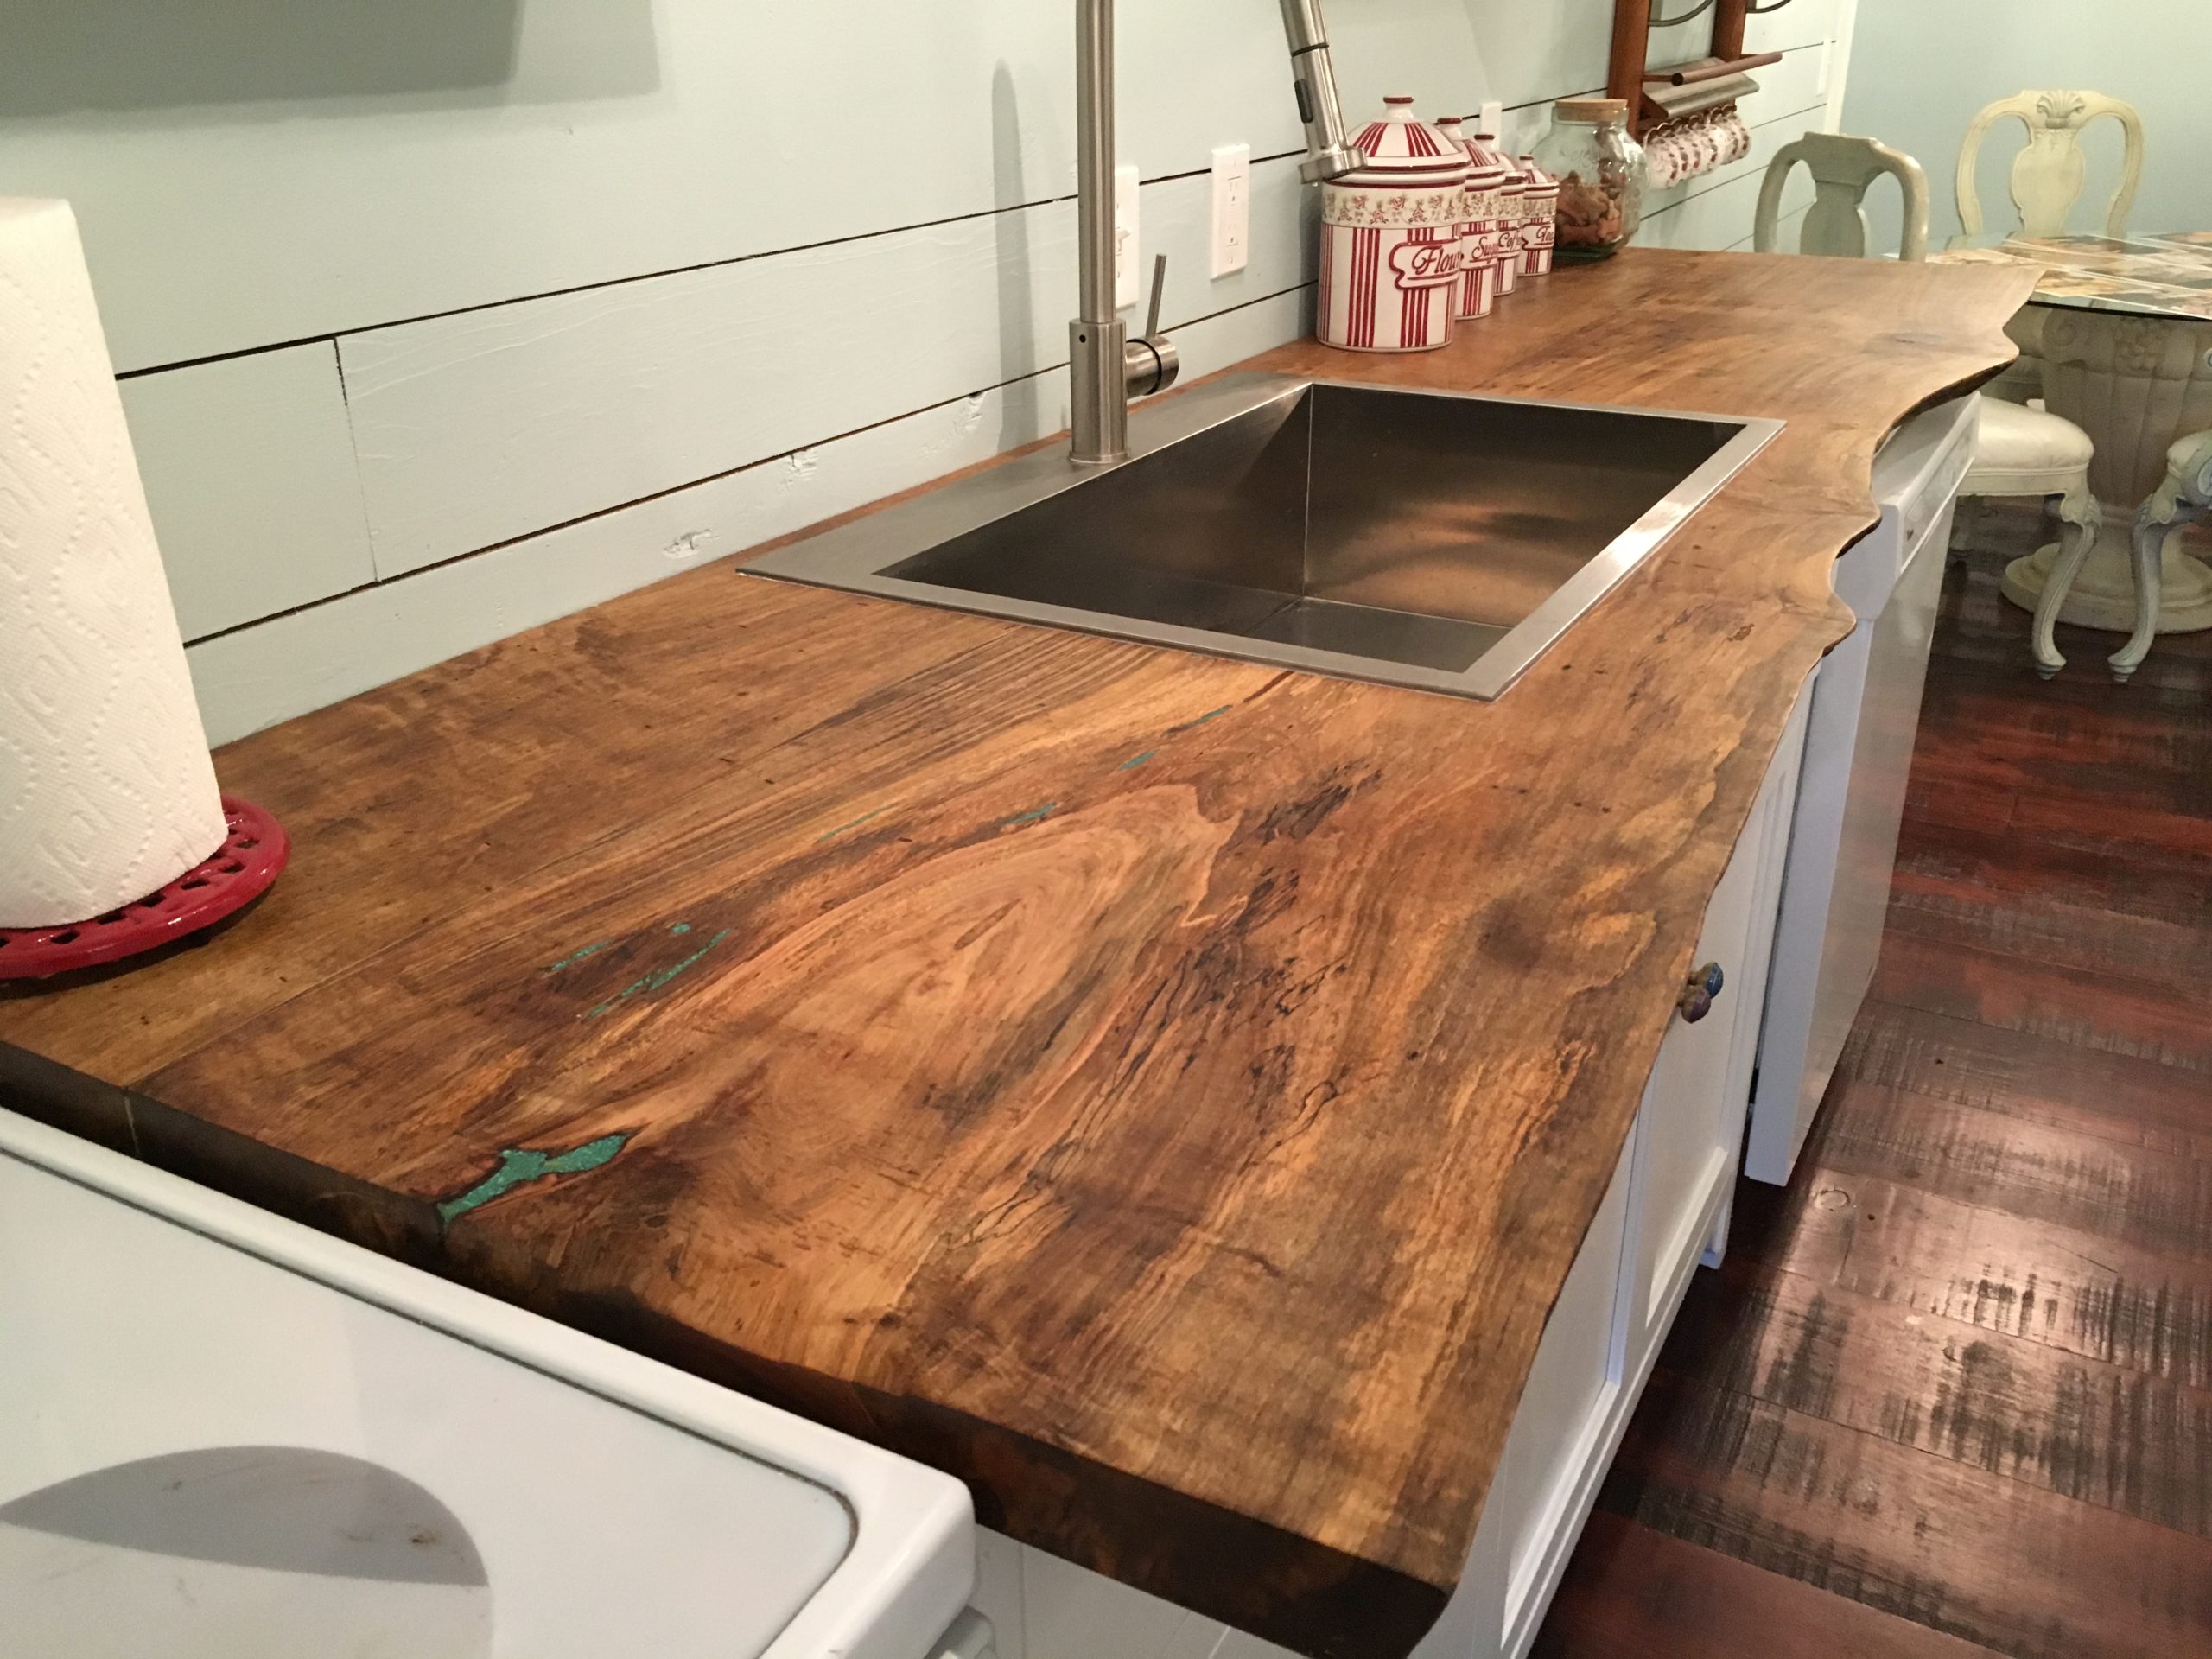
Any surface made of this or that material has its positive and negative qualities. Before choosing wood for your kitchen countertop, you cannot overlook the pros and cons of using this material for kitchen countertops. The first include:
- long service life;
- beautiful appearance;
- naturalness;
- easy restoration.
Speaking of cons, they list:
- high cost;
- low resistance to water and temperature;
- capriciousness in the care and operation.
But all these shortcomings can be easily corrected with proper care, the use of special protective agents in the form of oils, impregnations or varnishes. Speaking about the price, it is important to remember about the durability of this material, and the tree ages beautifully. Small restoration and it is like new again.

Basic principles and rules for gluing boards for countertops
Most wood countertops are made from individual pieces of wood using a variety of methods. The gluing option is quite costly. The correct approach to manufacturing will make it possible to install it not only for a direct kitchen unit, but also for a corner one. It consists in assembling a single layer from separate bars. The fastening principle directly depends on the further variation of the assembly. With a further high load on the surface, the shields are connected to the parts or to each other by grooves that go into each other.
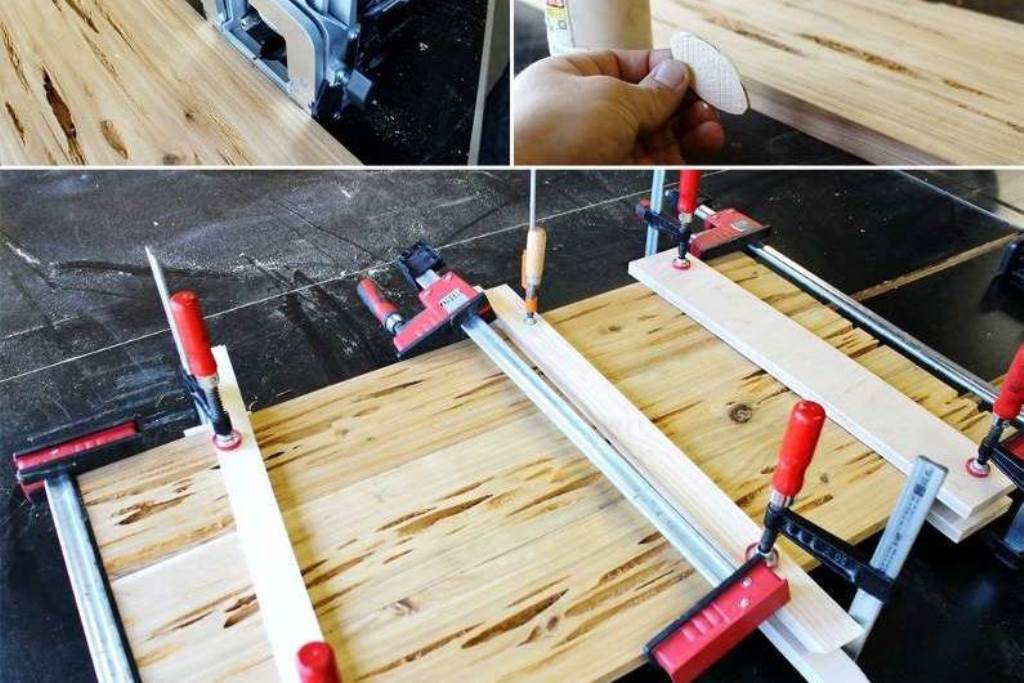
The next option is fastening with plug-in plywood. How to glue boards for a countertop:
- plug-in thorns, their diameter should be half the thickness of the bar, and the length should be 10 times the diameter;
- end connection with glue (weakest);
- corner fastening at 45 degrees (the strength and area of the fastener increases);
- by joining "half-tree" with the use of recesses for latching locks (recesses are made from the ends of the boards);
- joining the boards along the entire length, using wedges or spikes using glue (spikes are chosen depending on the model of the tabletop - trapezoidal, flat, round or serrated);
- joining with inserted round spikes.
The easiest way is to join with wood glue and wooden nails.
Which tree to choose
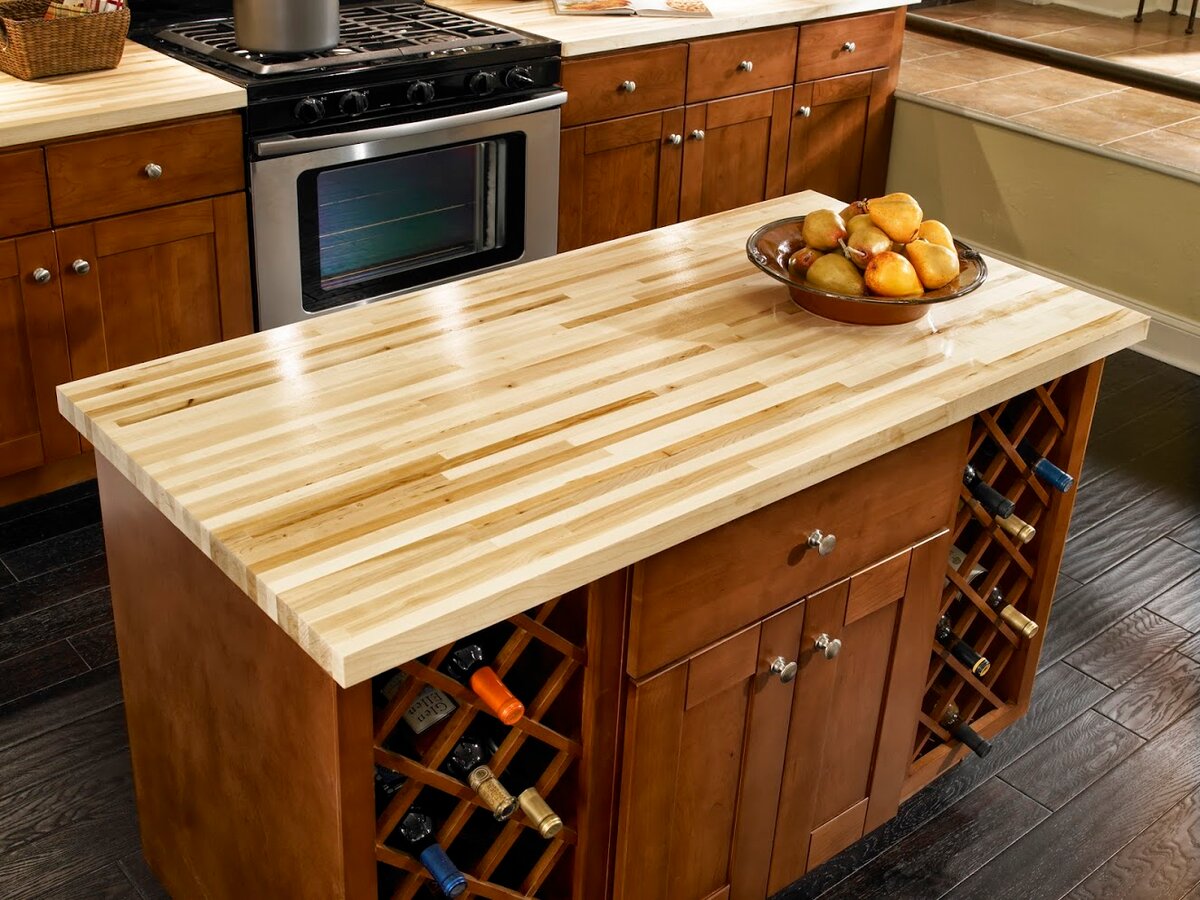
The future tabletop must be strong and resistant to cracks, scratches, and scuffs possible during operation. The right type of wood is very important here. Cherry or cherry, walnut, oak or beech wood is suitable for long-term use.
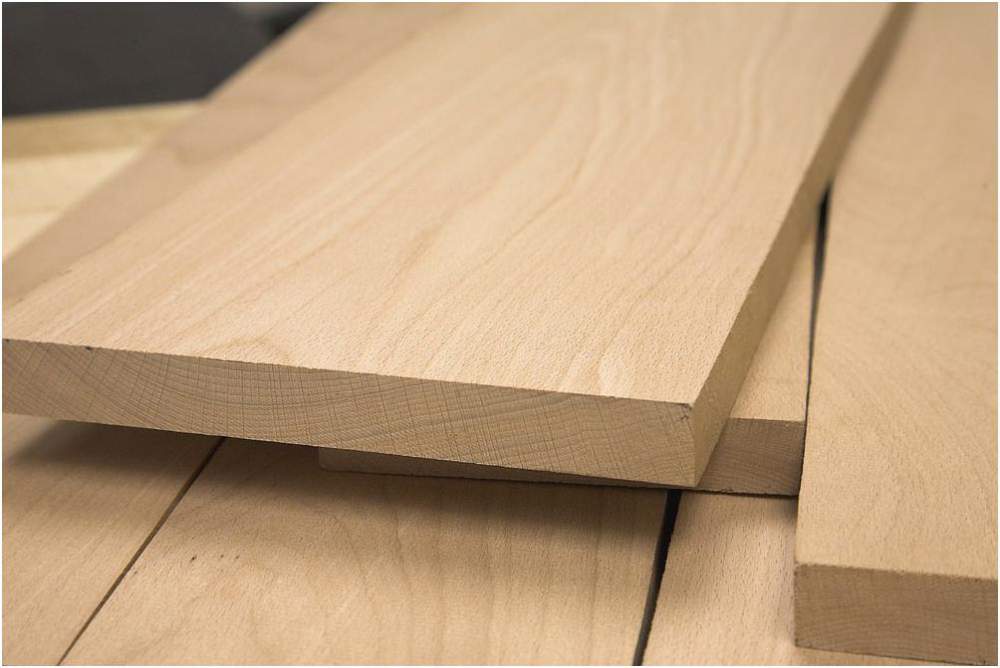
The harder the breed, the more difficult it is to process, the stronger the reaction to changes in temperature and humidity, and the higher the cost. Worktops made of wood are distinguished not only by their practicality, but also by their beauty. Shades and textures can transform any room, creating warmth and comfort. With regard to the disadvantages of suitable wood species, one can only say about the high price.
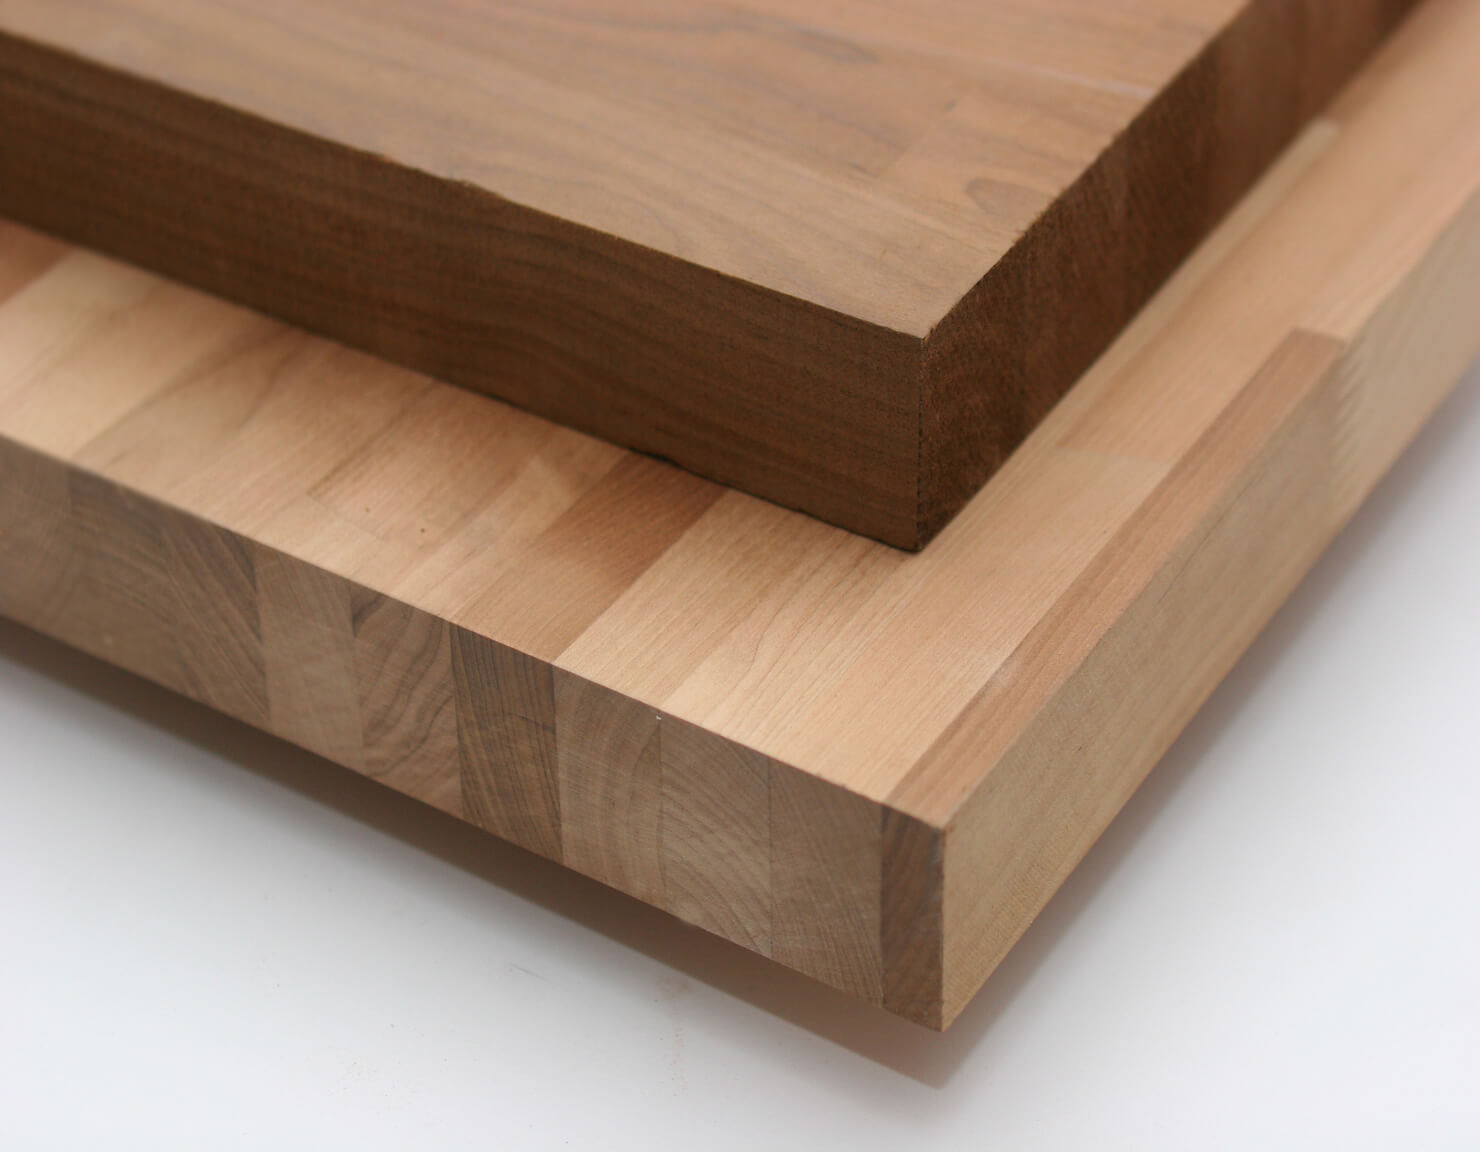
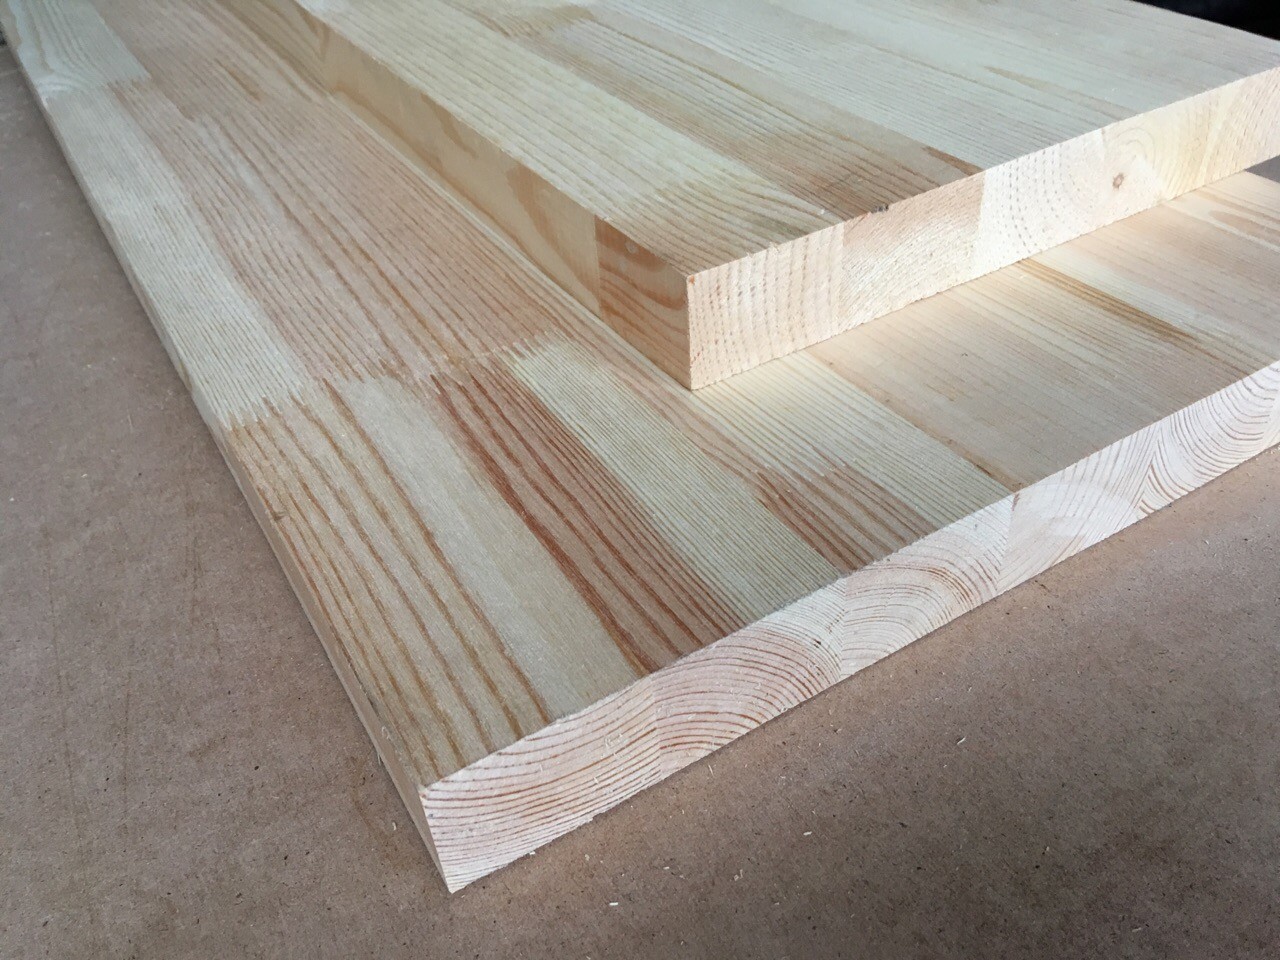
However, if you take into account the number of years that they can last, then this minus quickly pays off. Pine is the least expensive starting material. This is due to the fact that its wood is too soft and short-lived. But with proper operation in a small family where the kitchen is not used around the clock, this option will also work.
Choice of design and construction
There are many variations for the embodiment of any ideas. But above all, the main thing is not to overestimate your own capabilities and skills. It will be much more pleasant to make a worktop that is simple in design, but of high quality, than to swing at something global, for which there is not enough strength, time and skills. In addition, it is imperative to take into account the stylistic solution of the kitchen, the dimensions and weight of the finished product, the material for the base, the complexity of the modification.
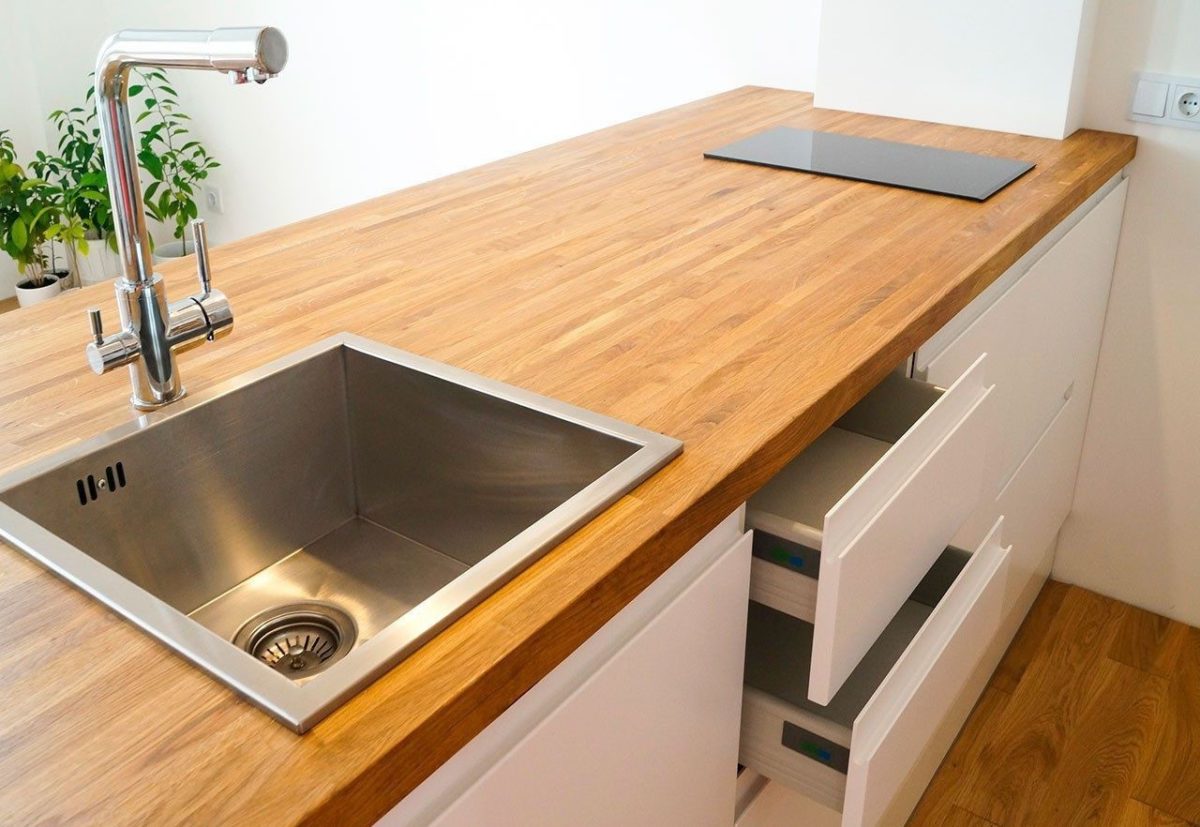
Important! For beginners in this business, it is recommended to start with simple options, minimizing cut-in parts.
It is better not to use old wood, because as a result of improper storage, it can be damaged by mold, fungus or bark beetle. And accordingly, the service life of the product will be short. The necessary design can be given with the help of special shading agents. Such a product will last much longer. The main point in the perfect completion of the design of the kitchen is the countertop, in which all dimensions are correctly calculated. And they directly depend on the size of the kitchen and how it is used.
Drawing up drawings
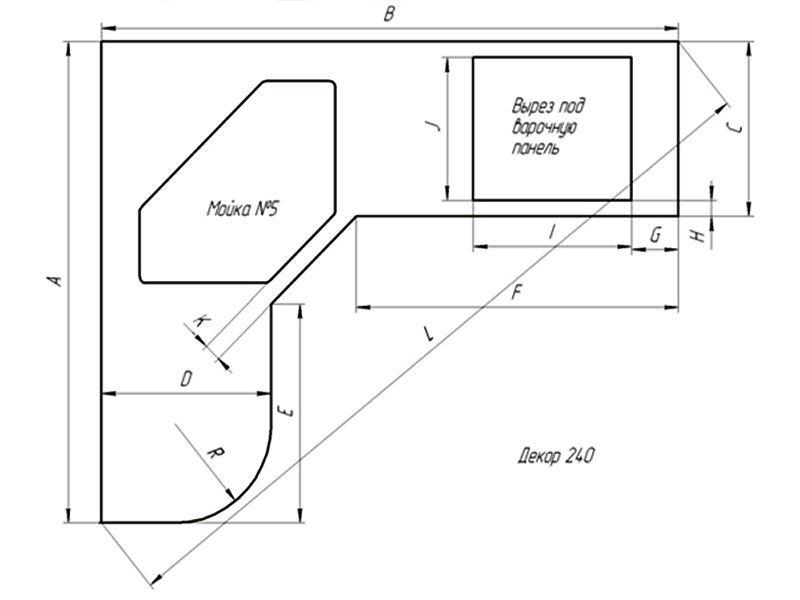
Before starting work, be sure to have a drawing on hand. To compose it, it is necessary to measure and measure the piece of the kitchen where the countertop is supposed to be installed. The drawing should contain the parameters necessary for manufacturing:
- length (the distance to walls or equipment is also indicated);
- width (the distance from the wall should be 5 mm);
- height (the reference point is the growth of the owners);
- thickness (depends on the material and the load on the tabletop);
- location of outlets;
- communications;
- technological holes.
Required tools and consumables
Tools, materials and consumables vary from the modification of the selected surface and wood. The following are commonly used:
- stationery;
- drawing;
- wood (boards, bars or slabs);
- consumable material (nails, screws);
- hammer;
- pliers;
- milling machine;
- sandpaper of different grains;
- planer, jointer or grinder;
- paints and varnishes;
- antiseptic for wood;
- brushes.
This list can be changed as needed.
Step-by-step manufacturing guides
Table surfaces can be assembled in a variety of ways. Some are made of solid wood, others are prefabricated, glued or panel boards made of wooden plates. When everything you need is at hand, there is a drawing, a step-by-step plan of action, you can start making the countertop. Considering the source, there are several manufacturing options.
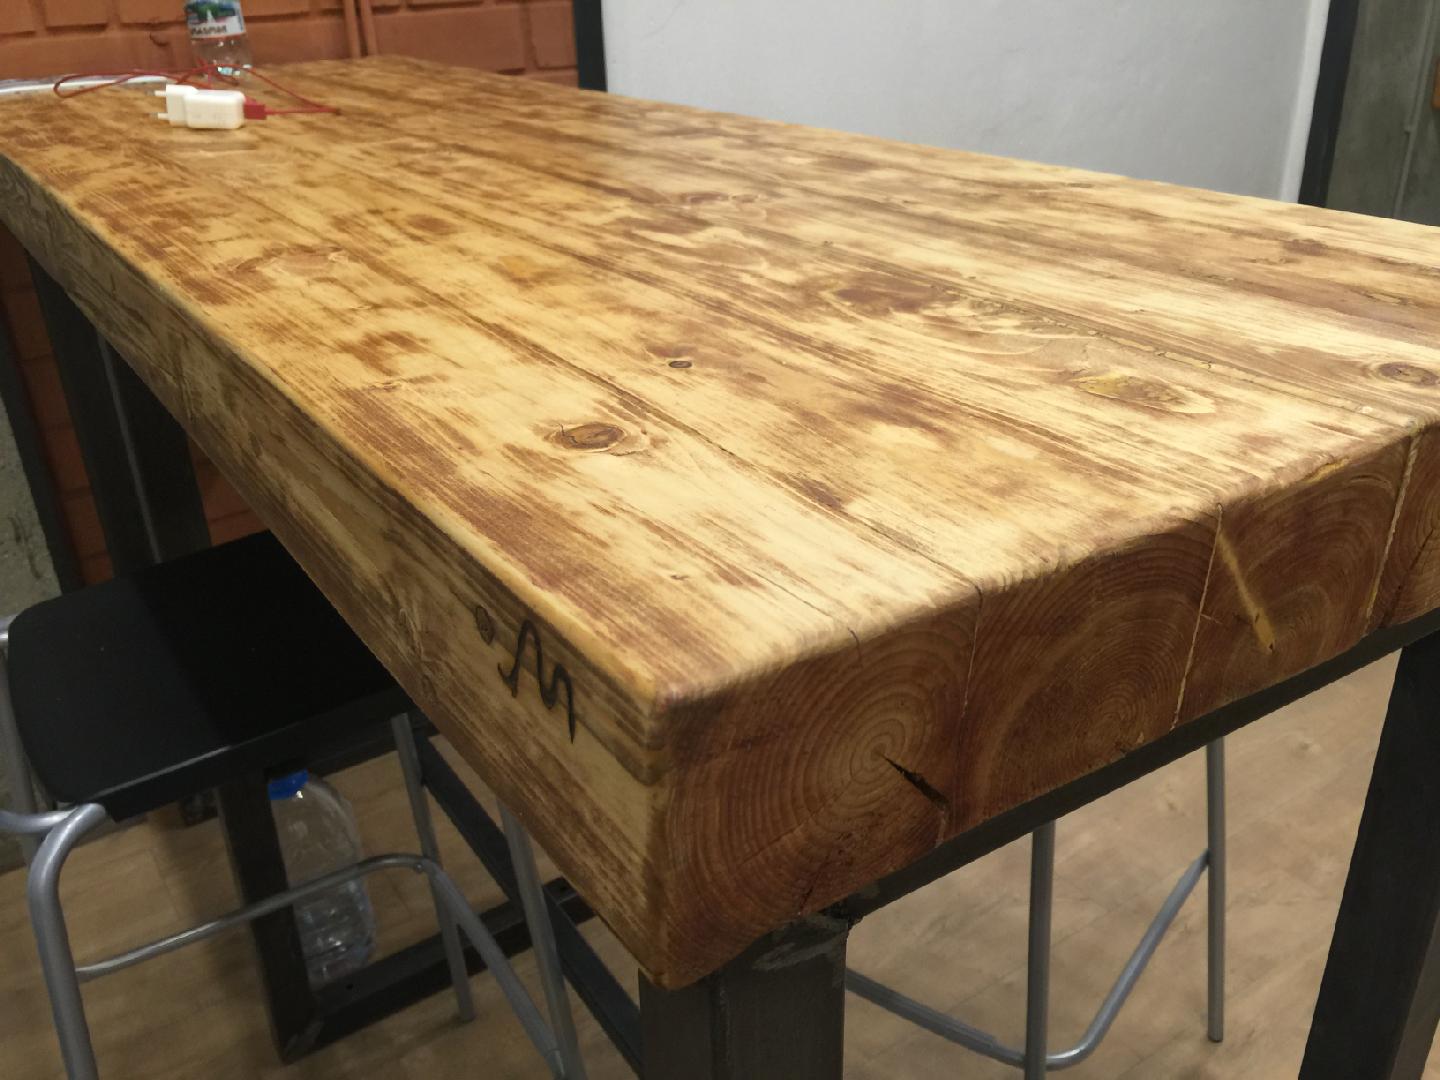
Pine
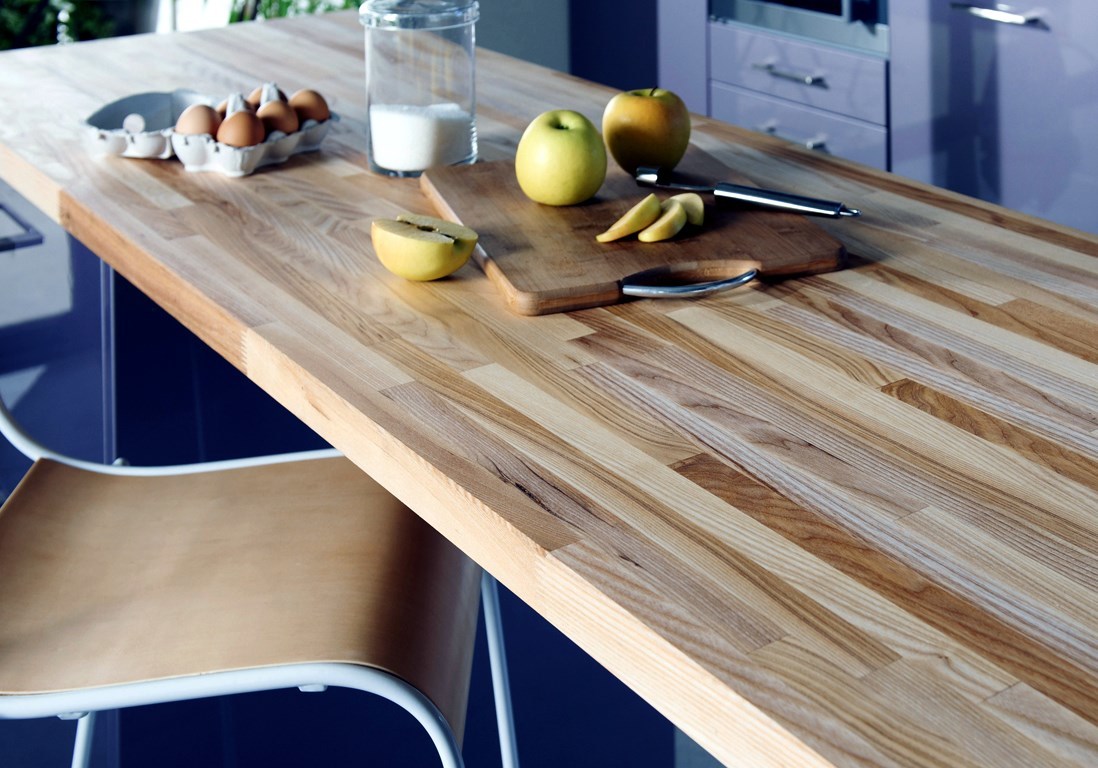
Pine has a very beautiful pattern on wood, however, being a soft species, it is more prone to cracks, cuts and scratches, i.e. mechanical damage. Lumber is inspected, selected only without flaws. It should be free of knots, damage by pests or wormholes, deformations resulting from improper drying and storage.
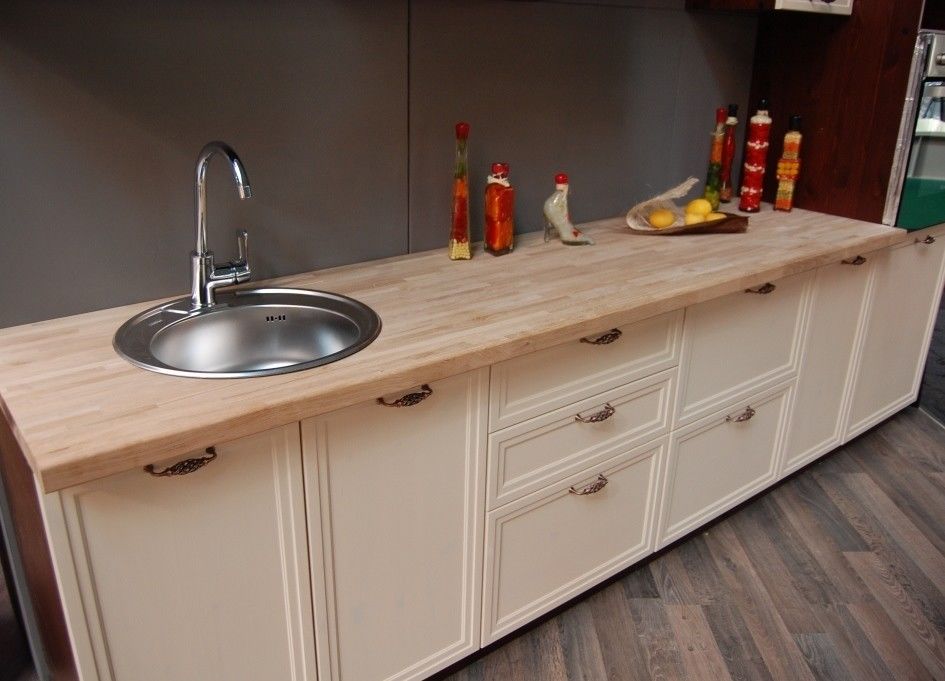
Initially, it is necessary to properly process all the boards, creating a perfectly flat surface without splinters. Next, the drill makes holes for the dowels from each side end. The same distance of 10 cm should be left between them. In the extreme boards, holes are drilled only on one side. Dust and shavings from work must be carefully removed.
At the next stage, all boards must be glued with special wood glue or PVA. Then connect the boards to each other using wooden dowels placed in the prepared holes.
Important! When gluing pine countertops with your own hands, it is recommended to direct the drawing in different directions. This increases the strength of the product, and reduces the risk of deformation.
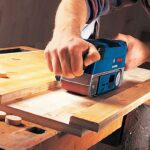
After complete drying, cut off excess glue with a construction knife, and grind the surface with a grinder. Apply a special antiseptic to the finished shield. Cover with varnish or wax with the addition of varnish. This method allows you to create countertops of any shape and variation.
From bars
The whole process is a sequence of the following manipulations:
- cut the bars of the required length in the required quantity;
- process the outer surface with a plane;
- cut the grooves from the ends;
- cut the slats along the width of the grooves;
- insert the slats into the groove, having previously greased it with wood glue;
- connect the bars by inserting the slats into the free grooves of the adjacent bars, lubricating with glue;
- squeeze the structure with clamps.
When the layers of the crafted countertop are completely dry, its surface is carefully sanded, cleaned of dust and impregnated with antiseptics. Next, you need to cover it with protective agents (varnish, wax or oil).
Oak
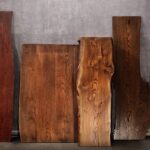
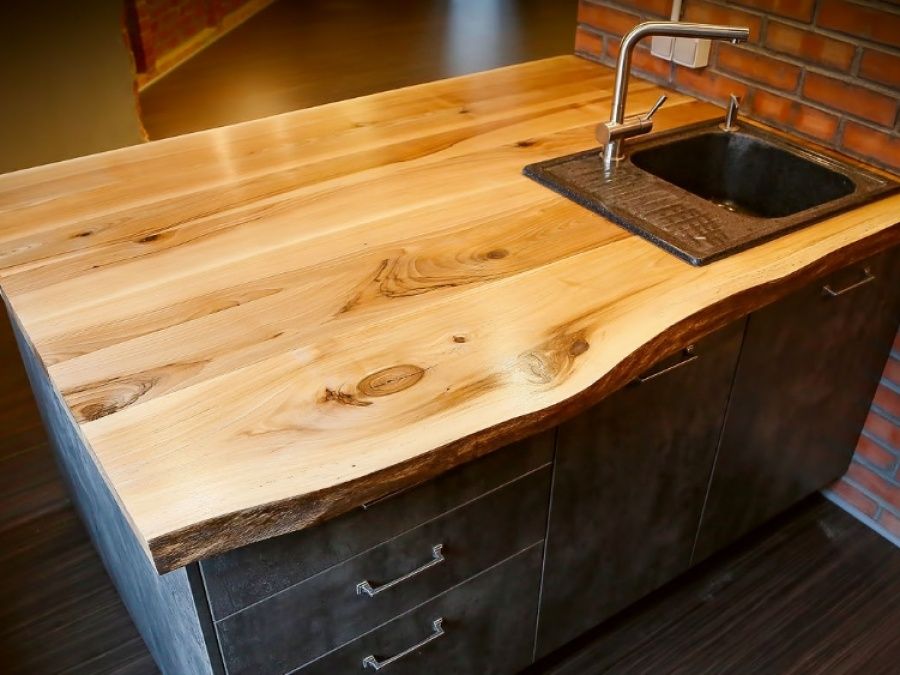
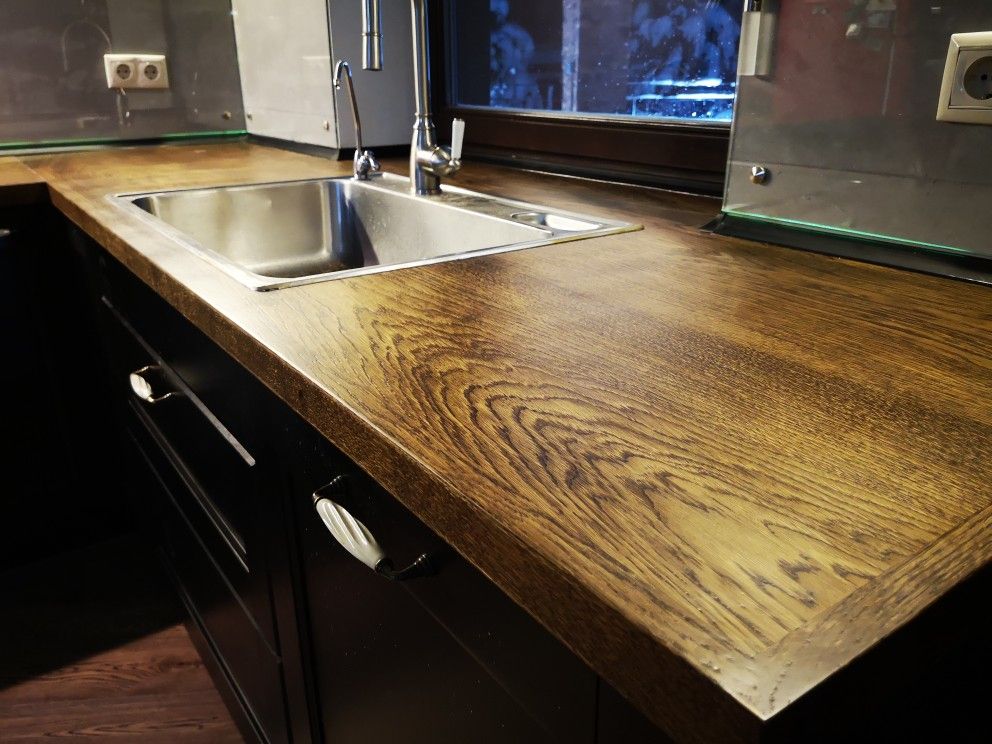
Solid oak is usually used as a saw cut. This type of tabletop manufacturing is called slap. It is very popular with newcomers in the carpentry business, because quite simple. The most important thing here is to find a good and correct saw cut. The best option is a tree without flaws in the form of long cracks, approximately the same thickness. In addition, the material should be properly dried and leveled.
Important! When choosing a thickness, you need to remember about grinding, which will reduce it.
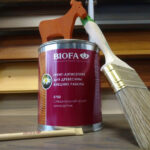
Initially, you need to remove the bark from the saw cut with a scraper or chisel. The next step is to level the surface and sand. Cover with protective agents, stain, varnish (moisture resistant) in several layers.
Ways to decorate the product
When choosing a finishing option for an already finished product, you should rely on the interior design of the kitchen. There are many ways to decorate:
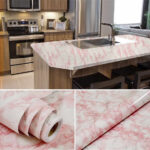
- self-adhesive film;
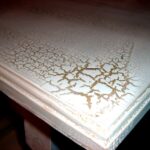
- craquelure (creating an aging effect by applying a special varnish made from egg white or PVA glue);
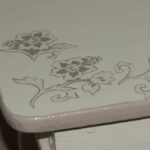
- painting;
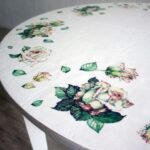
- decoupage (decoration of the surface with various drawings, photographs or images prepared on special decoupage napkins);
- simple or intricate coloring;
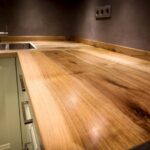
But the tree itself has a beautiful, unique pattern, so the application of protective coatings will not only emphasize all the charm of the material, but also lengthen the service life of the product. Also, as a decor option in the manufacture of countertops, different types of wood are used in gluing. This gives the countertop a unique pattern and color palette.
Examples of handmade wooden countertops
There are many examples of do-it-yourself countertops. The following are examples of different types of bases.
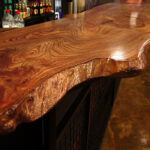
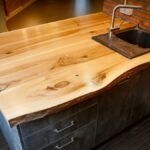
- Slab worktop;
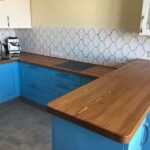
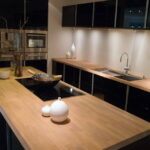
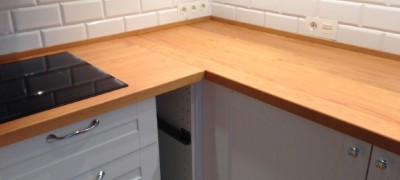
- Corner worktop;
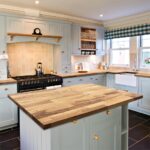
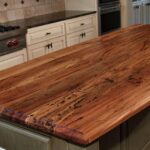
- A table top made by joining boards along the entire length.
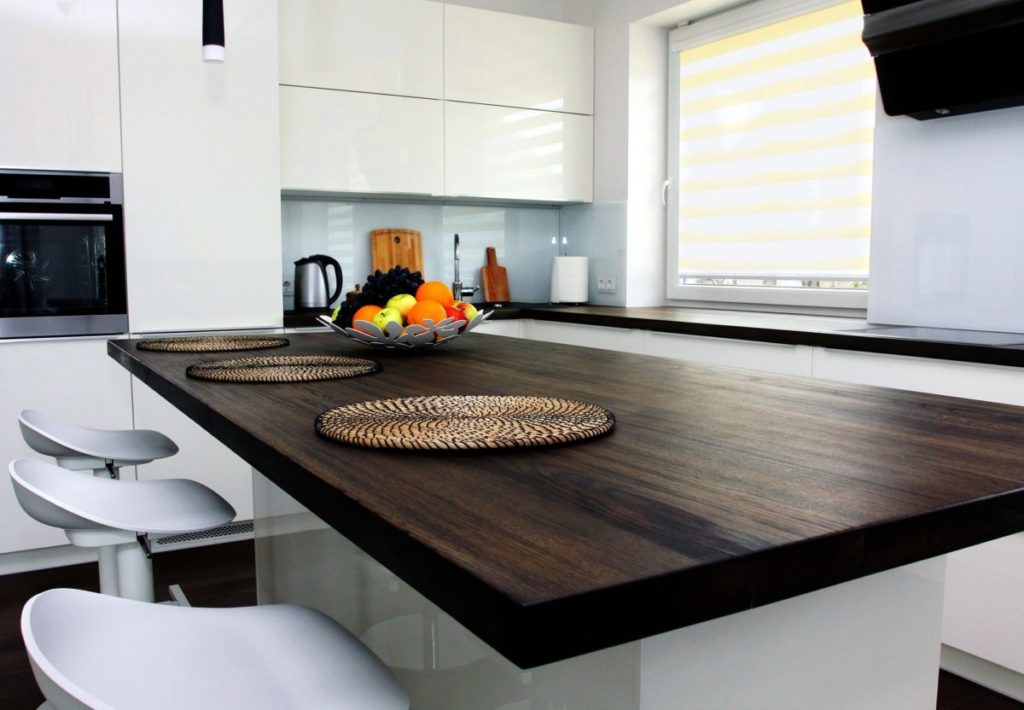
Based on desires and your own abilities, you can make such an important detail of the kitchen as the countertop. Depending on the option chosen, you will need a little more or less skills, time, costs. But regardless of this, the result obtained from such a creative process will surpass all investments.
Video: do-it-yourself wood tabletop
