DIY kitchen assembly and installation
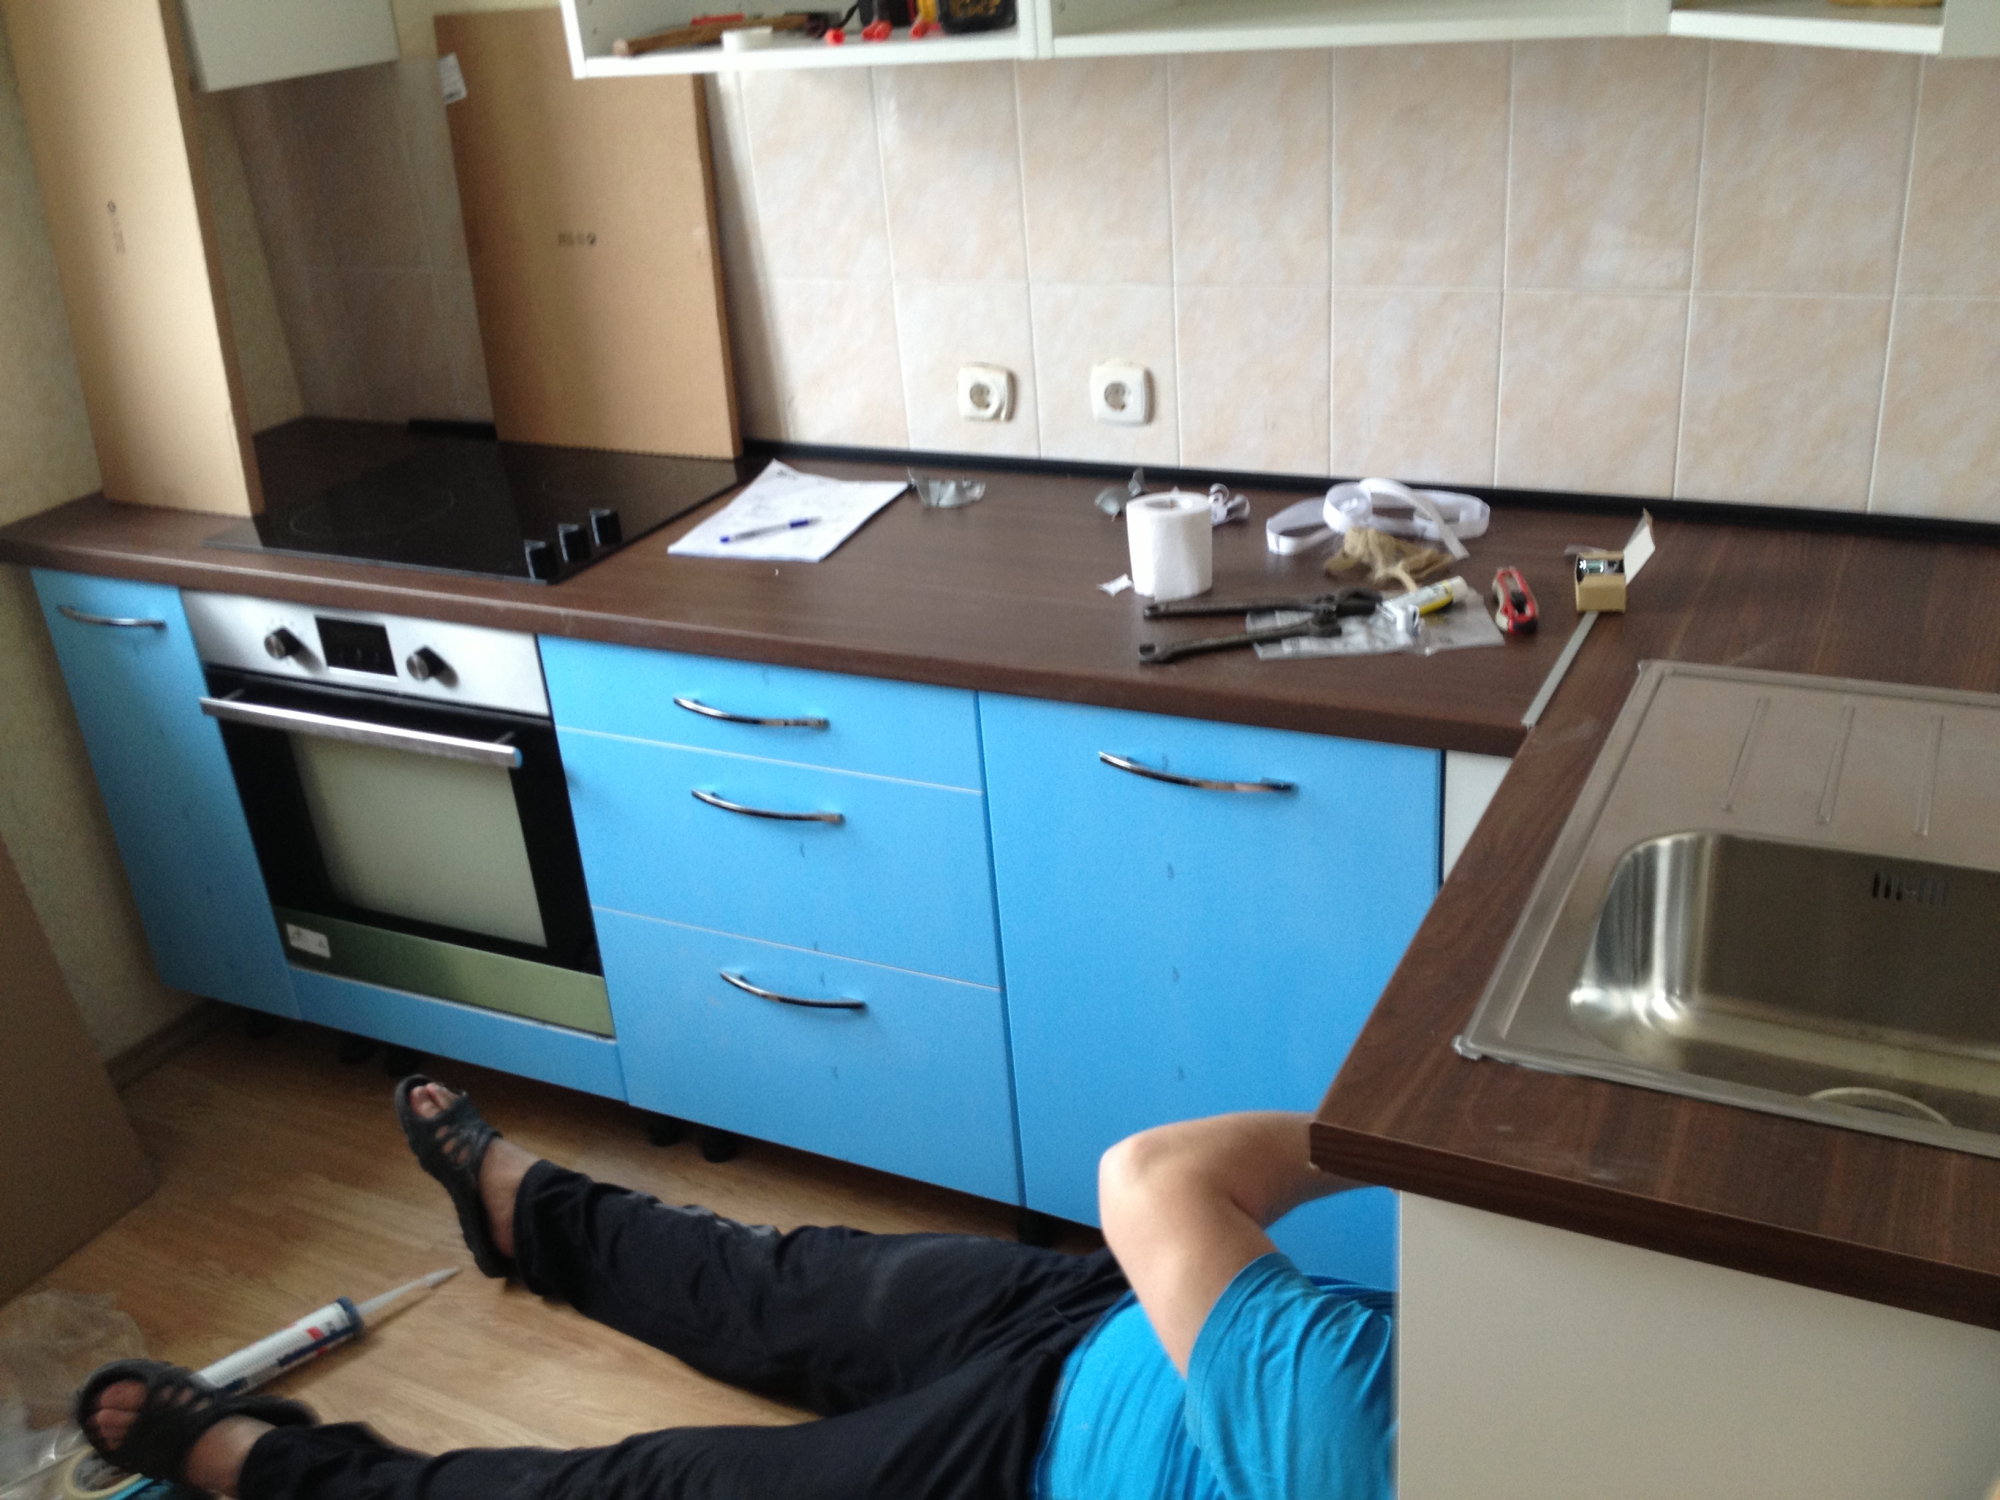
The assembly of the kitchen set is characterized by the separate installation of each element of the future structure. Therefore, it is important, even at the preparatory stage, to draw up a design drawing and decide on the sequence of installation of elements and sections. Below are shown all the stages of the necessary furniture and installation work, and a step-by-step instruction on how to assemble a kitchen set with your own hands is presented.
What tools are needed
For self-assembly of kitchen units and their installation on site, you will need the following tools:
- Cordless screwdriver with attachment and screwdriver bits. In the absence of a power tool, it can be replaced with a regular set of screwdrivers.
- Electric drill with drills or brace (hand drill).
- Perforator (in the presence of a concrete or brick wall).
- Electric jigsaw or grinder with discs for wood. In the absence of power tools, a set of hand saws will do.
- Allen key for installing fasteners.
- Auxiliary tools (hammer, mallet, measuring tape, level).
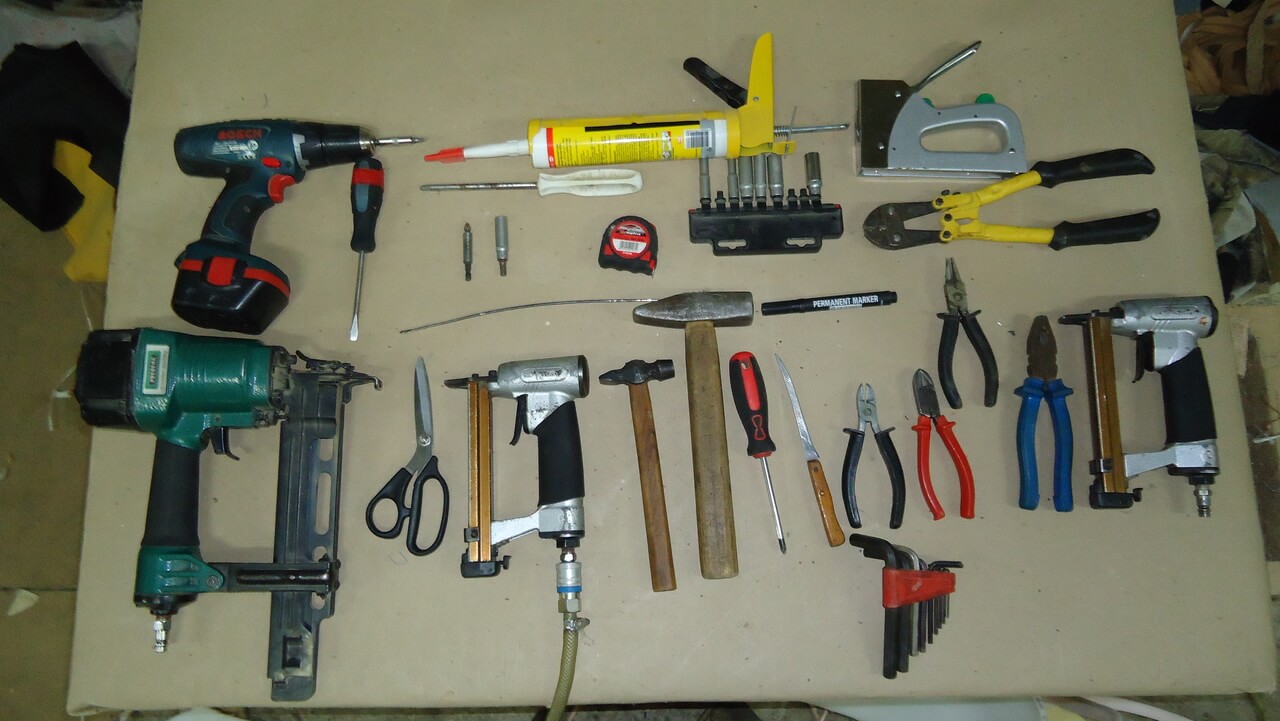
The selection of tools is made based on the method of fastening all elements and the availability of accessories.
Assembling the headset box
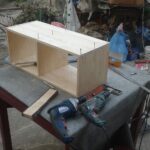
Any kitchen set necessarily has cabinets, cabinets, drawers and sections, the basis of which is a box of four boards. Such boxes can be floor-standing, wall-mounted, or supporting only the surfaces of other furniture elements. When assembling boxes, it is recommended to adhere to the following instructions:
-
The sides of the box are attached to the bottom and top for confirmations. For these special "screws" in the surfaces to be fastened, holes corresponding in size are pre-drilled. Regular nails and screws are not suitable for high-quality and durable screed wooden surfaces.
The use of furniture screws is allowed as a fastener only in small boxes that are not designed for a large load from the kitchen utensils placed in it.
- If during the factory assembly there are no holes and marks for installing shelf holders and receiving rails, then the installation locations of the fittings are independently deduced using a level. All structurally related pairs of holders or guides must lie in a strict horizontal plane.
- When calculating the method of mounting the box, it is necessary to take into account that the confirmations must fasten the boards in a horizontal position. If, after the final installation of the box, the confirmations turn out to be in an upright position, then the force of gravity can make such a fastening very unreliable.
- A thin sheet of chipboard or plywood is usually chosen as the back wall of a small box. Such a sheet is fastened to the back of the box with the help of numerous small nails or sheathed with a construction stapler. It is irrational to use thick back walls in small boxes, with the exception of some types of decorative headset sections.
It is also important to know that the diagonals of the assembled box must be equal. This will indicate their initial proportionality and correct positioning in relation to each other.If the diagonals are not equal, it means that the geometry of the box was violated during installation, or discrepancies in the size of the boards were missed during the initial fitting of the walls.
Assembling a cabinet with a drawer
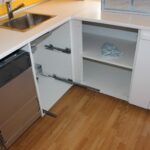
Unlike a simple furniture section, drawers must have guiding elements. Most often, guides for kitchen furniture are made of metal or metal-plastic. Drawers, as well as many elements of the headset, have a collection box as a body.
But unlike cabinets, a plywood sheet attached to the body of the box forms not the back wall, but its bottom. Therefore, instead of small studs, the base for fastening the bottom of the drawer is the incoming guides created in the form of long corners. And the receiving guides for the drawer are installed on the sides of the cabinet.
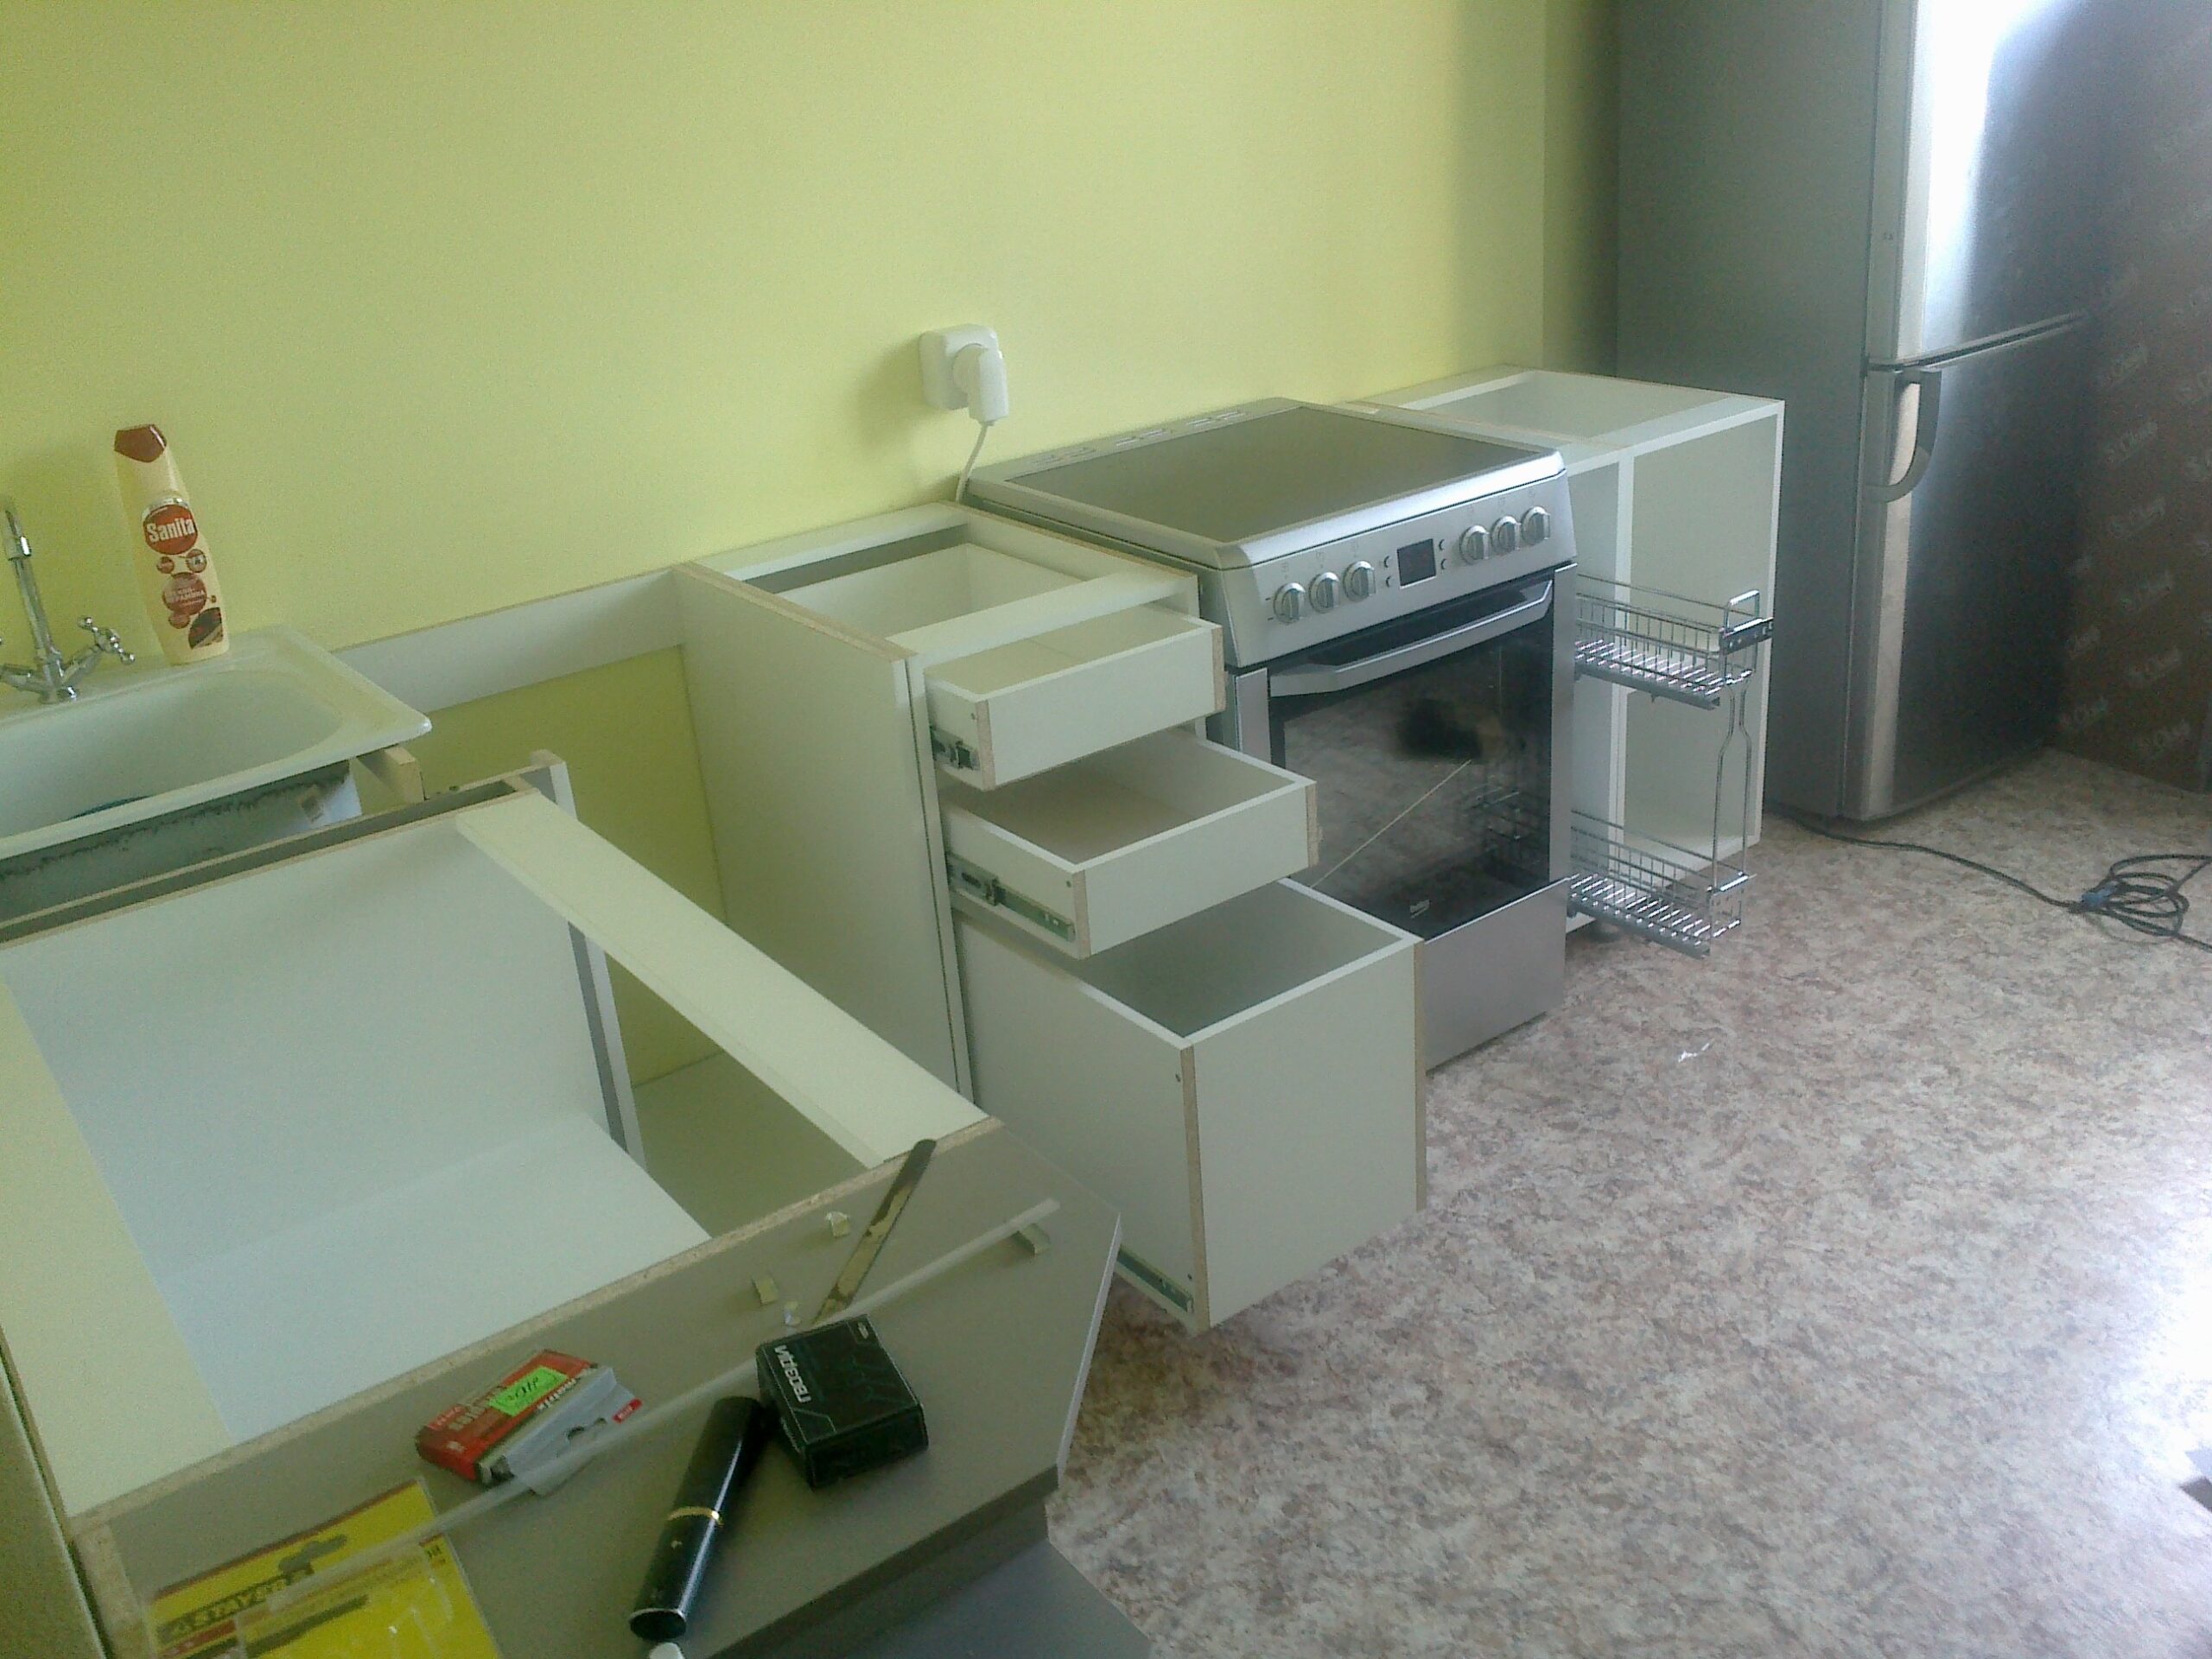
The assembly process is carried out according to the following step-by-step scheme:
- The locker box is being assembled. If the cabinet components are factory-made, then the receiving rails will already be initially mounted in the sidewalls.
- If the cabinet is homemade, then it is recommended to first put the receiving guides on the glue according to the calculated marks, then put the cabinet box on the floor and put the drawers. It is undesirable to put the structure on a standing box, since the glue may not withstand the approximate load.
- Boxes are collected separately. The small dimensions of the box allow you to connect the boards of the body using ordinary furniture screws. The bottom is superimposed on the box and attached to the sidewalls using two corner guides. For additional fastening, the upper and lower parts of the bottom sheet are sheathed with nails.
-
The box lies on the floor, and the assembled drawers are sequentially pushed onto the receiving guides. They should slide out easily, without distortions and gaps in the retracted position.
If, during such fitting, it is found that the length of the sidewalls of the drawer turned out to be greater than the width of the cabinet, then the pull-out element (drawer) will not be able to go to the end. In this case, you will have to disassemble the drawers and saw off their sides or increase the depth of the cabinet by attaching the rear frame-box.
You can also add dimension by stuffing proportional strips around the back of the cabinet. However, this will have to consider a camouflage design from the corners, which will return the aesthetics of the revised cabinet.
- The back wall is mounted. This element is not a supporting part of the cabinet and it is allowed to fasten it to the assembled body with self-tapping screws.
Installing legs on kitchen furniture
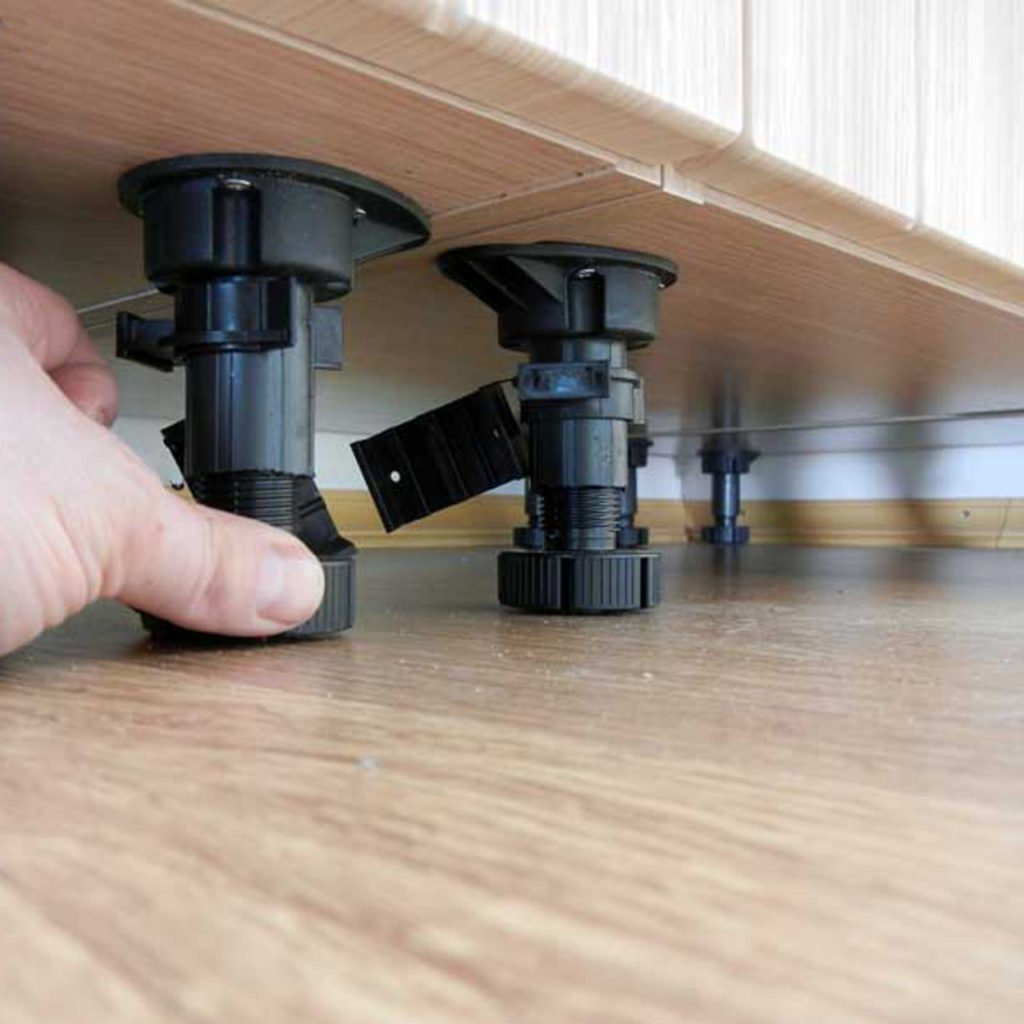
The task of the legs of any furniture is to evenly distribute the load on its bottom. Crockery and household appliances often put different pressure on parts of the structure with their weight. Improper installation of the feet can cause the cabinet to break and collapse. Therefore, when installing the legs, the following rules must be observed:
- If the length of the bottom does not exceed 80 cm, then the optimal number of legs is four. When the bottom is more than 80 cm long, two additional legs are installed. On longer furniture structures, it is recommended to install a pair of legs for every additional 40 cm.
- From the edges of the bottom, the legs must be mounted at least 5 cm deep, but no more than 10 cm. Each leg is a kind of center of gravity. Positioning too close to the edge or to the middle of the bottom of the cabinet will compromise the correct weight distribution.
- It is much more convenient to mount the legs on the bottom before the main assembly of the entire box.
Installing the lower pedestals
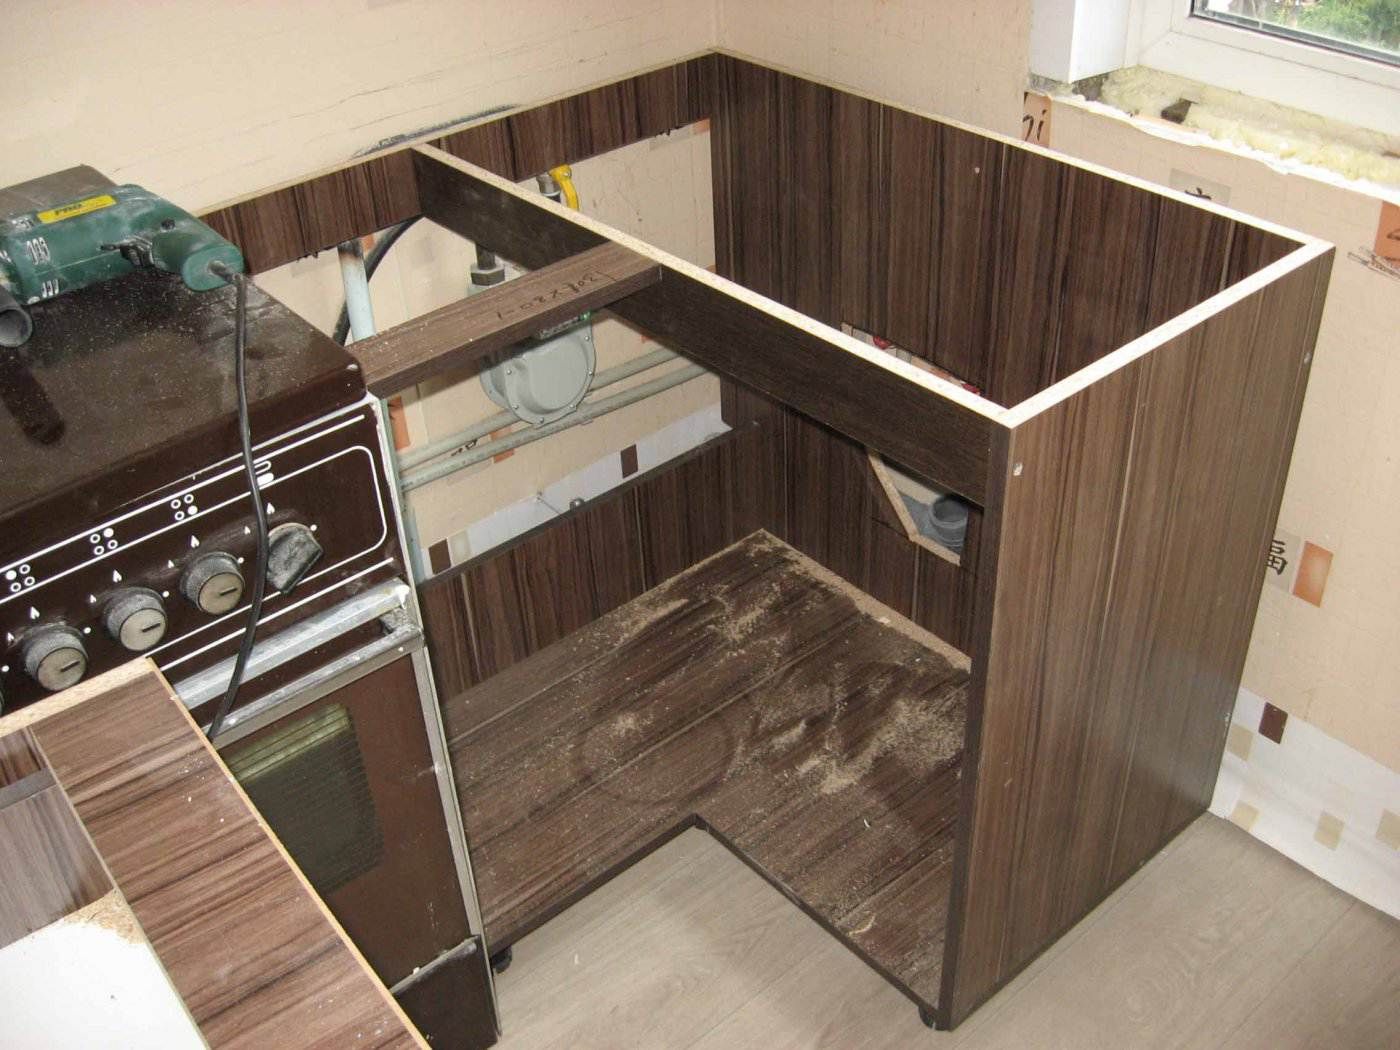
The boxes of floor pedestals are load-bearing supports for countertops, sinks and other elements of the furniture set.The location of the lower pedestals leads to the fact that their boxes intersect in space with pipes, baseboards and wires coming from the sockets. In order not to disrupt the functional communication of kitchen elements, the cabinets are prepared in advance in a special way.
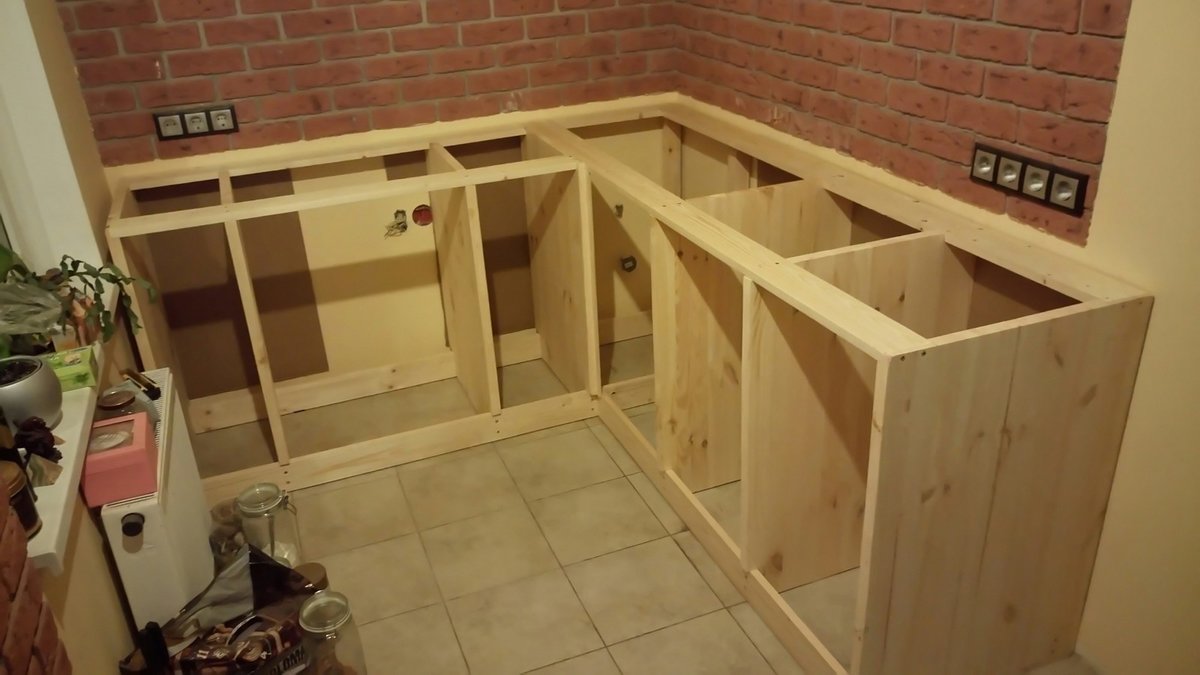
Functional holes are cut on the sidewalls of the pedestals, and the edges adjacent to the plinth are sawn off. The edges of all cuts are treated with a sealant or protective varnish. Installation of the prepared pedestal is done in the following way:
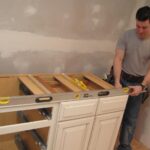
- The curbstone is placed in an established place and an ideal level is displayed.
- The curbstone box is fastened with furniture ties with adjacent structures. In some cases, holes are made in the kitchen wall adjacent to the headset, and an additional point for fastening is created with the help of wall fittings.
- A useful element of the kitchen set (countertop, sink) is installed on top of the curbstone.
Sink attachment
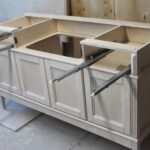
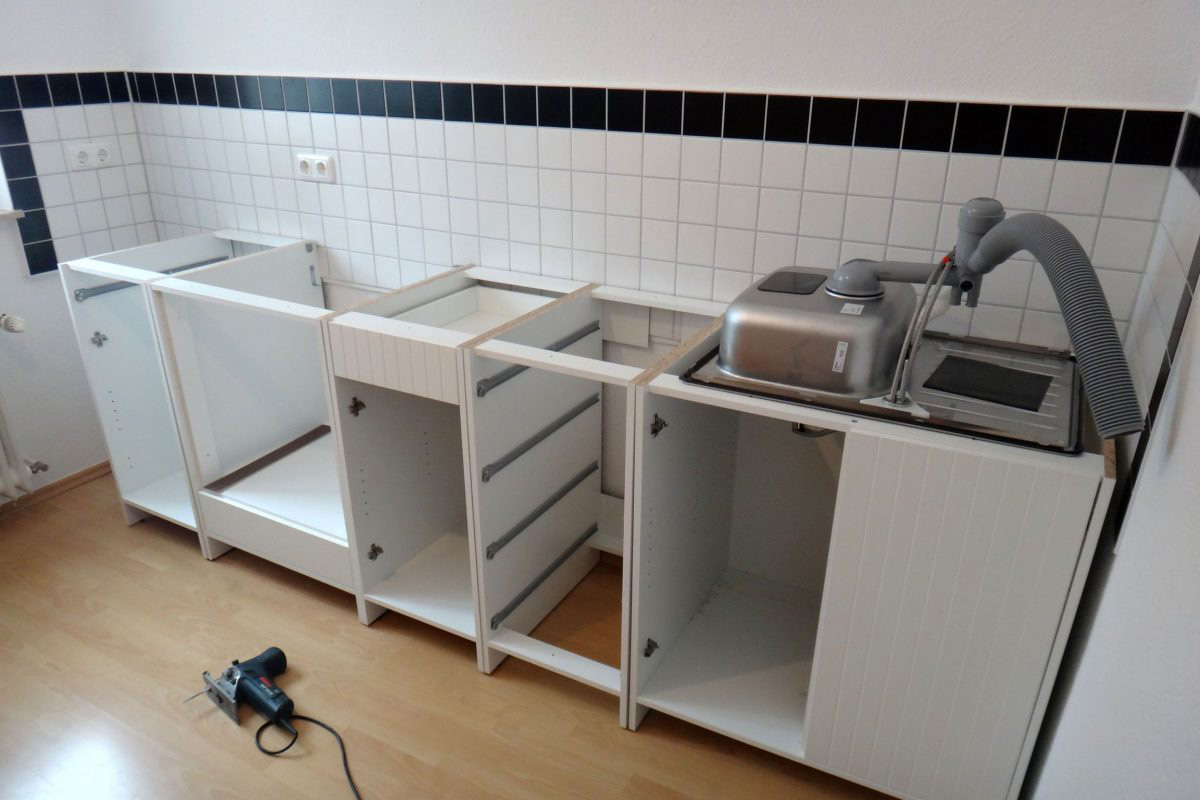
An overhead sink is well suited for self-assembly. The complex appearance of mortise products requires special dexterity and experience. Overhead sinks are installed on top of the curbstone, which does not require special installation skills. This is done as follows.
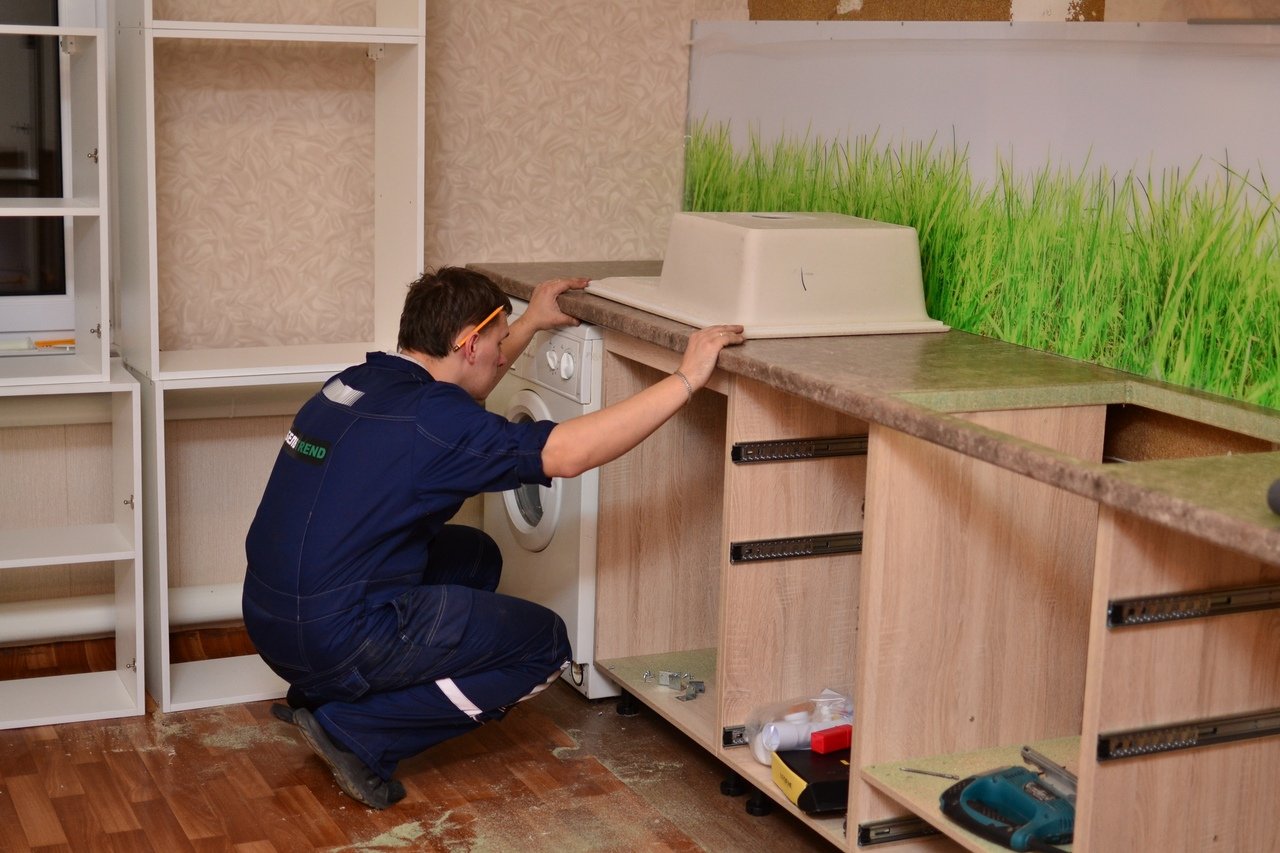
A cabinet prepared for a sink is installed. When assembling the curbstone, L-shaped plastic corners with grooves are installed on the upper ends, onto which the edges of the sink are mounted.
A faucet, mixer and siphon are attached to the sink. All this is done before placing the assembled sink on the curbstone. It is extremely inconvenient to mount the above parts of the sink to the canopy.
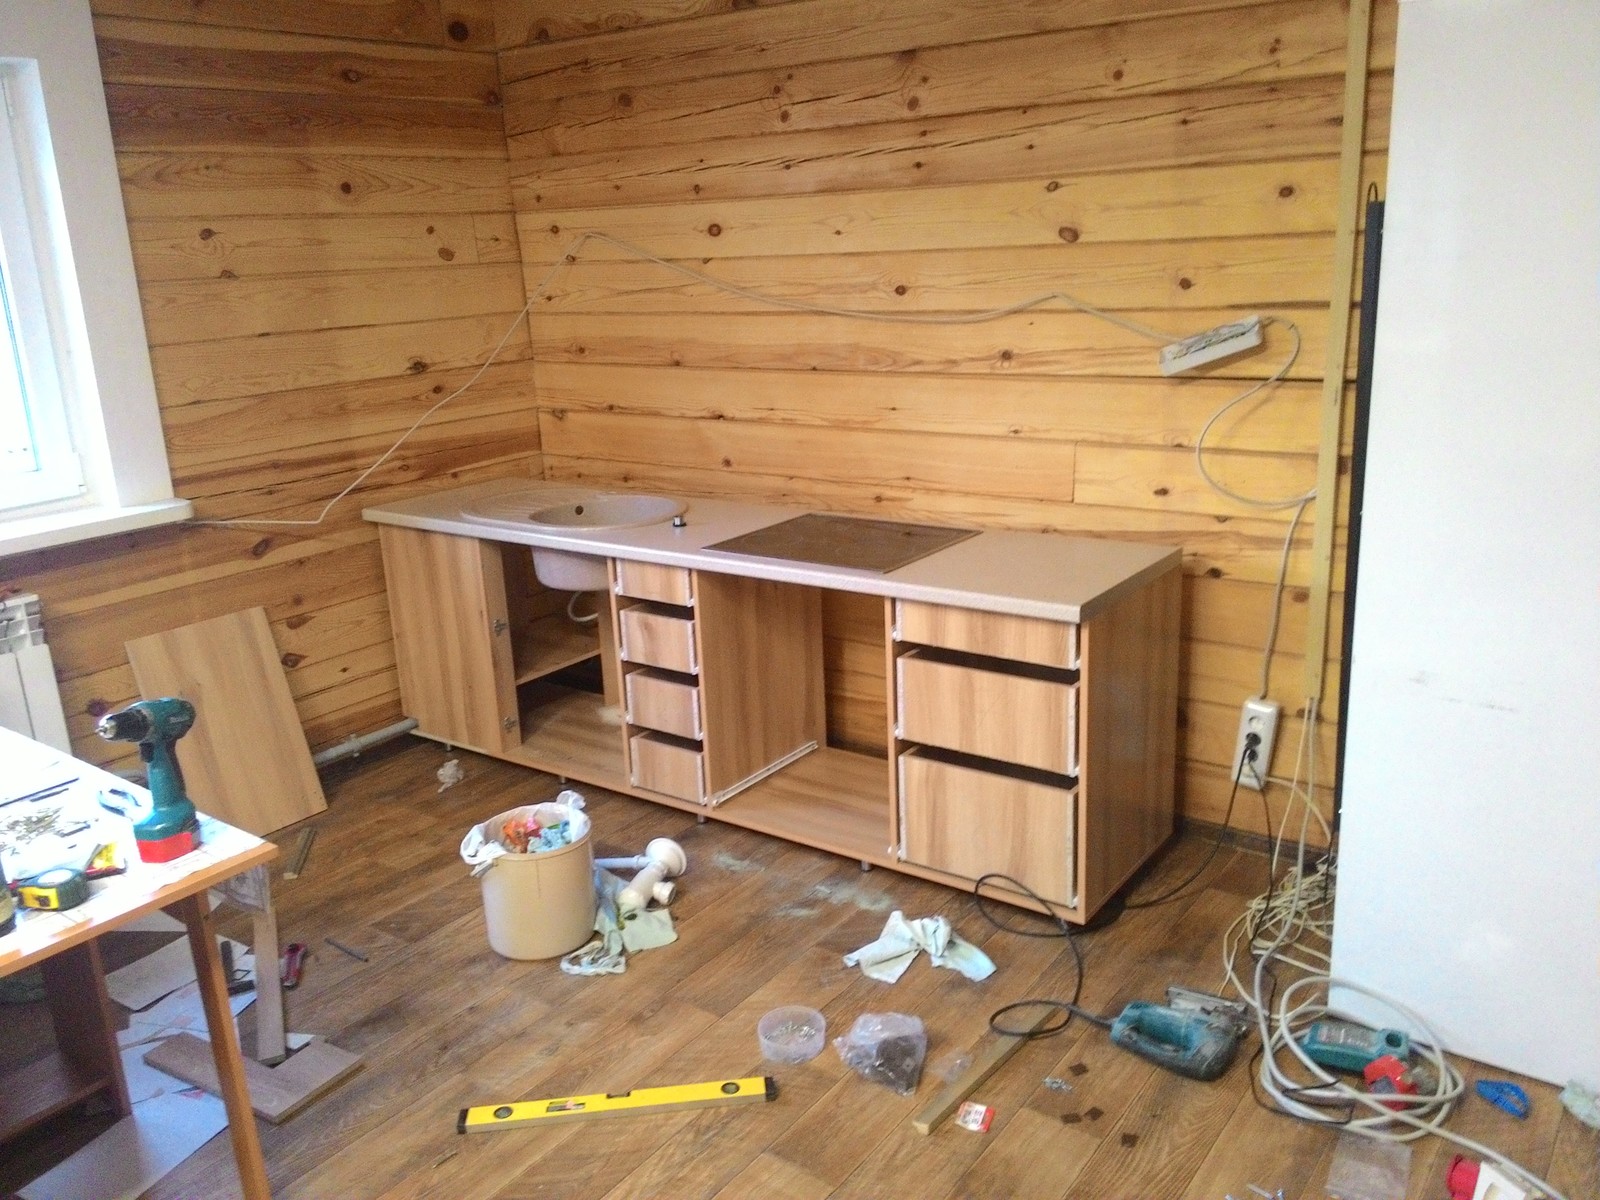
The assembled sink is placed on top of the cabinet by placing the edges of the sink in the grooves attached to the ends of the cabinet with corners. If you want to firmly fix the sink, a sealant is applied to the upper edge of the cabinet. Also, fastening can be done mechanically using screws or self-tapping screws.
Water and sewerage communications are connected. Flexible pipes from cold and hot water are connected to the mixer, and the sewer pipe is connected to the outlet of the siphon.
We fix the doors
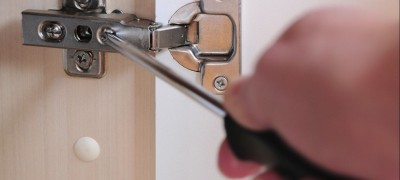
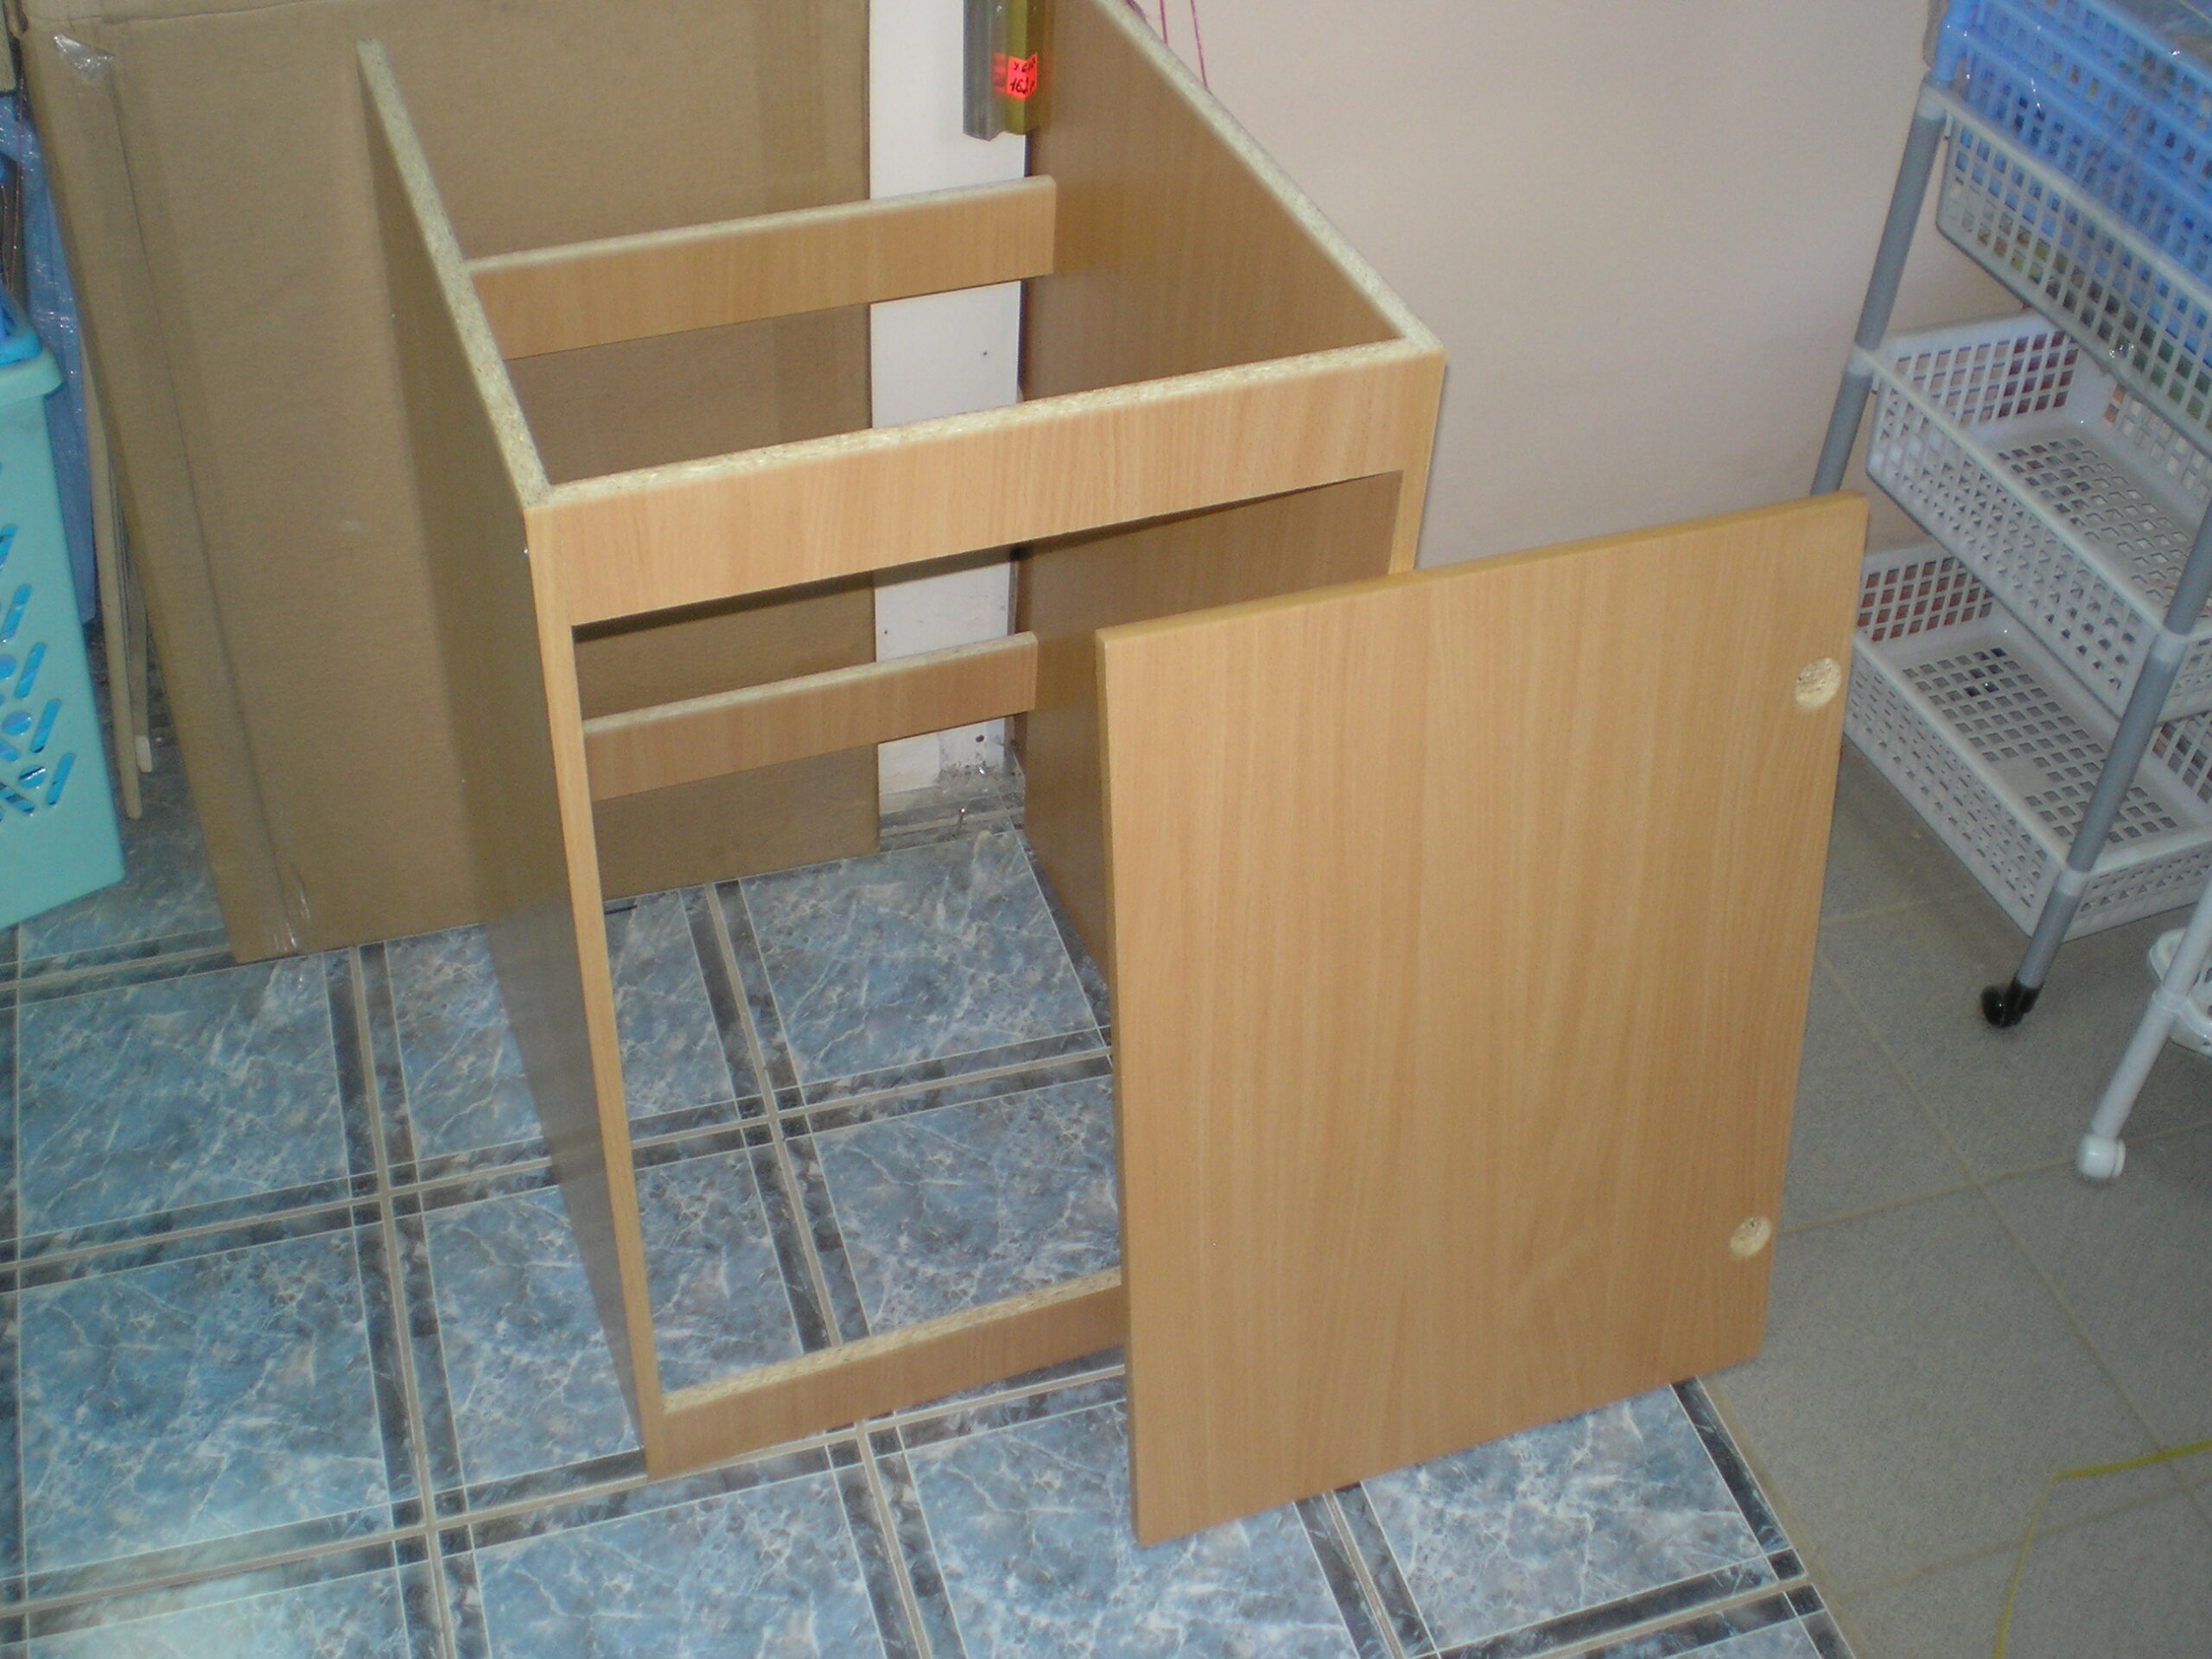
The fitting of the cabinet doors to the corresponding sidewalls of the box is carried out before the start of the body assembly. Mortise or overhead hinges are installed on the doors in advance and applied to the sidewalls to mark connecting points on their surfaces. After the construction of the box, the door hinges are fastened with self-tapping screws according to the marks on the sidewalls. Next, the door travel is checked.
Final work
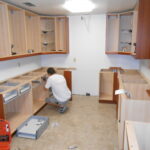
It is recommended to start the general assembly process with corner modules and sections of the kitchen set, and it is better to install the hinged (built into the wall) sections before installing the lower pedestals. When all the elements of the headset are assembled and assembled into a single structure, you can proceed to the final stage of work.
Experienced craftsmen advise, for convenience, to carry out the final work in the following sequence:
- Installing a protective wall screen (apron). If the working wall is already tiled with tiles, then the need for an apron disappears. In this case, the gaps between the worktop and the wall are closed by the imposed skirting boards.
- Kitchen appliances are installed in the set. Part of large household appliances (refrigerator, gas stove, hood) may already be built-in and installed at the stage of general assembly of the headset sections. The location of individual equipment and small electrical appliances is calculated even during the preparation of the primary drawing of the headset.
- Performing cosmetic work. Plugs are installed on holes and fittings, excess foam is cut off.Also, other work is being done to ennoble the appearance of the headset and the adjacent elements of the kitchen interior.
Video: DIY kitchen installation
