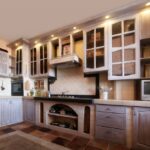
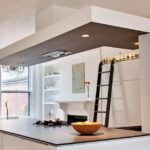
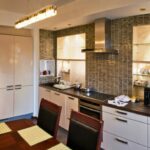
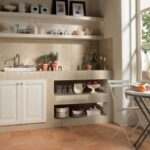
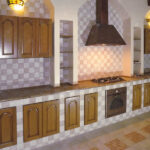
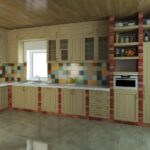
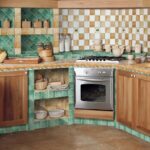
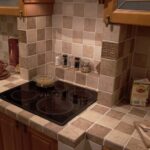
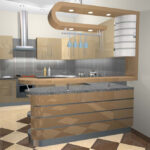
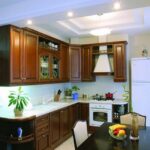
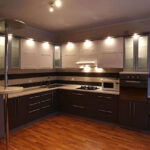
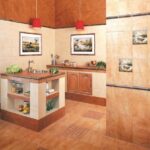
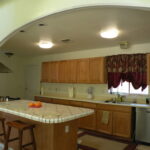
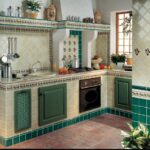
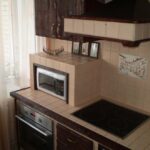
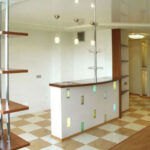
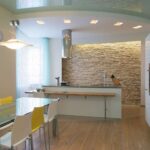
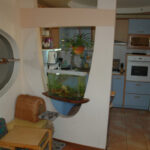
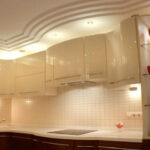
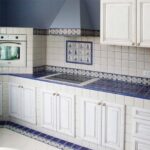
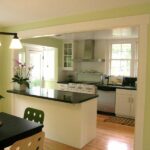
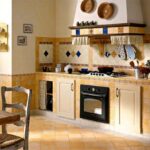
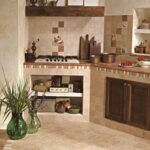
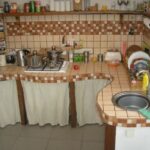
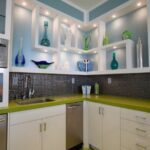
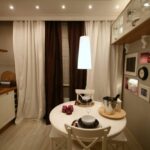
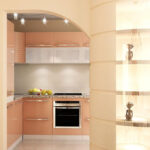
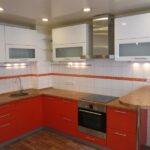
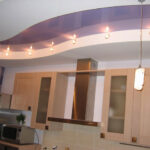
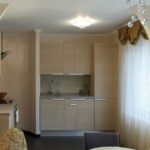
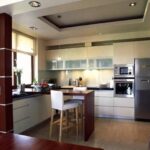
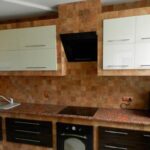
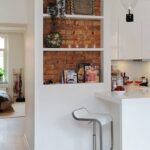
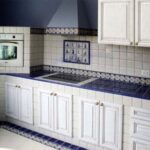
Assembly of plasterboard kitchen furniture
Drywall is one of the most convenient modern building materials. Partitions, arches, shelves, bar counters are made of it. In the review, the installation of a plasterboard kitchen set with your own hands is presented in stages.
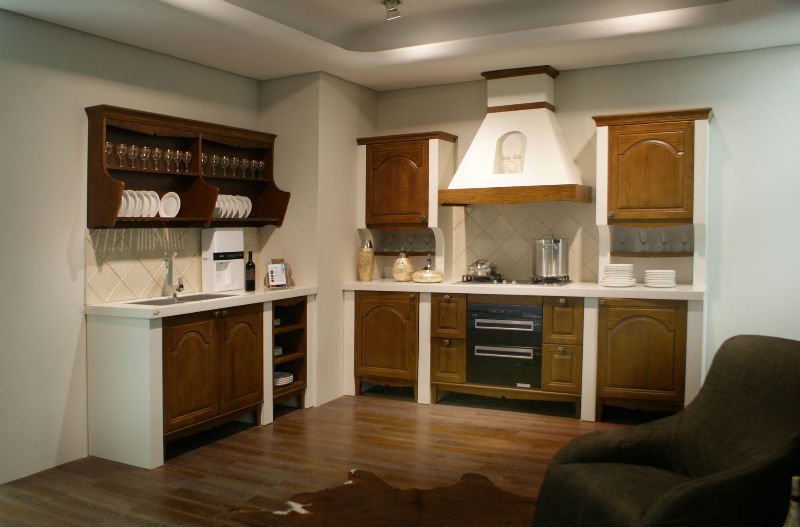
The idea attracts with its originality. You can create a comfortable and practical interior with minimal cost. Drywall has many advantages; modules of any configuration can be made from it. Furniture is created in any style, with a wide variety of finishes. Tile and plastic are freely glued to the fibrous structure. The material is coated with acrylic paint, varnish, creating the effect of gilding, color transition. It is clear that such a unique interior cannot be found in a furniture showroom.

Pros and cons of a drywall kitchen set
Manufacturers produce a variety of fibrous sheets. For the kitchen, they choose the VGKL modification, these are panels that are not prone to swelling. High-quality moisture-resistant material will withstand temperature extremes, does not deform under the influence of steam. Compatible with tiles, suitable for painting, other decorative design.
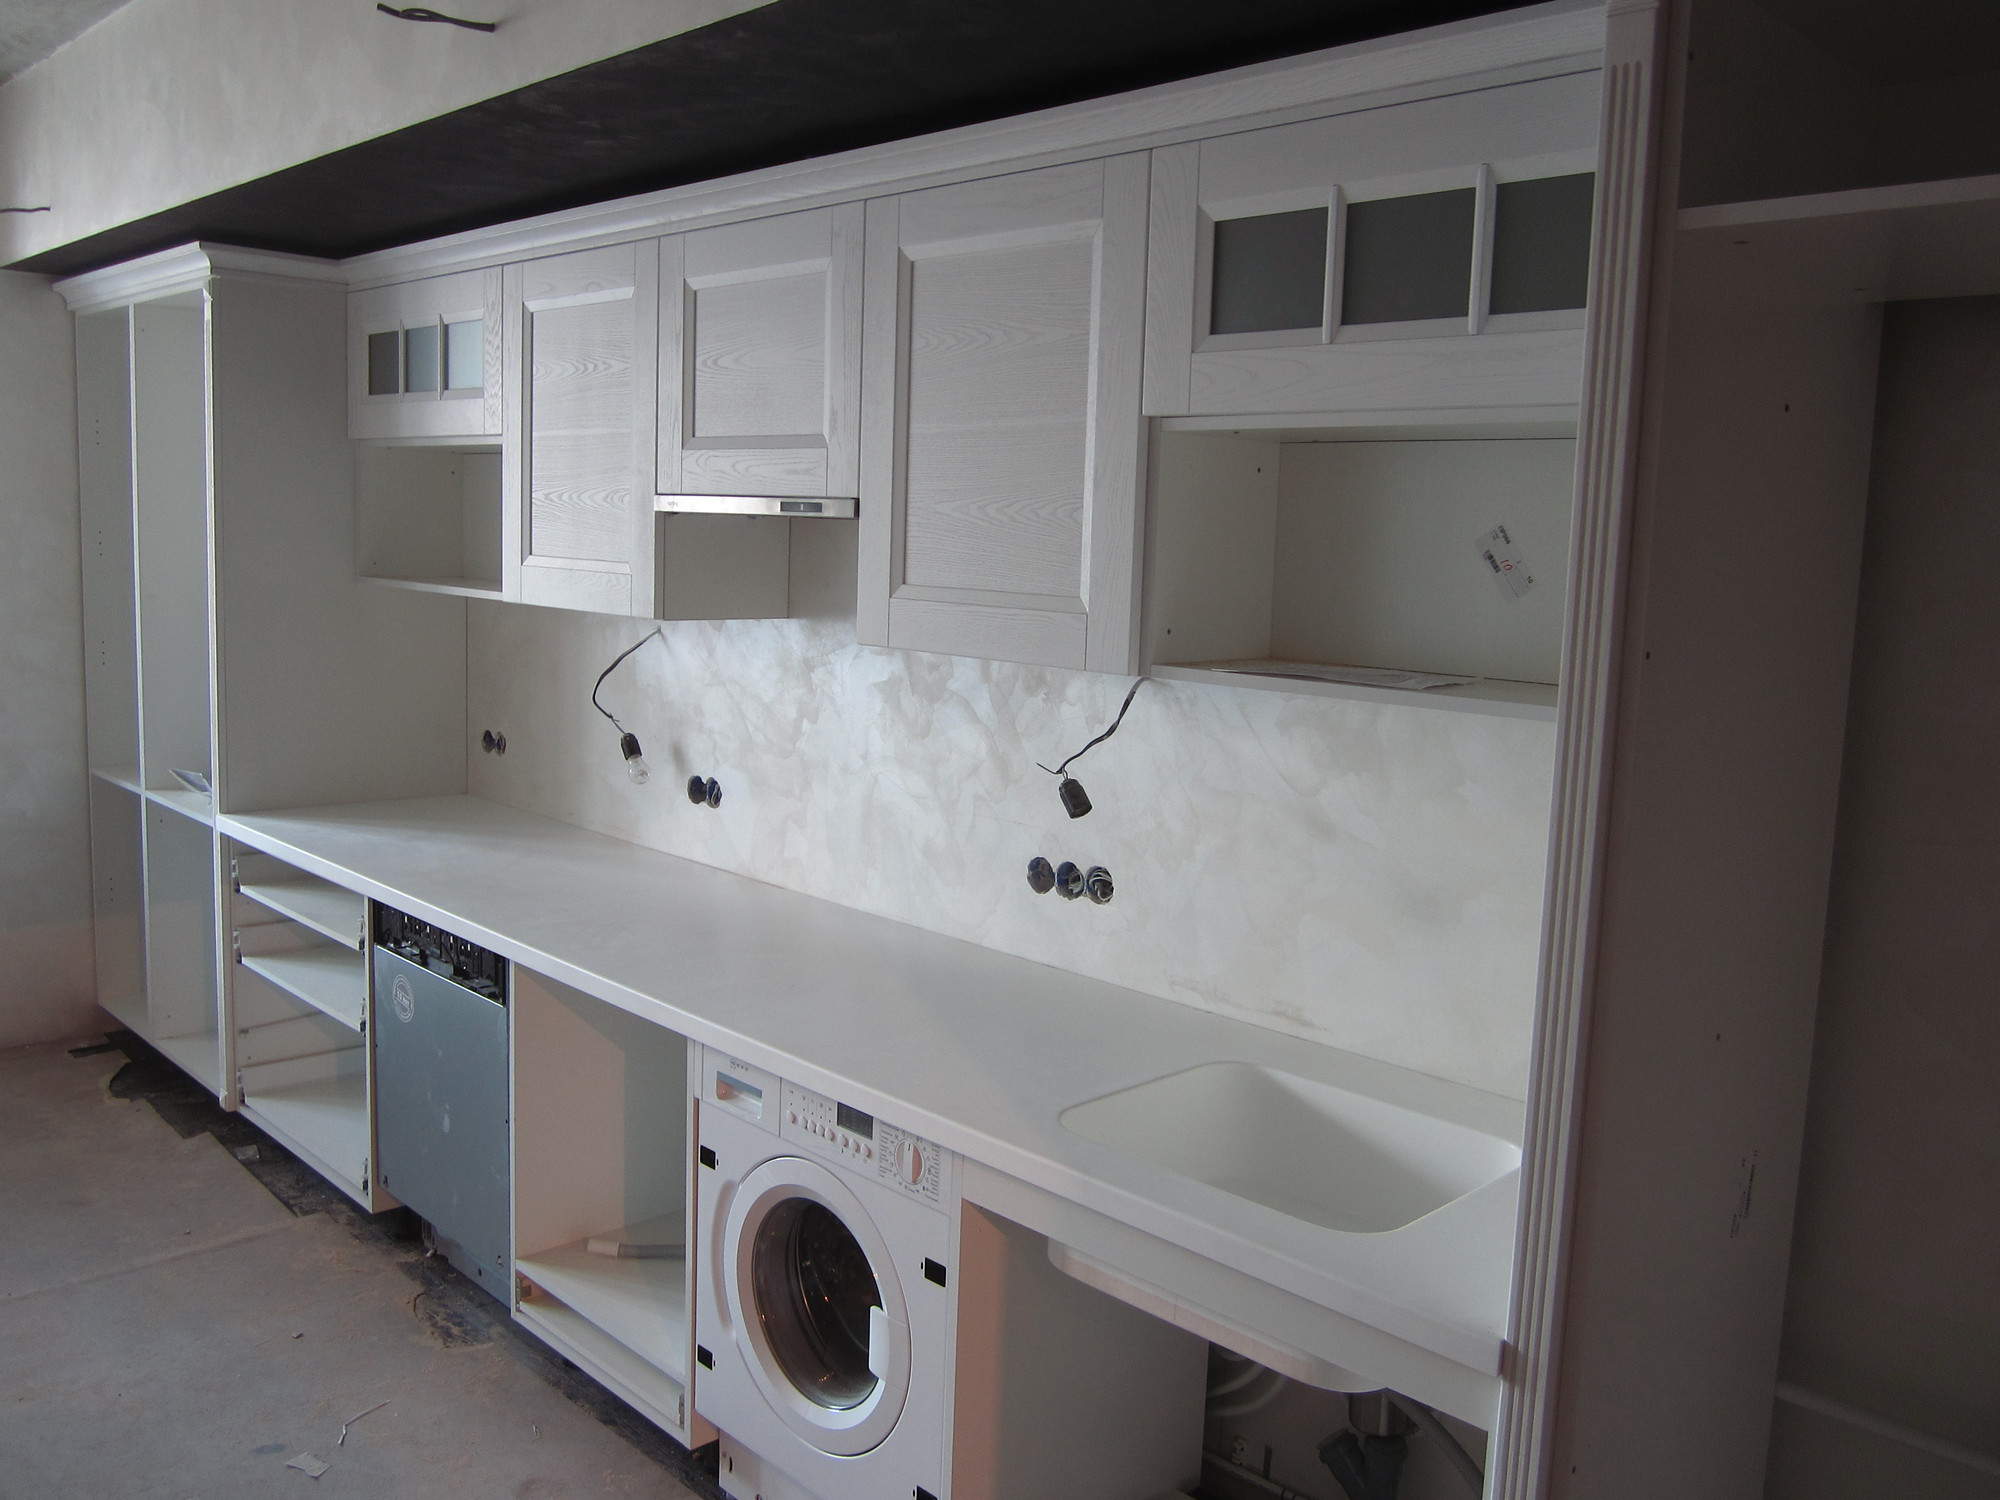
Advantages of plasterboard kitchen modules:
- variability, you can make a headset of any complexity;
- tables and cabinets, if you have the skills to work with carpentry tools, are mounted quickly and easily;
- no difficulties with the device of internal illumination;
- a variety of decor, it is possible to design for any style: ethnic, African, Mediterranean;
- exclusivity, each master creates furniture according to his own project, decorates to his taste;
- low cost, within the spent funds it is difficult to choose a full-fledged set of furniture for the kitchen;
- ease of repair, if any part is damaged, it can be replaced without installing the furniture block;
- environmental friendliness and fire safety of GKLV.
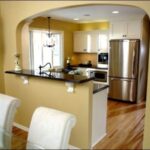
It is difficult to choose a ready-made set for a custom kitchen with a niche or stepped ledge, it is expensive to order. The best option is home-made constructions from gypsum plasterboard.
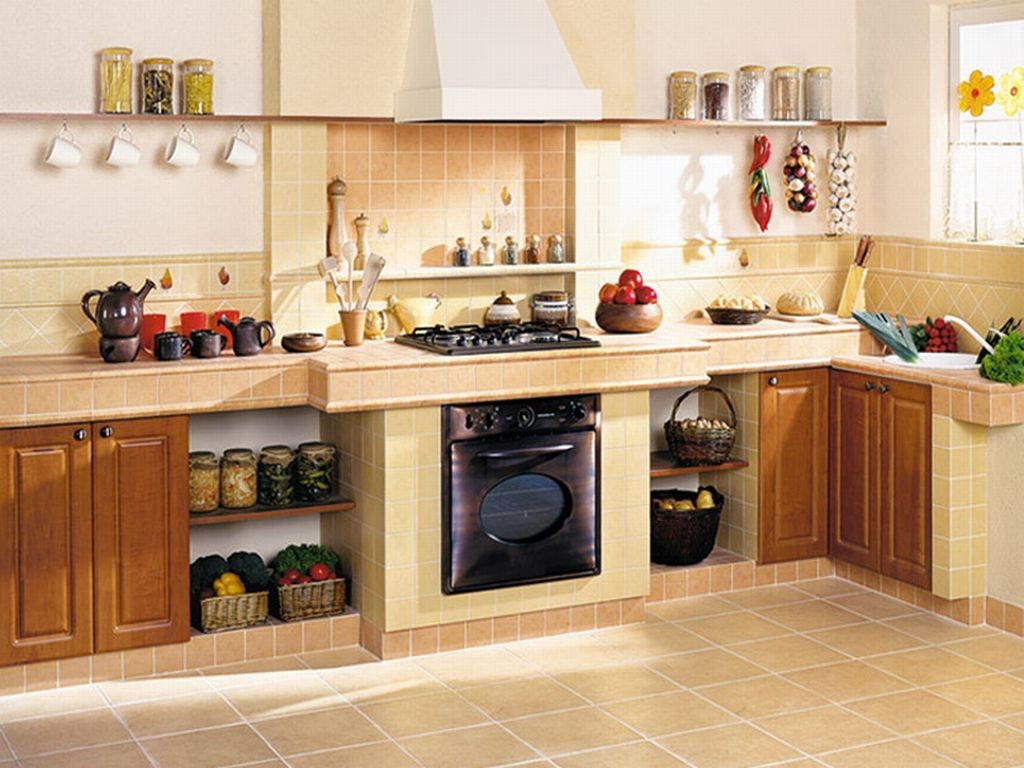
Like any other material, drywall has disadvantages:
- laboriousness of creating headsets;
- fragility of sheets and the associated difficulty in transportation;
- the obligatory surface finishing, without this the sheet will quickly become unusable;
- installation of the support frame is necessary, without it the structure will not work.
Still, there are much more advantages. Then it's time to start making modules.
Varieties of plasterboard kitchen furniture
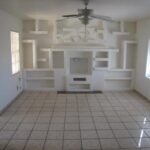
The pliable material can be easily processed, mounted, decorated. You can build individual items, some prefer to create one-piece linear or angled headsets.Practice shows that do-it-yourself drywall furniture is sometimes the only option for creating a cozy interior.
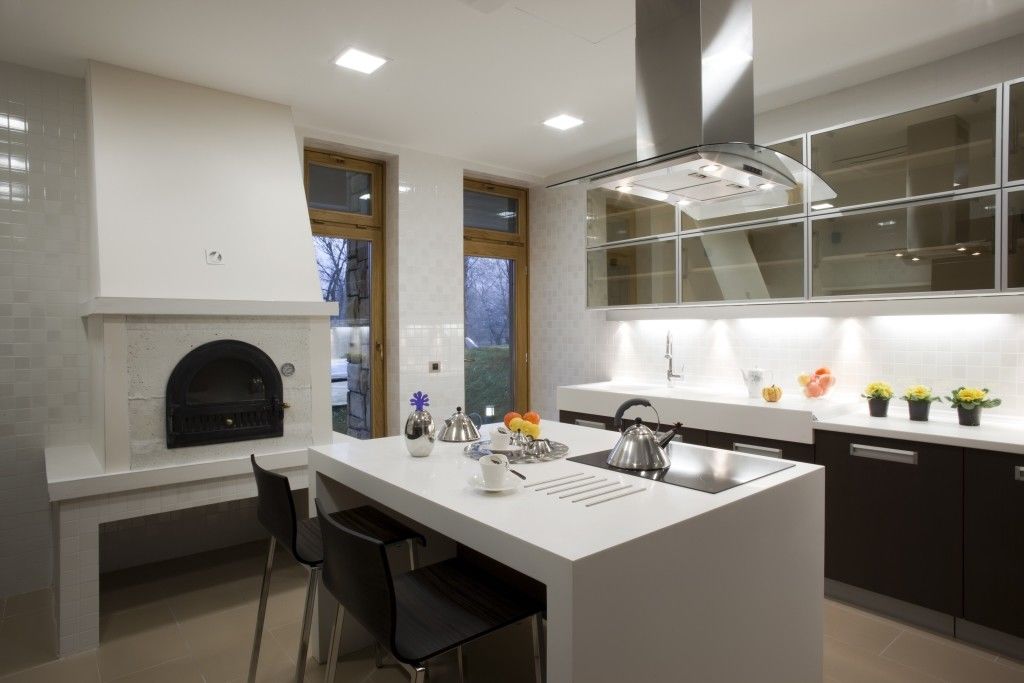
From gypsum plasterboard they mount:
- pedestal tables;
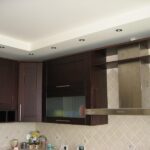
- hanging cabinets;
- original dining tables;
- open shelves;
- straight and corner sofas;
- niches;
- mezzanine.
You can replace prefabricated plasterboard modules with any furniture, make false doors with magnets for household appliances.
For reference. There is an opinion that the fibrous sheet is fragile, not designed for heavy loads. But a lot depends on the skill and thickness of the sheet, it varies from 8 to 15 mm. When properly installed, the furniture can withstand loads of over 150 kg / m2.
What you need to assemble furniture
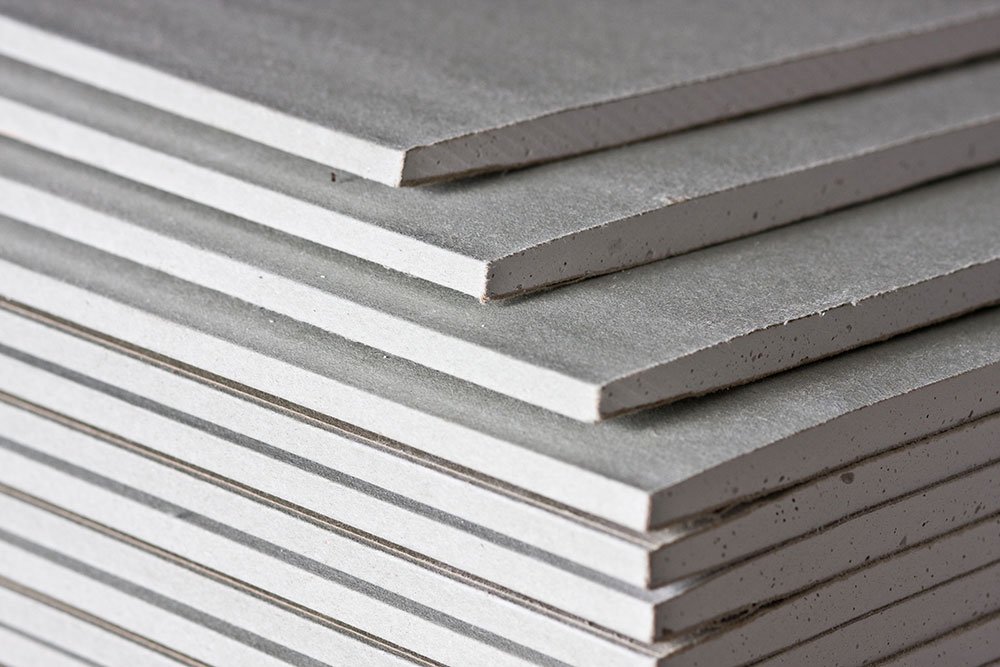
The choice of material depends on the specific option. For the manufacture of cabinets, moisture-resistant sheets with a thickness of about 10 mm are purchased. Partitions and racks are mounted from VGKL 15-18 mm.
Also, to create a headset you will need:
- U-shaped profiles up to 4 mm in size for the formation of the frame;
- wooden bars in the format of the guides;
- drywall knife;
- hammer drill or drill;
- jigsaw for curly cutting drywall;
- scissors for metal for cutting guides;
- measuring ruler-square;
- roulette;
- marker for marking;
- vertical and horizontal levels;
- hardware;
- facing tiles for finishing;
- assembly glue;
- grout or joint filler;
- metal and rubber spatulas;
- brush;
- roller;
- sealant.
The bars are pre-dried to exclude shrinkage deformation. Achieve perfect evenness. For the facade, you can use laminated chipboard or MDF panels. If lightweight modules are needed, doors are made from GPLV.

Important! Structures will stand for a long time if you purchase materials of decent quality, do not allow distortions when cutting and installing elements.
Preparation and calculation of drywall
It is difficult to build a kitchen set without a project. In order to accurately determine the format of furniture blanks, interior items are planned to scale. It is convenient to use graph paper for drawing. Main design stages:
- the kitchen is measured with a tape measure;
- the layout of the future typeface is drawn by elements.
Standard cabinet widths: 400, 600, 800 mm, the depth of the upper cabinets is 40 cm, the lower ones - 60.
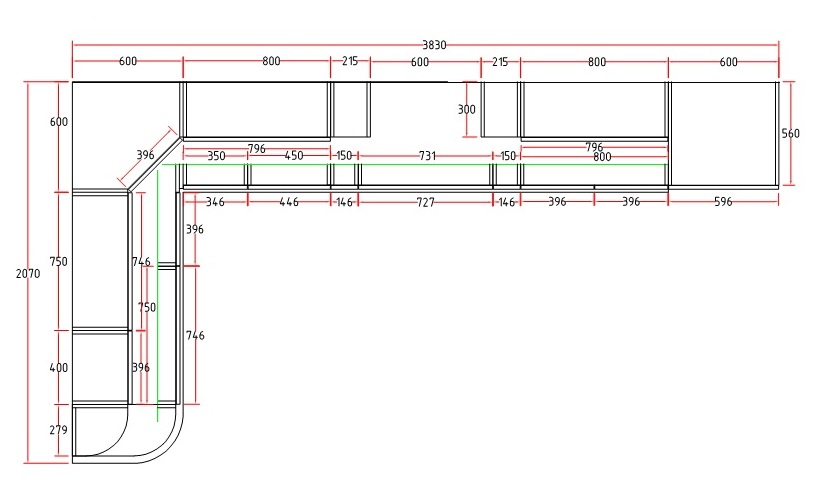
To calculate the amount of materials, all the lengths are summed up, the amount is multiplied by 1.2, a small margin is needed. When cutting the guides for the frame, the thickness of the sheet is taken into account. For built-in appliances, they plan hinged facades or boxes. Immediately think over the lighting of the working area, sinks, inside the cabinets.
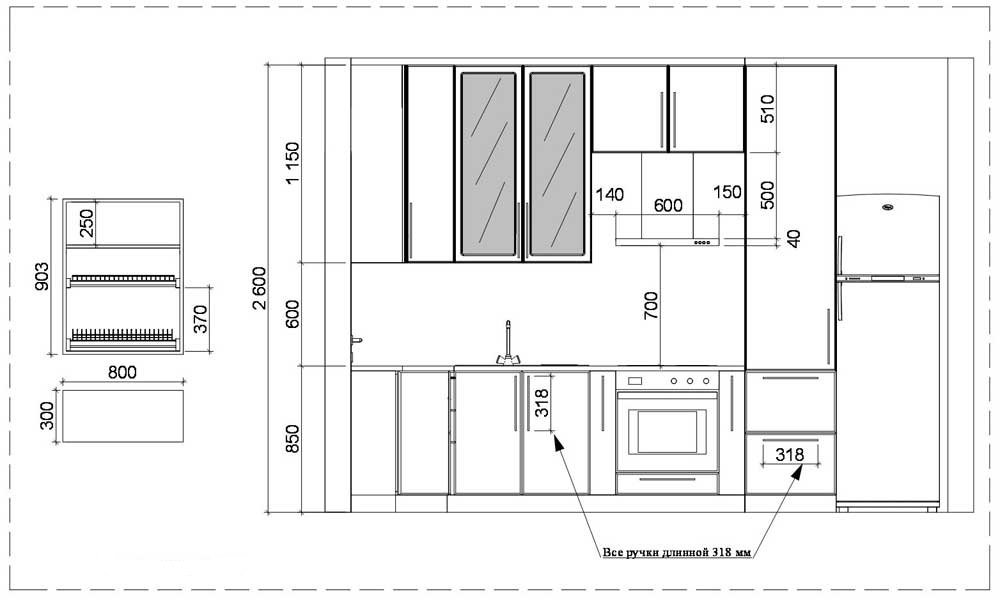
Note! When designing a storage system, the composition of the family, the need for equipment and dimensional utensils are taken into account.
Assembling a drywall kitchen
Top shelves in headsets have become a fashionable trend in recent years, furniture occupies the entire wall space. GKL modules are relevant for non-standard rooms with ledges, supporting columns, niches. It is quite difficult to find a ready-made furniture set for such a kitchen. It is expensive to customize it. GKL constructions are the optimal solution.
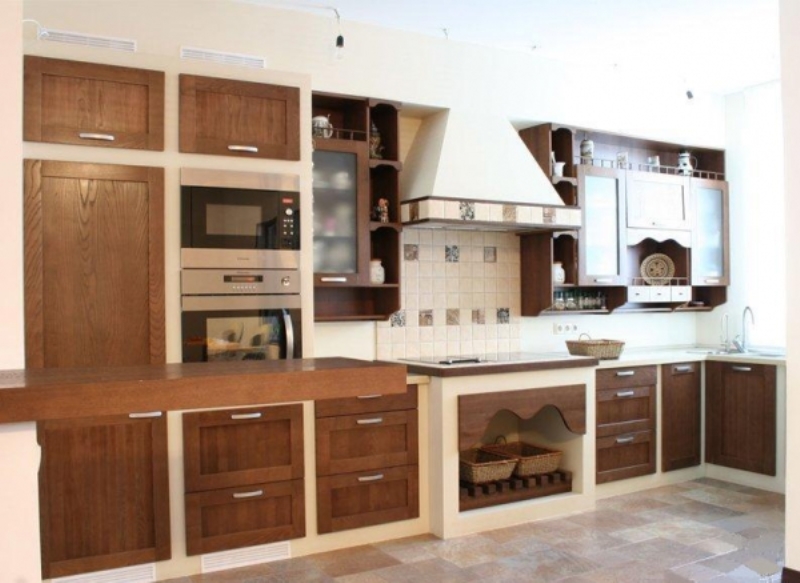
Briefly, the installation of any plasterboard structures can be divided into several main stages:
- the sheets are processed with special mixtures that prevent the development of pathogenic microorganisms (fungus and mold);
- wall markings;
- VGKL marking according to the drawing layout;
- the formation of the support frame from the guides;
- sheathing of the frame with plasterboard blanks, all structural elements are checked with levels;
- filling joints, grouting, sanding;
- finishing finish.
For reference. It is recommended to strengthen the frame with wooden bars, the lintels are made from a profile.
Manufacturing of wall cabinets
The contours of future modules are applied with chalk on the walls and floor. With such a markup, the attachment points of the profile strips are immediately visible. The profile is fastened to the walls, ceiling, floor with self-tapping screws, and U-shaped sections are fastened to each other with bedbugs.
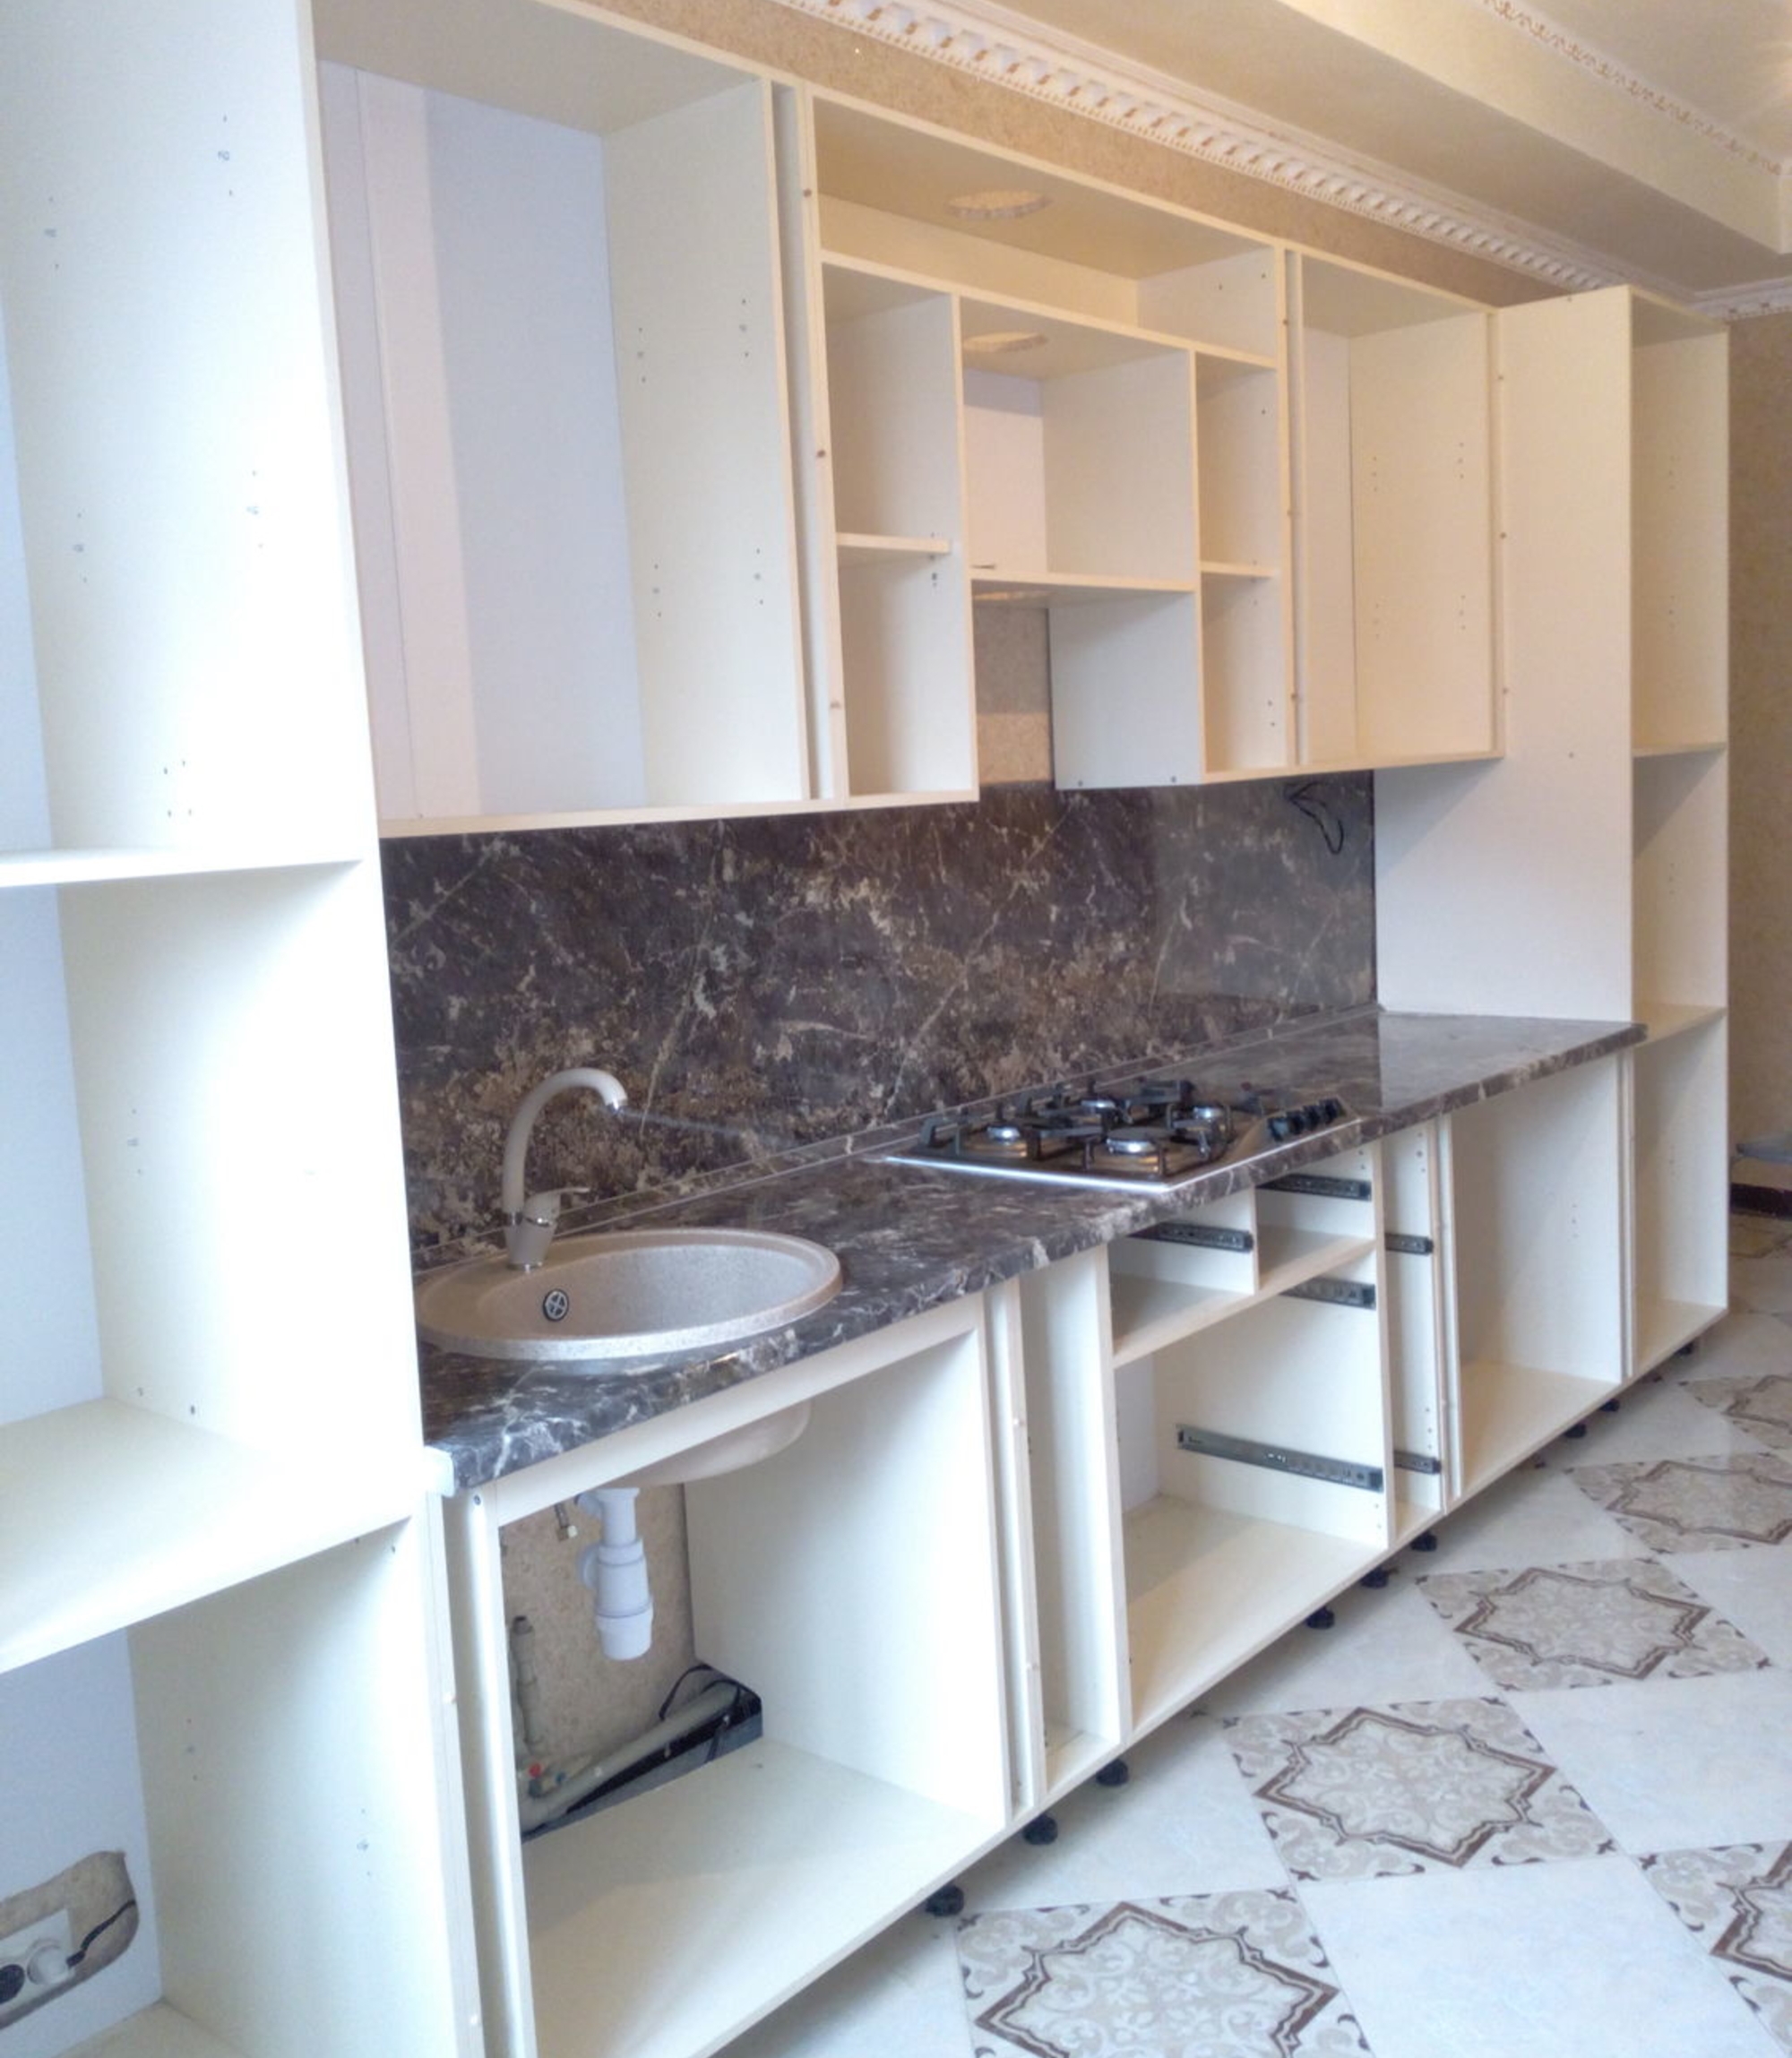
The horizontal rails for the installation of load-bearing shelves can be reinforced with a corner in addition to the timber. Openings for the sink, pipes, wiring are cut with an electric jigsaw. The borders are first outlined with a marker with a small margin (up to 2 mm). First, the profile is assembled, then they proceed to the frame sheathing. All guides must be checked in the required plane.
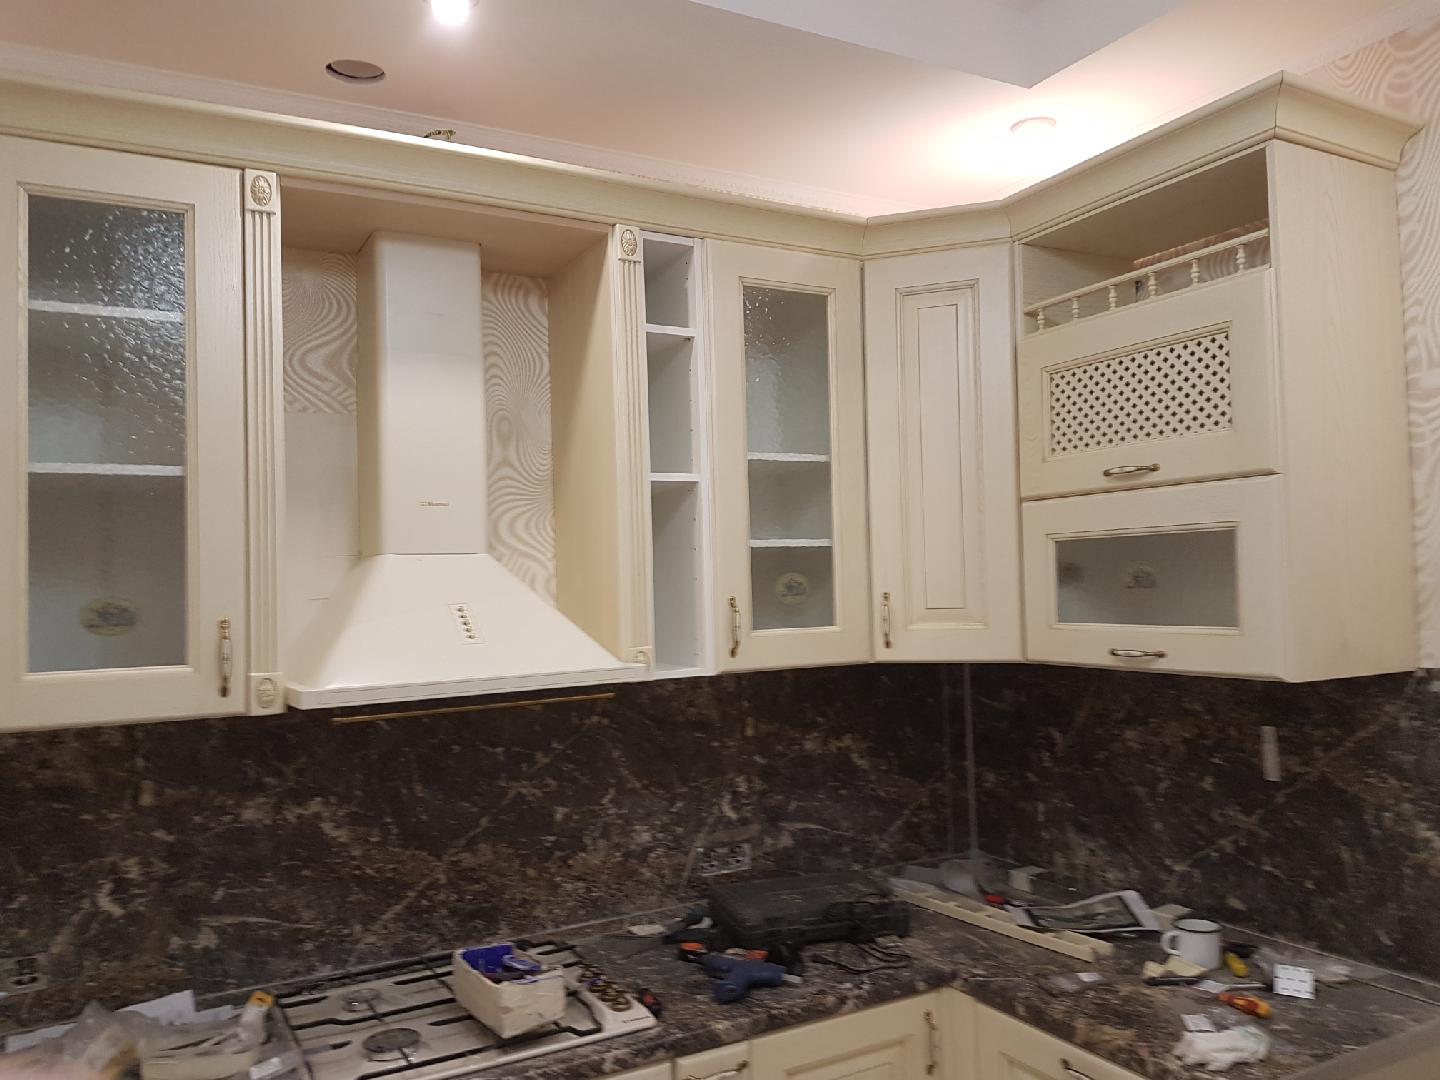
Assembly of floor pedestals
At the points of contact of the profile with the floor, shock-absorbing soft pads are made. They are needed to level the likely vibrations. The peculiarity of the installation of the lower modules of the headset consists in the installation of two profiles:
- the lower U-shaped contour with the ends of the supports is turned to the wall, horizontal guides are cut into it;
- the second U-shaped contour is deployed with the hollow part upwards, attached to the lateral upper plane, vertical guides are cut into it.
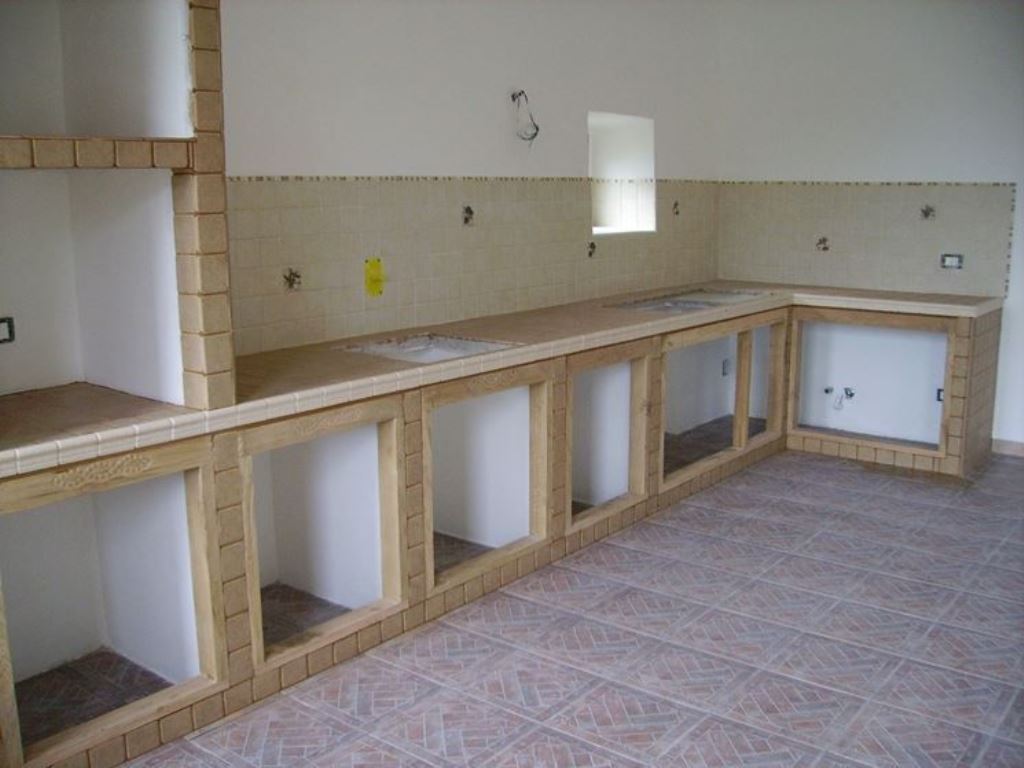
The resulting frame is sheathed first from the sides, then from above. Doors are hung last.
Making a drywall table
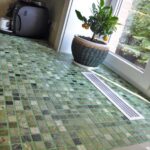
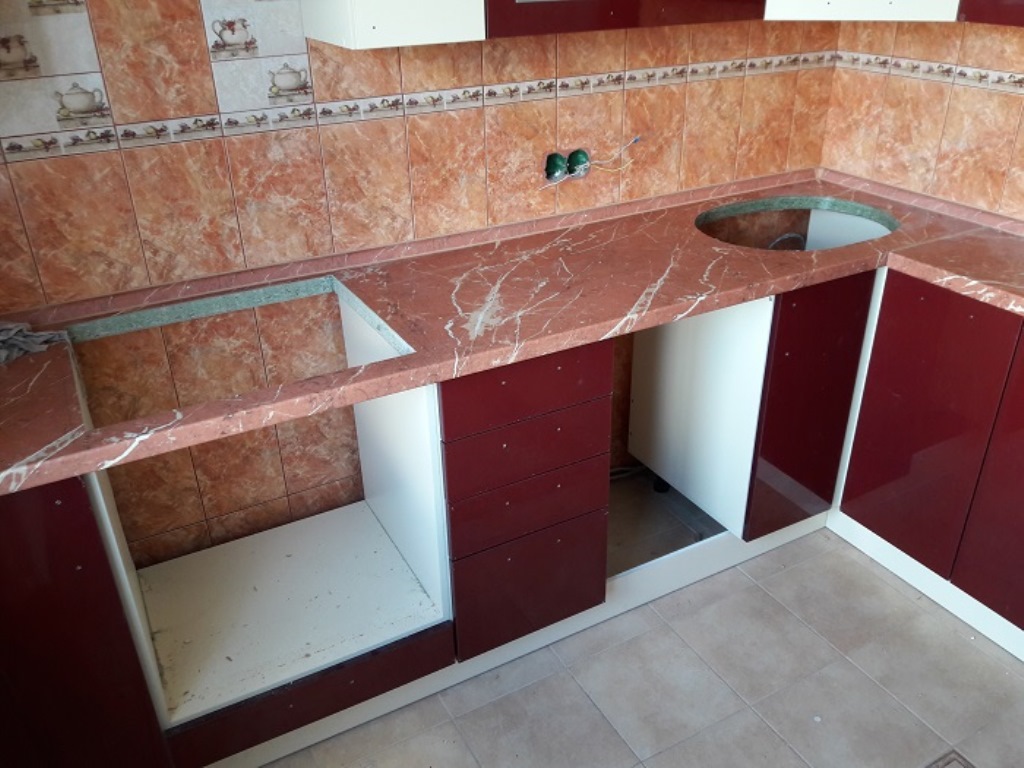
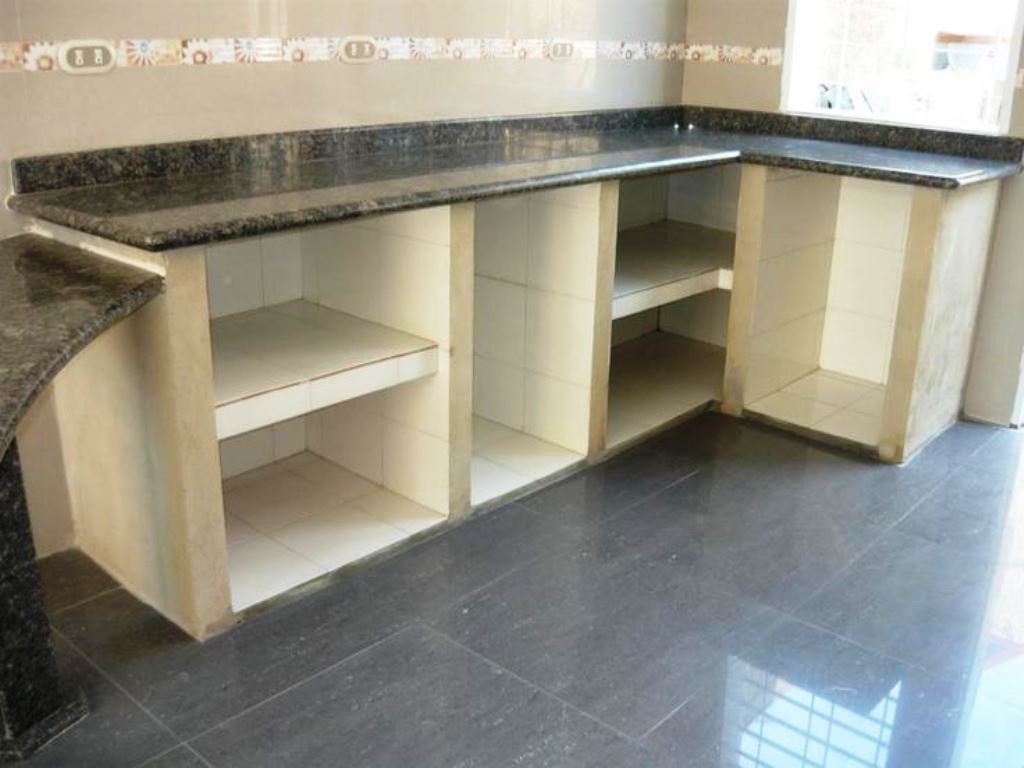
A table is an indispensable element of the kitchen. The surface must be resistant to moisture, easily tolerate frequent cleaning, mechanical stress. The standard width of the table top is 60x80 cm. The lower shelf of the section is made 5 cm shorter so that water does not flow. Ceramic tiles are used for covering. Previously, all seams after grouting and leveling are coated with sealant.

It is recommended to fill the joints between tiles with a two-component epoxy grout. At the edges, it is advisable to make a small side to prevent water from entering the plasterboard mounting parts. The overhanging part of the countertop is painted over with acrylic water-based emulsion in several layers, varnished.
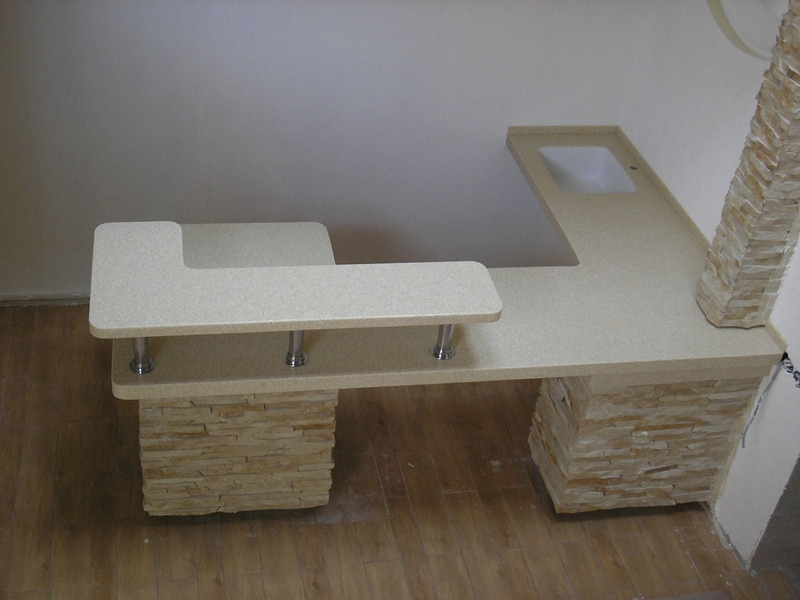
Observing the installation steps, you can make a solid exclusive headset yourself.
Video: plasterboard kitchen set
