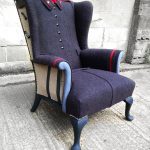
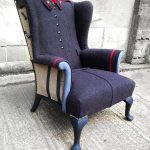
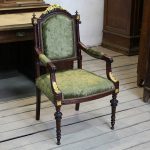
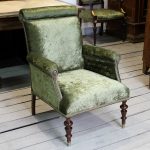
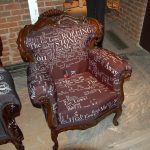
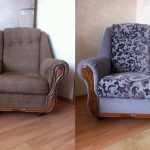
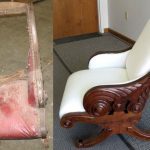
Do-it-yourself renovation of an old chair
Soviet furniture captivates many with its simplicity, affordability, and at the same time, unsurpassed reliability. Even after many years, such interior items look like new. If your favorite chair is out of order, it will not be difficult to restore it. Especially if you follow all the tips and subtleties of this article.

Advantages and disadvantages of chair restoration
The main advantages of the restoration process, first of all, include the possibility of preserving the original appearance of the furniture, which is especially important for older objects, which may be completely impossible to reproduce.
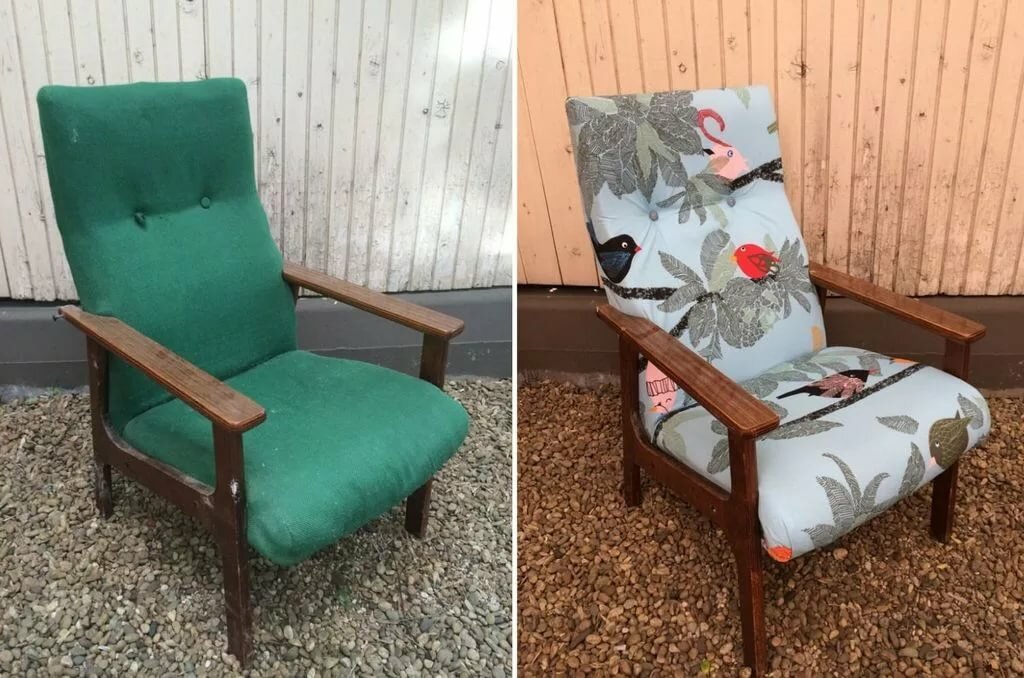
To obtain an acceptable result, there is no need to have extensive experience in the collection or restoration of furniture; materials and tools available in any hardware store are used to restore the previous look.
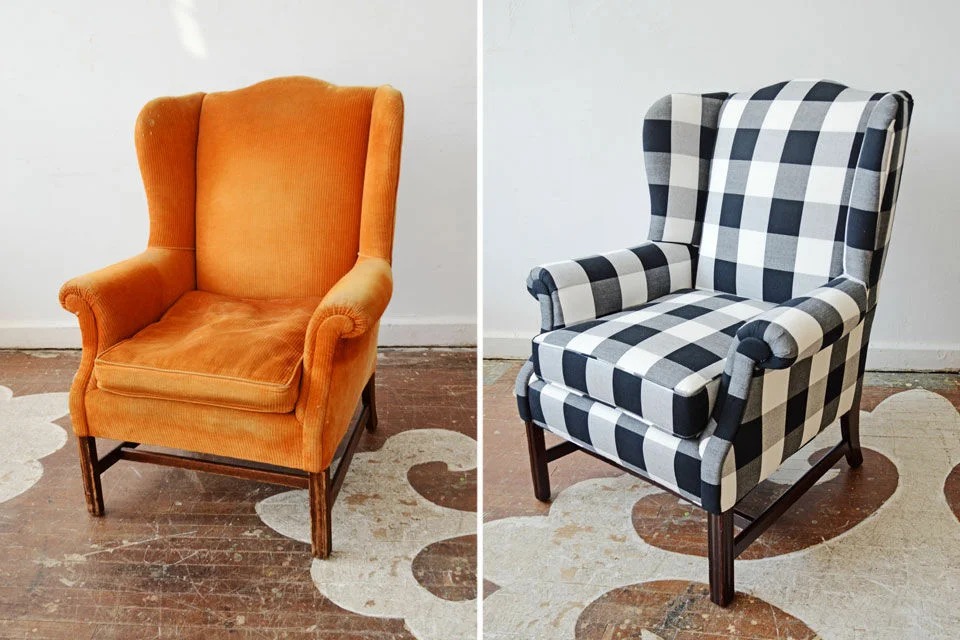
Of course, restoring furniture, especially with your own hands, is much more profitable than buying a new one or ordering similar work from professionals.
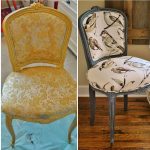
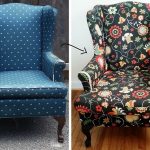
No less highly appreciated is the possibility of changing the old vestments of the chair beyond recognition, thus giving uniqueness to your creation.
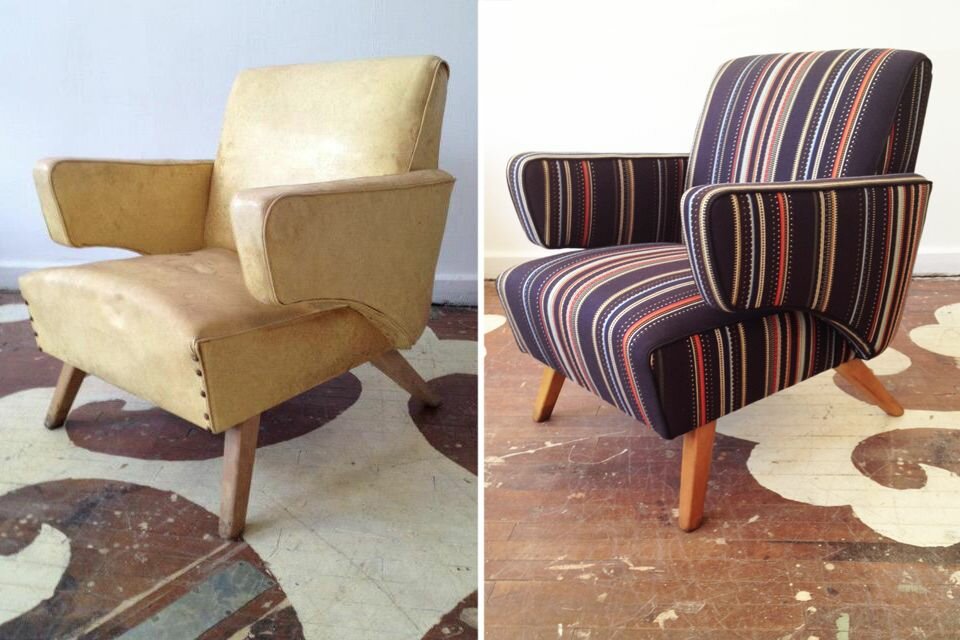
Of the shortcomings, one can only name the acquisition of tools and materials.
In general, the restoration of the chair is a simple and exciting process, strictly following which step by step, you can achieve an amazing result.
What can be done with an old chair
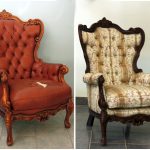
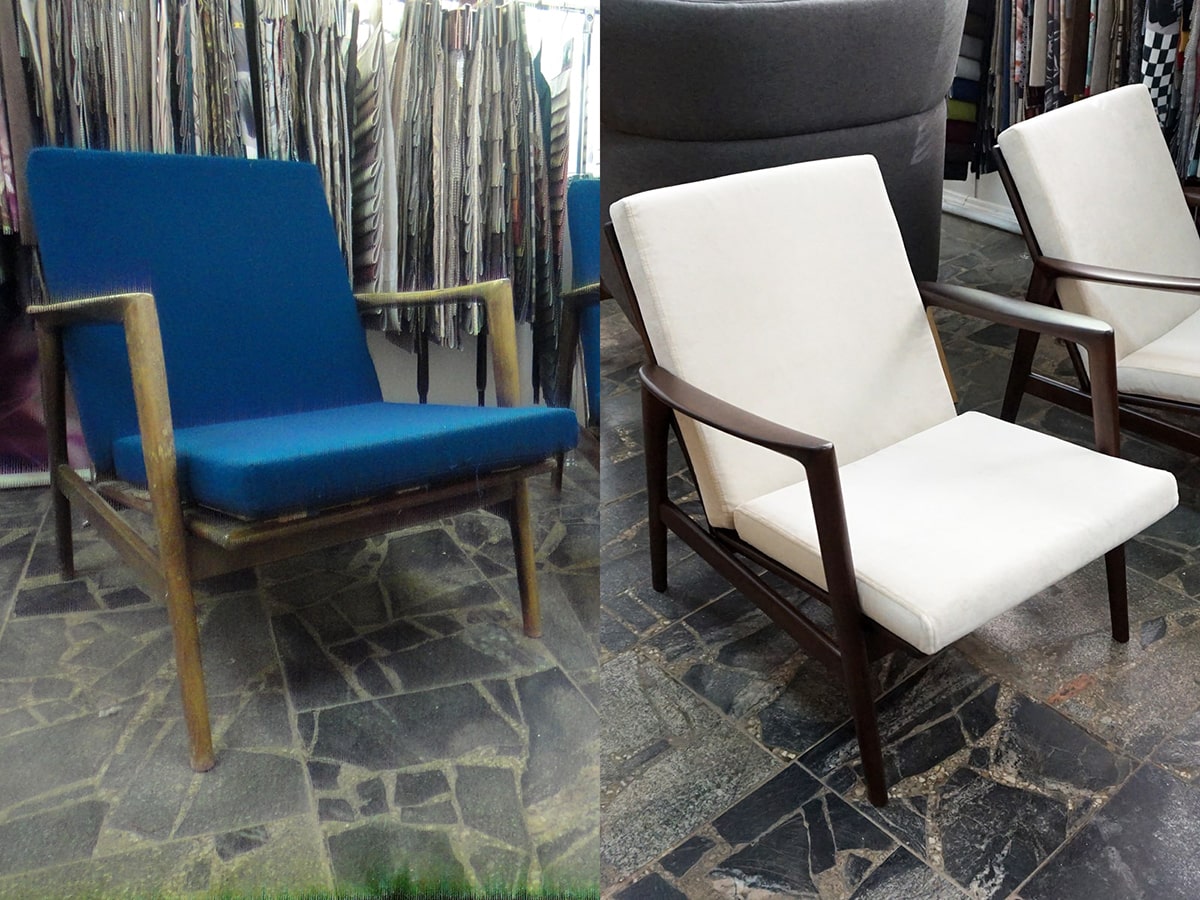
In addition to actually returning to its original appearance, this piece of furniture can be repaired in a truly unique way, changing its appearance with the help of numerous design solutions.
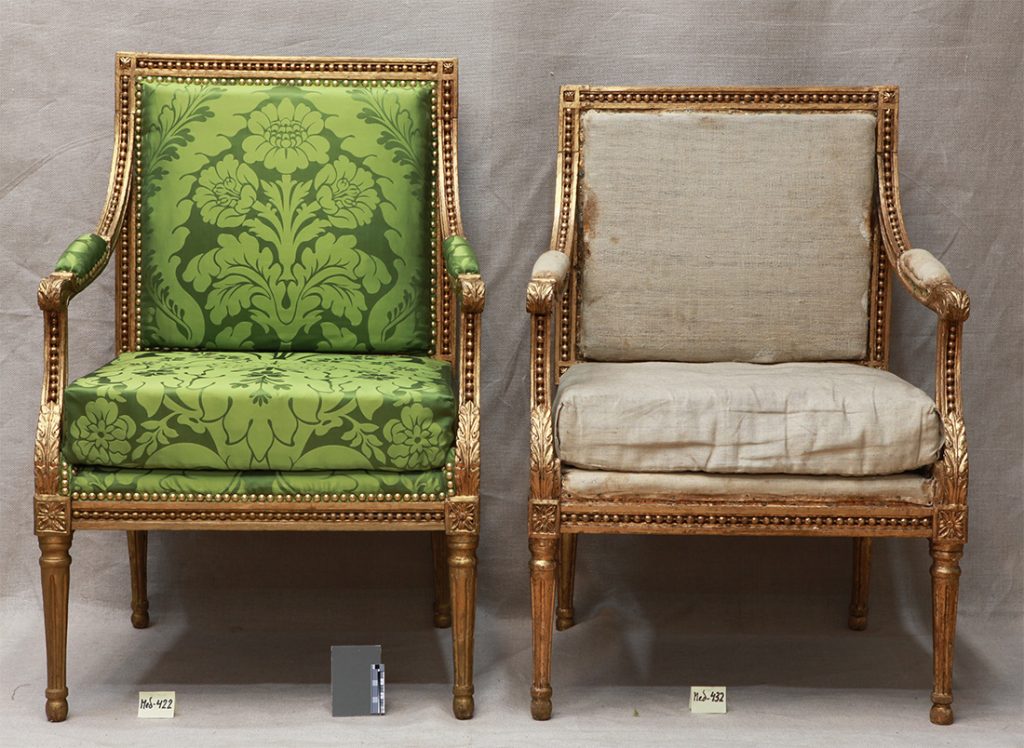
Which of the techniques to use, everyone decides for himself, but sometimes even a small restoration is enough to look at his good old chair from the other side.
What materials and tools are needed
The list of required materials depends on the specific restoration project. If it is a restoration of paintwork and upholstery, a base material, filler and furniture varnish are required.
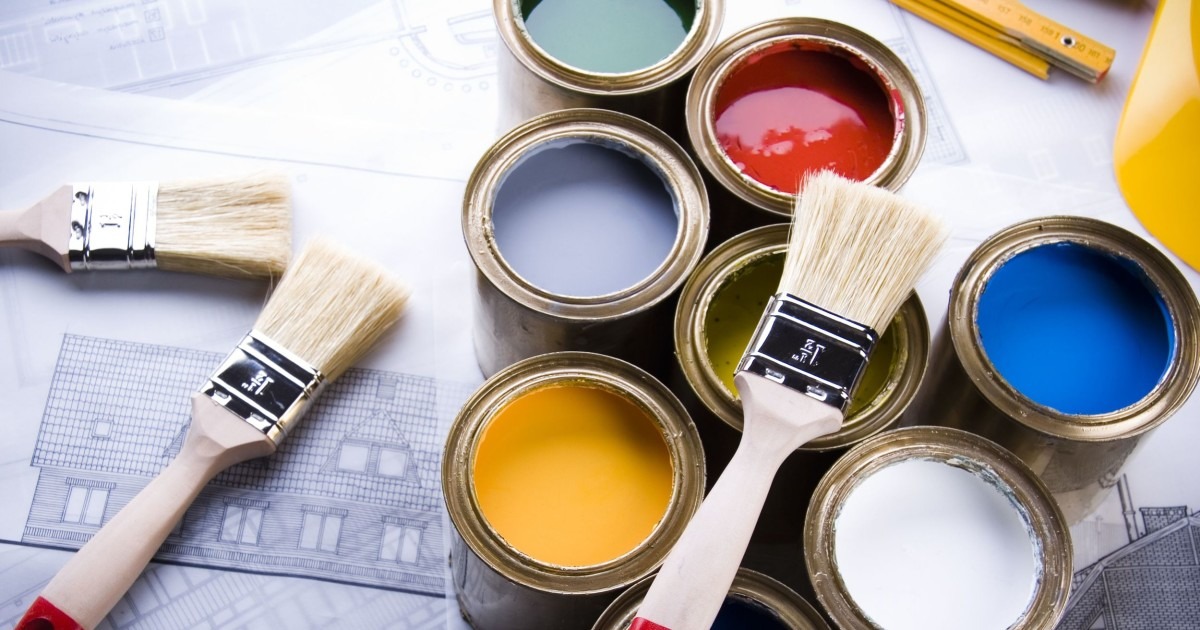
Note! Any varnishes and paints are toxic until dry, therefore it is strongly recommended to work with their use in well-ventilated rooms.
The following tools are needed for the conversion:
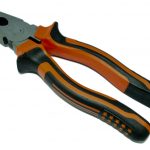
- pliers
- furniture stapler (for fixing the upholstery when replacing it)
- hammer
- a set of screwdrivers or screwdriver
- scissors
- sandpaper or metal brush to clean the surface
- construction tape
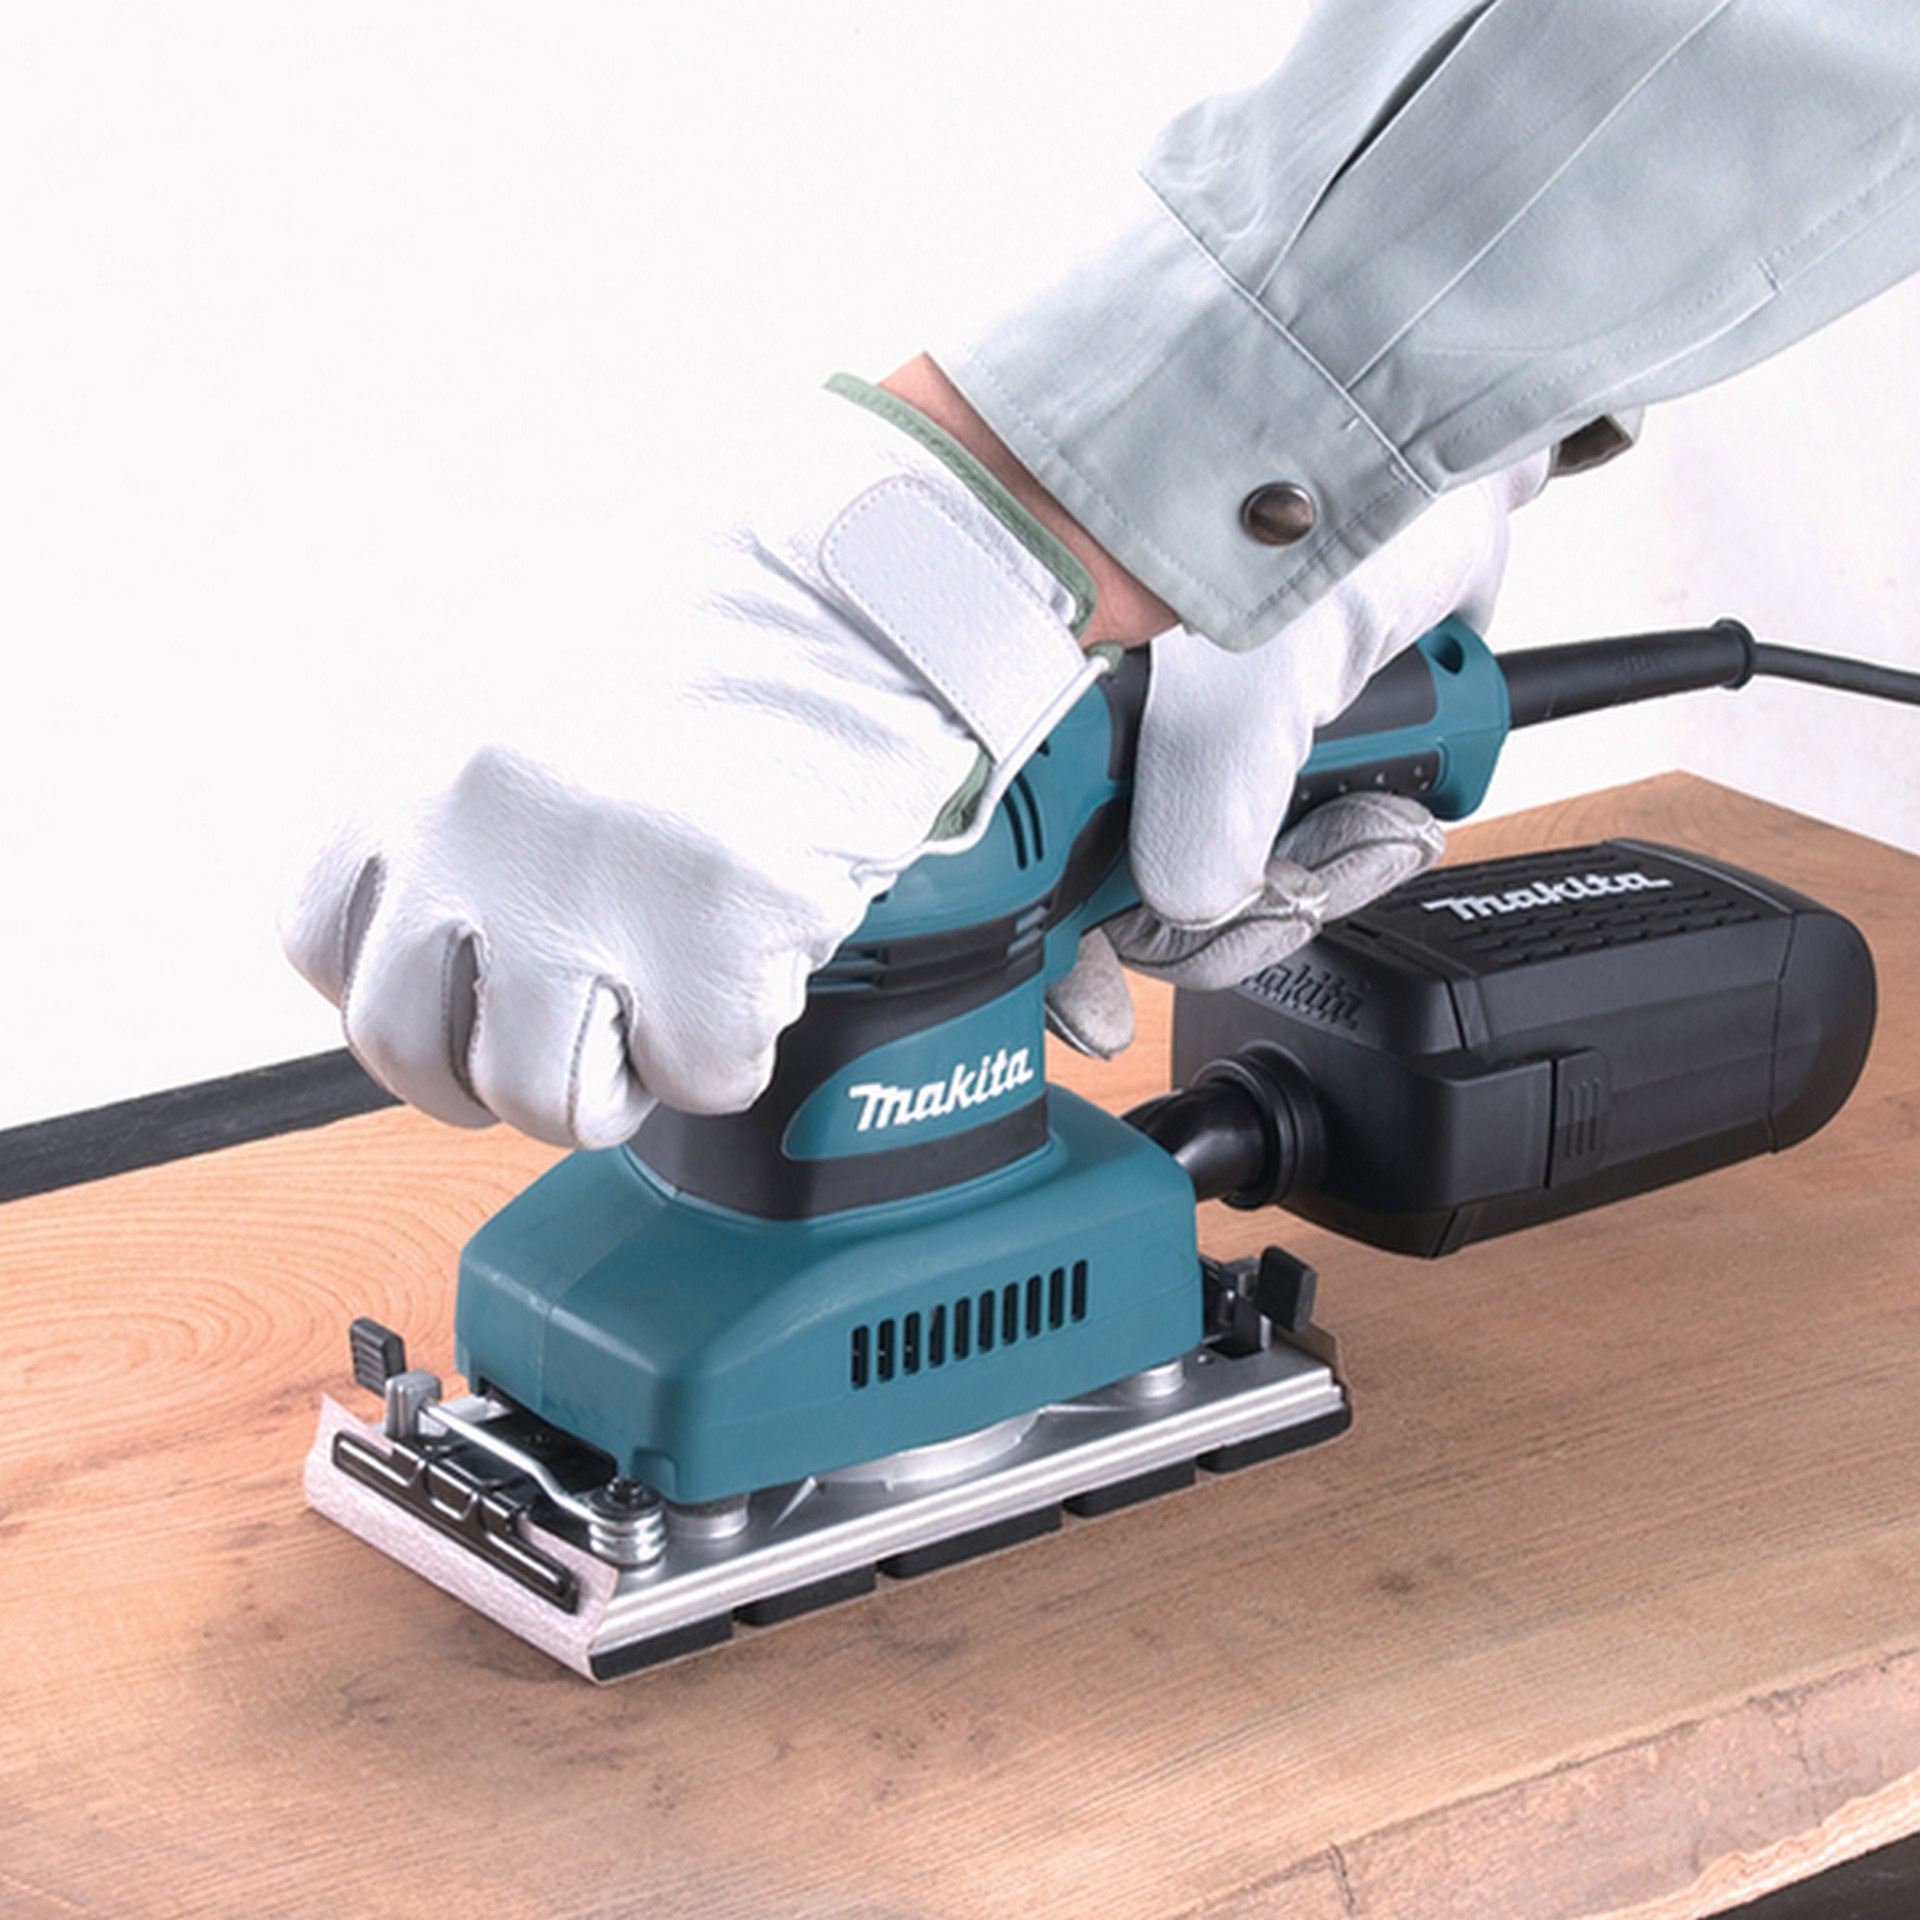
For most jobs, the above list of tools is sufficient. If the surface is severely damaged, a more serious processing with a sander will be required.
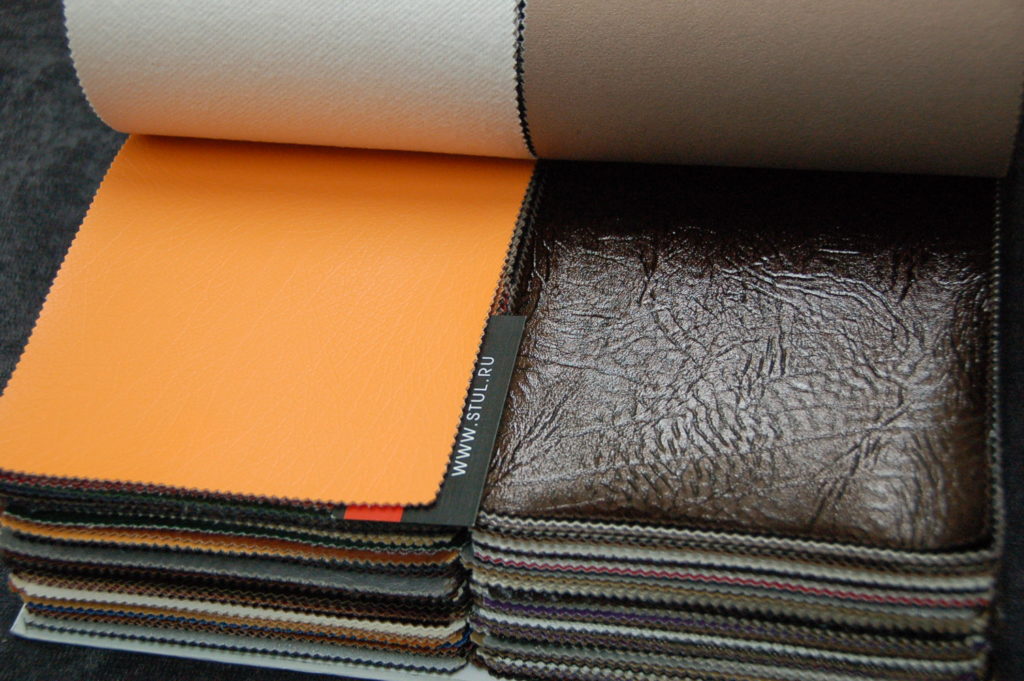
Of course, do not forget about purchasing material to replace the worn one. When updating the upholstery, it is recommended to change the filler at the same time. To fix it, joiner's glue is useful, and when painting a chair, it is recommended to first prime the surface - this way the result will be much better.
DIY chair restoration
Before starting restoration work, you need to have a good idea of the final result. A pre-drawn sketch will help best with this. Even if all dimensions are not verified to the millimeter in it, having even a superficial idea of the final form of your project, you can count on an excellent result.
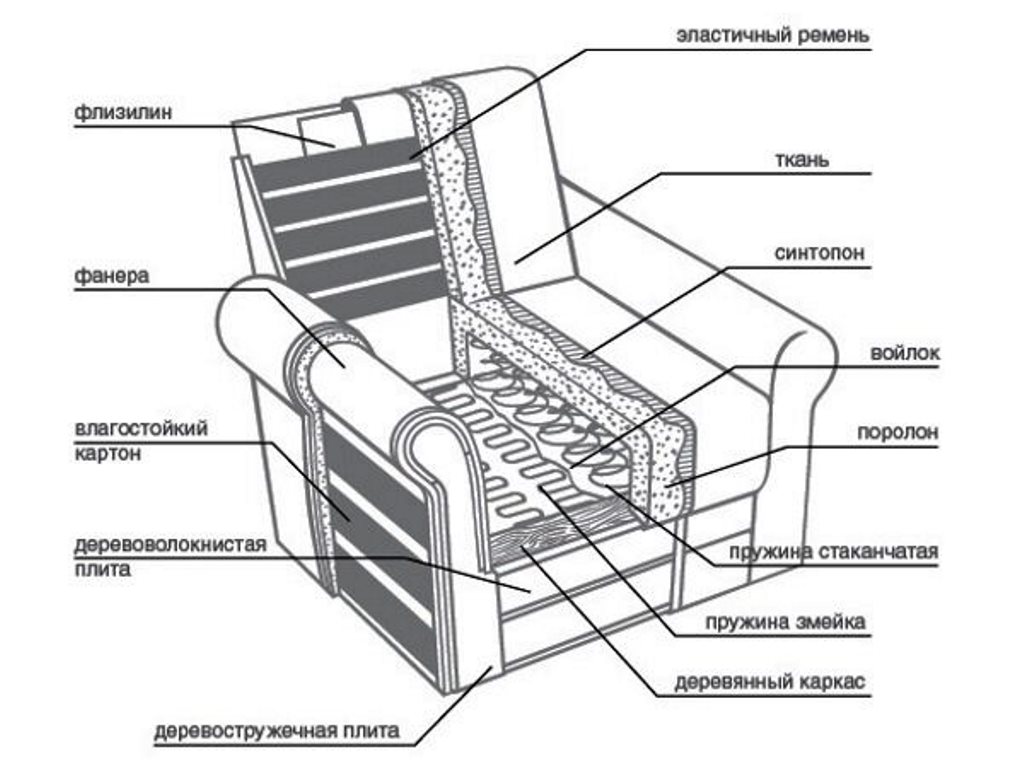
Nevertheless, the restoration of each type of chair has its own nuances. We will definitely talk about them further.
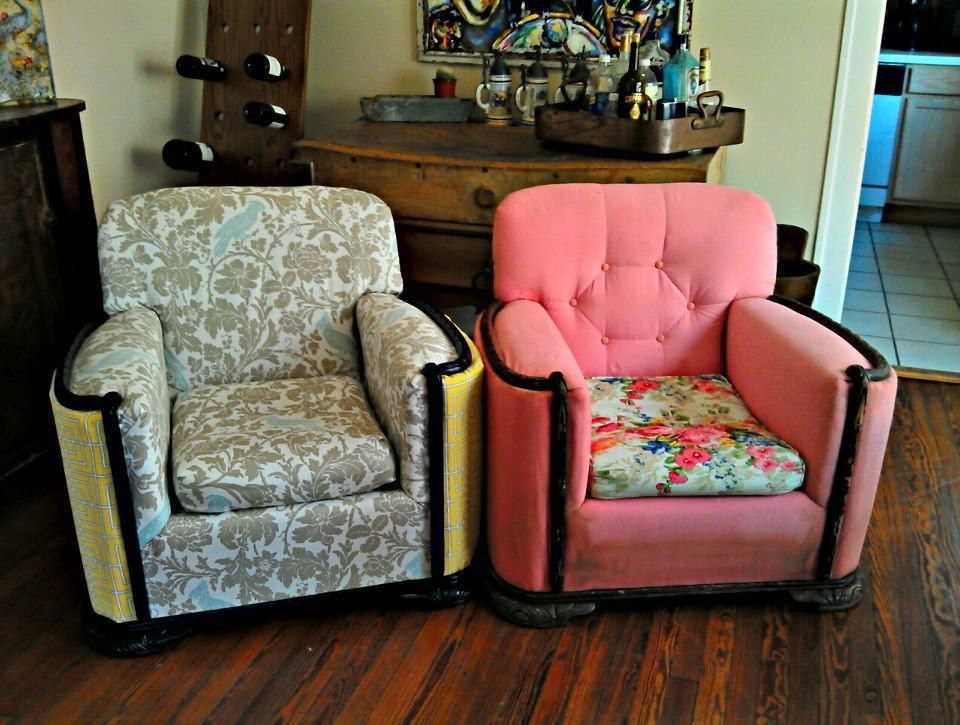
Spring
This chair, especially in the Soviet style, most often has individual dimensions of the spring mechanism. This means that if it has become unusable, it will not work without problems to replace it with a new one. In many cases, custom-made springs are much more expensive than replacing them with soft material and are only suitable for exclusive restoration work.
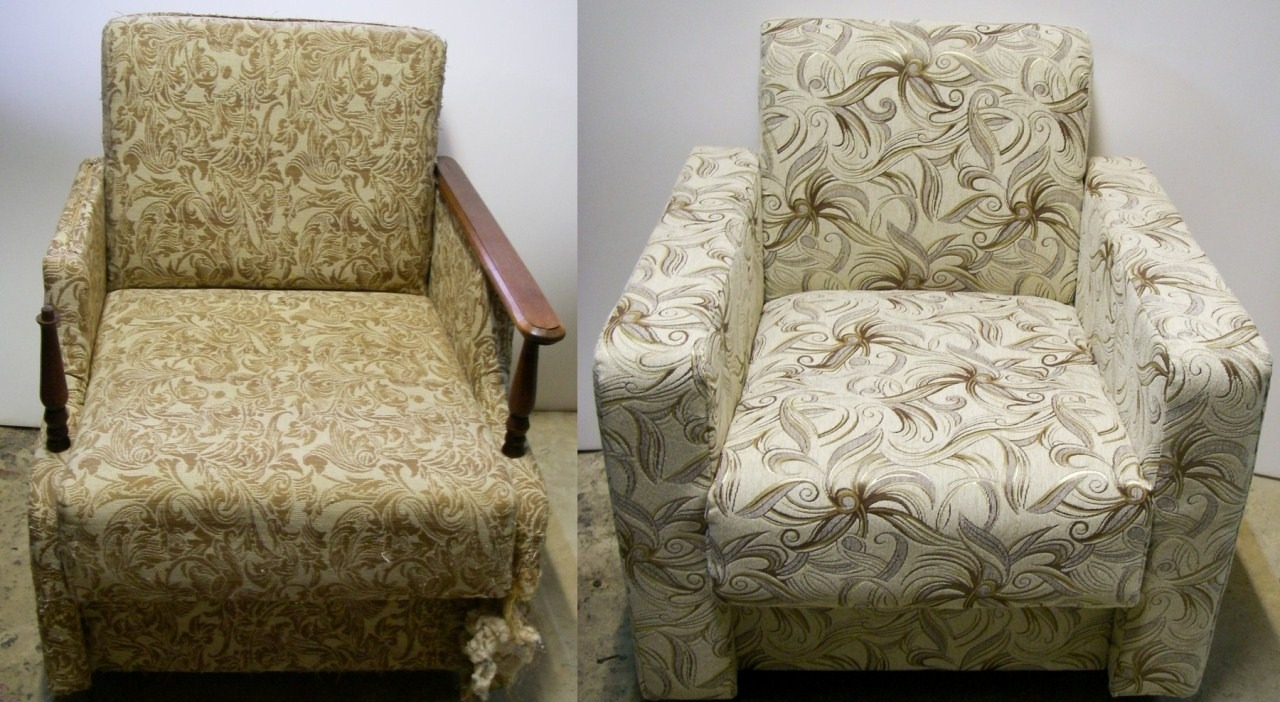
We begin the restoration process by removing the old upholstery, spring base. We clean the surface of our chair when planning its repainting, we carry out these works, and after complete drying we carry out the assembly in the reverse order - we assemble the frame, attach the spring block to it, put a small layer of filler on top and cover it all with upholstery, which we imperceptibly fasten with construction brackets.
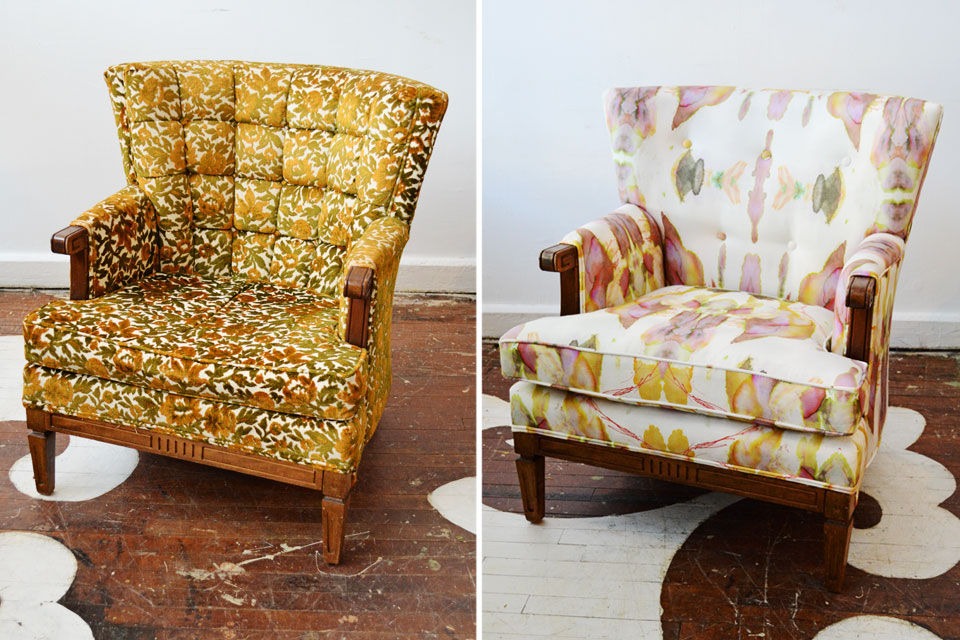
This restoration can be carried out within one day.
Armchairs with wooden armrests
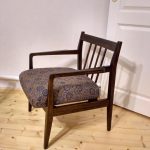
We continue to restore old furniture and the next question is how to update an old armchair with wooden armrests with our own hands. The answer is as simple as a regular stool, except with a few nuances.
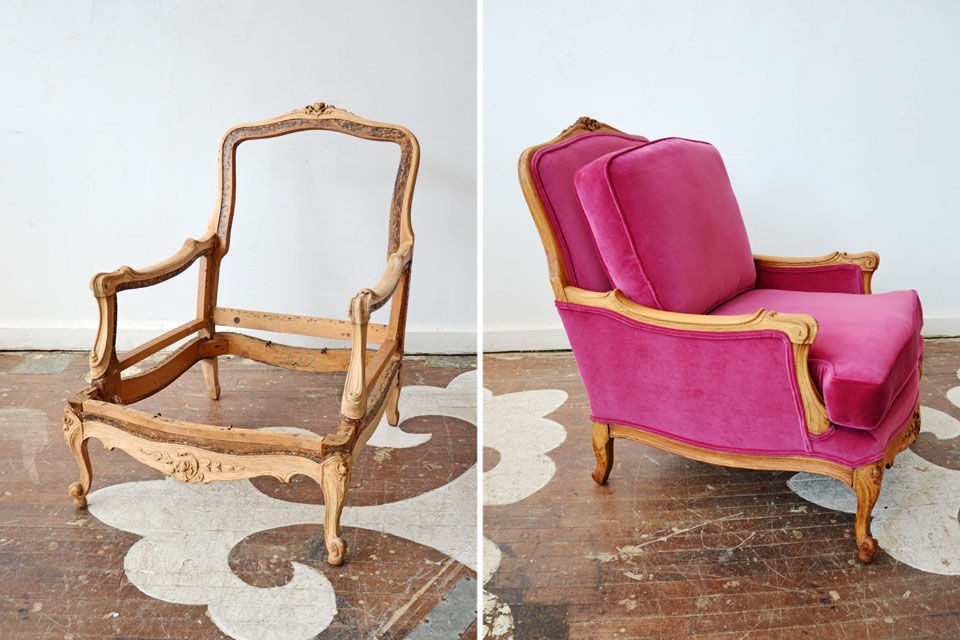
First of all, to achieve the best result, it is better to disassemble the armrest itself into separate parts and restore each of them separately. This is when it comes to an armchair with ordinary wooden armrests.
If the chair has soft sidewalls, we restore them together with the main frame, and we start the upholstery process from one edge, moving to the other. This will keep the appearance of the chair harmonious.
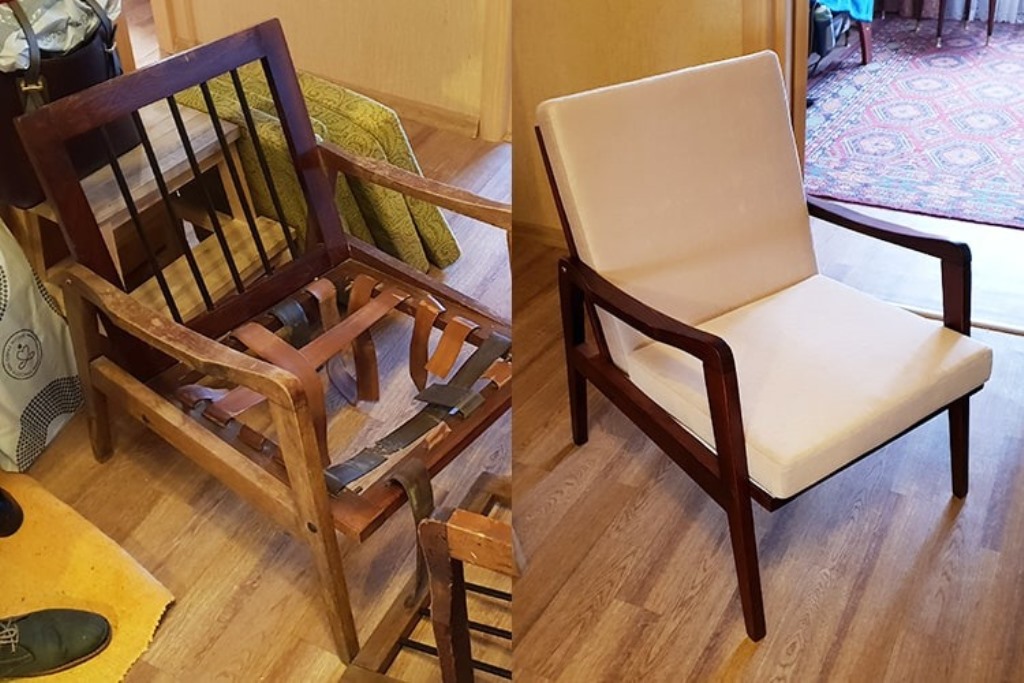
Important! The biggest mistake is to upholster each part of such a chair separately in different directions.
The seat is restored in just a few minutes - the old upholstery with filler is removed, a new one is glued on instead, also covered with filler.
If you need to update the frame of a chair with armrests, we perform this process before upholstery.
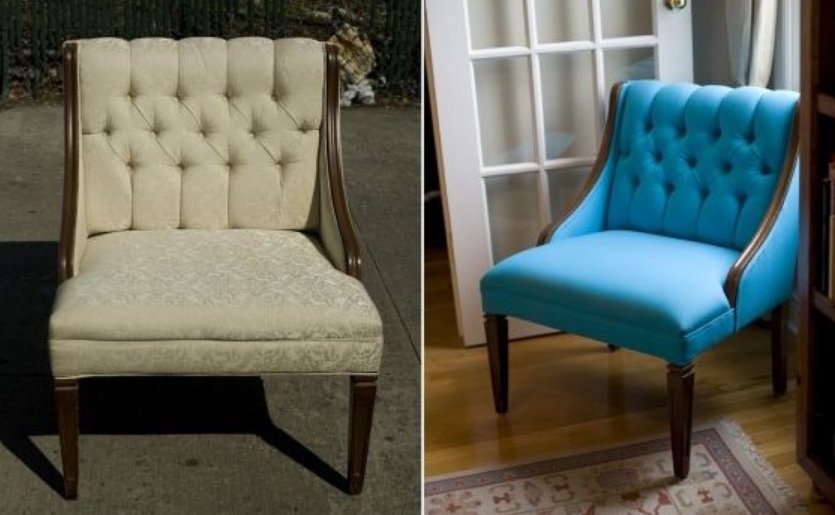
Soviet armchair
This is the easiest job to do. After all, Soviet things are reliable and durable. We carefully clean the surface of the chair from the old coating, repaint or renew the varnish coating, let it dry - and the work is completed.
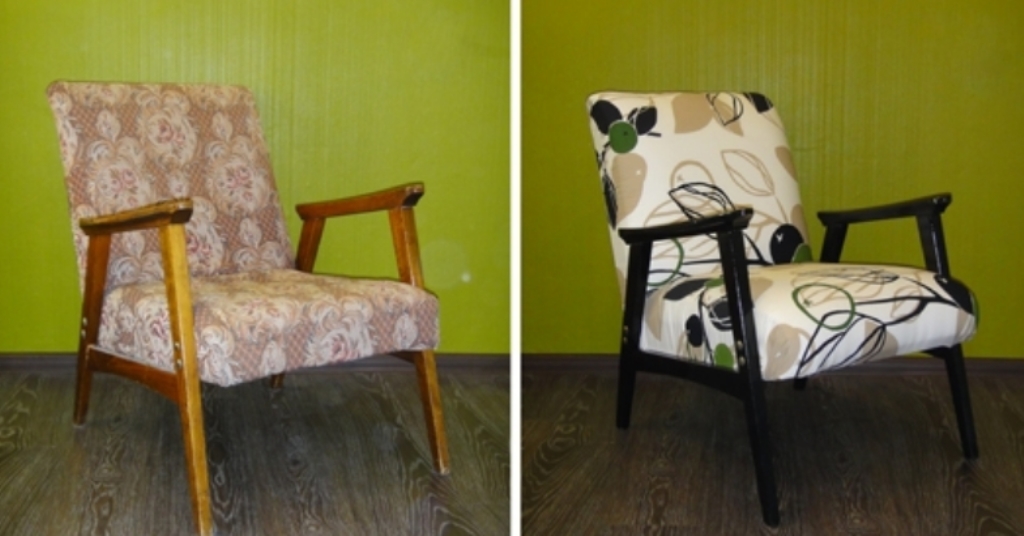
The seemingly difficult task of restoring old armchairs at first glance turns out to be very simple, especially if you follow the advice from this article.
Video: art object from grandma's armchairs


