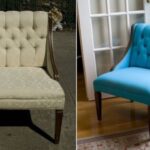
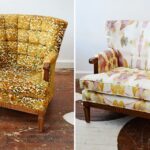
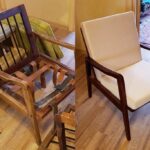
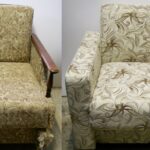
Do-it-yourself chair upholstery
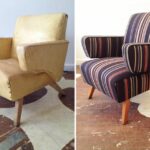
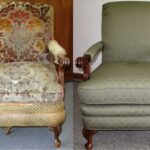
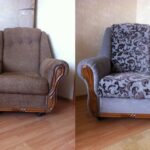
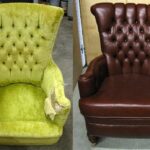
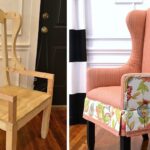
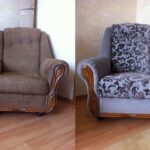
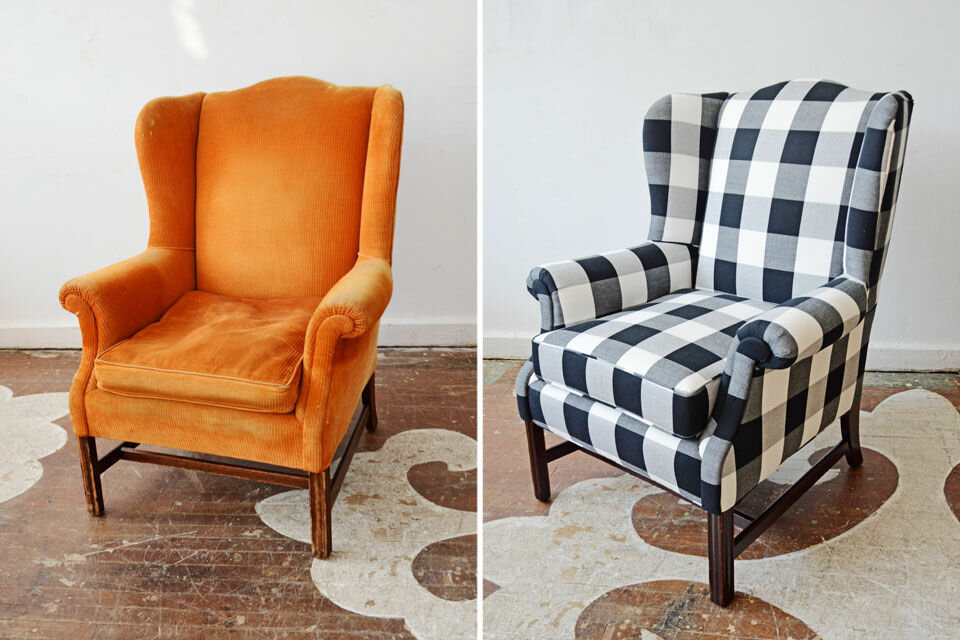
Sometimes old upholstered furniture has an unattractive appearance precisely because the upholstery on it wears out and wears out. Although, the product itself is still quite strong and reliable. In this case, you should not throw out the product, but rather update it by tightening. You can do this yourself, but you should understand the technology and the intricacies of the process.
- Advantages and disadvantages of chair upholstery
- What materials and tools are needed for constriction
- Selection and preparation of fabric for upholstery
- How to properly sheathe an old chair with your own hands
- Armchair upholstery workshops
- Video: do-it-yourself chair hauling
- 50 chair designs after restoration
Advantages and disadvantages of chair upholstery
Before you update an old chair with your own hands, you should understand all the pros and cons that the owner of such a piece of furniture gets.
Of the positive, one can single out:
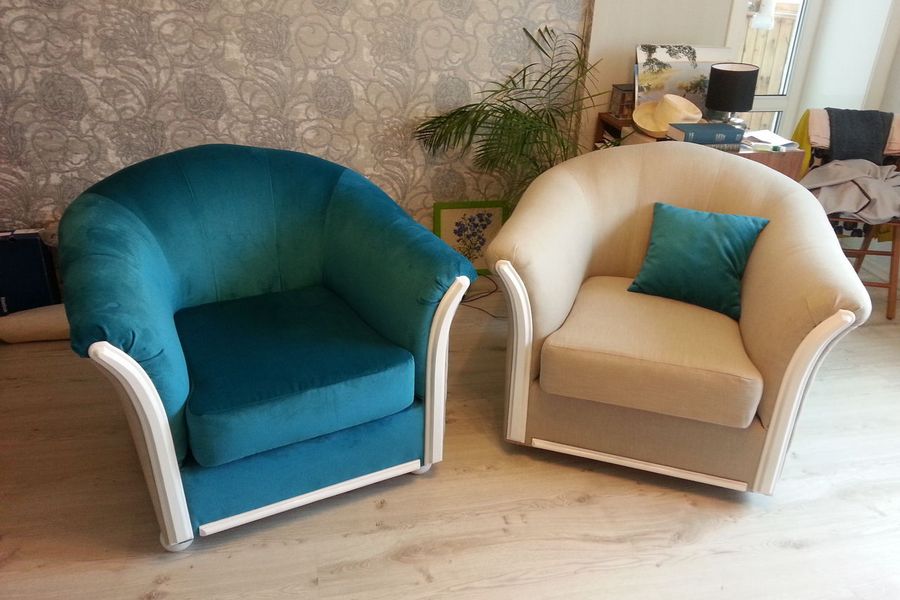
- For little money, you can get a completely new, attractive outwardly product.
- When there is no financial opportunity, you can update the furniture, sparing the family budget.
- You can practice working with your hands, perhaps after that there will be a desire to make things and repair them yourself.
Disadvantages:
- You cannot buy completely new furniture in this way. Therefore, it is impossible to talk about updating the interior style in this case.
- If you act ineptly, then you can ruin the product. And then you will have to make even greater efforts to restore it.
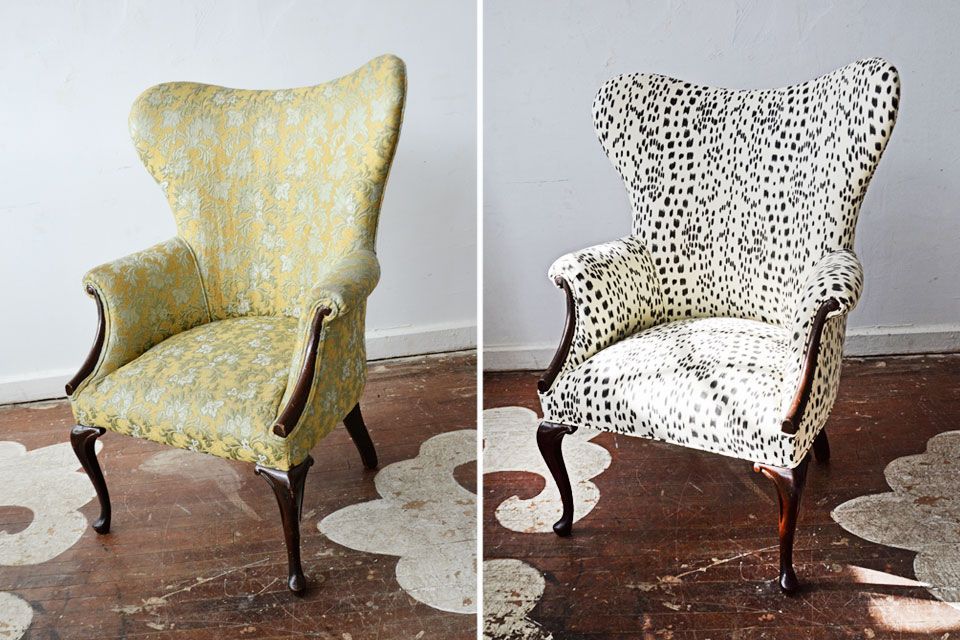
Perhaps the restoration, based on the pros and cons, looks like a really winning action. So why not try to do it on your own. To do this, you first need to prepare the tools and buy a fabric that you will like externally and will suit the interior. At the same time, do not forget to take into account the class that will allow it, according to its mechanical characteristics, to serve for a long enough time, and not to break after a short time of operation.
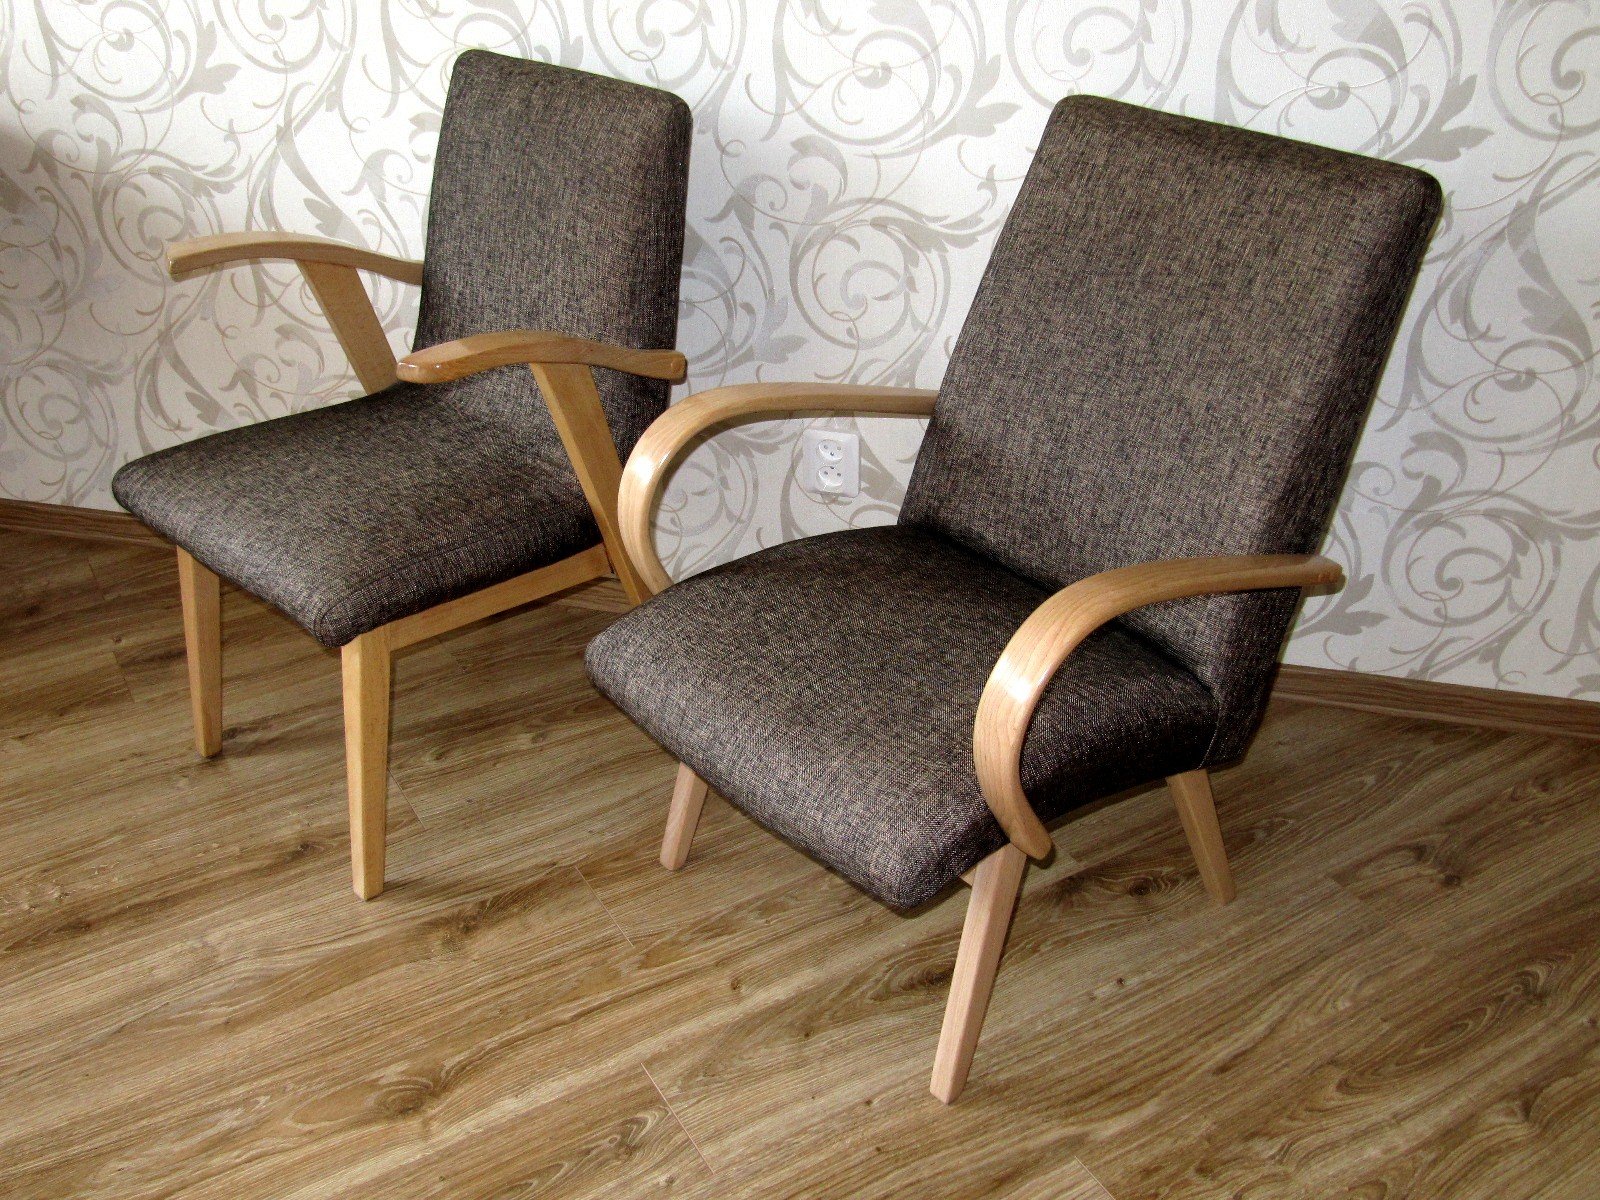
What materials and tools are needed for constriction
As tools for constriction, it is necessary to prepare:
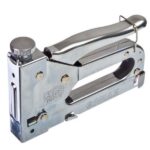
- Furniture stapler or staples for fixing the material to the base.
- Special tools that will allow you to disassemble and assemble the chair. This includes hammers, wrenches, pliers, and nail pliers.
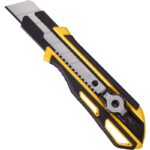
- Clerical knife or sharp thin hacksaw.
- Sewing machine for processing fabric. If it is not there, then you will have to act with a needle and thread, which will require much more time and effort.
- Chalk for tailoring.
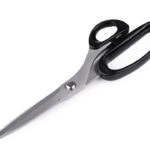
- Sharp scissors with long blades that can cut through dense material.
When choosing materials for such work, it is worth stocking up on:
- Dense foam rubber of the appropriate thickness.
- The material that can be played is chenille, flock, matting of different composition, nubuck (natural and artificial), tapestry or jacquard fabrics, leather or eco-leather. The choice depends on individual preferences, the general style of the interior, the effect that you want to get from the chair.

Selection and preparation of fabric for upholstery
Of course, choosing the material for the upholstery of the chair, many rely solely on their own taste. Considering the fabric or leather, from the point of view of the material for the upholstery, the texture, coloristic solution, the presence or absence of a print are evaluated. But, at the same time, many people forget that furniture will have to be upholstered with this fabric. But you will have to sit on the chair and subject it to mechanical stress and additional friction.
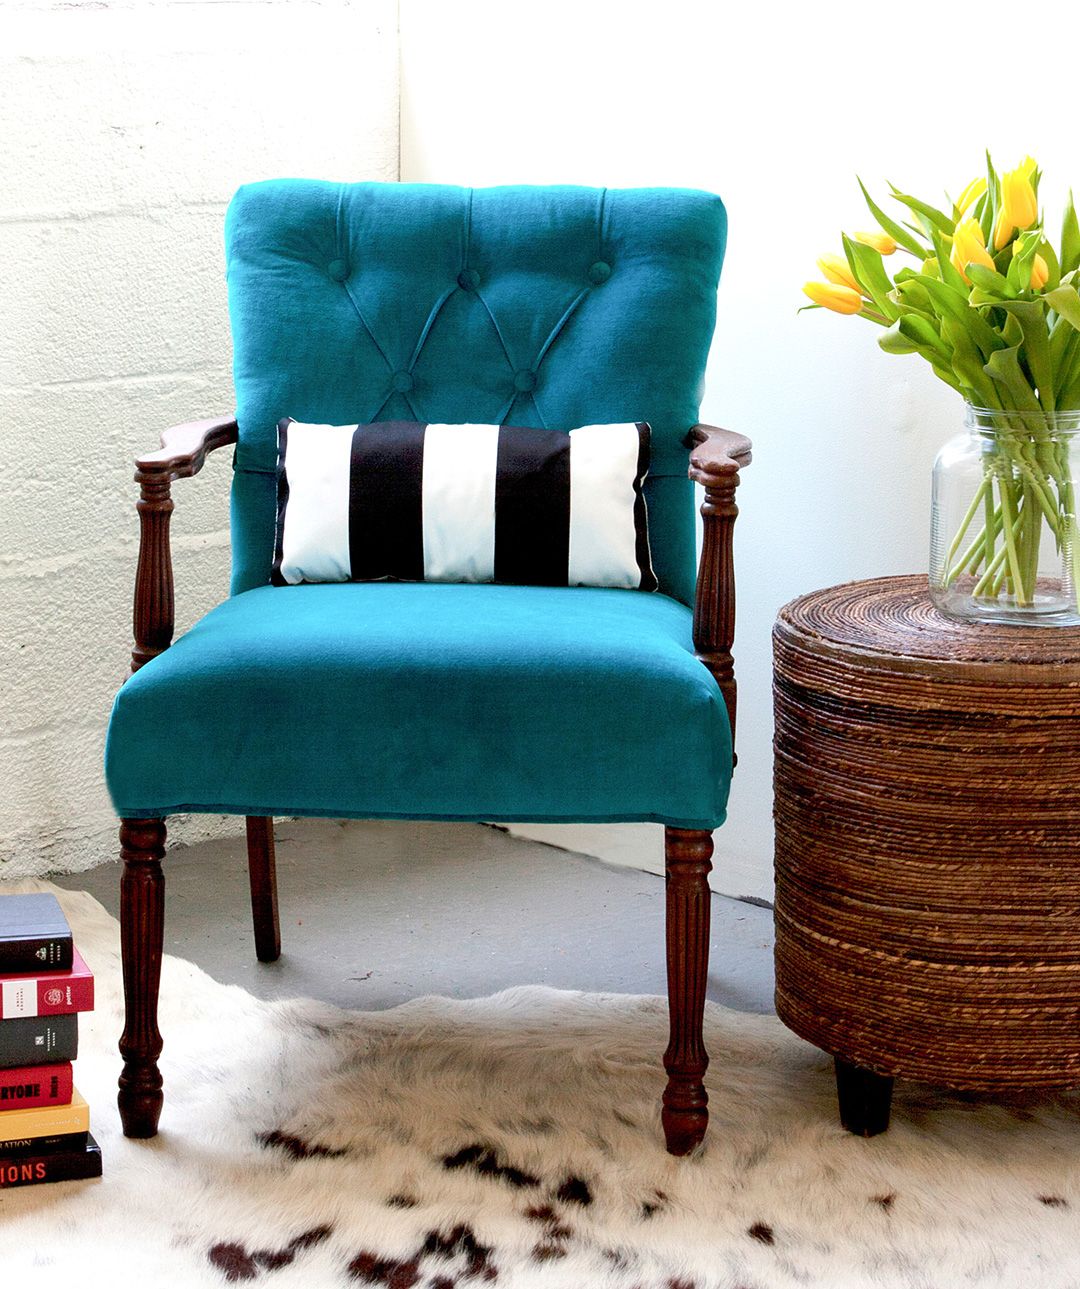
It is for this reason that the upholstery must meet the following conditions:
- You can only cover it with dense material. The thin fabric will break through quickly enough and the entire manipulation will have to be redone again.
- Durability is another important parameter. There are materials that have fibers that are resistant to tearing. Therefore, it is worth choosing fabric or leather materials specially created for furniture work.
- Another important factor is practicality. Remember that furniture sometimes needs cleaning. Therefore, it is best if the fabric is easy enough to clean with a vacuum cleaner, brush or damp cloth.
How to properly sheathe an old chair with your own hands
Before you do the hauling of the chair with your own hands, you need to figure out all the steps step by step. The sequence of manipulations is important, since their violation will lead to the impossibility of implementing this process. Here's what step-by-step instructions you need to pay attention to.
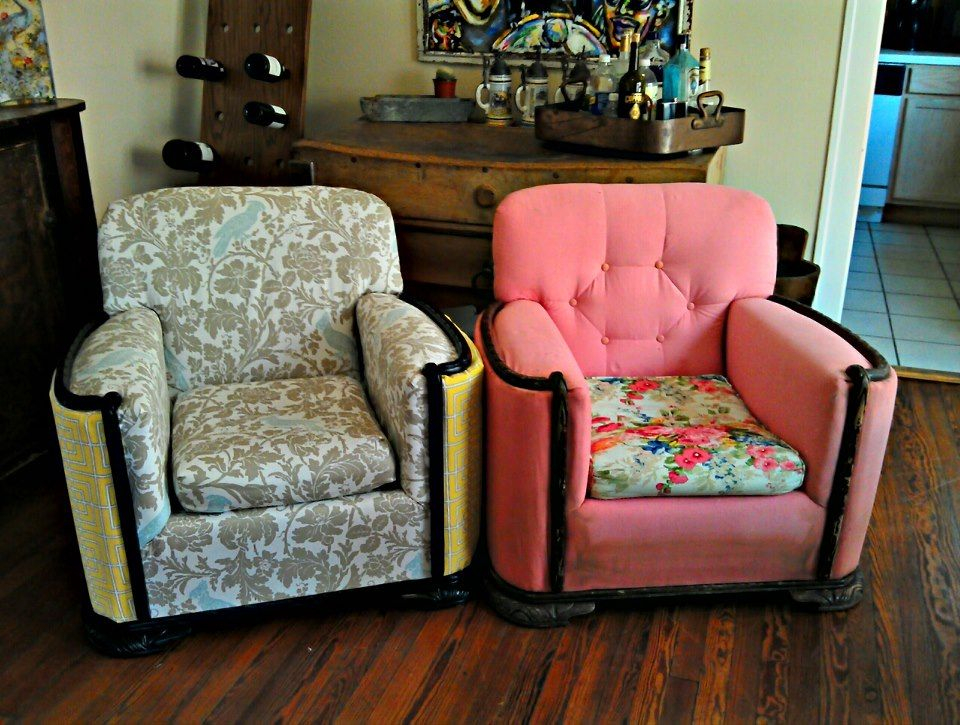
We disassemble the chair
First, you need to disassemble the chair. This is done as follows:
- First, all the elements are removed, which can be removed easily enough. These can be armrests.
- Then the chair is folded into a horizontal position with the seat up. It is necessary to get to the bottom and dismantle the legs.
- Then the fasteners are removed from the back and the base. Most often, upholstery and soft foam are fixed with staples around the perimeter. They are simply carefully pulled out by prying with a knife or a thin screwdriver.
- Then all other elements are untwisted. Most often they are fixed with screws, so you have to work with a screwdriver.
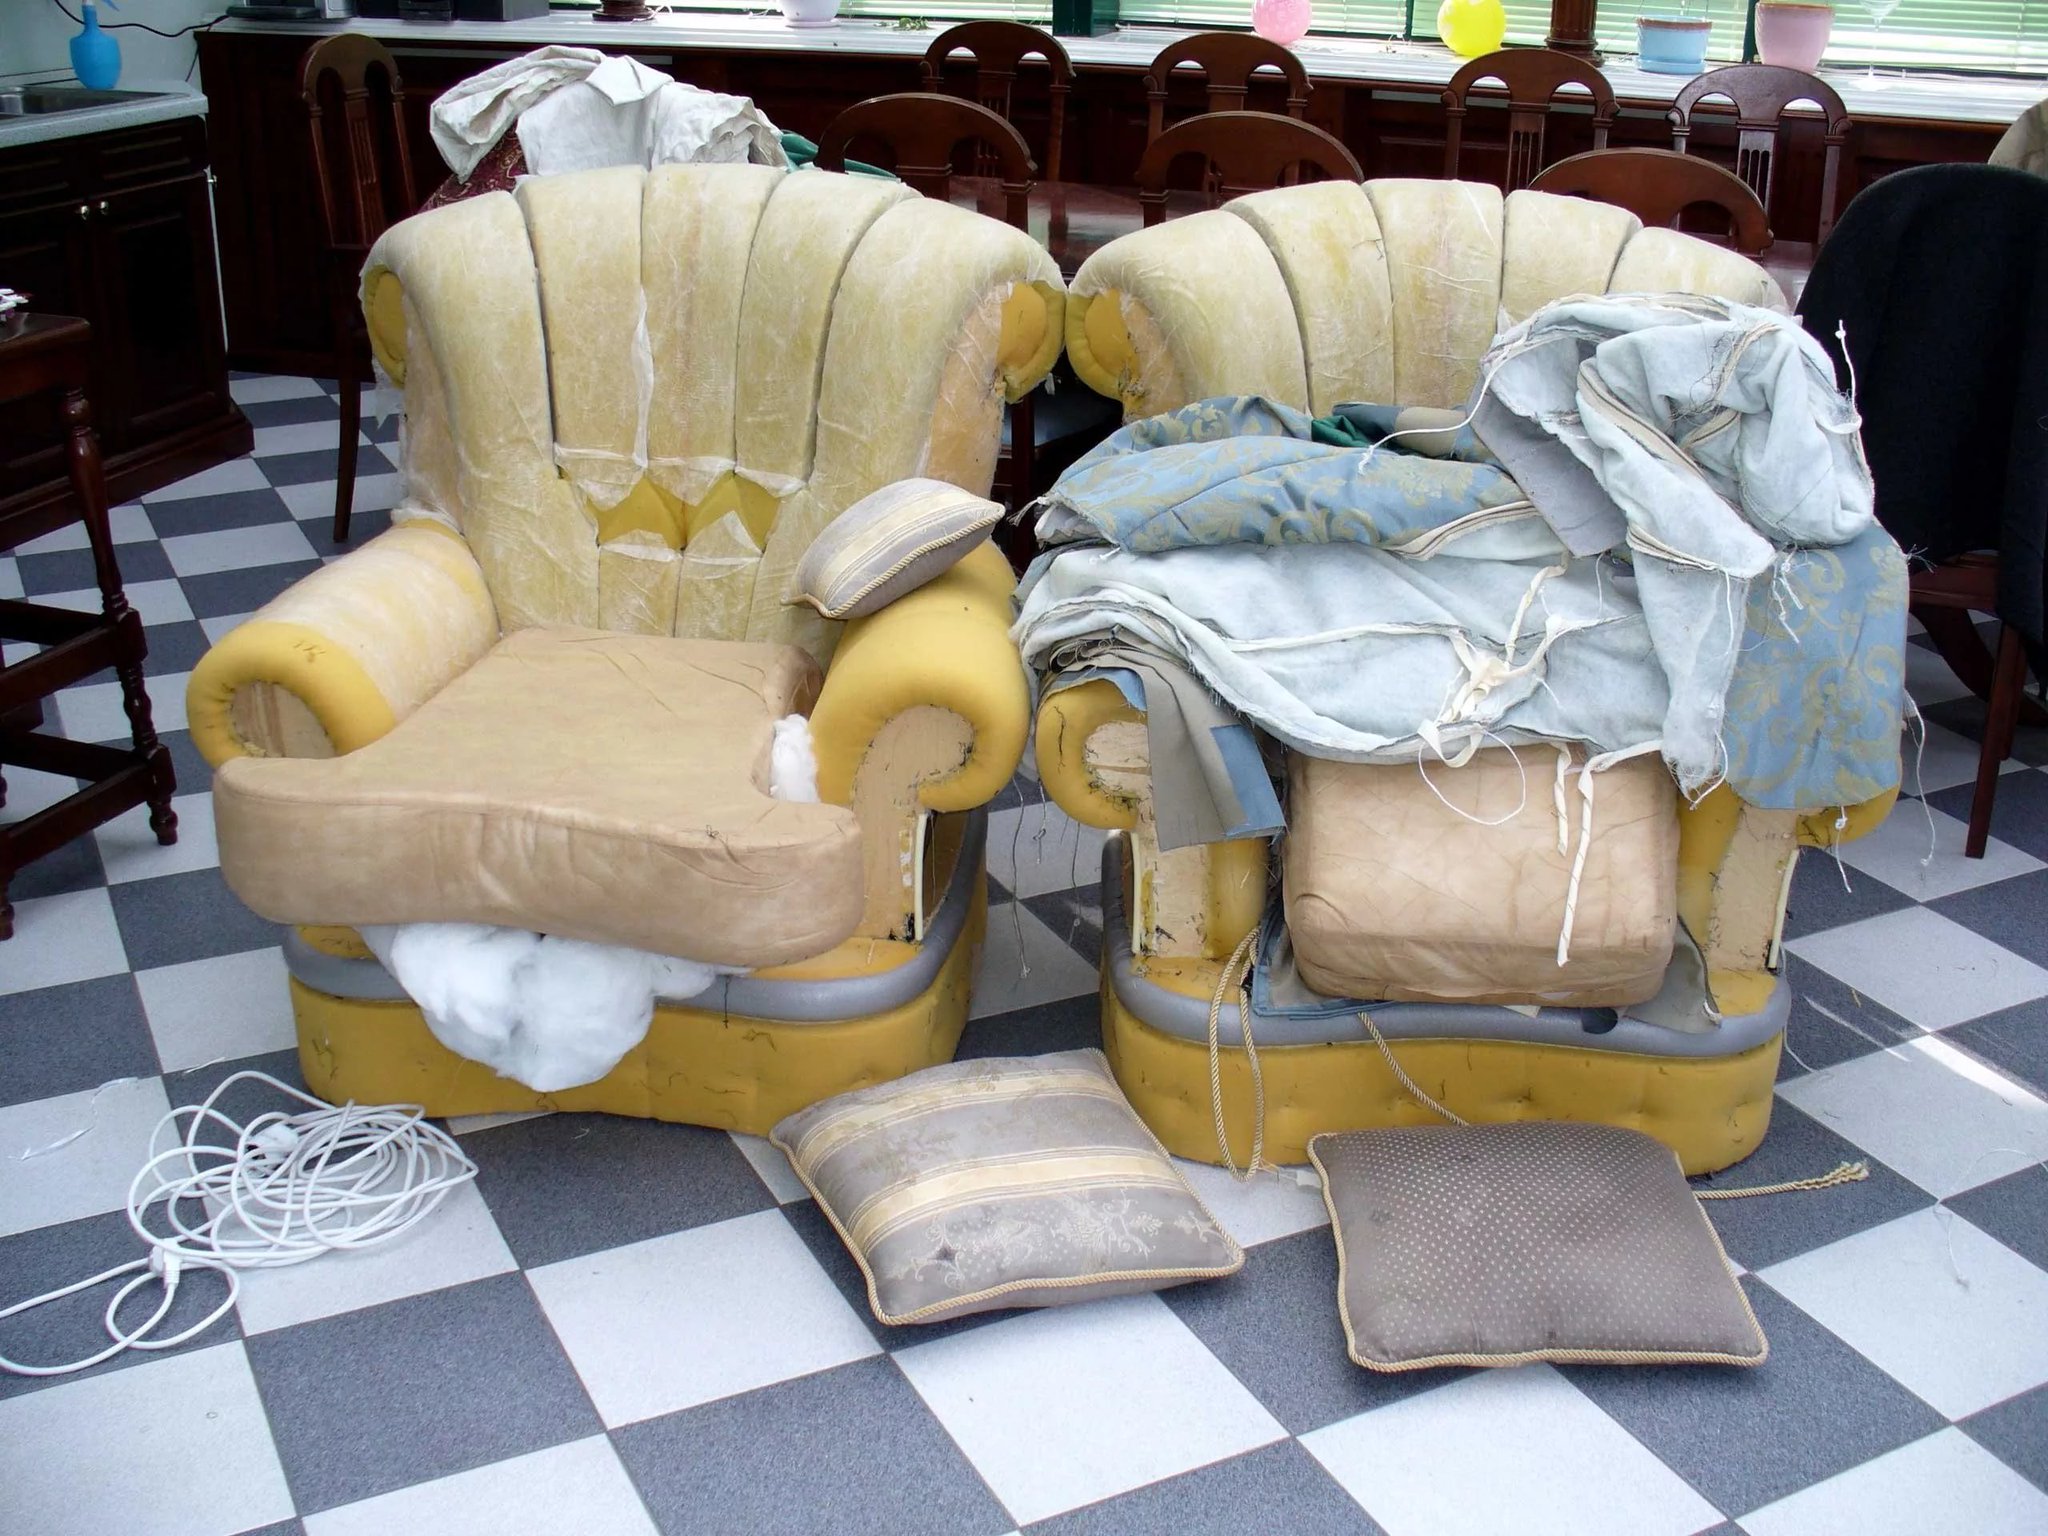
Remember that it is advisable to preserve the integrity of the fabric when disassembling. Do not tear it, it can come in handy in order to make a pattern in the future.
Cutting fabric
At the second stage, it is advisable to cut the fabric. At this stage of the repair, you can either remove the dimensions yourself from the furniture elements, or use the existing old pieces of fabric.
It is necessary to take the fabric with which you plan to cover the furniture and wash it. Remember this is for woven fabrics only. Leather, eco-leather, suede and other natural materials of animal origin or their imitation are not subject to such manipulations. Otherwise, you can just spoil them.
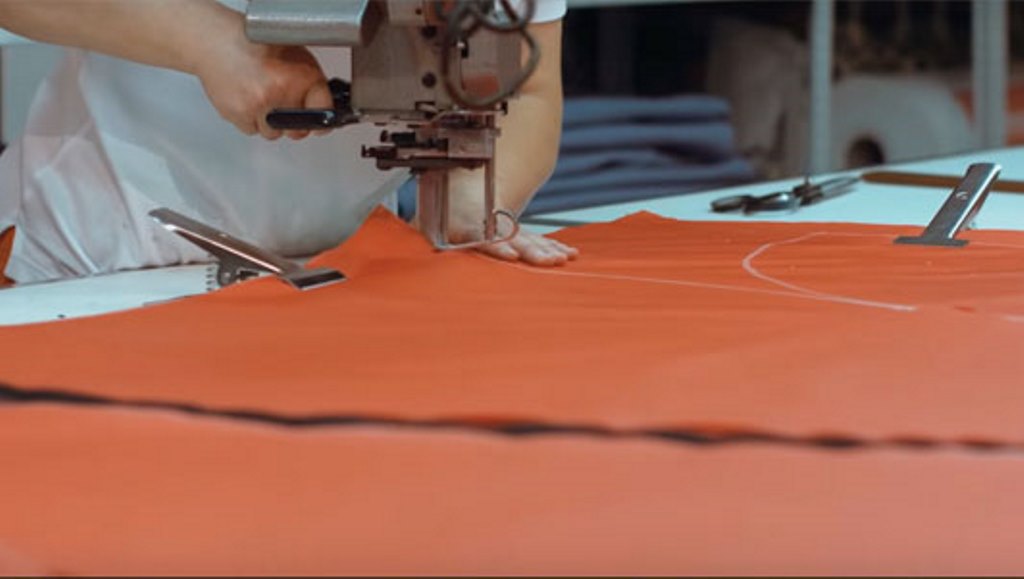
It is important to wash and iron to shrink the fabric. Then dry and iron with an iron.
Remember that exposure to temperature will allow the fabric to return to its final size. Since in some cases, especially when using natural fibers, they are able to reduce their overall dimensions.
Then spread the fabric on the floor, face down. Use a pattern drawn on paper or old pieces of fabric. A pattern on paper will make your work neater and more accurate.
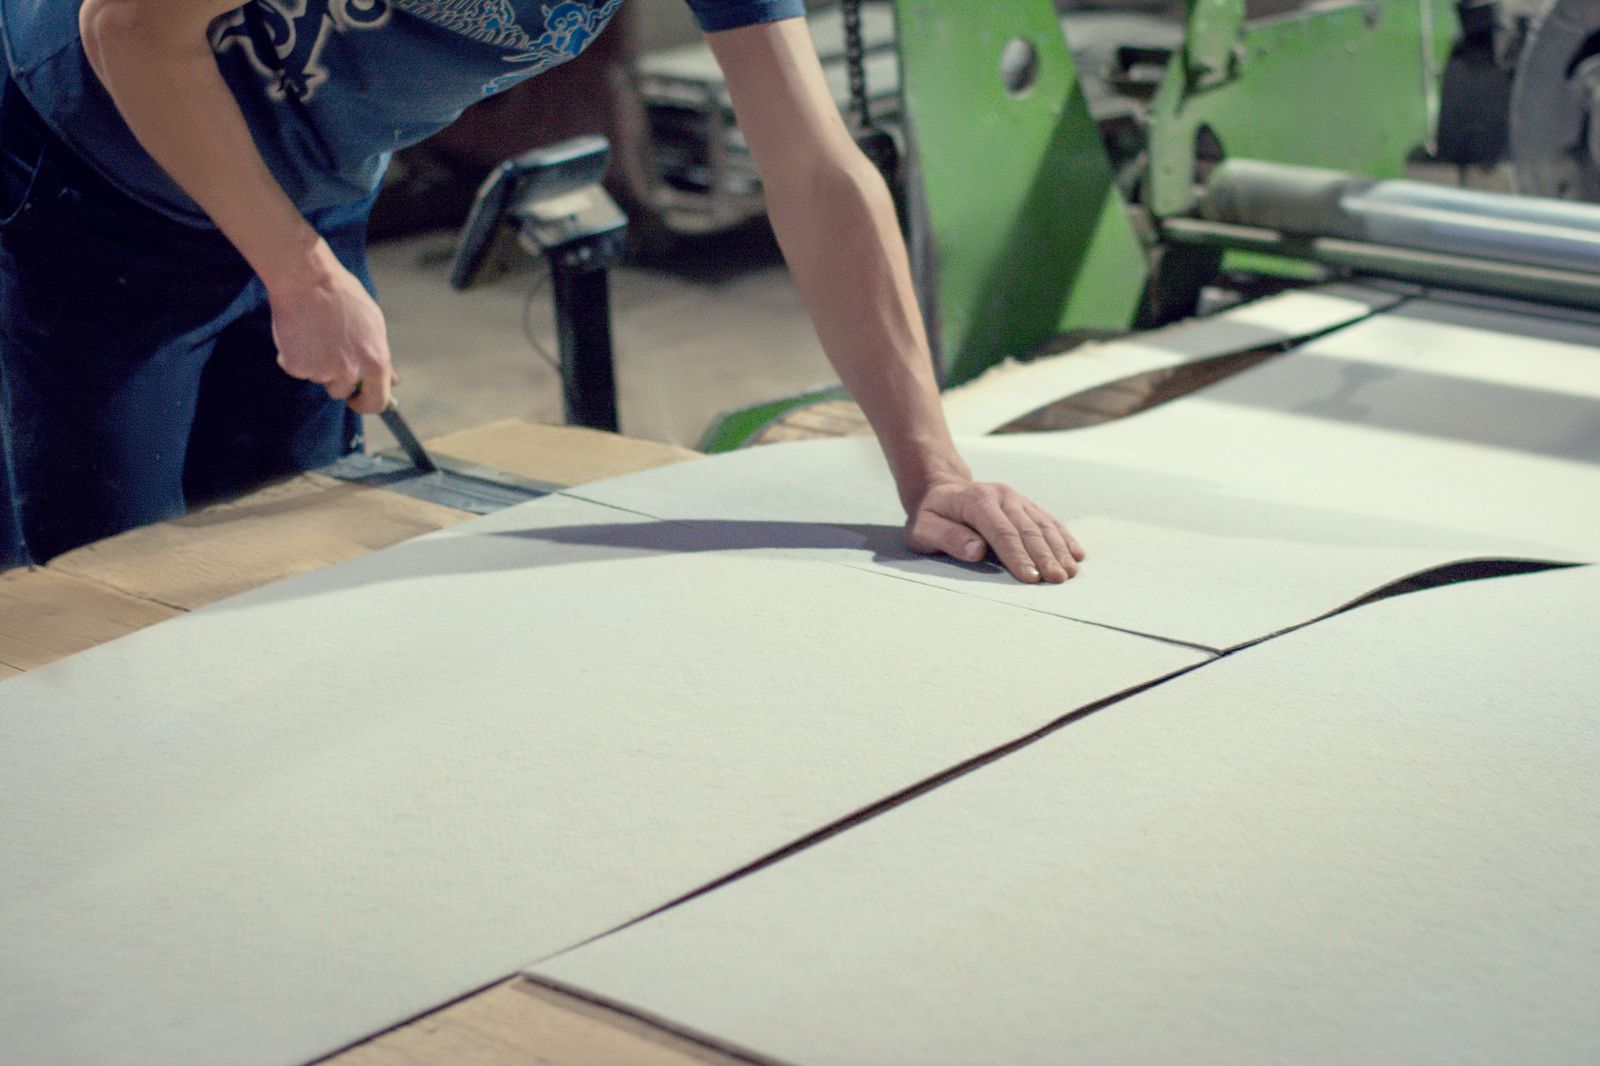
Then, with the help of tailor's chalk, draw the outlines. Remember that you need to cut it along them, and taking into account an increase of 1 centimeter on all sides.
The cutting phase ends here.
Padding and assembly of the chair
After that, we proceed directly to work on the constriction. The step-by-step instruction is as follows:
- It is necessary to sheathe furniture, putting a layer of foam rubber on the frame base first. Therefore, it is necessary to cut it out with a sharp clerical knife or blade. The dimensions must closely match the shape of the seat and backrest.
- Foam rubber is laid out on the base.
- Place the fabric on top, face up. Holding it with one hand, you need to put the element on the floor on the fabric. Gently pulling the edges of the fabric and winding them over the end part, pull the furniture using a furniture stapler. It is important to drive the brackets as often as possible so that the material does not sag or stretch.
- After the seat and backrest are covered with material, it is necessary to assemble the product in the reverse order.
- Most often, the legs are first attached to the seat. Then the back is fixed.
- At the last stage, the side elements and armrests are fixed.
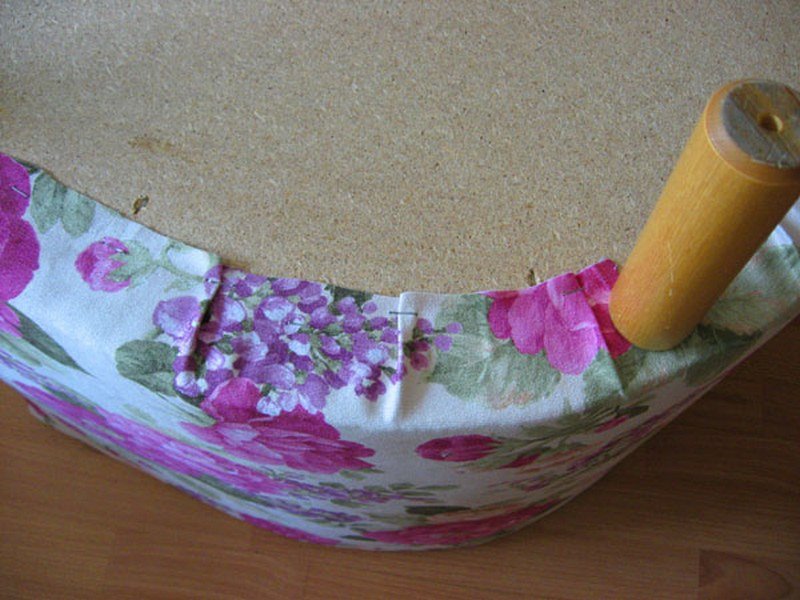
Remember that assembly must be done carefully so that all connections are firmly and securely enough to fix the parts together. Otherwise, the product may loosen quickly enough and it will have to be tightened.
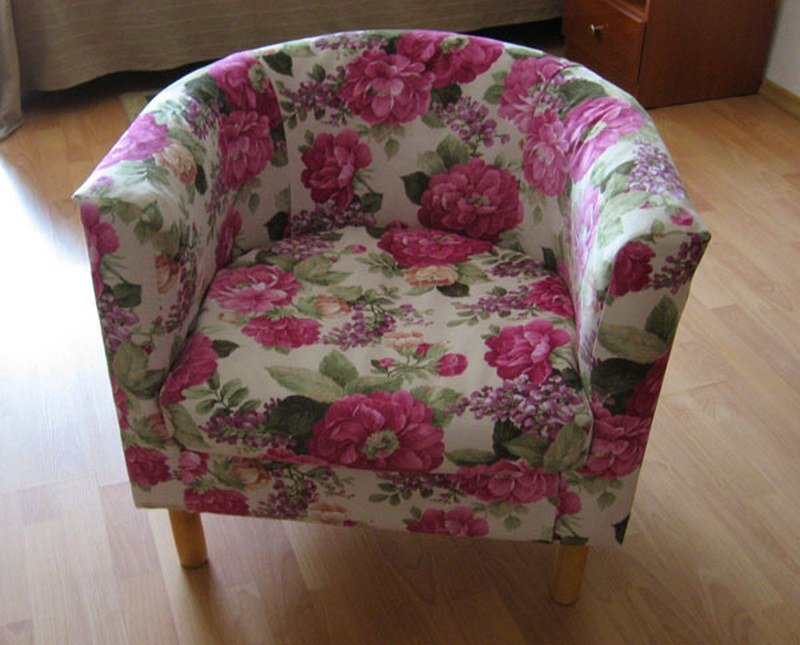
Armchair upholstery workshops
So, how to pull the chair with your own hands step by step is a rather troublesome task, it is important to take into account all the manipulations described above. At the same time, there are certain secrets that will help to do the job at the highest level. Here are a few of them:
- If the chair stands on legs, then you must first cover the end part and the rear lower bar with a cloth. Only then is the leg fixed. In this case, you will need to carefully make a hole in the fabric. Do not leave the holes for the legs not tightened at the time of re-upholstery, as the fabric in this place will gradually stretch and tear.
- If the armrests are soft, then the upholstery is best done in the following sequence - first the backrest, then the seat, and only then the armrests. In the same sequence, the elements are fixed to the frame. In this case, it will be possible to avoid distortions or so-called "bubbles" on the foam. The work will look neat and high quality.
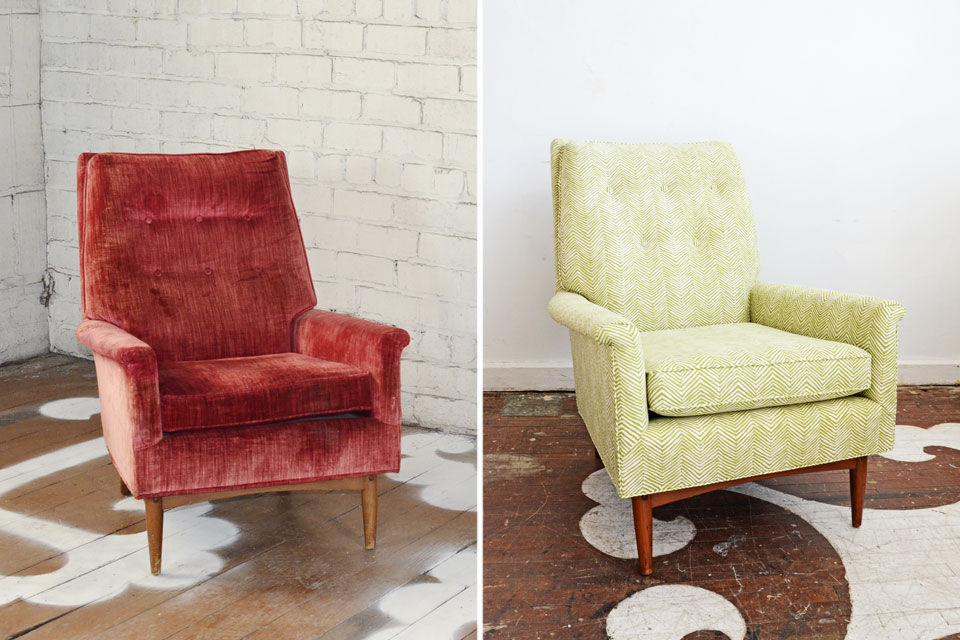
Remember, these tips will help you upholster your upholstered furniture - not just an armchair. If you implement everything correctly, then the result will be such that it will be impossible to distinguish it from the factory one.
Video: do-it-yourself chair hauling
