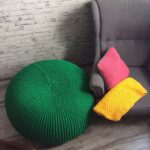
DIY methods of making an ottoman
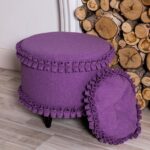
An ottoman is a compact type of upholstered furniture. It has a number of advantages, including convenience, mobility, elegance, and in some cases, inside the ottoman there may be space for storing various little things.
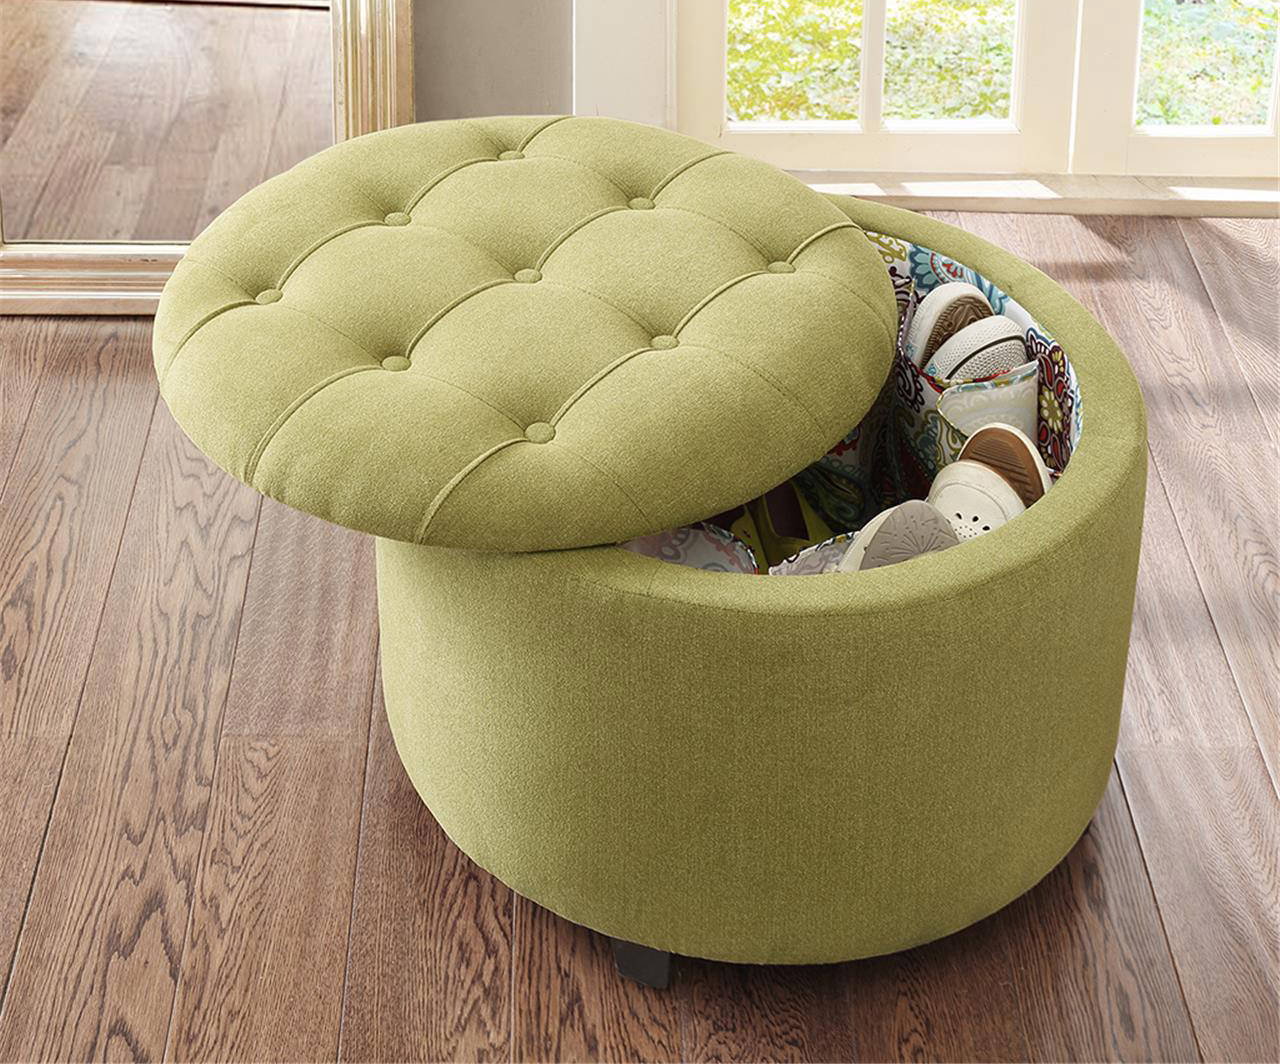
It is not difficult to make an ottoman with your own hands, and it will meet all your requirements in terms of size, additional functions and design. To create such upholstered furniture, you need very few consumables and a minimum of skills, and after the master classes that we offer below, even someone who has never been involved in the manufacture of anything like this can create an ottoman.
Workshop on making an ottoman with a hinged lid and storage box
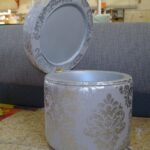
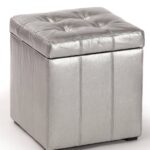
We will tell you how to make a do-it-yourself ottoman with a hinged lid. Before making an ottoman with your own hands, think over the design of the furniture and stock up on materials that you may need.
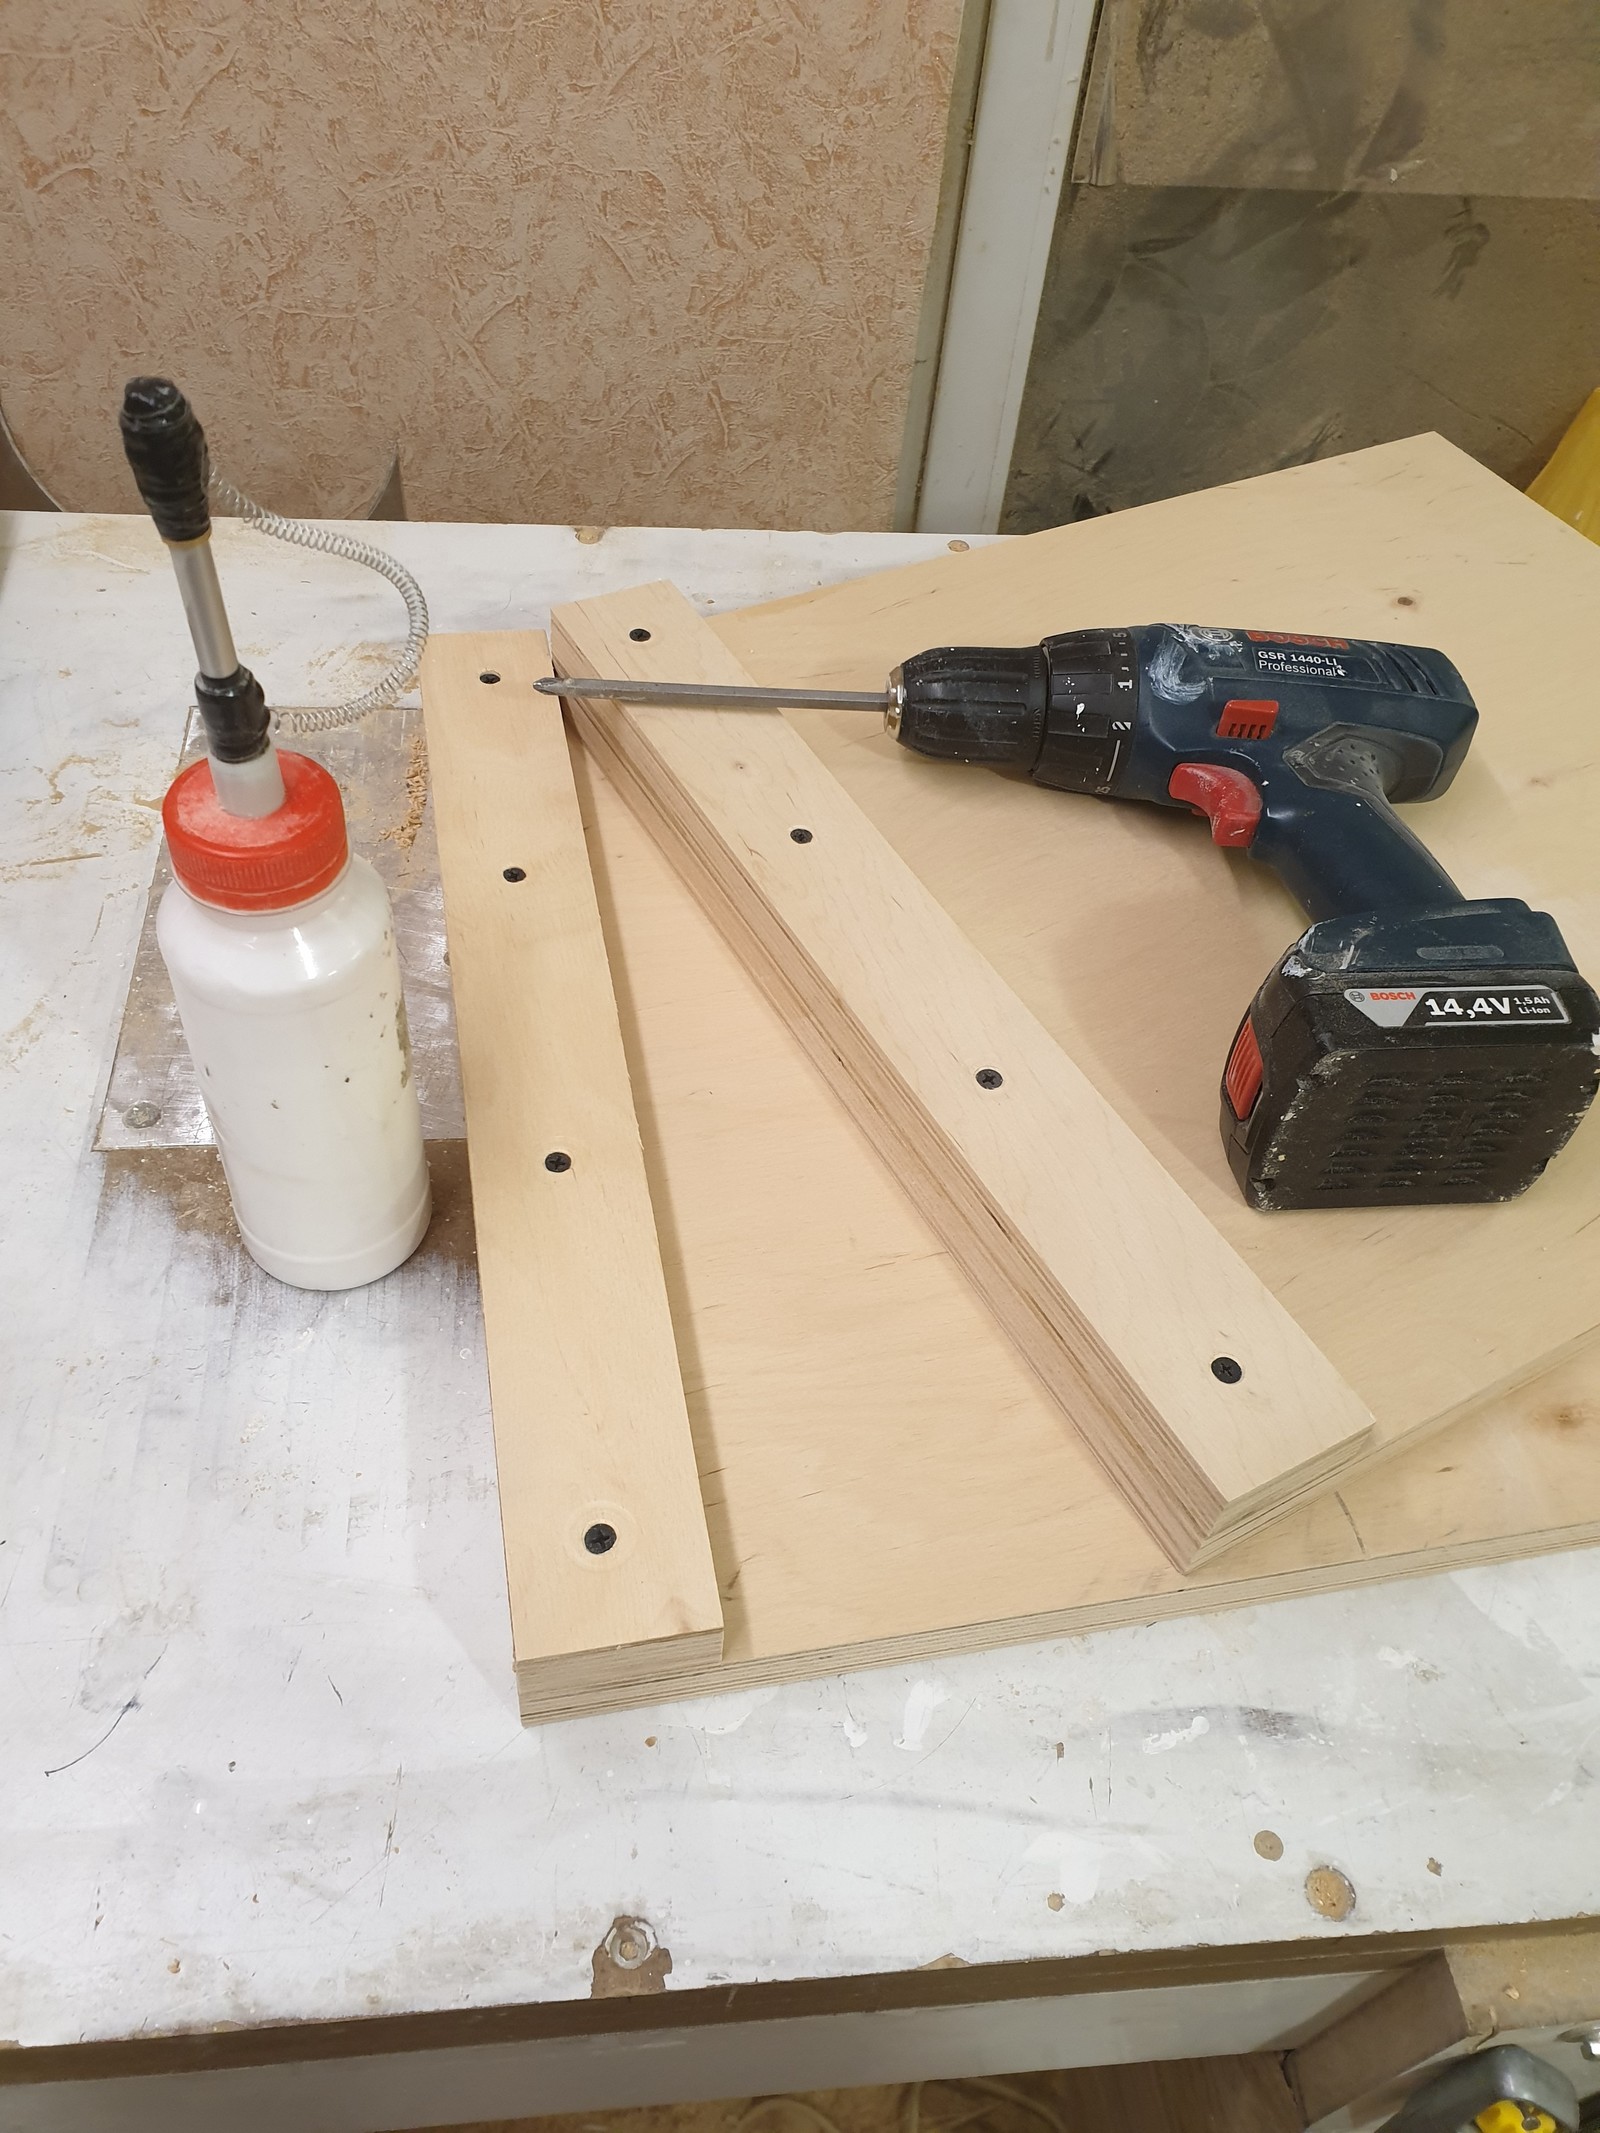
For the most ordinary ottoman, you will need:
- Chipboard or plywood;
- Glue;
- Bars;
- Nails of the appropriate size;
- Filler (foam rubber, synthetic winterizer or other);
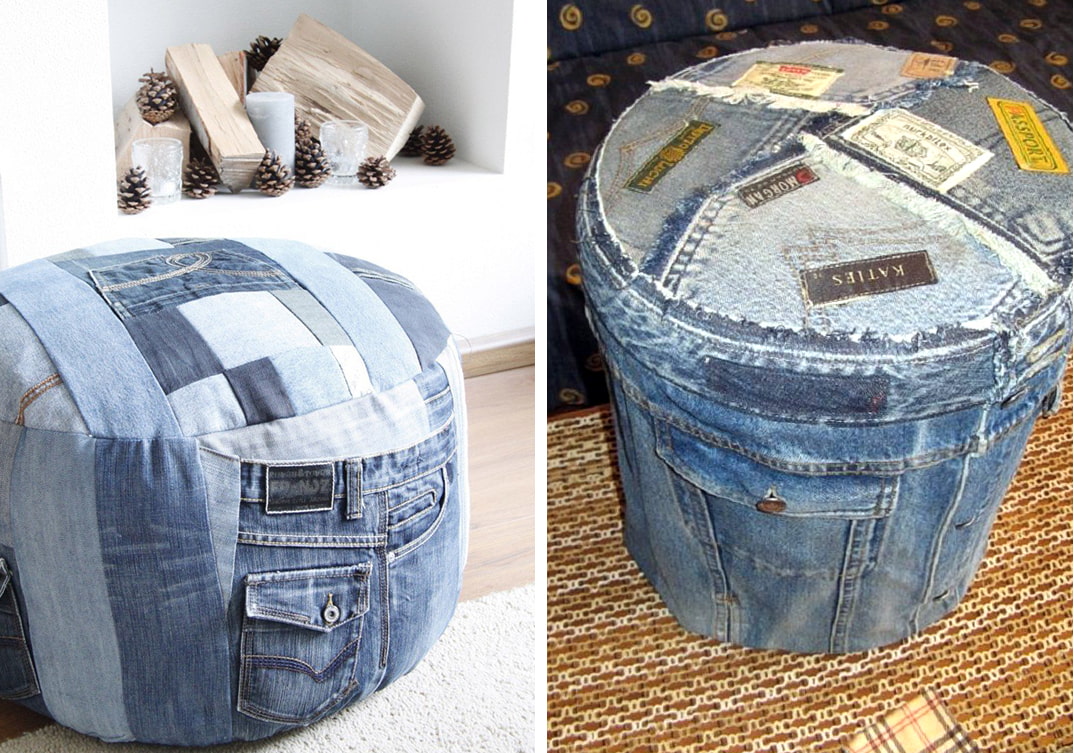
- Upholstery of your choice - it can even be denim from old things, but it is better to use furniture upholstery;
- Fabric for indoor decoration;
- File or jigsaw;
- Hammer;
- Stapler with staples;
- Decor - cords, buttons or other little things;
- Butterfly loops for fastenings.
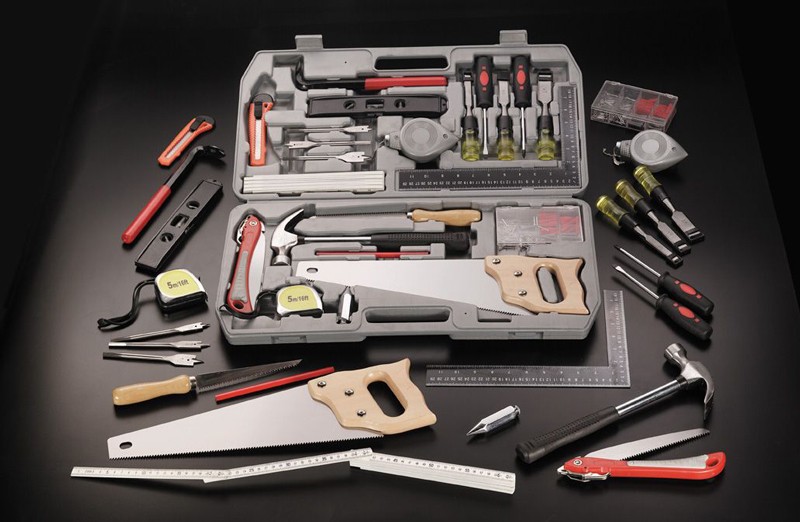
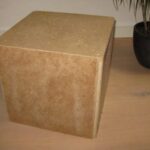
First you need to decide on the size of the pouf. Then we cut the same squares - 6 pieces, glue a cube from them without one side - it will be a lid.
The side mounts from the inside need to be generously smeared with glue and wooden blocks installed there. This strengthens the structure. It is worth fixing these bars with studs.
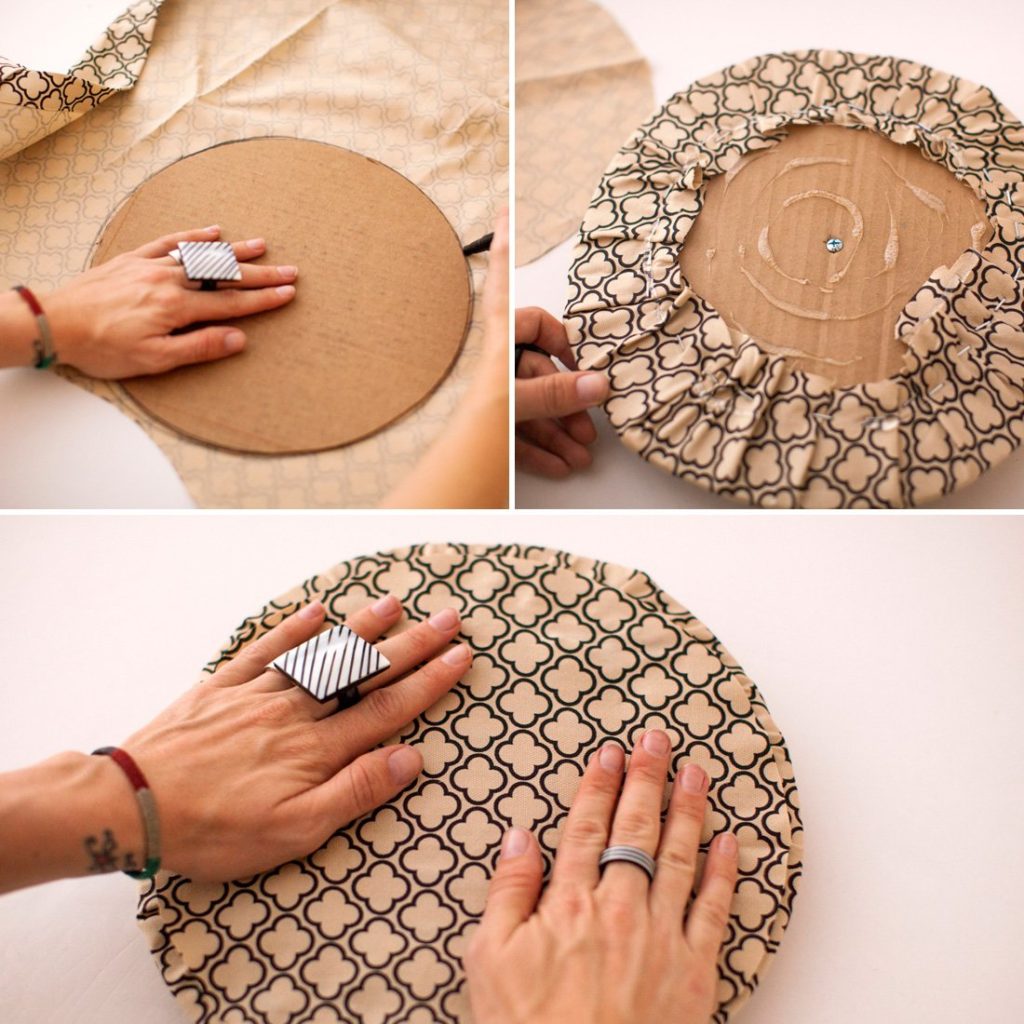
The next step is to cover the bottom of the pouf with fabric. You can show your imagination and apply draperies, you can paste over the bottom of the pouf with a cloth and make an applique. Thin foam rubber can be glued under the fabric, this will make the piece of furniture more comfortable. Inside, the box must also be pasted over with a cloth, but already upholstery, ordinary chintz will do.
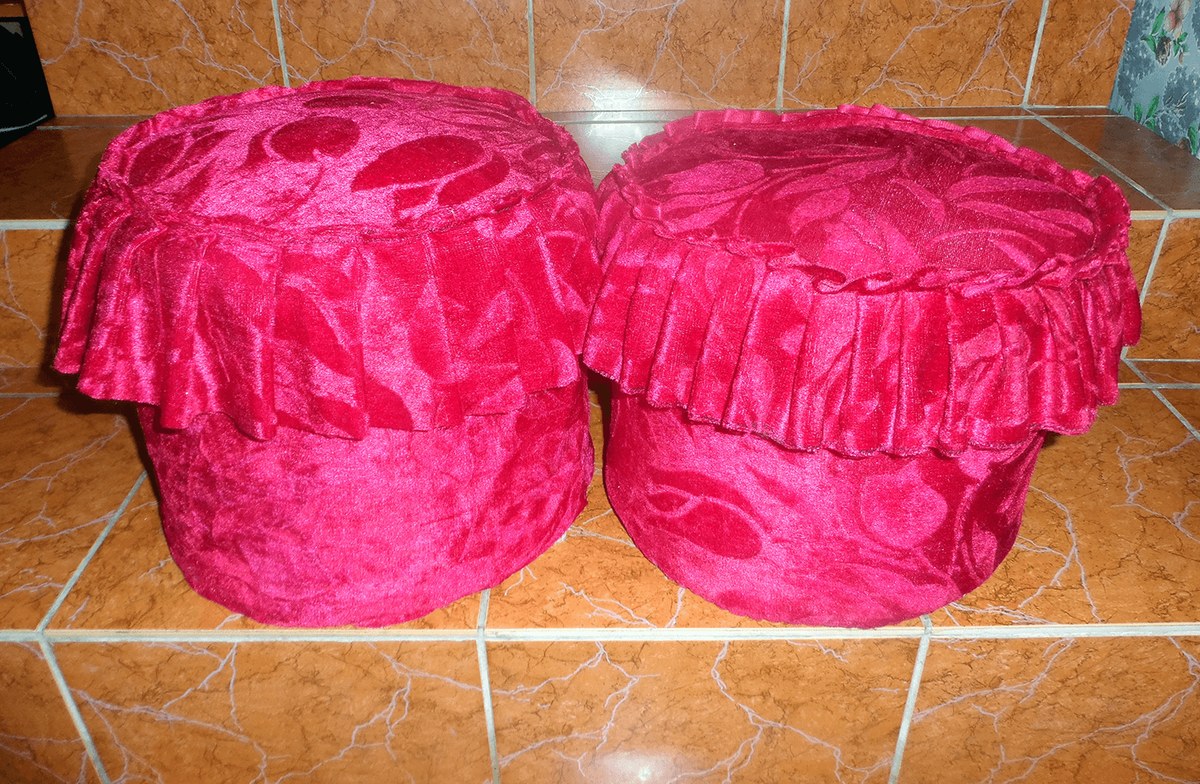
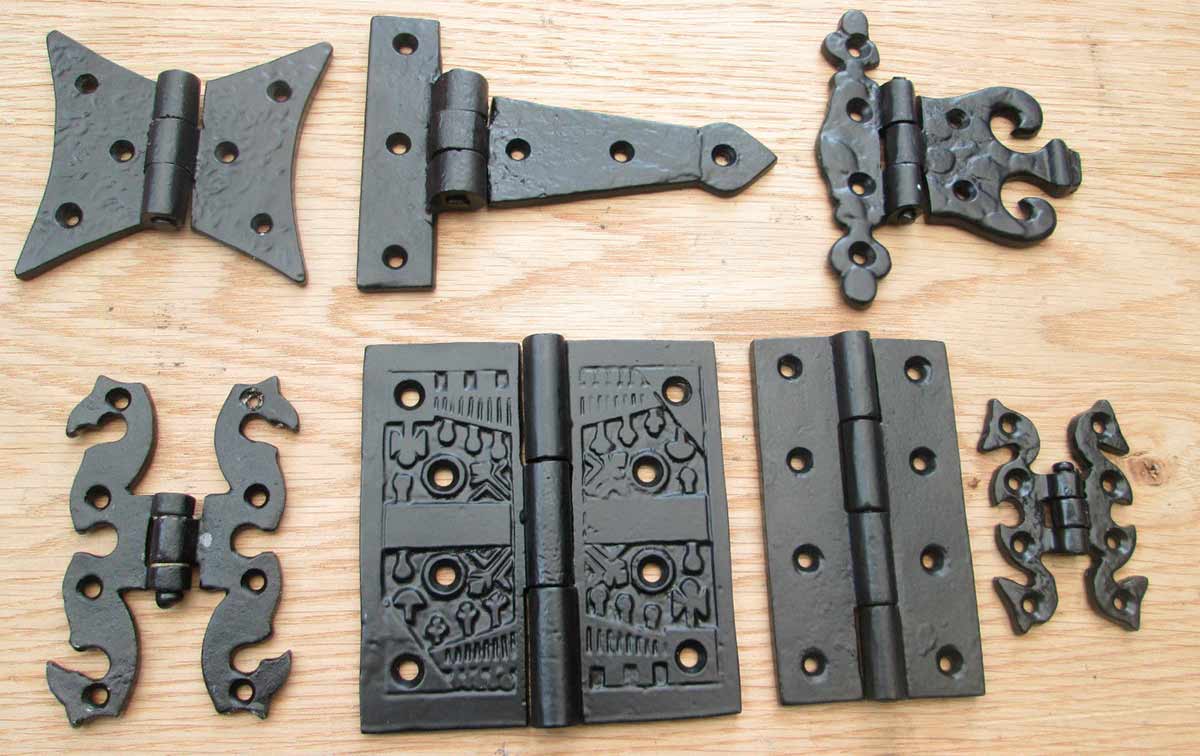
Now you need to make a cover for this, on the remaining square you need to glue a thick ball of filler and then decorate it with upholstery. The final touch is to attach the lid to the base using butterfly hinges.
If you wish, add decorative elements. An ottoman with a hinged lid can be used to store little things that are not needed every day, for example, spare slippers for guests if the pouf is in the hallway, or toys if the pouf is in the children's room.
We make an ottoman from chipboard or plywood with our own hands
This model is easier to manufacture.We will need almost the same set of tools and materials:
- Chipboard or plywood;
- Glue;
- Bars;
- Nails of the appropriate size;
- Filler (foam rubber, synthetic winterizer or other);
- Optional upholstery, but furniture is desirable;
- File or jigsaw;
- Hammer;
- Drill;
- Furniture stapler with staples;
- Needle with thread.
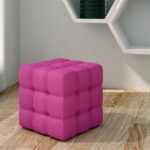
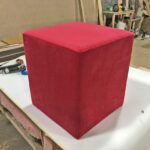
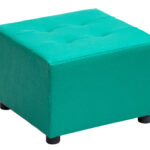
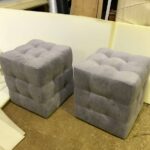
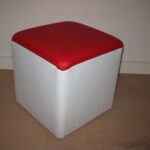
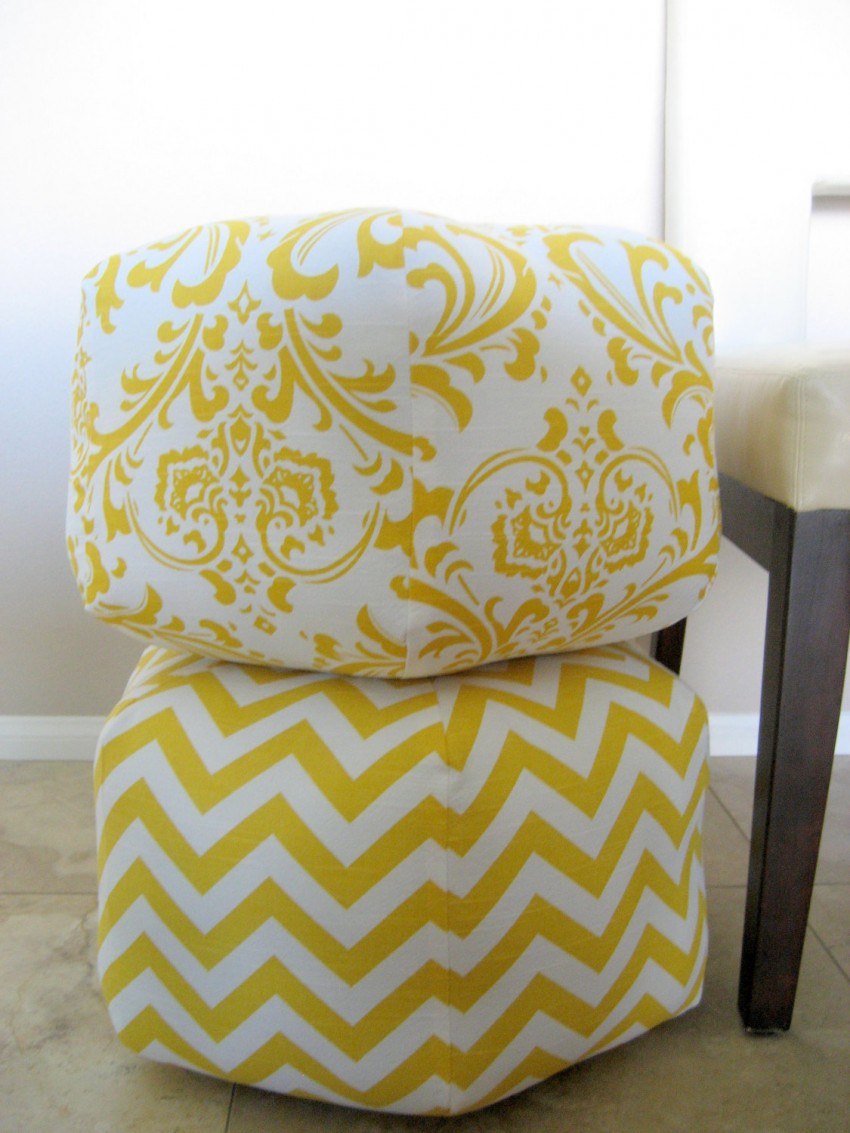
The cubic ottoman has the same sides, it will perfectly fit into the nursery and any side can become its bottom. This is its main difference from a pouf with a hinged lid. Therefore, it is necessary to strengthen not only the 4 side joints.
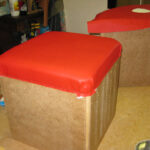
Therefore, the work algorithm is different. We cut the same pieces - 12 pieces to strengthen all the ribs. We assemble a cube from them, then cut out the sides from plywood or chipboard for this figure. The cube is glued - the sides are glued to the frame, and then you can nail the sides to the frame with studs at key points.
For better air circulation in all directions, it is worth drilling a dozen holes with a drill. Apply glue to the sides and lay the filler, then the upholstery is applied. You can even apply upholstery of different color or pattern to all sides of the ottoman. If you notice gaps between the trims, you need to work with a needle.
Interesting ways to make poufs from scrap materials
One of the advantages of poufs is that they can be made from scrap materials, for example, use old things for upholstery, unnecessary tires, ugly old stools, plastic bottles as a base.
Round ottoman made of plastic bottles
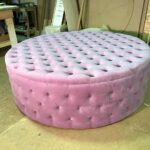
Bottles can be of different capacities, but it is important that they are the same, whole and with tightly screwed caps. Depending on which bottles you choose, and how large a round ottoman should be, the number of bottles may differ.
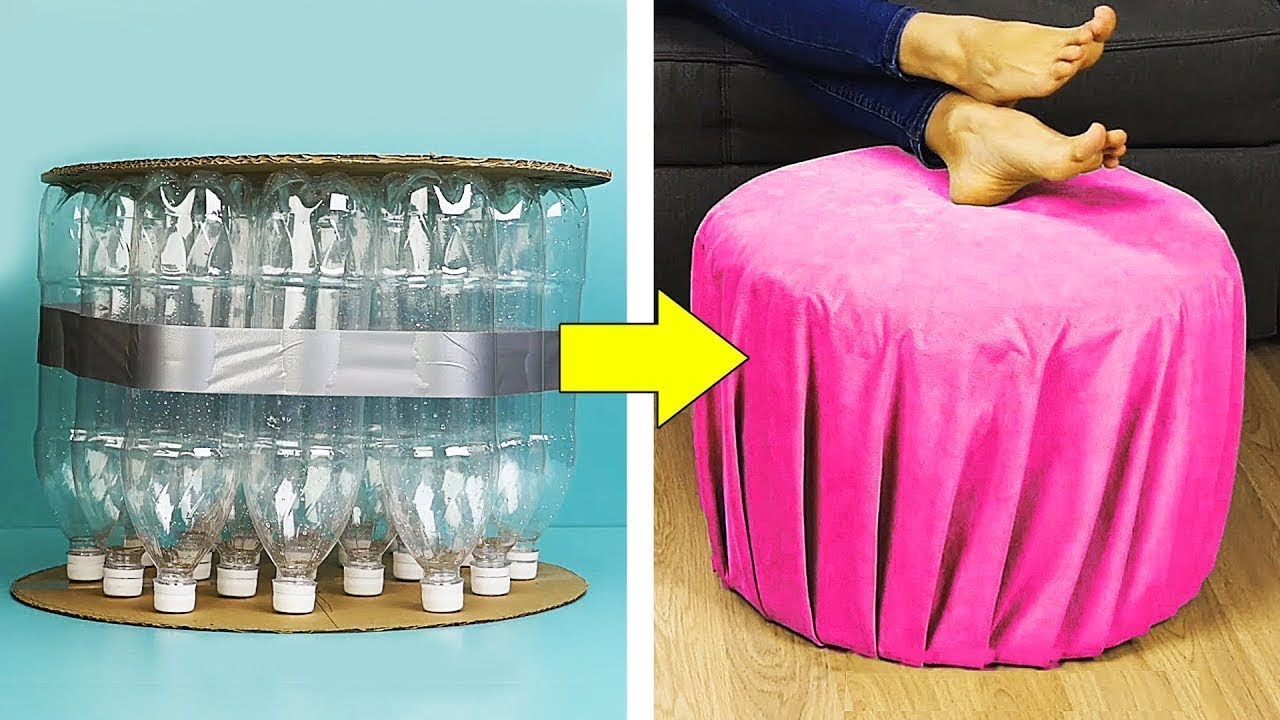
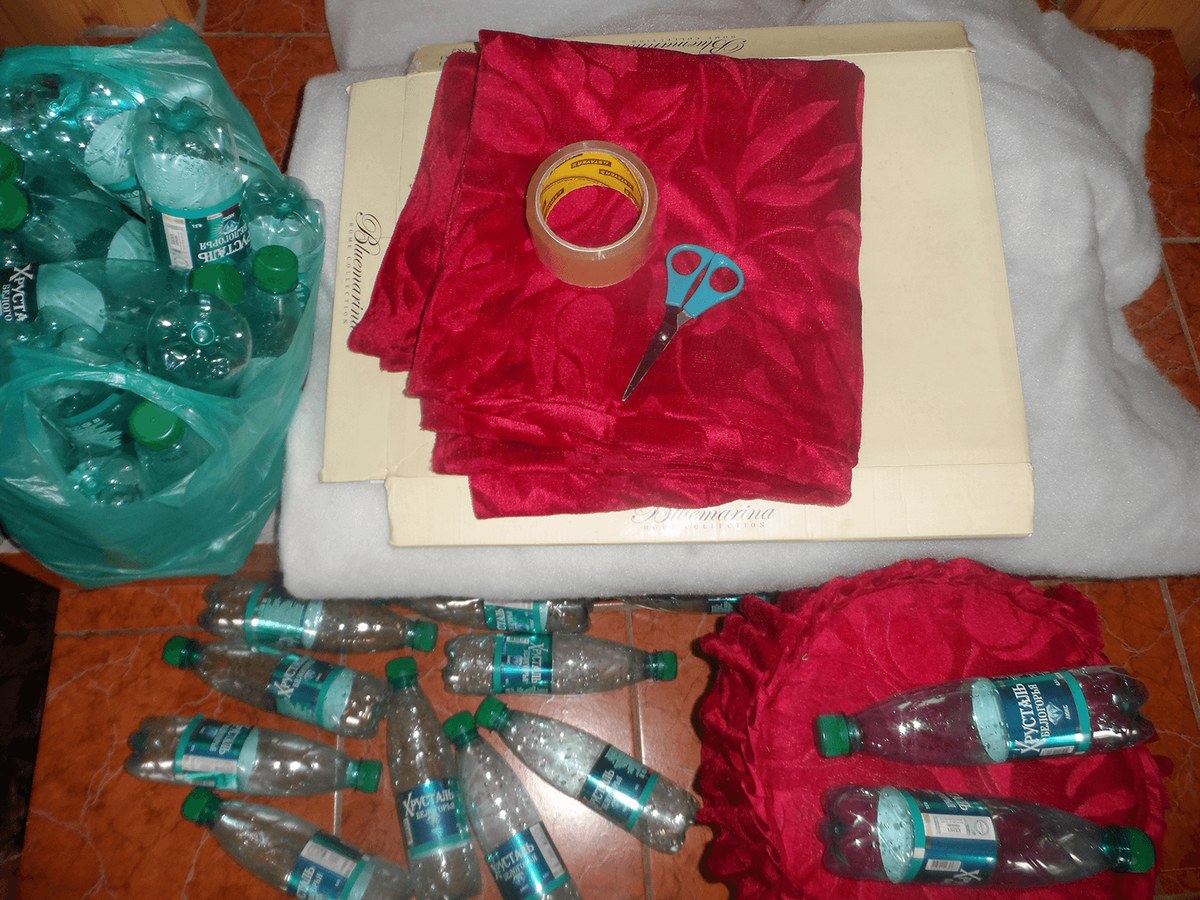
In addition, you will need:
- Scotch;
- Scissors;
- Two circles of plywood or chipboard;
- Dense foam rubber;
- Upholstery fabric.
We put bottles tightly on one plywood circle, cover with another circle. We fix this structure tightly with tape. We lay a circle of foam rubber on top and wrap the base of the pouf in a rectangular piece, and then sheathe the resulting blank with upholstery fabric.
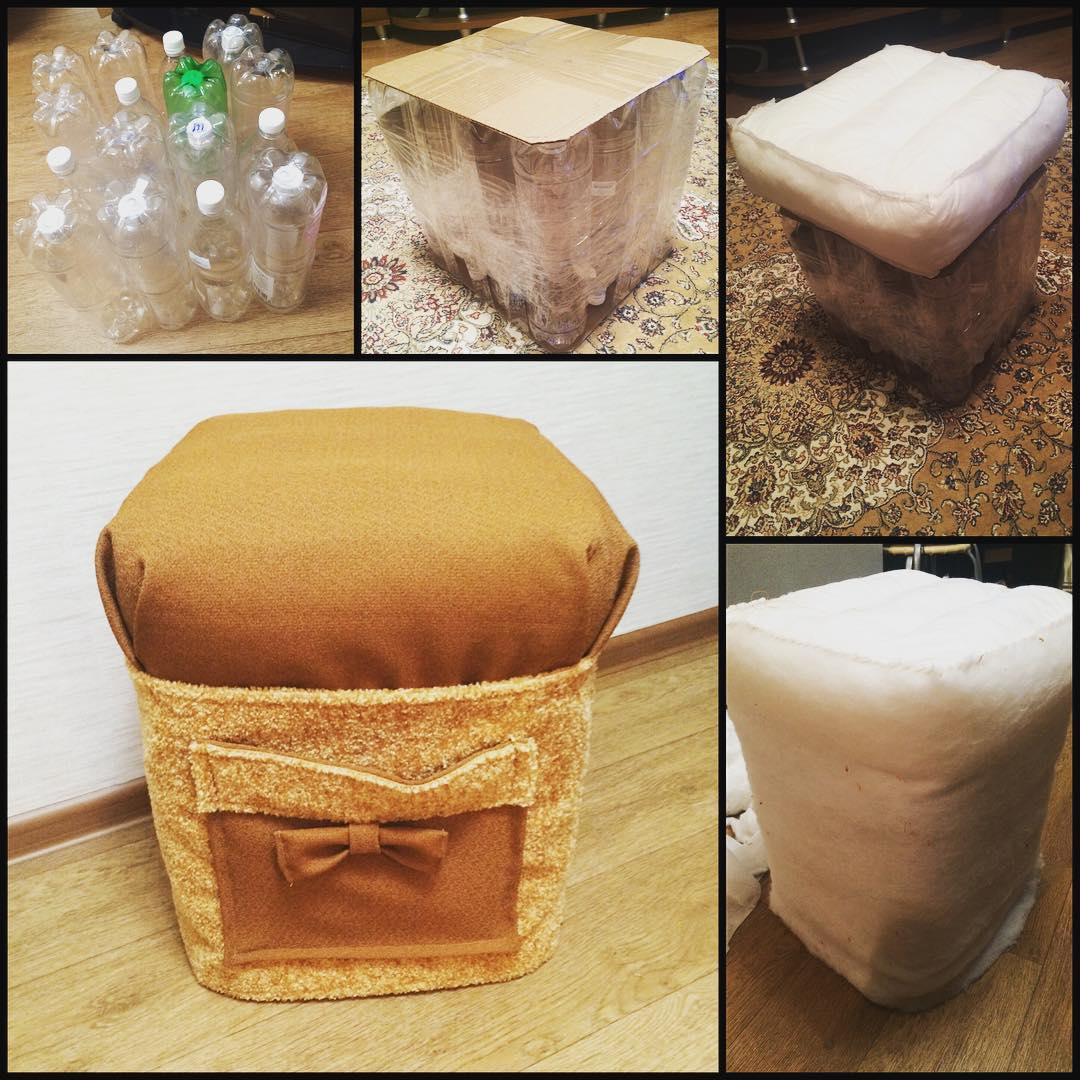
In a similar way, you can make an ottoman not only round, but also of any other shape. The advantage of such an item is not only the low cost of consumables for its manufacture and ease of operation, but also extraordinary lightness. A great option for a nursery.
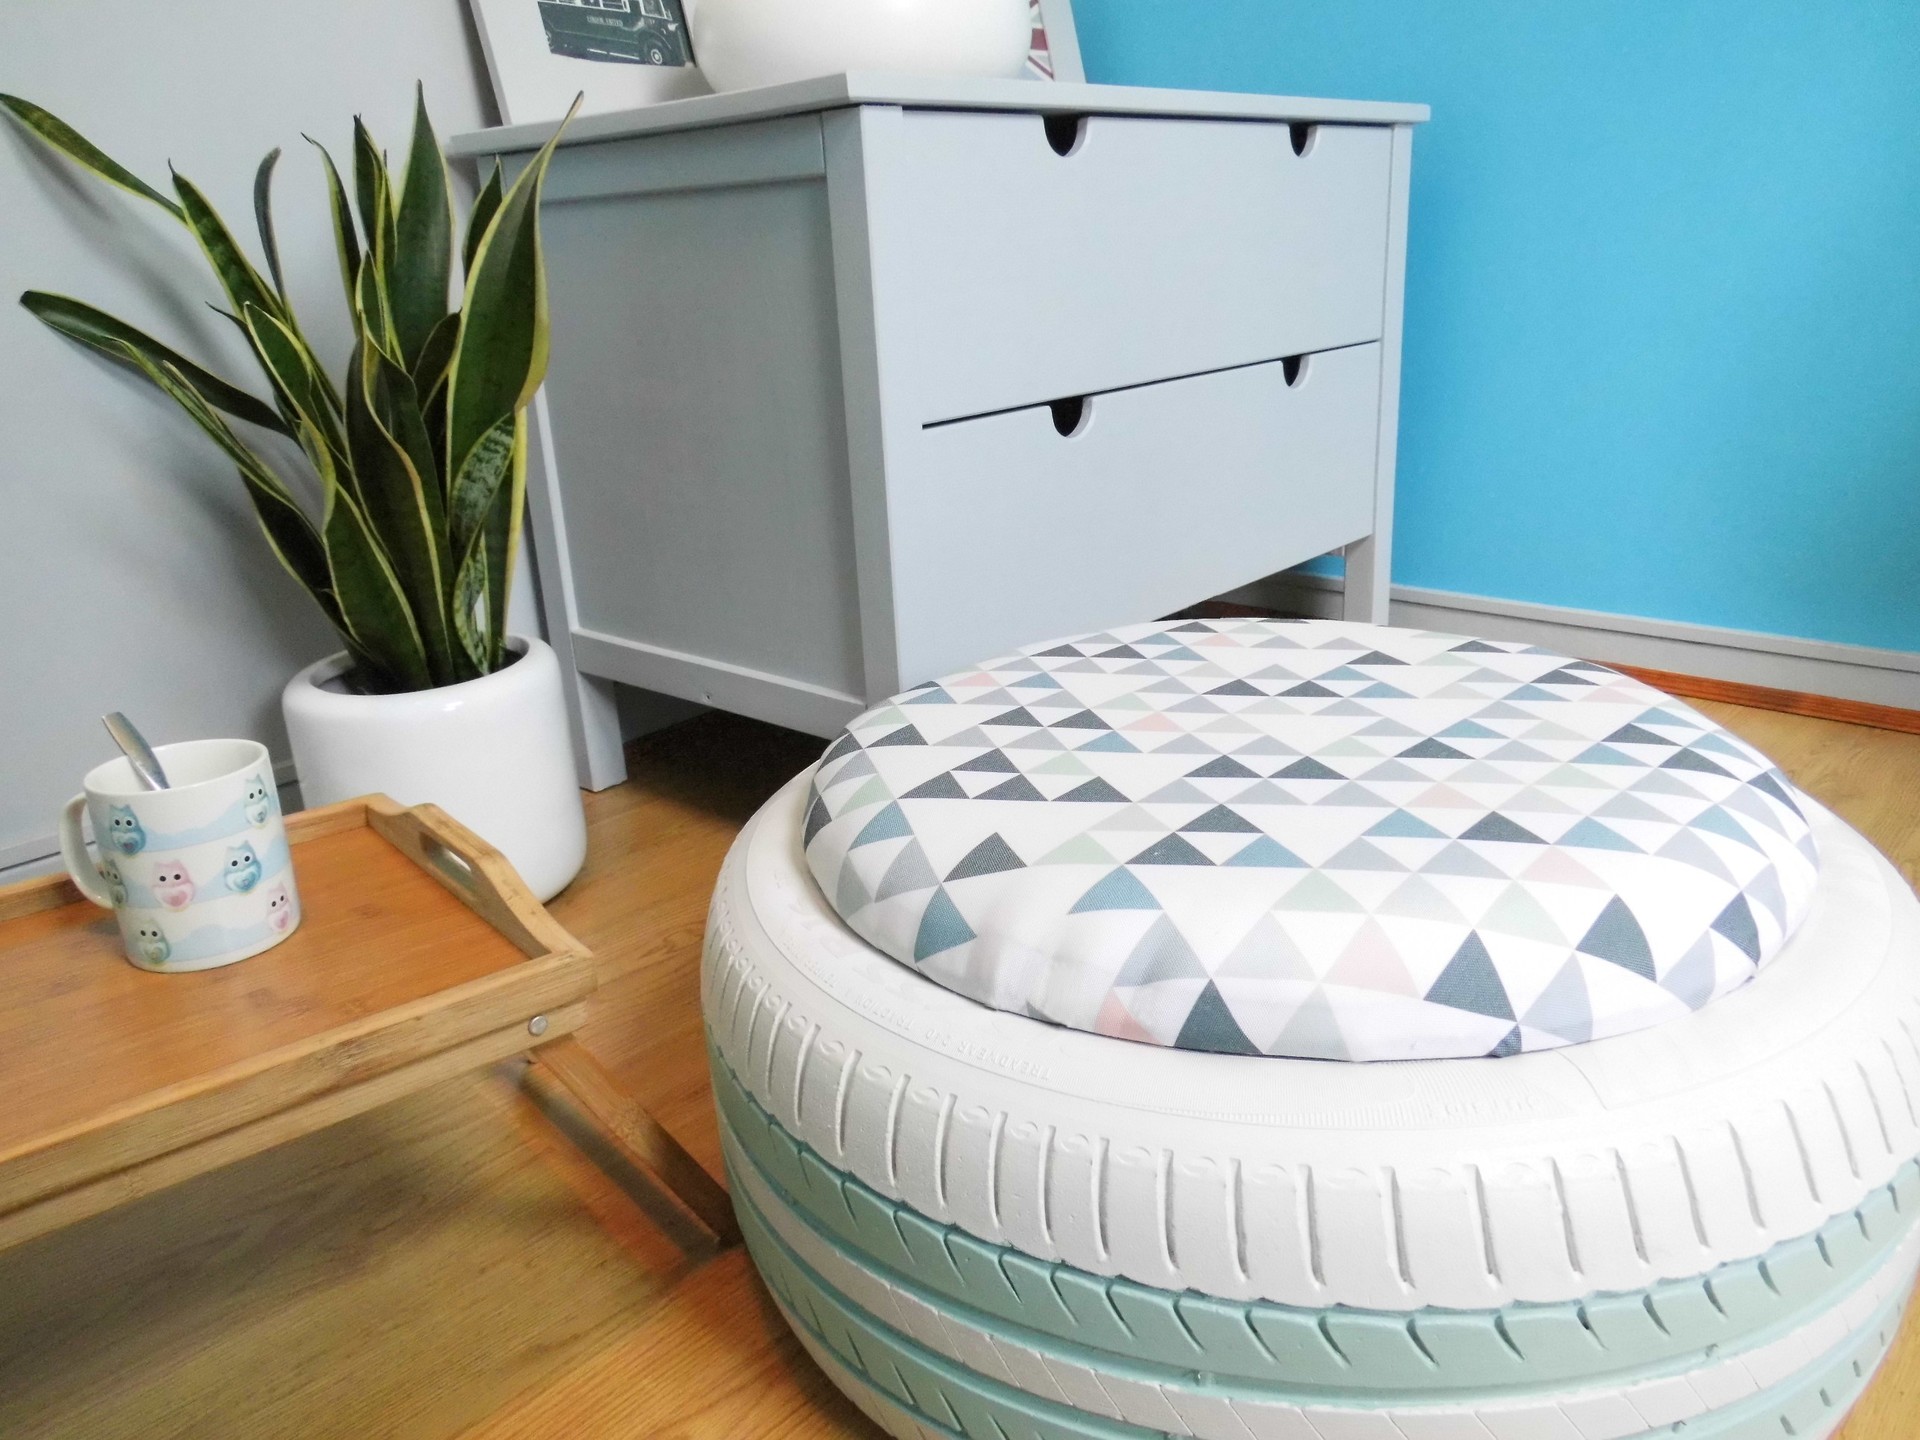
From car tires
You will need:
- Car tire;
- Decor material (twine, clothesline);
- Plywood circle that will become a seat;
- Plywood circle, which will become the base;
- 4 roller castors;
- Screws;
- Glue gun;
- Glue.
A plywood circle is placed on the tire, which will be the base, 4 roller wheels are attached to this structure.
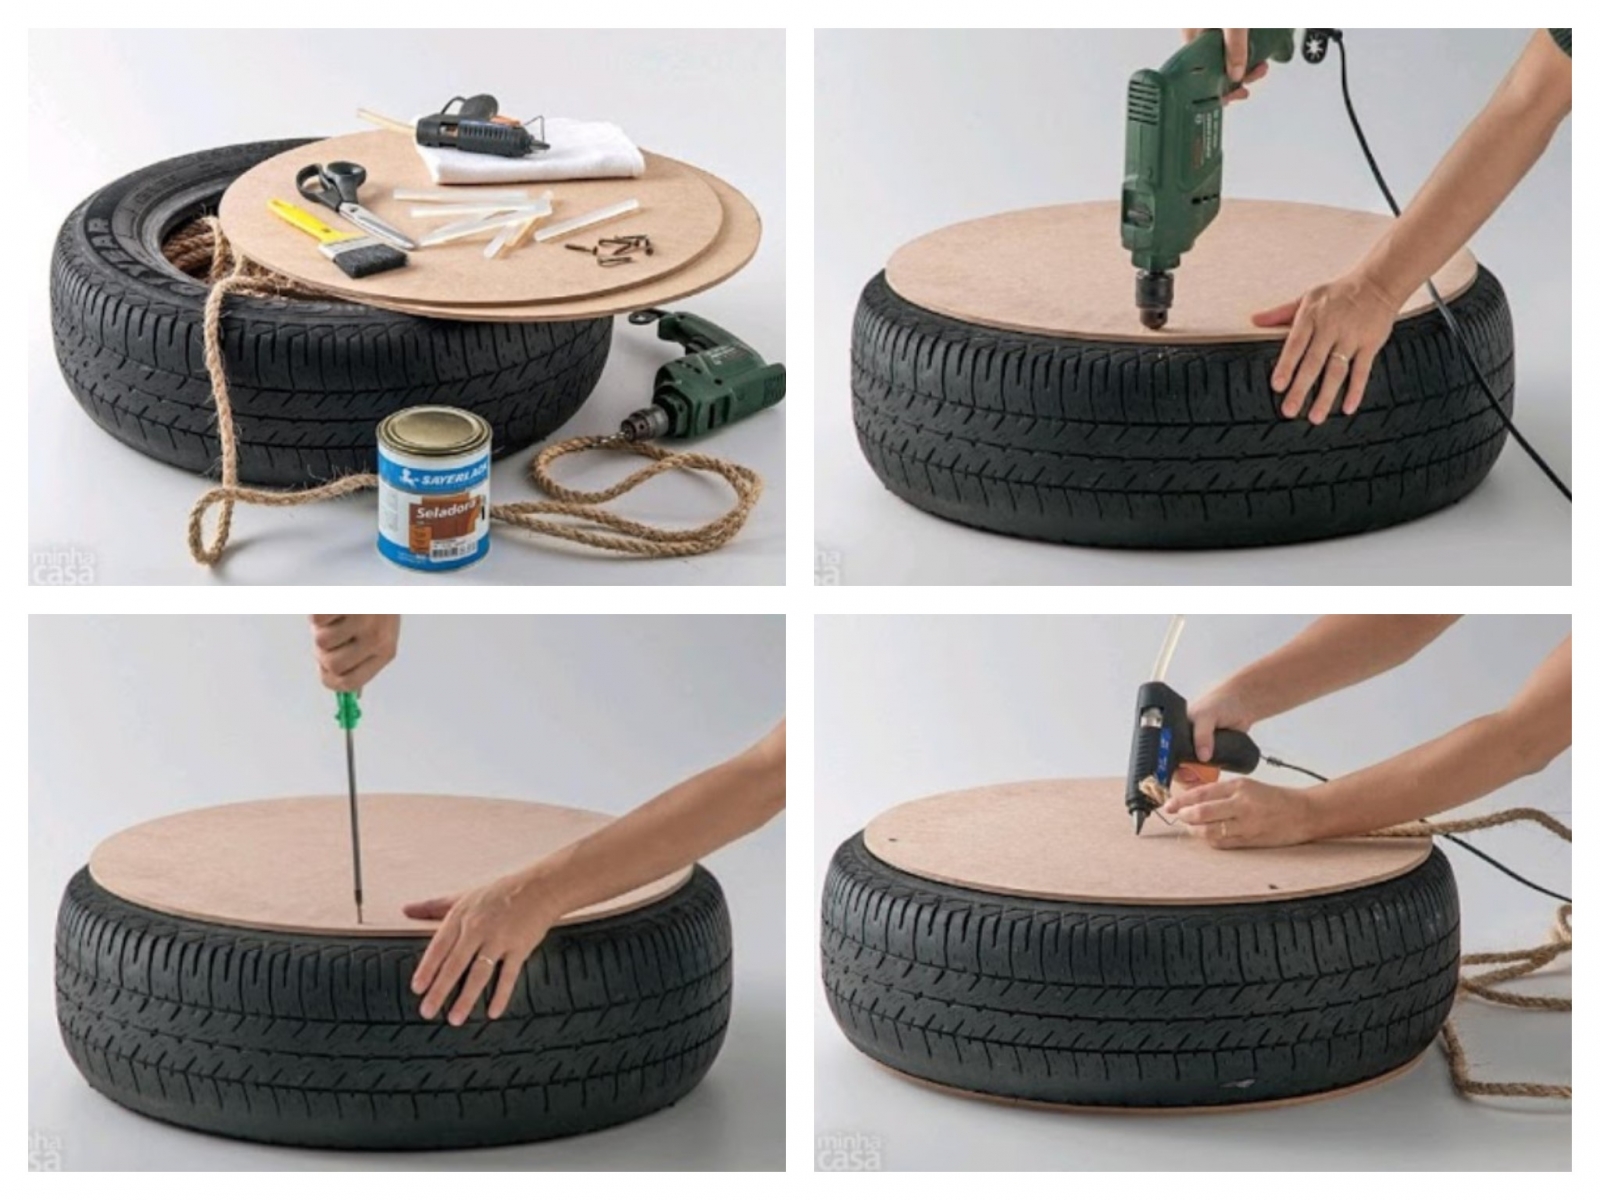
Flip the tire, glue the second circle on top. Then glue the twine or twine laid out in a spiral. When the glue dries, the new piece of furniture can be considered finished.
From the coil from the cable
The cable reel will become a convenient base for a round pouf. We need:
- The coil itself;
- Plywood seat circle;
- 8 plaques;
- Twine or clothesline;
- Filler;
- Upholstery;
- Screws;
- Screwdriver;
- Glue gun;
- Glue.
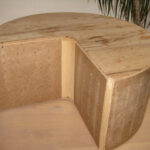
We install the strips between the top and bottom of the coil and fix them with screws. This will increase the stability of the product and extend its service life.
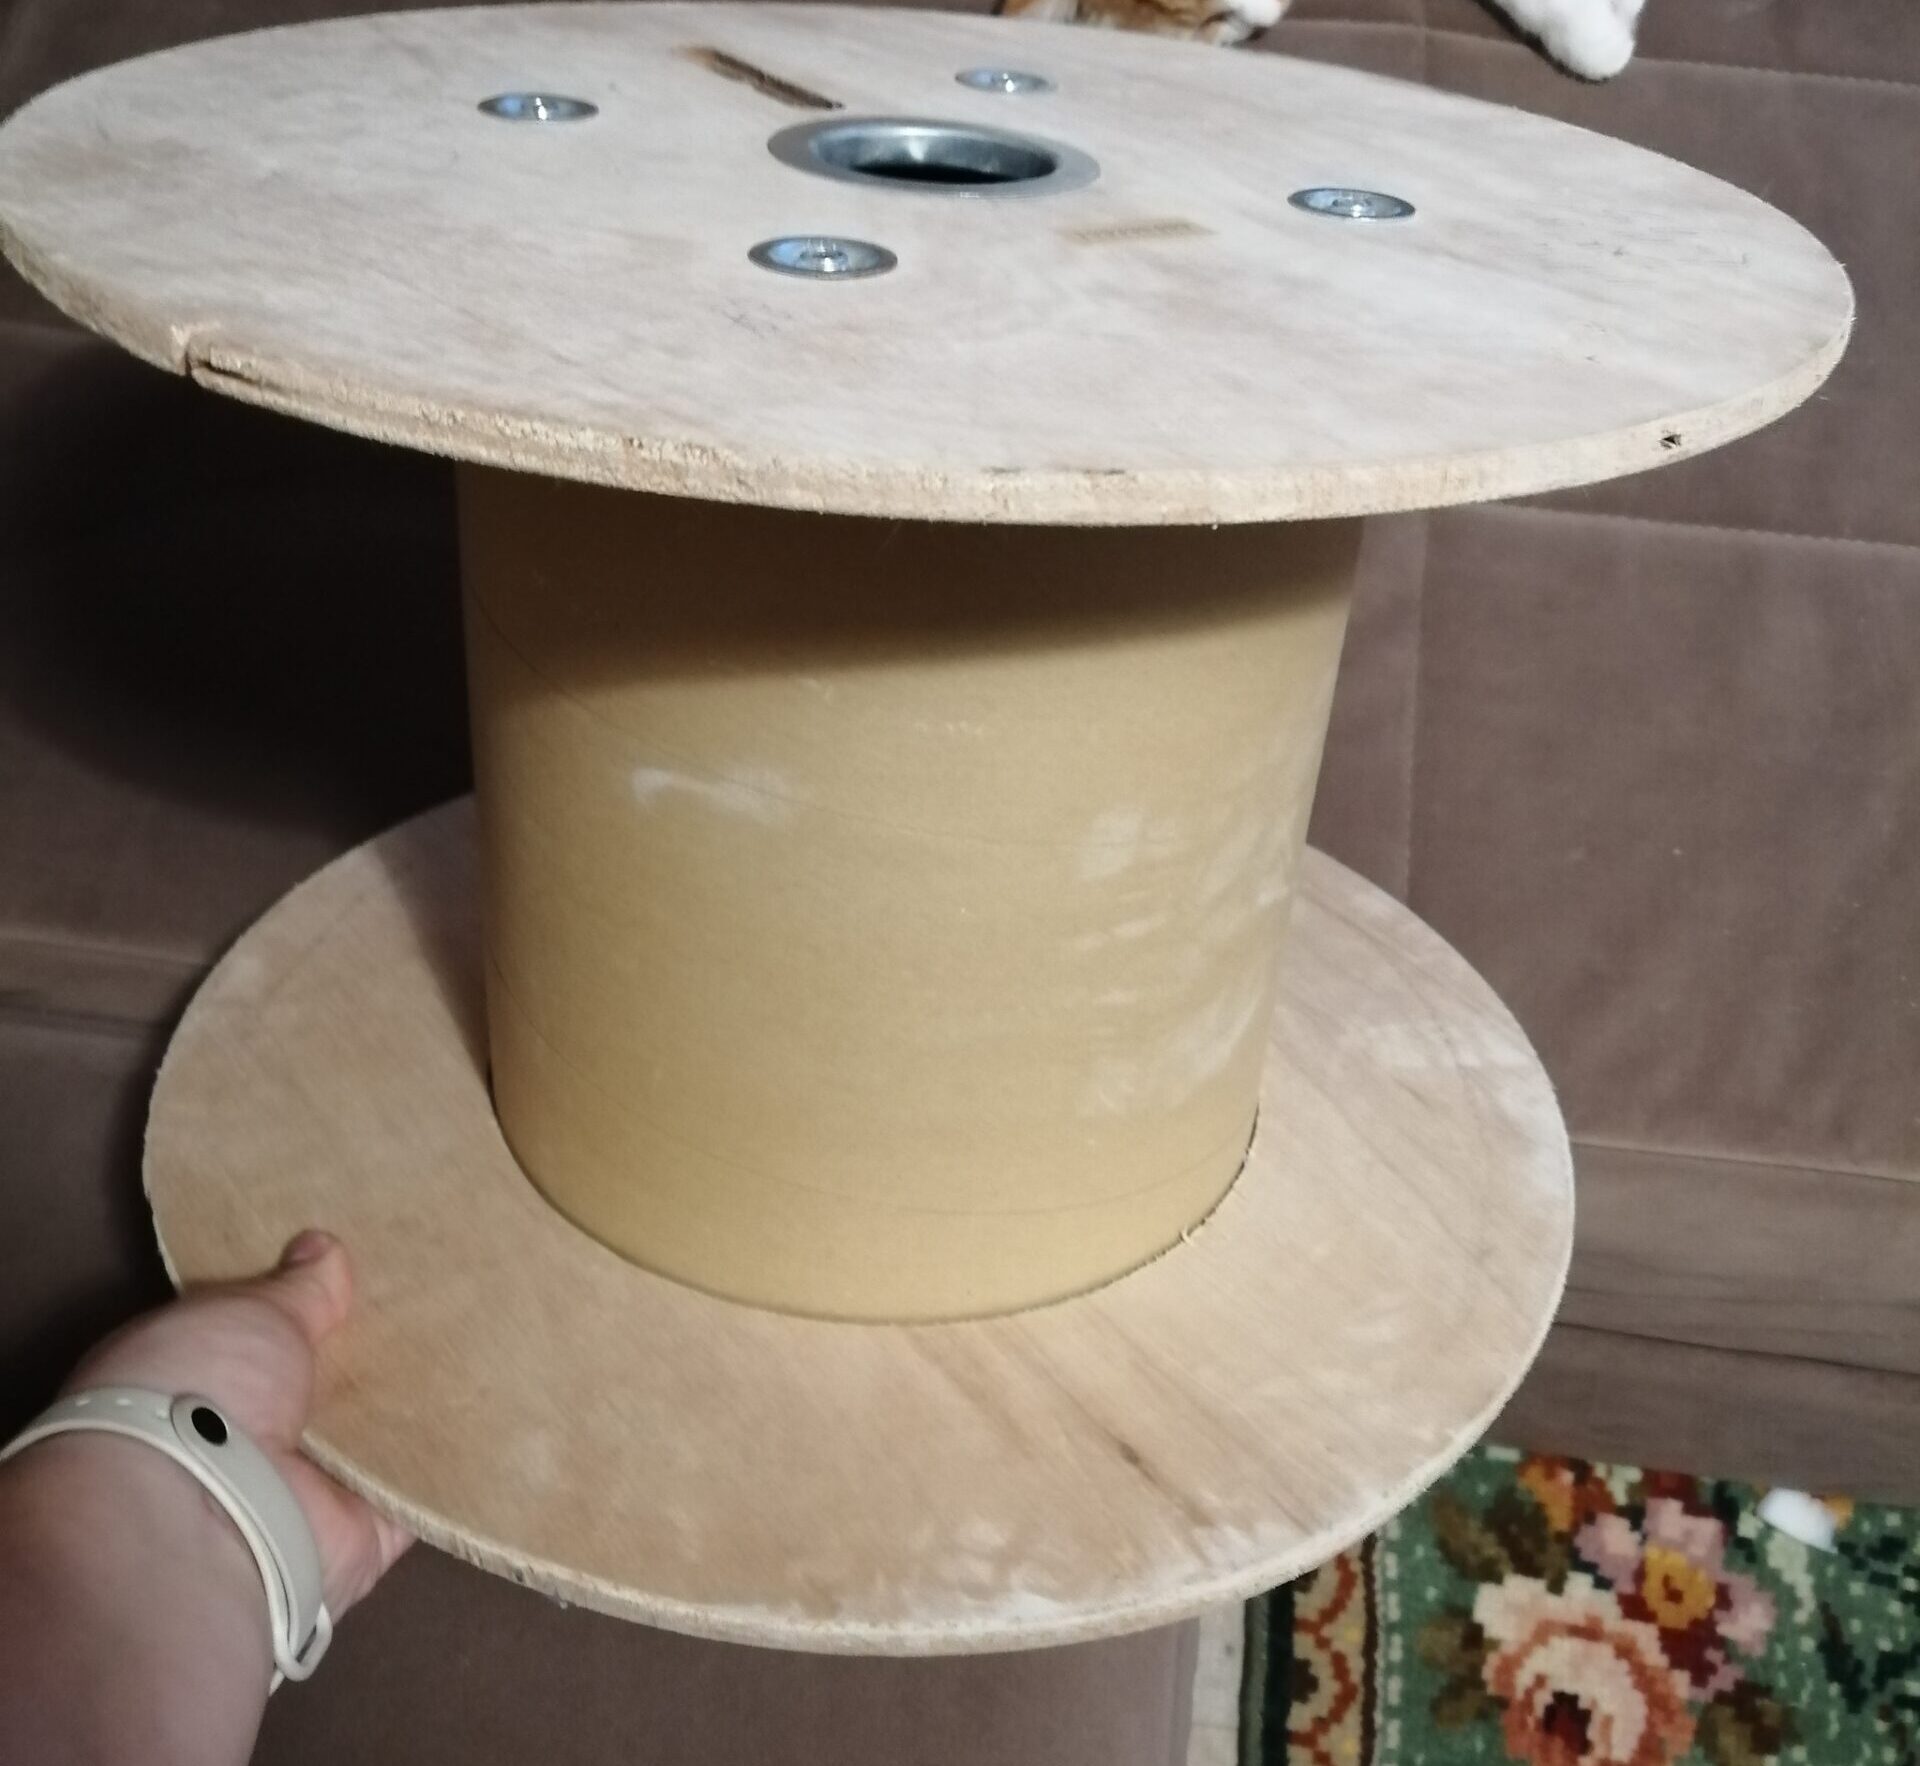
We wrap the blank with cardboard in the place where the strips are installed and decorate this segment with twine and glue.
We create a seat - we glue foam rubber on a plywood circle and stretch the upholstery. We glue the seat to the base of the pouf - that's it, the product can be used.
Do-it-yourself ottomans on a solid frame
Old furniture, a log, a bucket and other improvised items that can withstand the weight of a person can serve as a solid frame for a pouf.
We make an ottoman from an old stool
If the stool is sturdy, but not very pretty, you can turn it into a pouf. We will need:
- Stool;
- Sandpaper;
- New coating - paint or varnish;
- Plywood for seating;
- Foam rubber;
- Upholstery;
- Glue;
- Furniture stapler with staples;
- If the stool is too high, it may be necessary to shorten the legs further and nail in additional crossbars.
First you need to prepare the base - sand the workpiece, tint it. We create the seat from plywood, on which foam rubber is glued. It is enough to sheathe it with upholstery and stick the finished part on the stool.
Pouf on a wooden frame
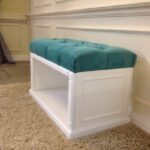
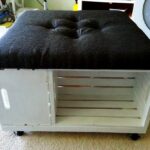
In our case, the frame will be a wooden box, but some other idea may come to you.
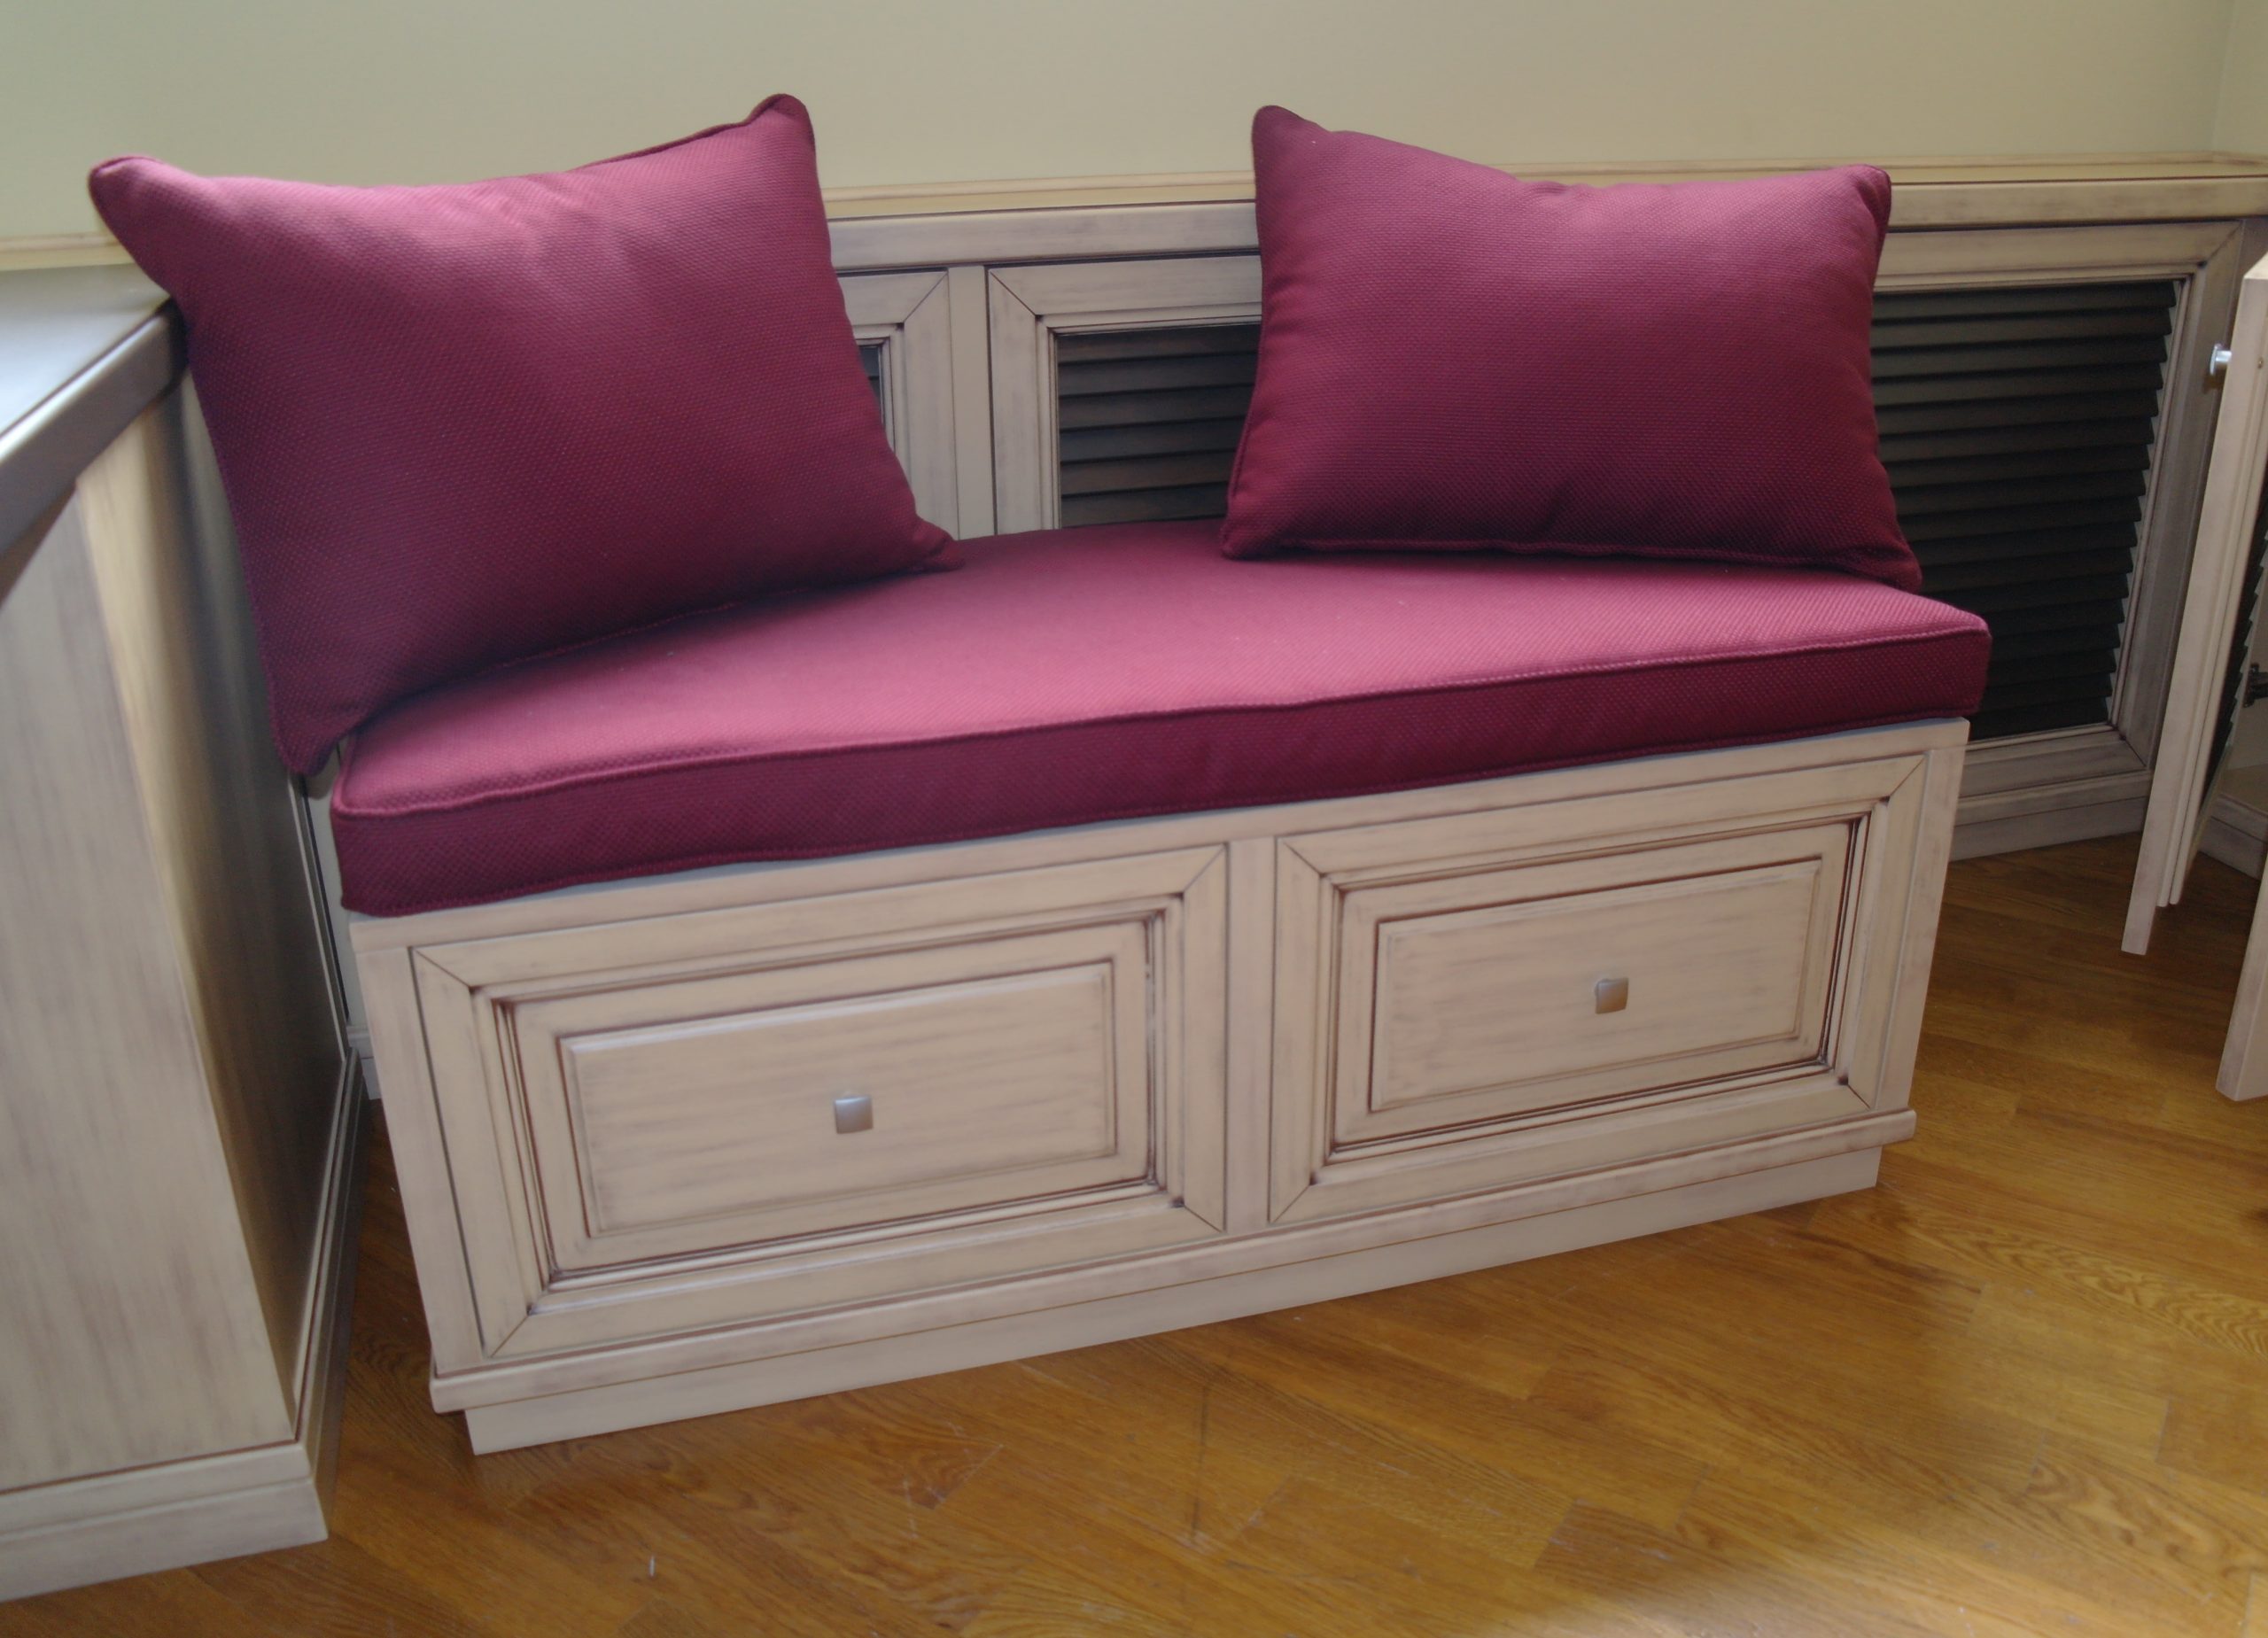
In addition to the box itself, we recommend stocking up on the following materials:
- Sandpaper;
- New coating - paint or varnish;
- Plywood for seating;
- Foam rubber;
- Upholstery;
- Glue;
- Furniture stapler with staples.
We sand the box, cover it with varnish or paint. We create a seat by gluing foam rubber on the plywood and covering the blank with upholstery. Then we glue the seat to the box - your family will definitely appreciate the result!
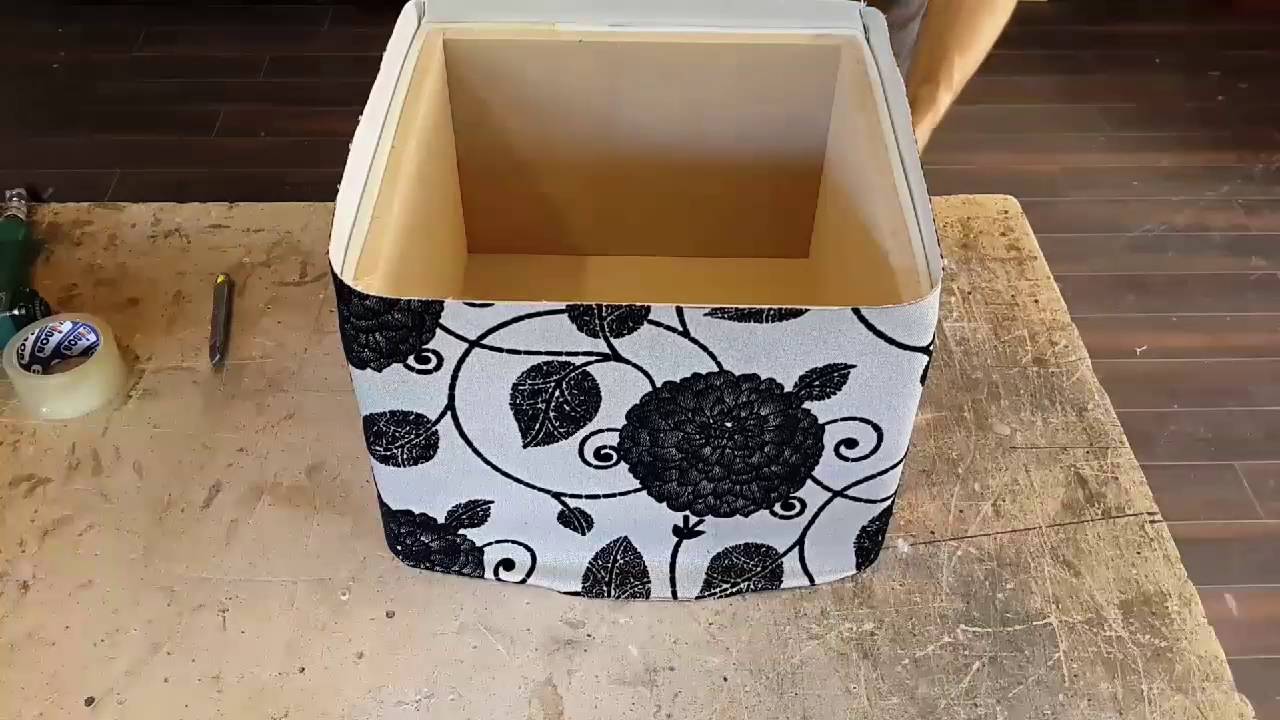
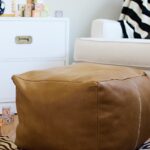
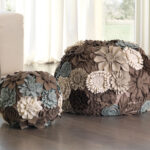
This ottoman will become a textured accent of the dacha interior. Depending on what materials are used, a handmade pouf can look different. For example, if leather was used as upholstery, a home pouf could be classified as elite furniture.
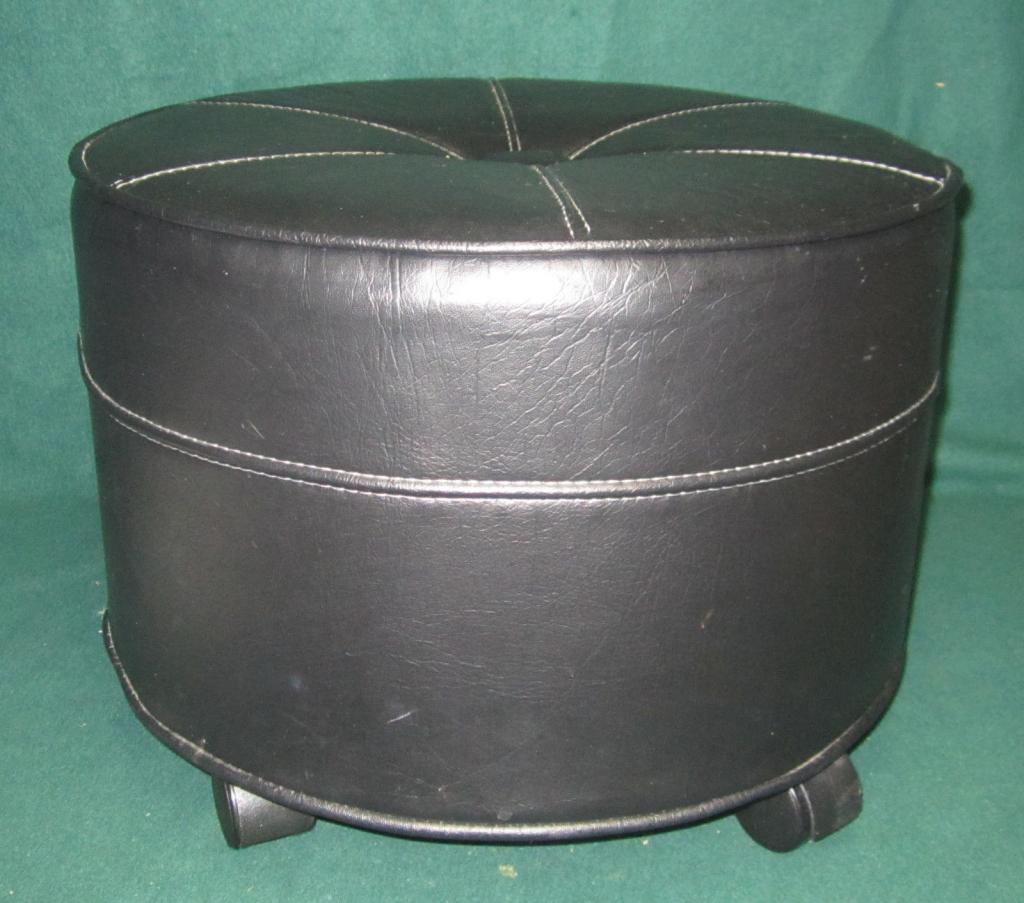
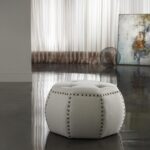
Any of these models of ottomans can be decorated in an original way - with the help of upholstery studs, embroidery, appliqué, and special cords. For ease of movement, it is possible to provide not only wheels, but special hinges. Each master can show his imagination.
Frameless pouf
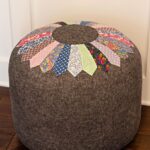
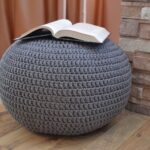
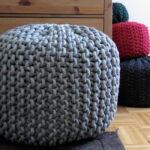
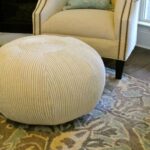
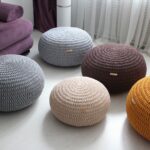
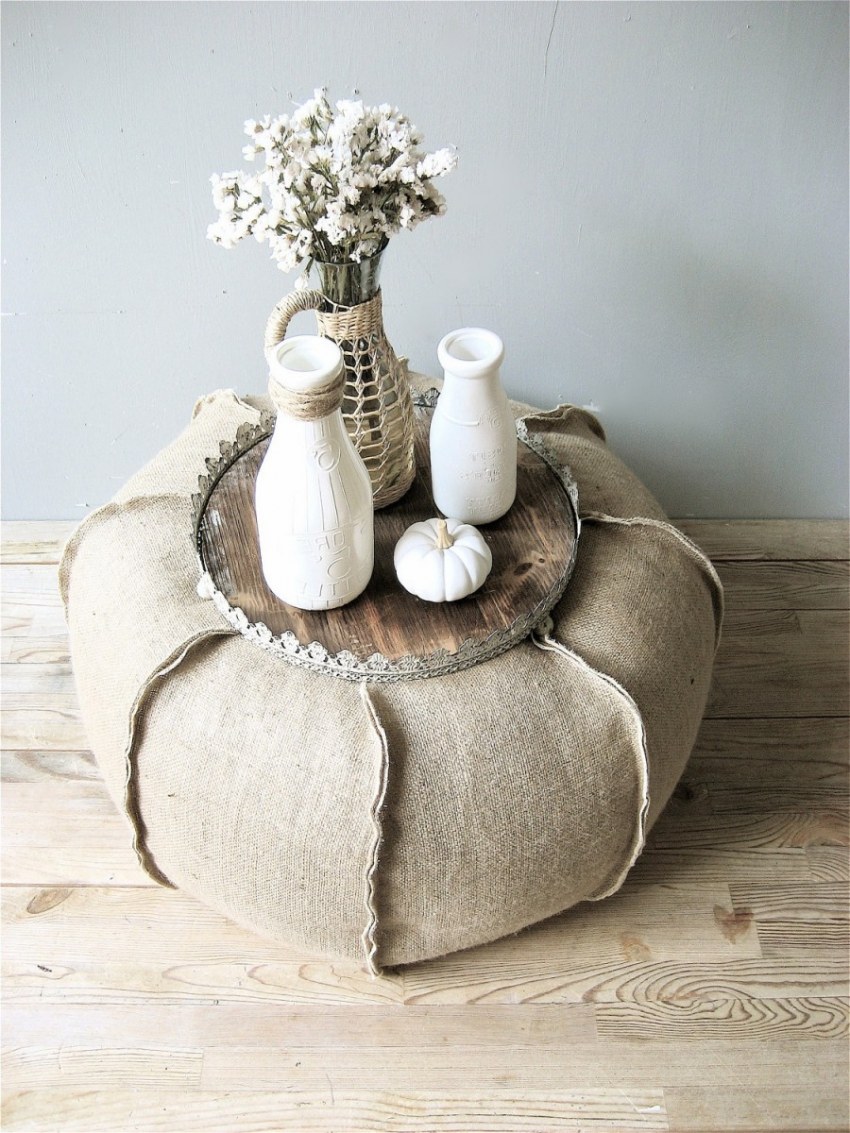
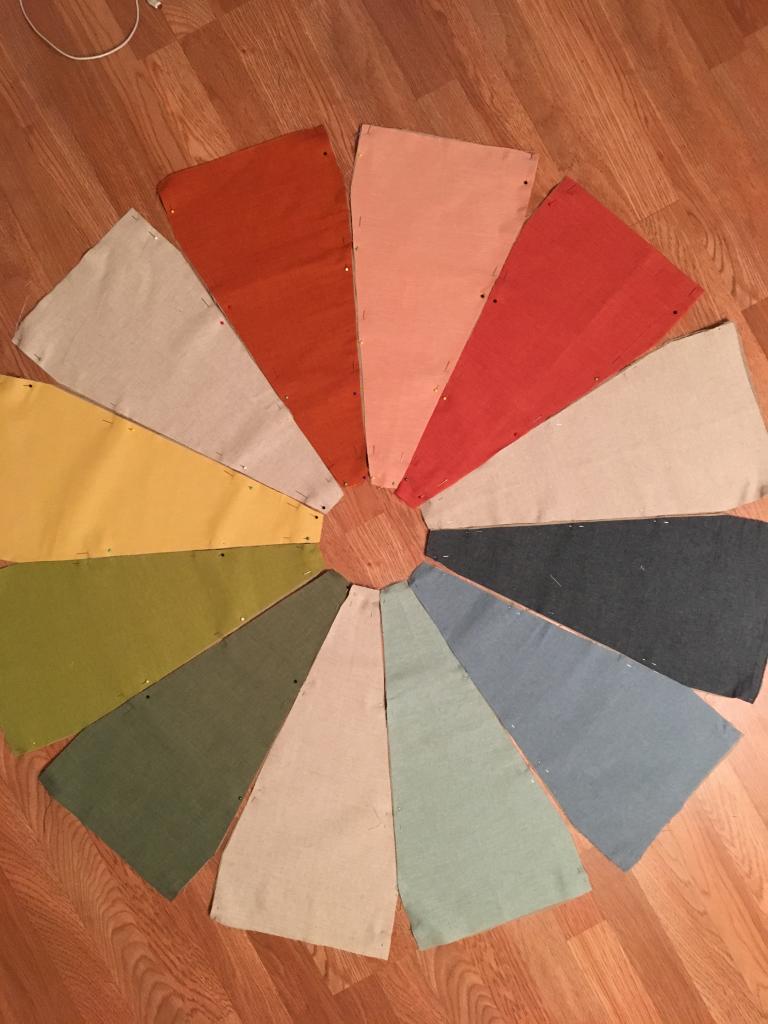
Different patterns can be used for sewing. The most common pattern is for a pouf bag. For sewing, from 6 to 12 identical parts are used, resembling a cherry leaf in shape. All parts are sewn into one large bag, which is turned inside out, filled with any filler and the hole is sewn up by hand.
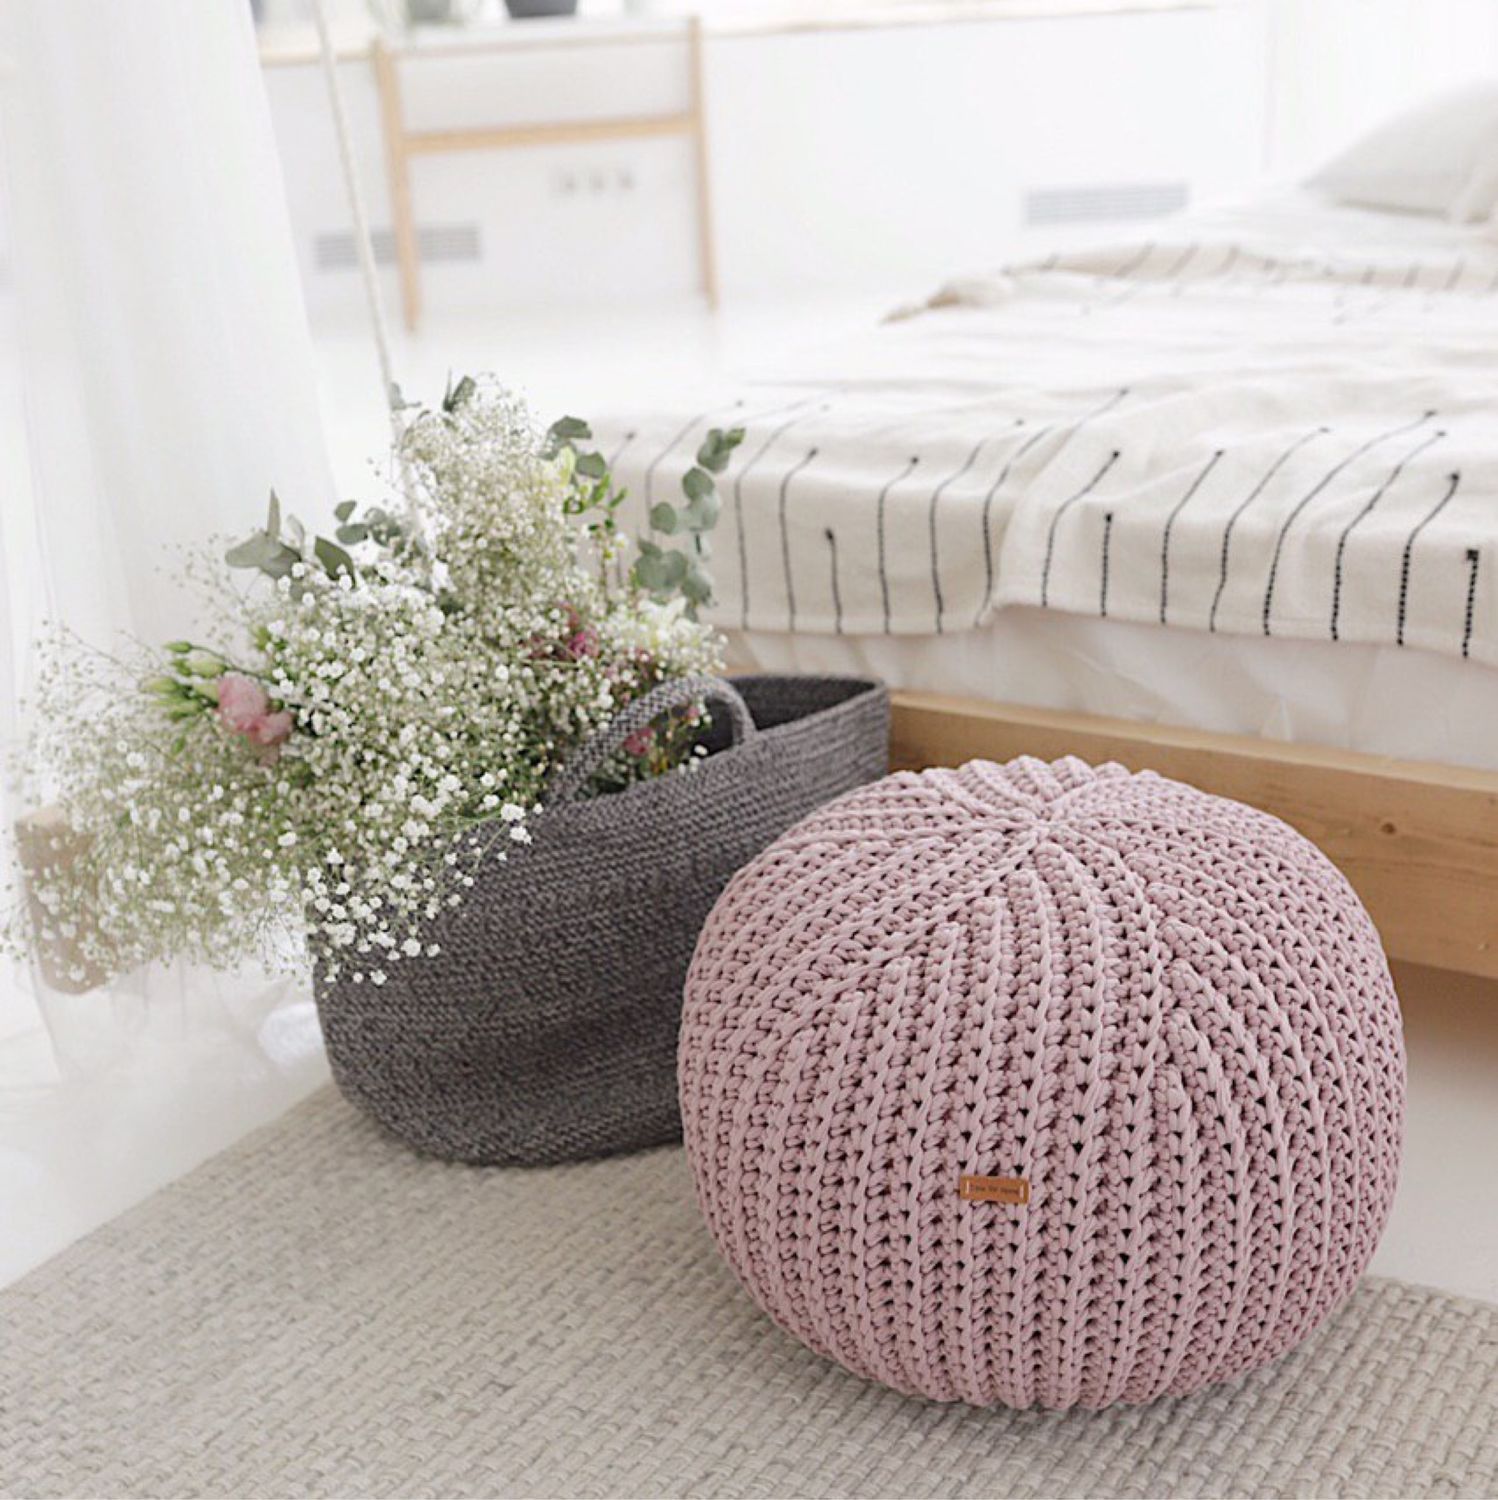
The second version of the pattern - two identical circles and a wide tape are cut out of durable fabric, along the length corresponding to the perimeter of these circles plus seam allowances. The assembly and sewing of such a product is carried out according to the same technique as in the previous version of sewing a frameless pouf.
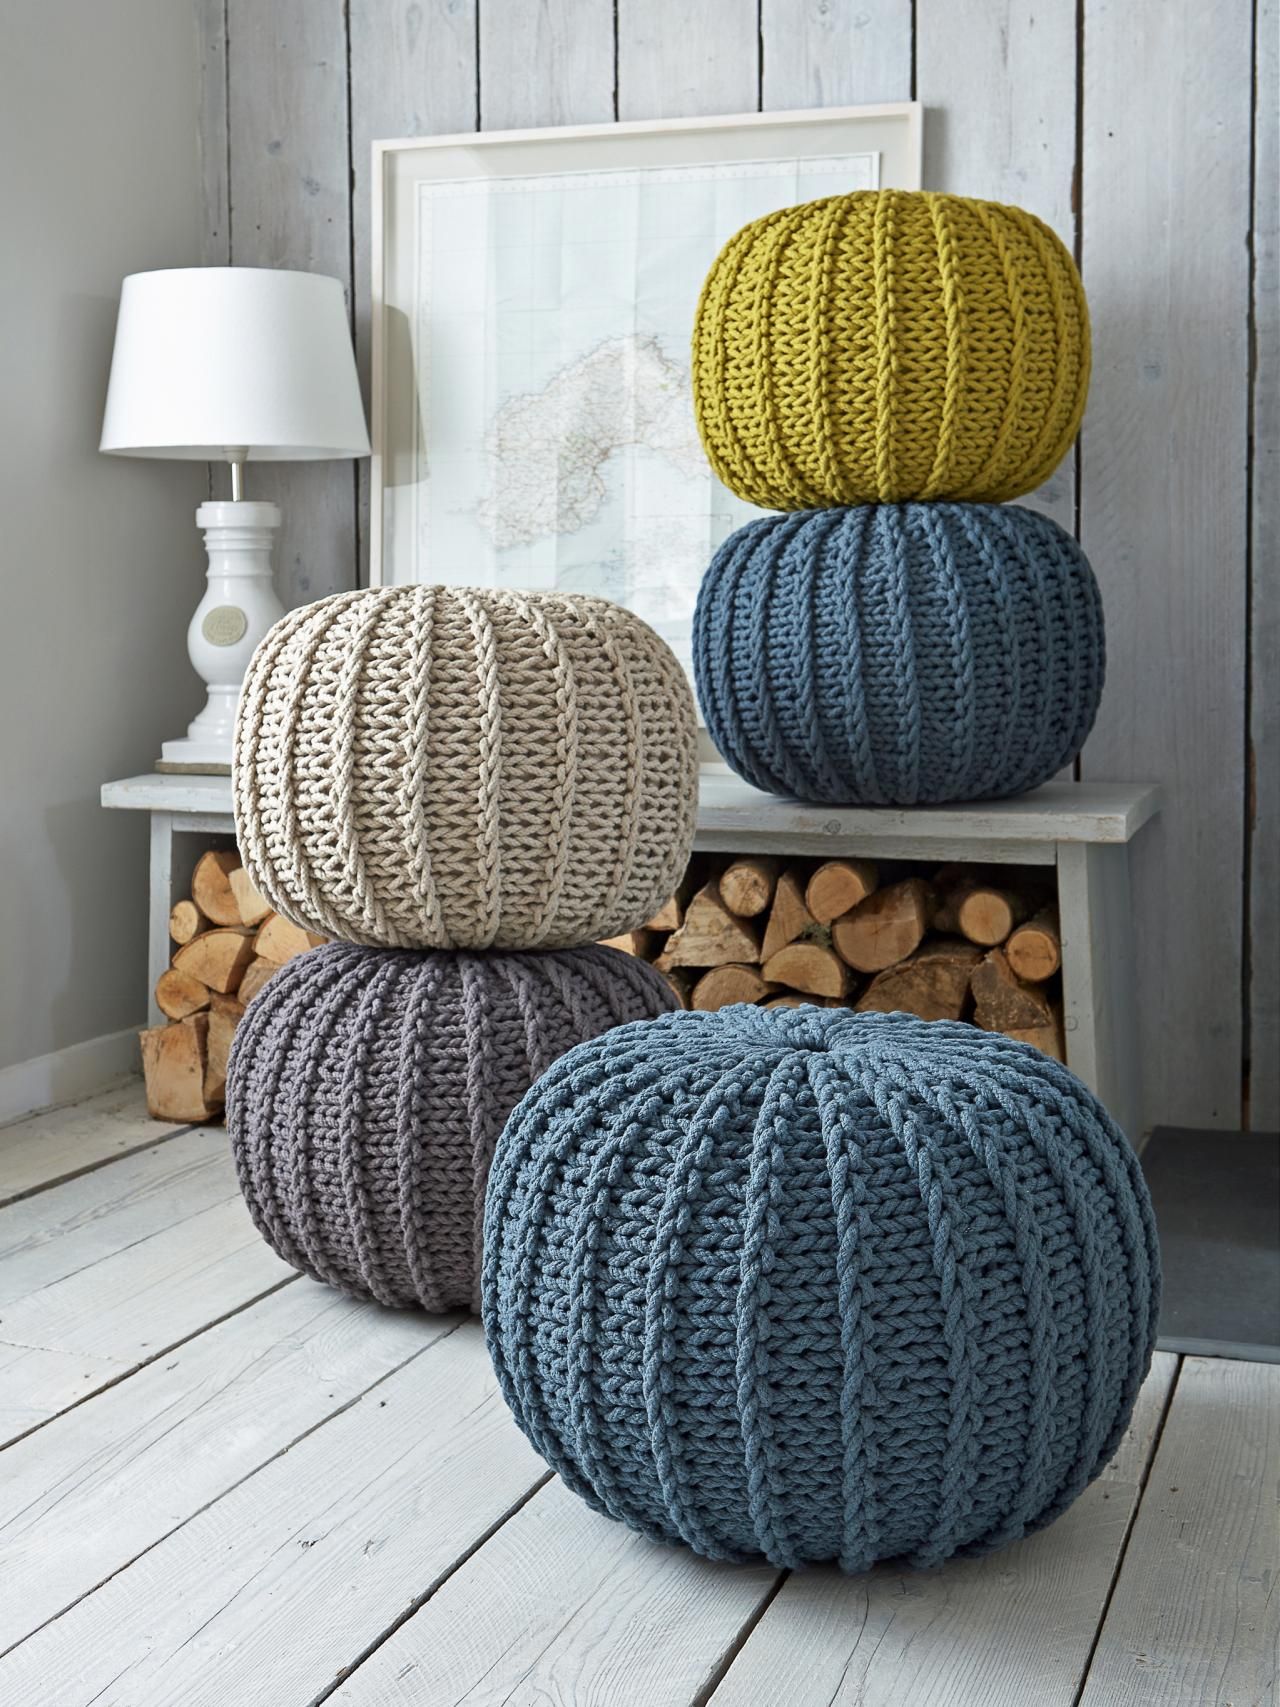
Perhaps we have talked enough about how to make a soft ottoman with your own hands at home, so even an inexperienced master will now cope with this task. Such products will find their place in the hallway, bedroom, living room, children's room.
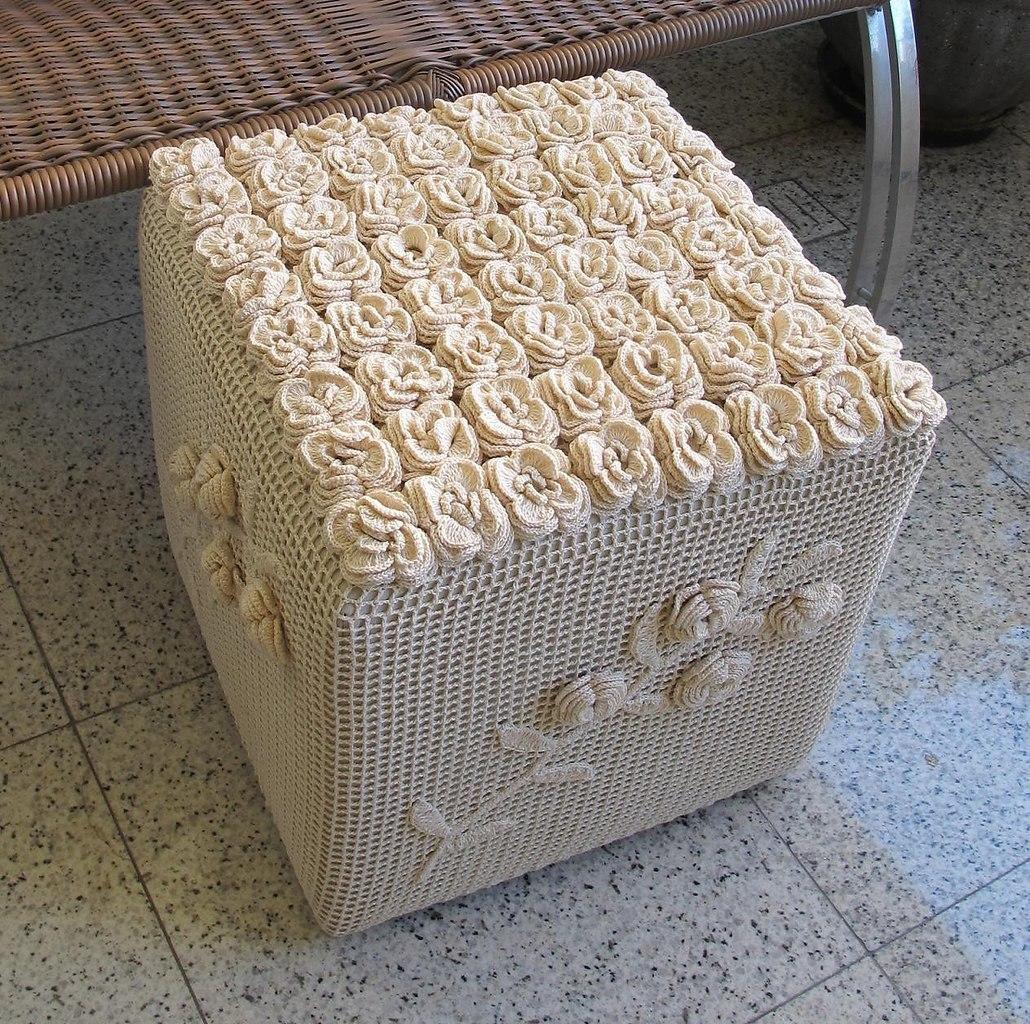
If possible, you should sew a cover on the pouf or tie it. It is not difficult, and you will create such a textile detail yourself, and as a result, it will allow you to keep the upholstered furniture in a tidy state, moreover, there may be several covers and the pouf will regularly change its design.
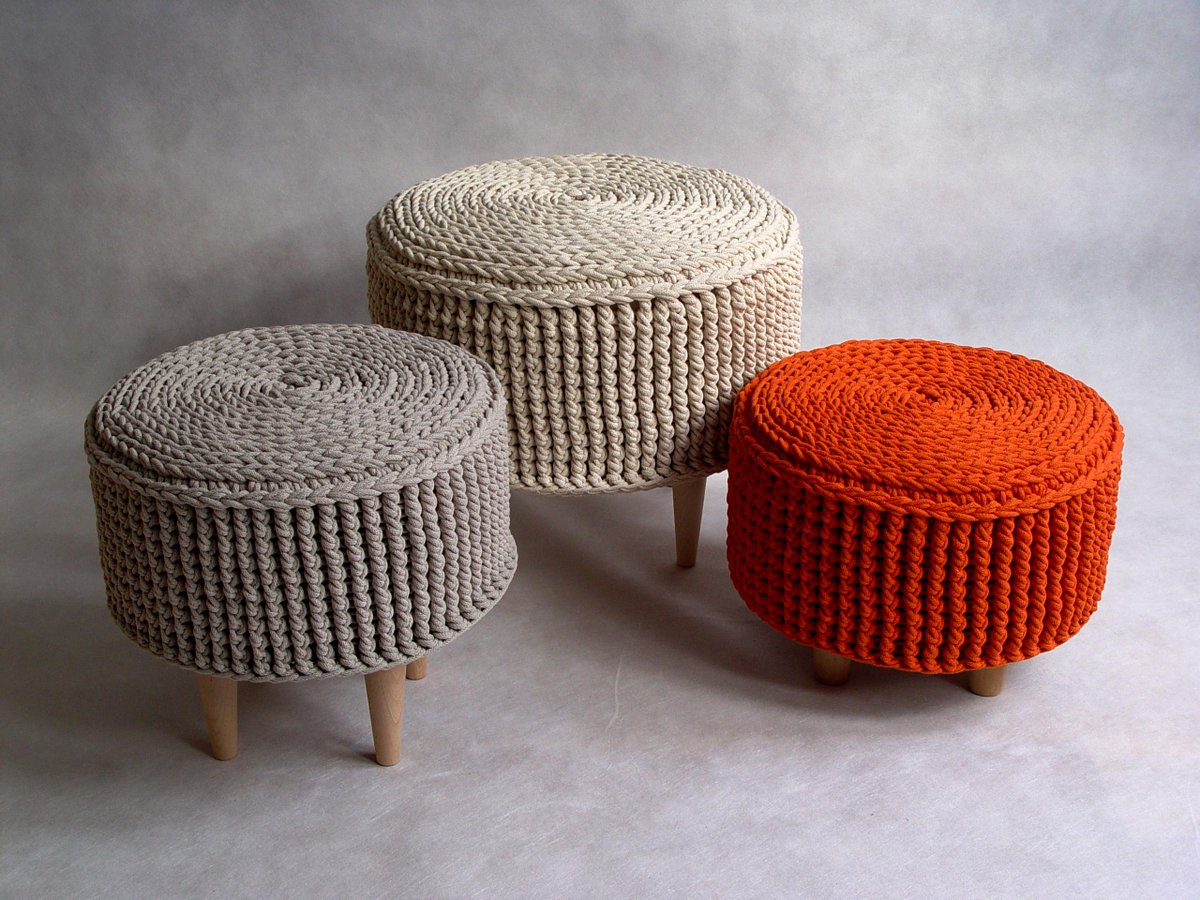
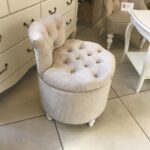
It is possible to independently manufacture ottomans with a back, but this is a more difficult task, drawings and diagrams are more difficult to develop, and the most relevant models still remain the usual round, cubic or frameless poufs-bags.
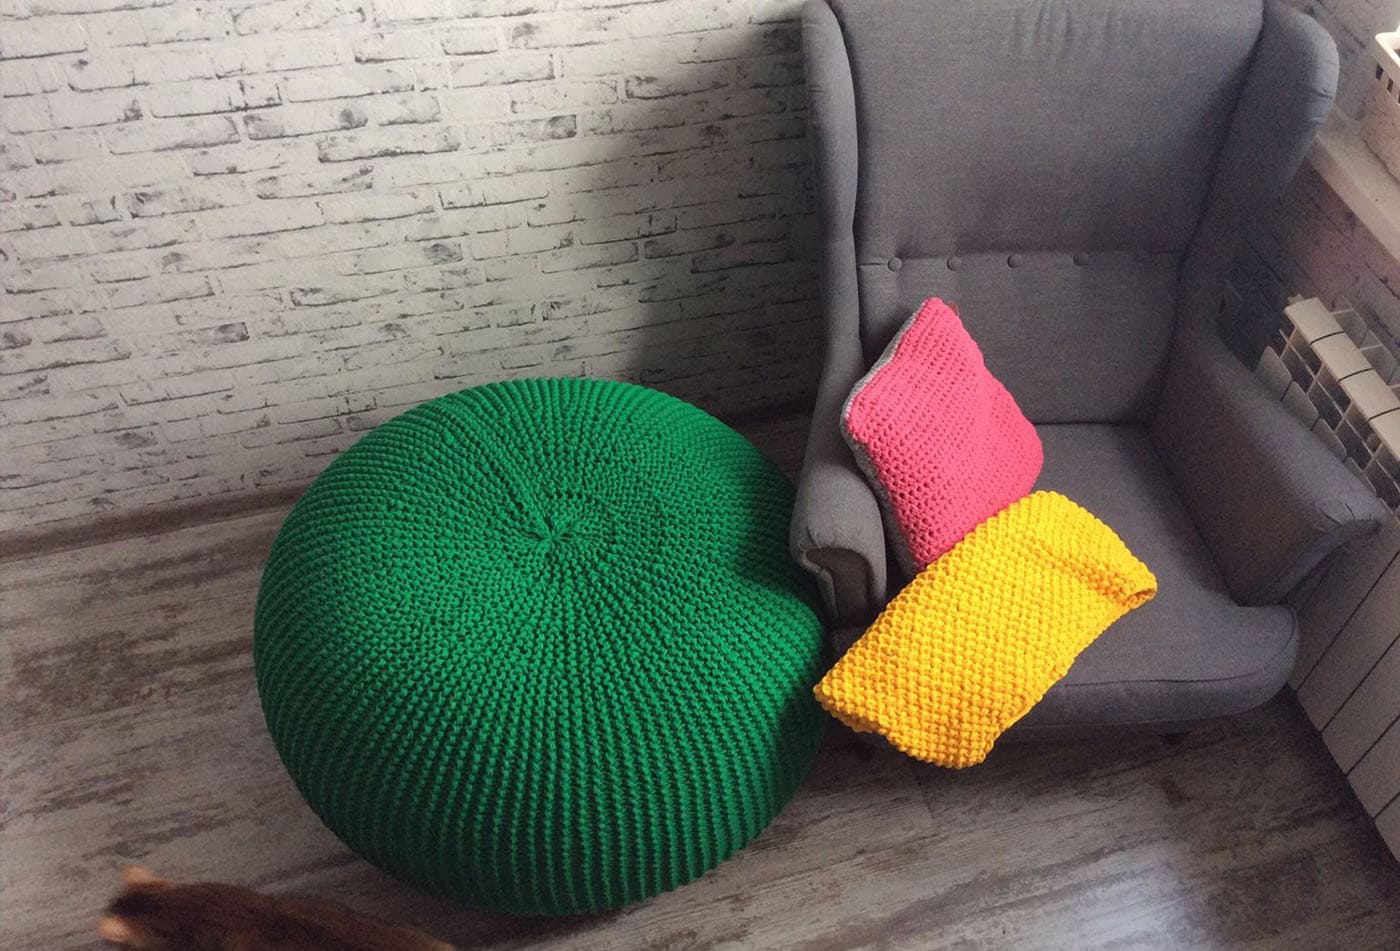
What kind of comfortable and original pouf you want to make - the choice is yours!
Video: do-it-yourself upholstered furniture
