Do-it-yourself comfortable soft armchair
What could be warmer and more comfortable than hand-made things? Especially if this is a chair for beloved family members, and even more so for children.
Almost everyone can assemble beautiful and uncomplicated furniture. You just need to think over the design and select materials. We will tell you how to make a soft chair with your own hands and not spend a lot of effort.
Advantages and disadvantages of DIY manufacturing
Designer expensive furniture is wonderful, but the one that is assembled with your own hands has a soul. Perhaps the finished thing will turn out to be imperfect, but it will be special and, for sure, the most beloved. And if you choose durable materials, then the chair will serve the family for more than one year, and perhaps it will be inherited by the next generations. But this is the lyrics. Home build has other practical advantages:
- budget - the master can independently adjust the cost of the product, choose materials according to his wallet;
- design - who, no matter how the master himself, will be able to create a thing that will 100% correspond to his ideals;
- individual sizes - you will be able to assemble a chair with your own hands for the individual needs of household members.
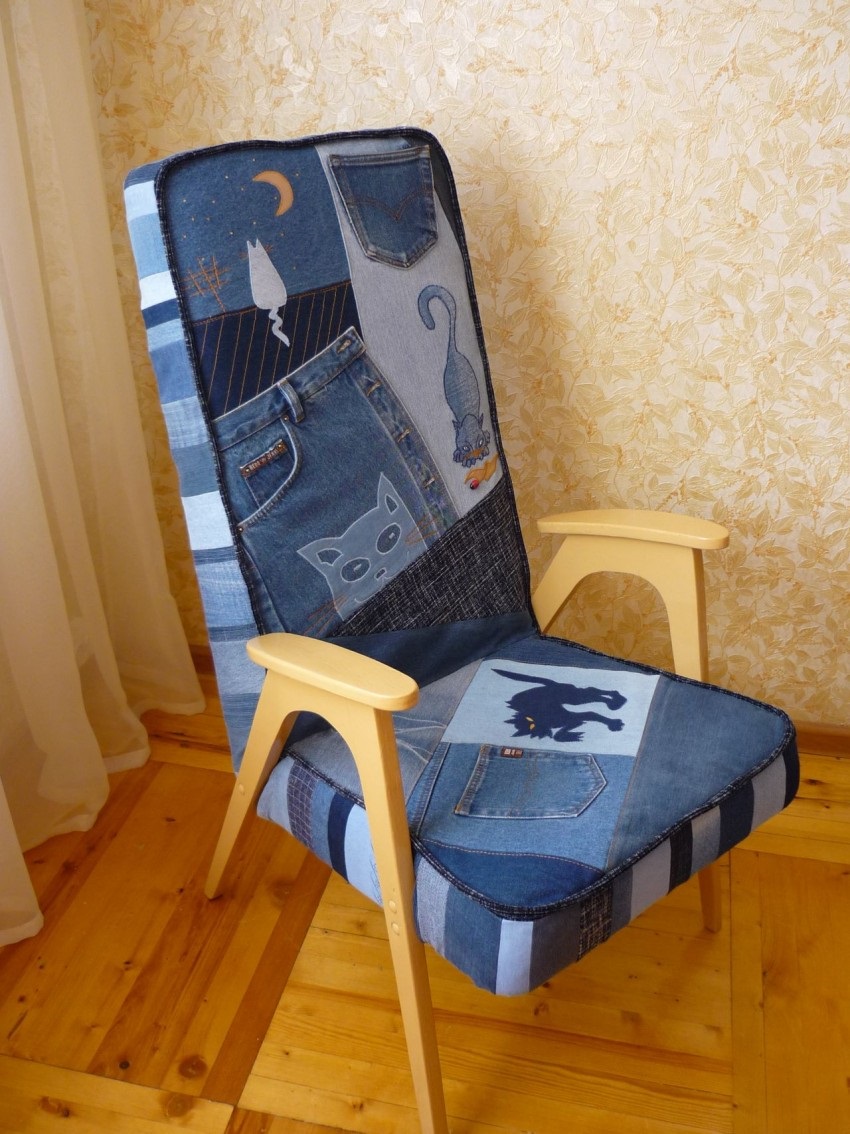
Are there any drawbacks to manual chair assembly? Yes, there are:
- time - you will have to spend more than one day nurturing an idea and creating a thing;
- experience - it will not be easy for a novice master to immediately make a suitable chair;
- working conditions - expensive equipment is not needed to design and assemble furniture, but not every home has ordinary tools.
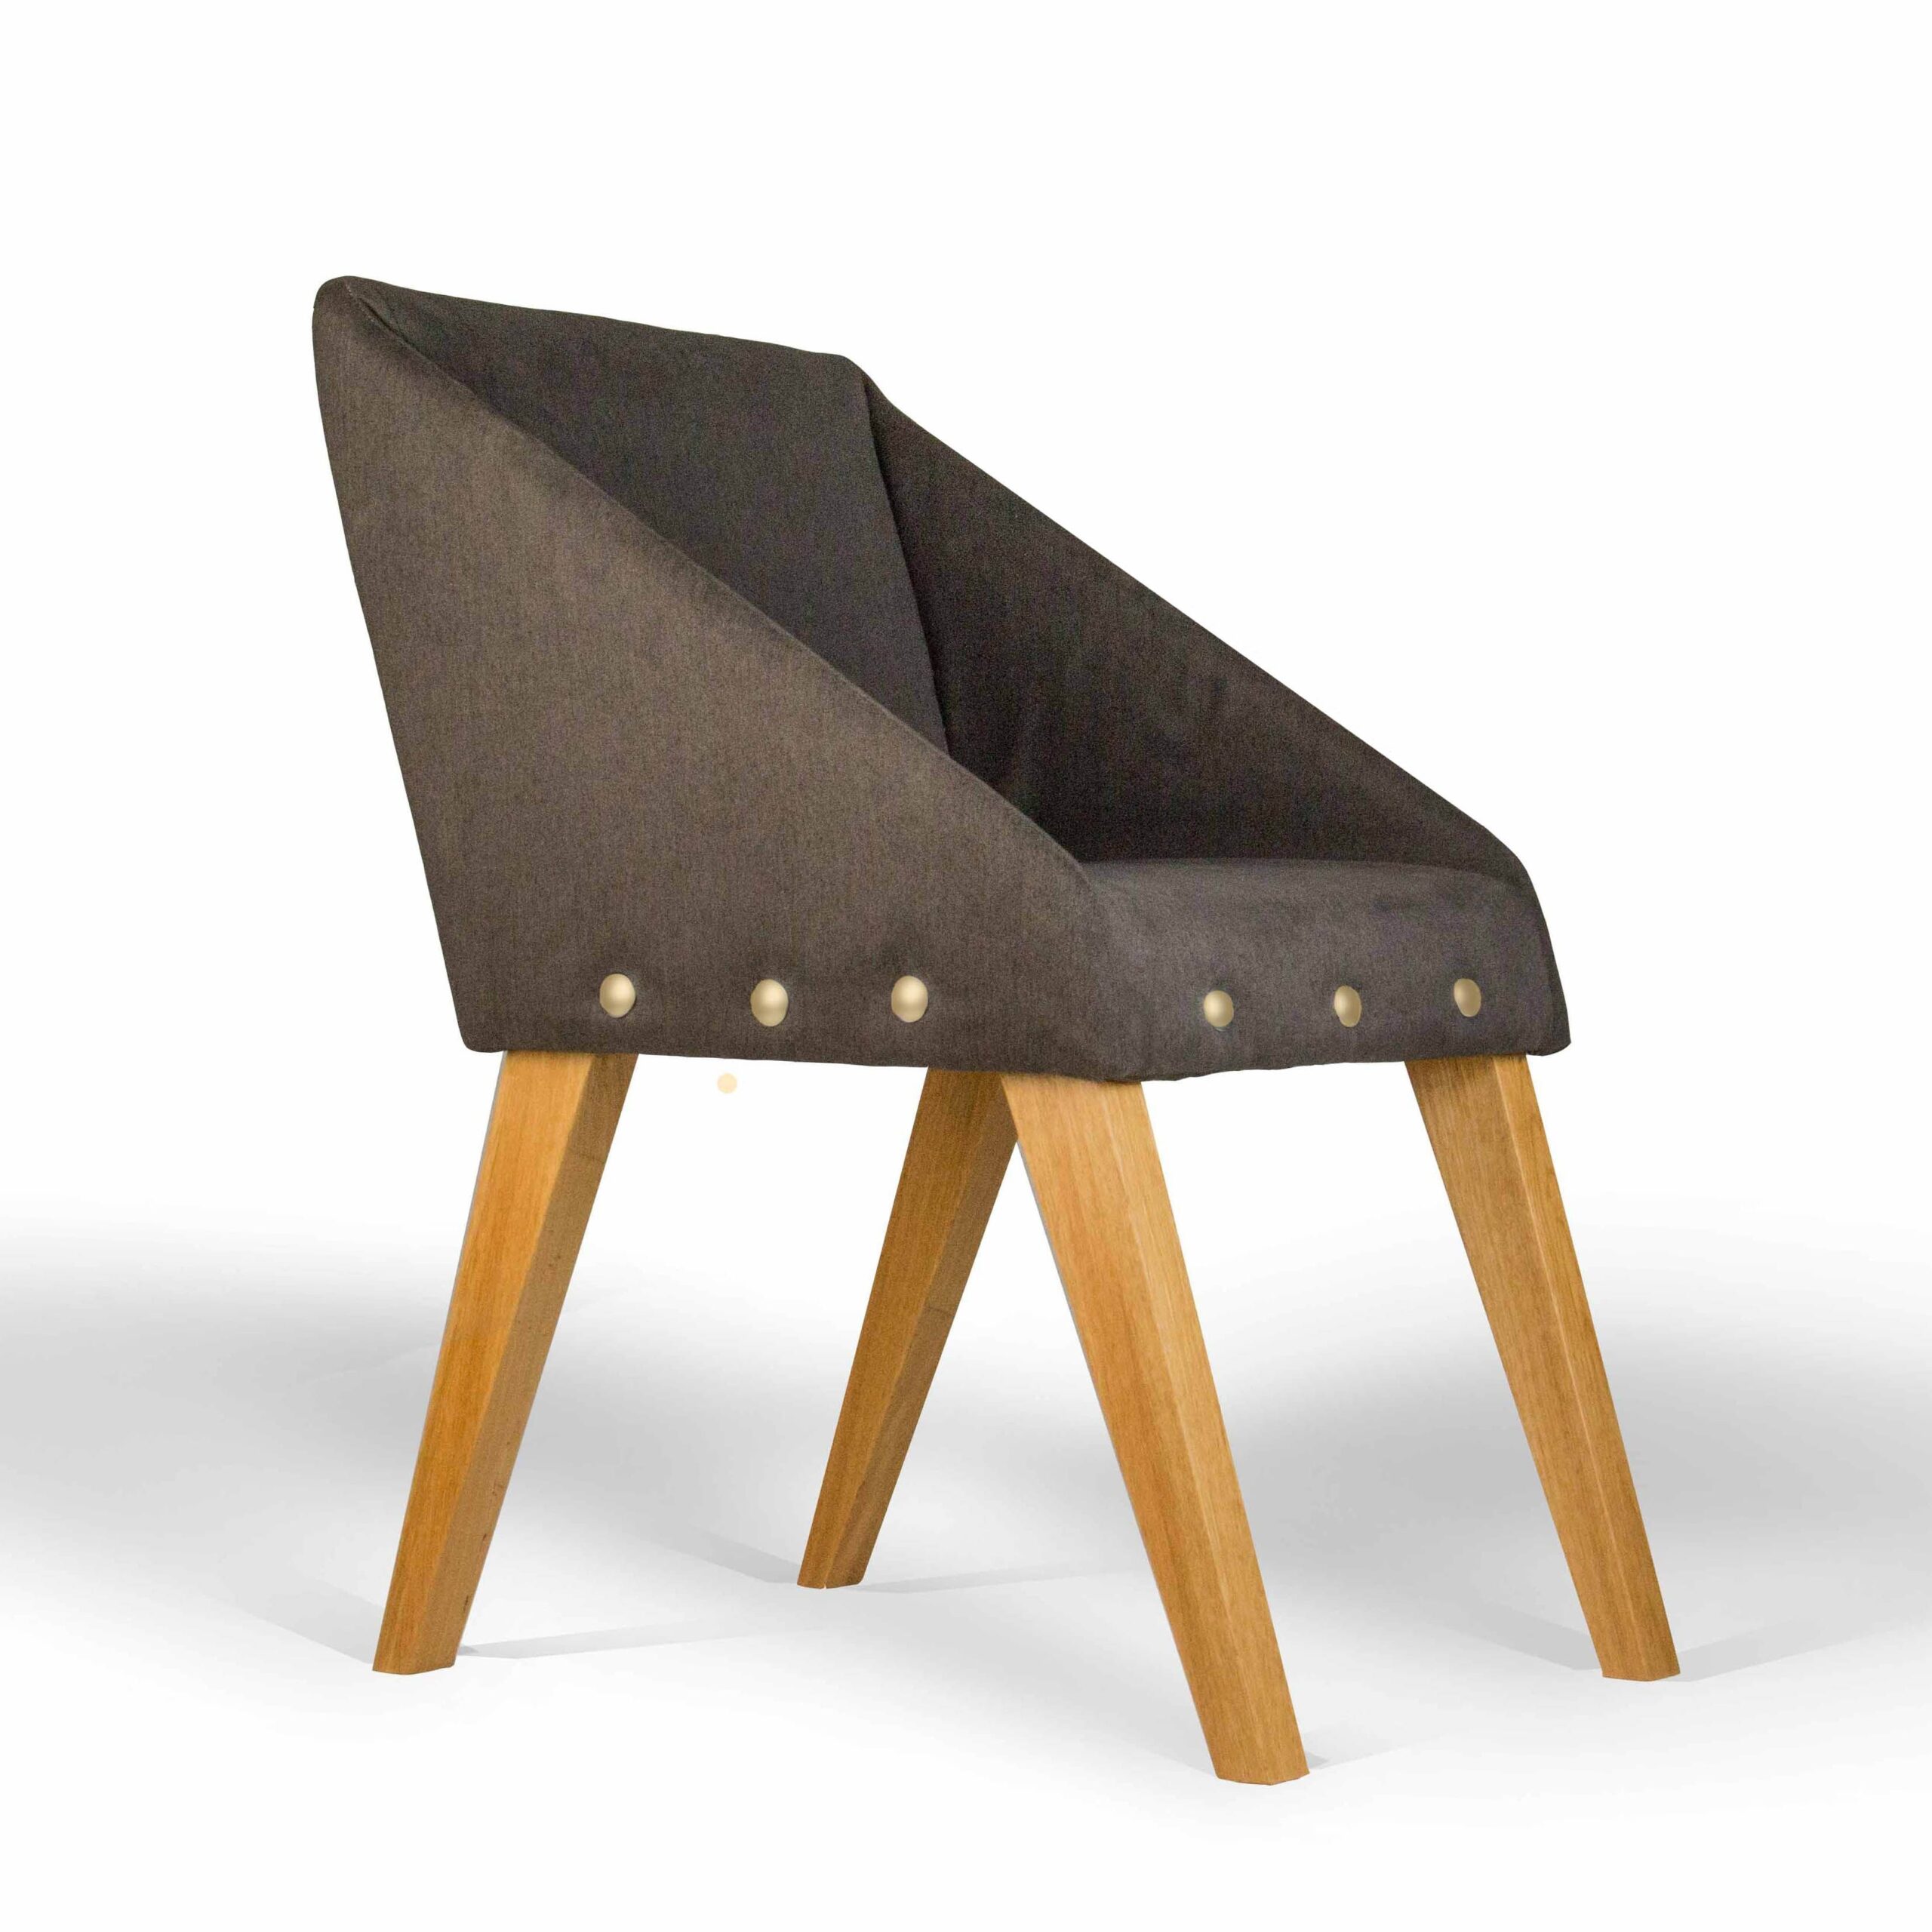
But ... As a last resort, tools can be rented, and individual parts can be ordered from specialists.
What you need to create a chair
In addition to materials and tools, the master needs an idea and an accurate understanding of who and why he makes a chair. If this thing will fit into the interior, then quality materials are needed. If this is a play chair for a child that can be disposed of after a while, a cardboard frame with budget (but hypoallergenic) upholstery and upholstery will do.
Instruments
Most of the tools can be found in any home:
- rulers (steel, protractor);
- compass;
- scissors;
- vice (table and hand);
- hacksaw;
- jigsaw;
- soldering iron;
- hammer;
- a set of keys;
- drill;
- hammer;
- hacksaw;
- center punch;
- glue, nails, staples.
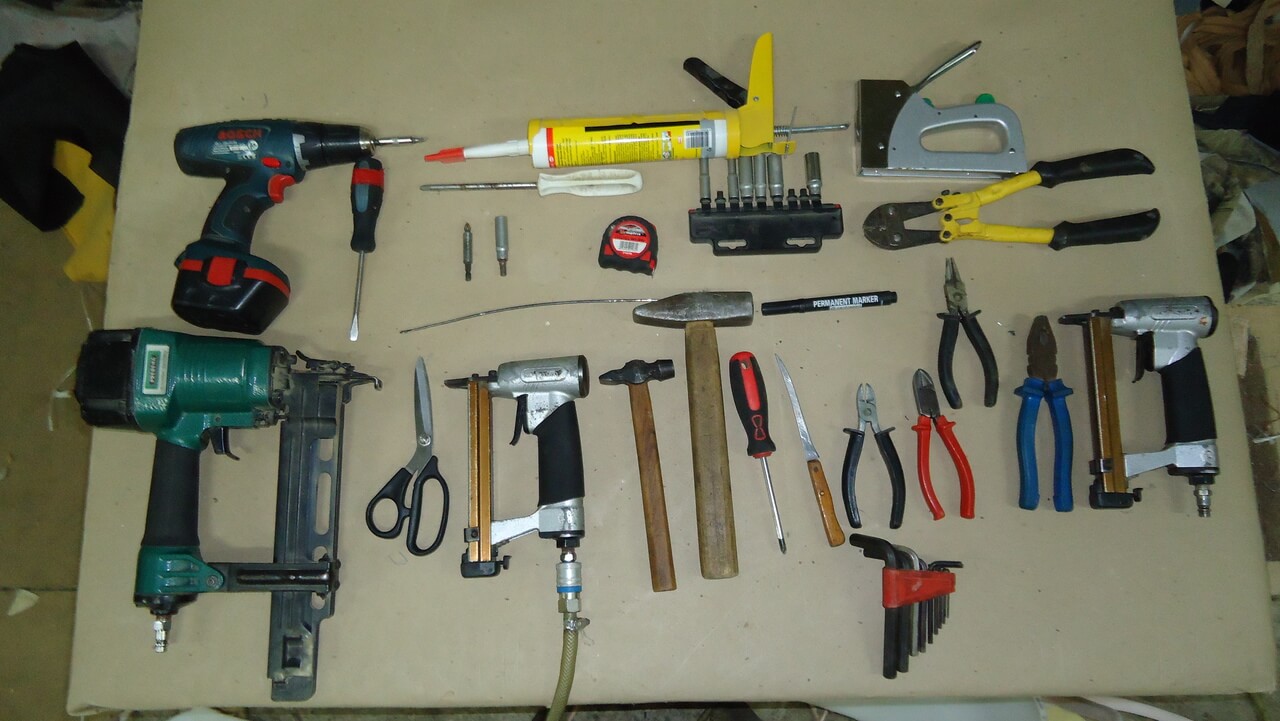
The absolute minimum is required to assemble the simplest chair: tools for measuring, cutting and assembling the frame, as well as a sewing machine to make covers / upholstery.
Materials (edit)
For a frame chair, you need wood (timber, boards) or pressed sheet material. The stronger the base, the longer the furniture will last. For wood processing, it is worth purchasing stain and paint (if external wooden parts are assumed).
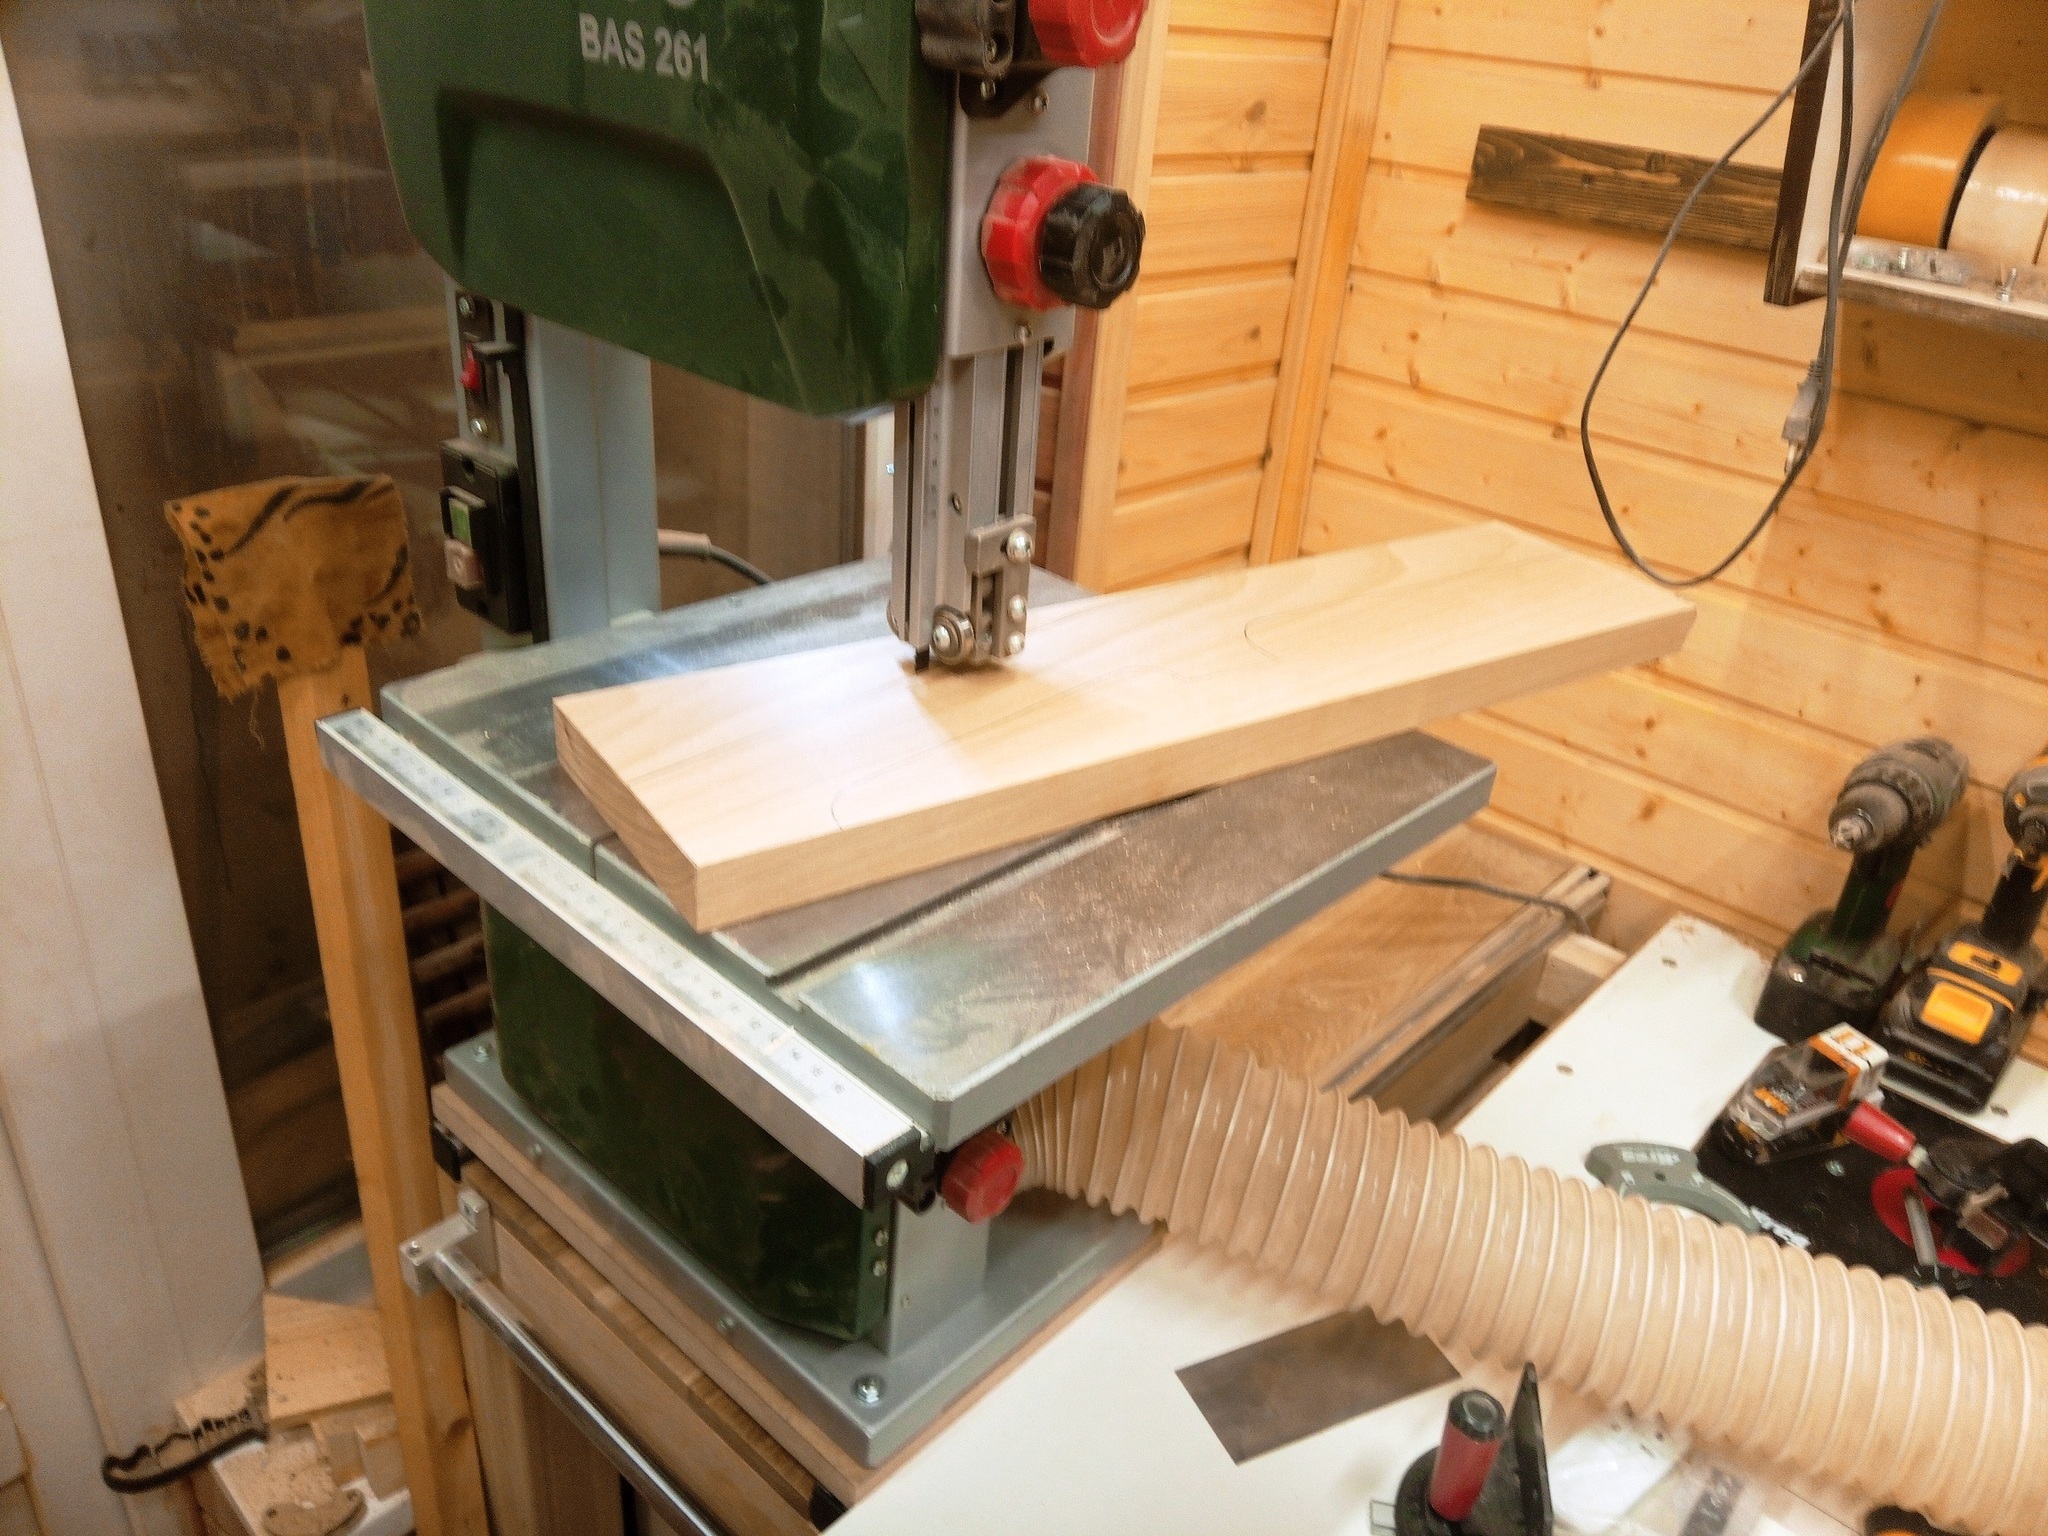
The frame can also be welded from metal, but this will only work in a workshop.
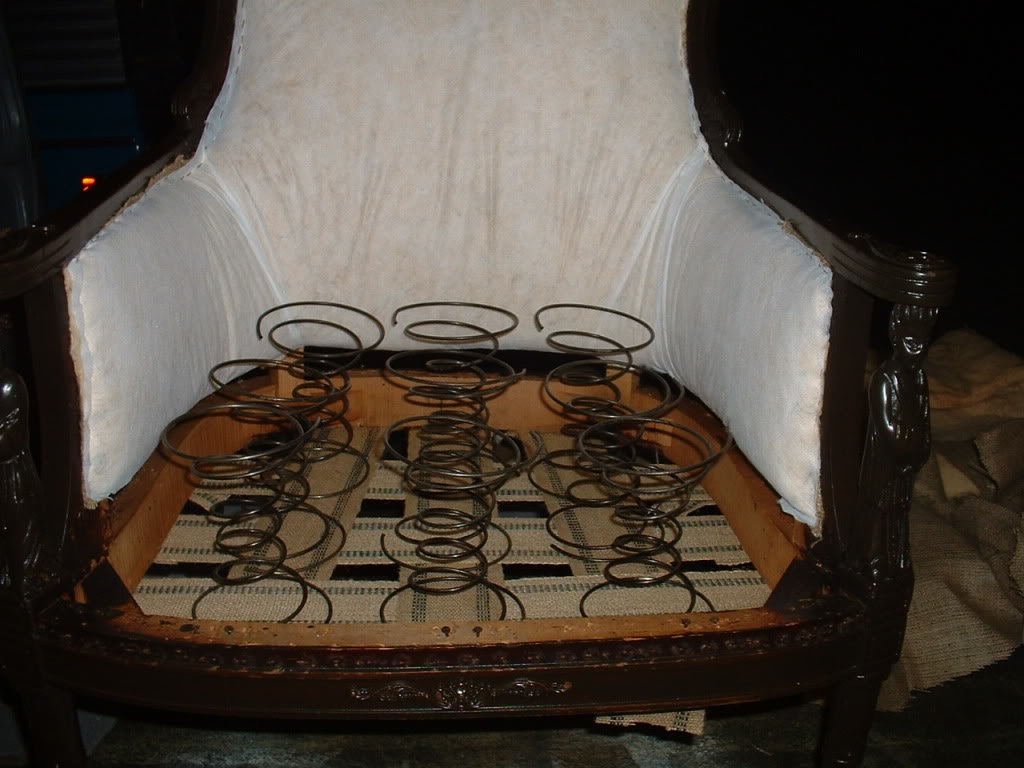
For upholstery, you will need foam rubber or polyurethane foam (PPU), as well as a synthetic winterizer. Any furniture fabric that fits into the budget is suitable for upholstery: velor, matting, jacquard, flock.
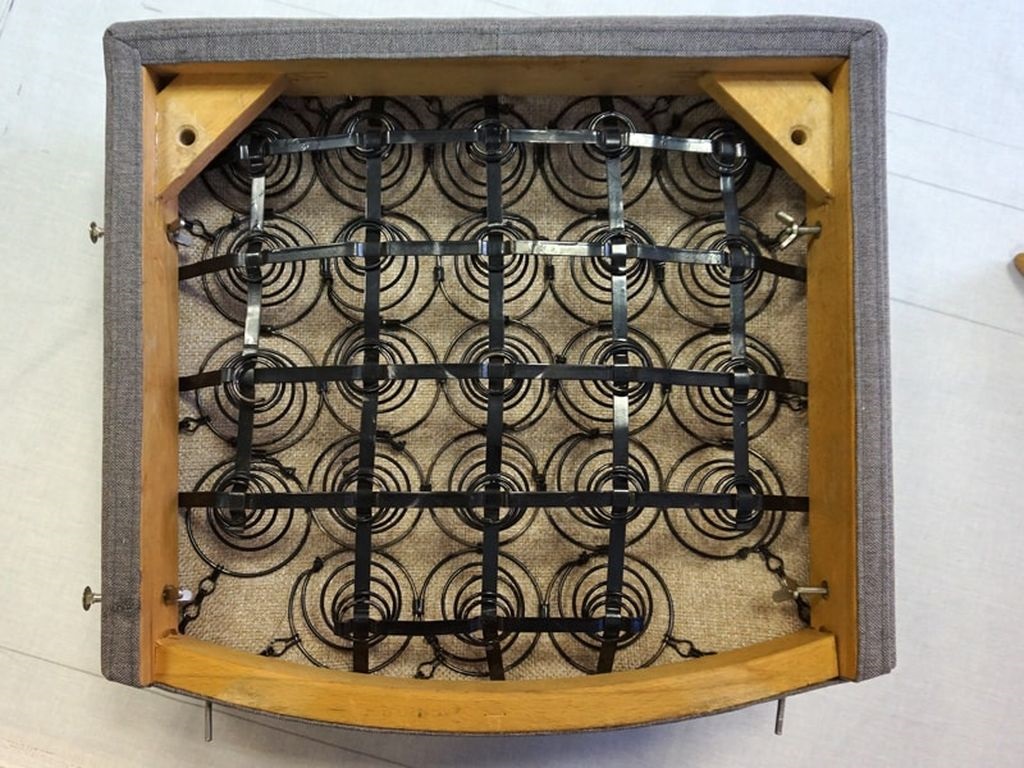
What materials can you make an upholstered chair
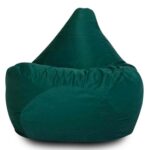
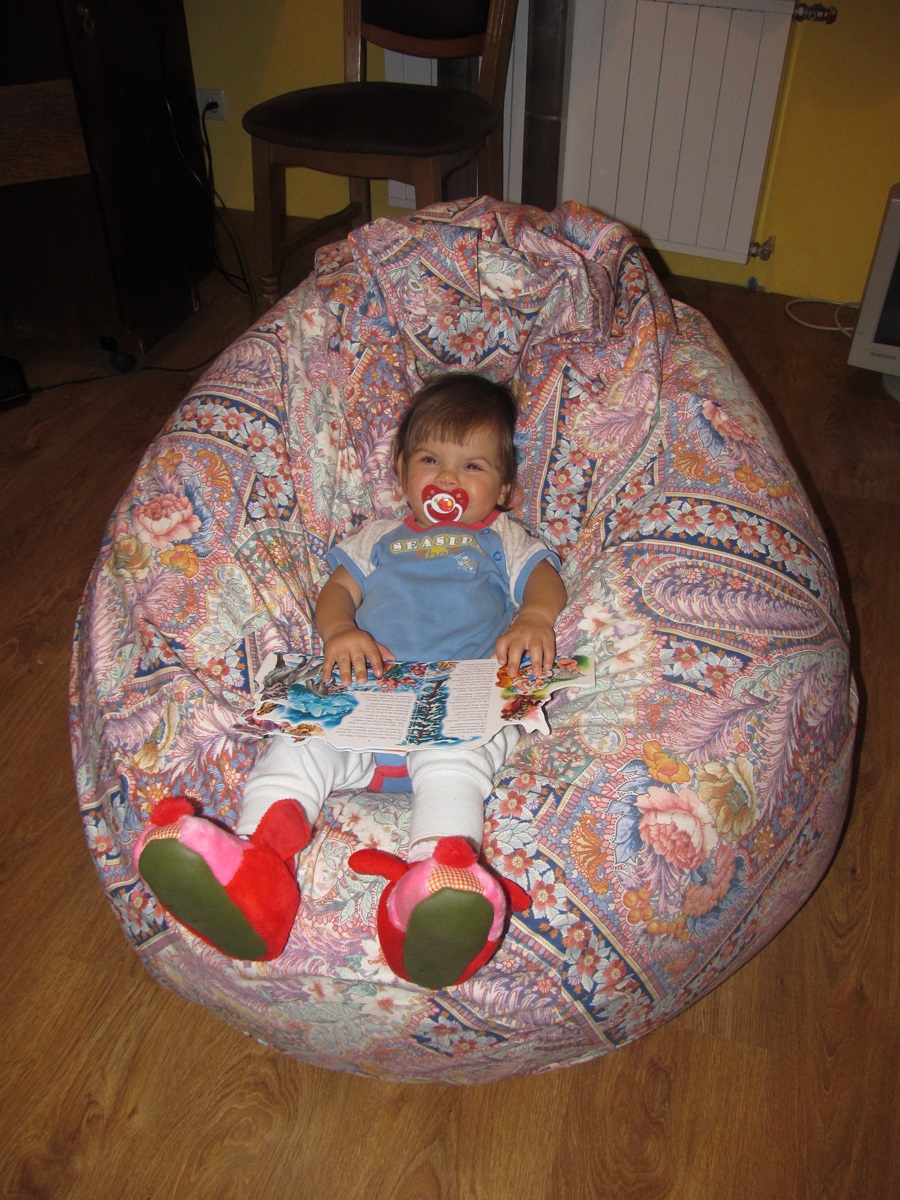
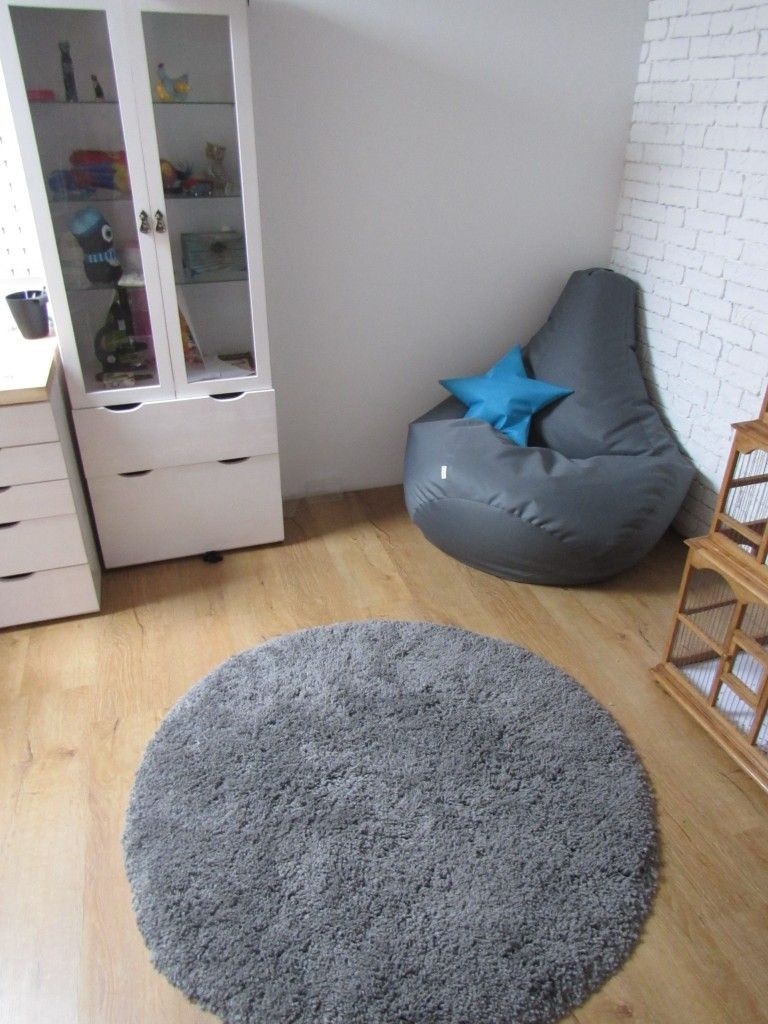
Even a person who does not have the skills of a carpenter can independently make a comfortable chair for himself or a child. This is the so-called pear chair or bean bag chair. You only need a filler and two types of fabric: for the inner "bag" and a decorative cover.
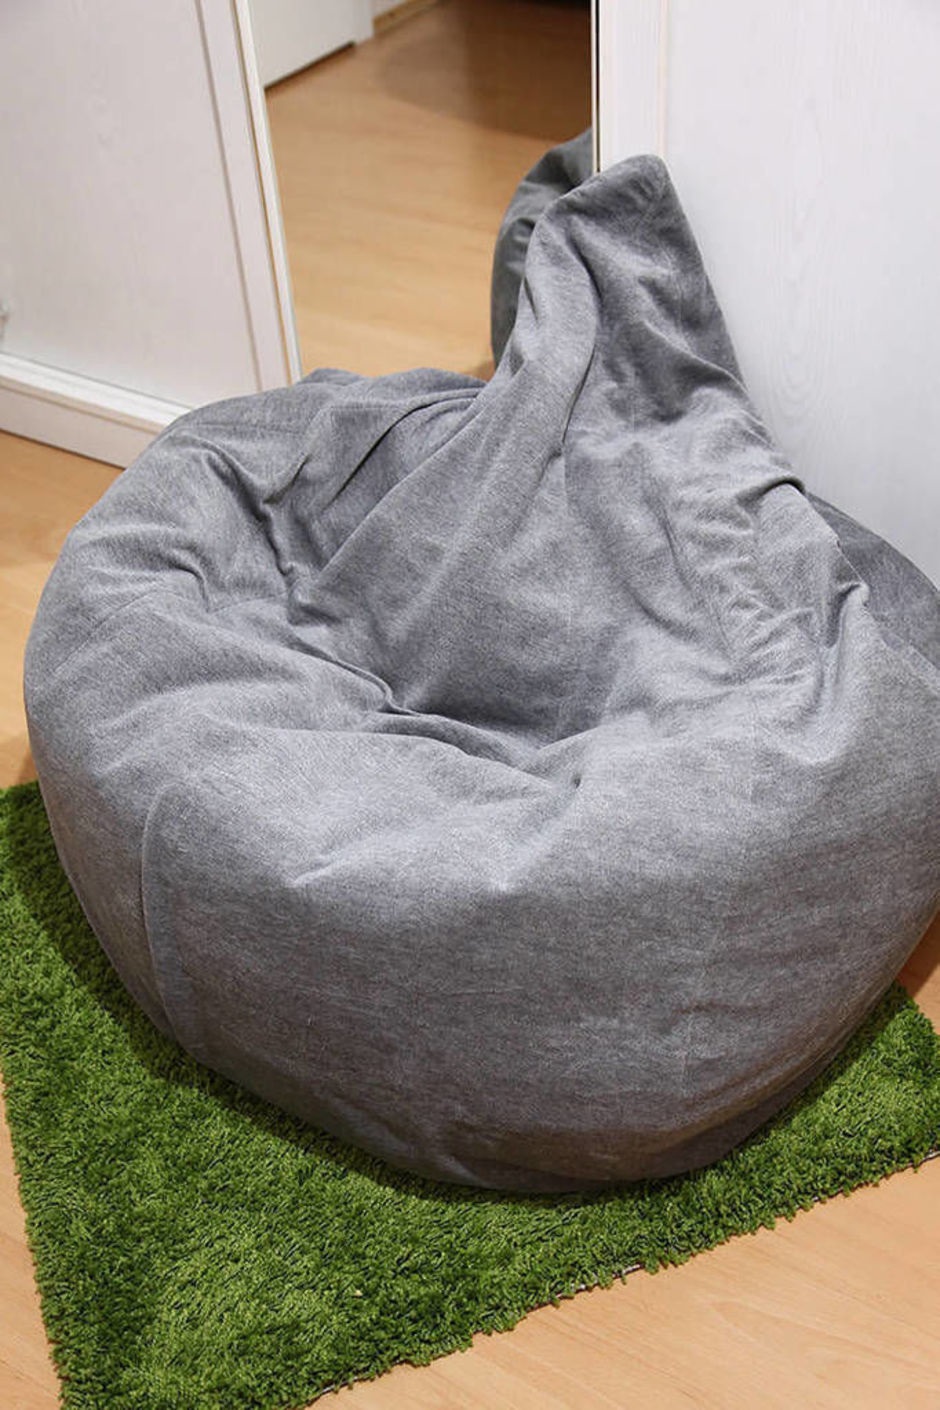
Anything can be used as a filler for such a chair. For example, wood shavings or old, unusable things cut into shreds. To make the chair soft, the padding should be wrapped with a layer of foam rubber and padding polyester.
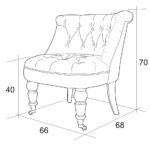
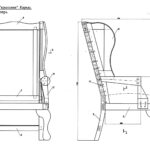
Drawings and assembly diagrams
The more curved parts, the more difficult the job will be. Therefore, novice craftsmen should dwell on simple schemes without frills. For example, to assemble a chair from sheets of plywood or boards with a minimum of parts:
- side strips will serve as armrests and support;
- back - this part can be attached at a right angle or with a slight inclination (about 100 degrees);
- front bar;
- seat.
An original and simple idea: a pallet armchair. You will need one pallet, a bar for legs, armrests and side ties.
Following the drawings, in a home workshop, you can also make a round chair. But their production will require more experience in working with plastic materials.
How to make a chair with your own hands
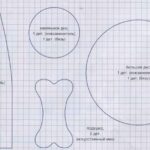
Before starting work, you need to decide on the size of the finished product, think over the slope of the slats. For the manufacture of patterns, you will need cardboard: the template is useful for cutting out frame parts, preparing foam filling and drawing up a cover pattern. How to make a child's and adult's chair out of foam rubber with your own hands?
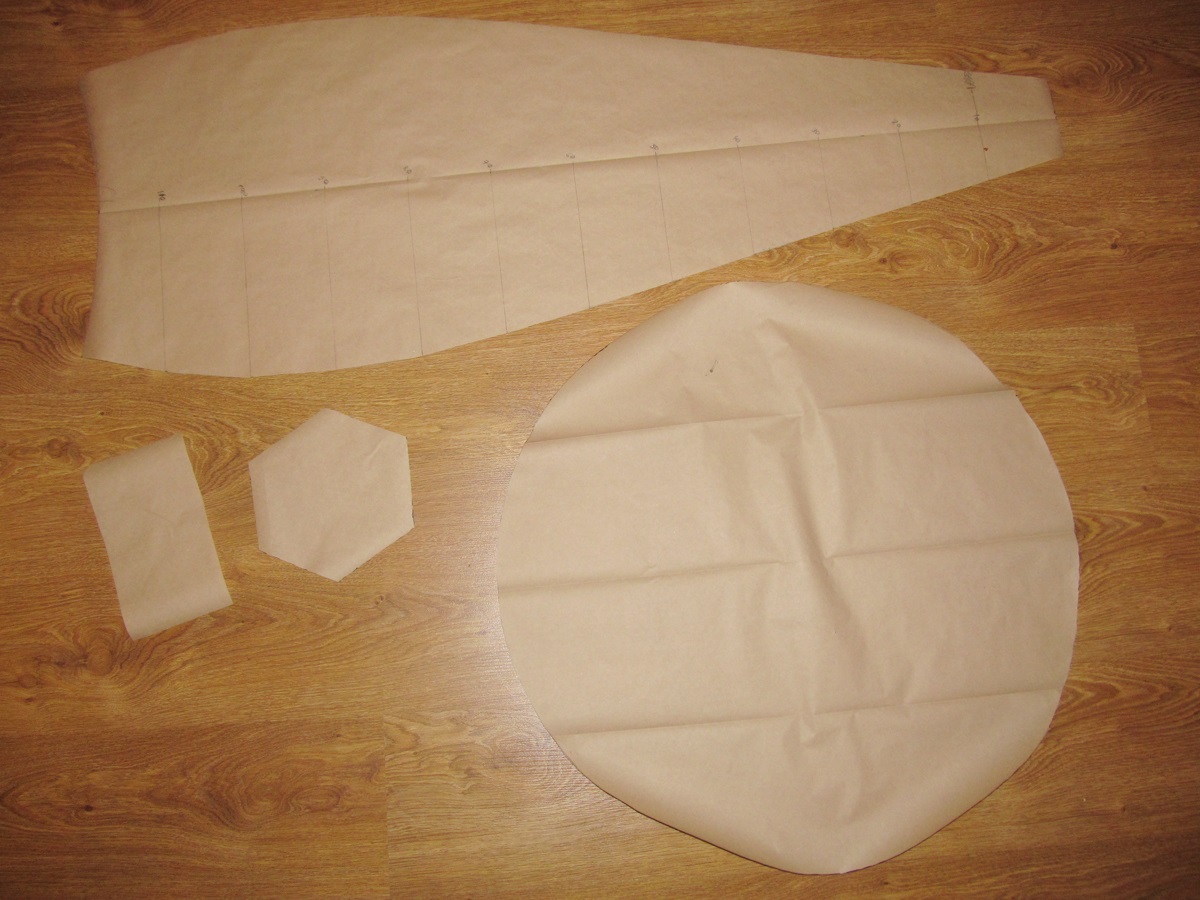
Important: the height of a standard chair is 1 m (sometimes 120 cm). Diameter - 30 cm (bottom bottom), 15 cm (top bottom)
The standard height of a child seat is no more than 60 cm, diameters are 25 and 11 cm.

Preparation of all parts
Based on calculations and drawings, it is necessary to draw up templates for parts on cardboard. Wooden elements are cut with a jigsaw.
Even the wooden parts hidden under the filler and upholstery should be sanded and stained to make the furniture last longer.
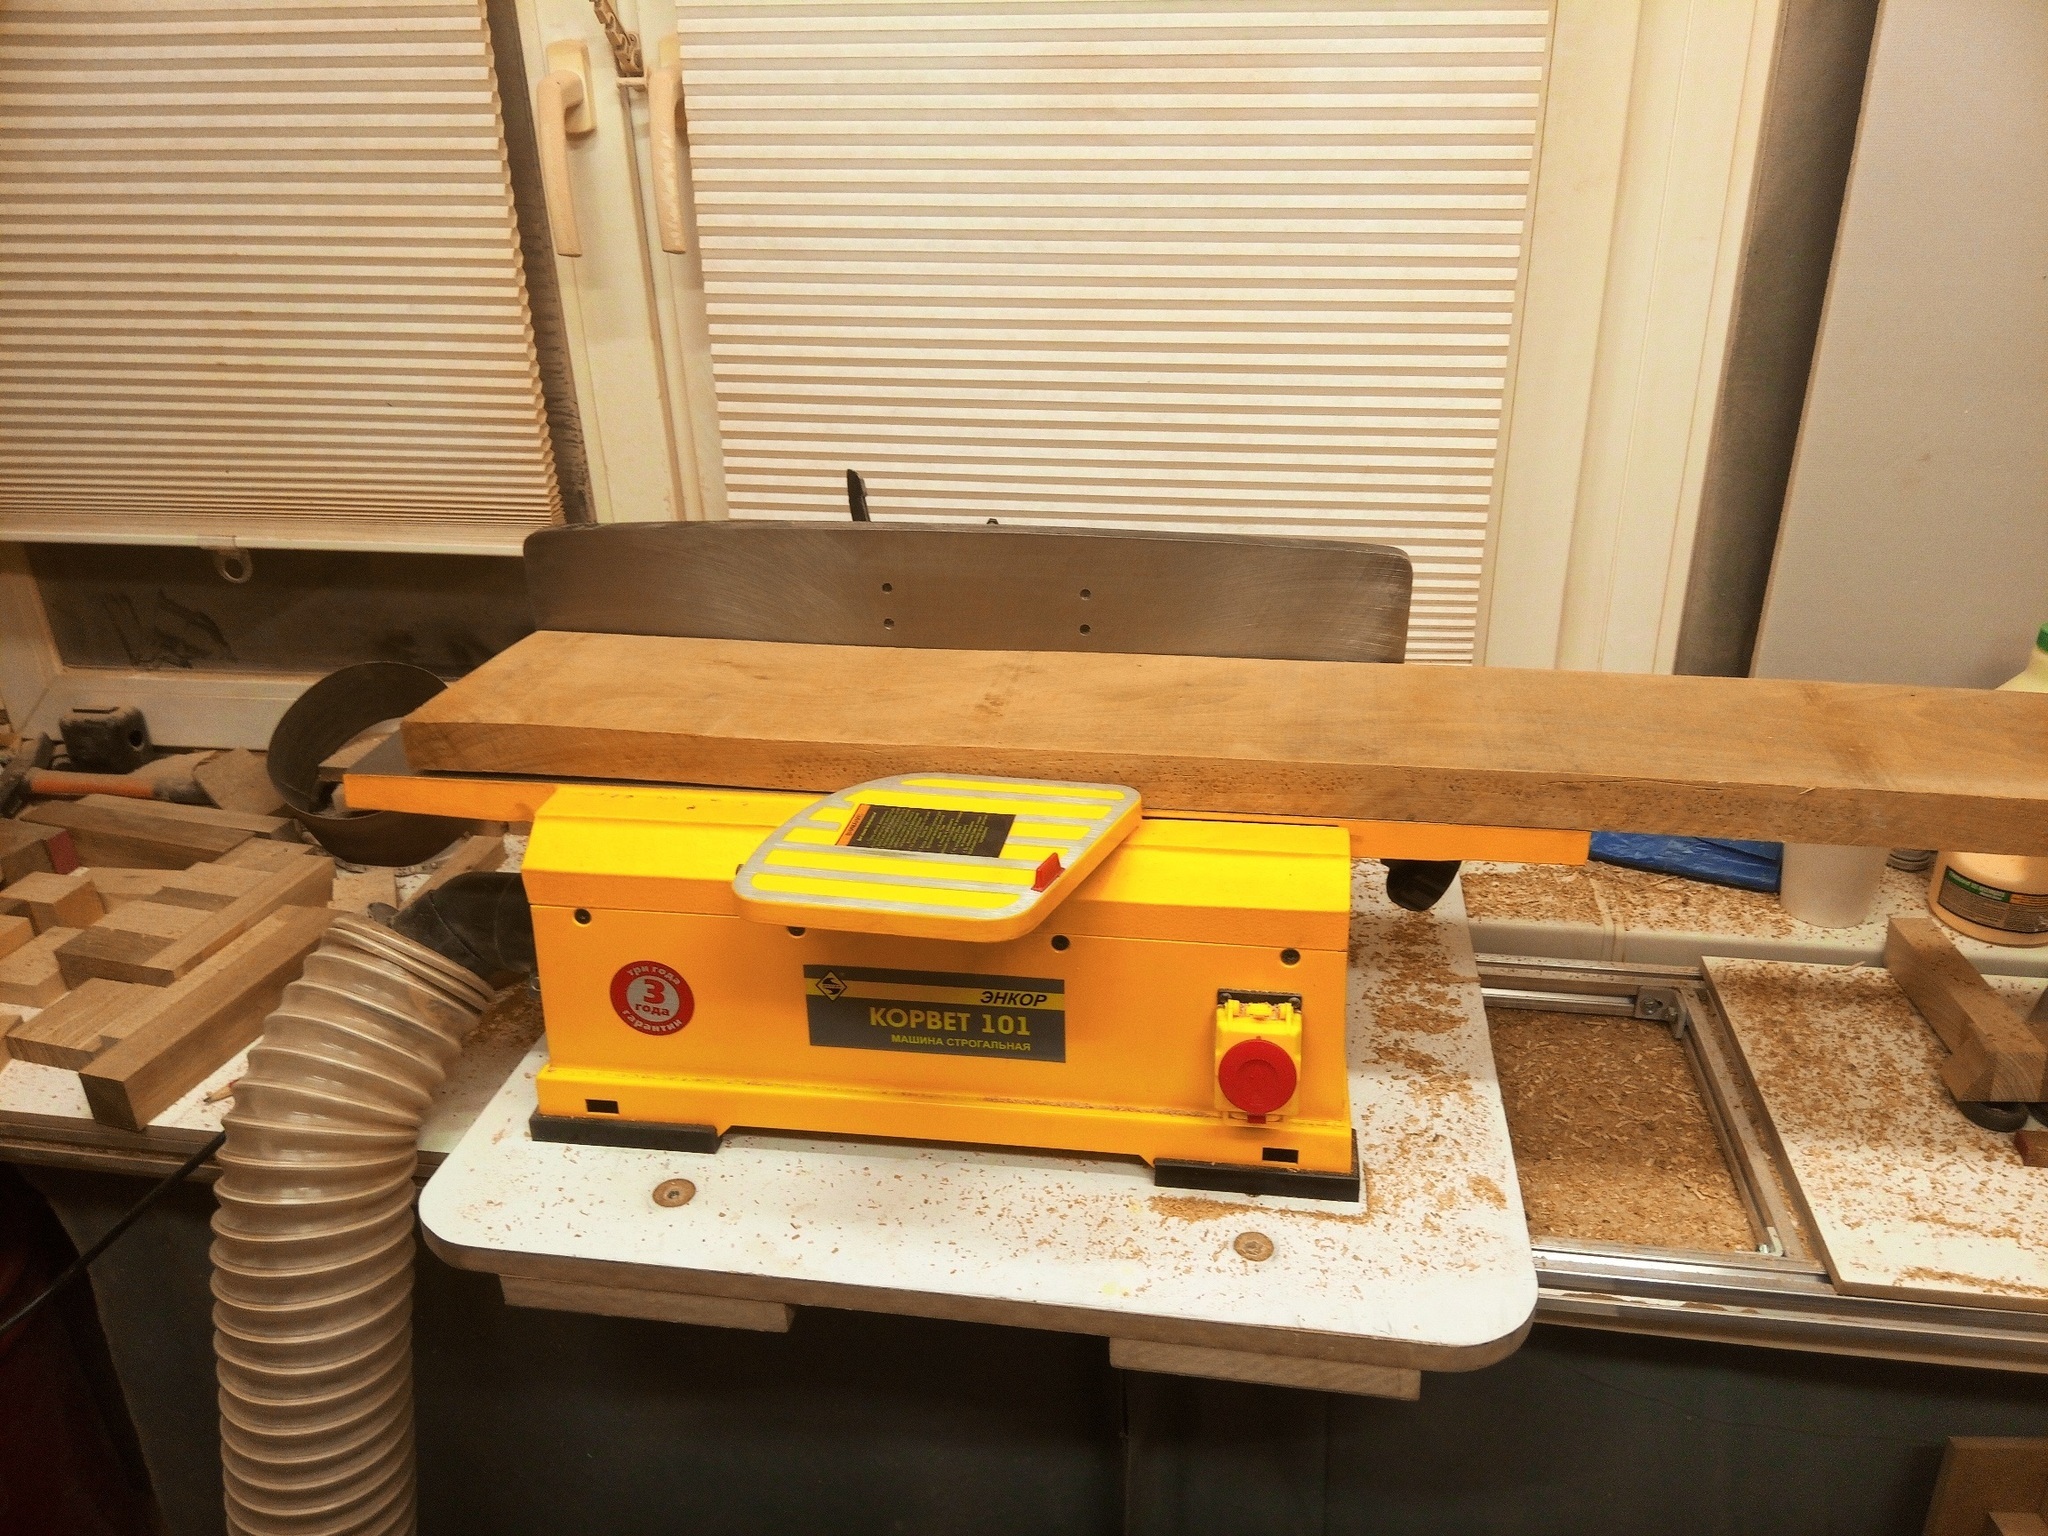
Particular attention should be paid to the end parts: they are impregnated with linseed oil. If bends are provided, they can be obtained by splitting the fibers with a hammer.
Foam and fabric parts must be cut according to the template.
Assembling the frame
The main parts of the frame are connected to each other (starting from the side slats and backrest), and then additionally fastened with a metal rim or furniture ties. Screws are used to fix the rims.
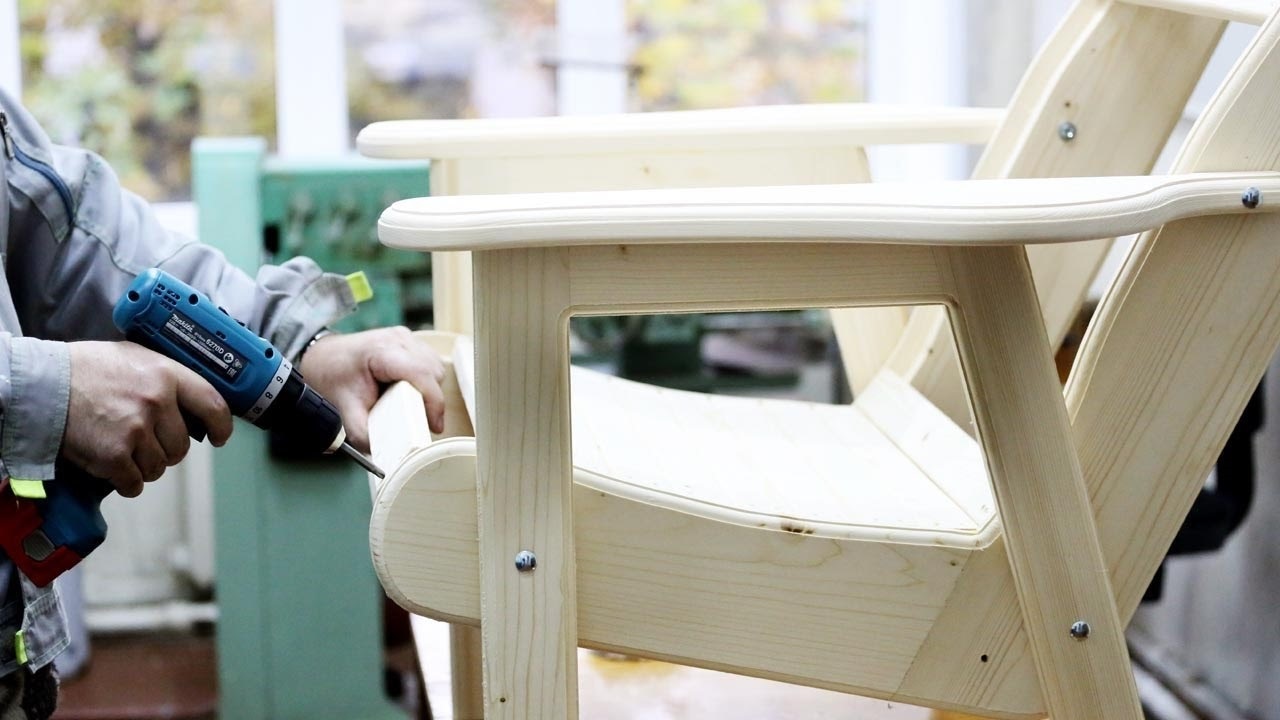
The finished base must be covered. Any hard-wearing fabric will work for the back plank. (secure with wide-headed wallpaper nails).
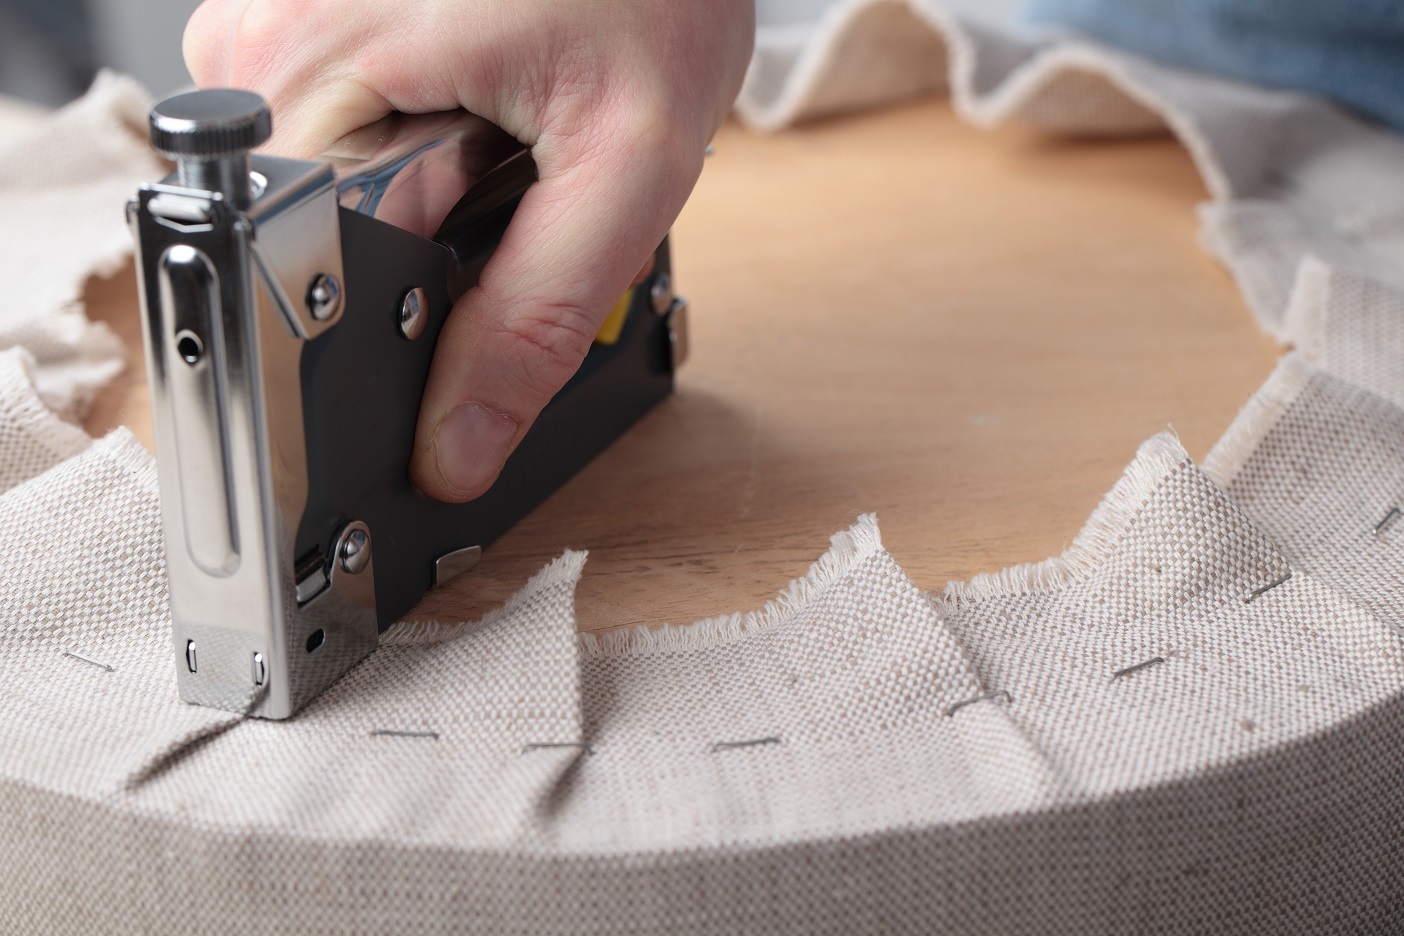
The interior of the chair (seat, backs, armrests) is laid out with foam rubber. It can be fixed with furniture glue, but for greater reliability, it is worth riveting along the contour with nails or ties. The upholstery is fastened along the edge, along the transverse parts.
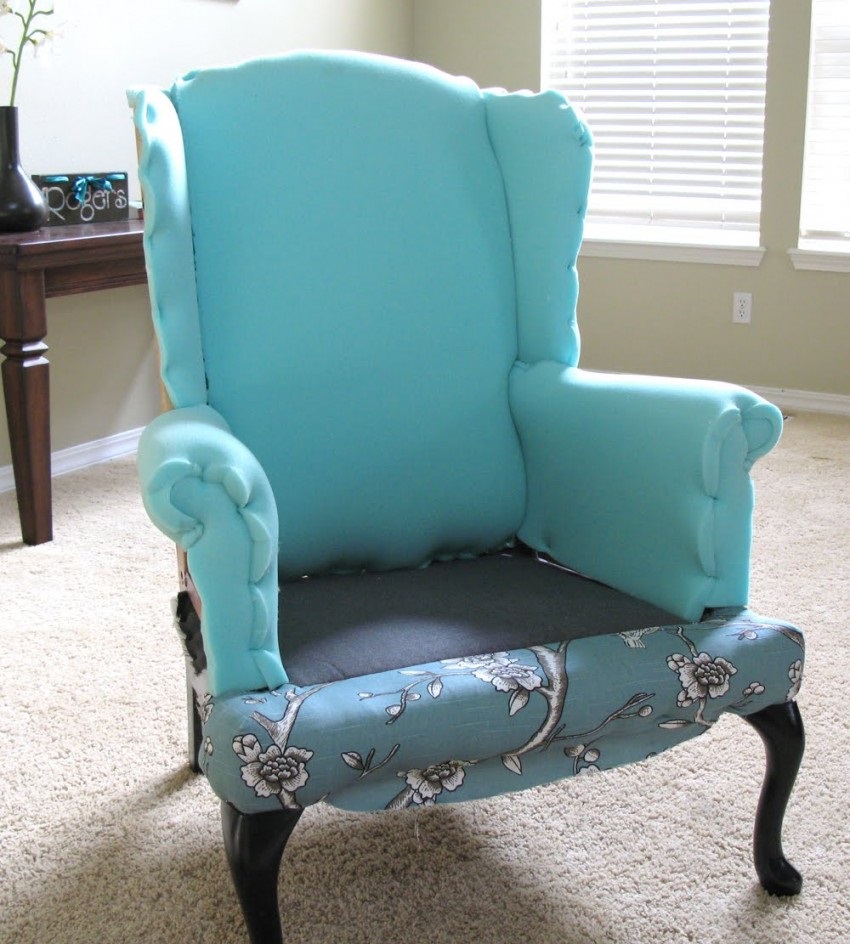
Important! For maximum reliability, the attachment points are processed with wood glue.
The finished armchair is upholstered with upholstery fabric.
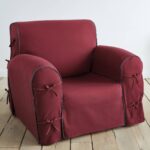
Making a cover
Before sewing the cover, you need to measure the width and height of all structural elements: seats, armrests, curbs, backrests. According to ready-made measurements, on the basis of the remaining templates, prepare the details: transfer the patterns to graph paper, attach to the fabric with safety pins and circle. Add allowances of 15-20 cm.
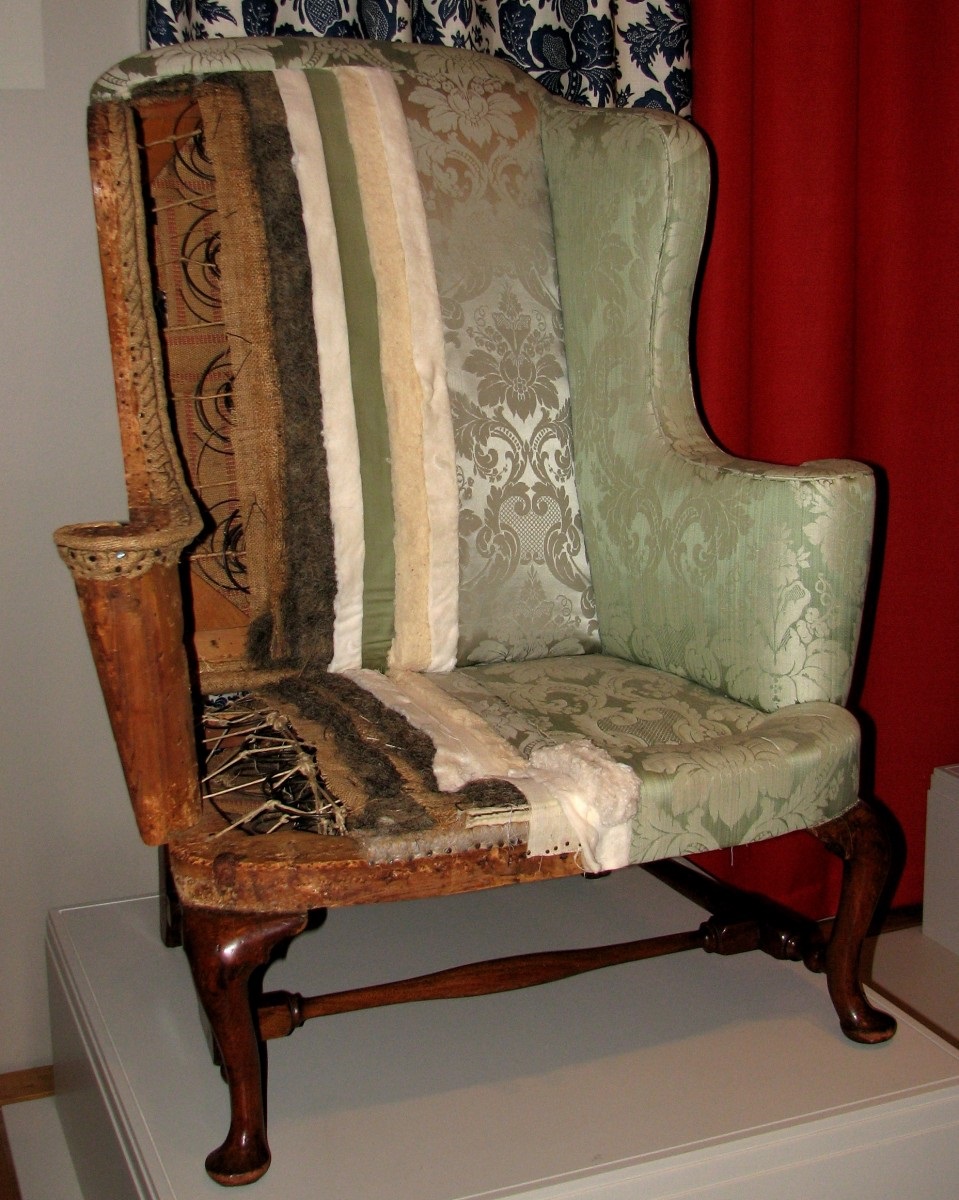
For the armrests, you will need two patterns: external and internal. The fragments are joined on the fabric folded in half. The seam lines of the longitudinal thread should be marked with chalk.
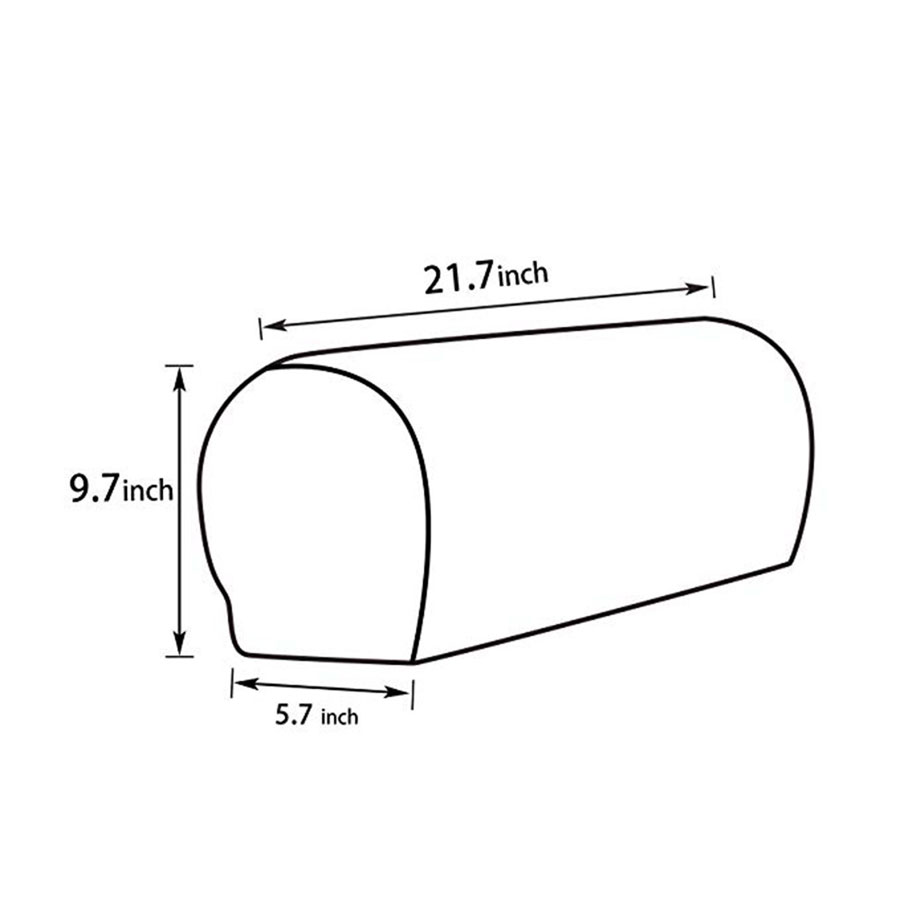
Important: the intended seam location can be closed with frills from the bottom edge of the fabric (frill length 1.3 cm).
The blanks for the armrest and the outer part of the back must be folded with the edges outward, draw the seams. The marked lines connect the inner and outer parts.
Internal patterns are made with a margin of 20 cm on each side.
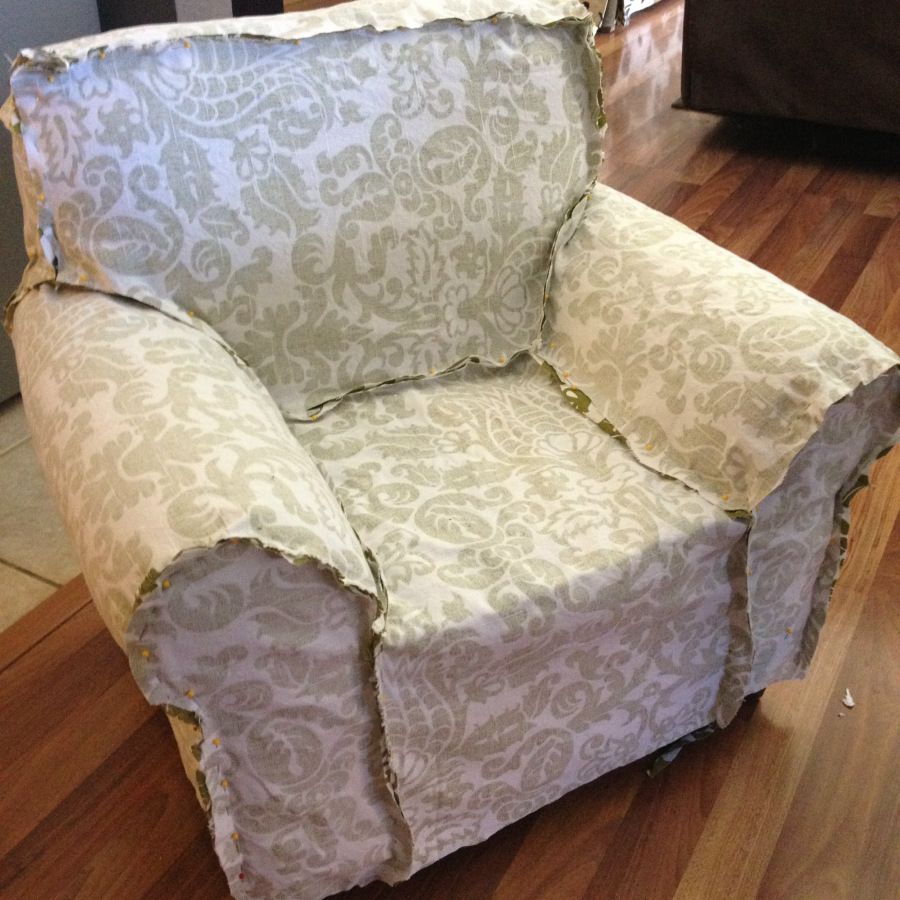
Fix the parts for the backrest and seat inner part with pins to the furniture to determine the seam locations.
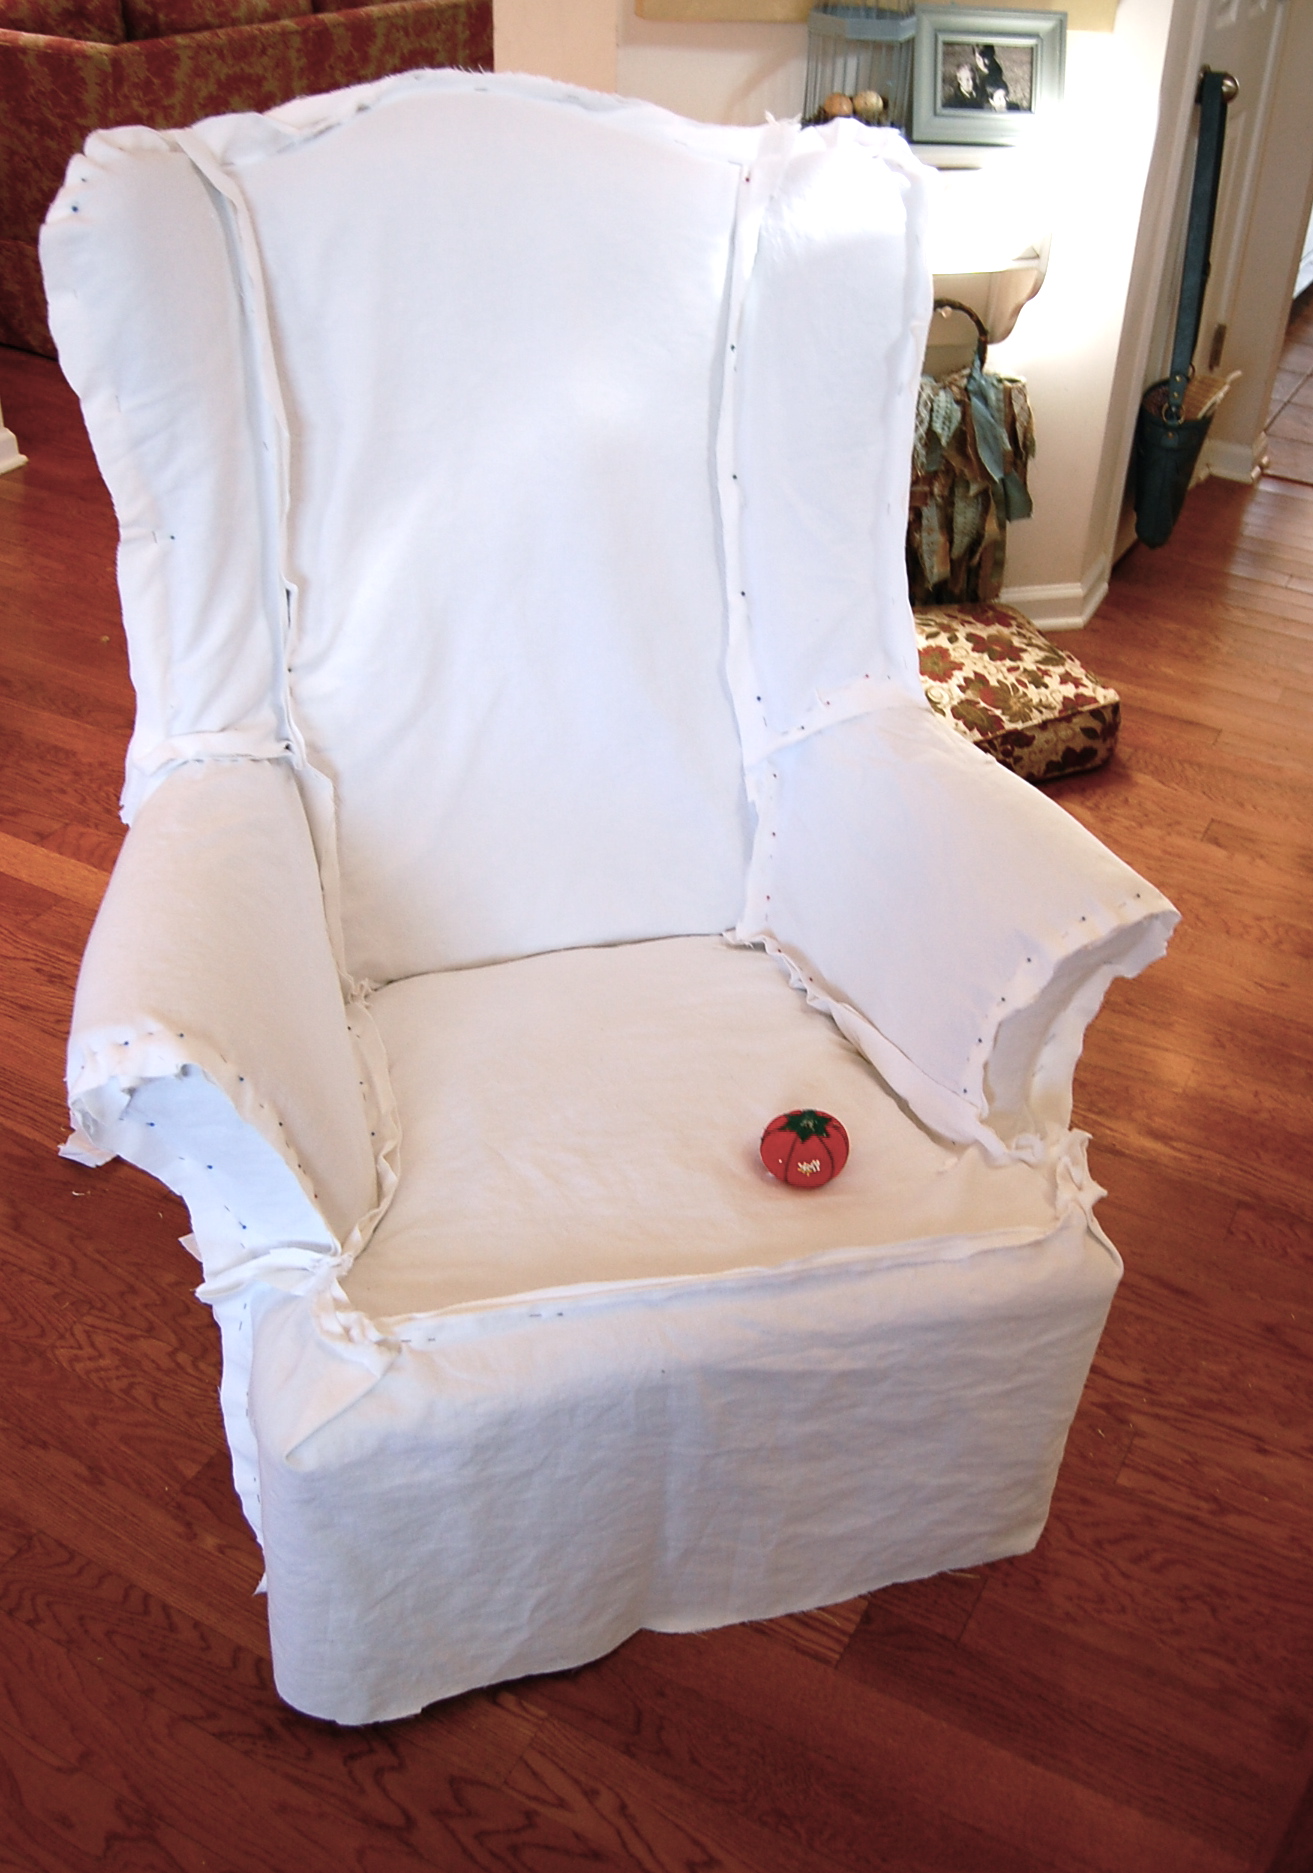
Finished parts are sewn together with a margin, so that later you can “adjust” the size of the cover with darts and assemblies.
Decorating
The best thing to decorate a chair is cute pillows in different sizes. Sewing them is simple and quick. These can be miniature dummies of different shapes, sewn from the same fabric as the cover / upholstery or other fabric. For example, bright pillows are perfect for a plain light armchair.
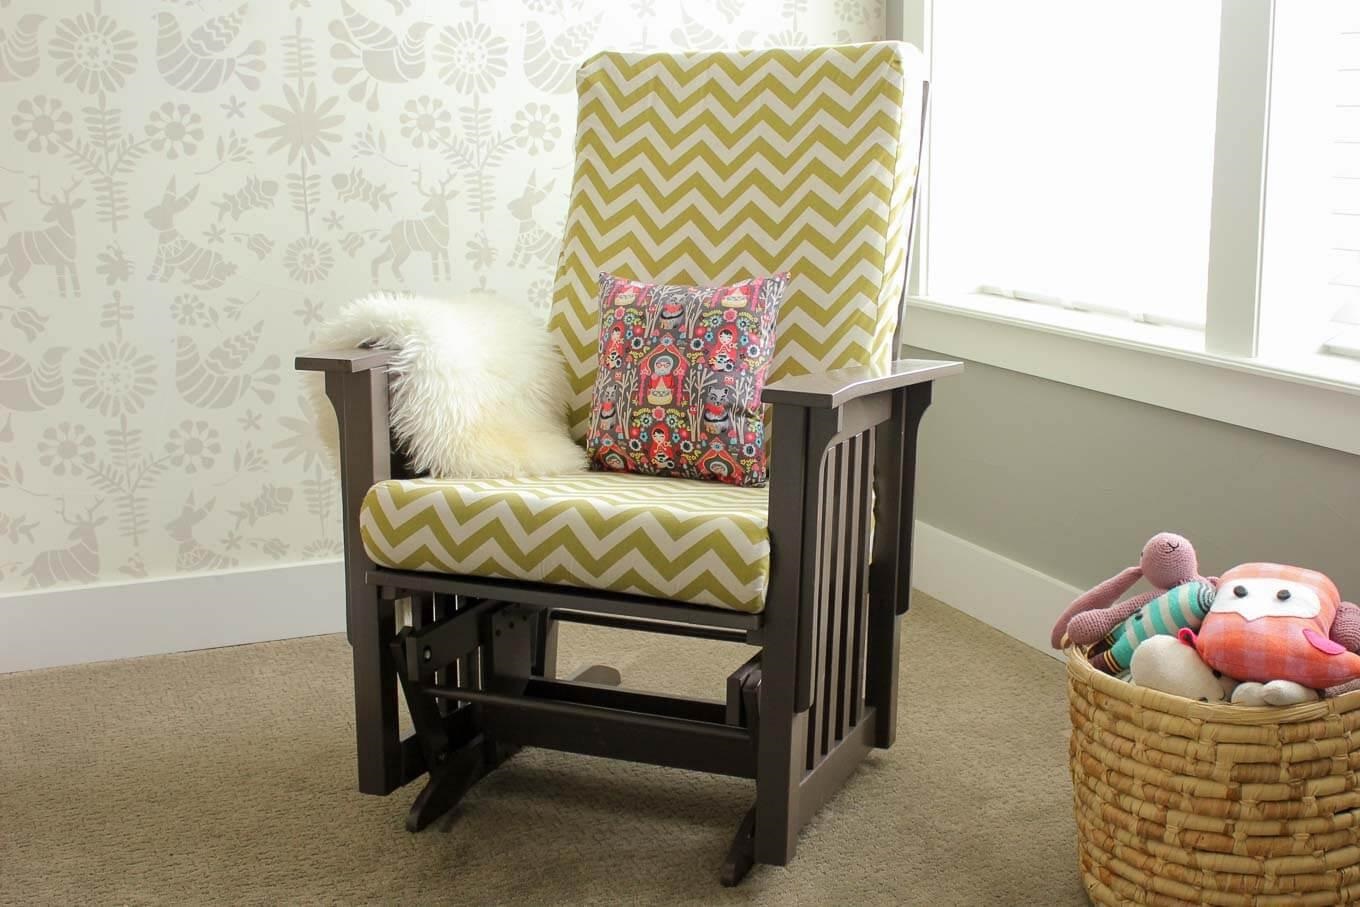
You can decorate the cover with sewn-on ruffles and frills. Usually they are sewn to the bottom of the cover, as well as along the edge of the furniture itself.
Video: how to make an easy chair with your own hands

