Features of making a screen with your own hands
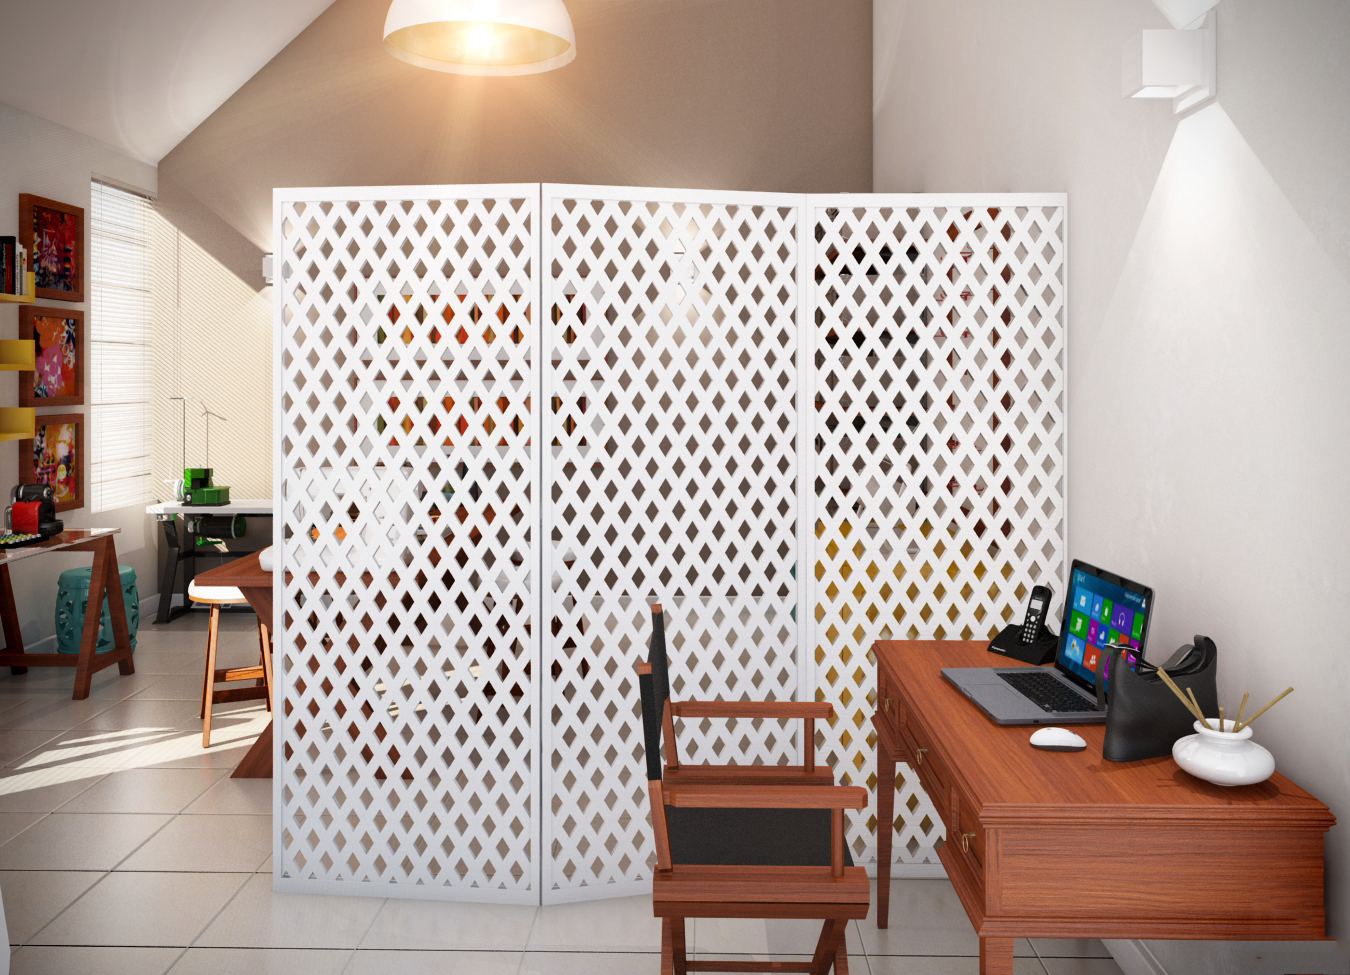
For quick fencing of various room areas, the most accessible detail of the design interior is a screen. A distinctive feature of the screen is the independence of this type of partitions, which do not need to be fastened to anything for installation.
Types of screens
Depending on the design of screens, it is customary to subdivide them into the following types.
Harmonic
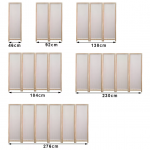
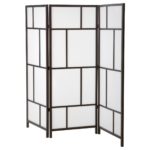
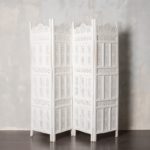
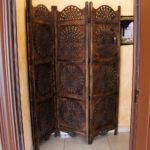
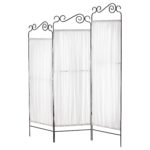
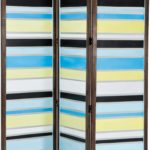
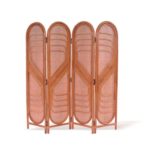
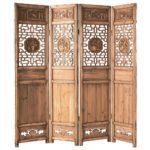
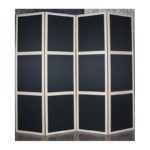
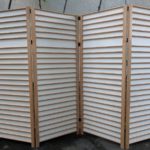
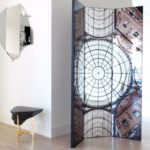
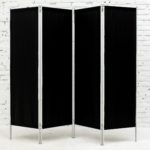
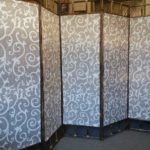
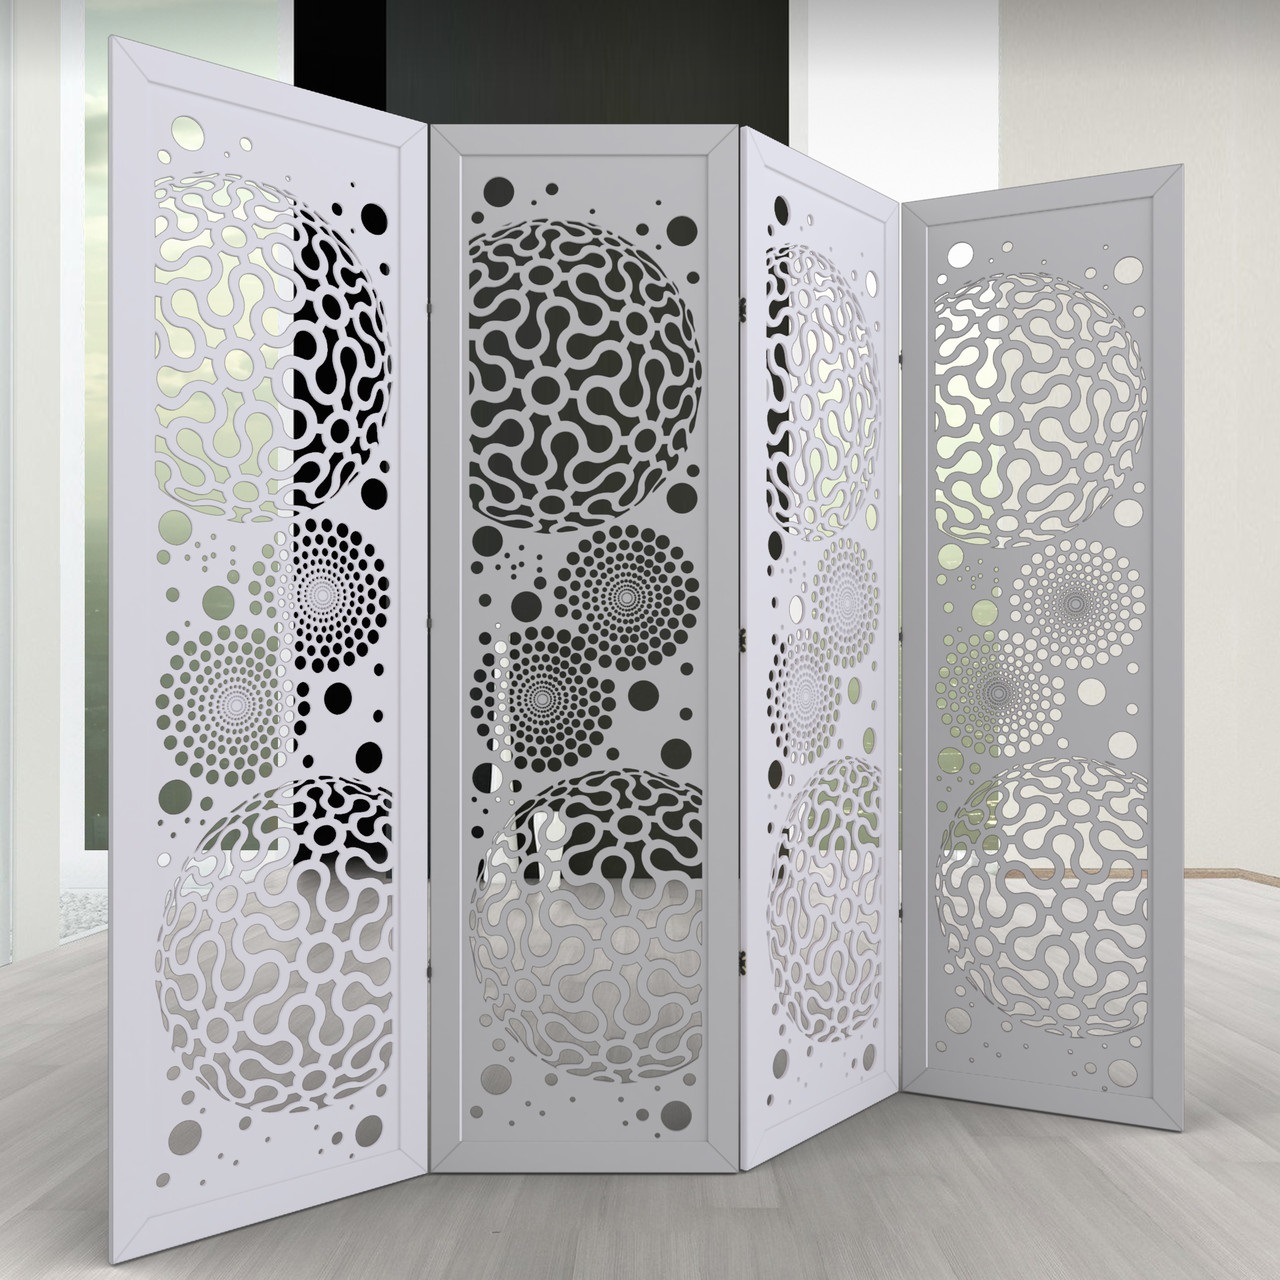
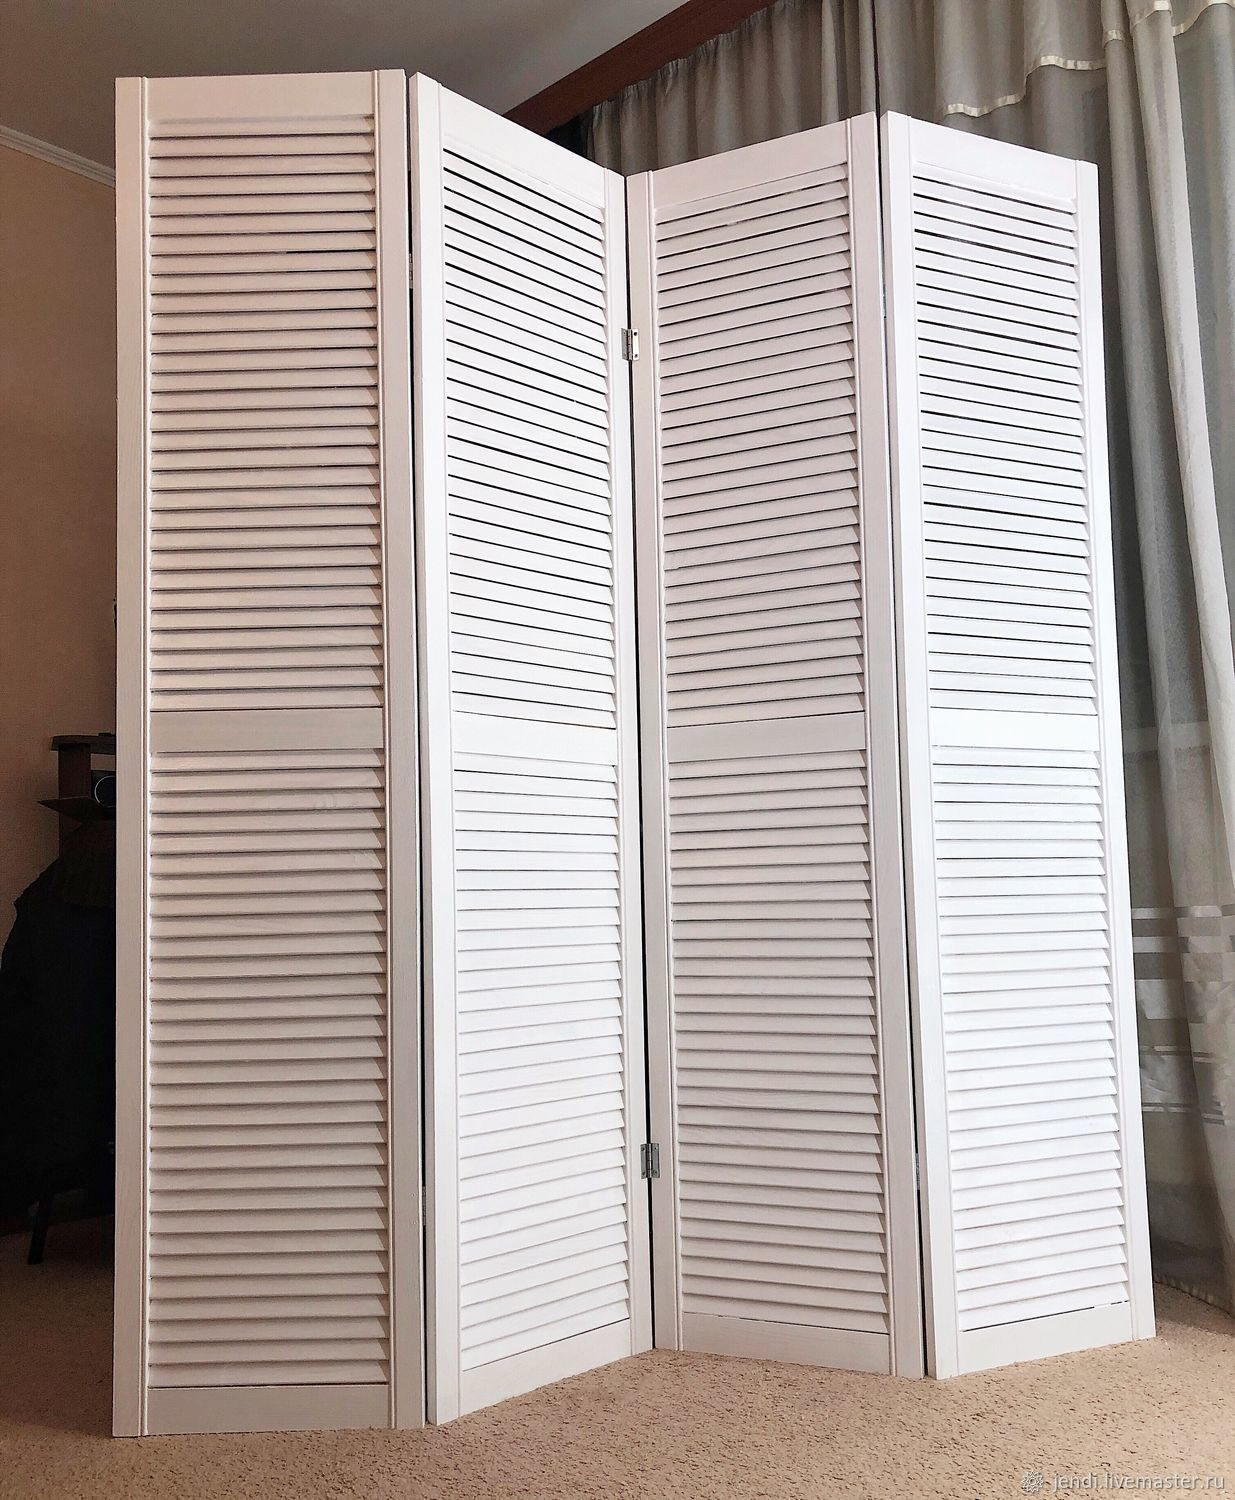
The product is a folding structure made of hinged sash frames. Thanks to the typed frames, such a screen can be extended to any length. The main material placed in the frame can be varied: from frosted glass to cloth fabric.
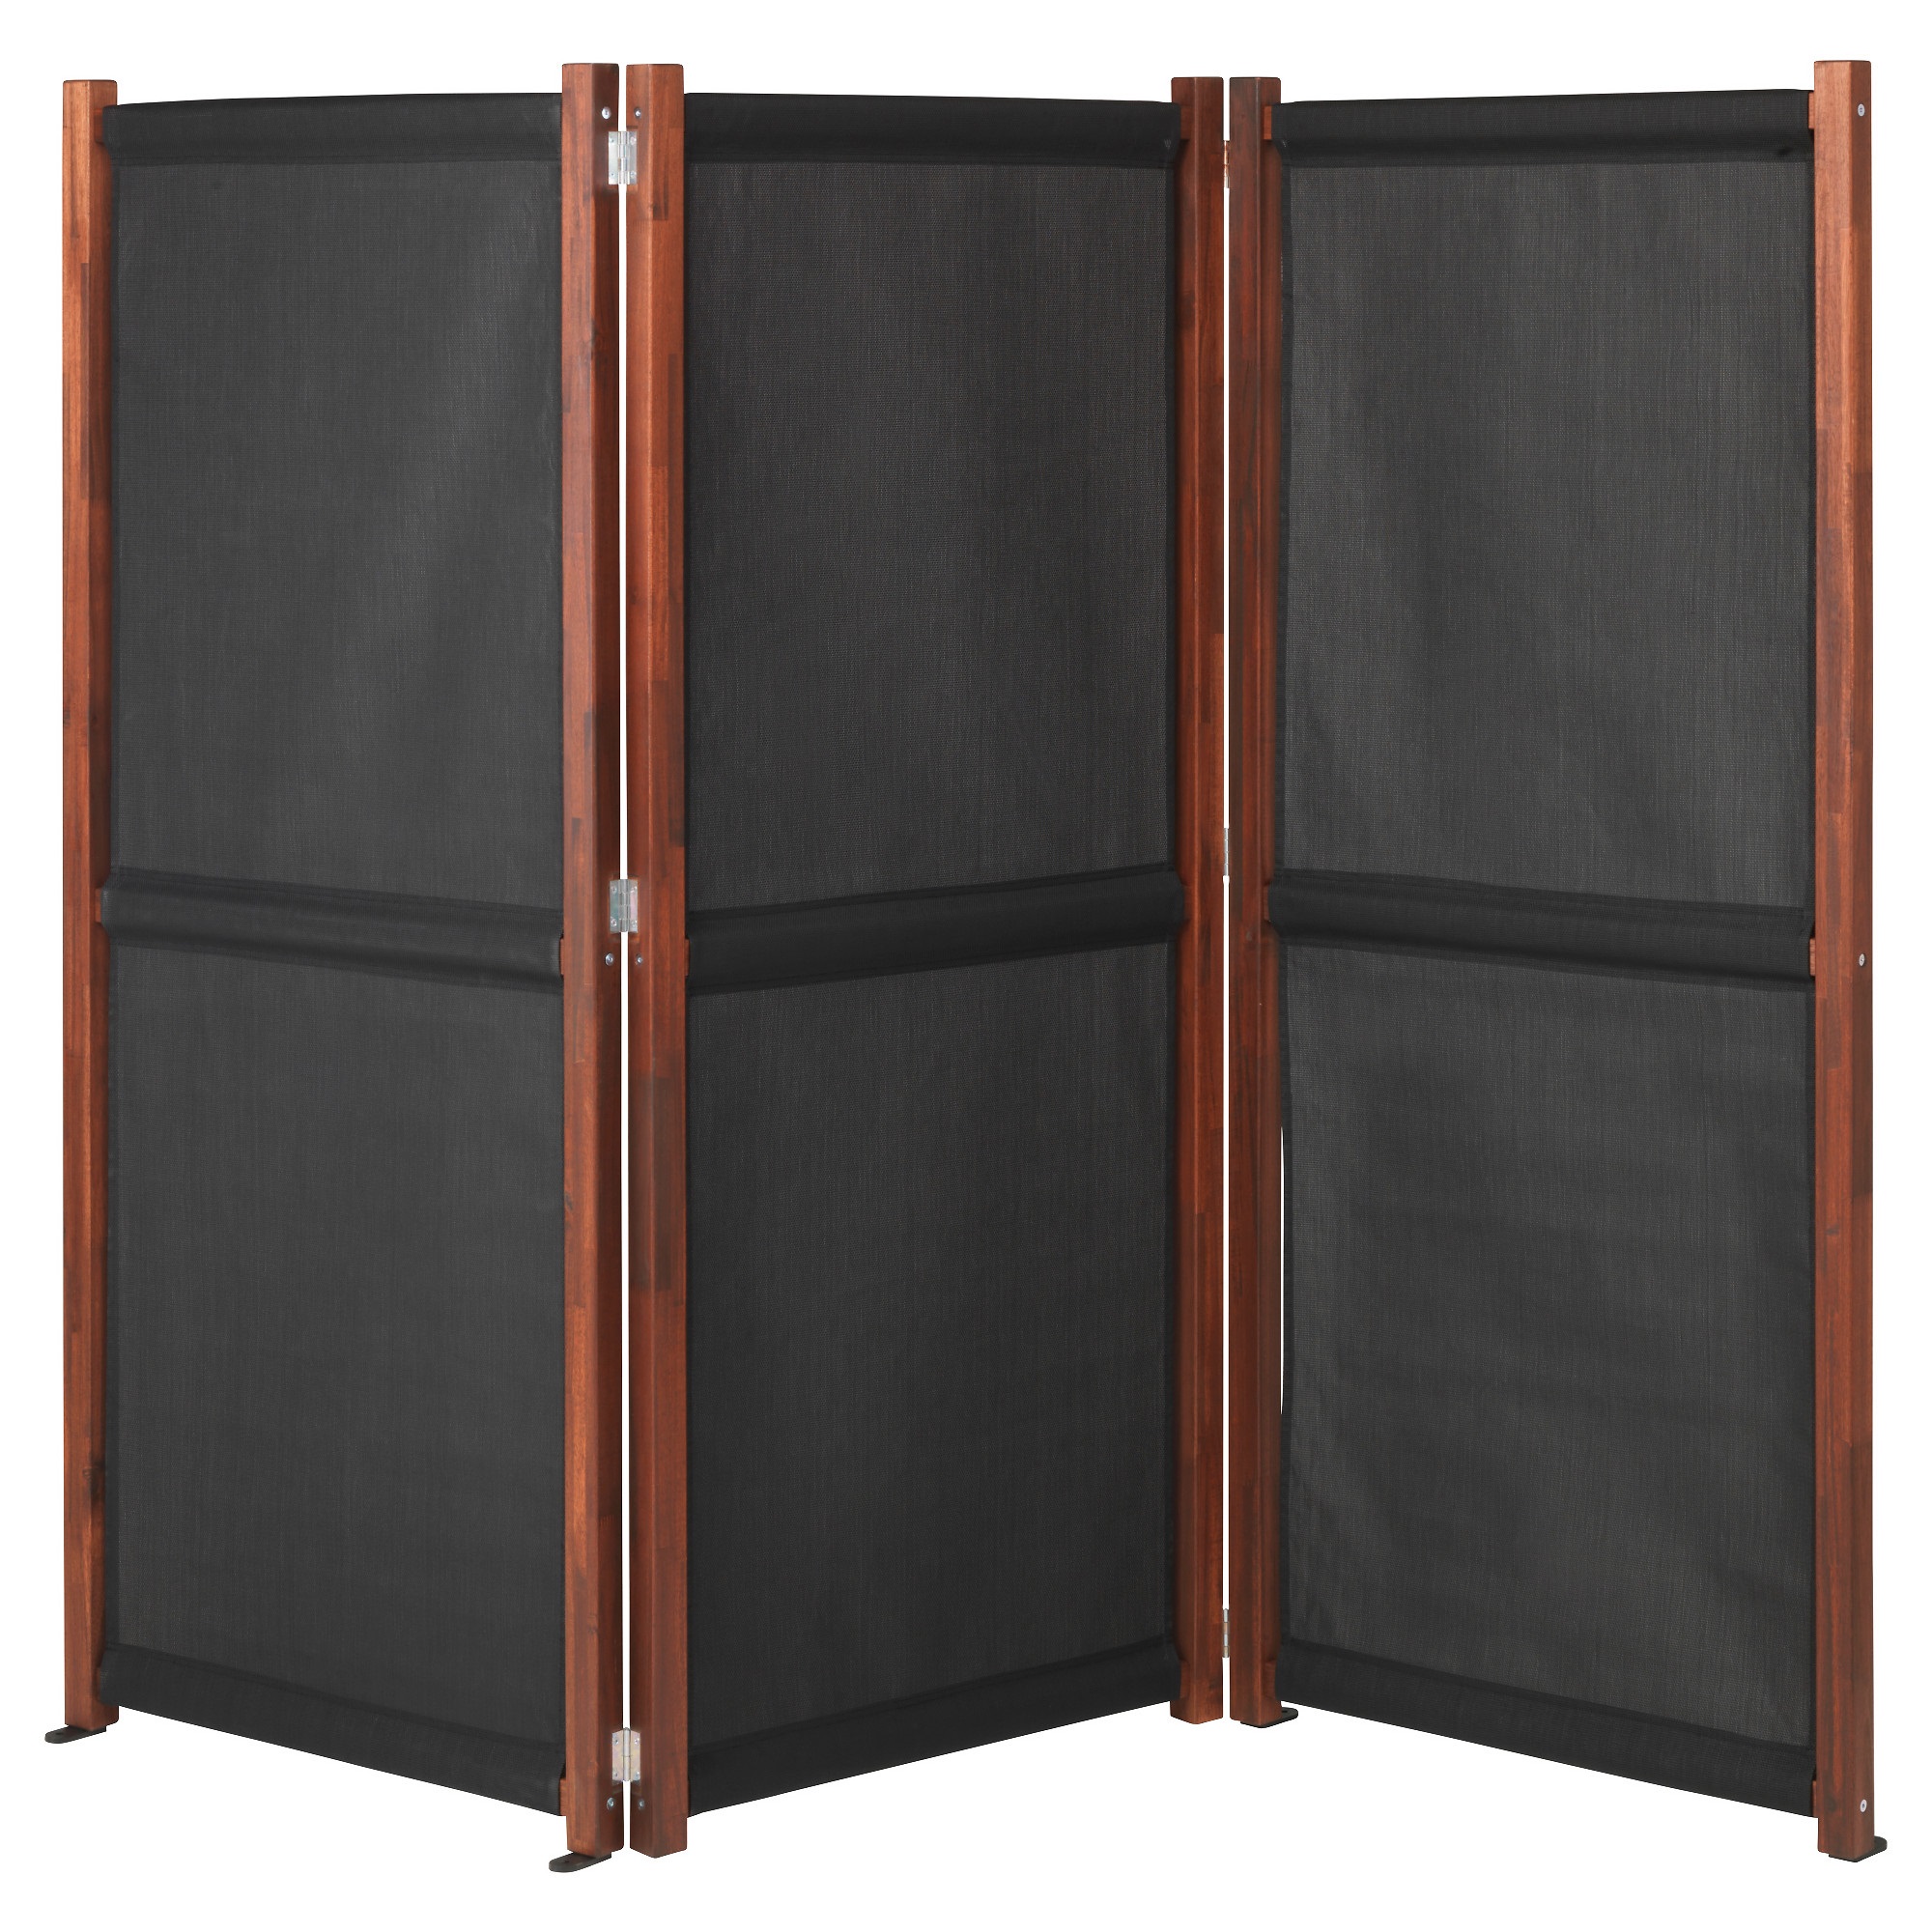
The casement frames themselves are dynamic relative to each other, which allows the overall structure to fold and stretch. This makes it possible to install an elongated screen not only linearly, but also in other types of spatial constructions (semicircle, triangle, square, asterisk).
Single screen screens
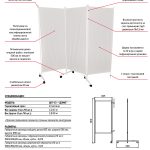
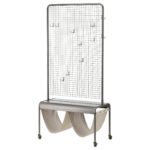
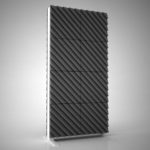
They are characterized by the presence of only one large partition frame. As a rule, they are mounted on a wheel step, which allows the screen to be moved around the room.
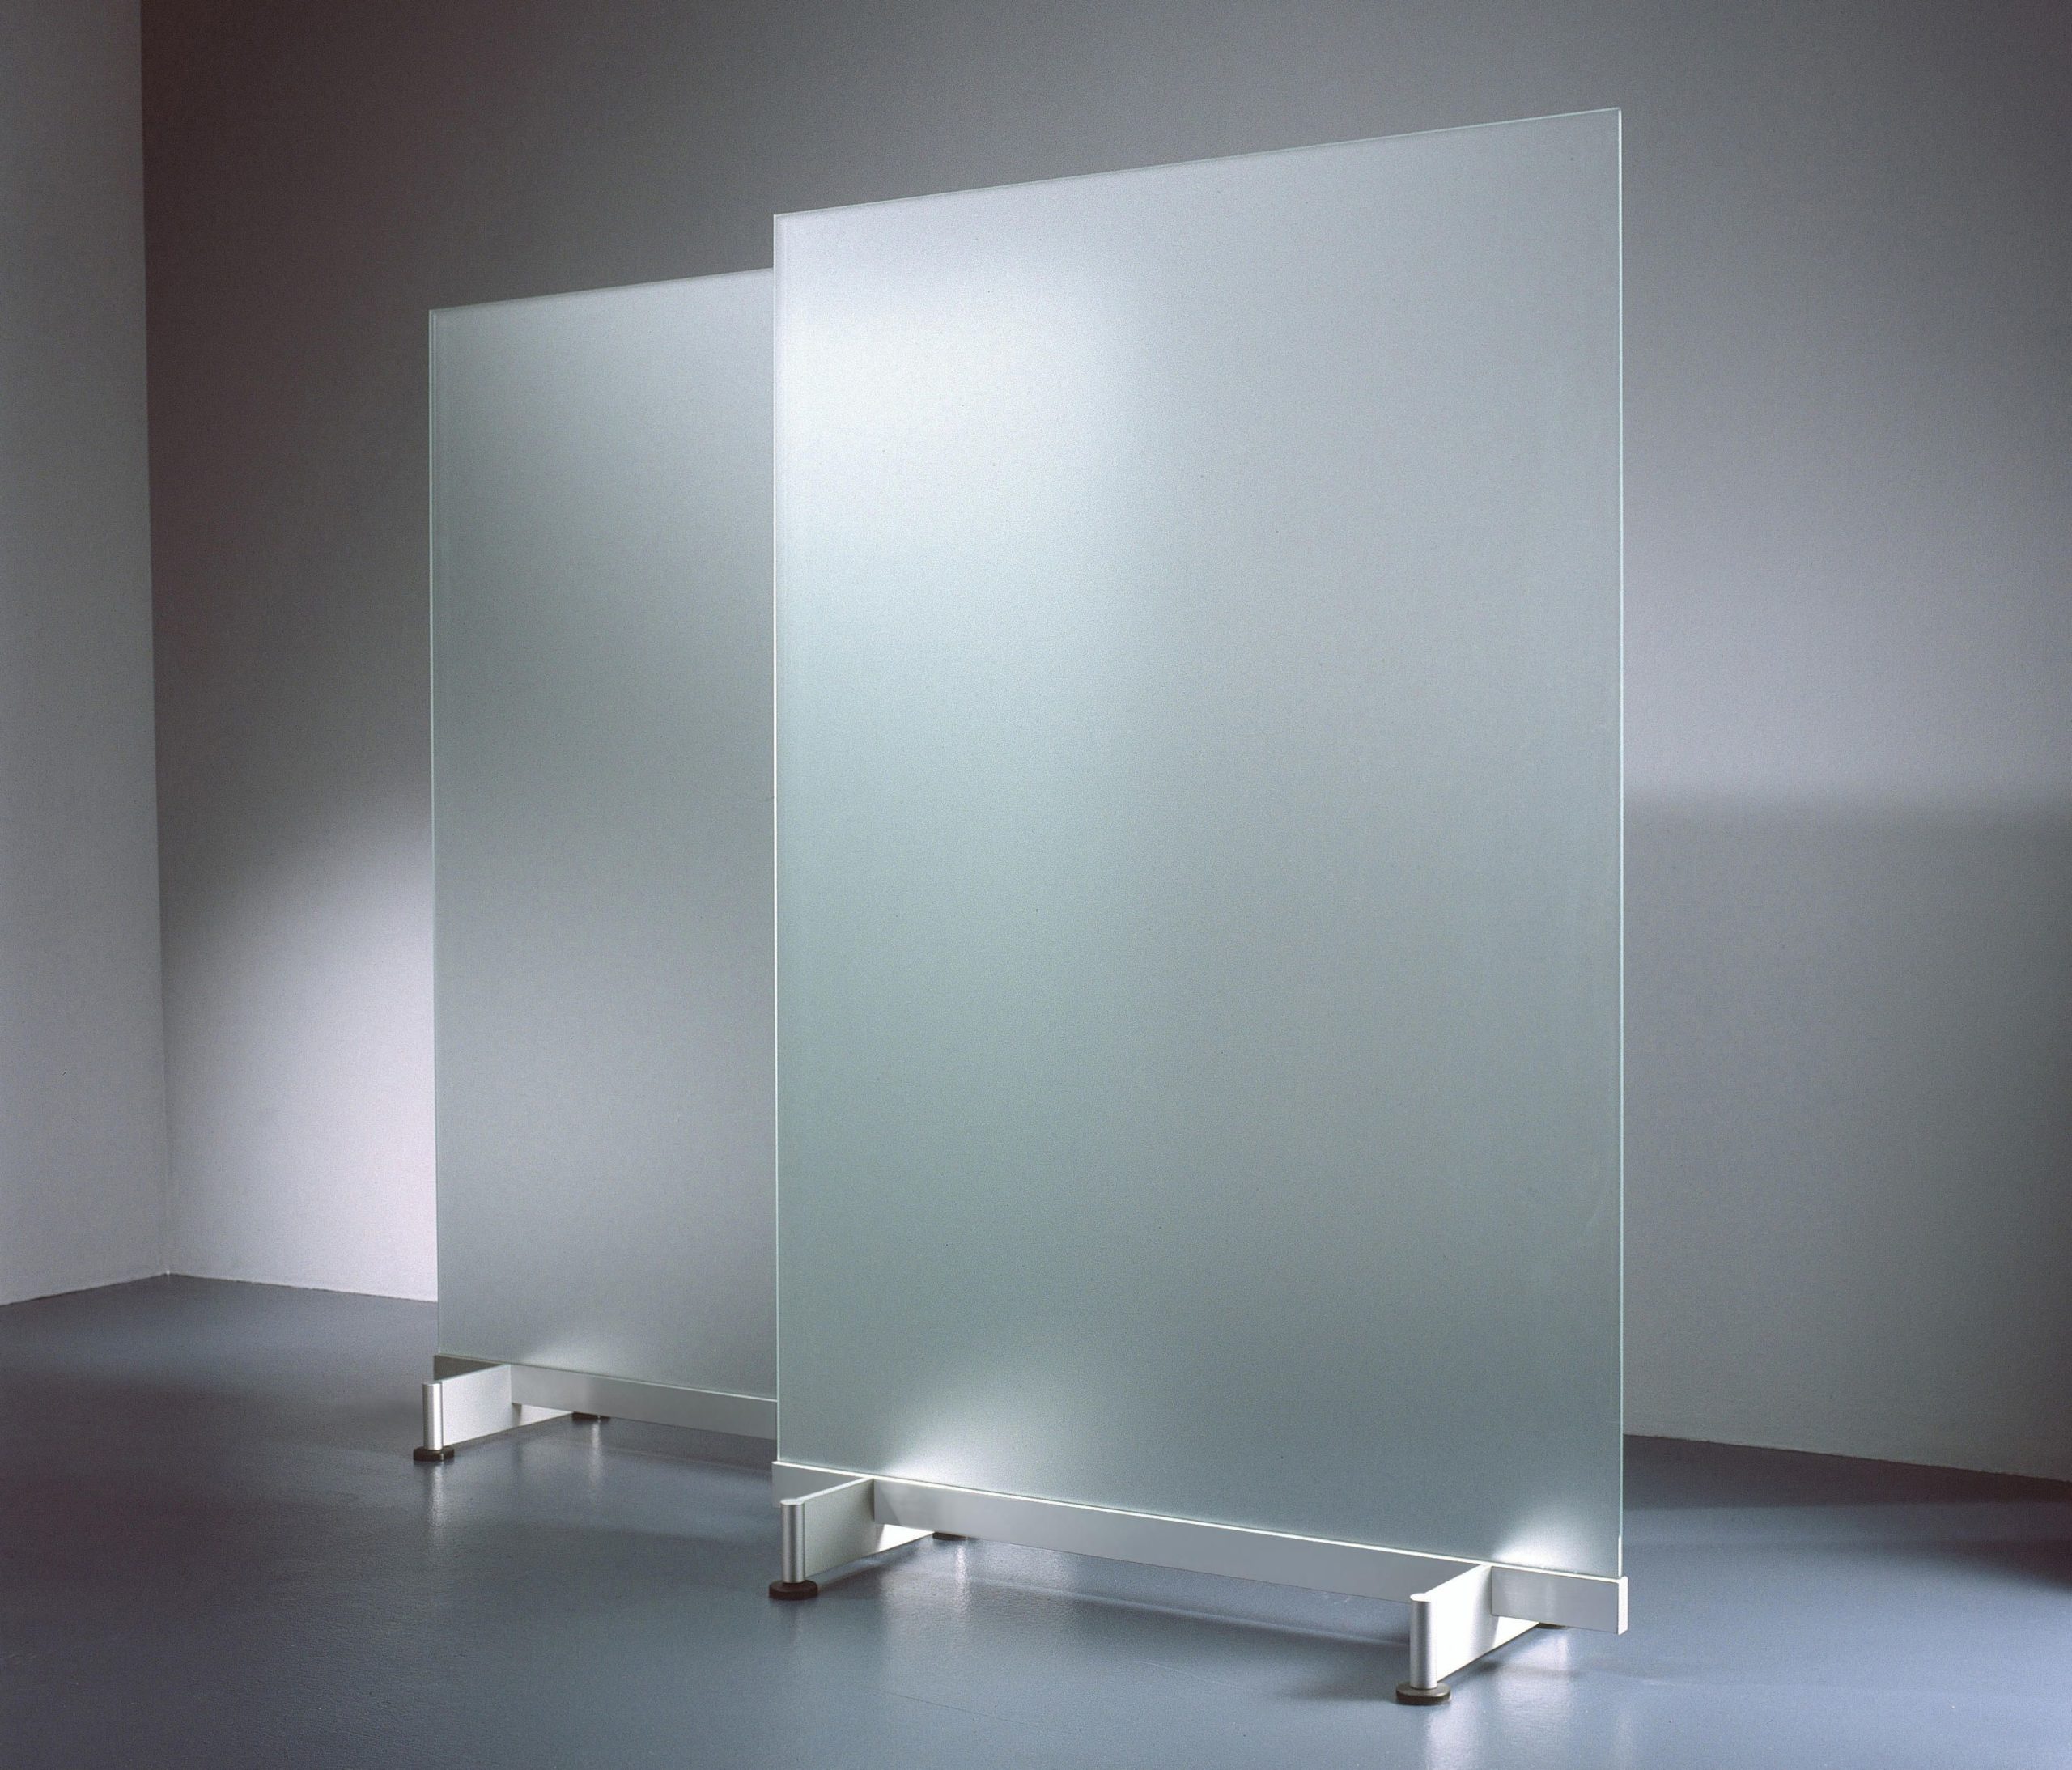
In some cases, increased mobility and a monolithic plane are more appropriate than the flexible dynamics of other types of screens. The single-screen partition is easy to operate and does not fold under the influence of wind currents from the street.
Plastic screens
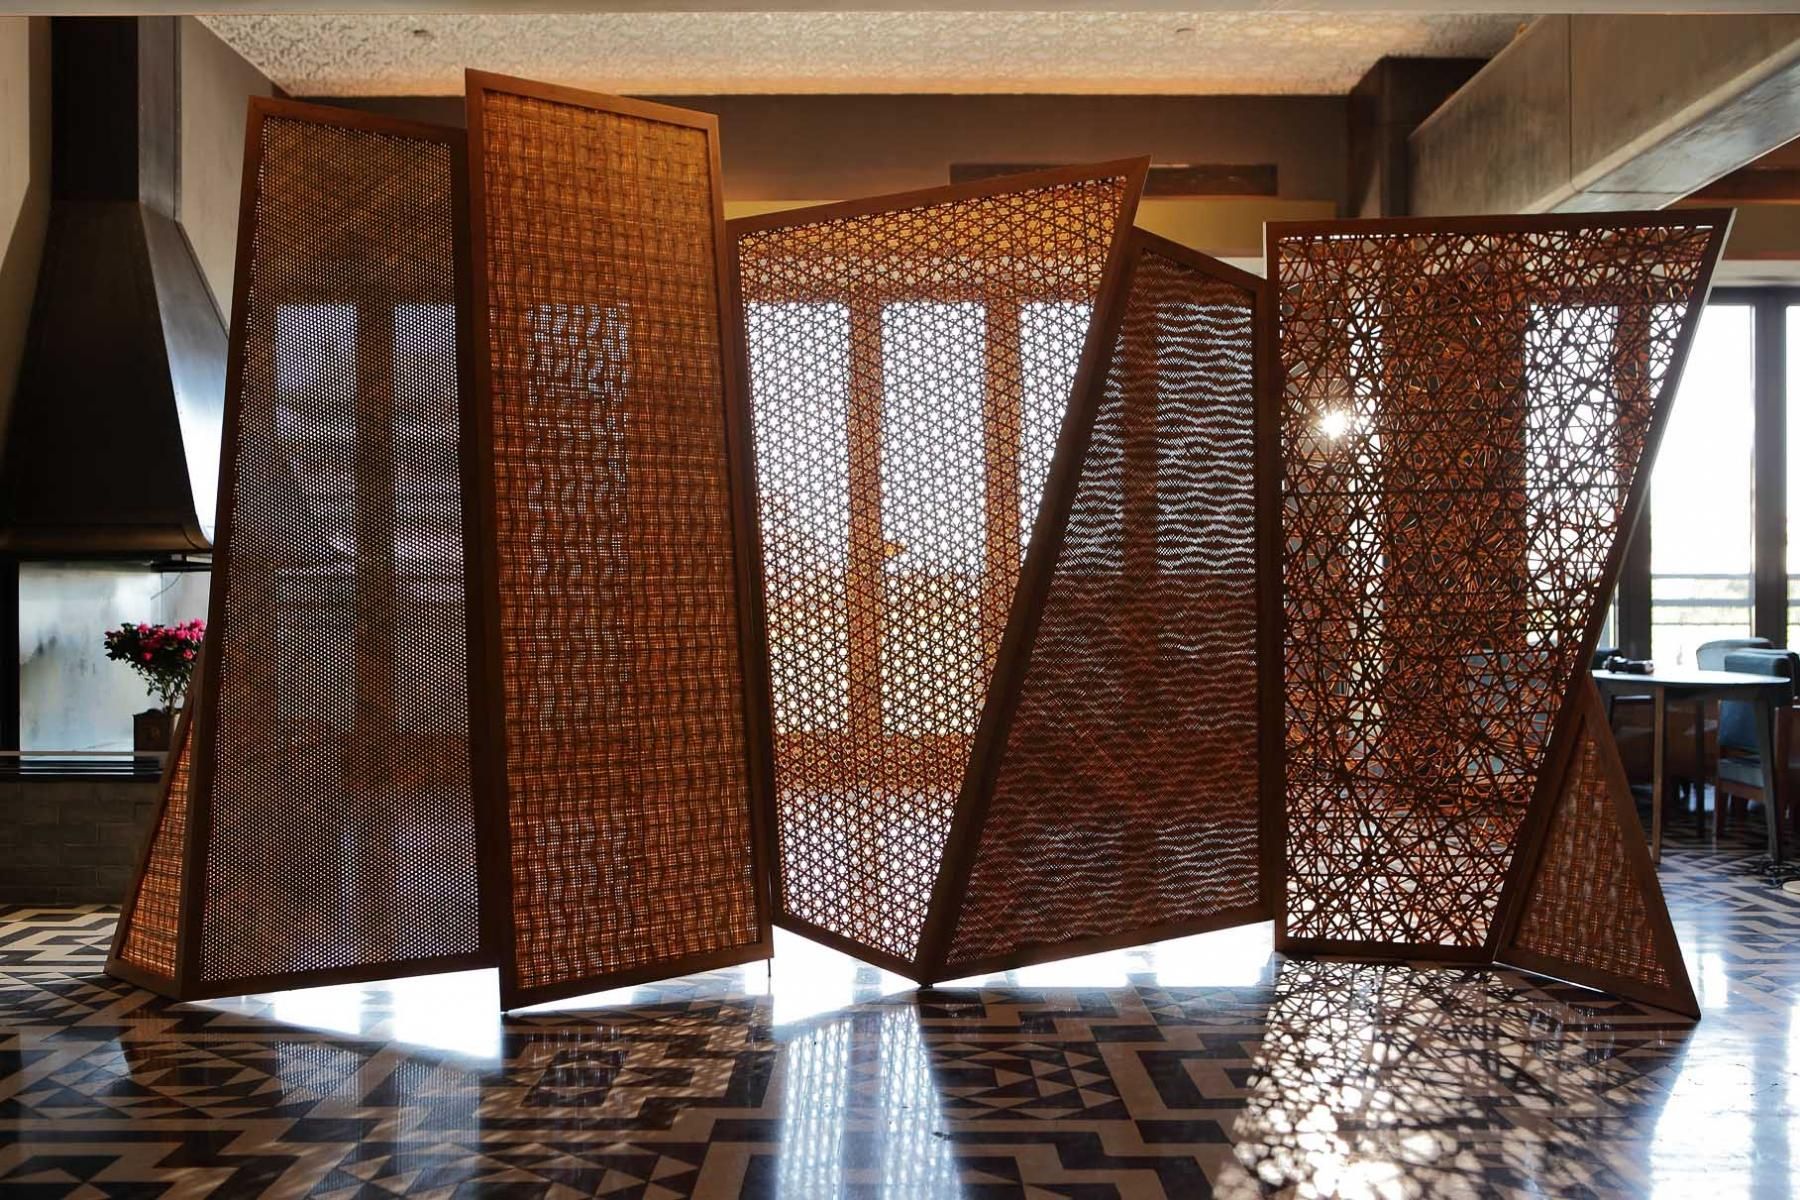
The spatial flexibility of such a partition is determined by the plasticity of the material used as the basis of the product. The screen curtain is attached between the solid vertical uprights. When folding (unfolding) the vertical section of the canvas, the screen remains in the specified spatial position. Easily folds into a roll.
When turned indoors, it is often installed in a wavy and zigzag shape. In some variations, the vertical posts are made of flexible metal or plastic, which allows you to give the screen original shapes.
It is customary to select the type and size of the screen depending on its intended purpose and the size of the room. The screen is the ideal tool for quickly zoning a room.
Products for kindergarten
In rooms for children, all dynamic and stationary partitions must have the following properties:
- Security. The material of the screen must not injure children in case of collision with it.
- Environmental friendliness. Small children often lick and nibble on any surface. Sash painted with toxic paints can cause significant harm to children.
- Fire resistance. The requirement for fire safety must be fulfilled in any kindergarten.
- Easy to clean the surface.Sanitary standards oblige kindergarten staff to keep walls, floors, windows and partitions clean.
- It is much easier to put in order a stained screen with an oilcloth surface than with a rag material.
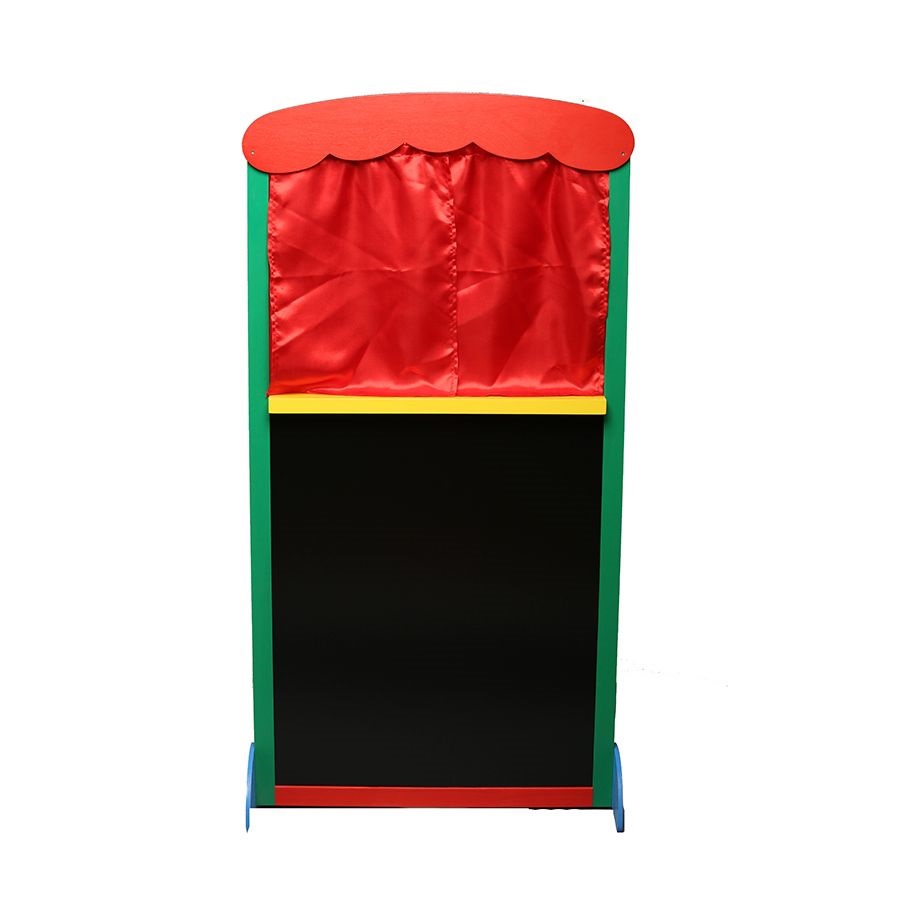
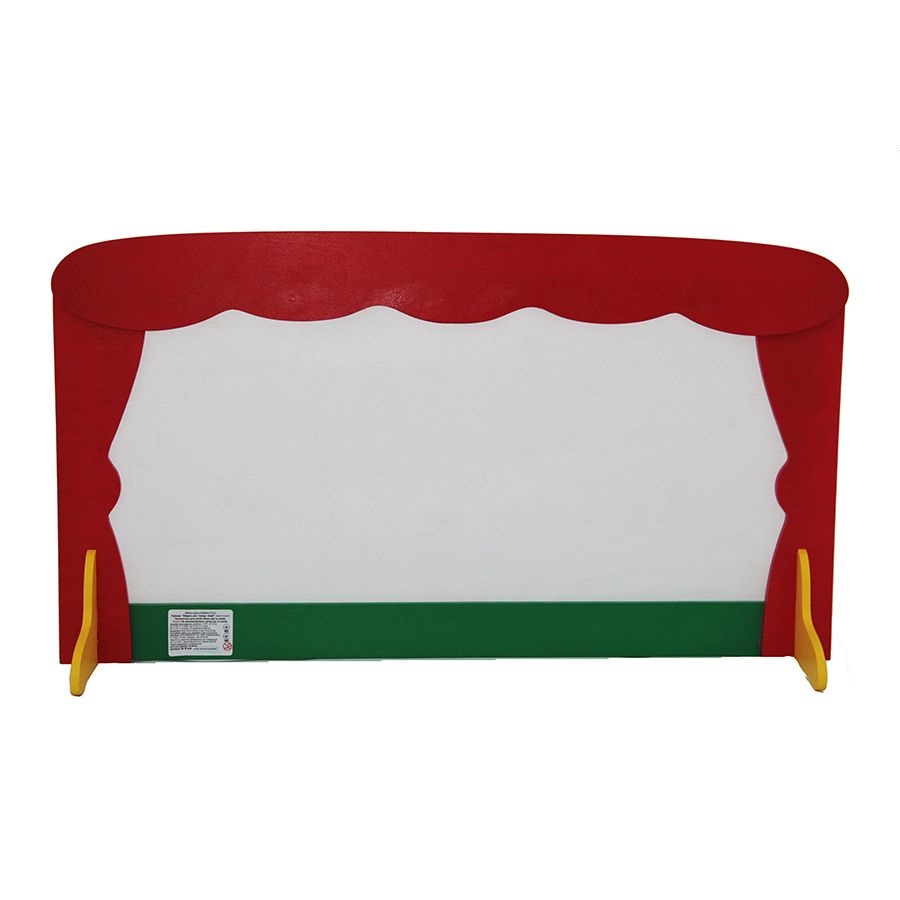
The above conditions immediately cut off all screens made of glass, wood and flammable materials. The painted surface of the sash must be laminated with a non-flammable transparent film. In exclusive and homemade versions, the pictures on the screen can be filled with food dyes.
Japanese style
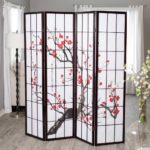
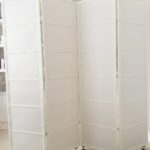
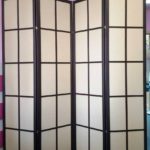
Classic Japanese-style screens (bebu) are characterized by low height and unique design. The main material for creating a baby is thick paper (gappi), cardboard or silk. Initially, Japanese craftsmen used hinges instead of hinges to fasten the sashes. The screen completely adheres to the floor and excludes steps on the sash.
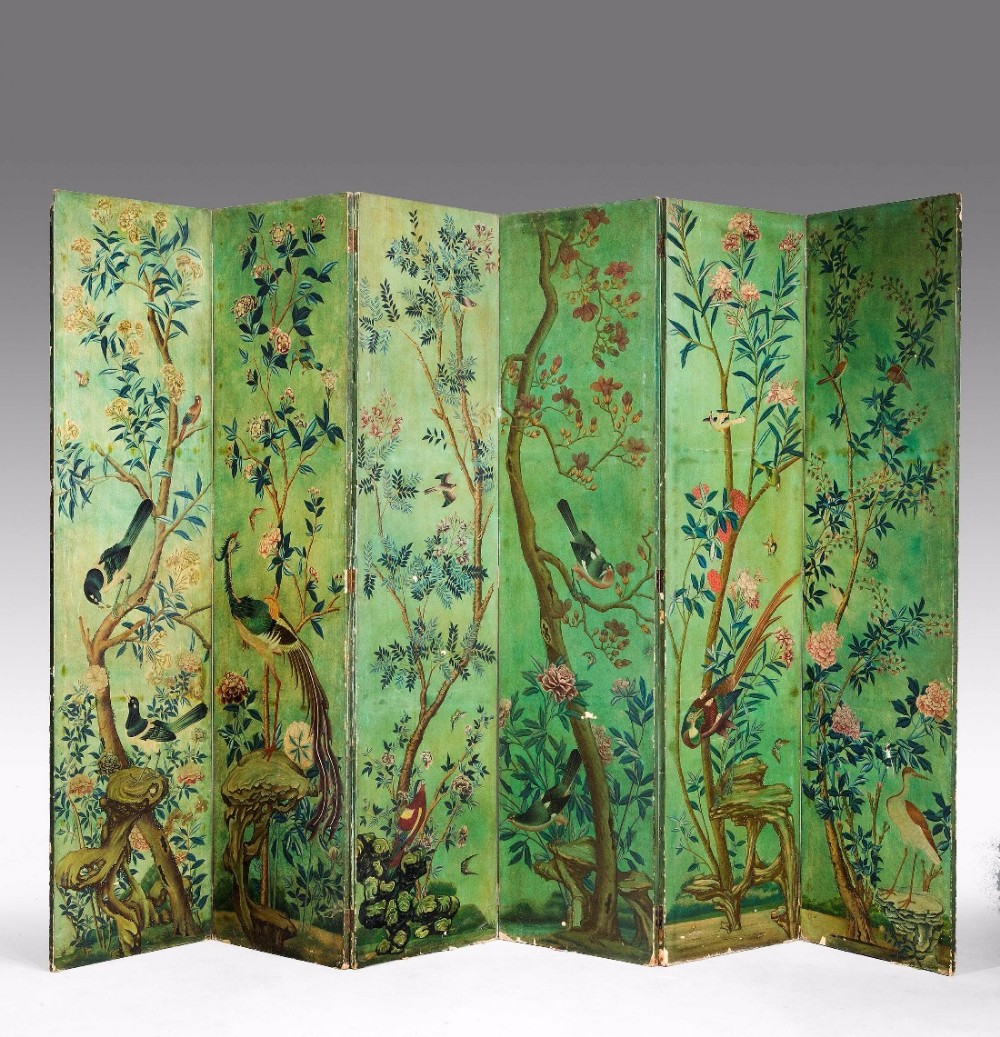
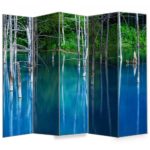
The surface of the baby is painted with thematic drawings in oriental style with the addition of Japanese calligraphy. Objects near the baby's valves are translucent from the reverse side in the form of a shadow outline. The Europeanized version of the Japanese "wall from the wind" has a height more suitable for tall people. Also, non-Japanese counterparts can be formed with symbols and hieroglyphs inherent in other Asian cultures.

For an ordinary room
Room screens are limited only by the parameters of the room and the combination with elements of the interior style. A screen-partition for any room can be easily made by hand. With the help of any mobile partition in the room, you can designate a "personal area" that morally restricts access to other household members.
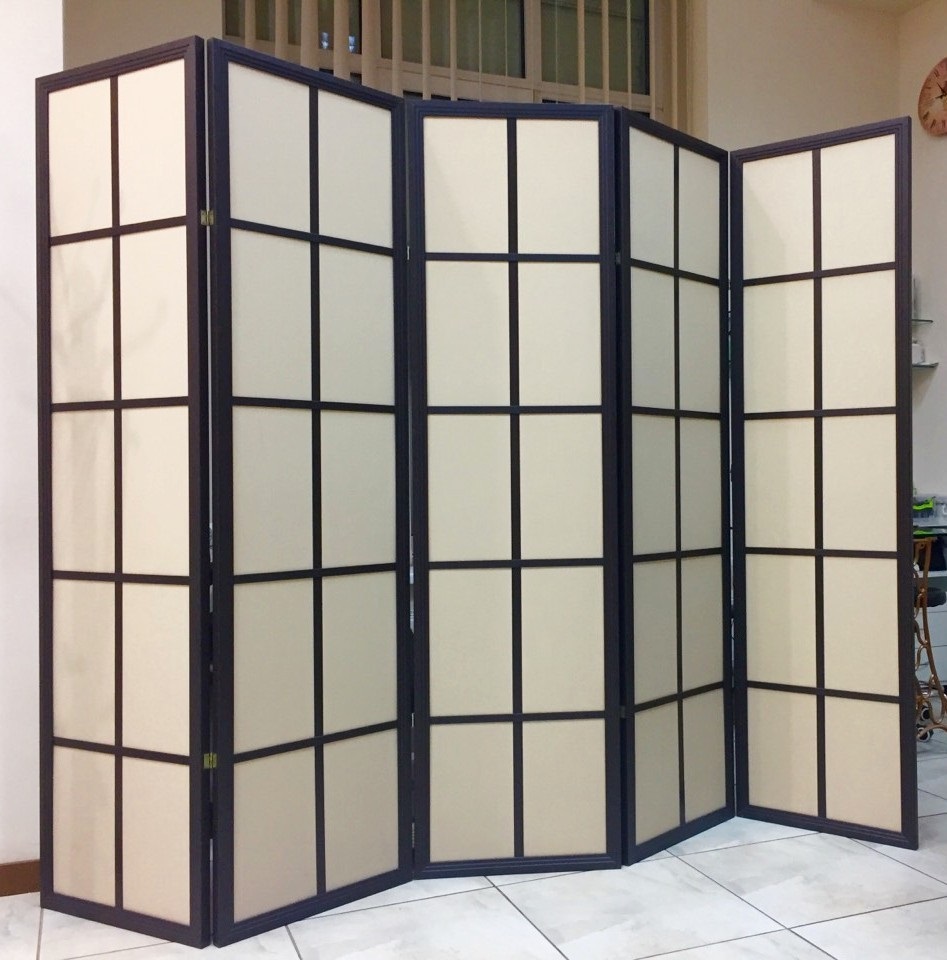
Also, with the help of a screen, you can quickly unfold a closed "fitting room" near the mirror. In addition, the screen is capable of narrowing the perceived space for the person sitting behind it. This creates a sense of security for working or leisure people.
Decorative screens
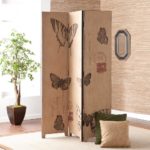
When choosing a decorative screen, it is necessary to understand that even visually translucent partitions have a fencing function. Therefore, designers also use such decorative elements to delimit spatial zones.

Classes of decorative screens
- Stationary. The shutters of the screens are in a fixed position and are not able to change it without remounting.
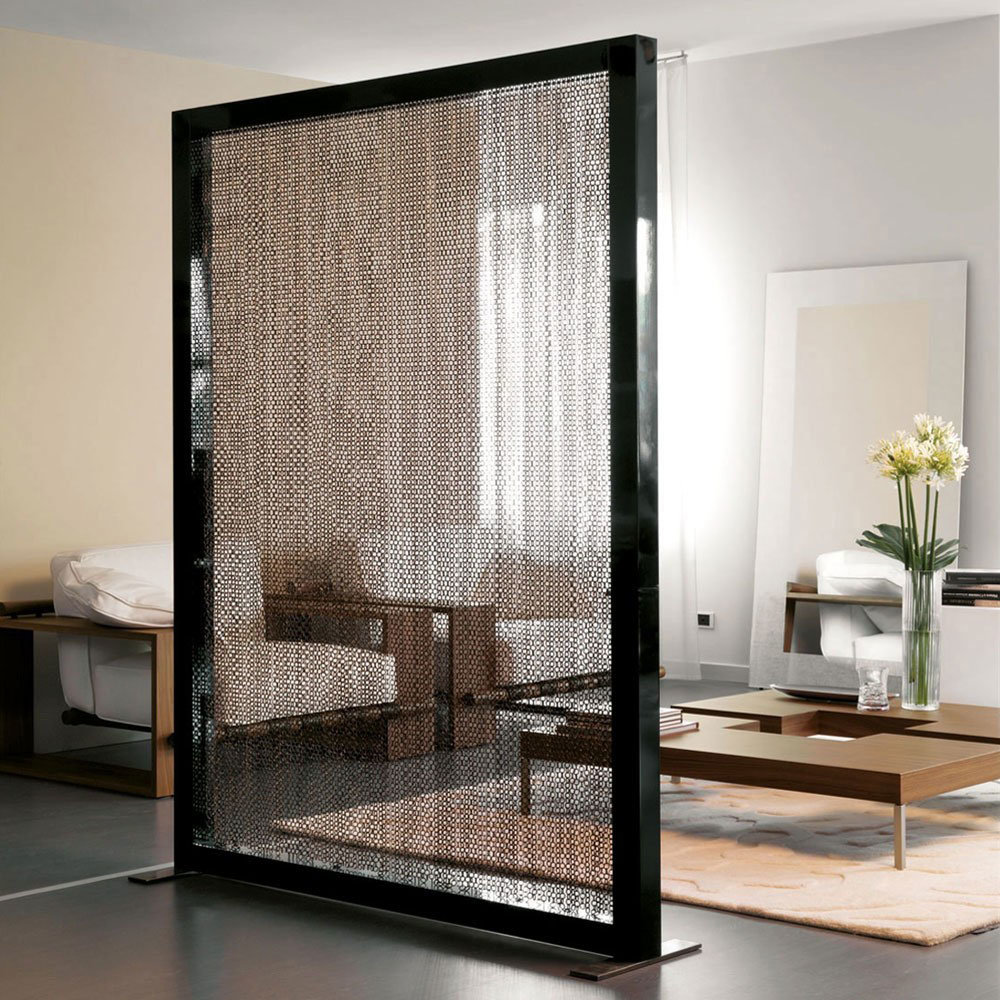
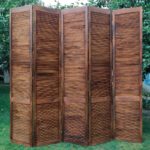
The stationary screen is in a fixed position. Often, such structures are installed in places where the windage of the sashes can create a negative effect in strong winds. The lack of dynamism of the sashes with the external illusion of full-fledged functionality makes such screens decorative.
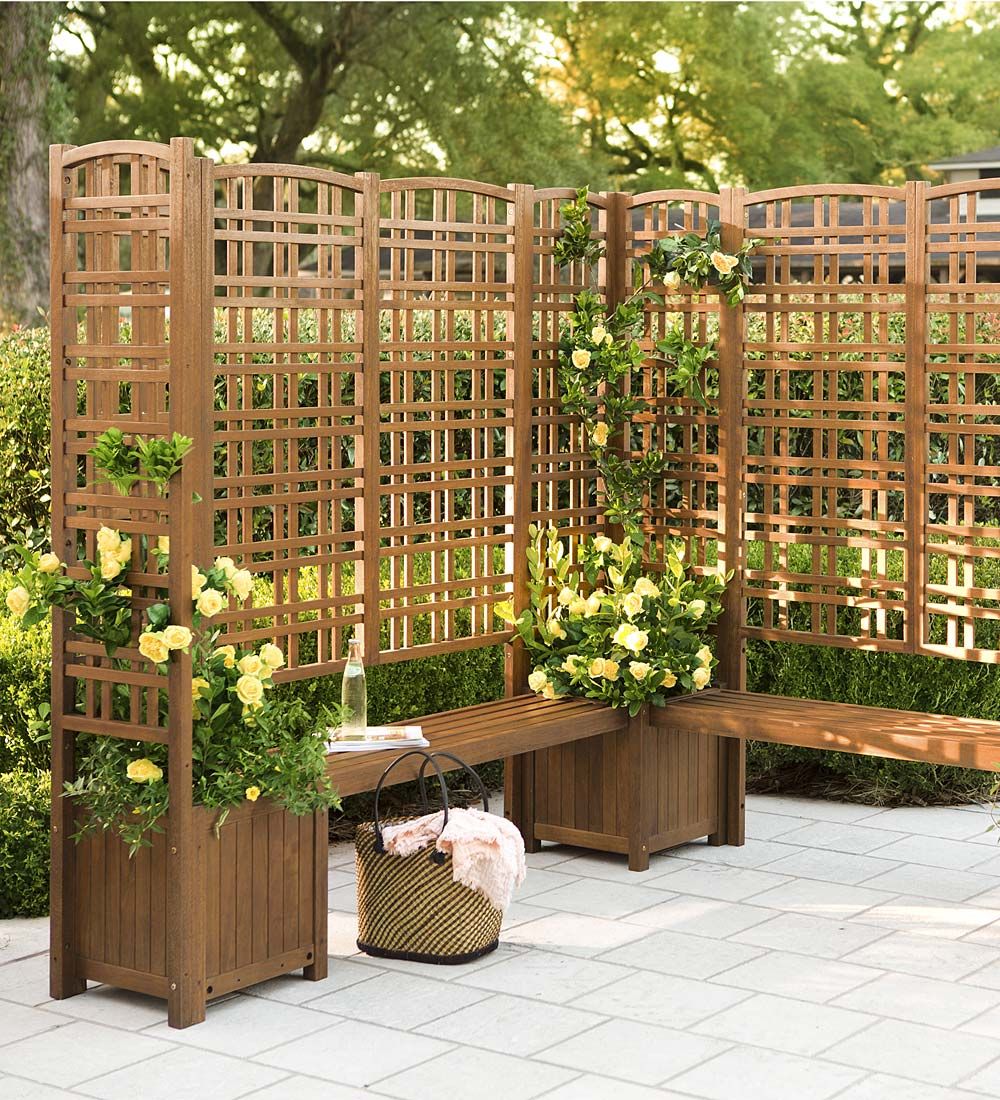
The fixed screen remains stable even in strong winds. - Transparent. Sashes and screens are also decorative, allowing you to view silhouettes through the screen. The main material for creating such a product is plain or colored glass.
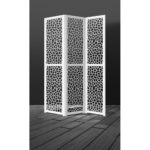
Often, instead of a canvas, a mosquito net or a wire mesh structure is enclosed in the frame. Separately, we can mention screens consisting of only decorative frames, without filling the intra-frame space.
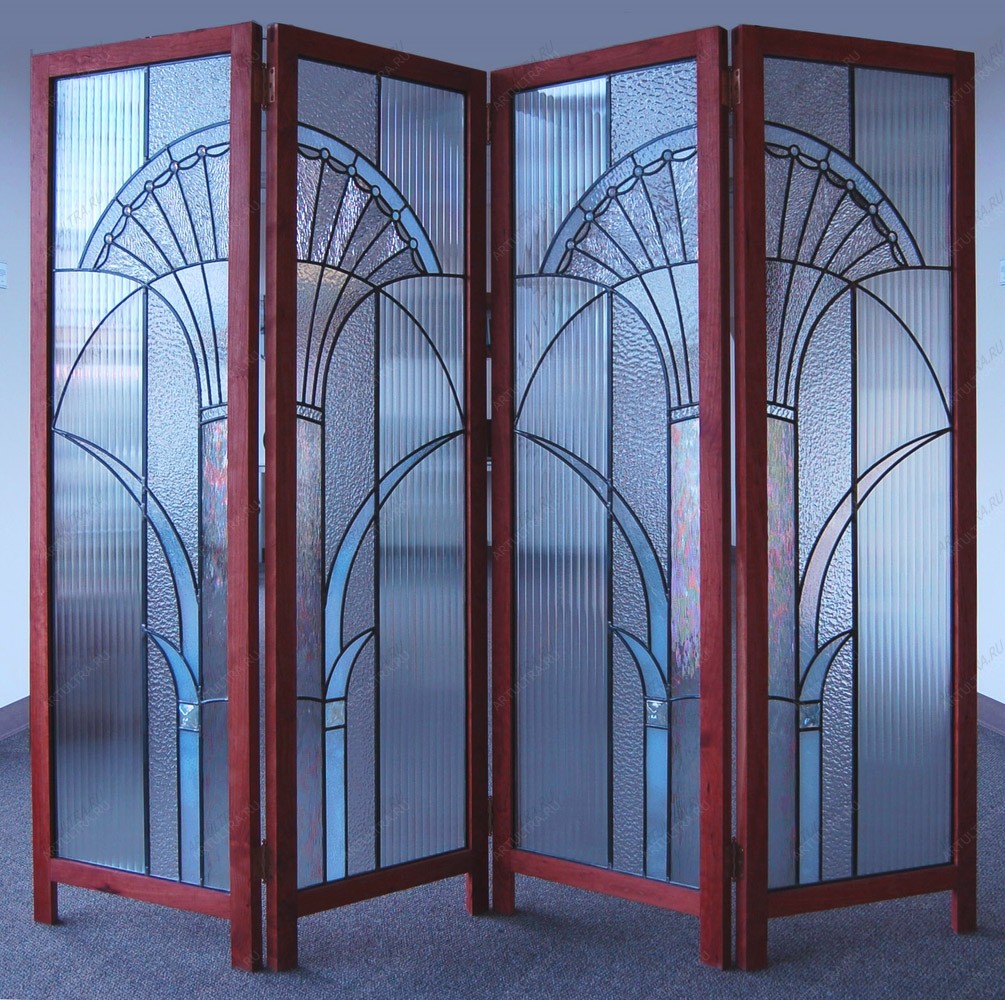
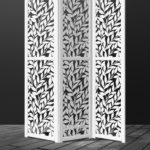
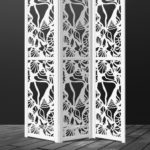
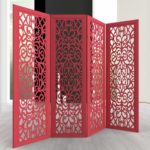
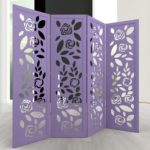
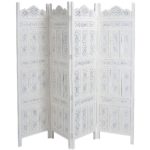
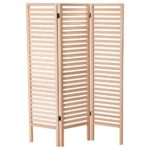
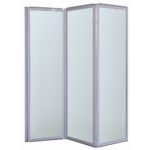
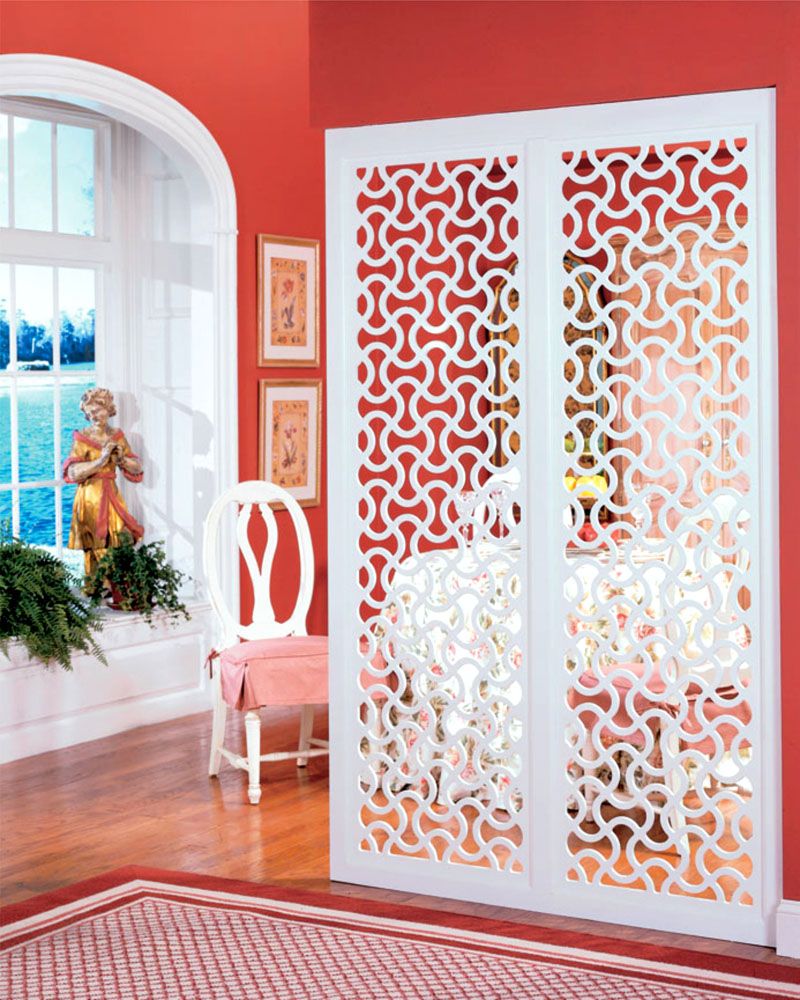
Transparent screens are made of glass and other materials. - Partially transparent. Sometimes, decorators build various sculptural compositions instead of a uniform structure into the sash frames. The content hidden behind such a screen is clearly visible through the open gaps in the thematic composition.
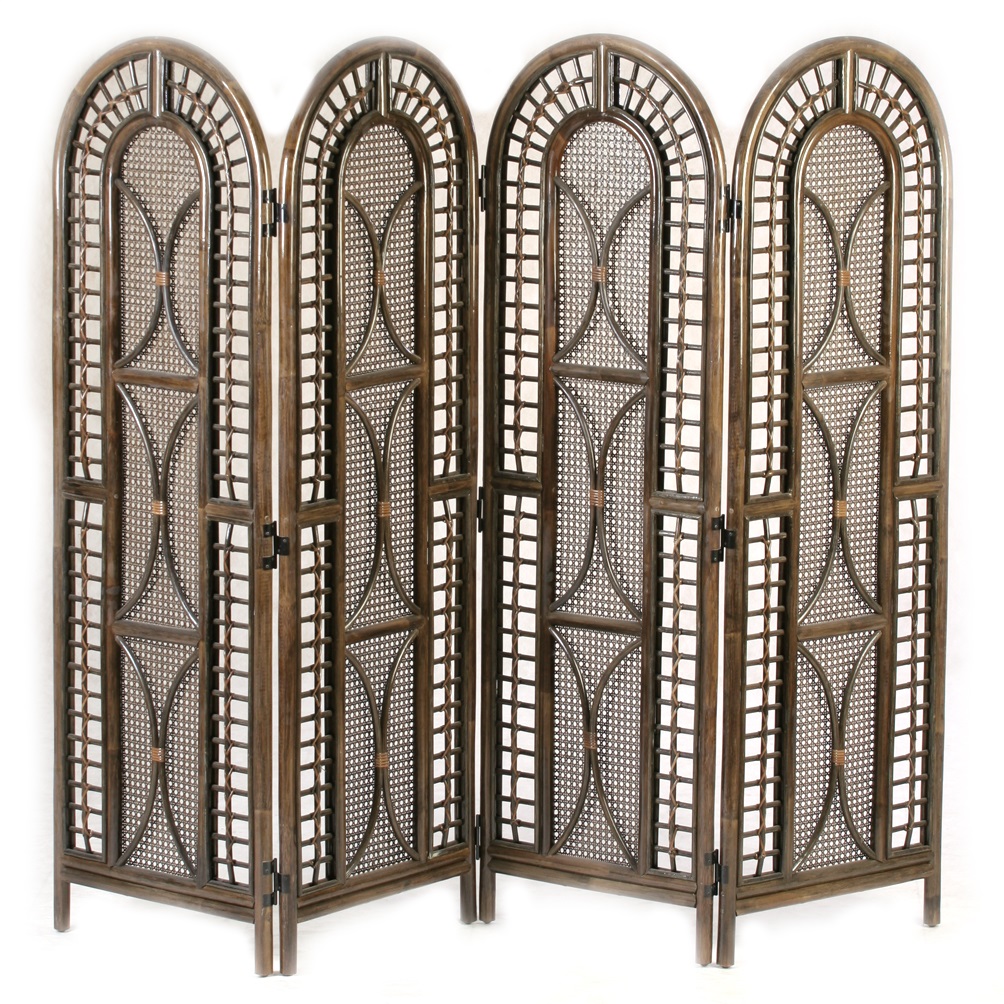
The partially transparent screen allows you to see the space behind it.
How to make a partition-screen for a room with your own hands
A do-it-yourself screen is made quite simply and does not require special engineering and assembly knowledge. Based on his artistic intention, the amateur master must decide on the shape, size and functionality of the future screen. The assembly of the structure usually does not take much time and can be done alone, without assistance.
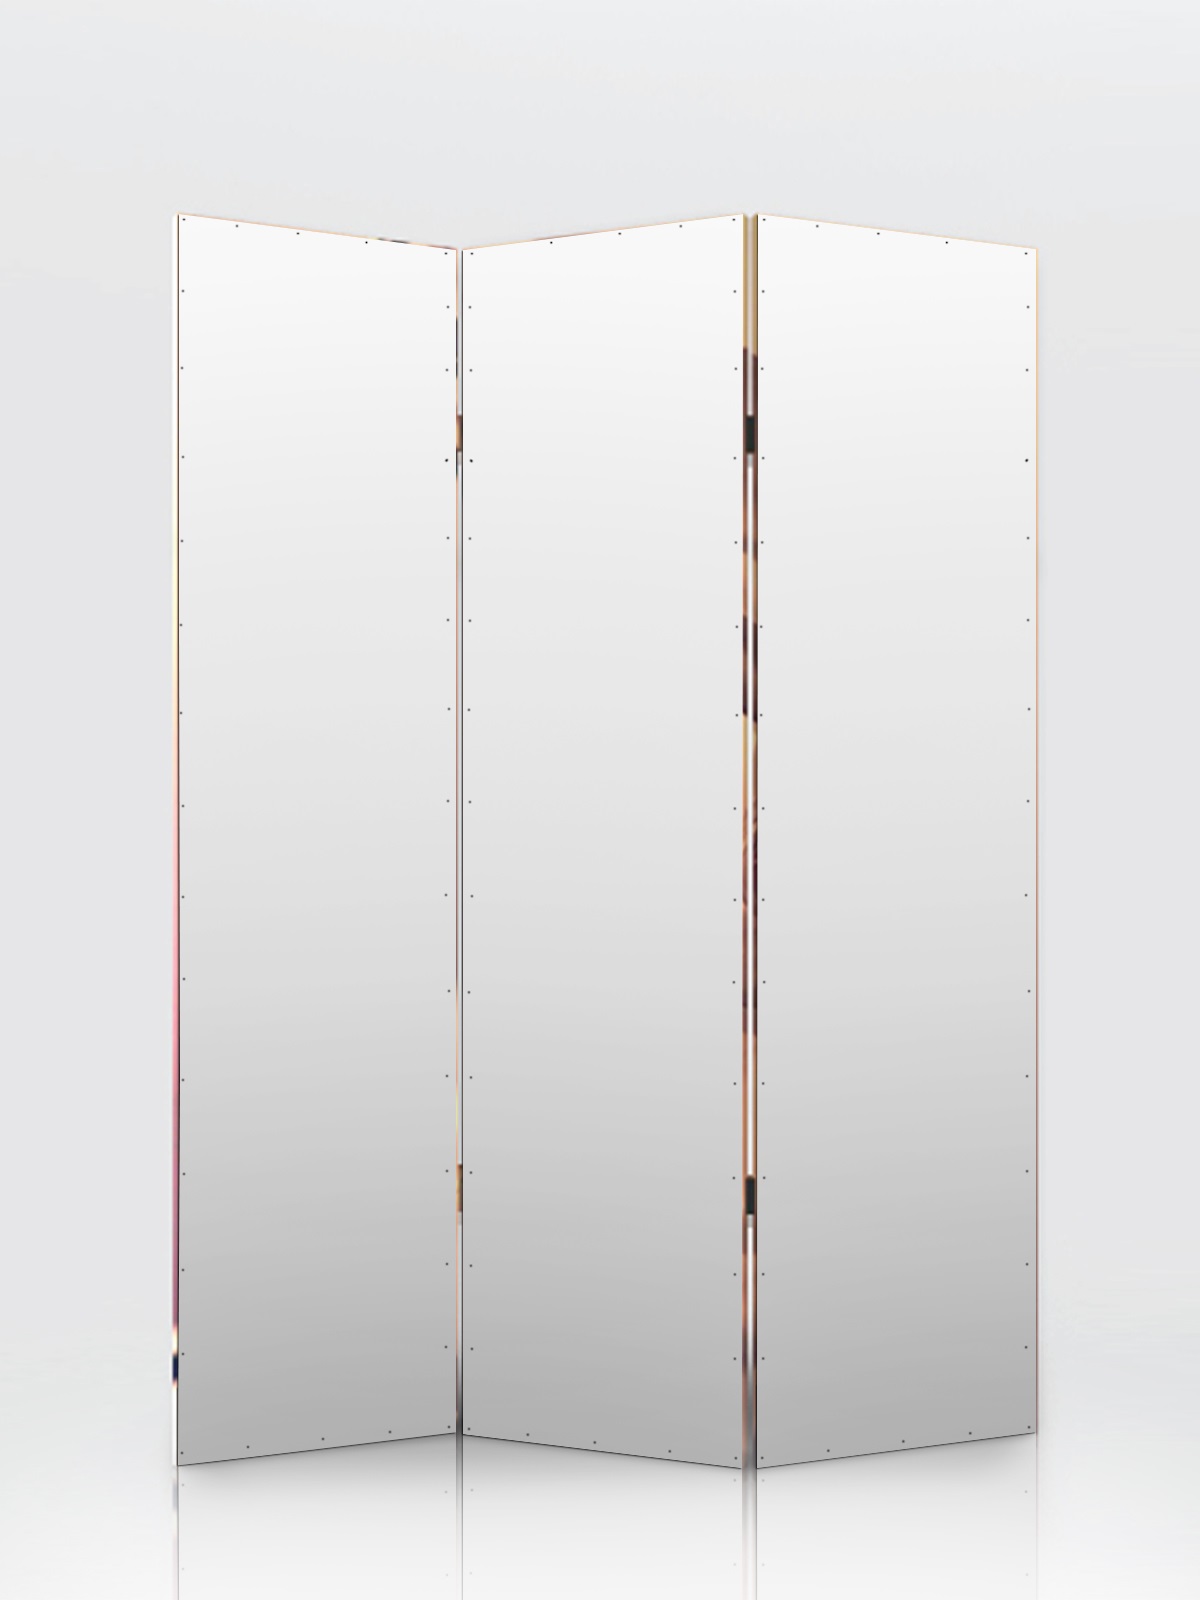
Calculating the size of the screen
If the designer does not want his product to scratch the ceiling or look crooked, he must be guided by a number of the following rules in the calculations.
In an accordion-style screen, all sash frames must have the same size and shape. It is recommended during the billing period to build a miniature model of the screen from matches, glue and paper. Experimenting with the proportions of the layout will help you figure out which design ideas are optimal.
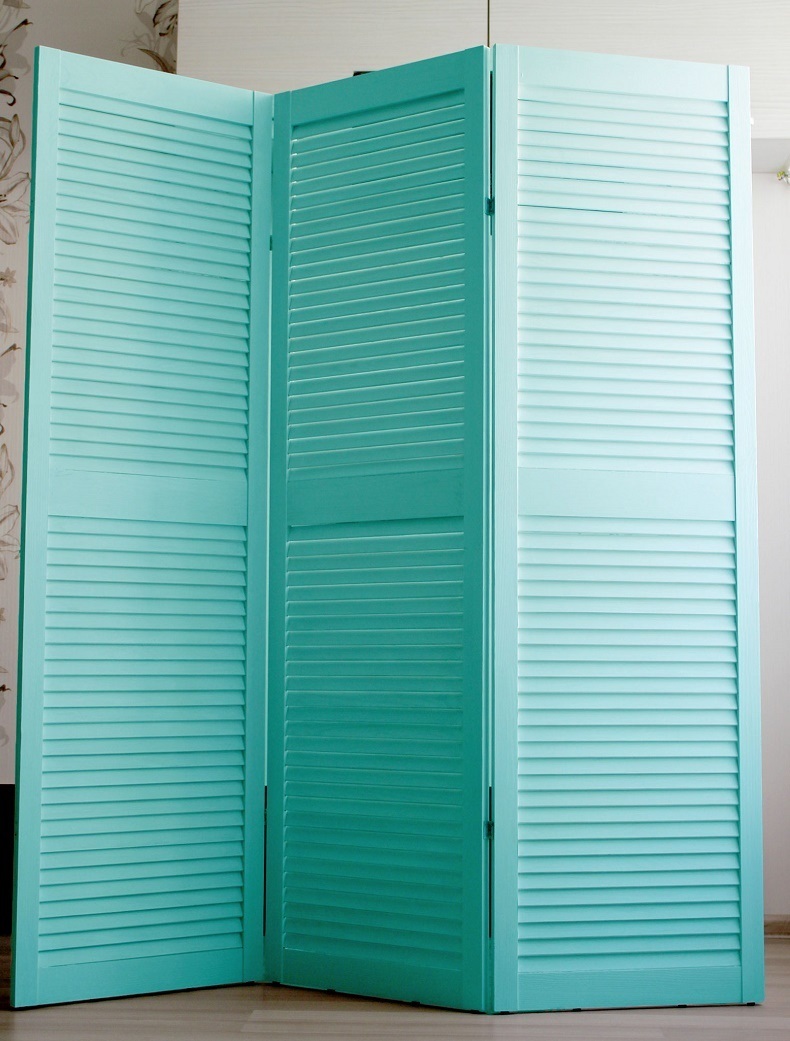
The frame slats must be in alignment with each other. All vertical planks must be the same size. Horizontal frames may differ in design, where the top bar covers the top of the vertical bars, and the bottom one is enclosed between them. In this case, the thickness of the uprights will shorten the size of the bottom plank.
When using rag and film material, the vertical slats of the frame must correspond to the size of the side edges of the canvas. In case of miscalculation, you will have to either raise the lower bar (increasing the height of the footrest), or cut the canvas.
When creating a screen from monolithic sash sections (wooden and plastic boards), it is not necessary to construct a slat frame. If the sections differ slightly in size, then they must be aligned to the same size. First, the perimeters of the sections are measured and the smallest measurements are recorded. All other sections are adjusted to these indicators.
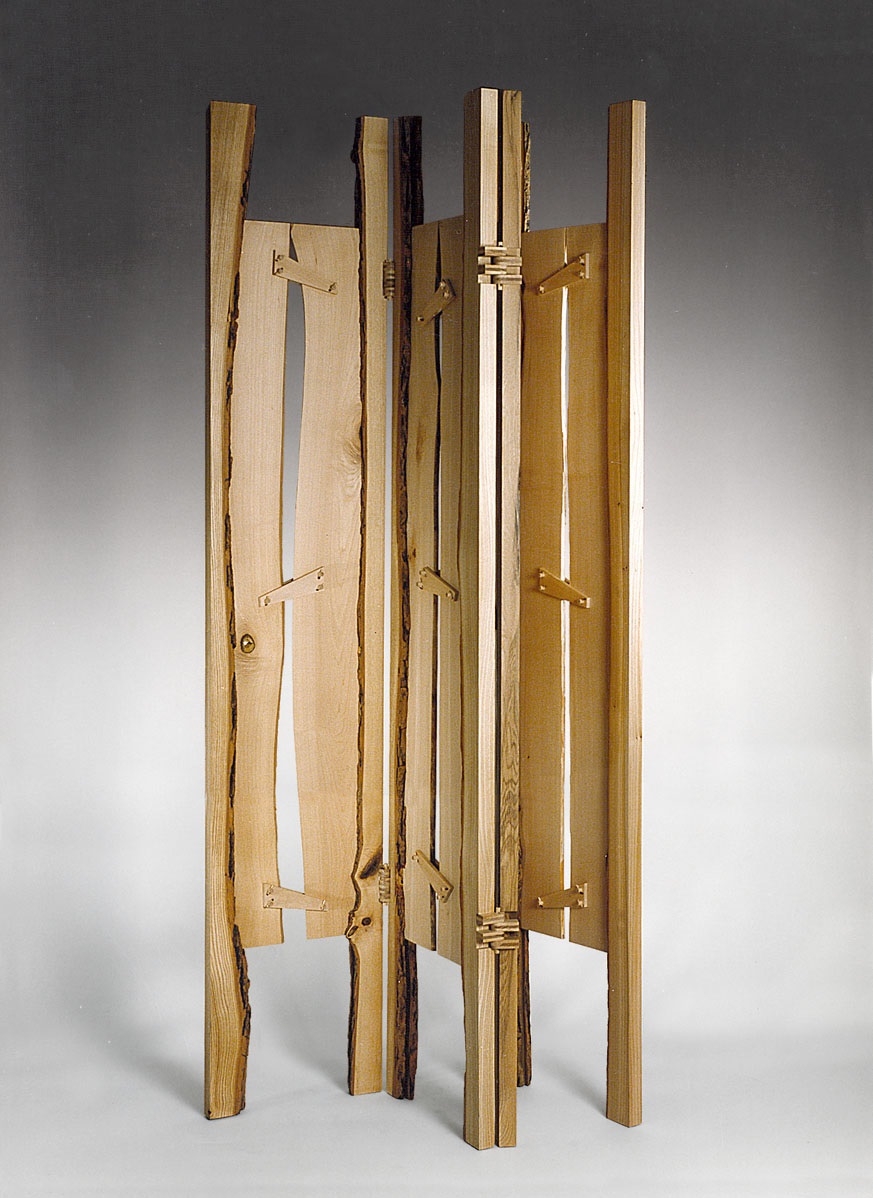
Drawings and diagrams
When developing a drawing, the parameters of the screen are correlated with the capabilities of the room and its interior style. The initially derived dimensions of the parts of the product are transferred to the drawing and, if necessary, are corrected.
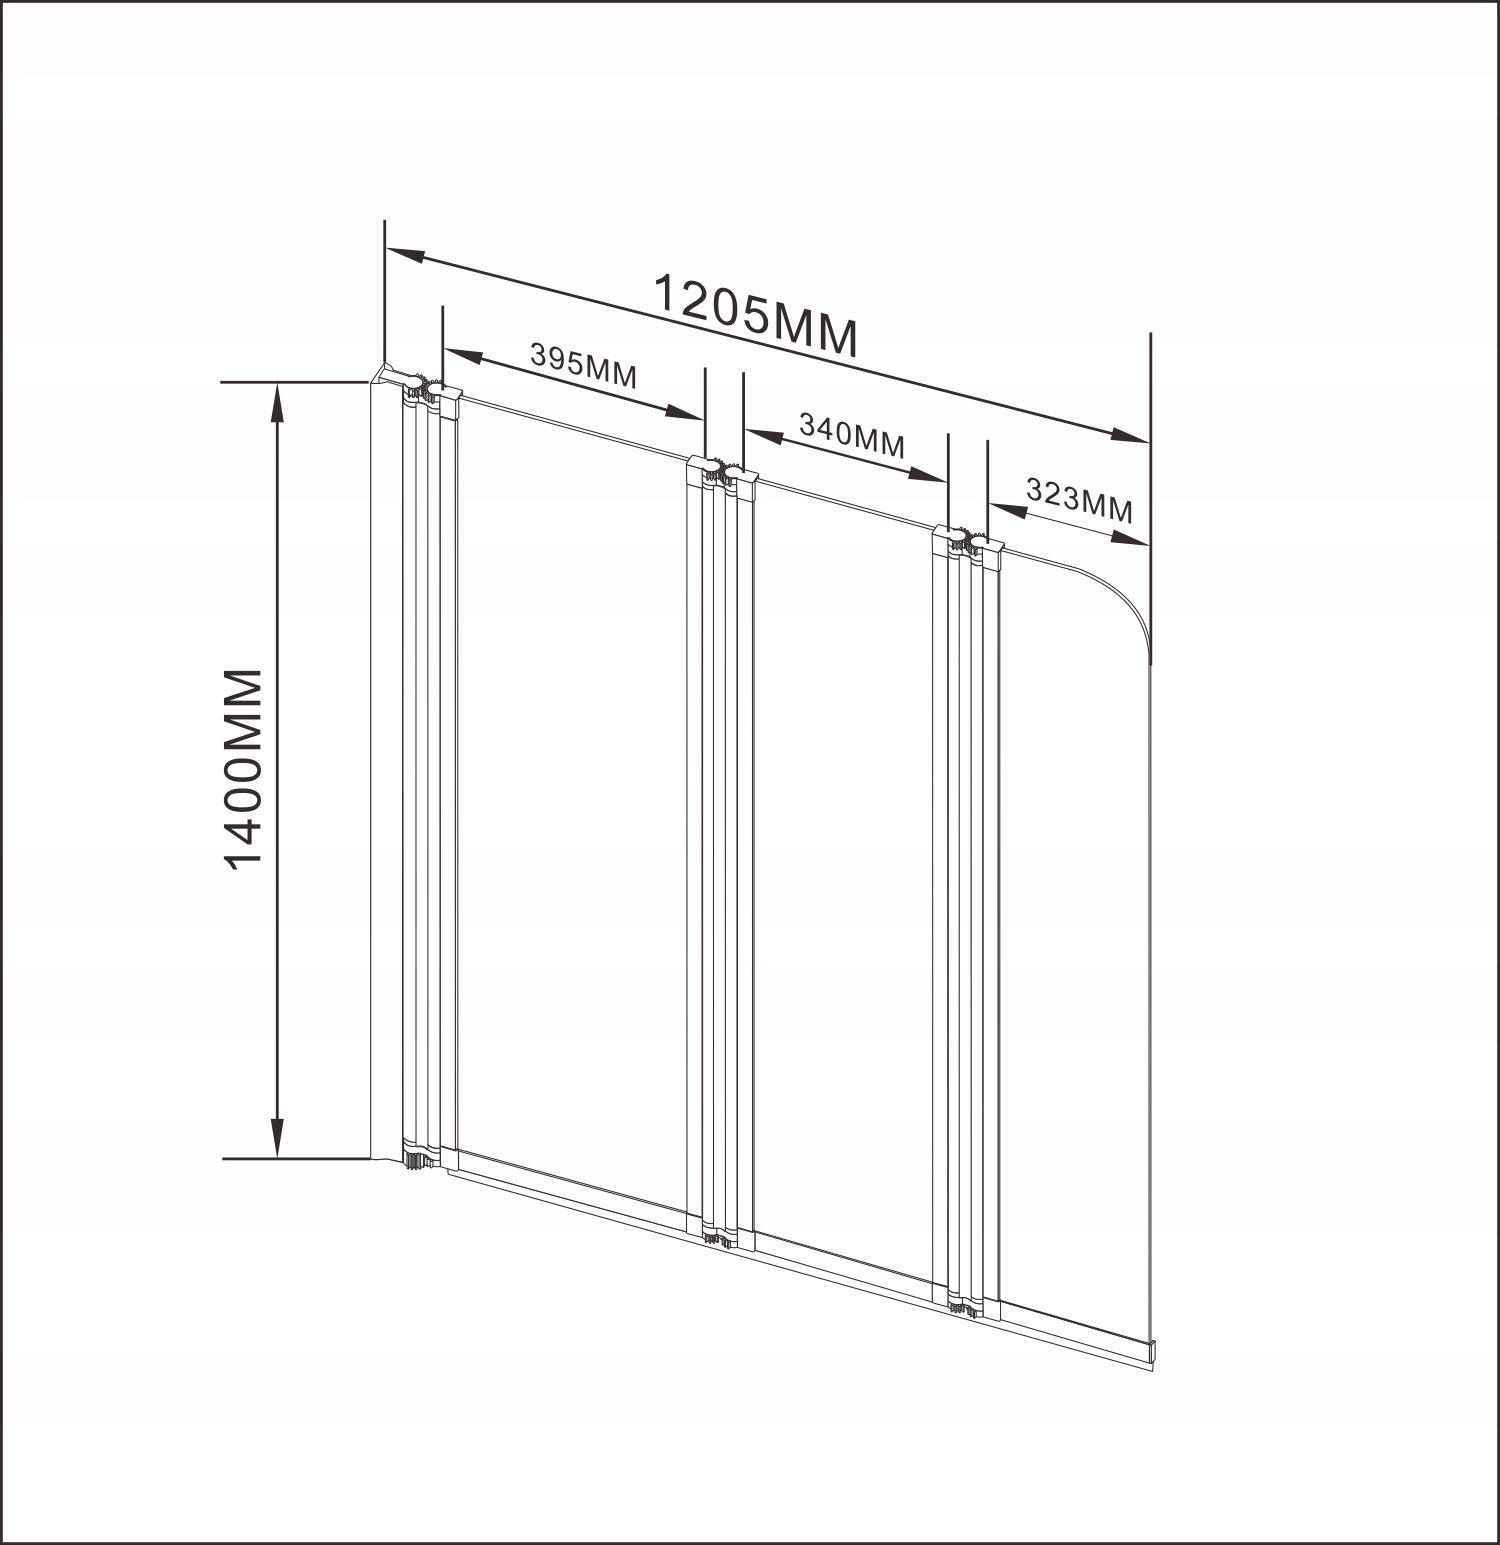
Schemes of accordion screens and plastic screens are transferred to paper in an expanded form. The need to add additional centimeters is taken into account when installing a cloth (film) canvas inside the frame.
Required materials and tools
Materials for a homemade screen are selected based on the availability and ease of installation. Wooden or plastic slats can become elements of the bearing frame-sash. Metal pipes are discouraged due to the severity and difficulty of handling for fasteners. It is also not recommended to use tin and other flexible material for frames.
But the filler material can be any: hard, soft, cloth or plastic. Blackout curtains are often used as filler in homemade screens.
The fastening hinges must be selected according to the weight of the sashes. For lightweight structures made of plastic frames, hinges made of a similar material are well suited. Heavier structures will require metal or reinforced plastic hinges.
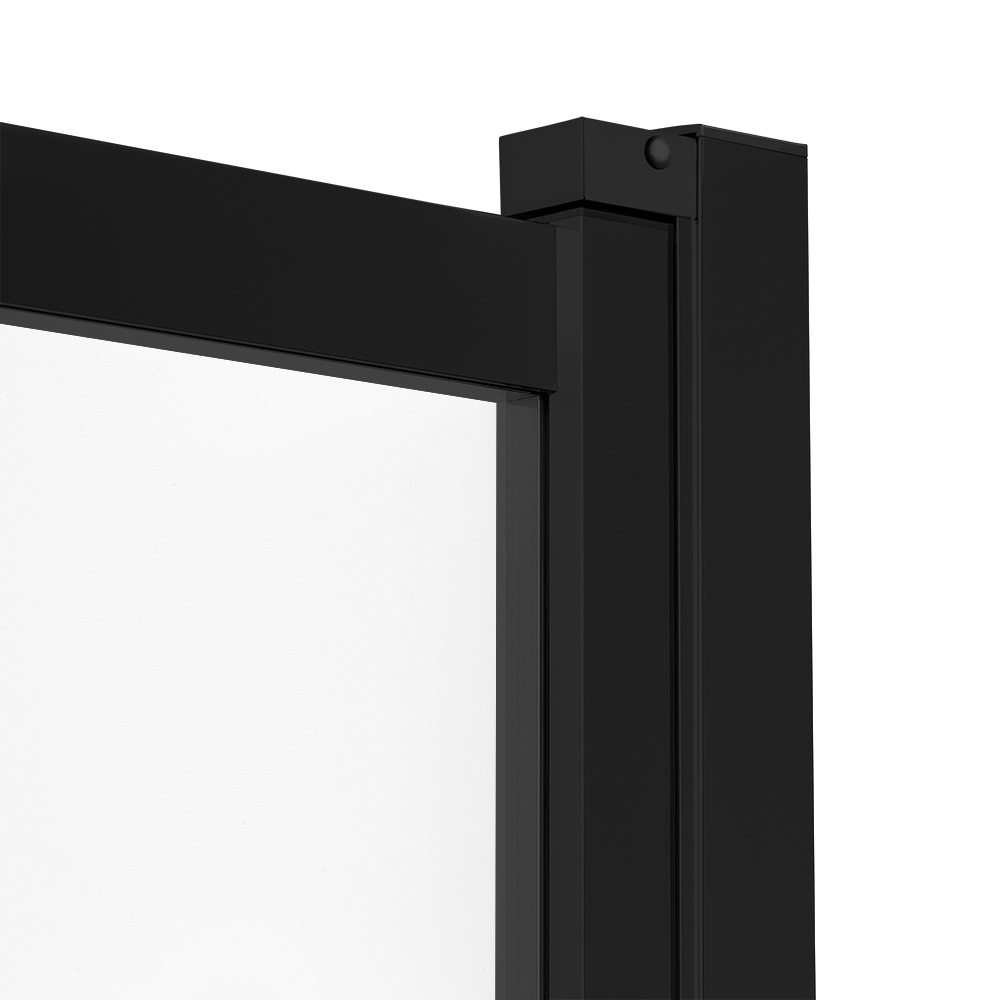
The elements are connected using nails and screws. Fastening the hinges to the frames with glue is unacceptable even on the lightest screen designs. The fastening must be rigid and withstand dynamic loads on the sashes.
To create parts and assemble a homemade screen, you will need the following types of tools at hand:
- Hammer. It is necessary not only for driving nails, but also for all types of installation work, where the concentration of impact force is required.
- Pliers.Indispensable when working with bending material, as well as when removing incorrectly driven nails and screws.
- Measuring tool. When drawing up a drawing, you may need a school ruler or tracing paper. In the manufacture of parts and installation of the structure, a construction tape will be required.
- Cutting or sawing tool. Depending on the materials selected, appropriate tools may be needed to fit the parts to the desired dimensions. Scissors are suitable for cutting the canvas and other non-rigid parts of the structure. An electric saw is required to cut wood planks evenly. For rough sawing with a conventional saw, masking caps can be used at the ends of the vertical bars.
- Screwdriver or screwdriver.

Screen assembly
After processing and trying on all the details of the structure, you can proceed directly to the assembly of the screen. Installation of the screen is carried out step by step, eliminating, if necessary, the mistakes made. The assembly process is recommended to be conditionally divided into the following stages:
- Stage 1. Assembly of load-bearing sashes. Based on the chosen assembly method, frames for dynamic sash sections are mounted separately. It is better to make the frames double, to clamp the canvas of the main material between them. This significantly improves the aesthetics of the product.
For the stability of homemade frames, additional strips are often allowed along their diagonals. All frames are checked against each other for identity. In frameless screens, at the first stage, load-bearing strips or monolithic sections are simply checked.
- Stage 2. Fastening the base material to the supporting elements (frames). It is convenient to place the curtain material in the bifurcated frame of the sash. Planks with a clamped blade are fastened with small nails. The canvas can also be attached to single frames using nails. Super glue can be used as additional fasteners.
- Stage 3. Assembling the common frame. With the help of hinges, ready-made sash sections are fastened into a single structure. It is recommended to use screws to fasten the hinge to the vertical planks. All hinges must be mounted at the same level. For convenience, installation is carried out against the wall in the vertical position of the assembled frame.
In order to avoid traces of nails on the wall, a safety surface (boards) is installed between the frame and the wall. When assembling single-screen screens, this step is absent.
- Stage 4. Installation of additional elements. Such actions include fitting the caps, fitting the wheels to the footpegs. This is done on the floor in a horizontal position of the assembled product.
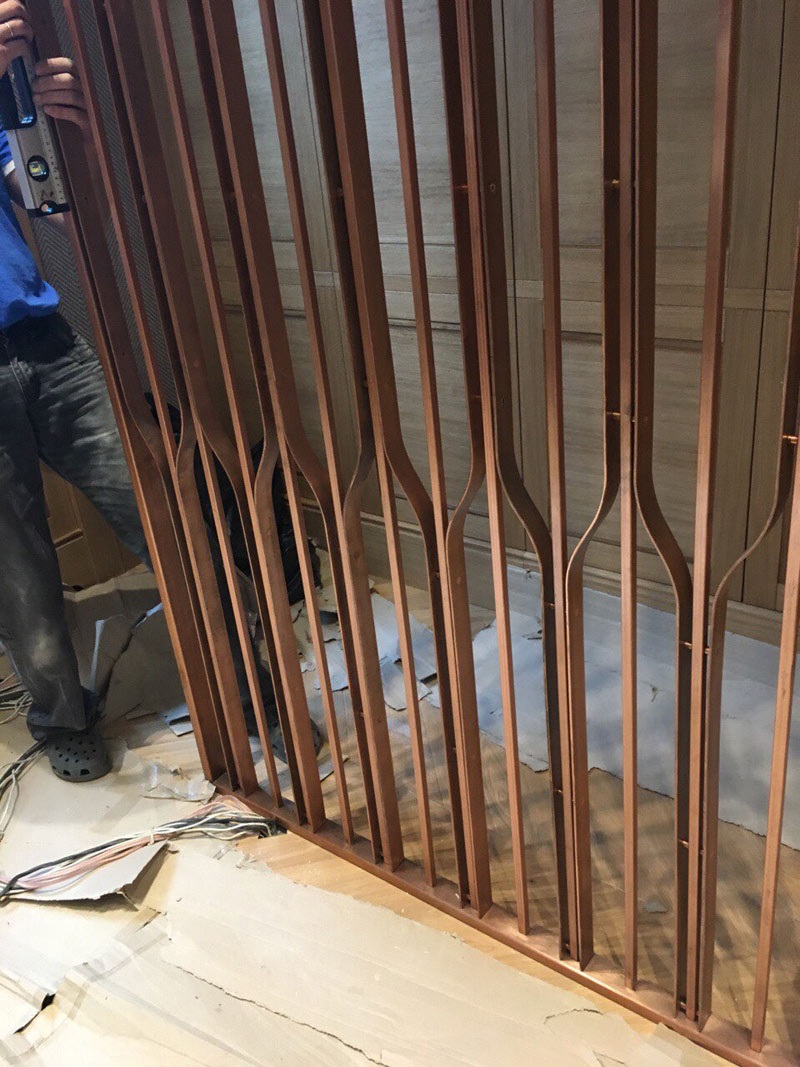
Video: master class on making a screen for a room
Visual aids on creating various screens can be found here:
