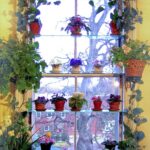
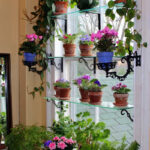
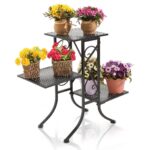
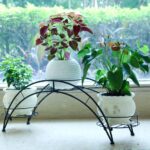
Flower stand on the windowsill
For city dwellers, a flowerpot on the window is the only opportunity to bring a piece of nature into the stone jungle.
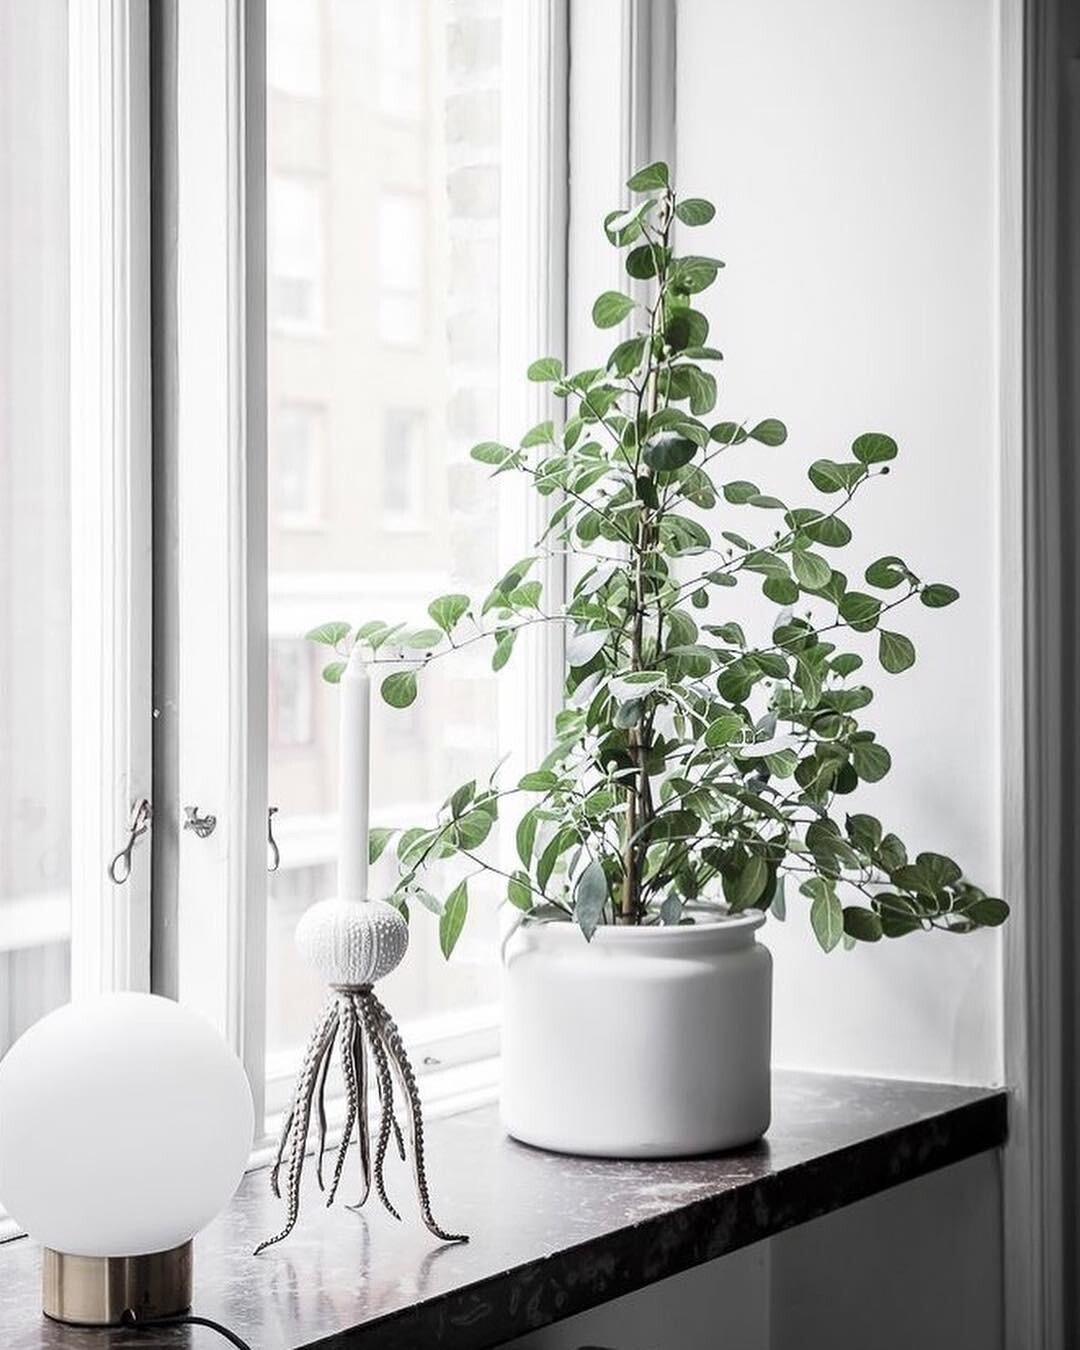
It happens that there are too many flowers - the pots literally stand on top of each other and instead of aesthetic pleasure, there is irritation from the contemplation of green porridge from plants. In such a situation, the use of shelves on the windowsill can be an excellent solution.
Varieties of shelves
There are four main options for the optimal placement of flowerpots in the space of window openings:
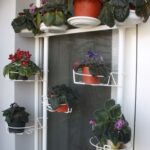
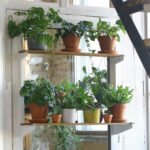
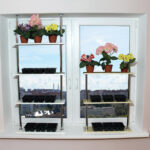
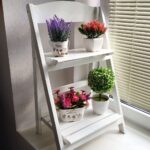
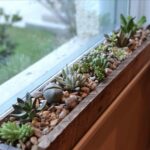
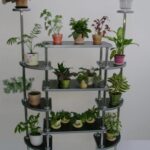
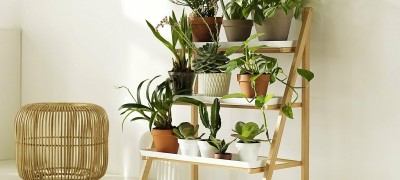
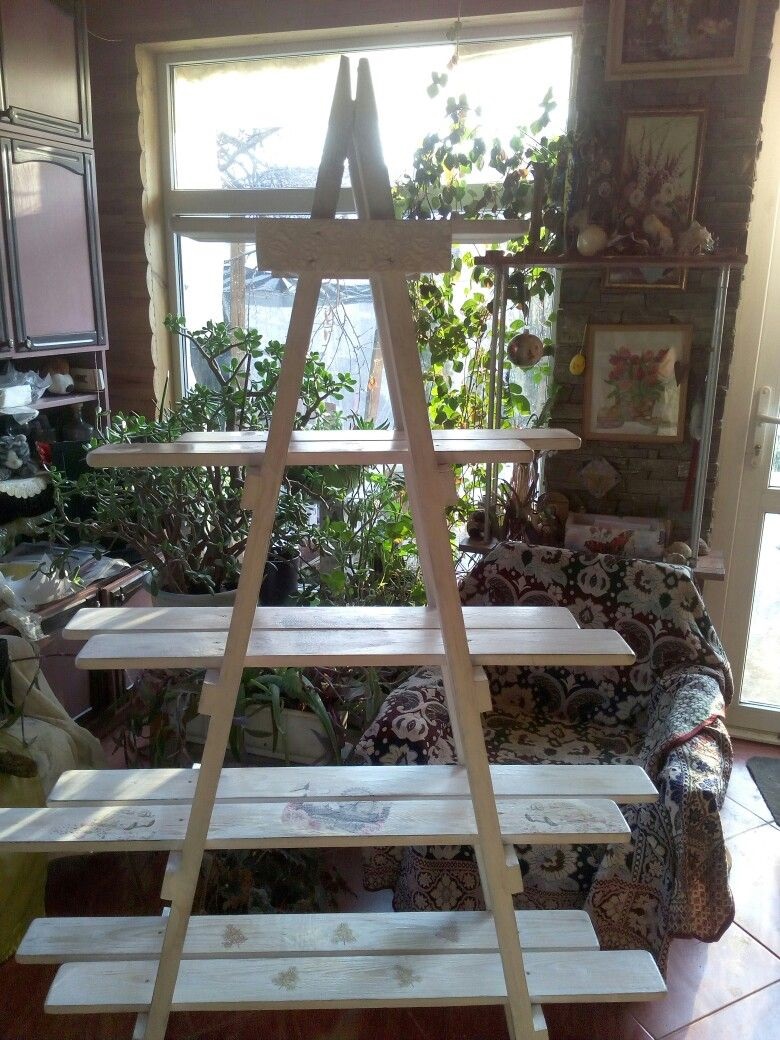
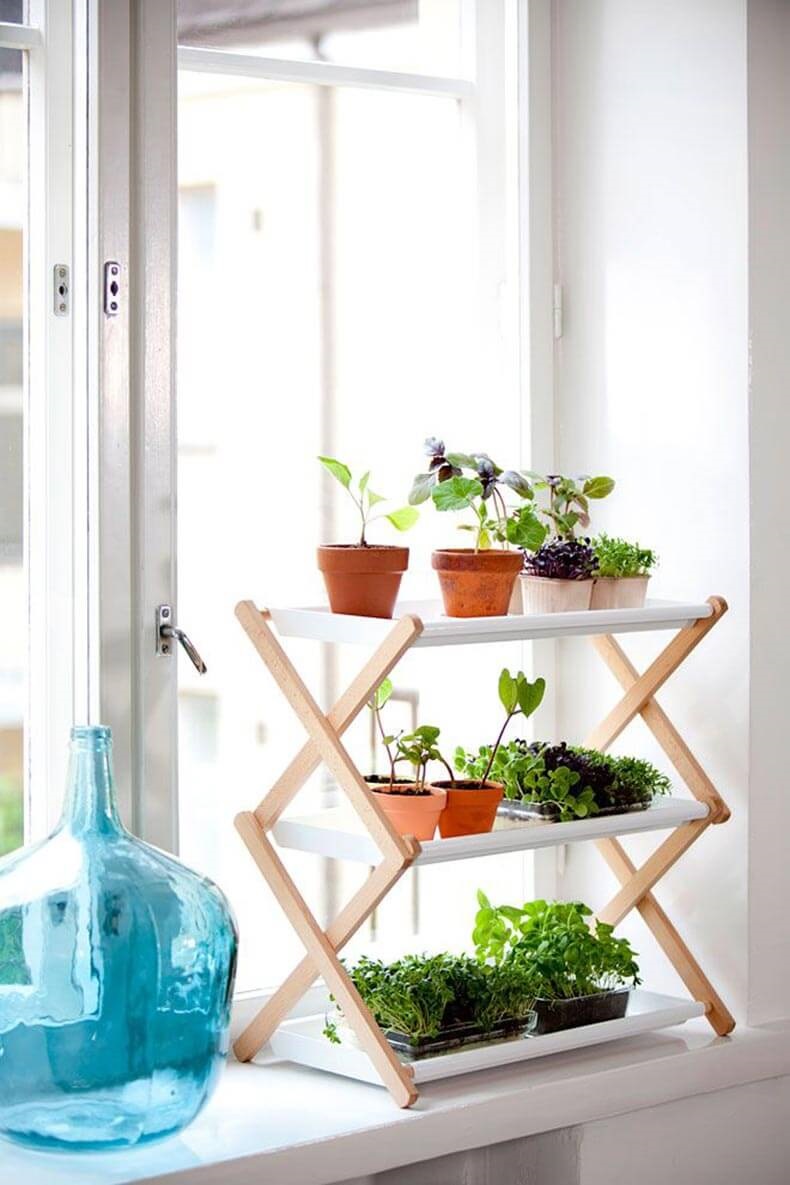
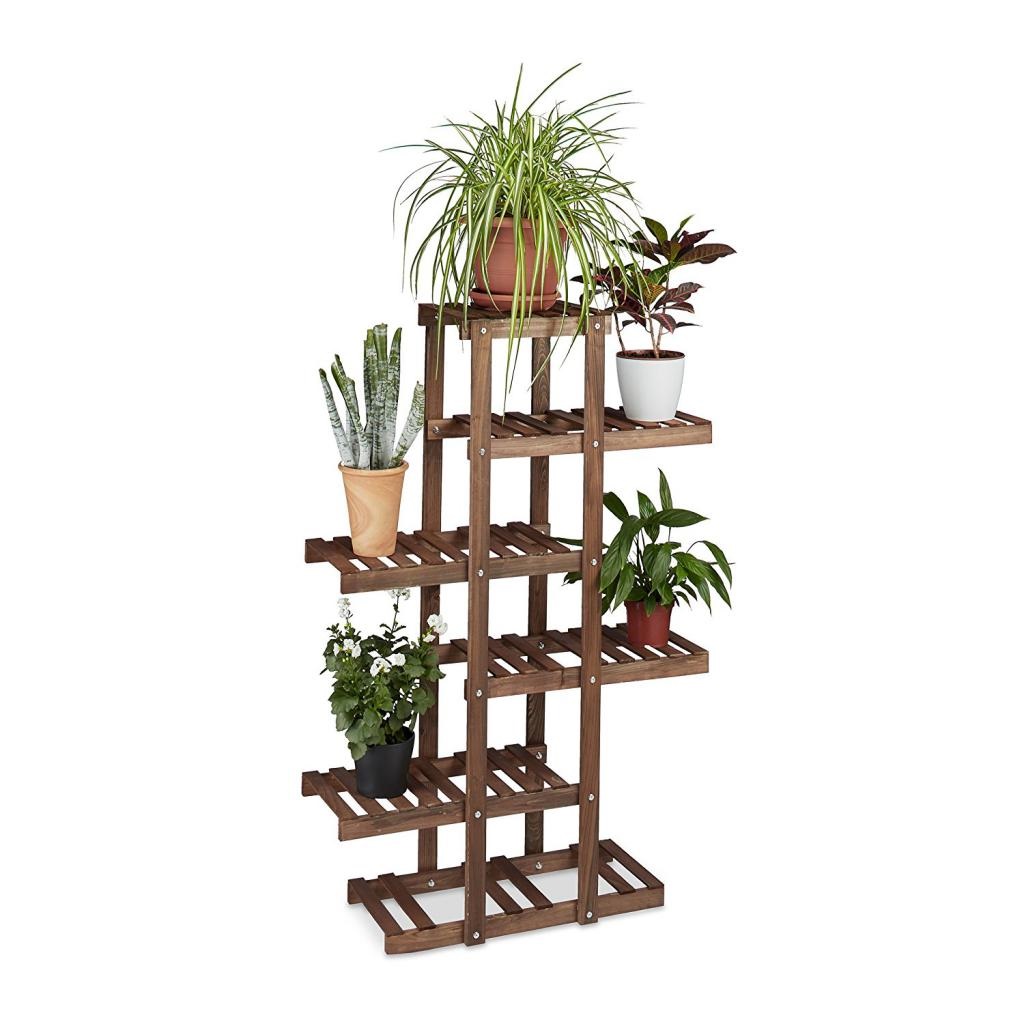
- Shelf or rack. It actually copies the plane of the sill within the window. Suitable for any kind of flowers.
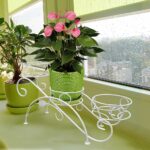
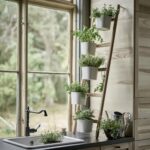
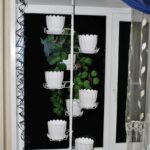
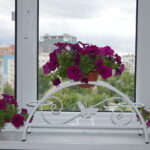
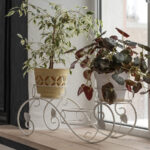
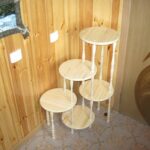
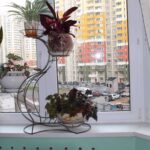
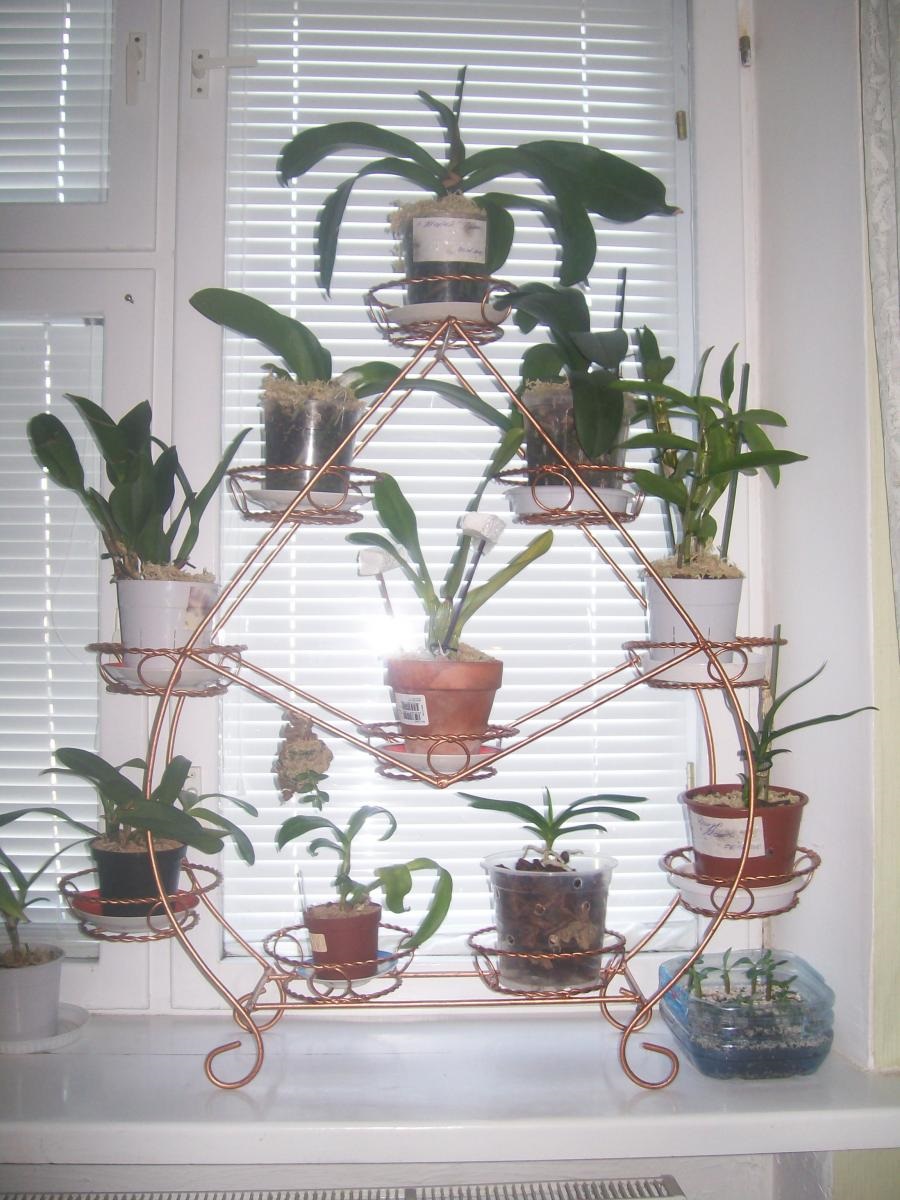
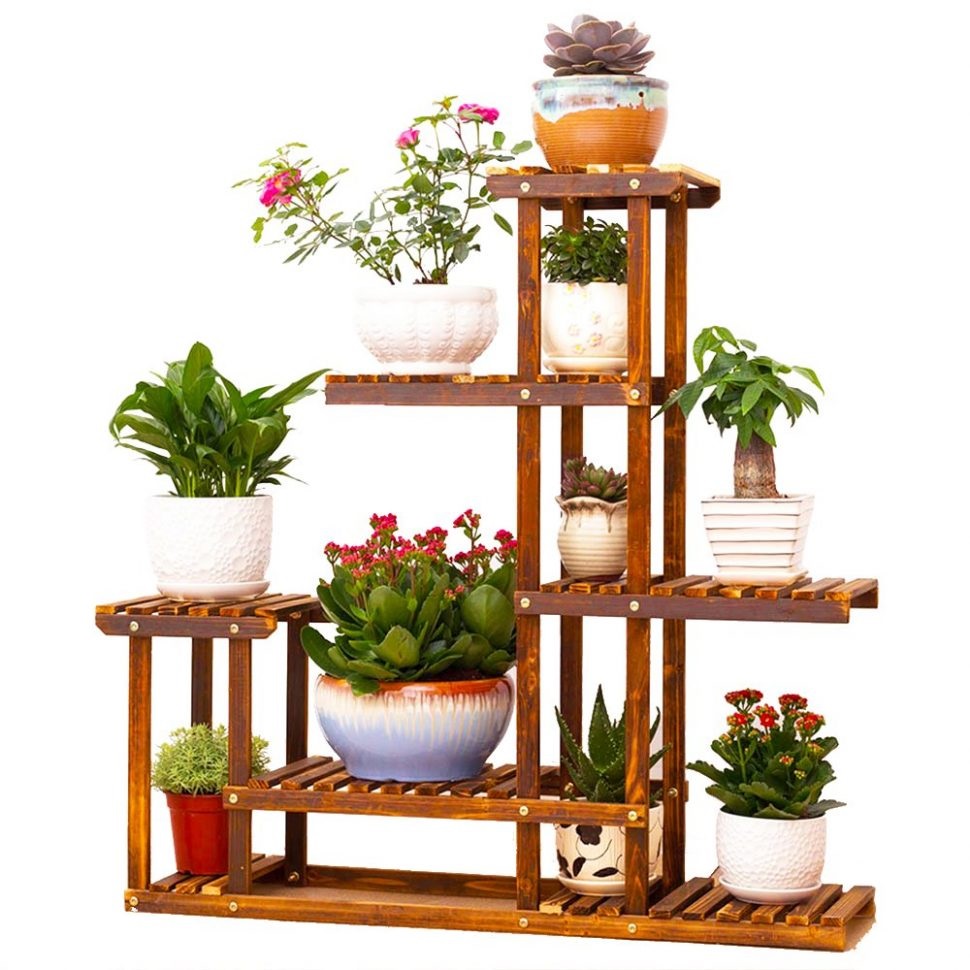
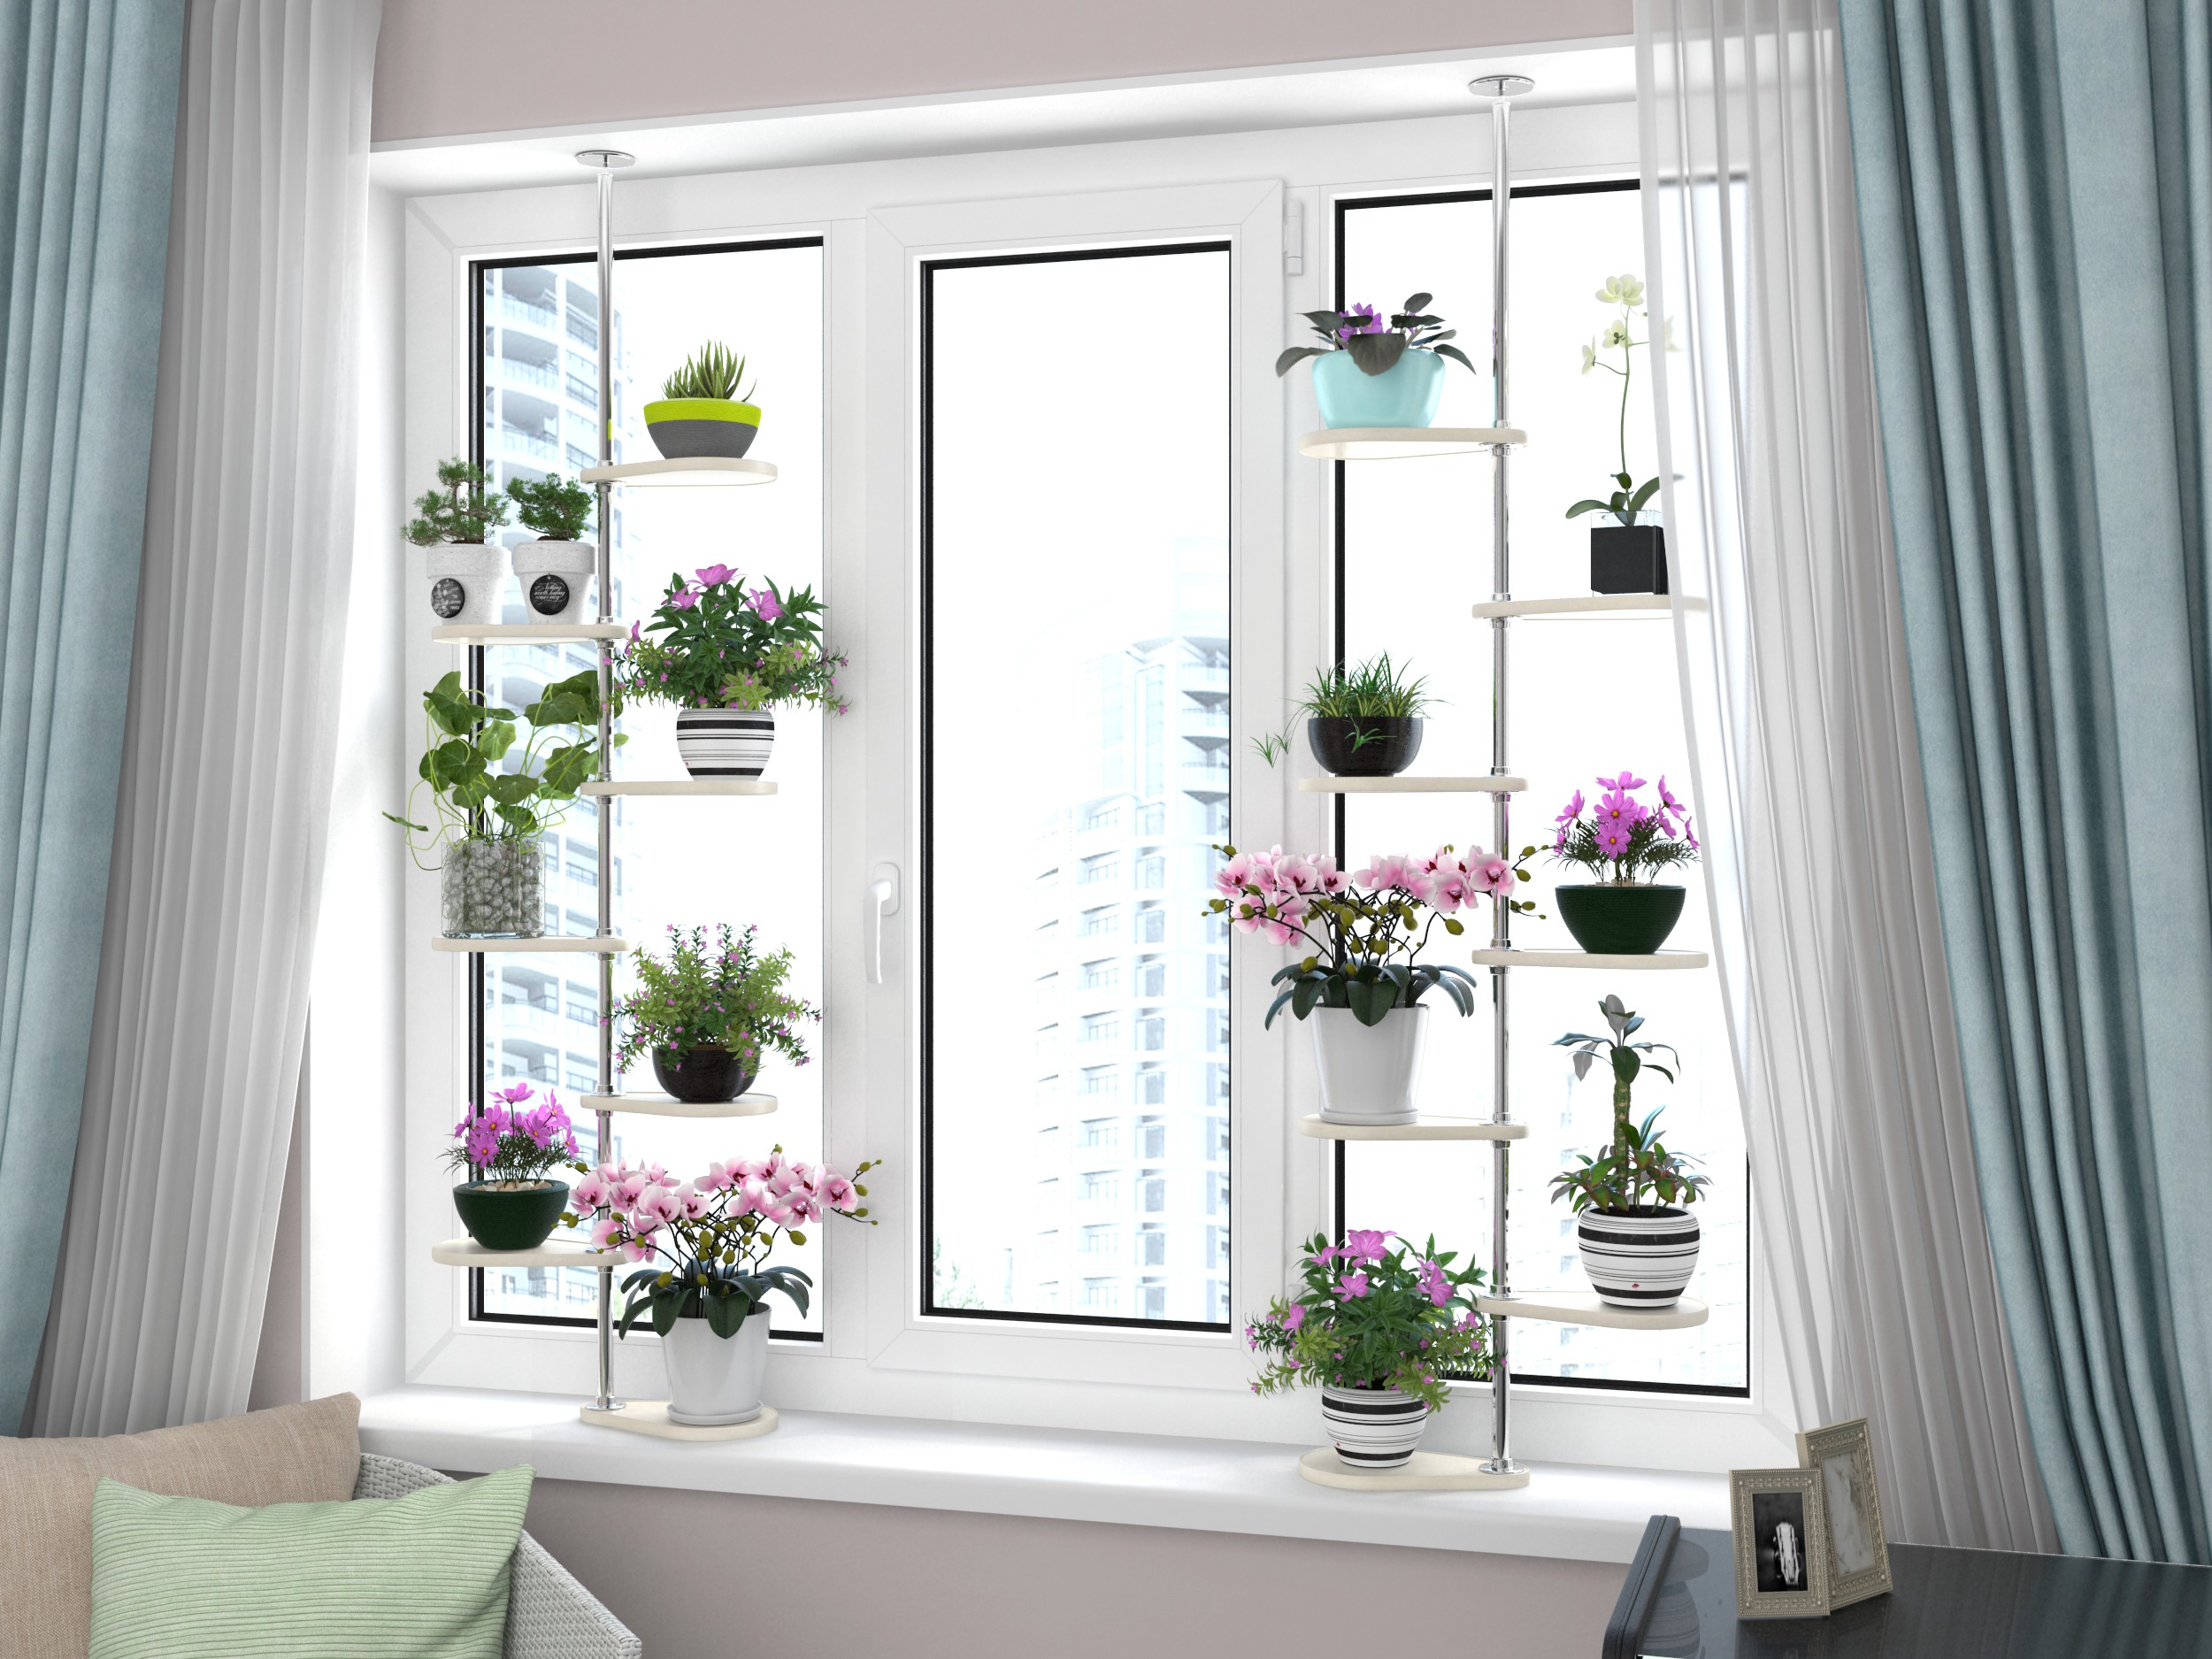
- Stands. They can be either separate, on legs, or combined, for a group of pots. They are mainly used for growing climbing plants.
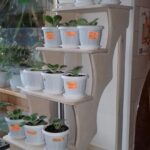
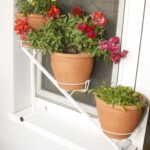
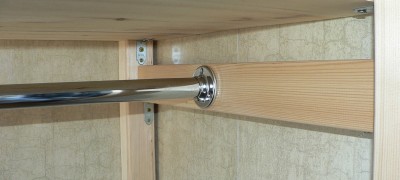
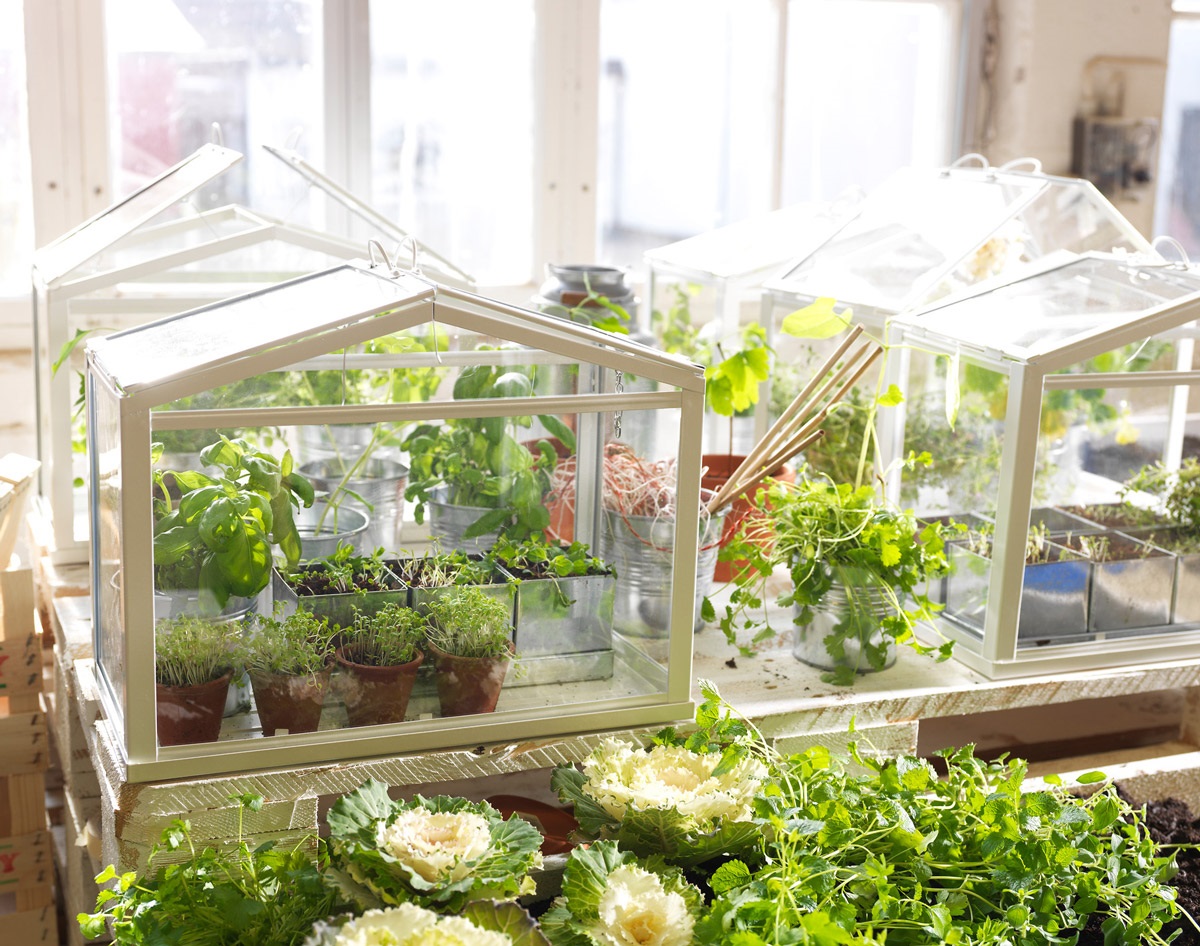
- Corner. Provides space-saving tiering of pots. The ideal solution for creating a micro greenhouse in the "green garden" format.
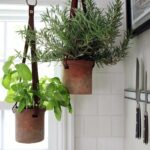
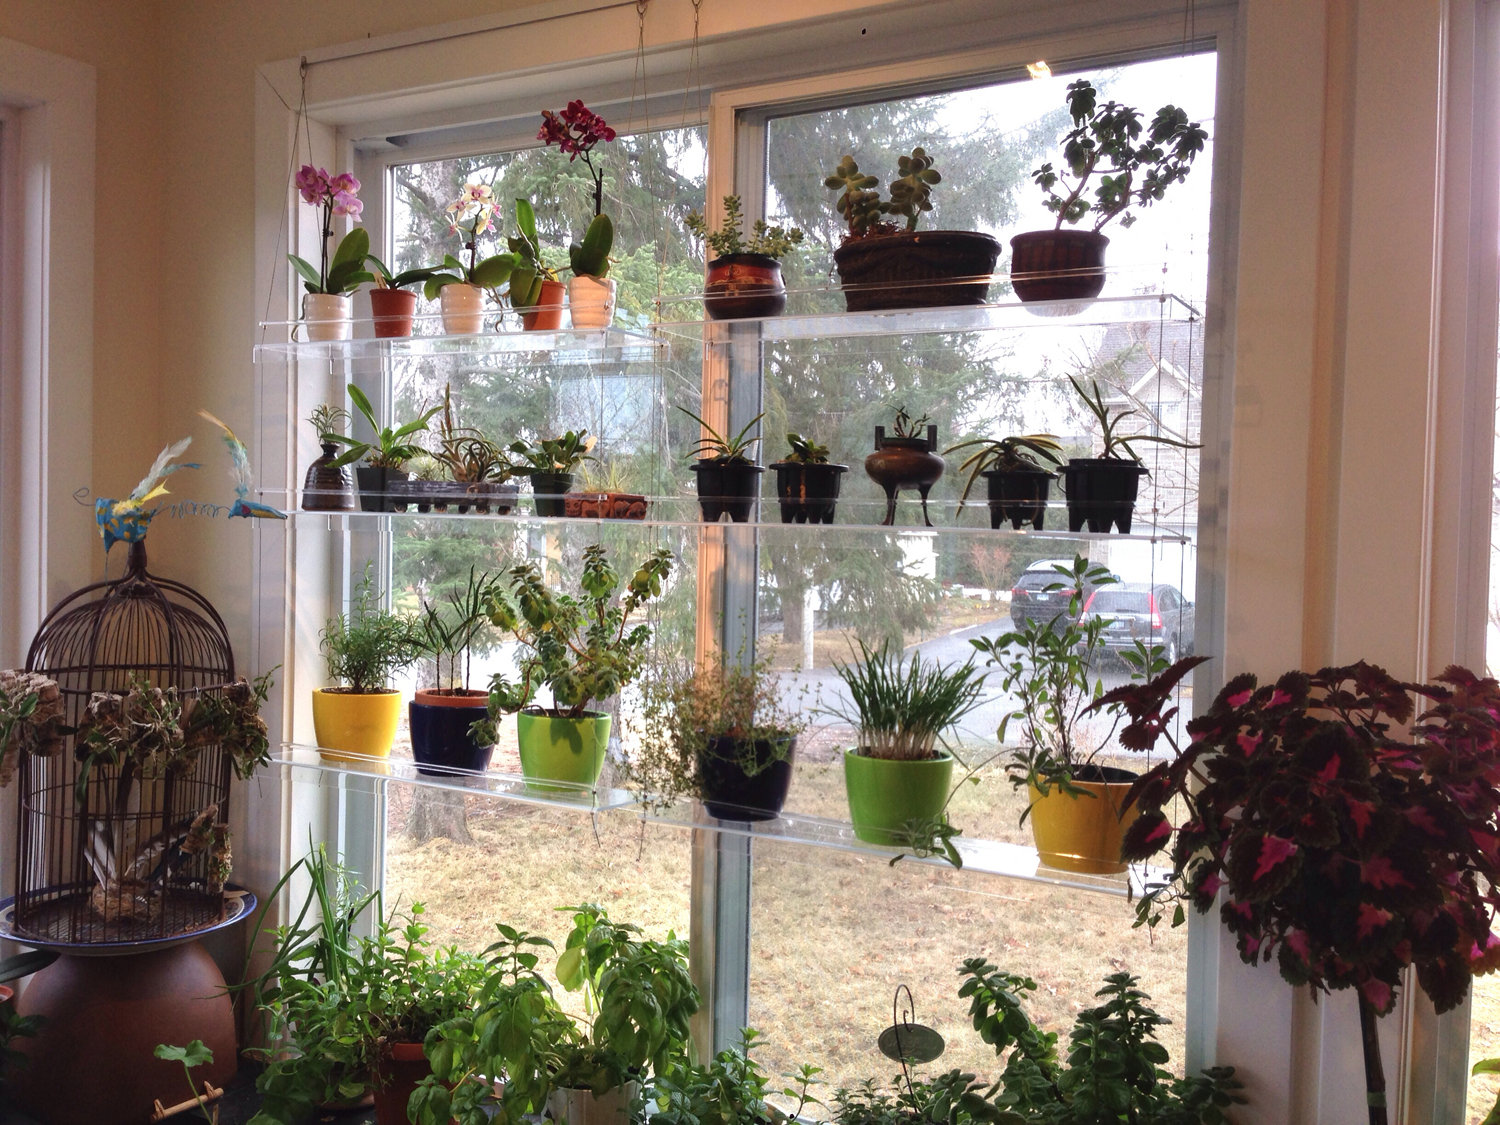
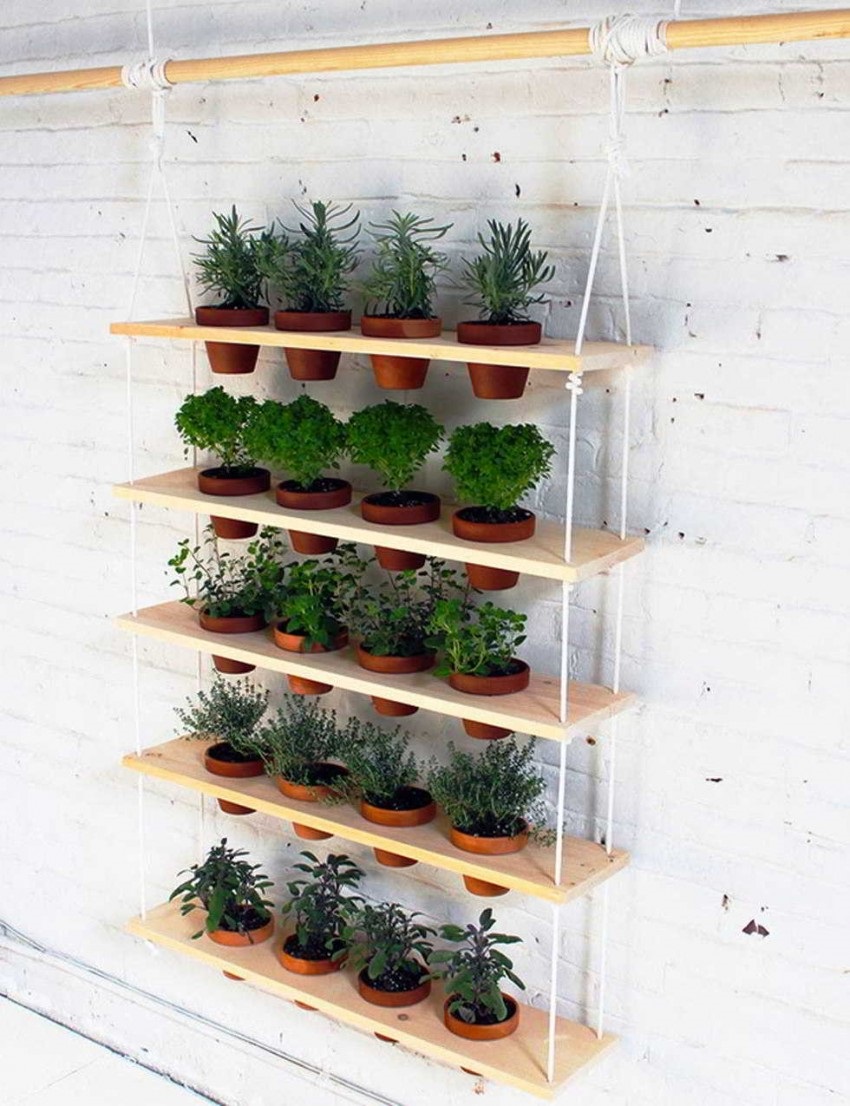
- Suspension. A great option for Empire plants.
Additional Information! You can often come across a mention of such a method as "zigzag". However, this is rather an attempt to optimize the space on the windowsill itself, when large pots are located closer to the glass, and smaller ones are brought out in front.
How to attach to the windowsill?
Based on the described options for placing pots with flowers, it is worth highlighting four typical mounting methods:
- On dowels. Suitable for both shelves and shelving.
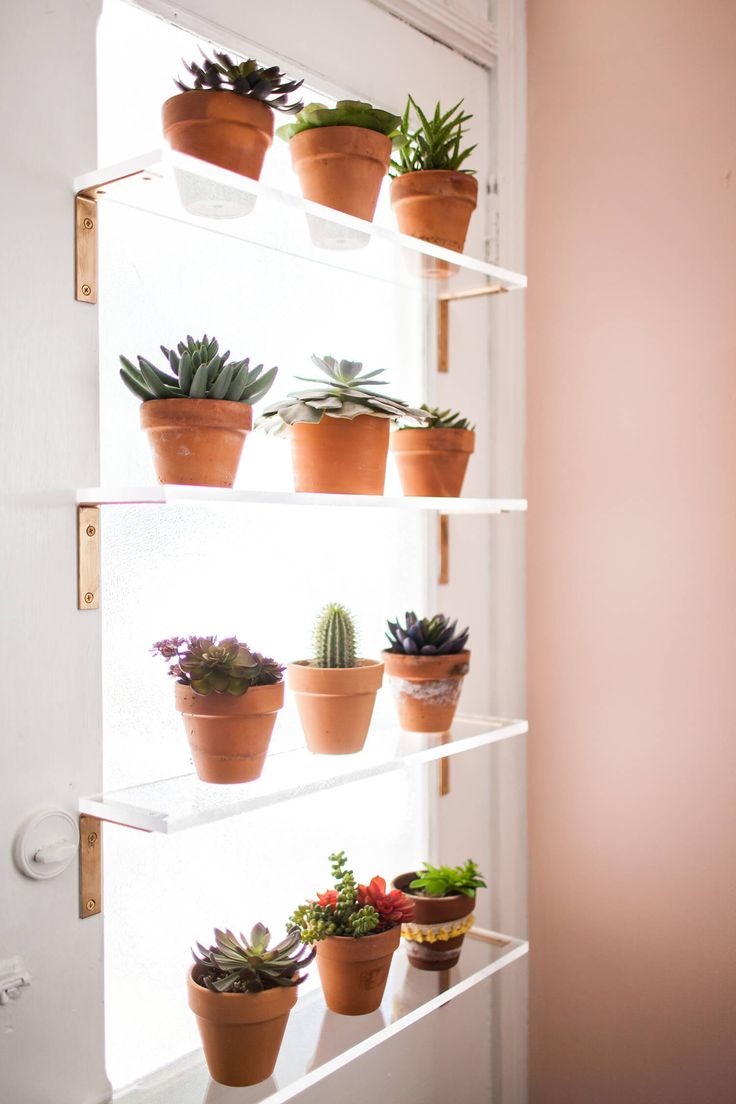
- On brackets. It is mainly used for shelves.
- Using uprights. Good shelving solution.
- On hooks. For suspension.
Important! The easiest way to organize a multi-tiered suspension is with the help of cross beams installed in the upper part of the window opening.
Shelves on the windowsill: how to do it yourself?
Concerning the topic of indoor plants, it is difficult to come up with a single universal method that optimizes space equally well.
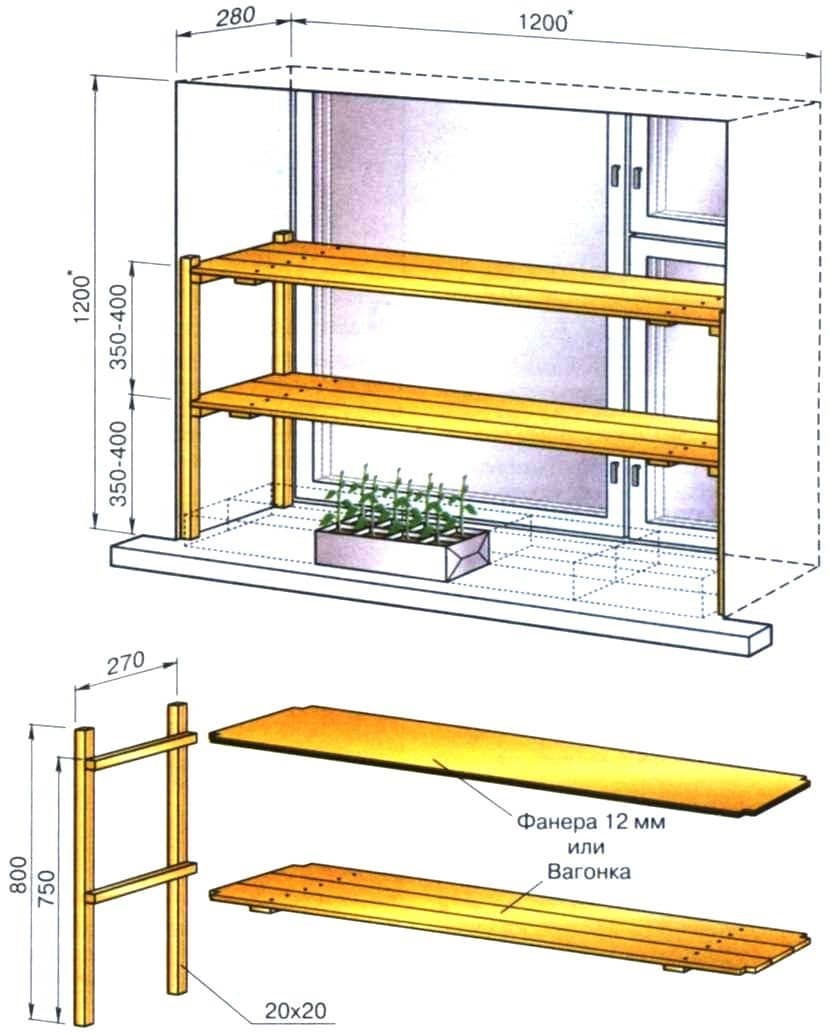
Since the size of the window sill, the number of colors, as well as their types can differ in the widest range, it makes sense to choose the option of shelves on the walls as an example. If necessary, such a solution can be easily transformed into a rack or corner.
What is required?
First of all, you will need to divide all the pots into several types: large, medium and small. This will allow you to determine the dimensions of the spans between the shelves. As for the material, here you need to proceed from considerations of practicality and design. In most cases, you can stop at laminated chipboard (the thickness should be at least 16mm.) - so it will be easier to choose the color of the coating that best suits the interior.

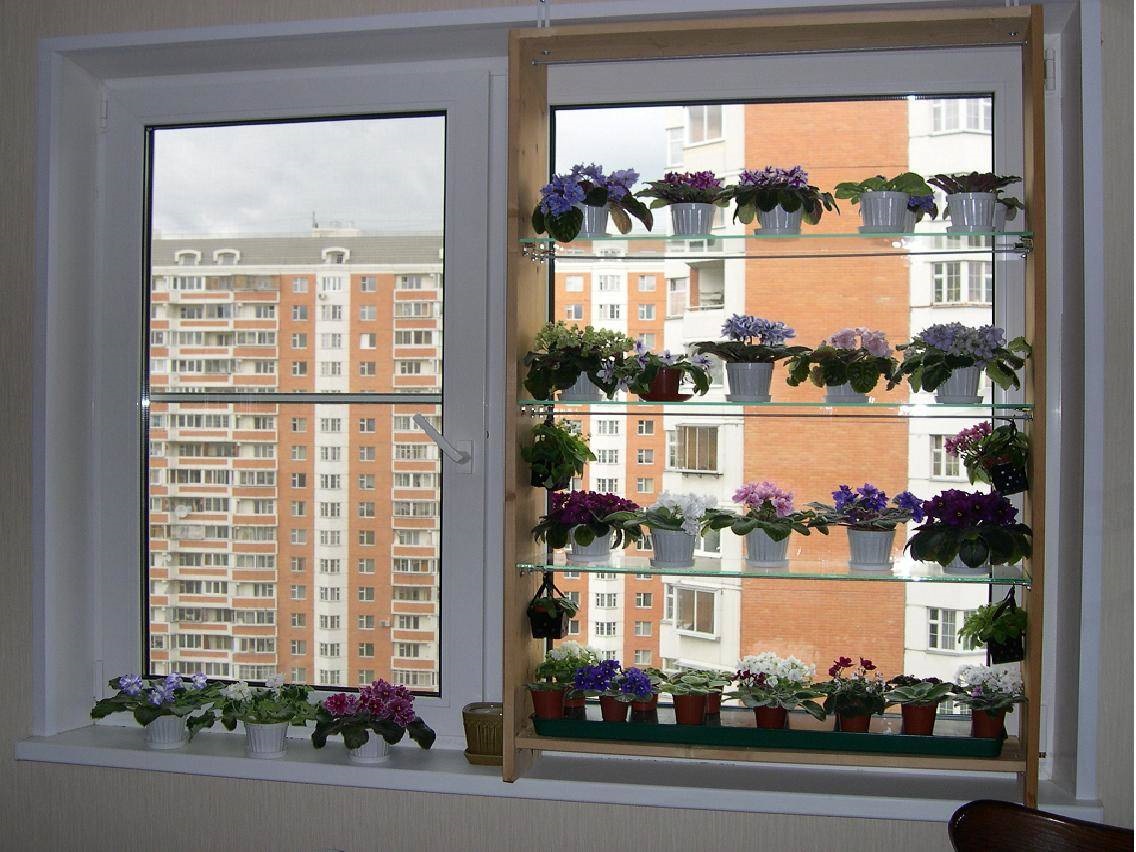
If the opening is small, it is allowed to use glass, while the thickness of the shelf should be 8mm or more.
Understanding what the entire structure will look like will provide a list of the necessary tools and fasteners.Based on the described example, most likely you will need: a drill with drills for concrete and wood, dowels, a mallet, screws, a set of screwdrivers, a punch, a pencil, a tape measure, a level.

Note! It makes sense to place large, heavy pots at the bottom of the structure, and smaller (light) ones at the top.
Shelves with fixings
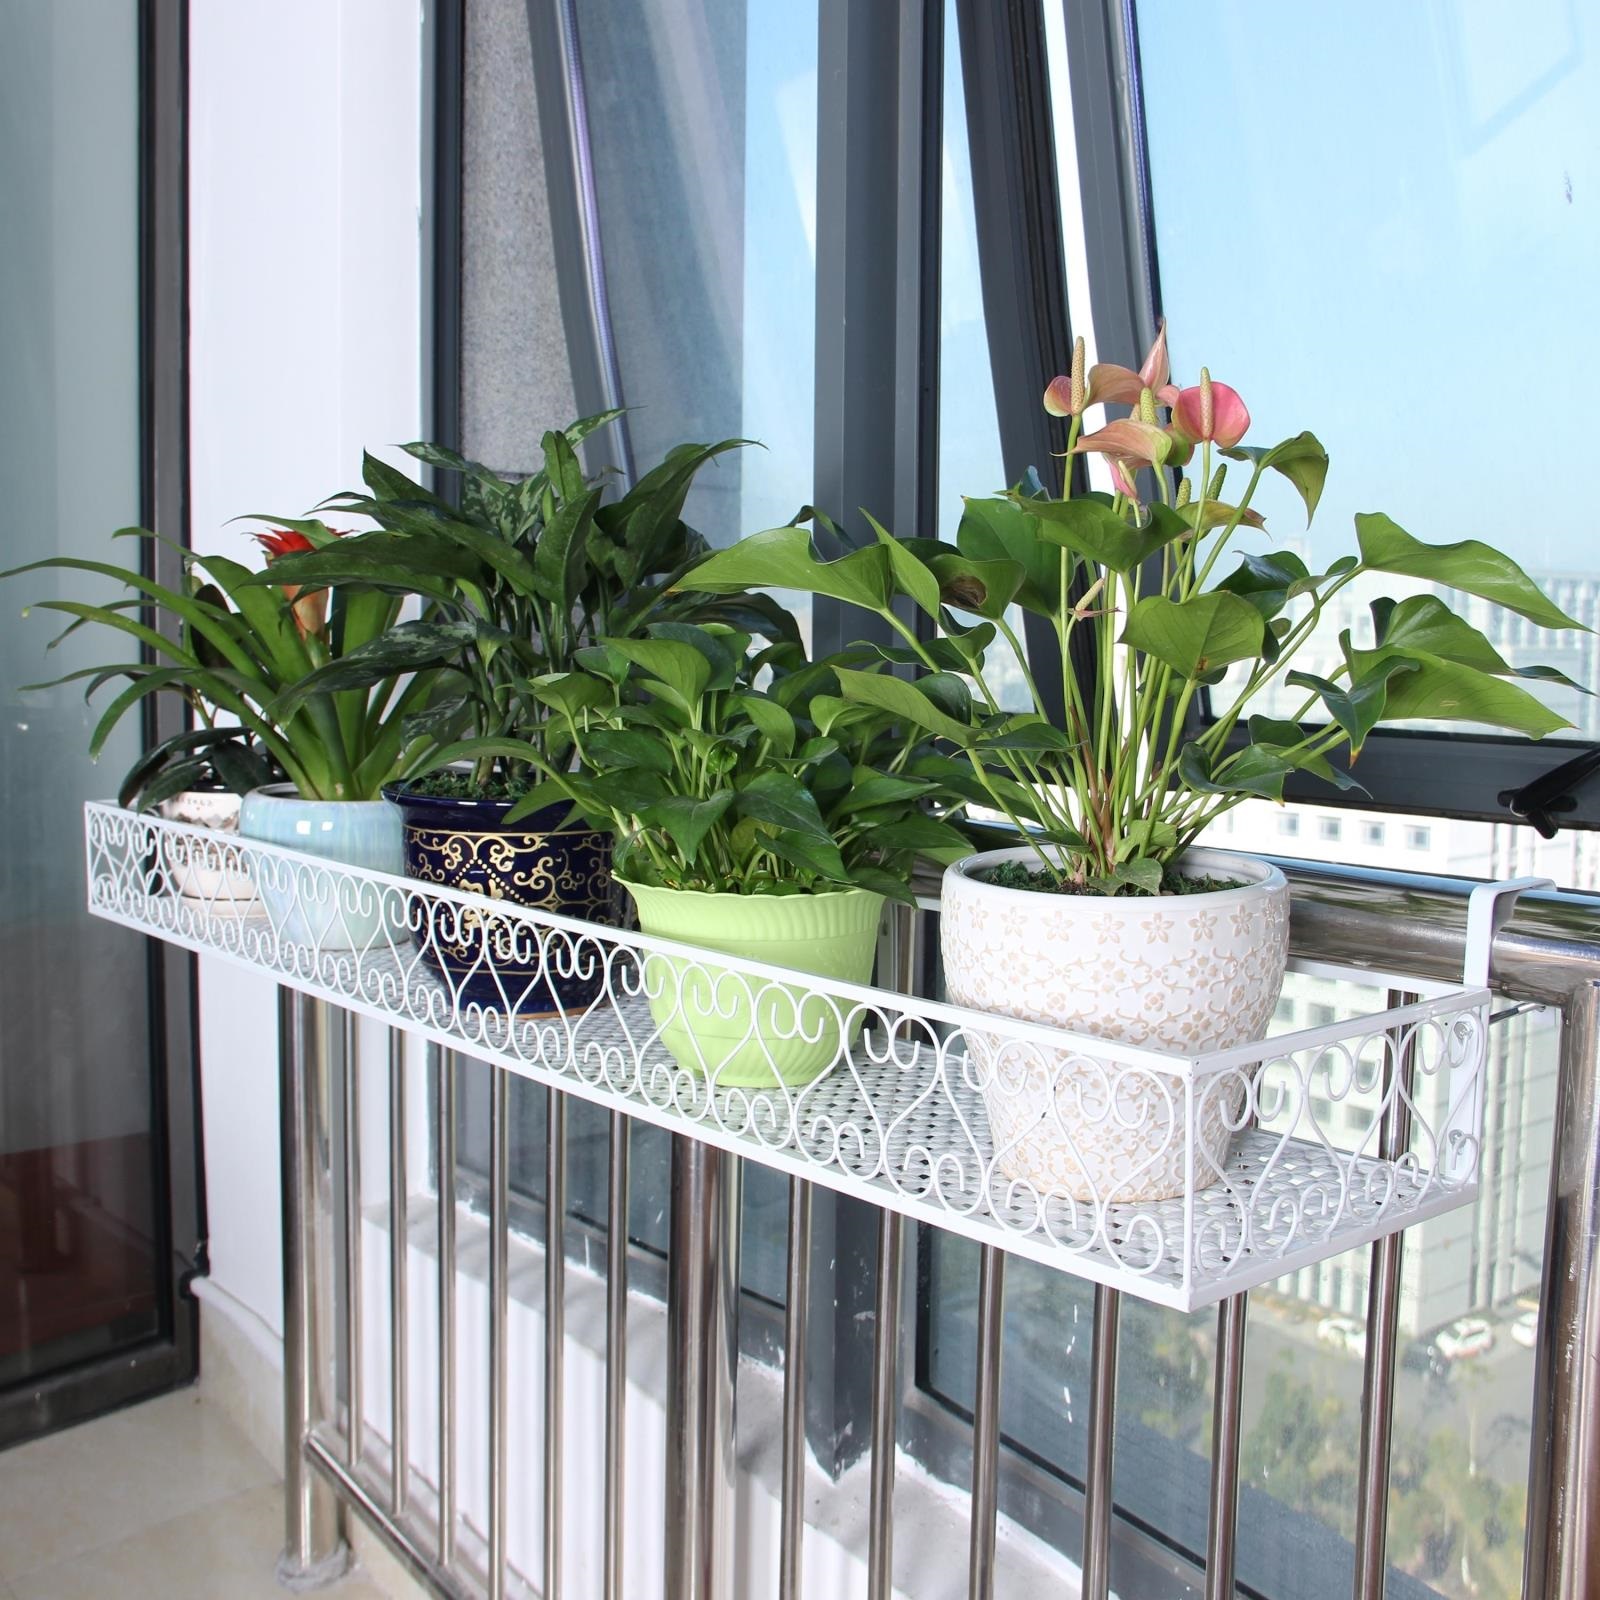
If the selected shelves are intended for light pots, they are hung on hinges or rafiks - this will hide the attachment point. If the weight is assumed to be significant or unknown in advance, it is better to pick up neat hanging brackets at the nearest hardware store. This option will definitely have more versatility.
In principle, if conditions permit, you can leave the mount on the rafiks, but for reliability it is recommended to put a vertical stand, which will seem to penetrate the entire structure from bottom to top. Such an installation looks interesting if the shelves are made of glass. In this case, it will be possible to solve two problems: not to overload the space visually and to provide a reliable base for flowerpots.
Installation on a windowsill
The entire installation process is conventionally divided into two stages: preparation of attachment points and hanging shelves.
First, it is necessary to measure the window opening, and mark the suspension points. Use a drill to drill holes, hammer in dowels and screw in screws. If a vertical rack is expected, it is required to install special brackets on the ceiling of the opening and on the windowsill.
The same brackets must be attached to each shelf in the appropriate locations. If the option of installing on hinges is chosen, it is enough to screw them to the end part, while a Forstner drill is needed to install the rafixes. It is worth starting the hanging of the shelves from the top, because, in case of miscalculations, it is usually more convenient to try to correct the situation from the bottom.
After the structure is assembled, you should start placing the pots. At first, you will have to observe the landing points to make sure that the structure takes the load normally, and there are no cracks in the wall or fractures in the wood.
Thus, the described approach will make it possible to more efficiently use the free space in the window opening. In addition, for men, this is a good reason to make a gift to their half. Without a doubt, the new flower rack on the windowsill will not remain unappreciated. In any case, by harmonizing the space, it is possible to create conditions under which something new, something interesting and important will surely enter into everyday life.
Video: how to make a shelf for flowers on a windowsill

