Making shelves or a closet in the toilet with your own hands
When the apartment is small, you want to make the most of the free space. It is a great idea to equip the restroom with a comfortable locker. You can put tools there, add household chemicals, or use for any unnecessary things that may be needed in six months.
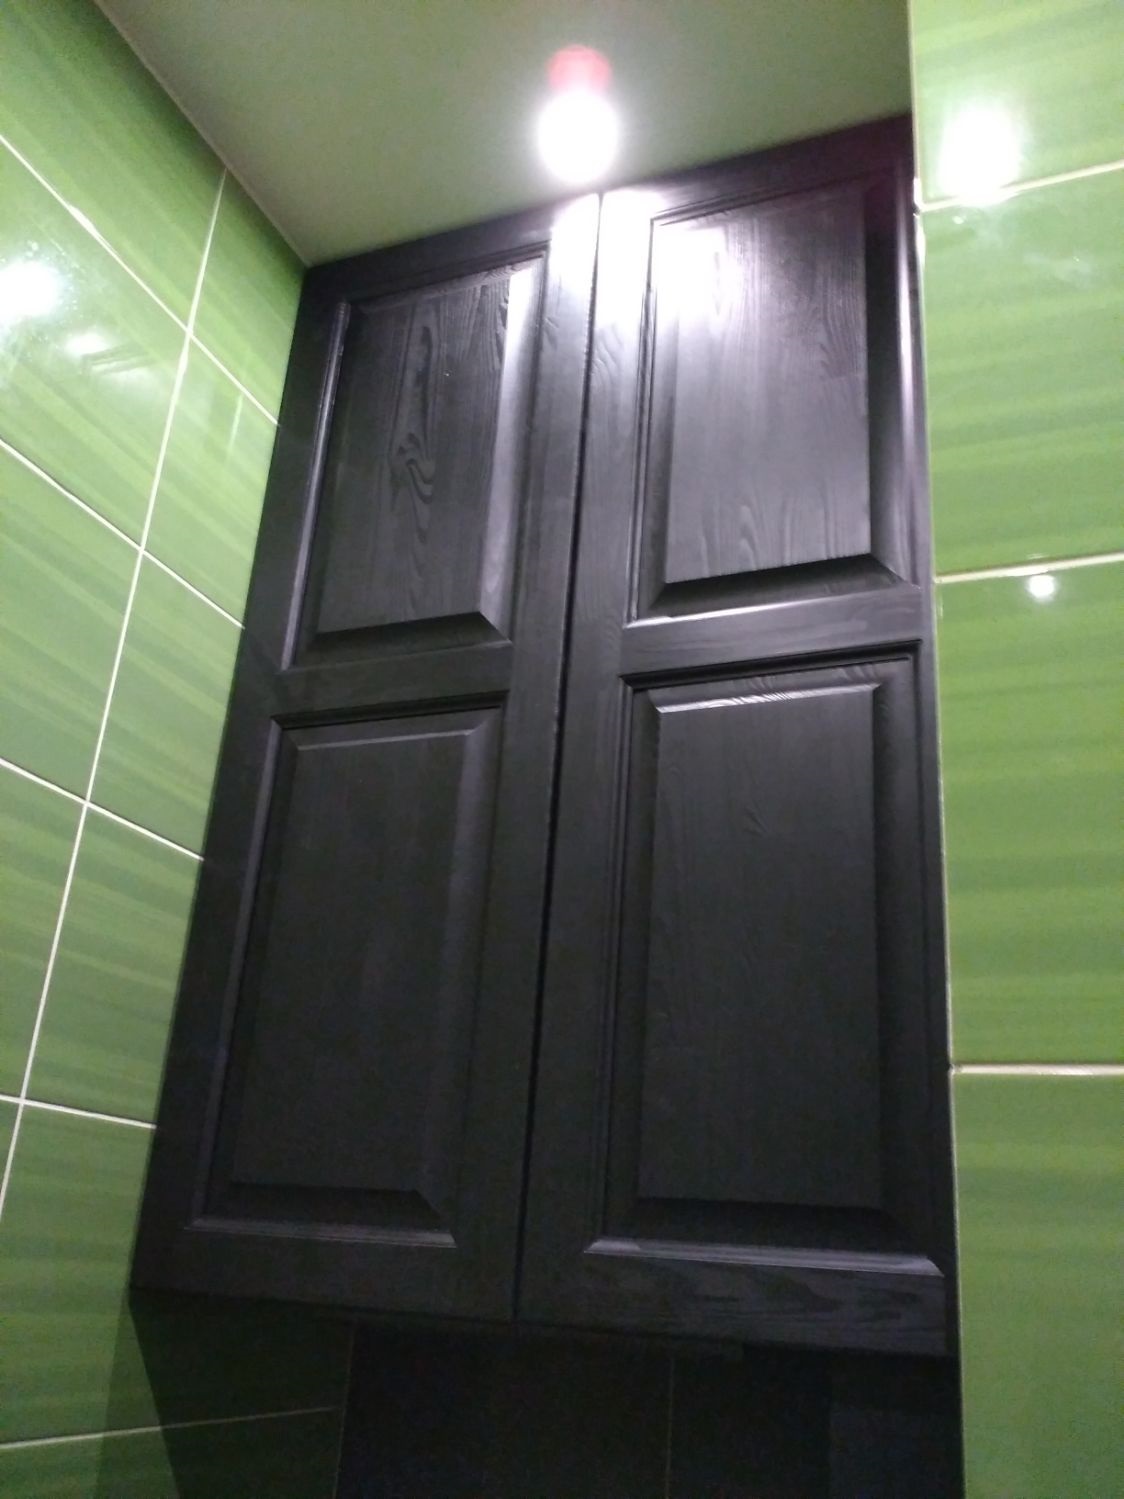
But in order for the closet in the toilet to fully satisfy your needs, you need to make it wisely. Find out how to make such a household item with a minimum of money and time.
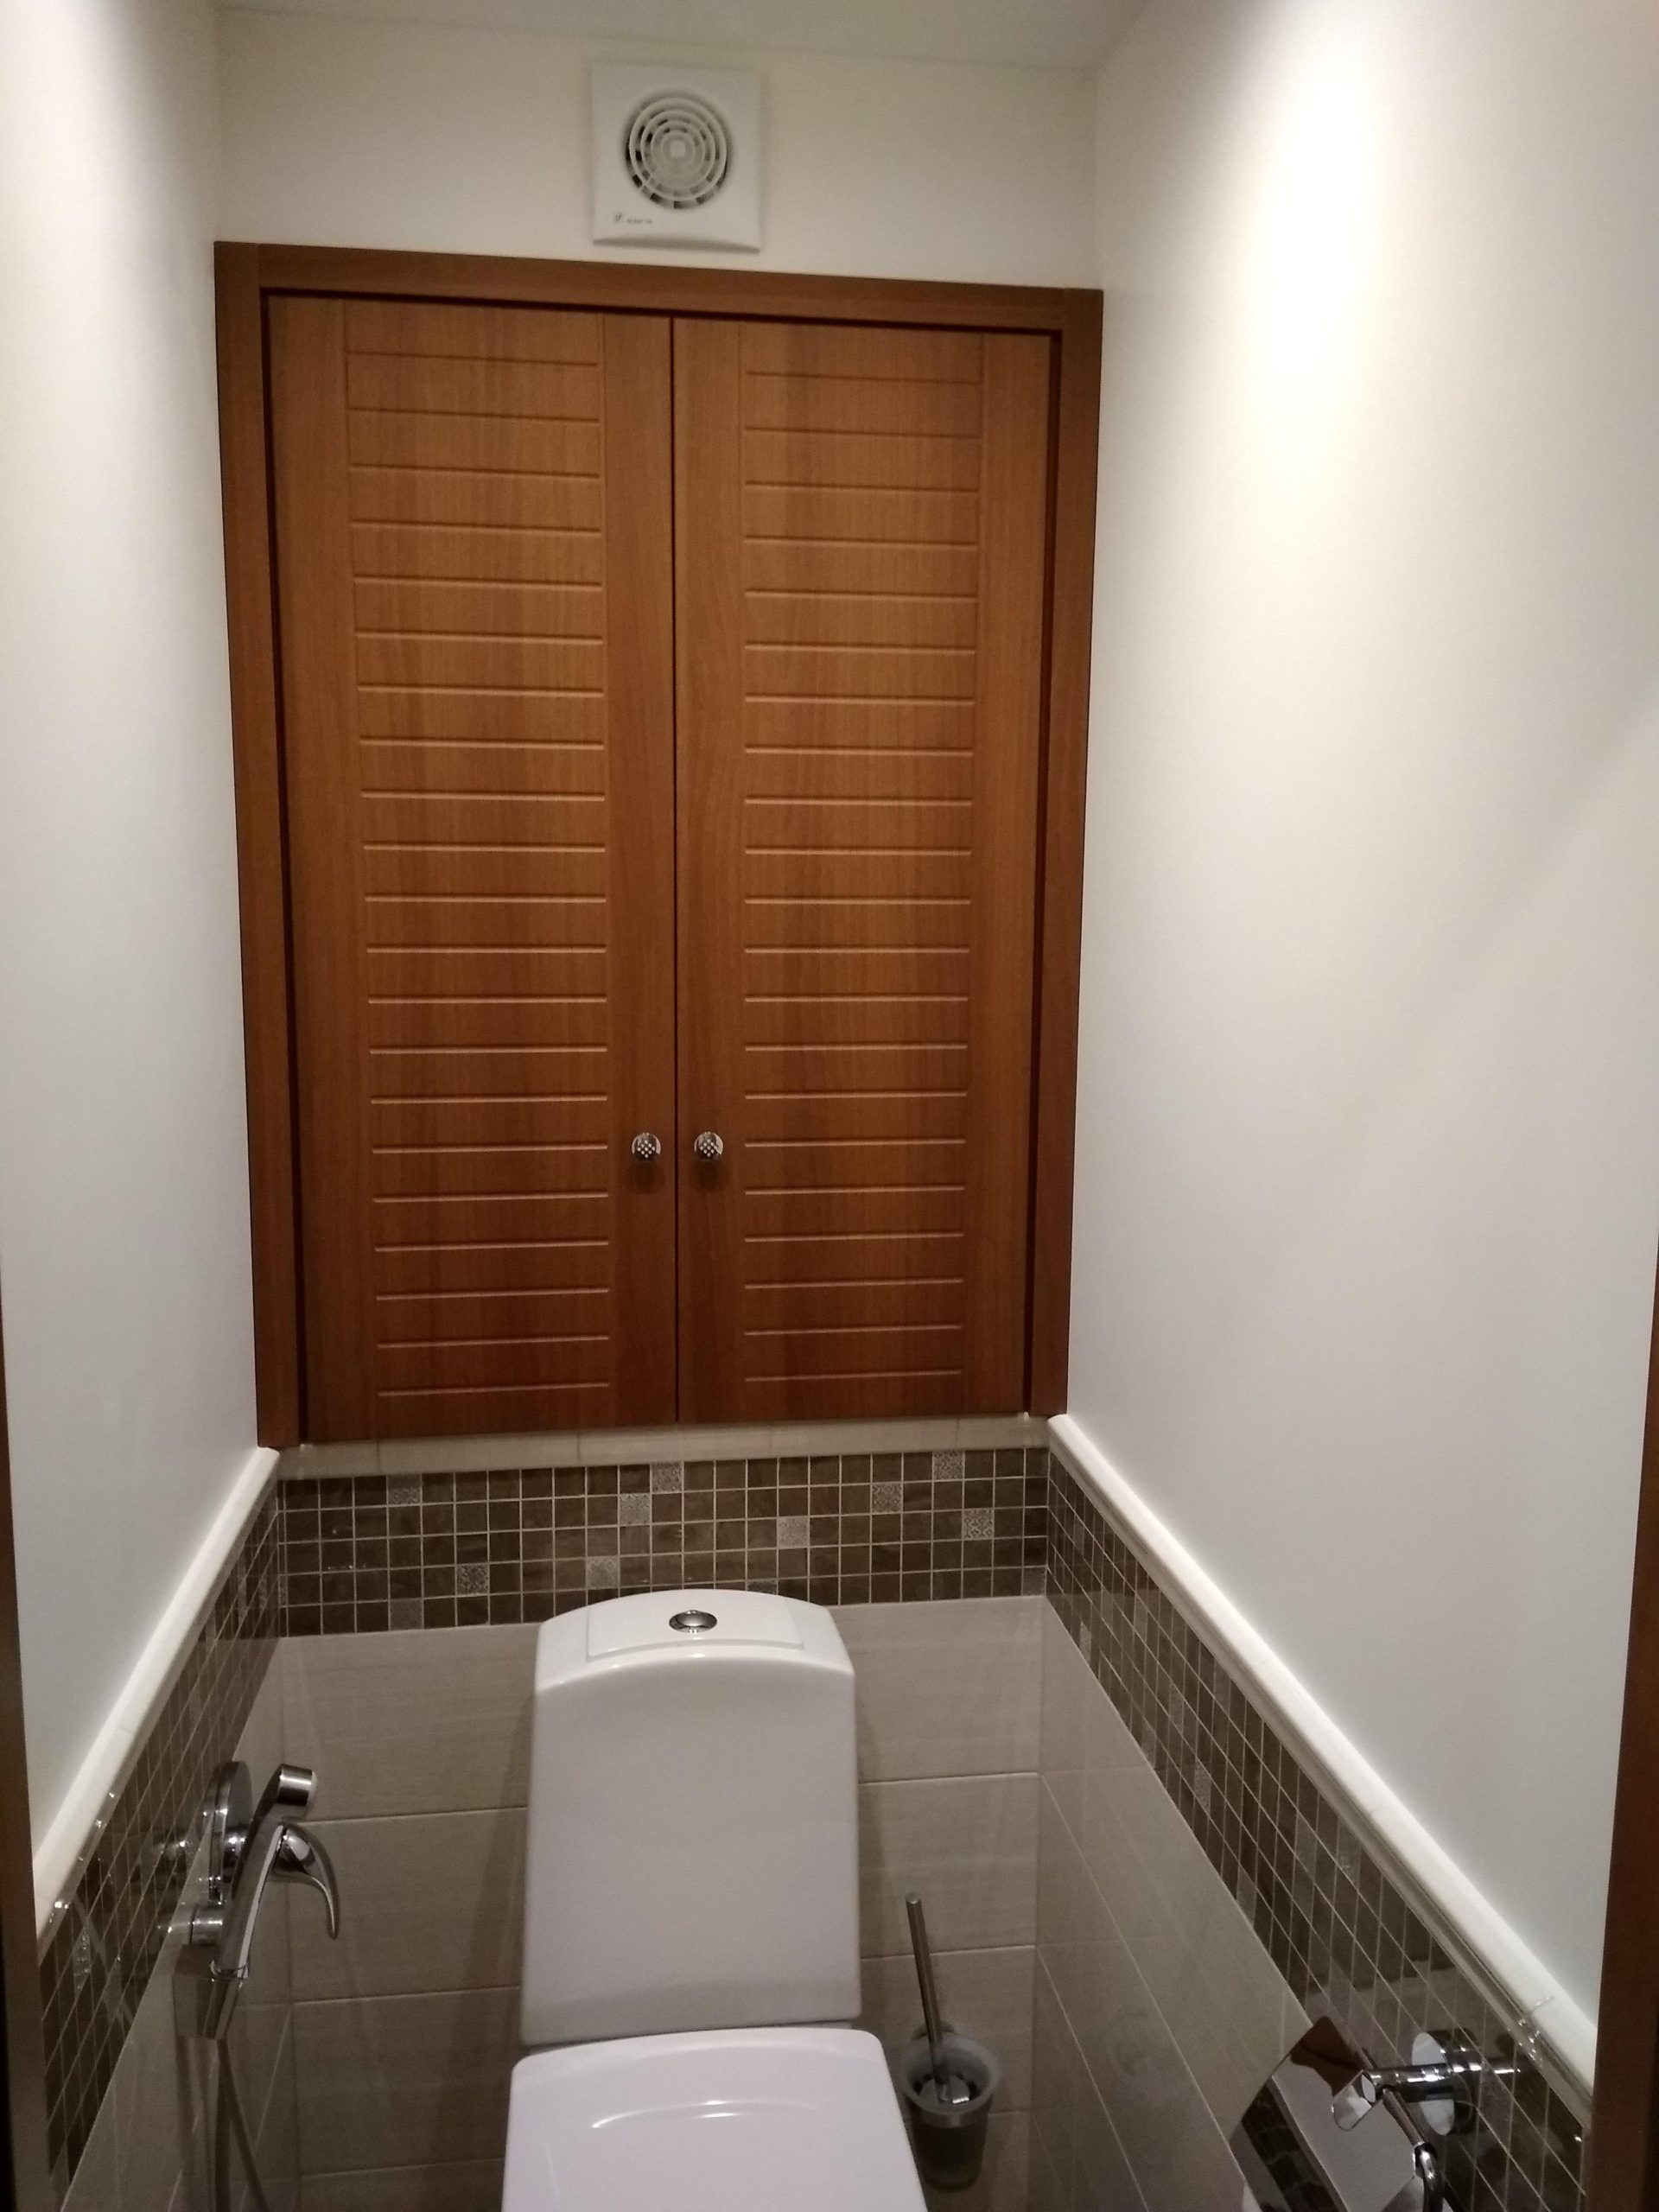
Cabinet types
To make it convenient to use an item such as shelves in the toilet, you need to understand the varieties. These are the criteria by which cabinets differ.
By location type. There are wall and floor ones.
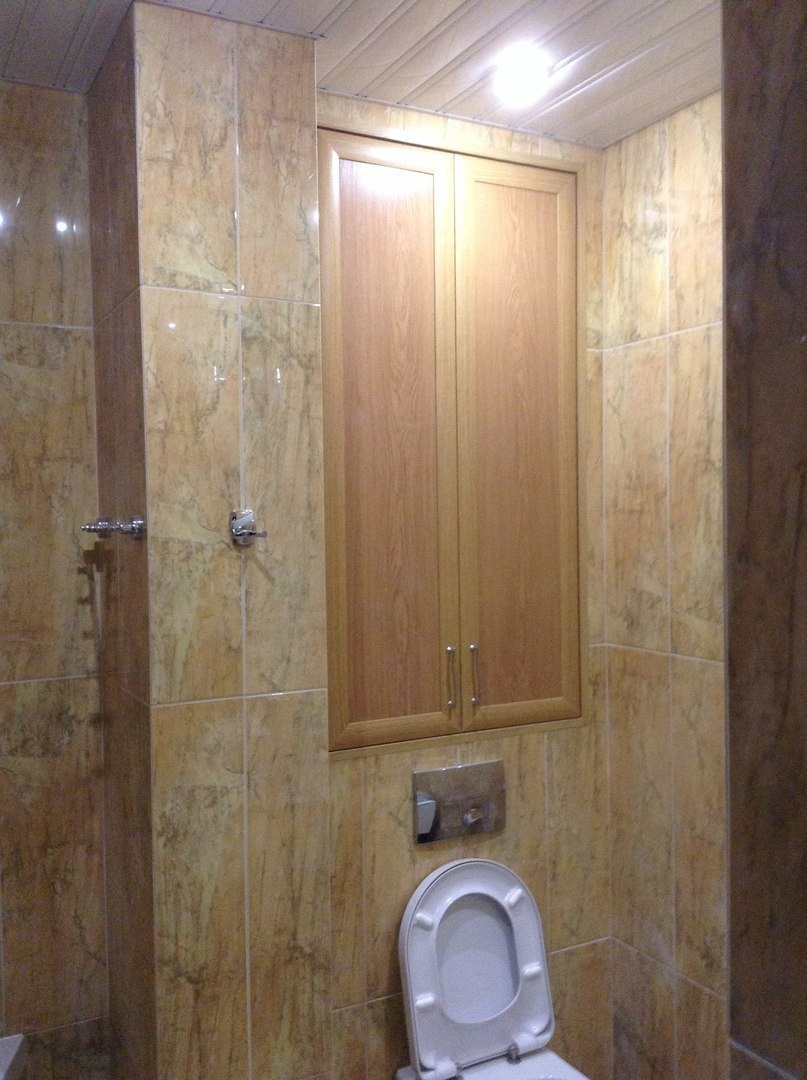
By material of manufacture. Can be made from wood, plastic, wood-based panels, or plywood.
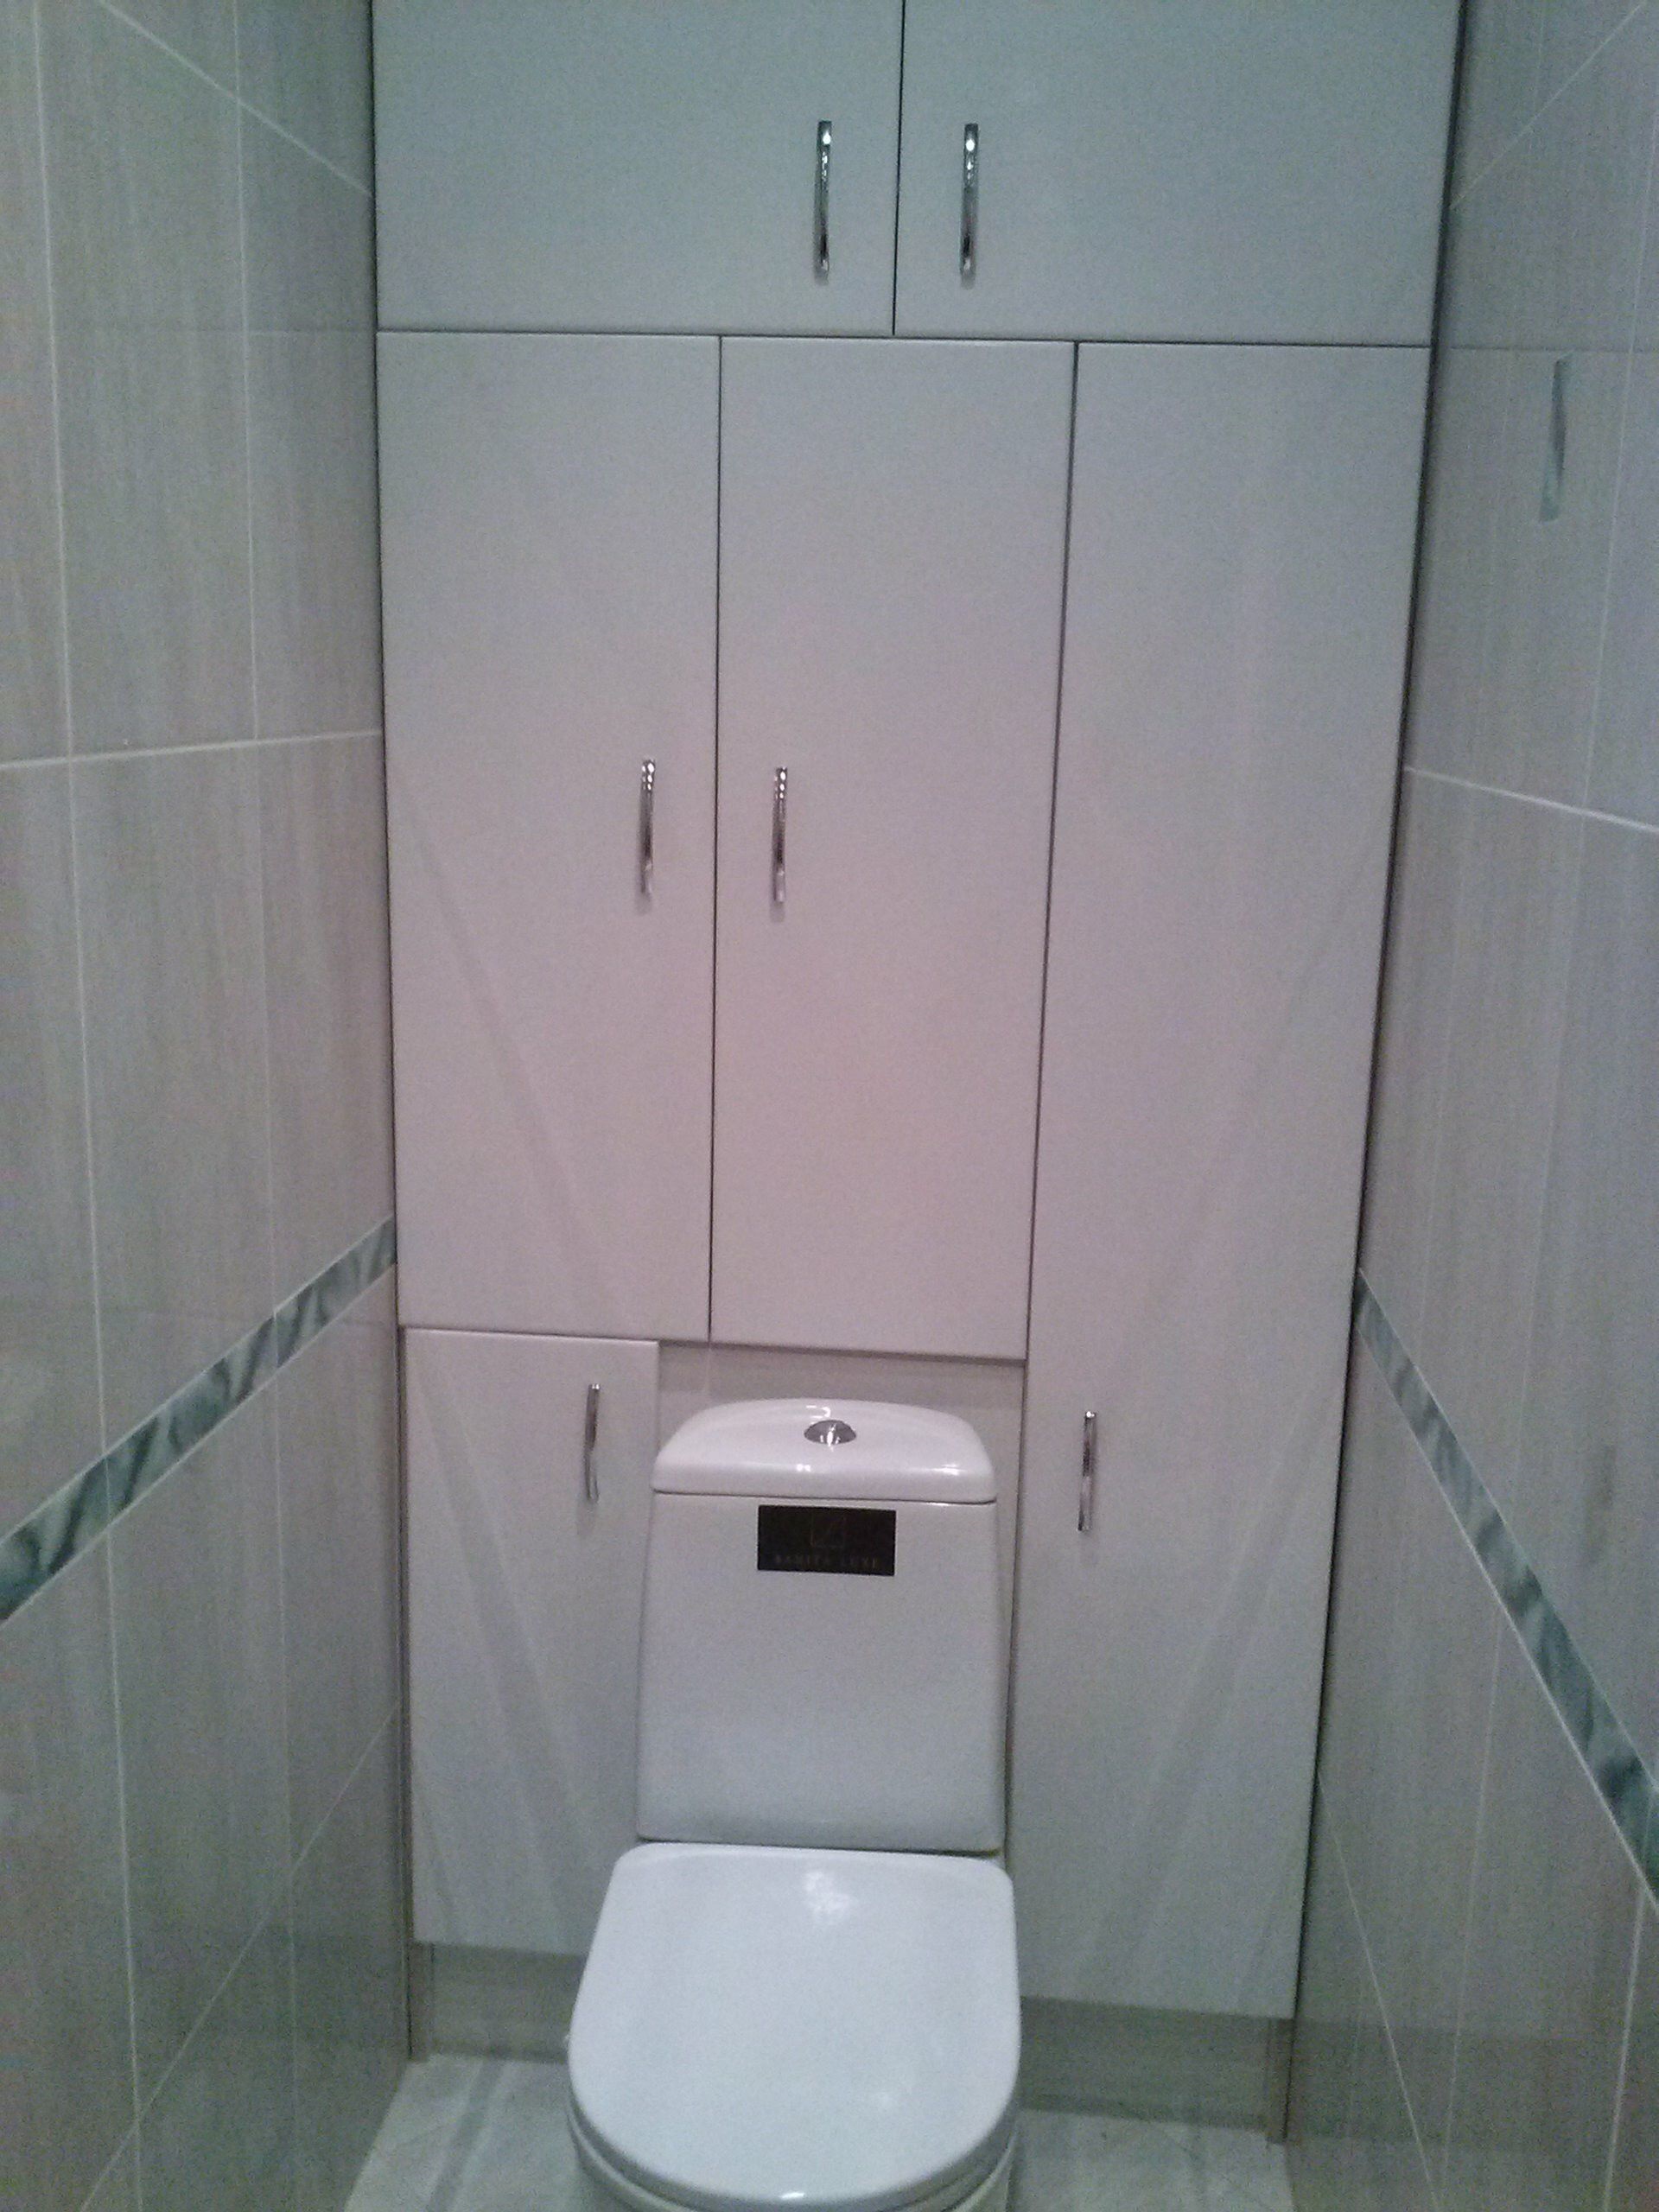
With and without doors.
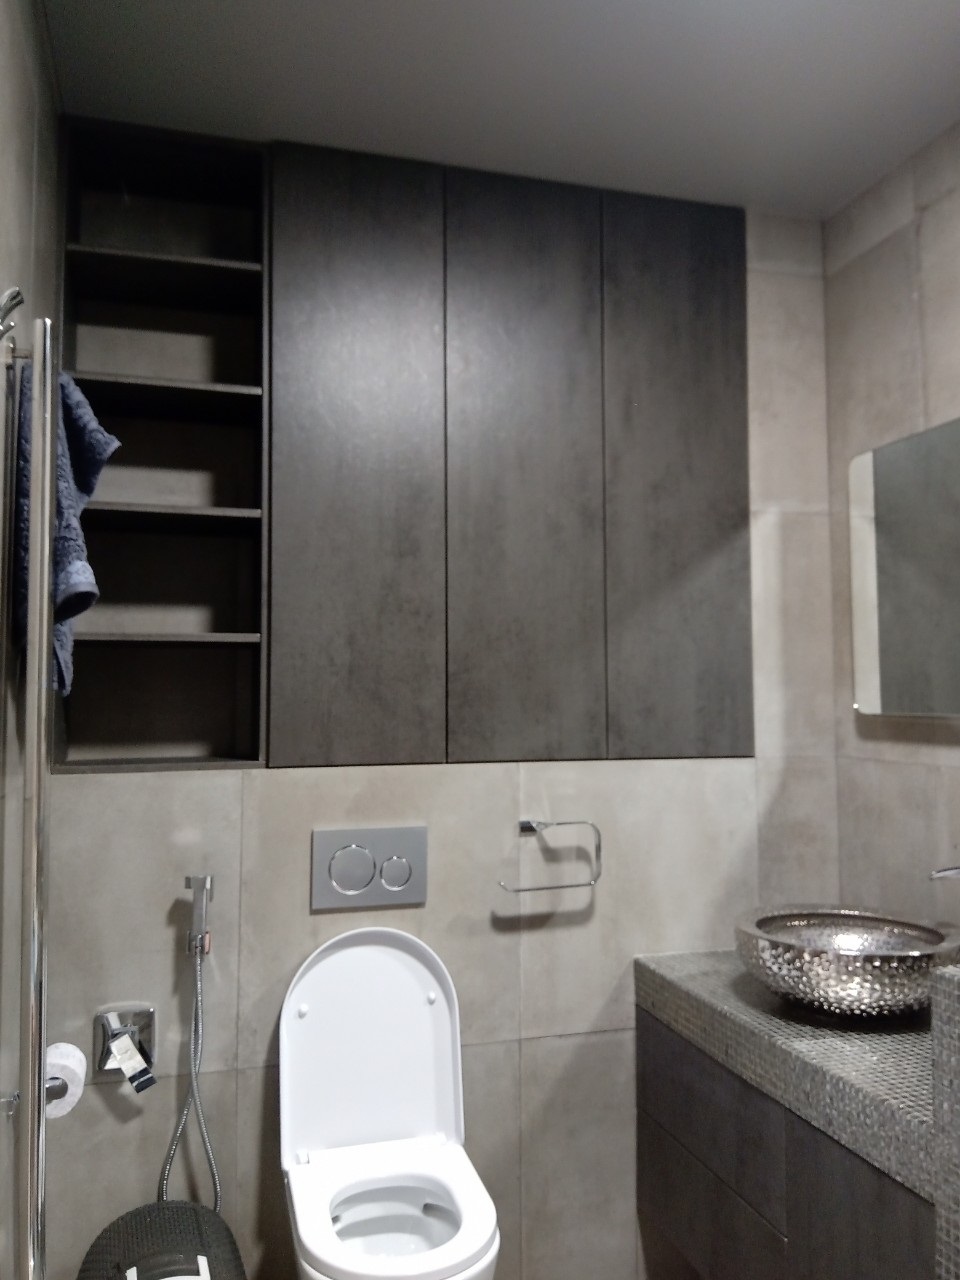
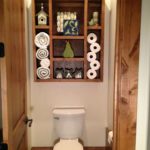
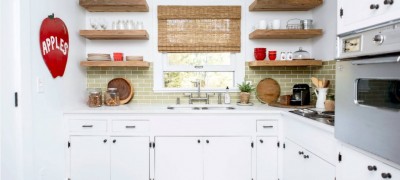
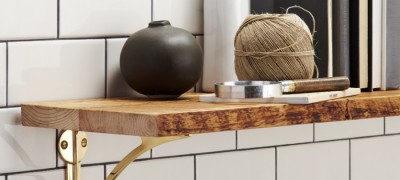
The choice of type depends on what items you are going to make this item for. For example, open shelves are not suitable for household chemicals, since the appearance will be spoiled. But if you want to place flower pots, clay vases and decorative ceramic dishes behind the white throne - that's it. An open view will come in handy.
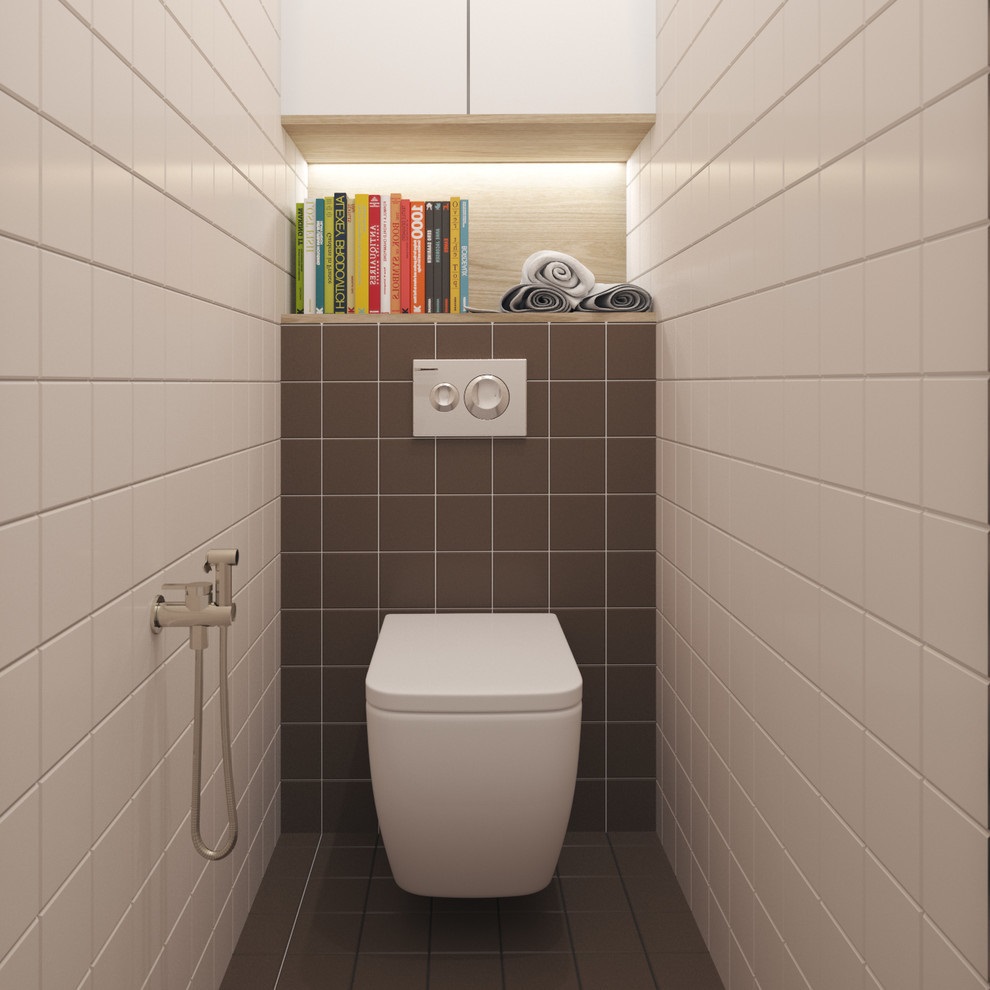
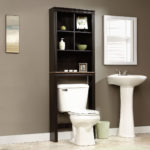
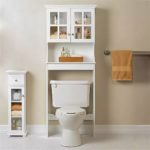
It is also worth considering where you plan to install it. In new apartments, toilets are often combined with baths, forming a single bathroom. In this case, the choice of place for the cabinet is not immediately obvious. It can be placed on the side wall, or right behind the toilet.
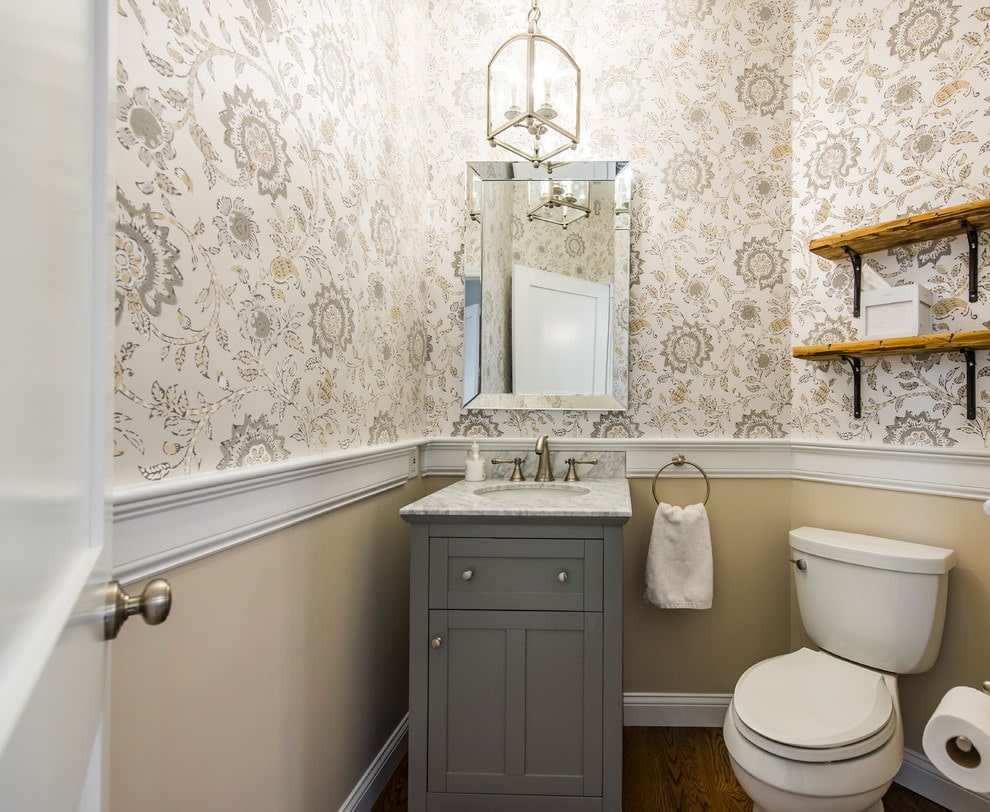
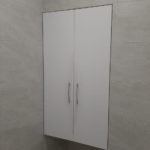
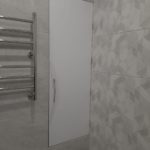
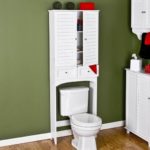
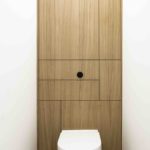
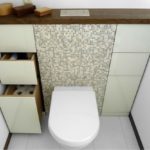
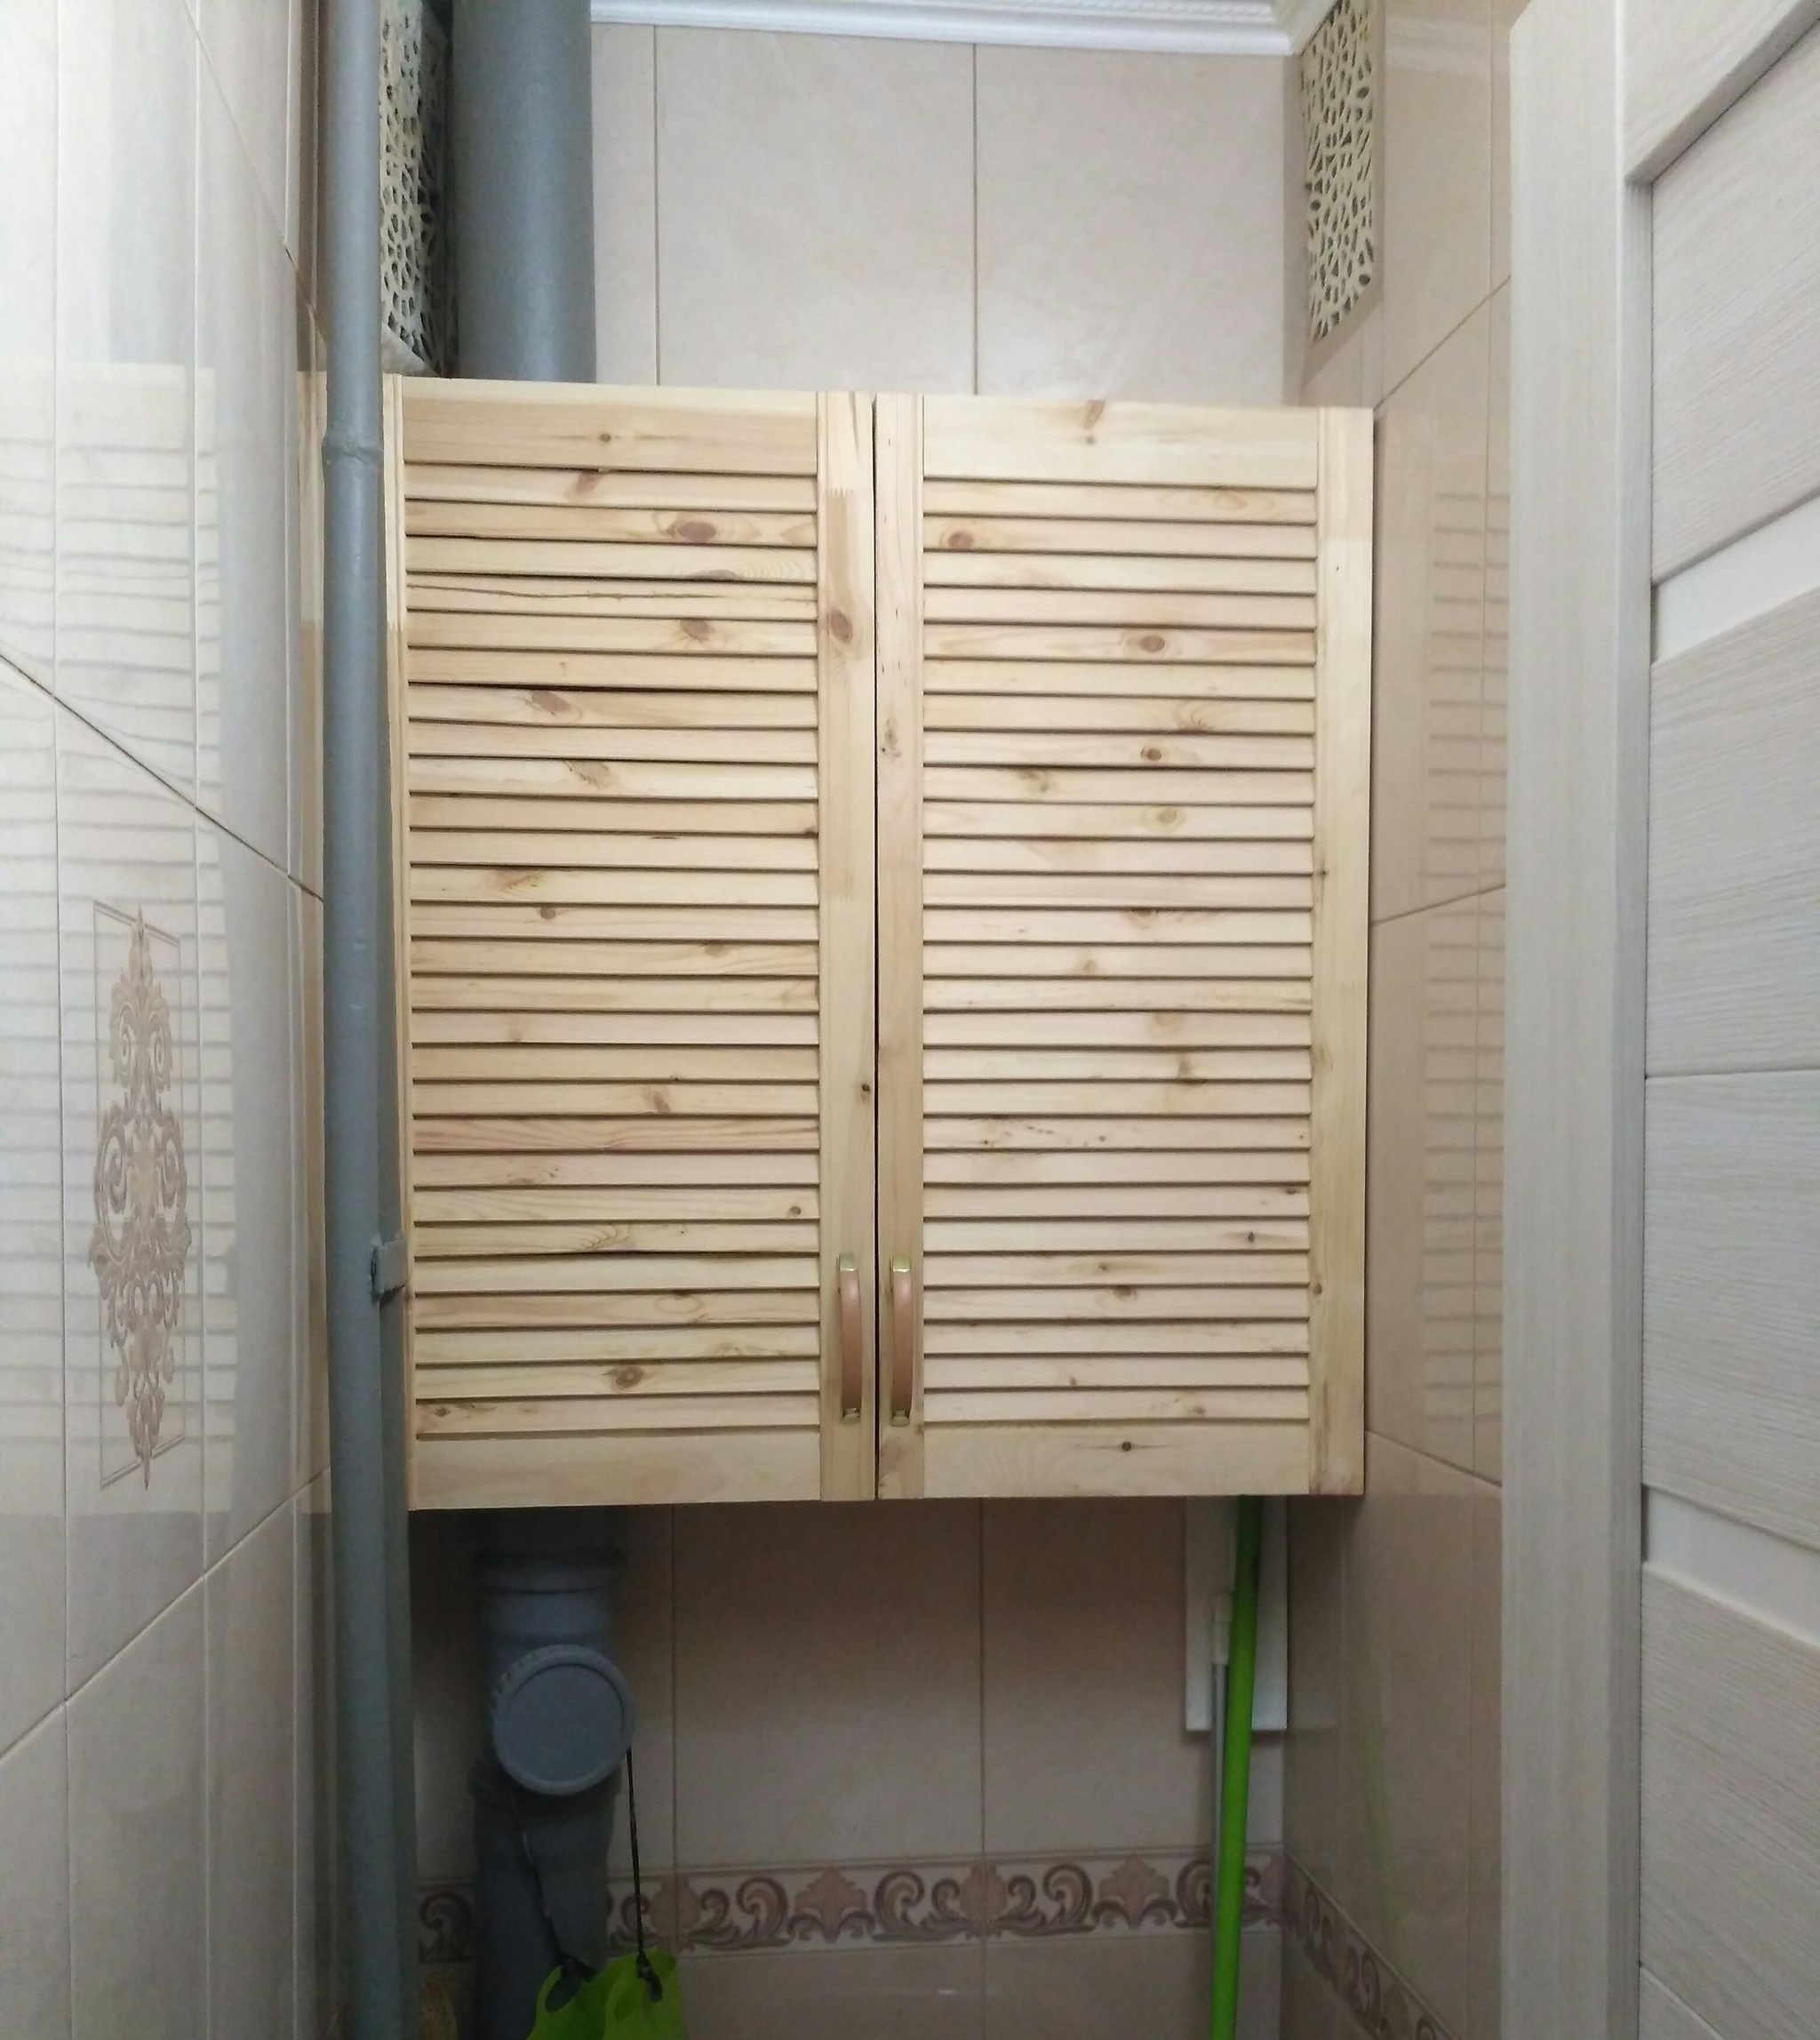
But in single bathrooms, the choice is obvious. Installation directly behind the toilet bowl. This option is especially convenient for those who think about how to close a sanitary closet in the toilet. Installing the option with doors will allow you to hide the volumetric sewer pipes, a water heater, giving the restroom a finished look.
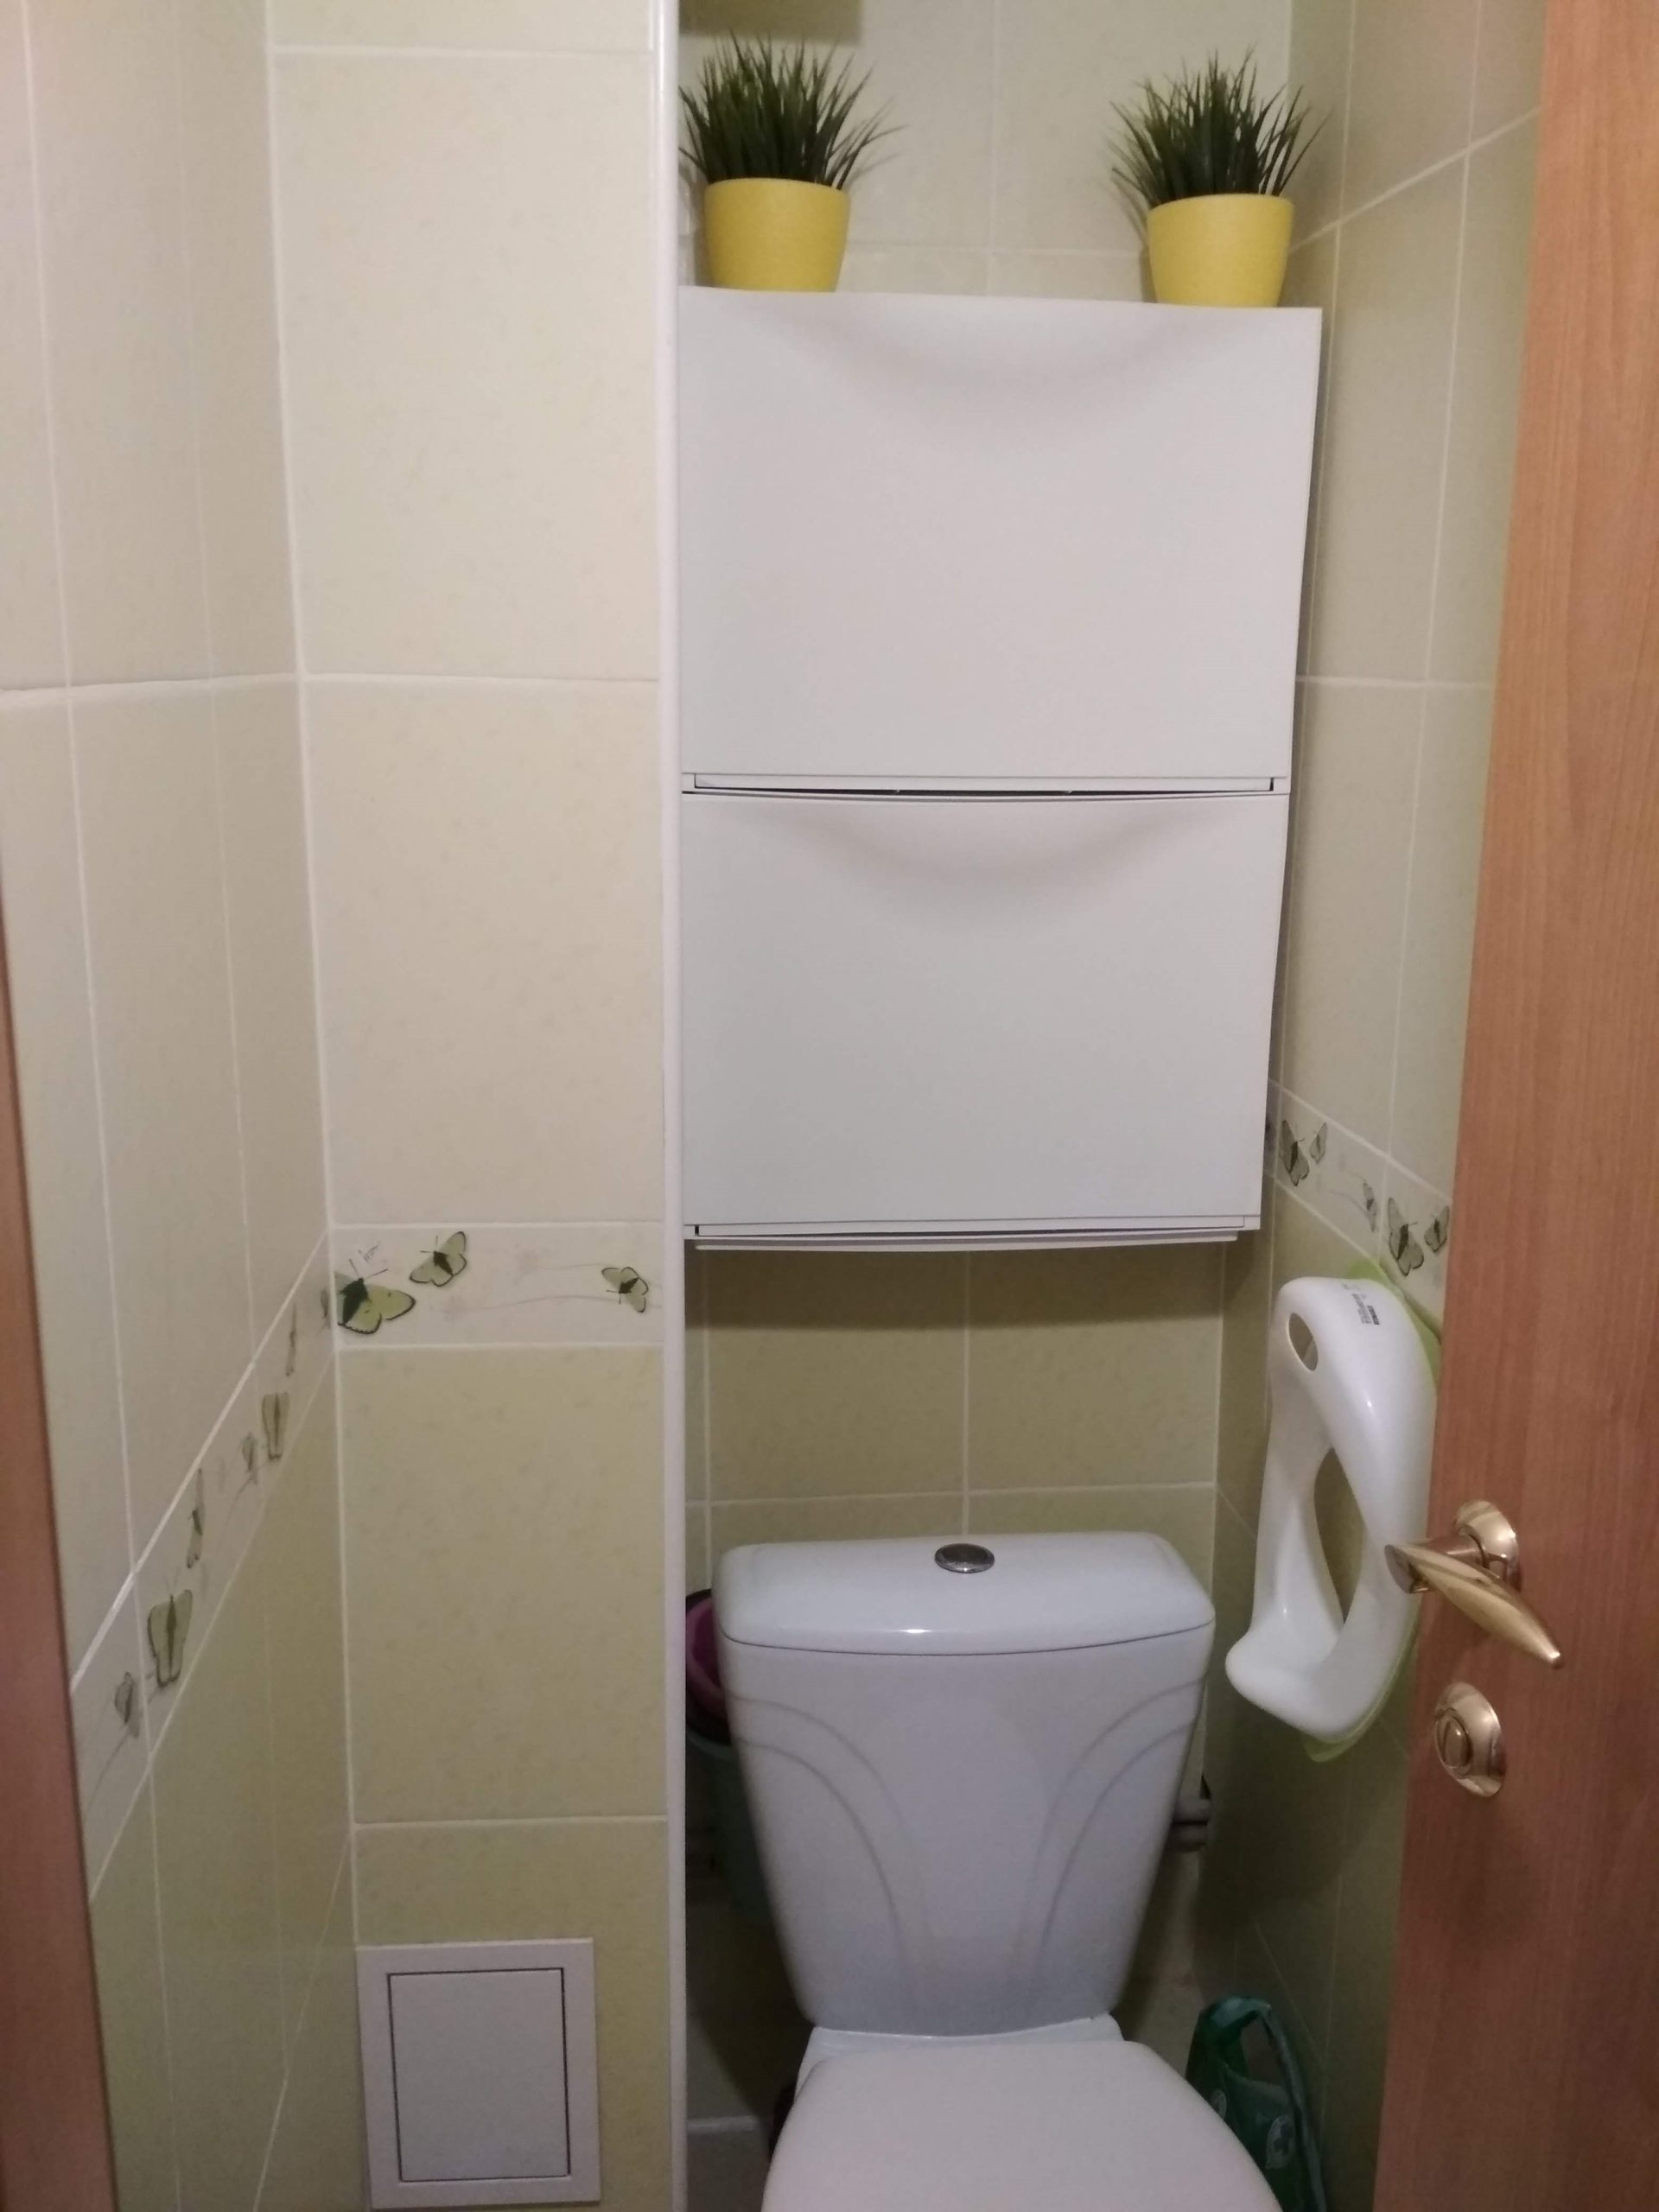
The choice of material is also influenced by the existing design of the room.
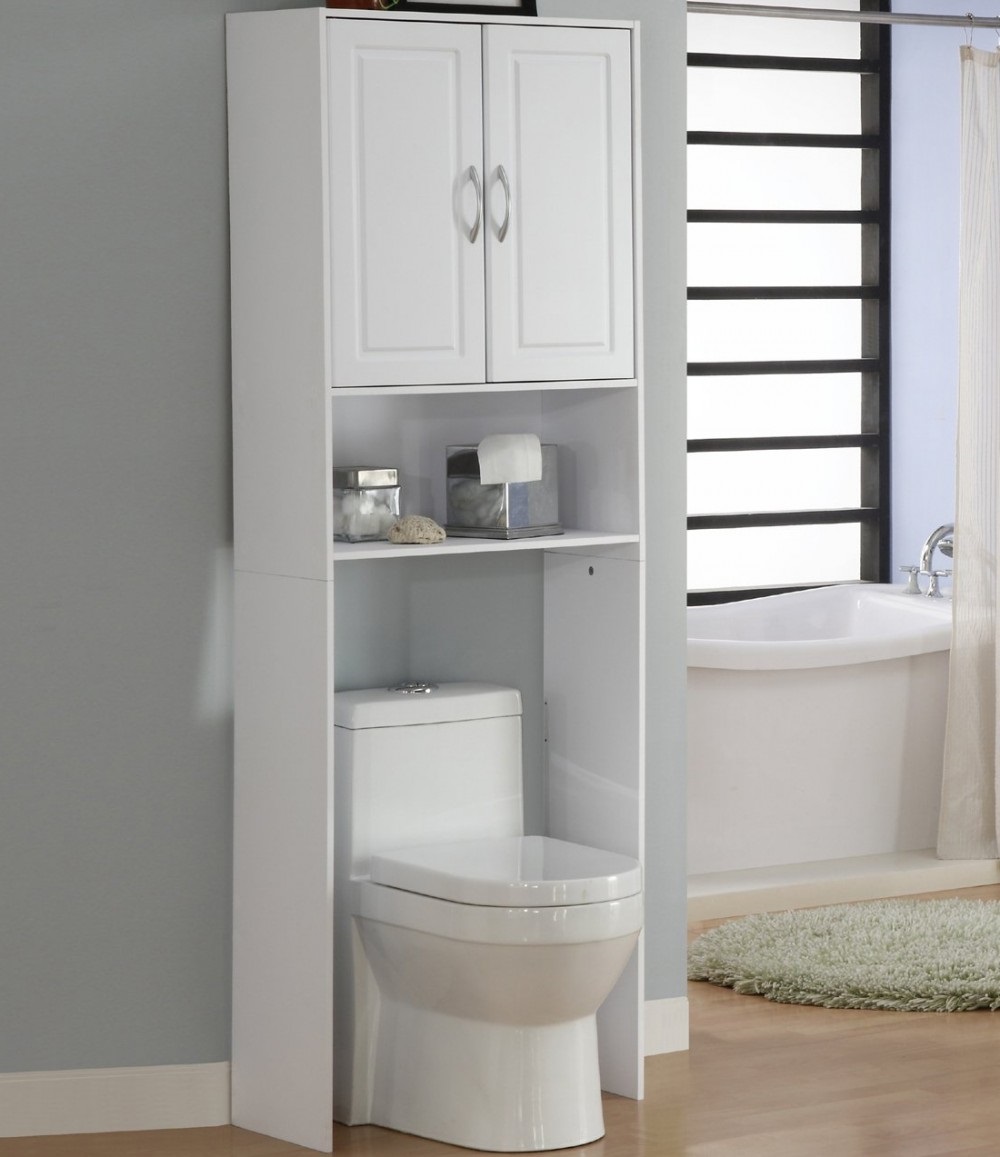
Wood is great for almost any furnishing style.
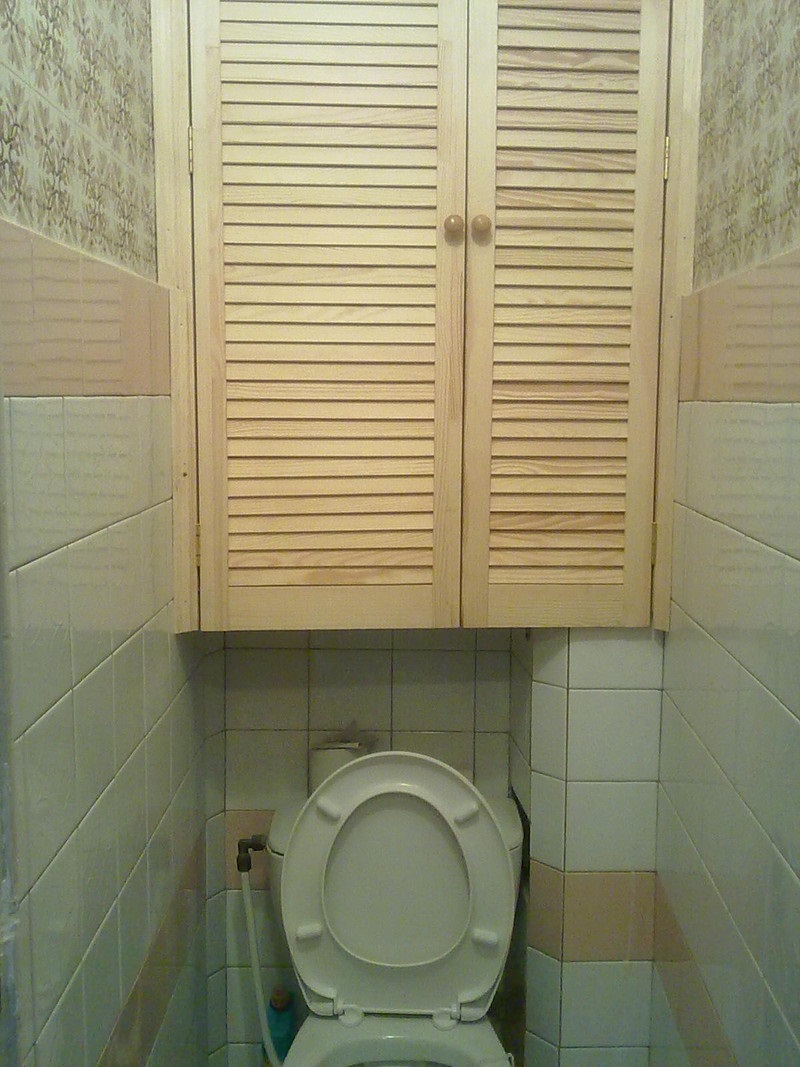
Plastic panels, while long lasting, don't look so pretty.

But laminated boards made of wood shavings and sawdust will perfectly fit into the bathroom of any cut.
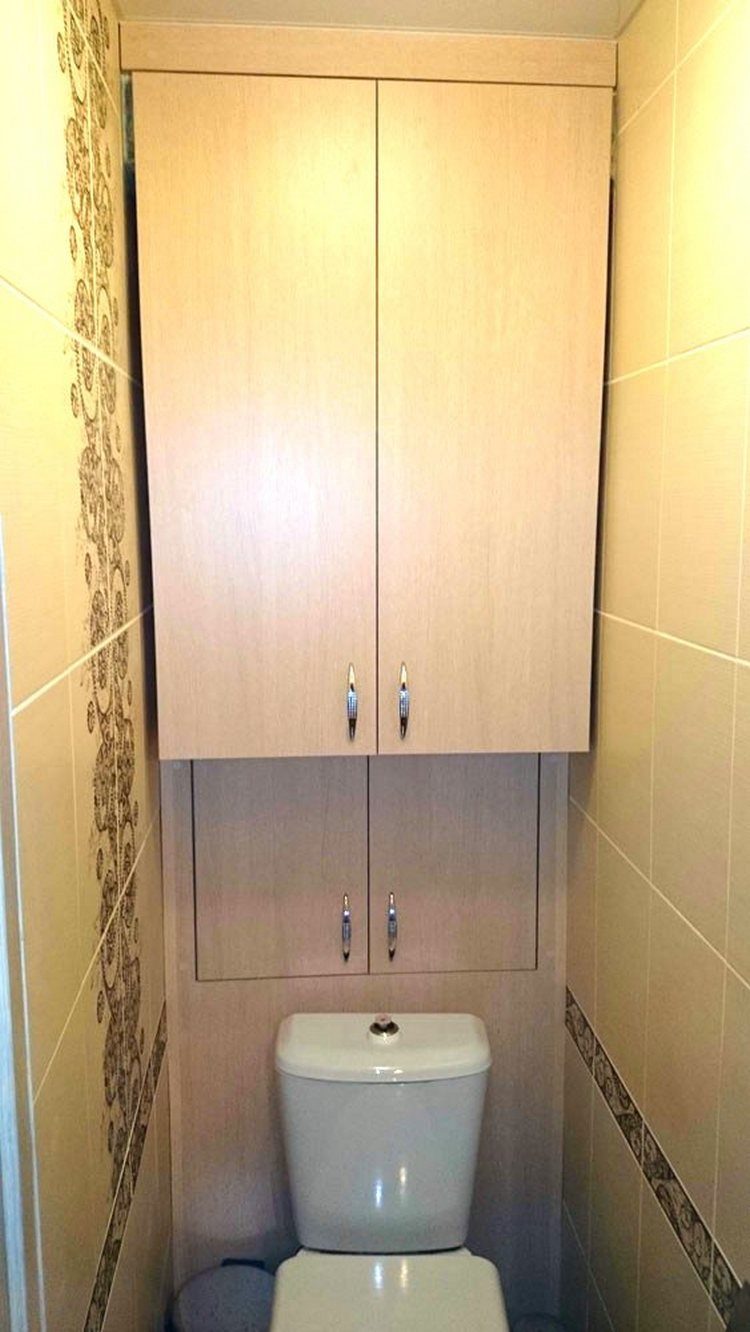
Manufacturing process
The whole process of assembling the closet in the toilet is reduced to five stages.
- Measurements of the lavatory room.
- Drawing a drawing on paper.
- Drawing a sketch of the design.
- Cutting materials to size.
- Assembly and installation of parts at the installation site.

In the list above, all items are clear, except for the third. What is the difference between a drawing and a sketch? Here's the thing.The drawing is the main document on which all the technical parameters of the future product are indicated. Here allowances, gaps, lengths and thicknesses are taken into account.
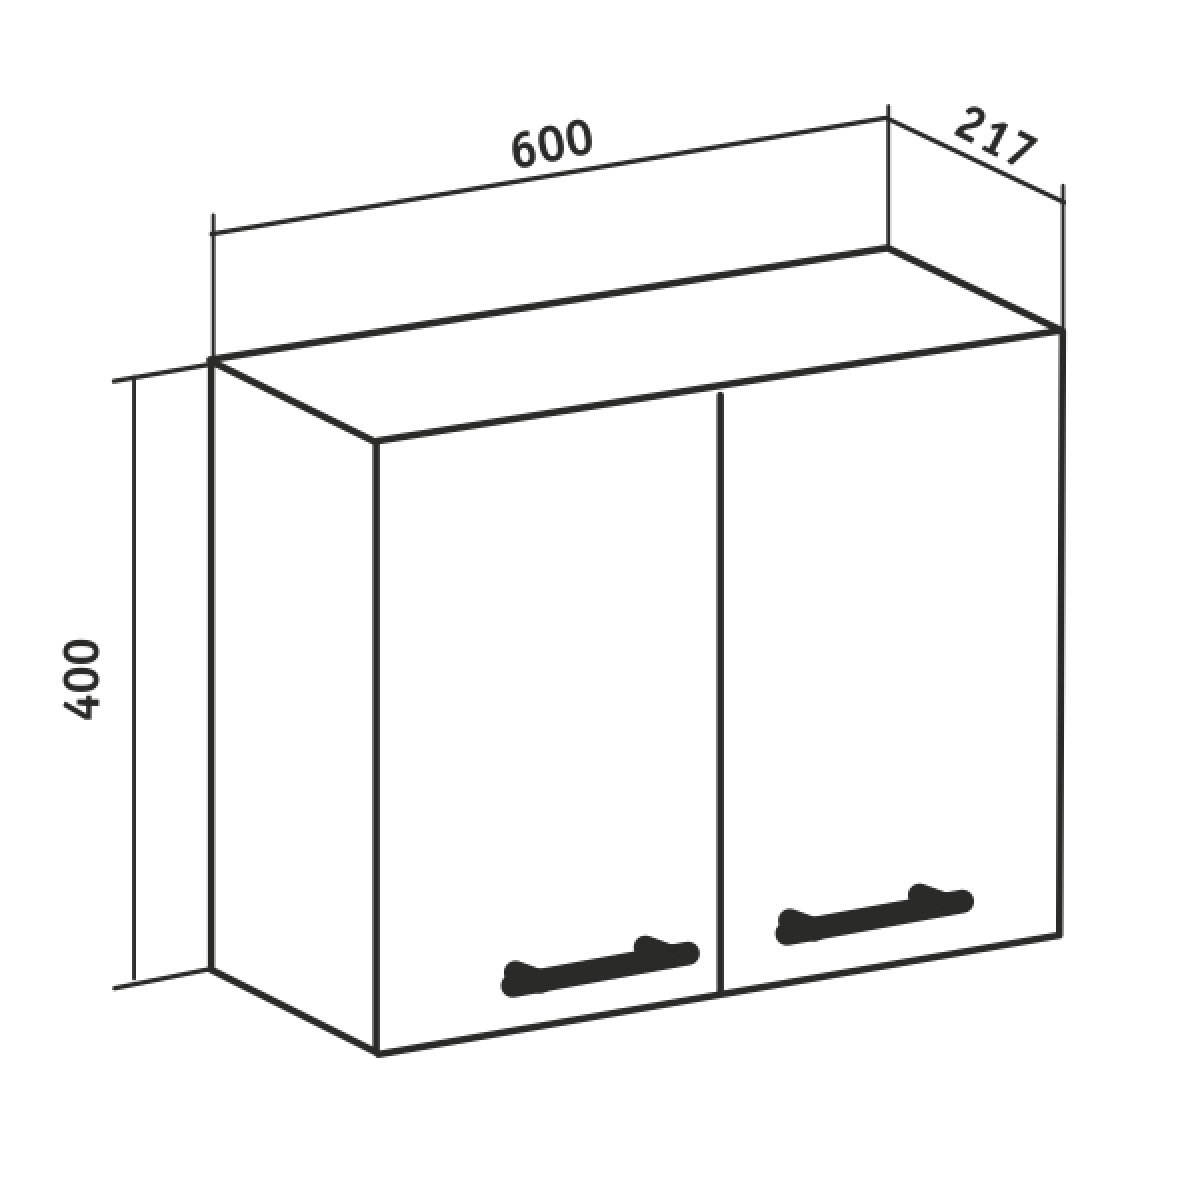
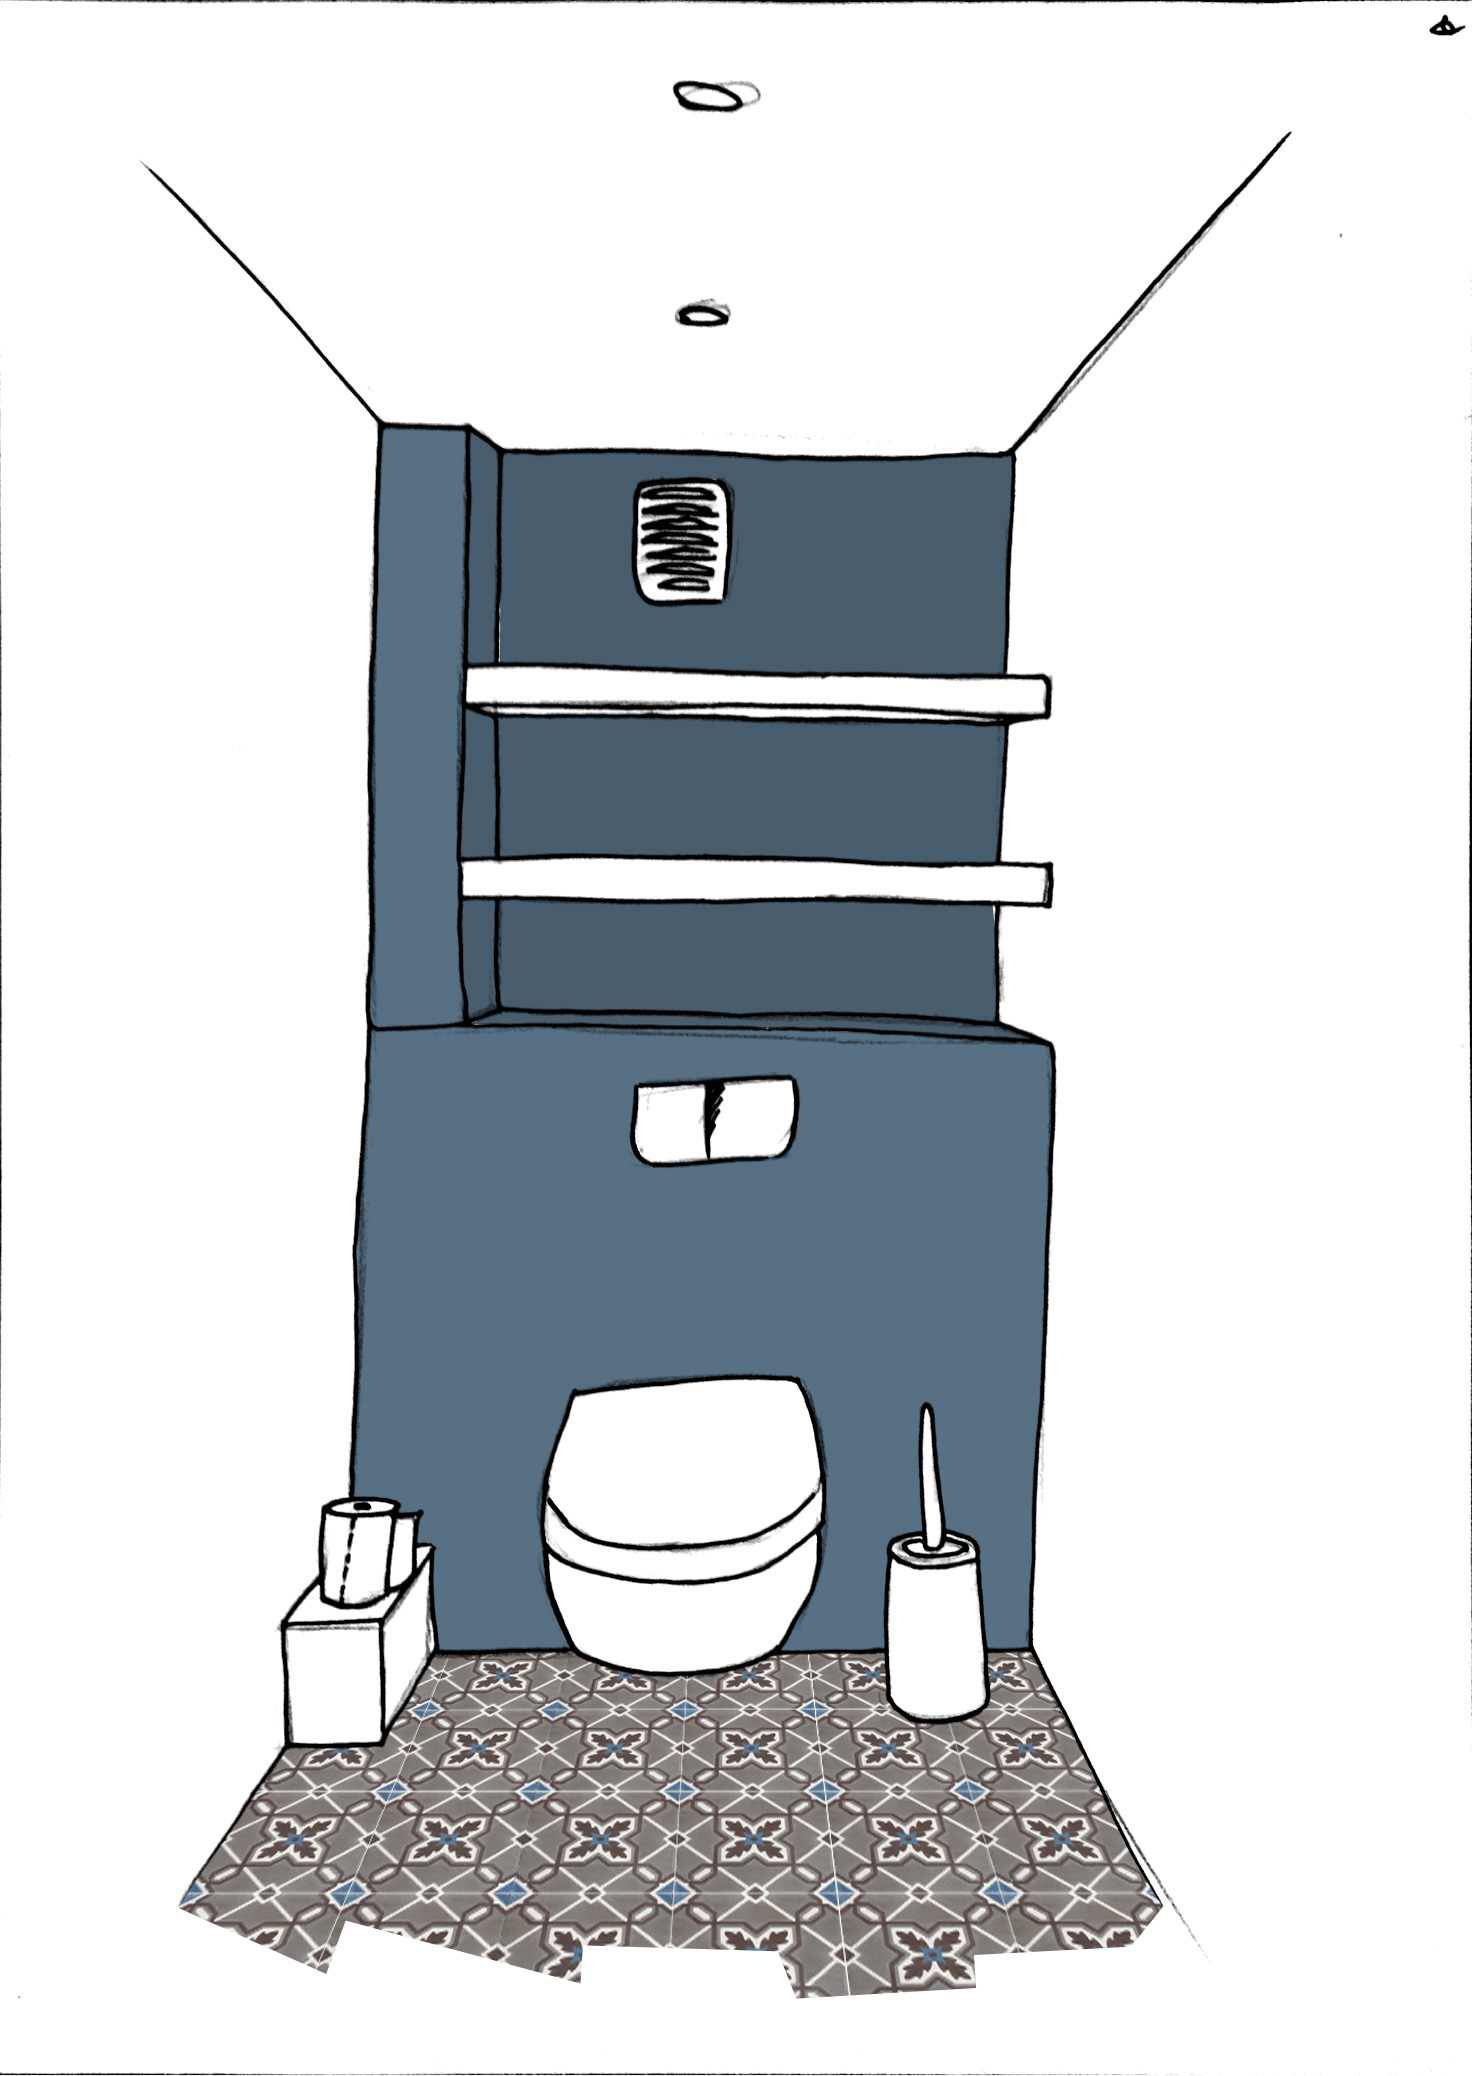
A sketch is another matter. This section refers to a sketch related to the design definition. For a visual representation of the future design of the cabinet, its color palettes, patterns and other effects, a sketch on paper is the ideal solution. You can consider several options for the future design of the restroom at once, choosing the best one.
Selection of materials and tools
Natural wood or its derivatives (MDF, chipboard) are best suited for finishing the toilet. When choosing such materials, moisture protection is required. Wooden facades are treated with a special impregnation that protects the surface from excessive moisture. When choosing chipboard, MDF, also focus on moisture-resistant boards covered with special plastic.
For fastening support bars, guides and other elements, it is better to use plastic dowel nails. The dowels themselves must be purchased from high-quality plastic. It is very easy to recognize it at its cost, which is an order of magnitude higher than that of other manufacturers. Note the nylon dowels. These are cream-white corks.
Use wood screws, metal corners and strips to connect wooden surfaces.
And here is what tool you need.
- Roulette for measuring the basic geometric parameters of the room.
- Bubble or laser level for horizontal and vertical installation of all bars, guides.
- Building pencil for marking.
- Building rule. Used as a guide when cutting material.
- Impact drill or hammer drill. Used when drilling holes in concrete and brick.
- Electric jigsaw, or hand-held circular saw. For cutting chipboard sheets, wood bars.
- Screwdriver, screwdriver.
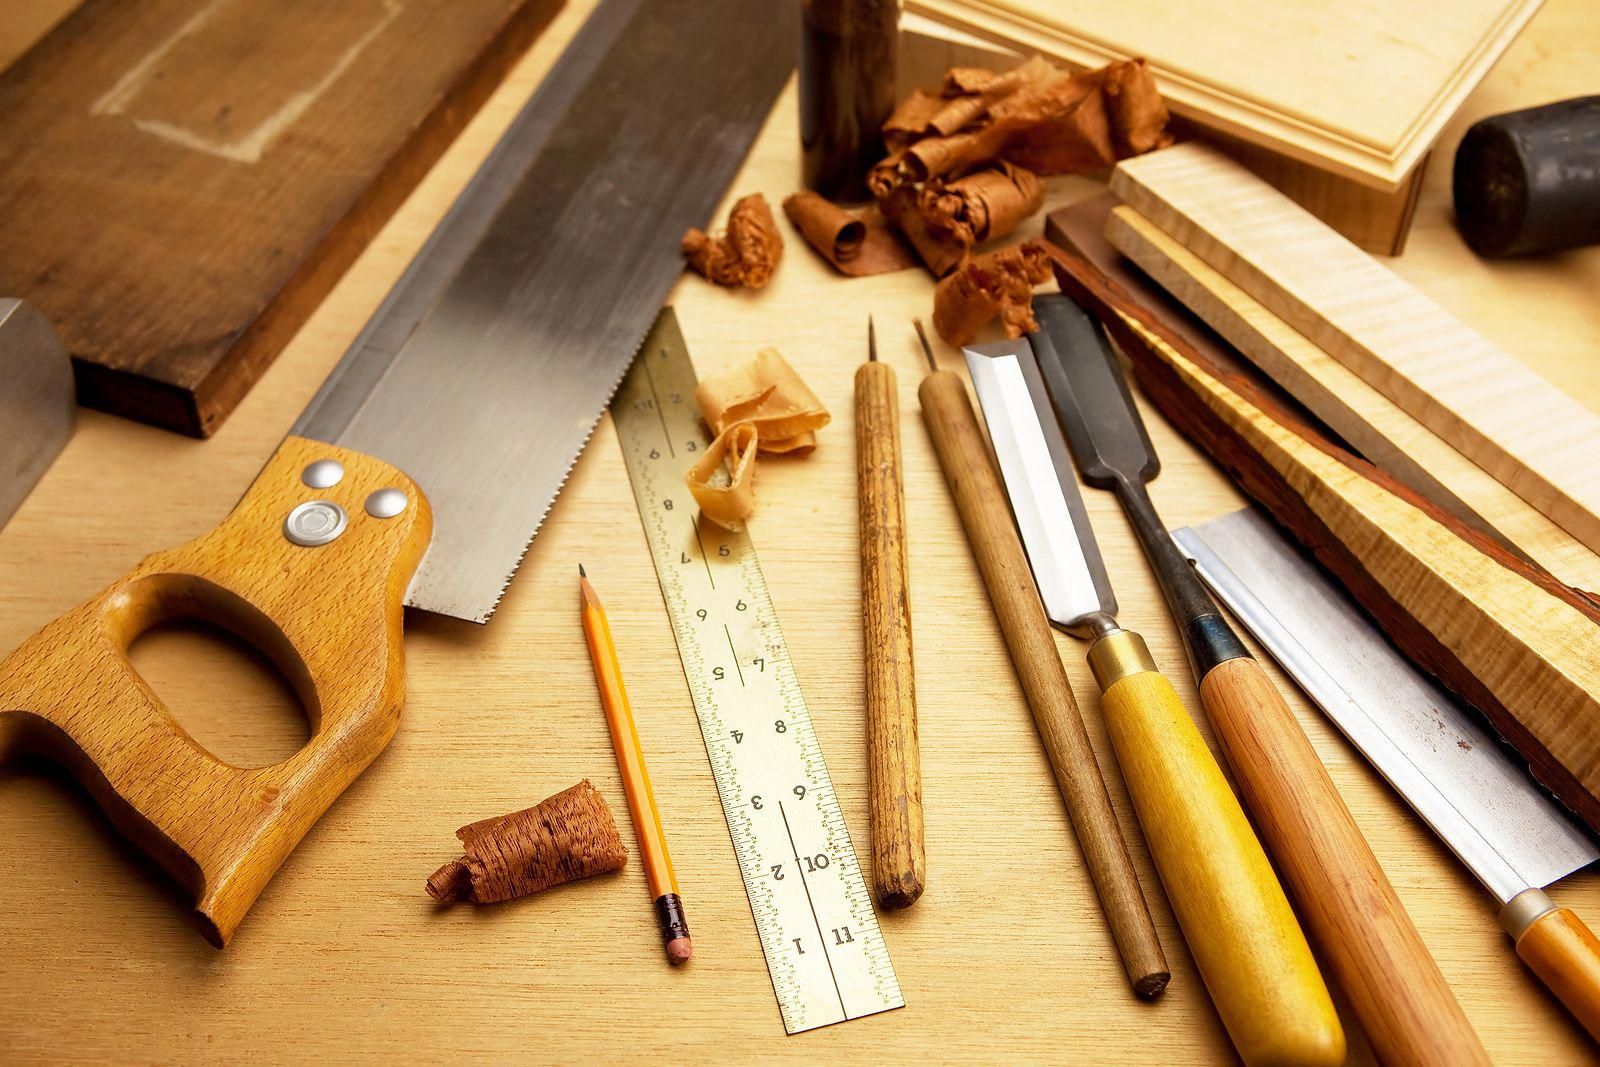
In addition to this list, you must have a set of drills for wood, metal and drill bits in a hammer drill.
We draw a diagram
Before you make a closet behind the toilet in the toilet with your own hands, you need to make a competently scheme.
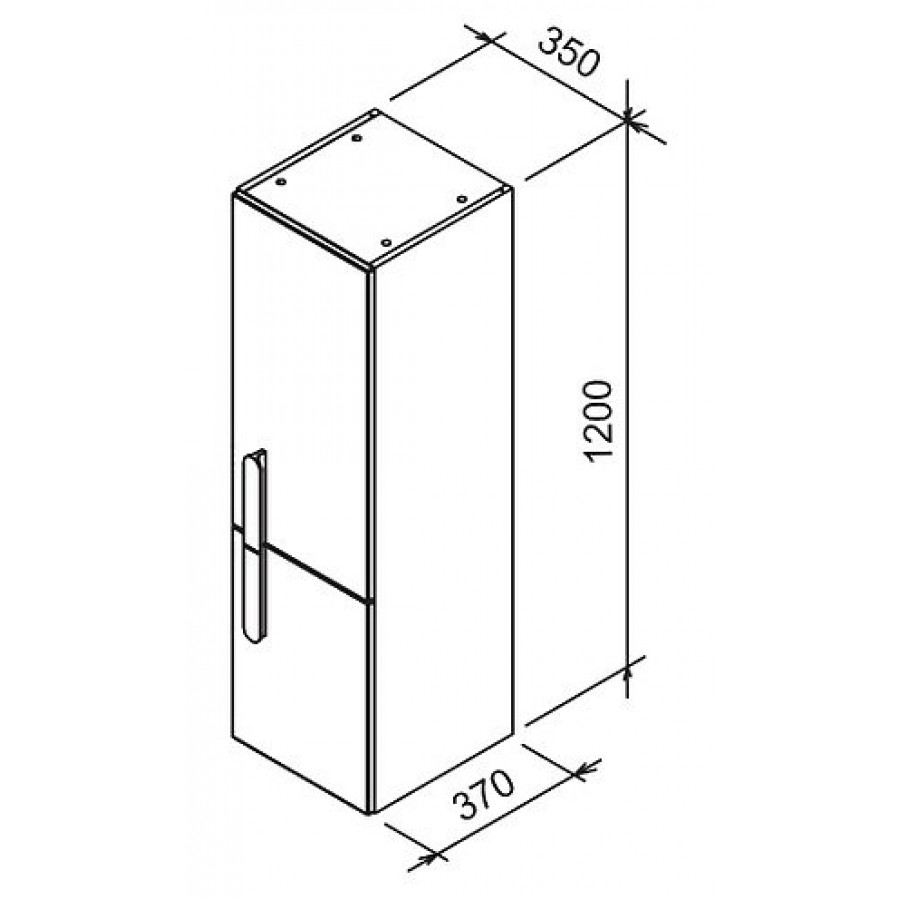
The main points to pay attention to when drawing a drawing are indicated below.
- Draw the diagram in standard planes (top, side, profile).
- Measure with allowances. Extra 2-3 mm when cutting MDF sheets will not play a role. Not so high costs. But when cutting at the cutting site, there is a gap, due to which the geometric parameters of the lined workpiece will differ. To eliminate this inconsistency, the allowance must correspond to the size of the gap from the cut.
- When installing the cabinet with the doors closed, draw the interior arrangement on a separate sheet. So you can competently plan the internal space, cut the workpieces according to the preset parameters.
- Draw a separate scheme for cutting blanks, parts. This will save on the purchase of excess material. Smart cost planning is the cornerstone.
- Mark all the necessary junction points for pipelines, electrical wiring, and sockets. On the cutting sheet, be sure to mark on which side you plan to cut the recess for the pipe. This will allow for better distribution of the material.
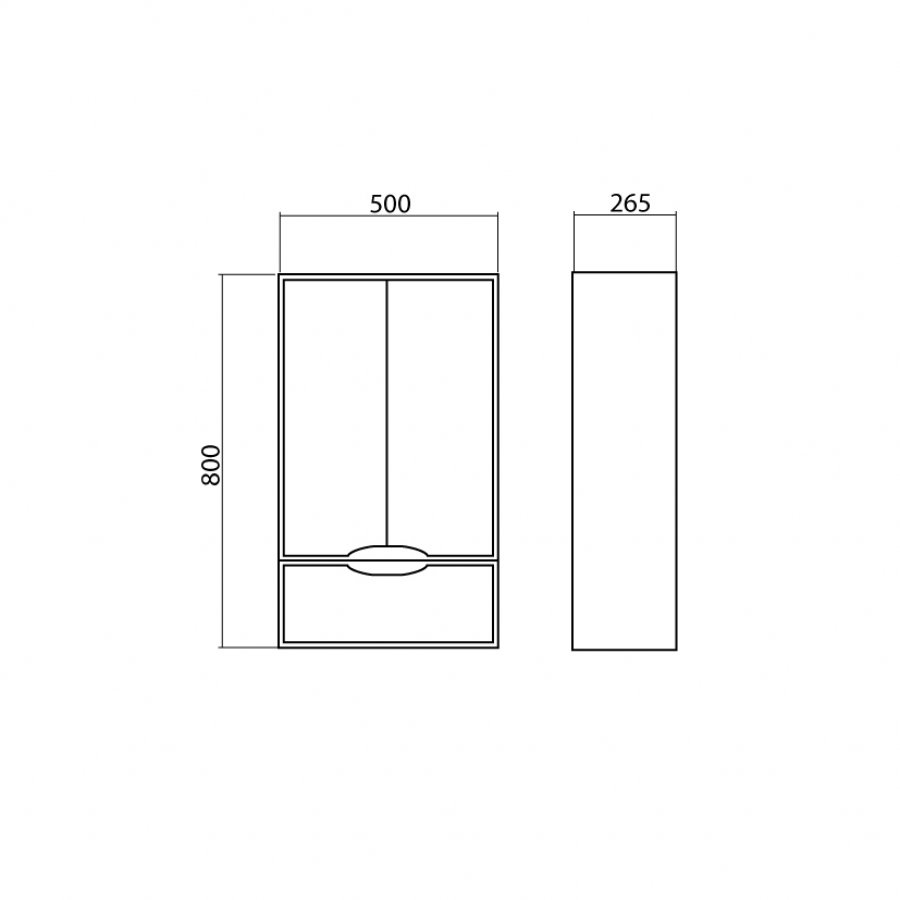
Sketch the sketch separately. For a more effective presentation, use crayons, felt-tip pens, or paint. Organize your design to the highest level. Consider several options for the future of the restroom. This will allow you to choose the optimal design.
Build and install
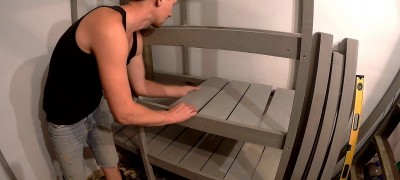
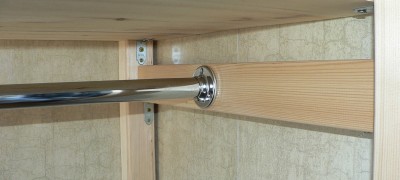
Begin the installation with the installation of support bars, runners and internal horizontal partitions.Be sure to use a level to attach all the cabinet elements as evenly as possible.
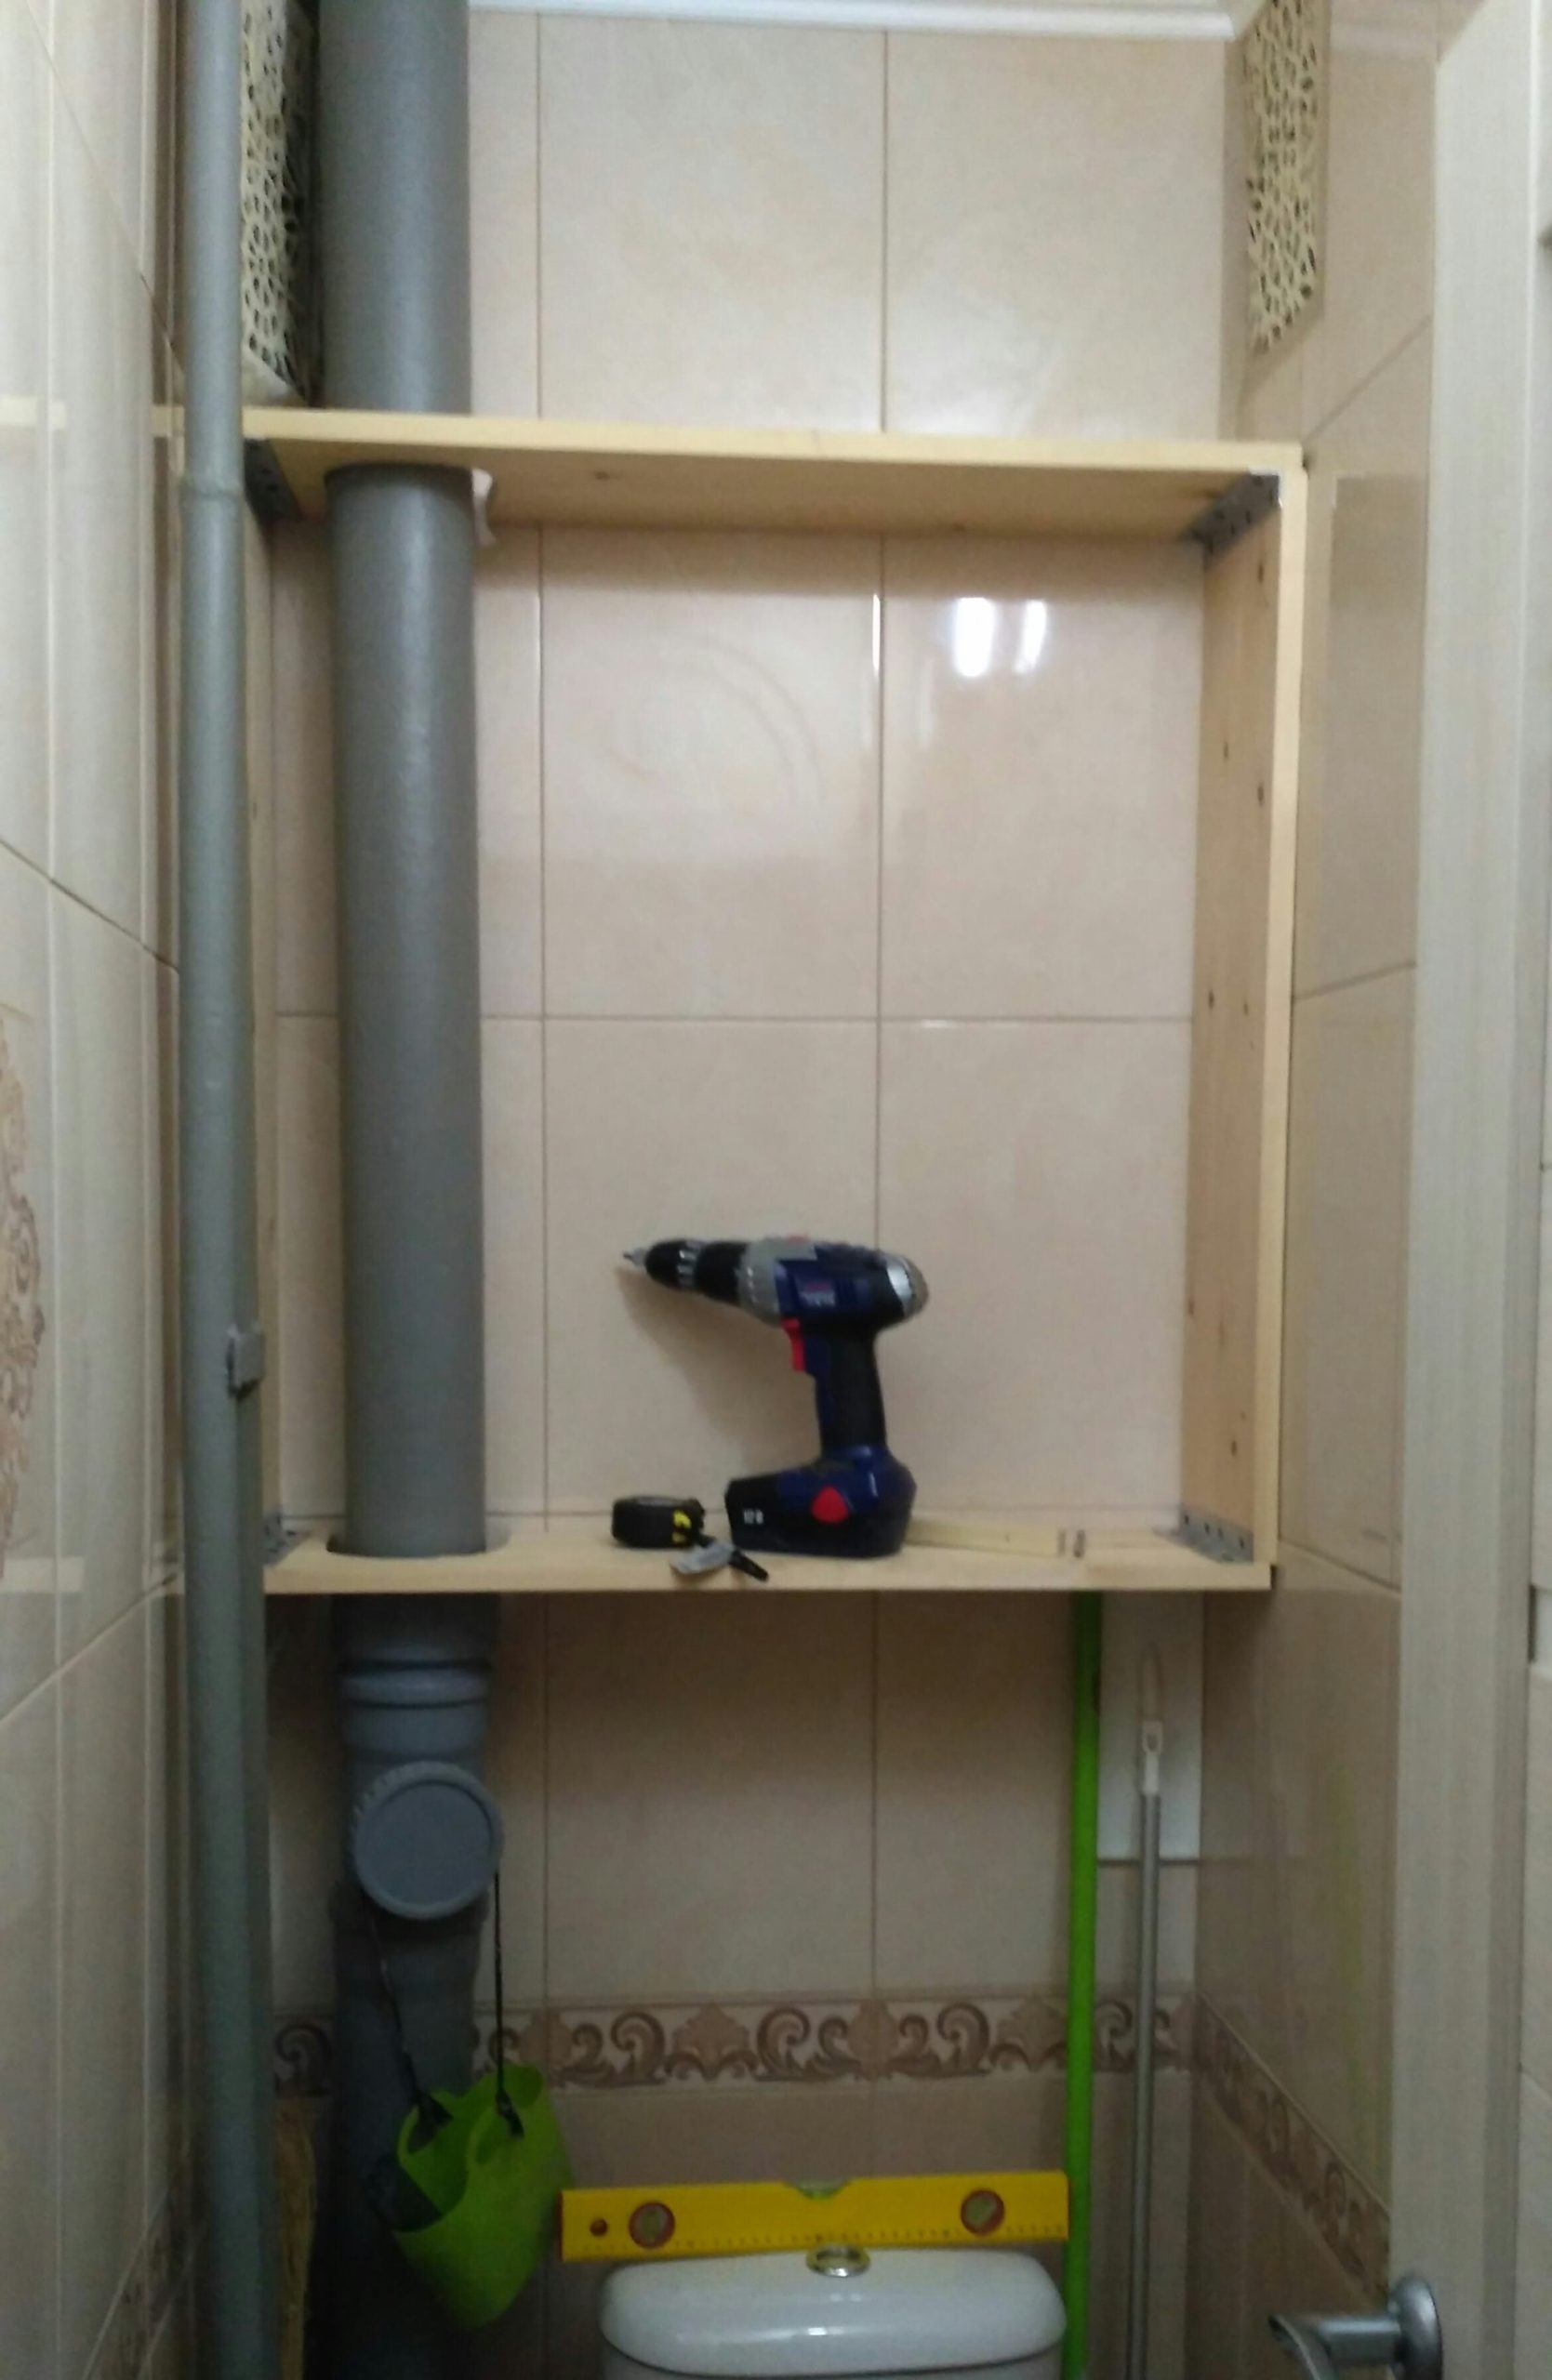
When drilling holes in walls, floors and ceilings, try to do it carefully. It is important that the diameter of the resulting holes is equal to the diameter of the purchased dowels.
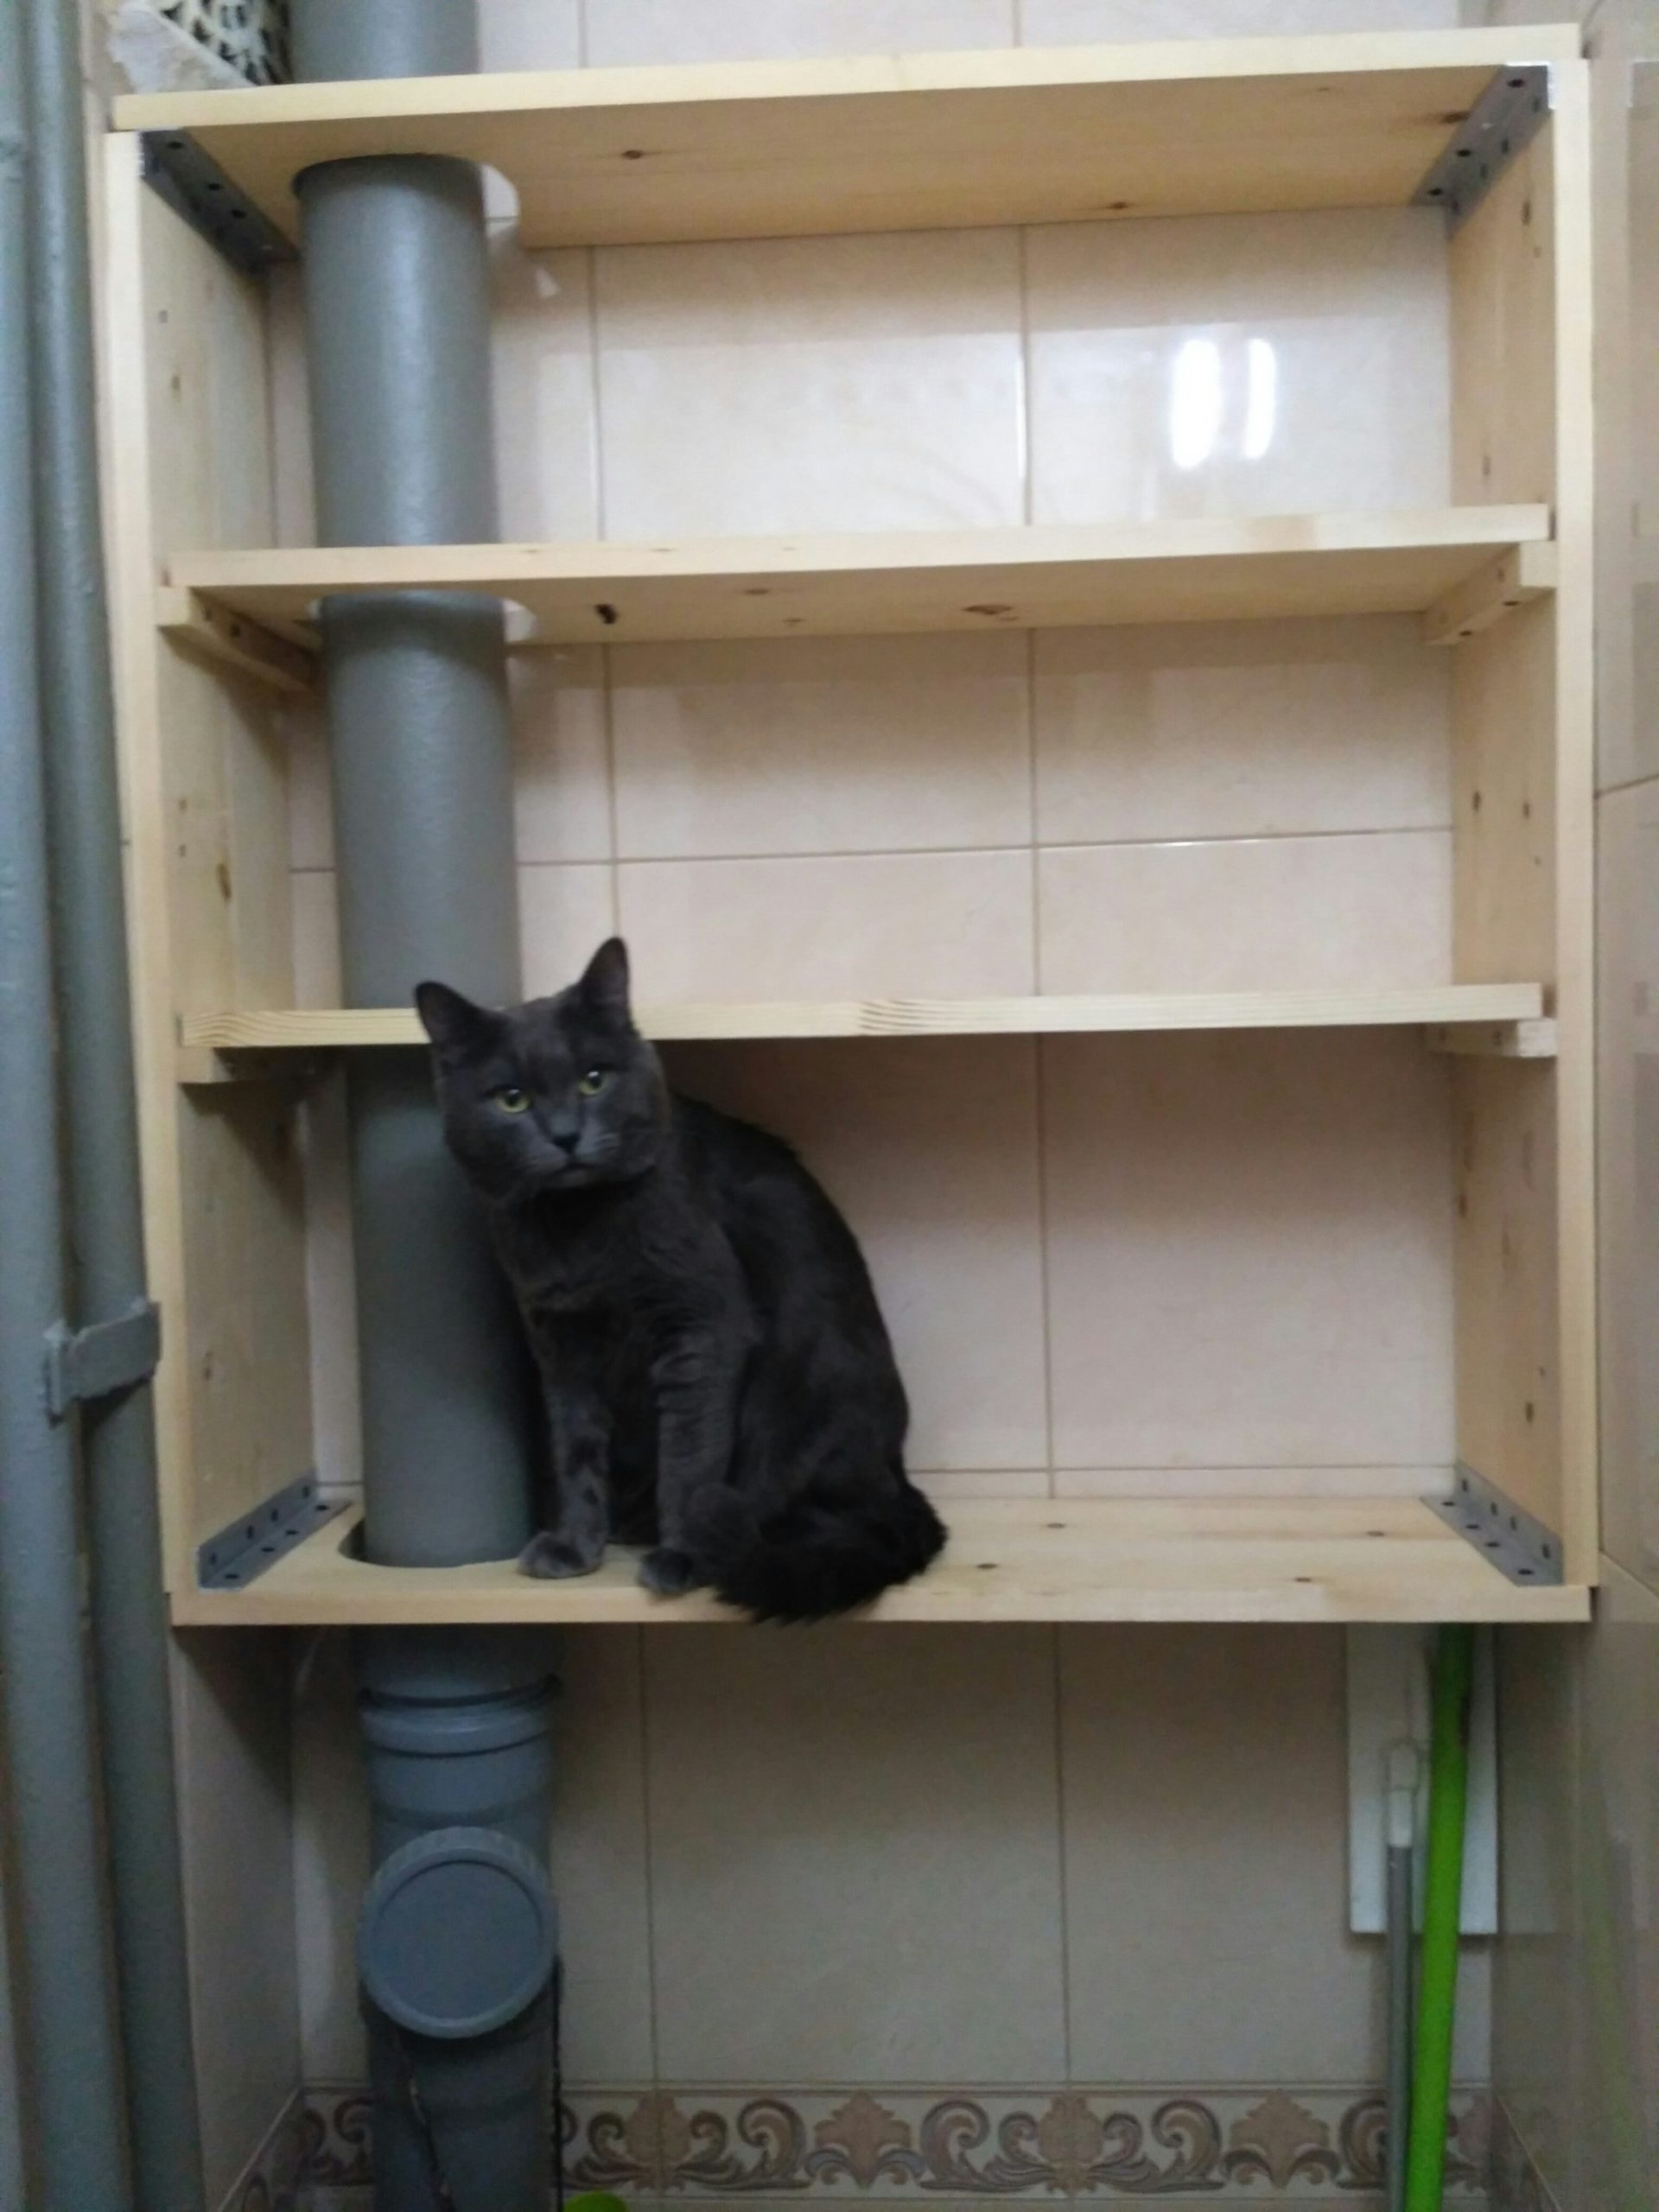
Also pre-drill holes in wooden blocks, chipboard, MDF with a thin drill for wood or metal. This is necessary so that when the screws are screwed into the workpieces, the latter do not crack from expansion and internal pressures. The hole diameter should be less than the diameter of the self-tapping screw. If this condition is not met, the reliability of the connection will be at risk.
If you are installing a plumbing cabinet that hides a pipeline, a heating boiler, a water heater, a floor heating piping system or other plumbing fixtures, the installation will be easier. Here, partly or completely, there is no need to install internal horizontal shelves.

Do-it-yourself doors
The most technically difficult and time-consuming process in the manufacture of a cabinet with your own hands is the assembly of the doors.
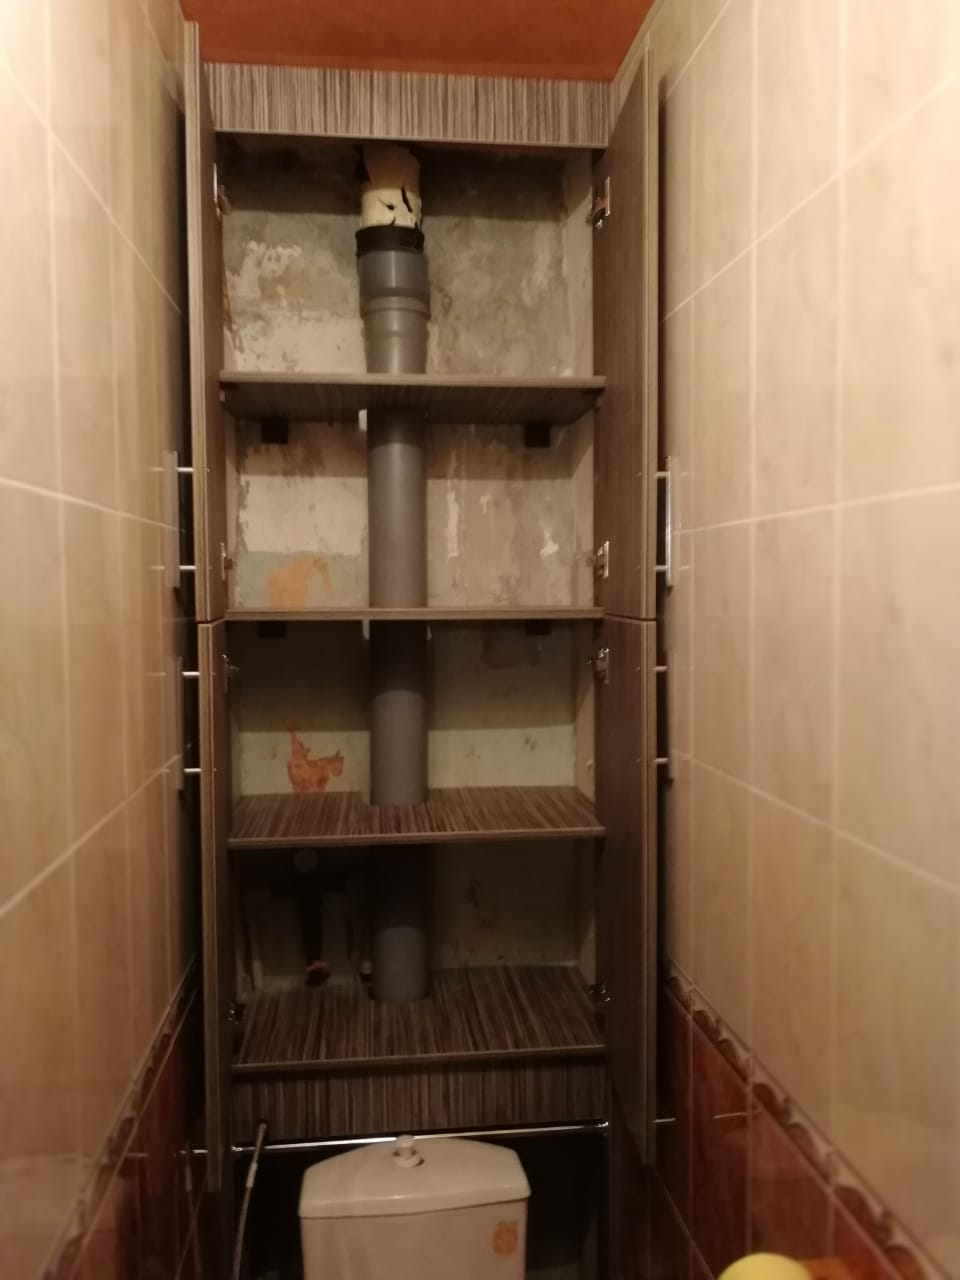
The easiest option is to install doors made of laminated board sheets (chipboard, MDF). First you need to carefully cut the workpiece without damaging the laminated surface. To do this, use a jigsaw or hand-held circular saw. To avoid chipping, place an additional thin sheet of fiberboard under the jigsaw blade.
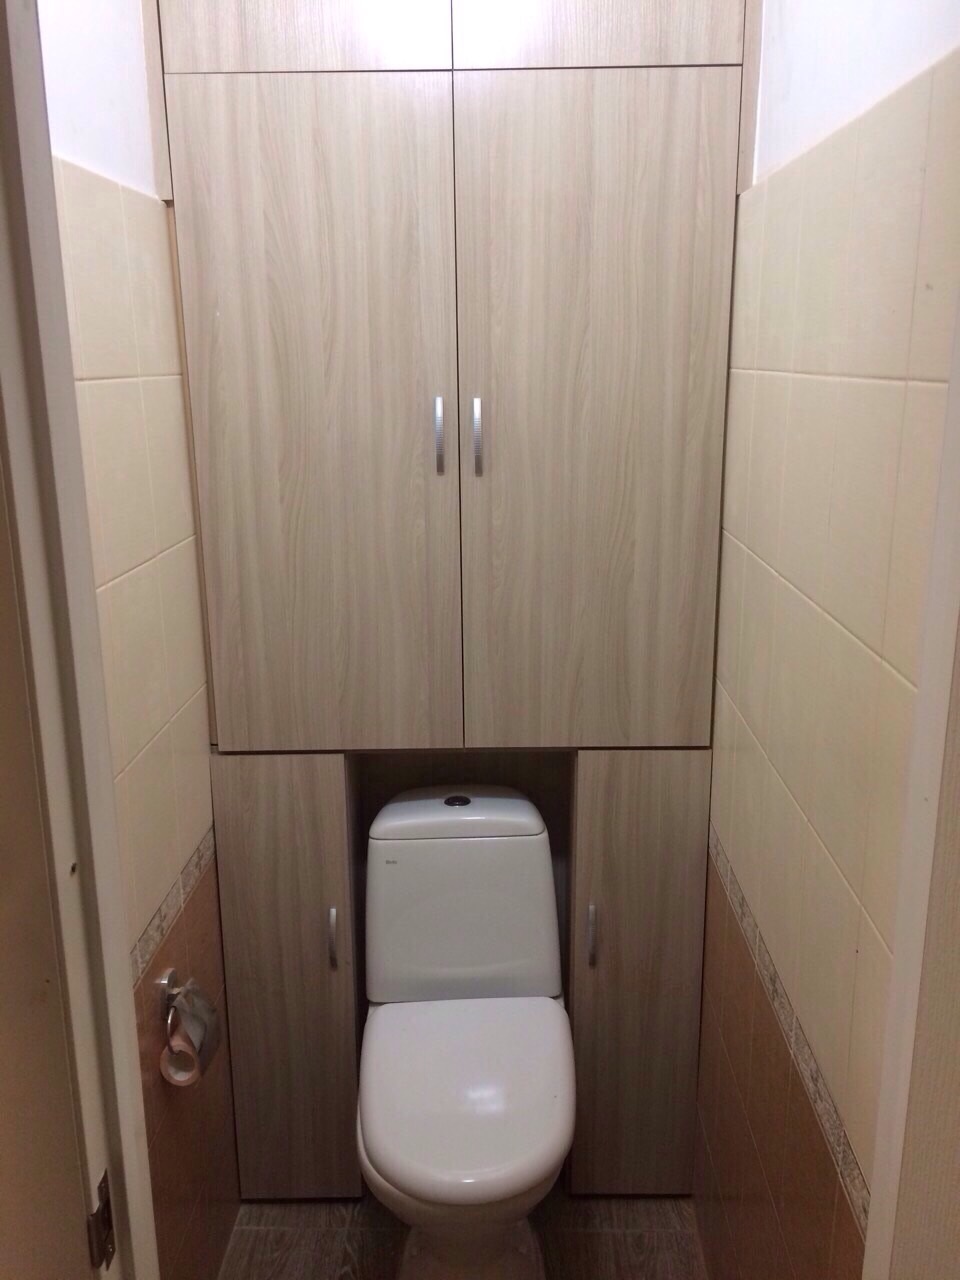
Better if you cut with a circular cut. In this case, it is more likely that the cutting line will be strictly straight (the saw blade cannot go to the side). The first cut is made to a depth of 5 mm to cut through the laminate without chipping. The second - already at full depth.
Further, a special tape is glued along the ends of the door using a heated iron. For wall mounting, a groove must be selected on the back of the door using a hand router. Adjustment of the door canopy after installation is carried out in three planes.
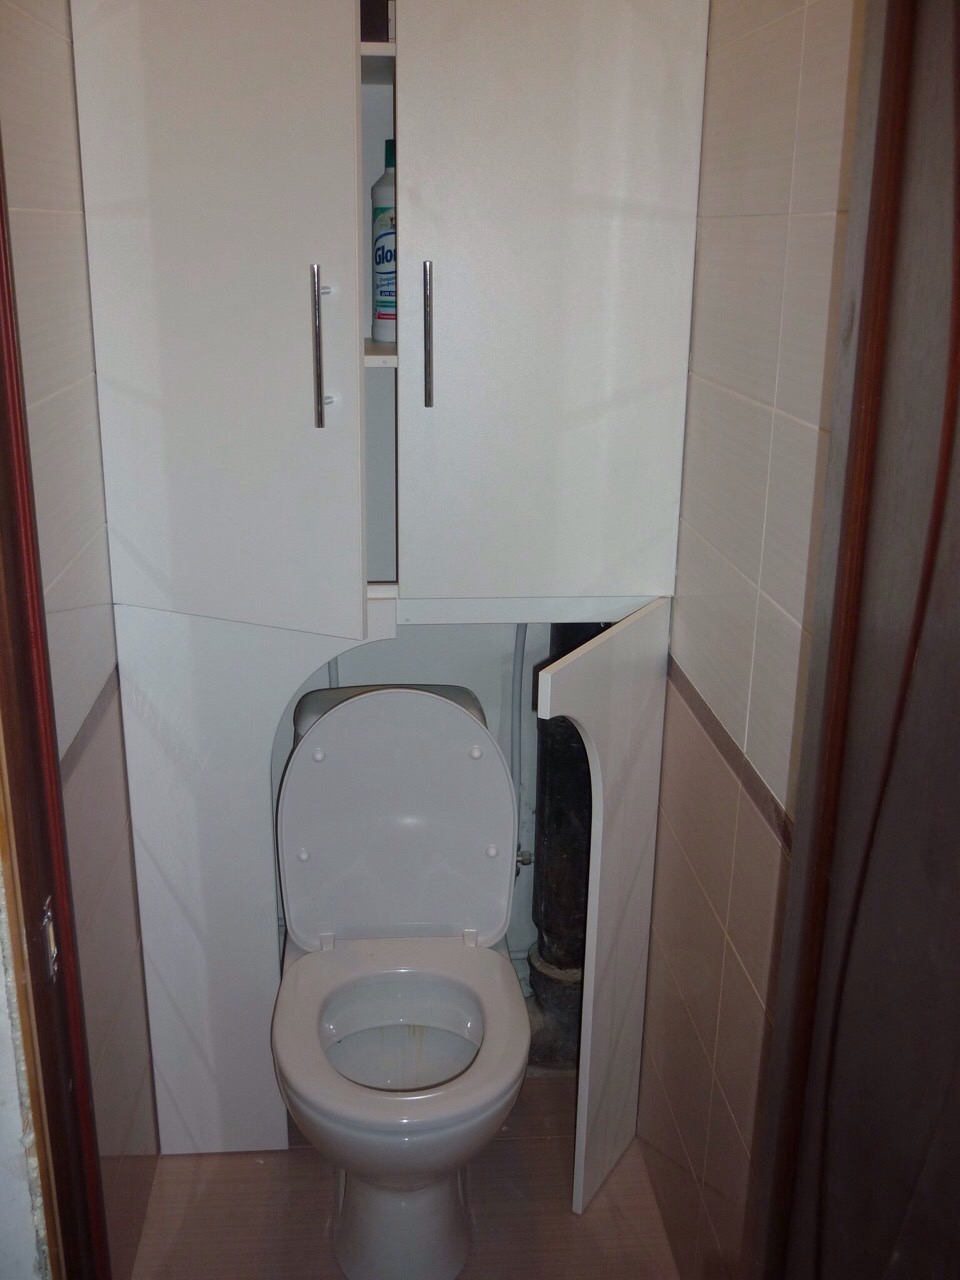
With such simple methods, you will be able to make a wonderful closet in the toilet, spending a minimum of time, effort and money.
Video: how to make a closet in the toilet

