DIY shelving
Many have faced such a problem in the house as the improper distribution of things in the places of their storage. This can create confusion. Most often this occurs due to the lack of shelves and cabinets where all the necessary items can fit. And then the question arises: "how to make a rack with your own hands?".
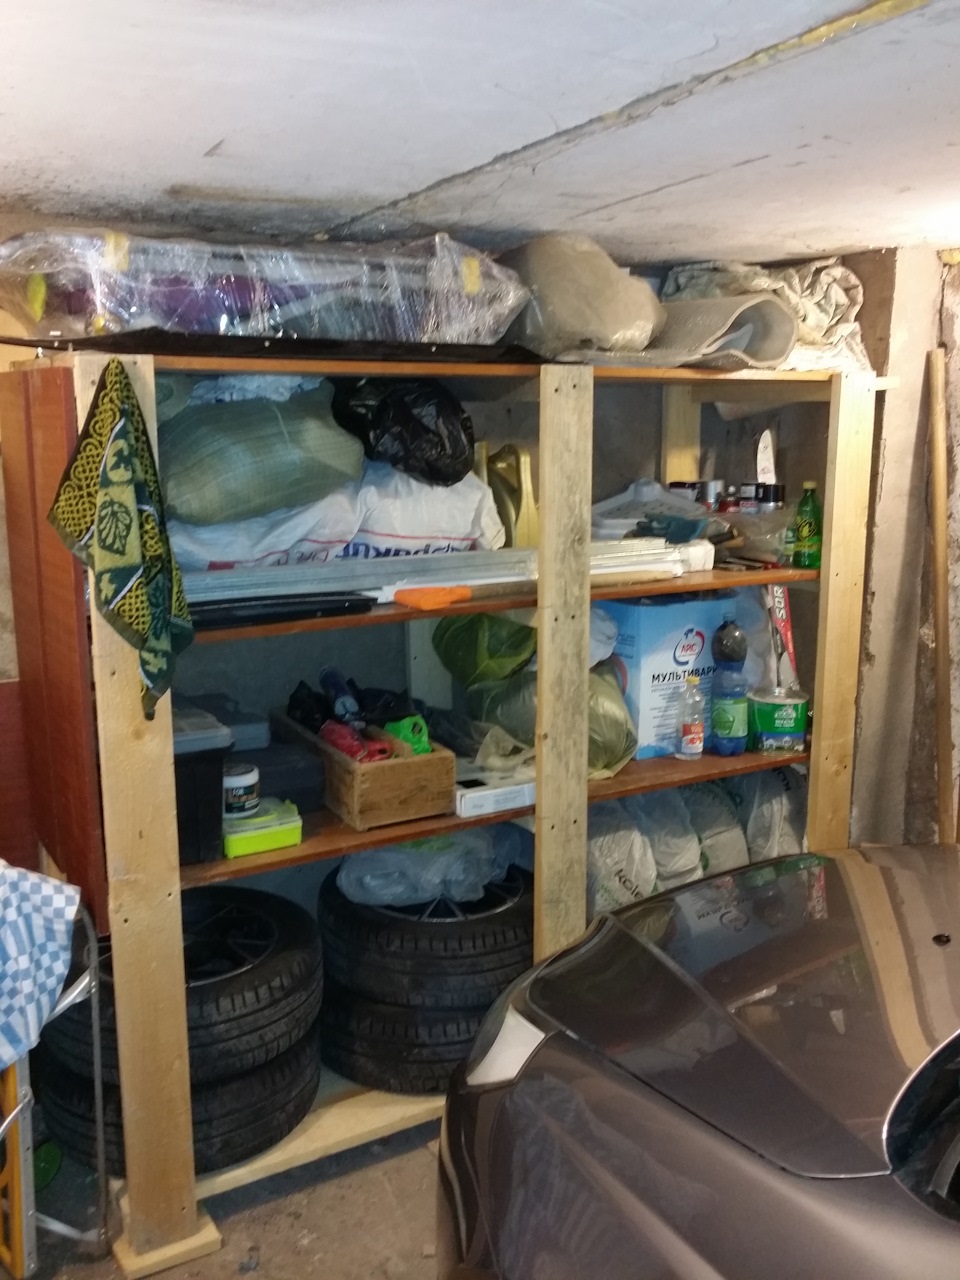
If you approach the process correctly, choose the right material and know the procedure, then you can independently make a homemade cabinet, the shape and design of which will correspond to the wishes and needs of the master.
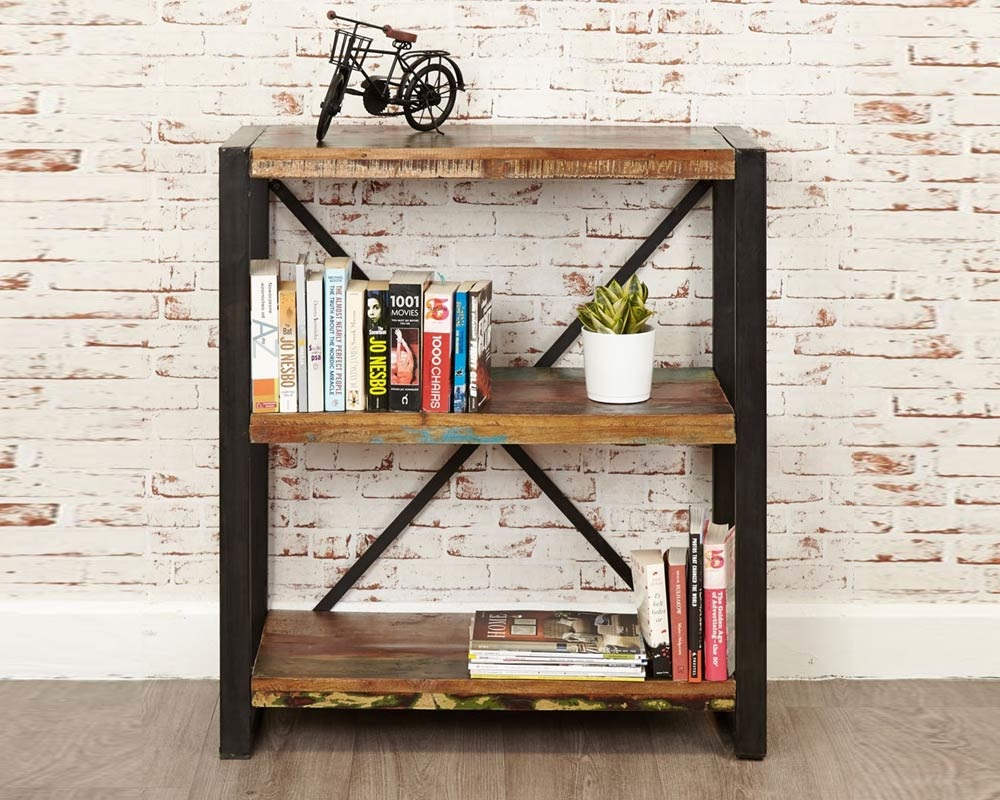
What materials can be used for manufacturing (wood, metal, plywood, etc.)
The most common material available is wood. Its cost is affordable, you can buy already processed boards. The most important thing that should be taken into account, if this product will be made for the first time, then it is convenient to make it from this material, errors can be avoided.
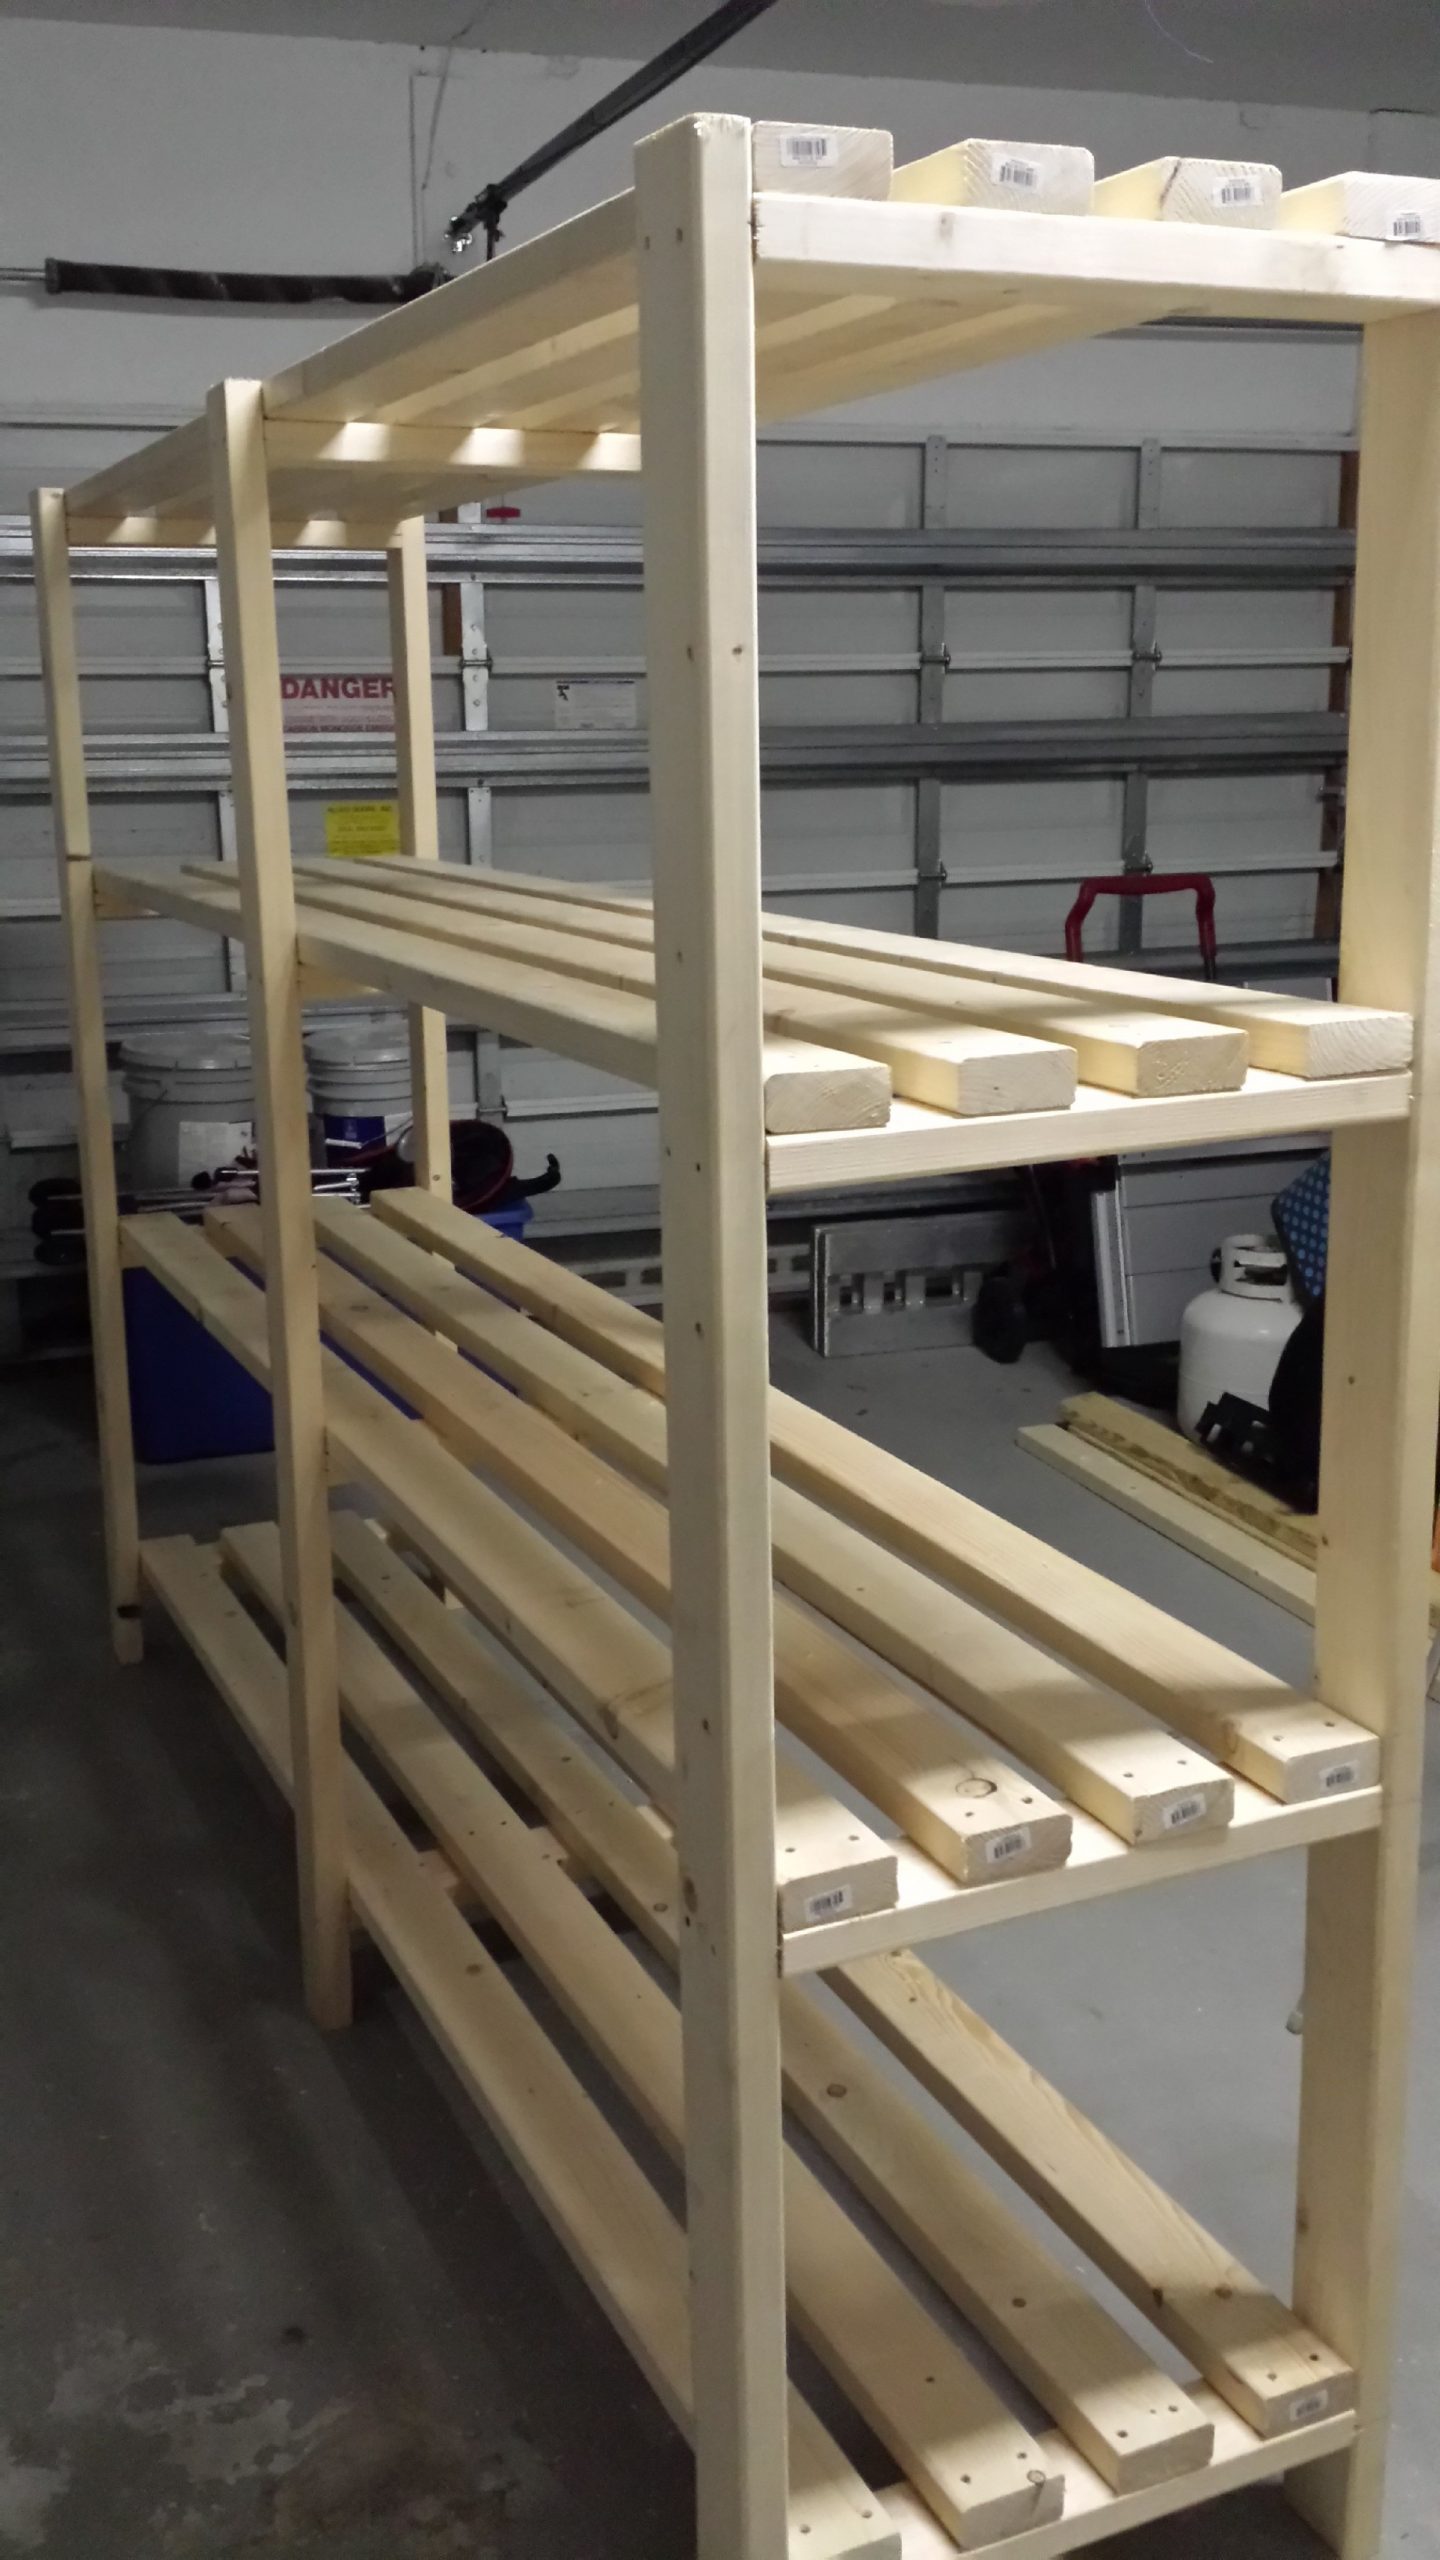
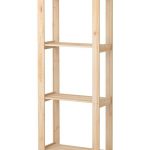
If the rack model does not have a complex structure, then it is worth choosing a 5 * 5 planed type beam and boards of suitable size, from which the shelves will be made. The latter can also be made from plywood or chipboard.
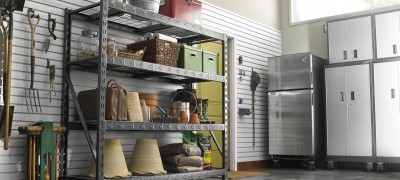
Metal - This material is also used to make such a cabinet. But it should be borne in mind that to work with him, you need to have basic skills. Holes will need to be drilled in the metal frame, and this should be entrusted to knowledgeable people due to the strength of this material. But if you have the skills, then metal is a good basis for a rack, shelves in which you can make wood. This material is durable and has a beautiful appearance.
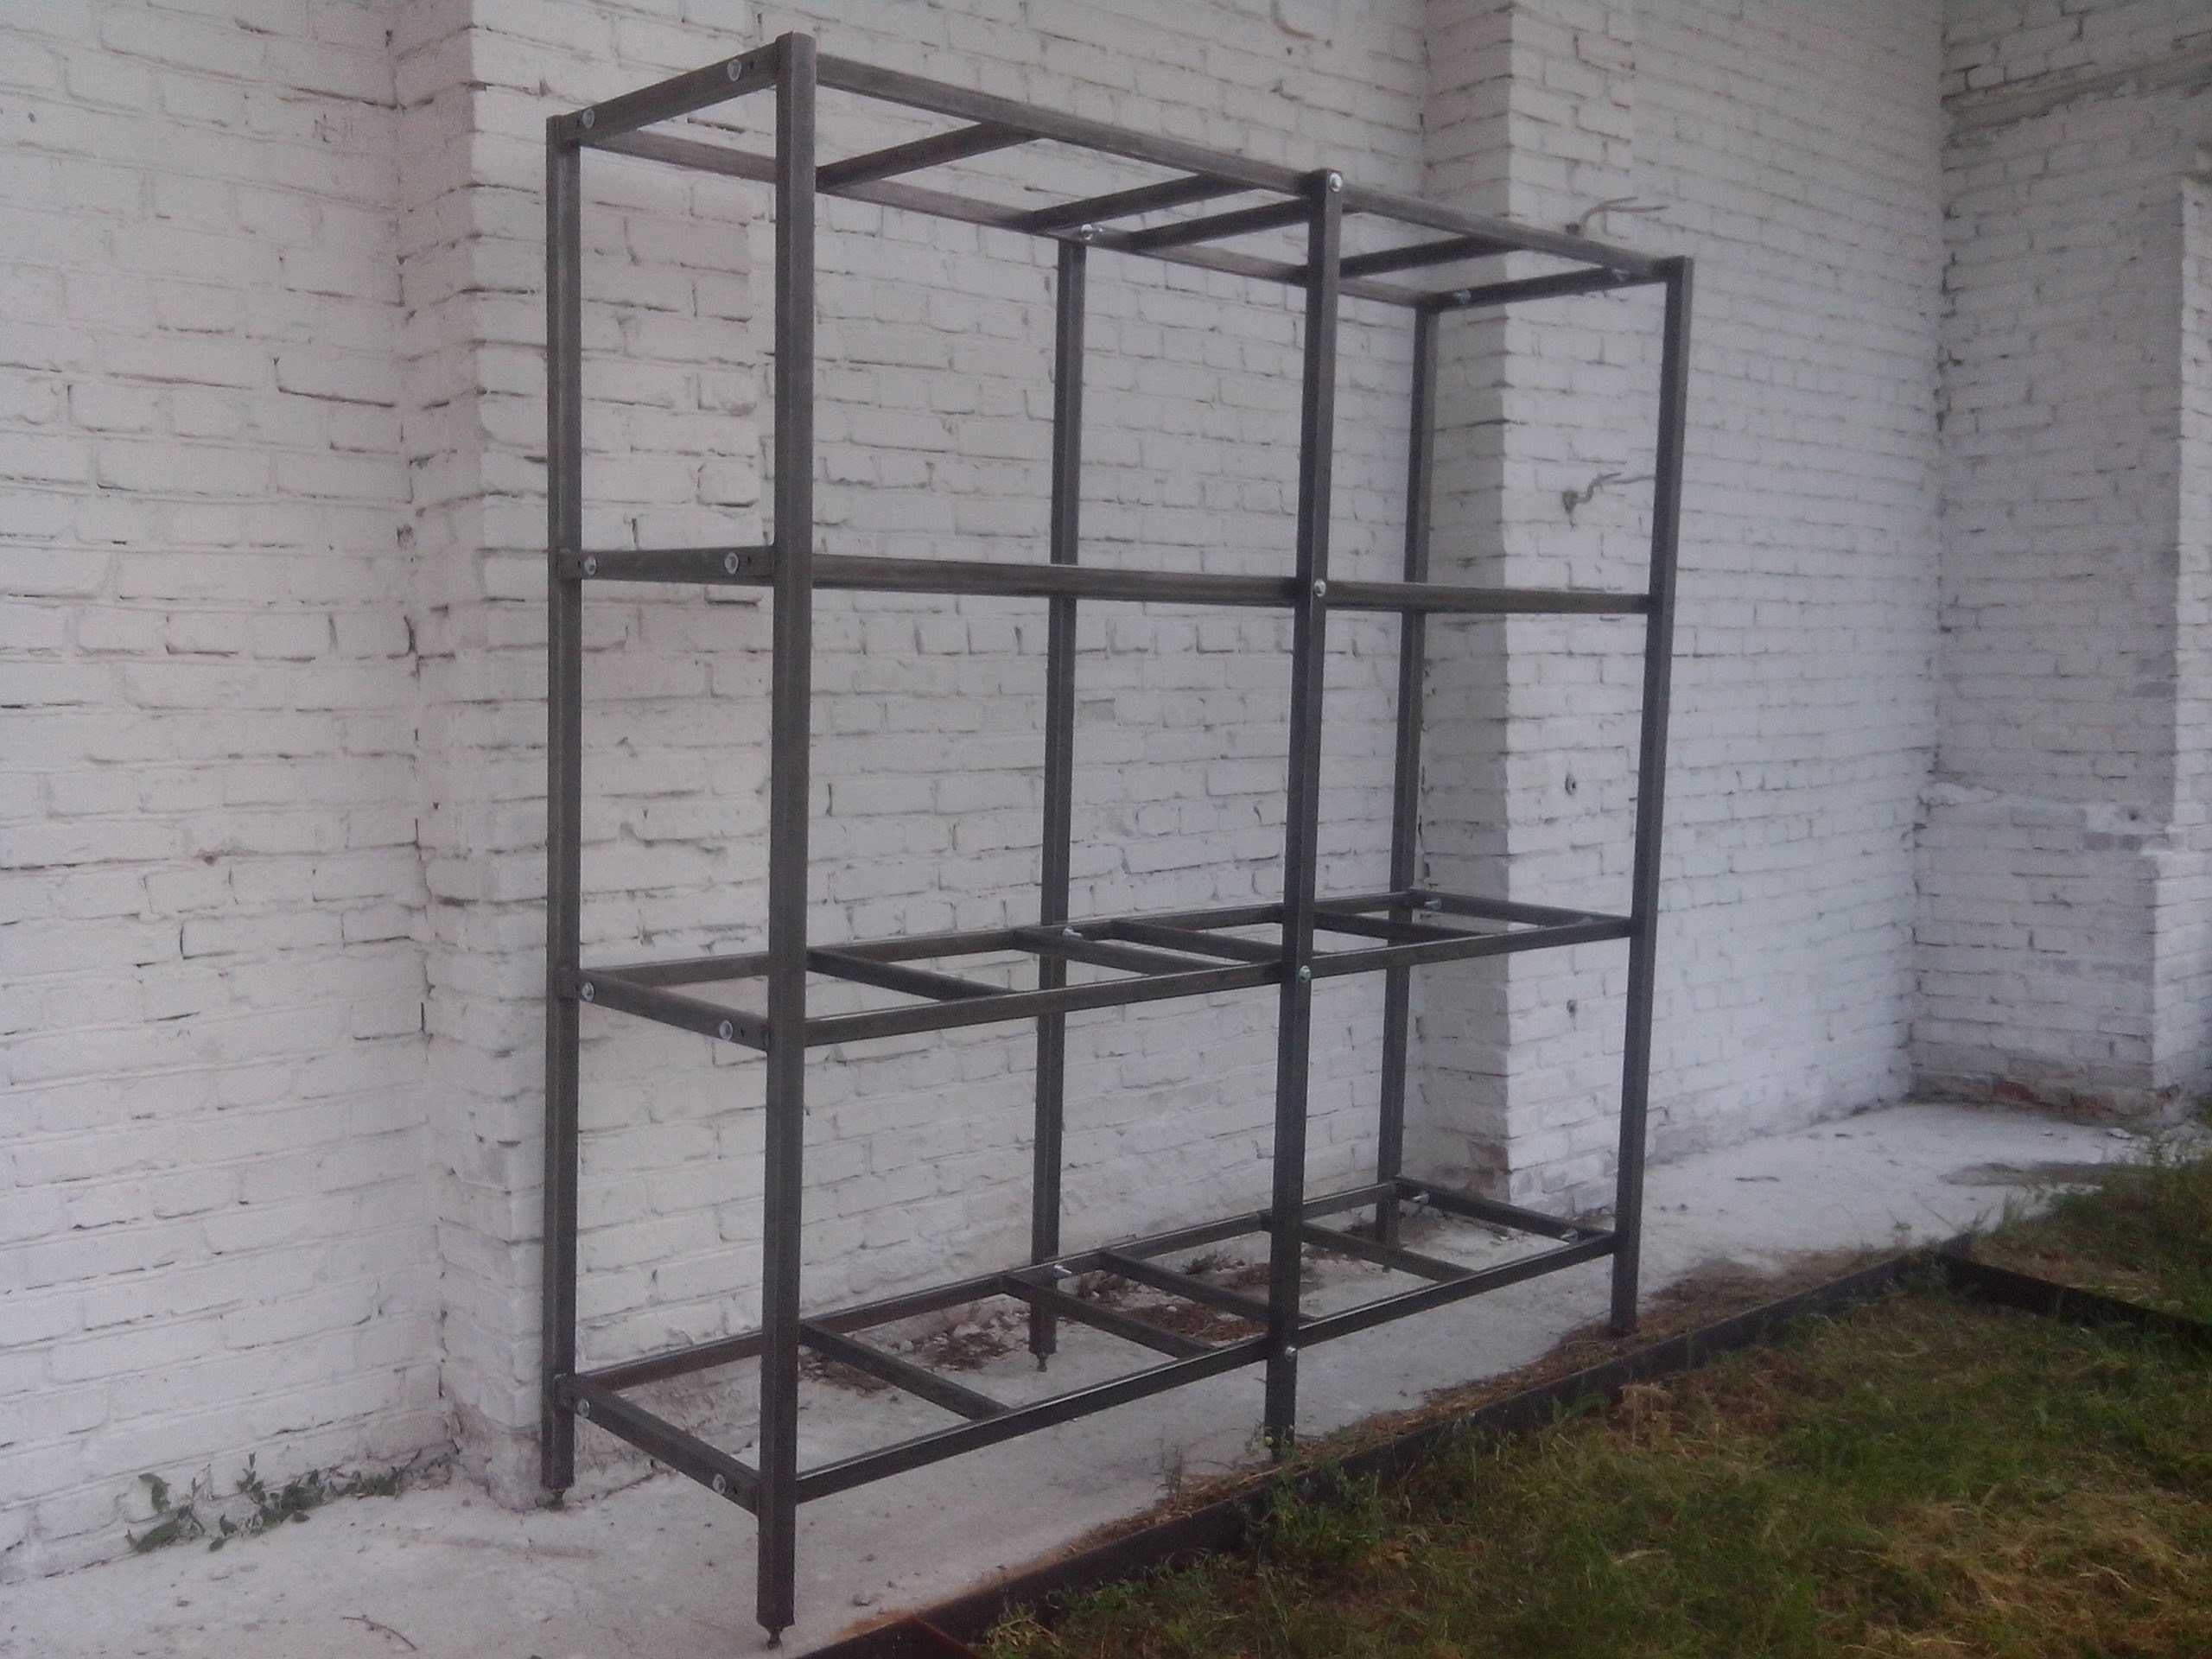
To make this product you will need:
- For racks - a wooden block or a profile pipe.
- For a frame - a rail or profile.
- For shelves - boards, chipboard.
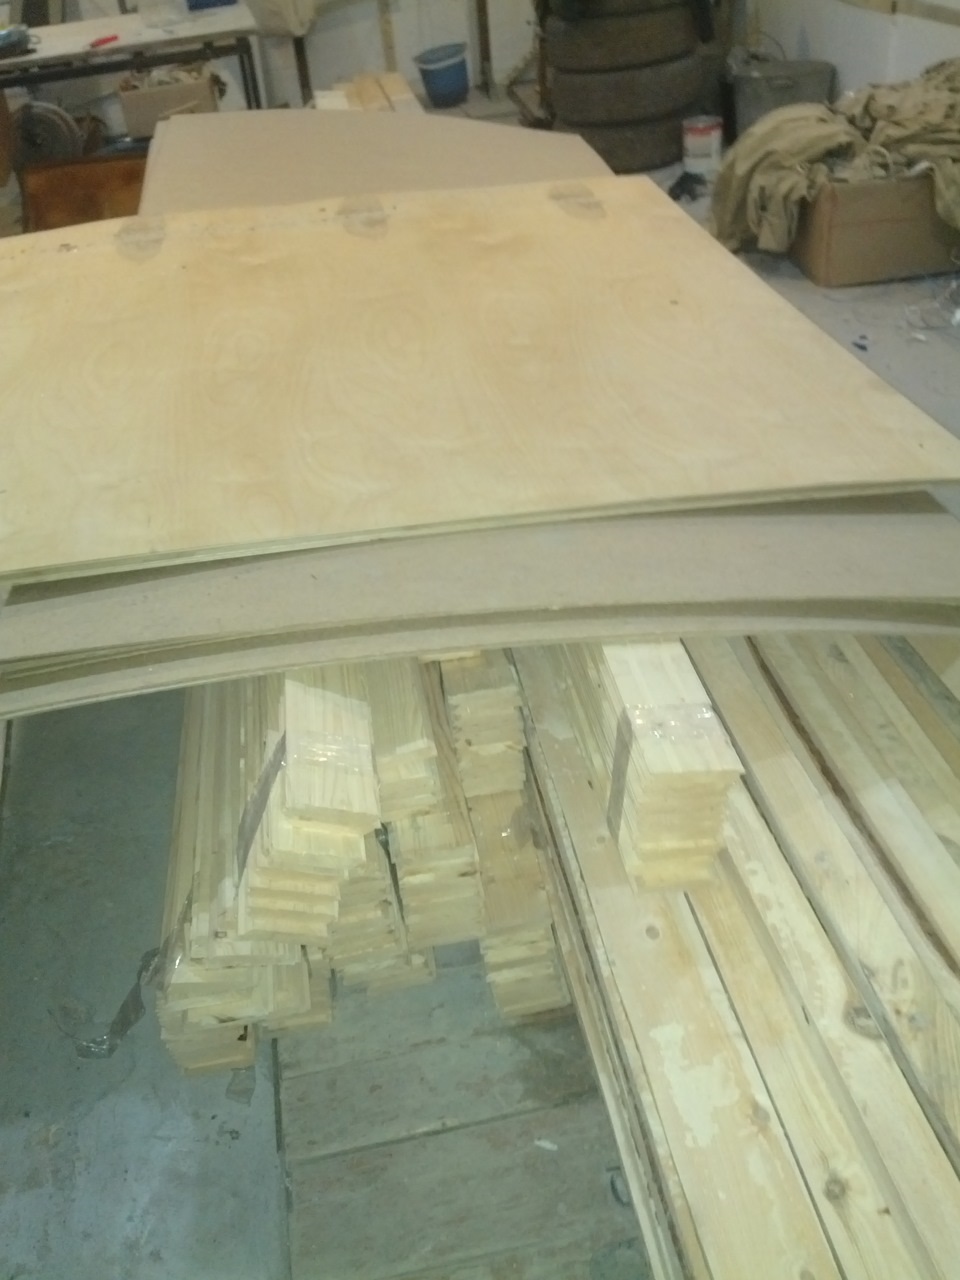
Required tools
Before starting work, you should purchase metal corners, brackets that you may need for installation, self-tapping screws, dowels, nails, prepare the necessary tool:
- Jigsaw or hand saw.
- Drill.
- Grinder with different attachments, rings with different hardness.
- Screwdriver.
- Hammer.
- Level.
- Roulette.
- Pencil, chalk.
- Phillips screwdriver.
- Skins with different sanding surfaces.
- Brushes.
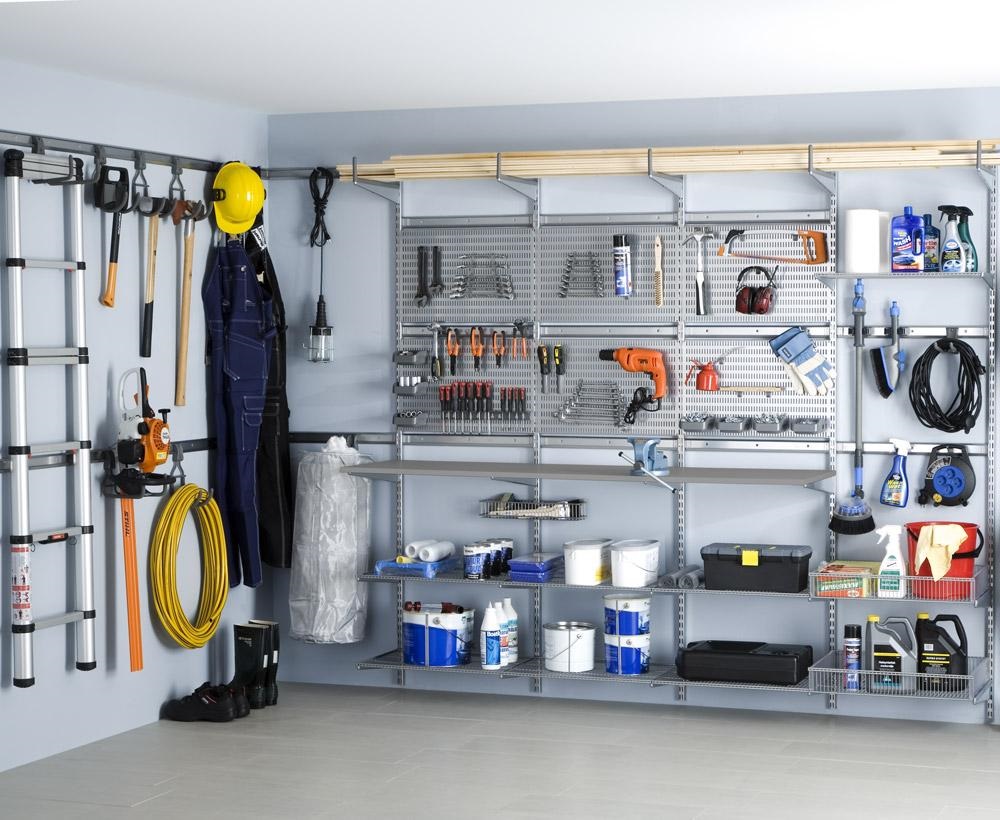
If a wooden product will be made, you should buy surface treatment fluids, varnishes, stains, paint.
Varieties of shelving
The list of species with a description is below.
Wireframe
These products require a supporting base in the form of a wooden frame or metal. The required number of shelves is attached to it. This is the most convenient mounting option.
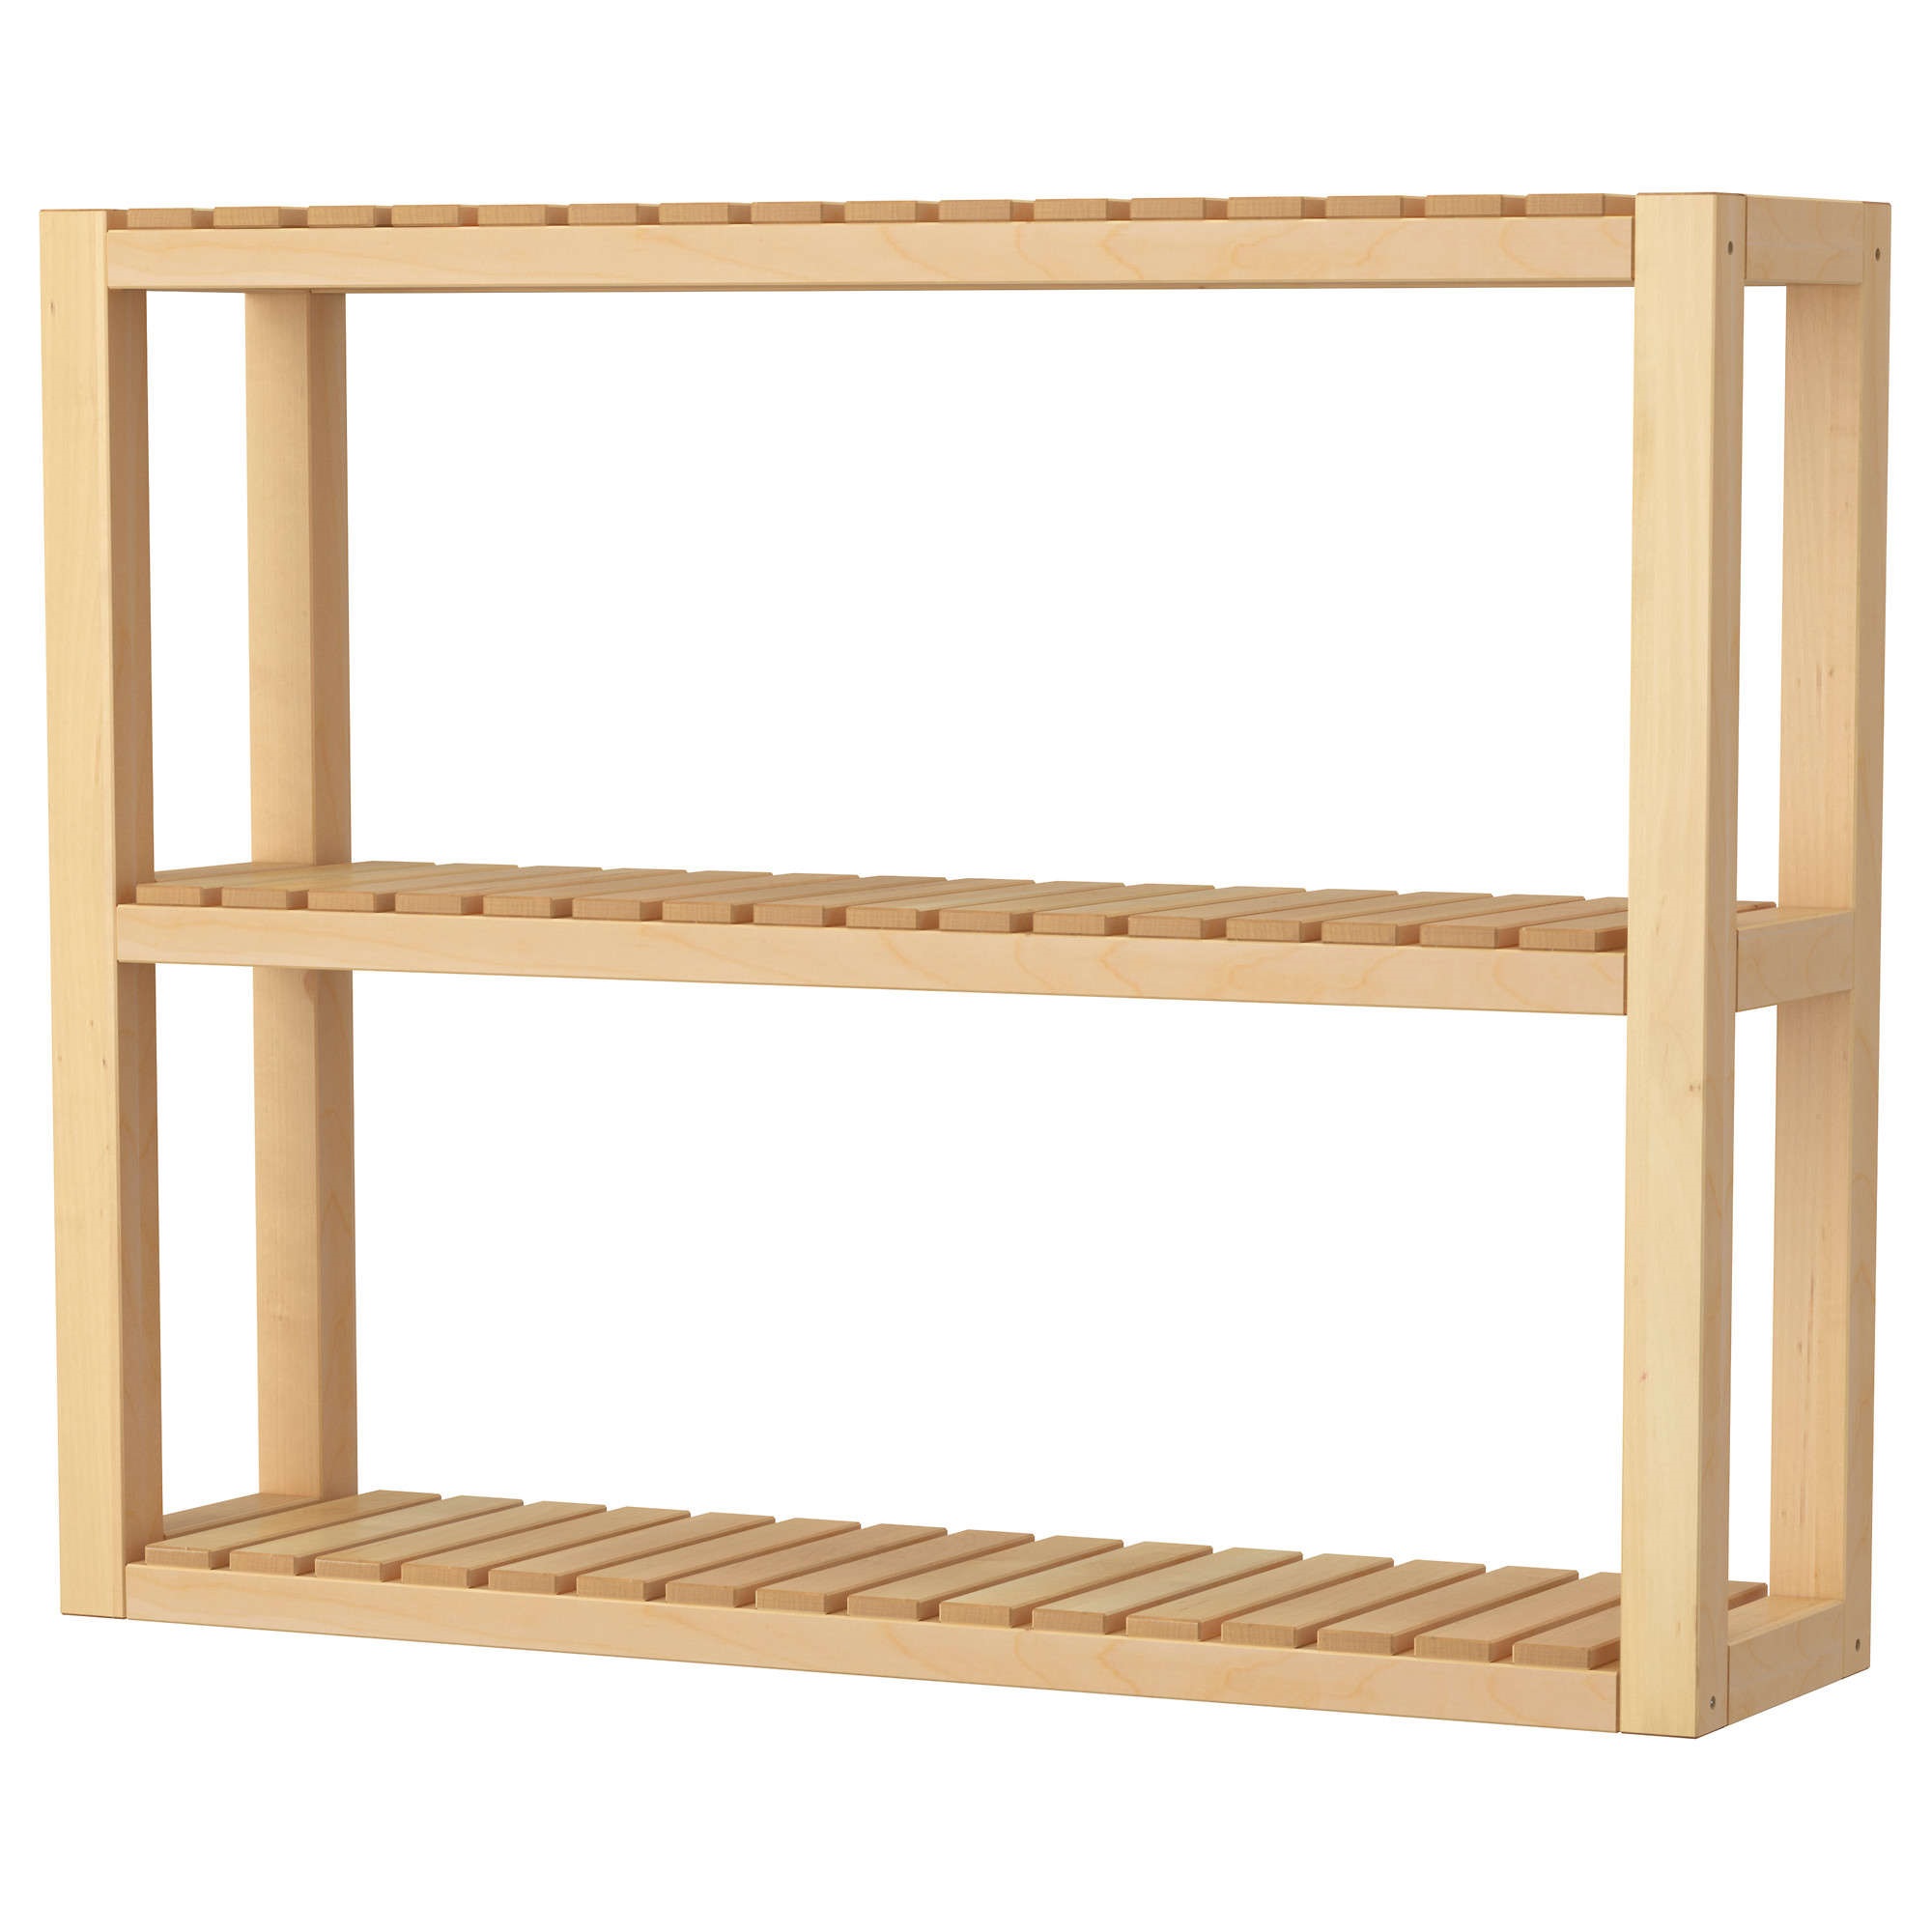
Beam
According to the scheme, they resemble the first manufacturing method, but have a more complex design, more materials. Suitable for household needs.
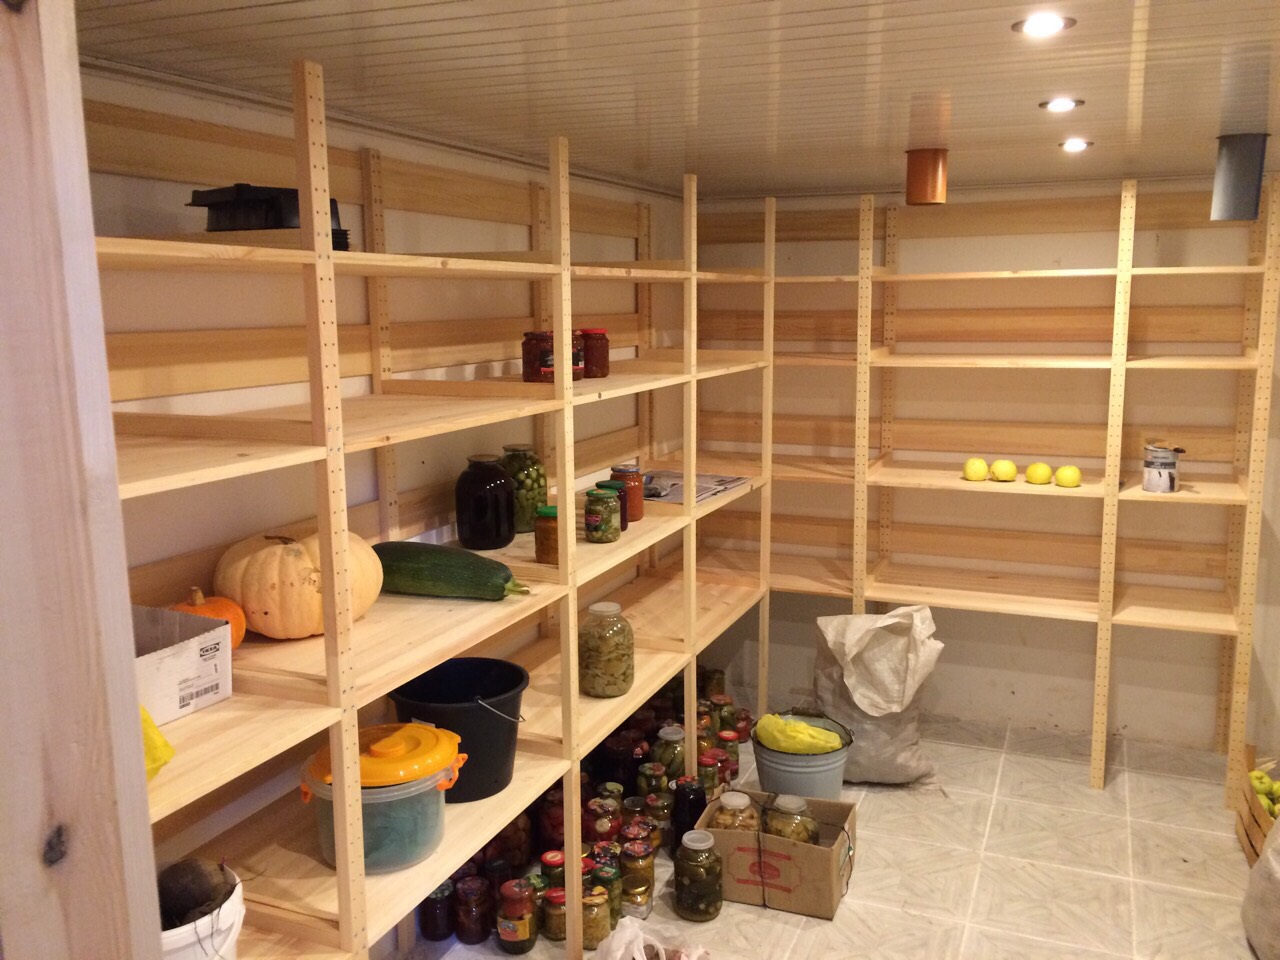
Modular
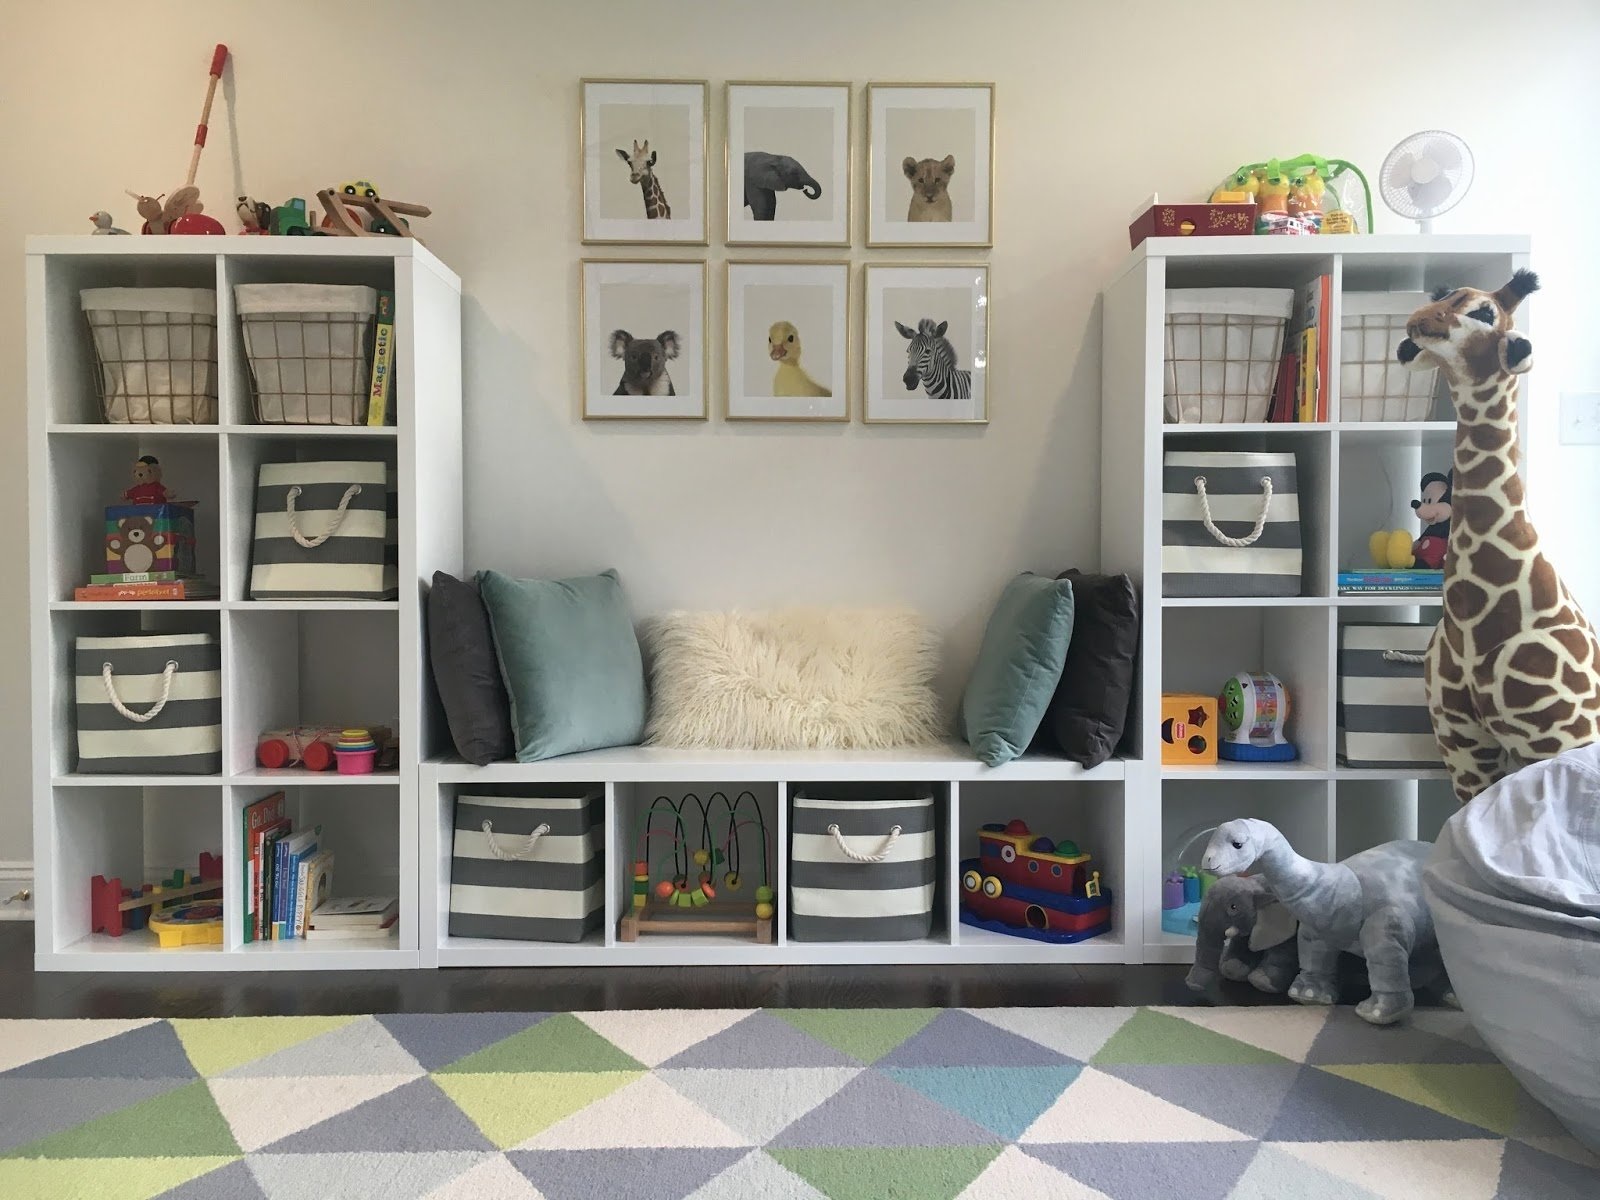
These are racks consisting of a ladder, a box, a lattice. They can be of various shapes, attached to the wall, and have a free-standing structure.
Console
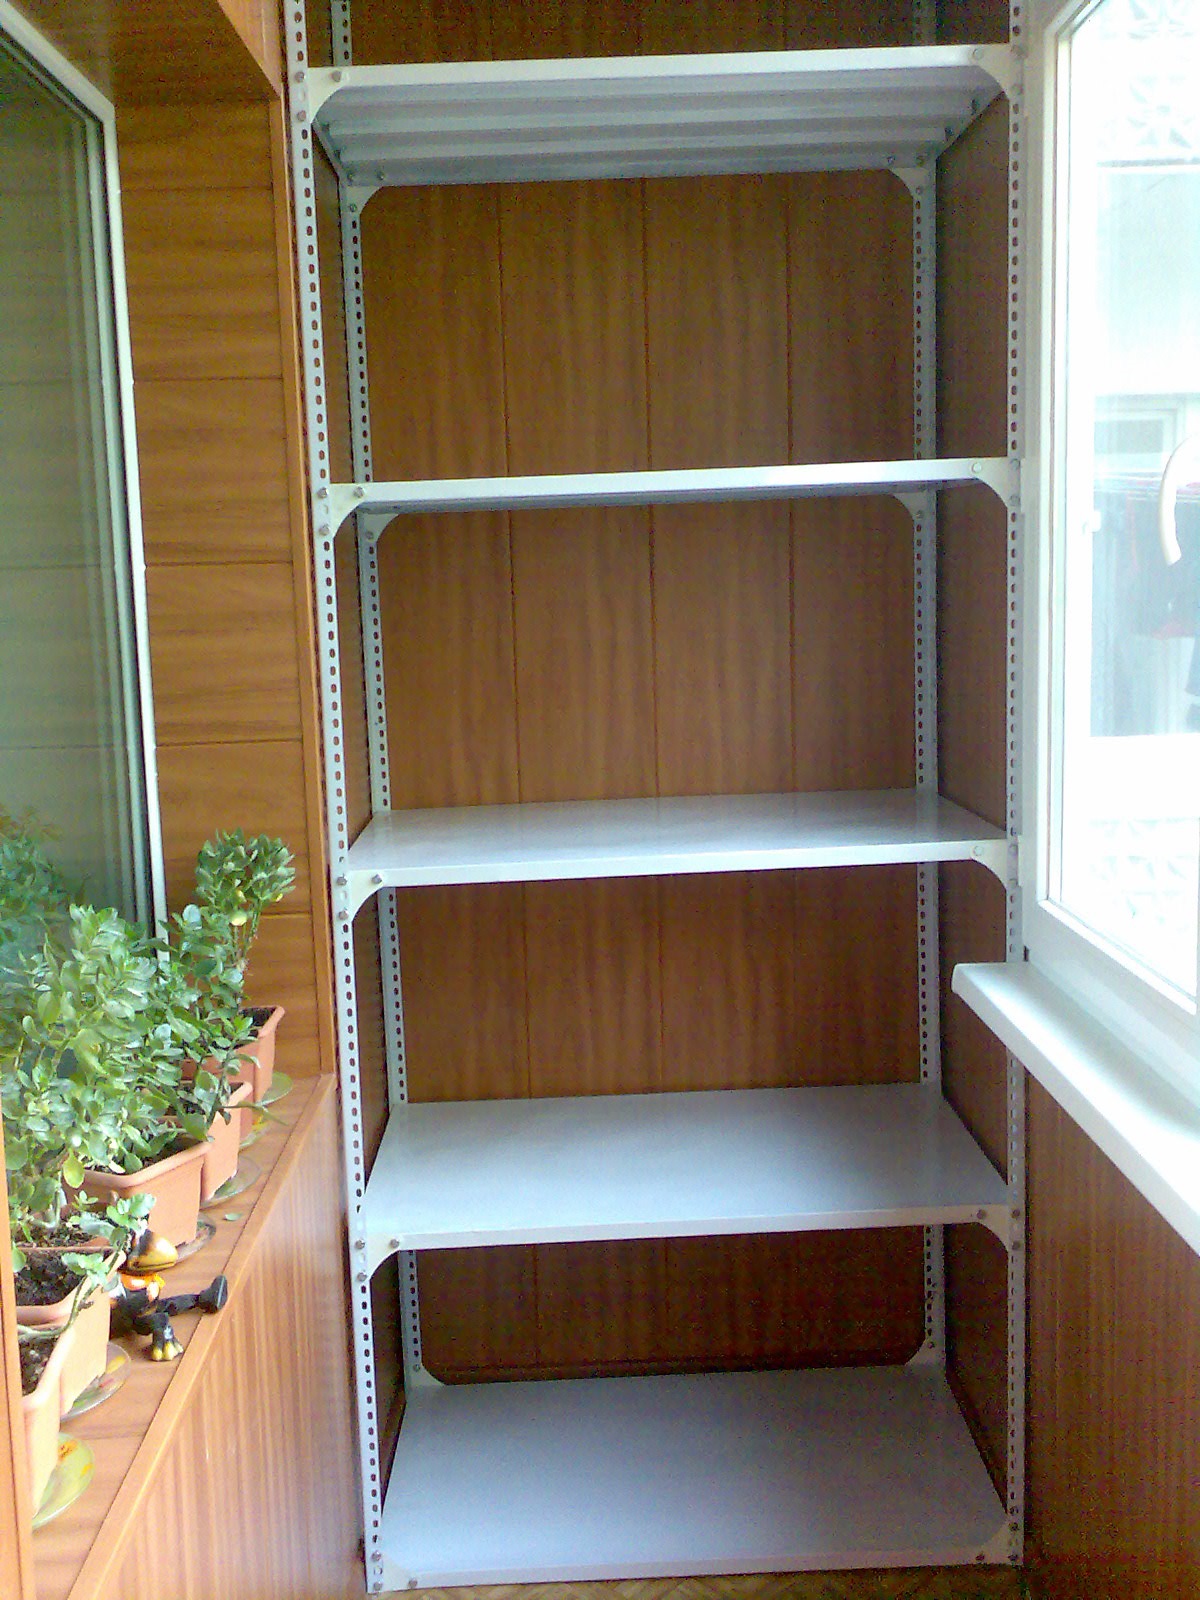
This type of product does not have side walls, while the shelves are attached to the back wall. Ideal for hallways and closets.
Rope
It should also not have sidewalls. This is a decorative type of rack in which the shelves are attached to the ropes. It is not worth storing heavy things in this structure. Can be used for a nursery, for the purpose of a stand for souvenirs, toys.

Cantilever racks
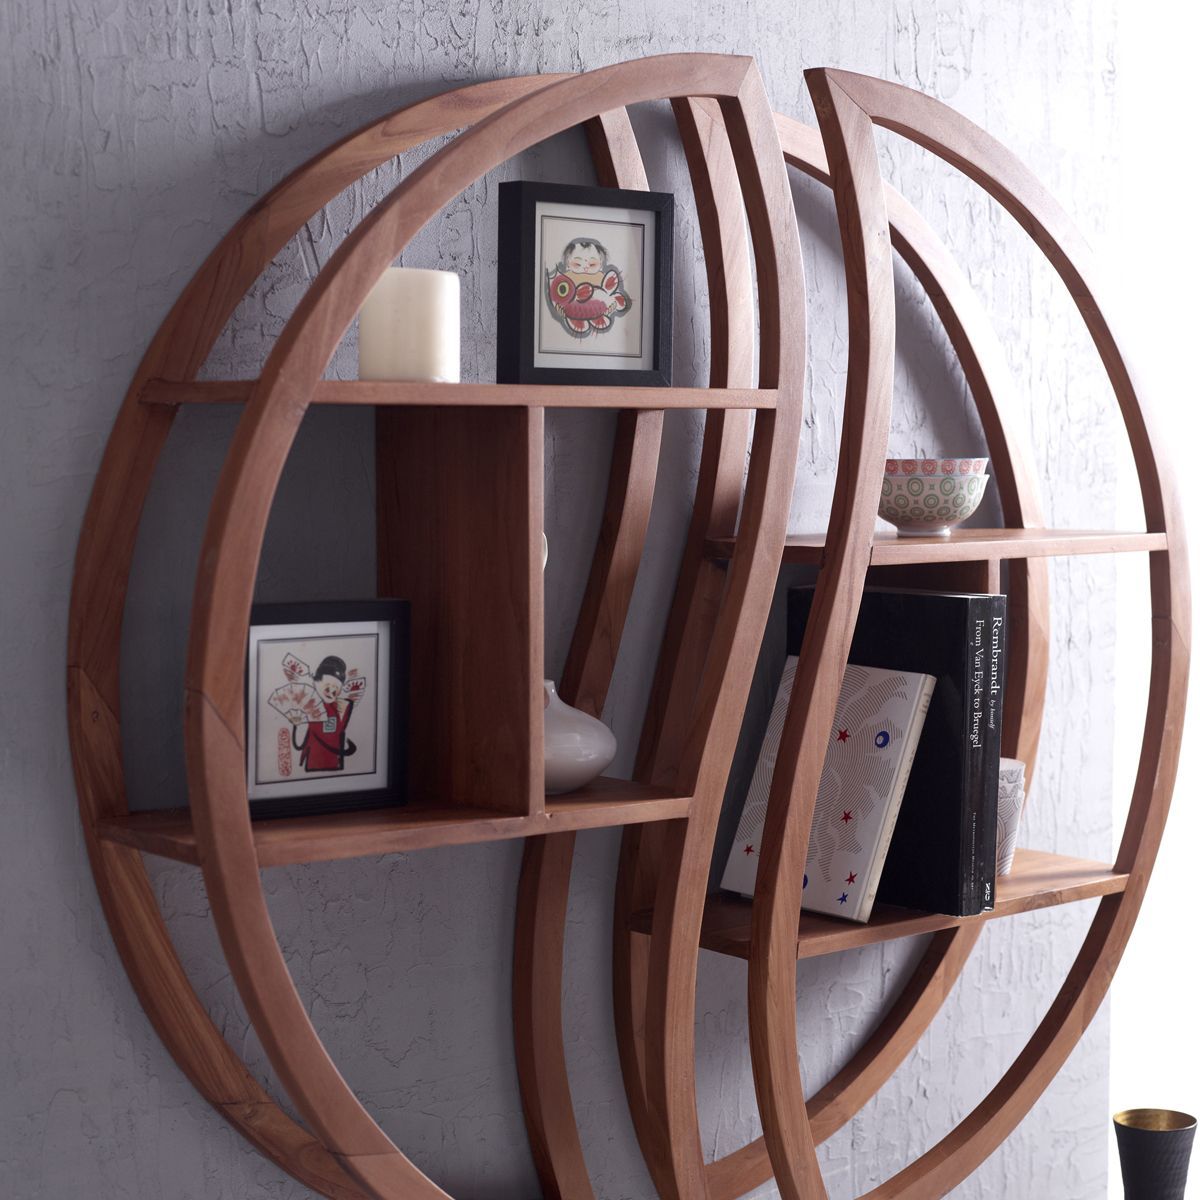
It is difficult to make them yourself. They are curved. They can serve as a decorative function. Cannot withstand heavy loads.
Bridge circuit
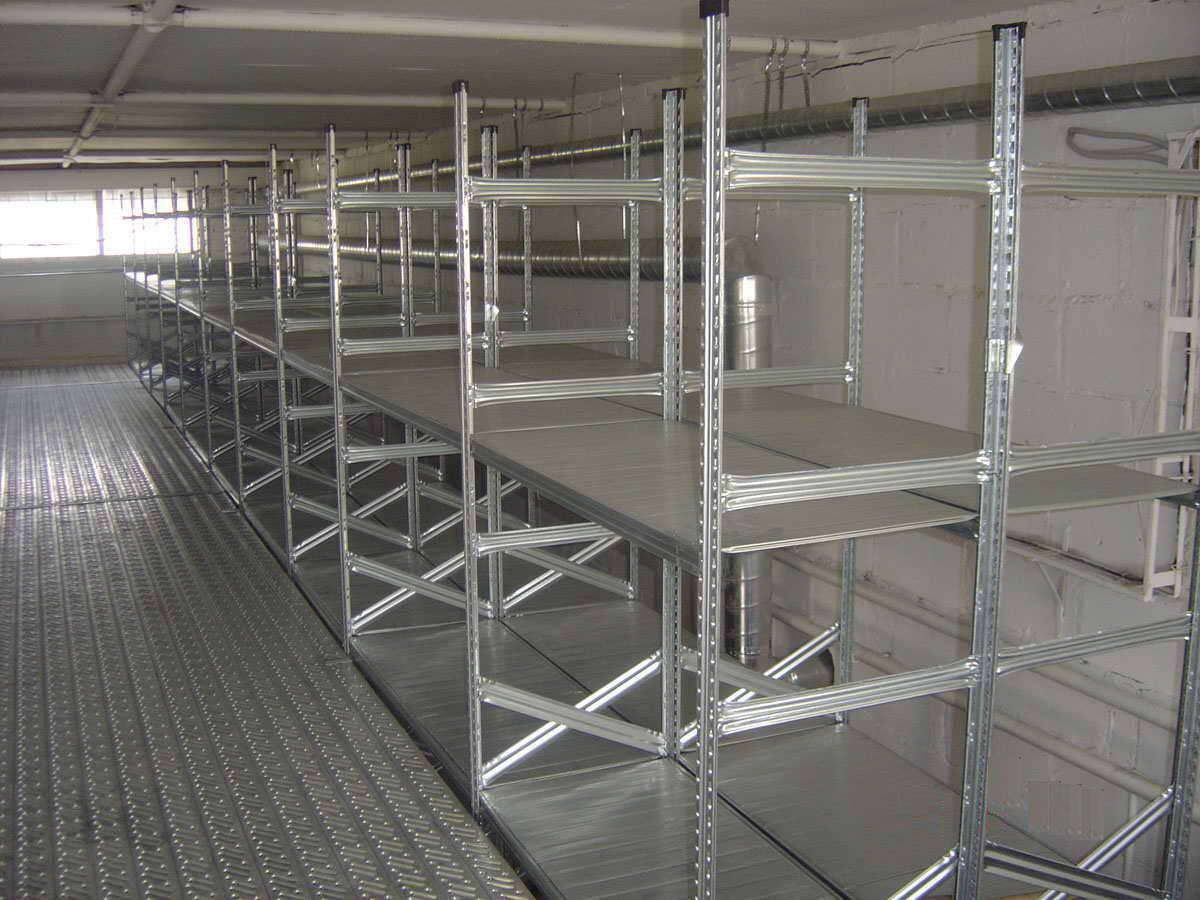
This type of construction is not as practical at home. It is mainly used in manufacturing. Inside it are partitions, which are made of planks similar to shelves.
How to make shelving shelves
In order to understand how to make a wooden rack with your own hands, you need to determine where it will need to be placed, for which storage it is necessary. It is necessary to draw up a drawing on which you want to designate each element, think over the design of the product, the way of its assembly.
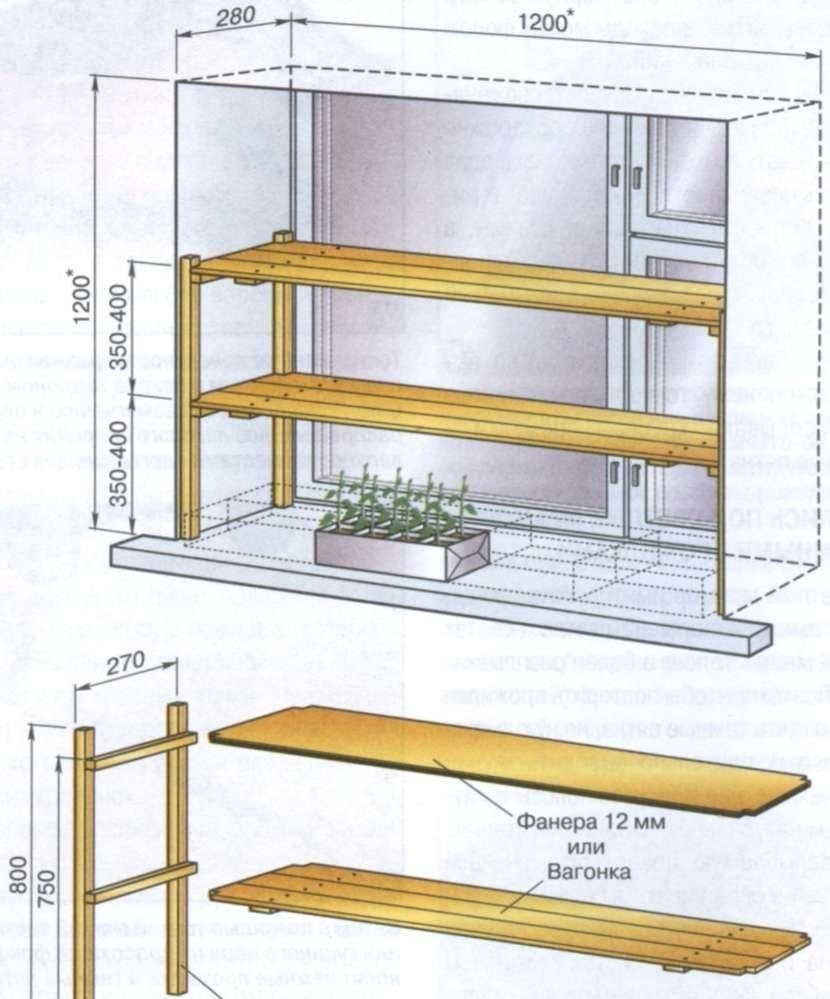
At the very beginning of preparation, you will need to measure the space where the rack will be located. This requires a tape measure. The height and width of the structure should be acceptable, convenient for using this structure, depending on the items that need to be laid out on the shelves.
For preservation or books, you need to choose boards 25-45 cm wide. For a rack where tools will be stored, you need to choose wider shelves. The length of the shelves for children's things, toys, souvenirs does not have to be large. 1.5 meters will be enough.
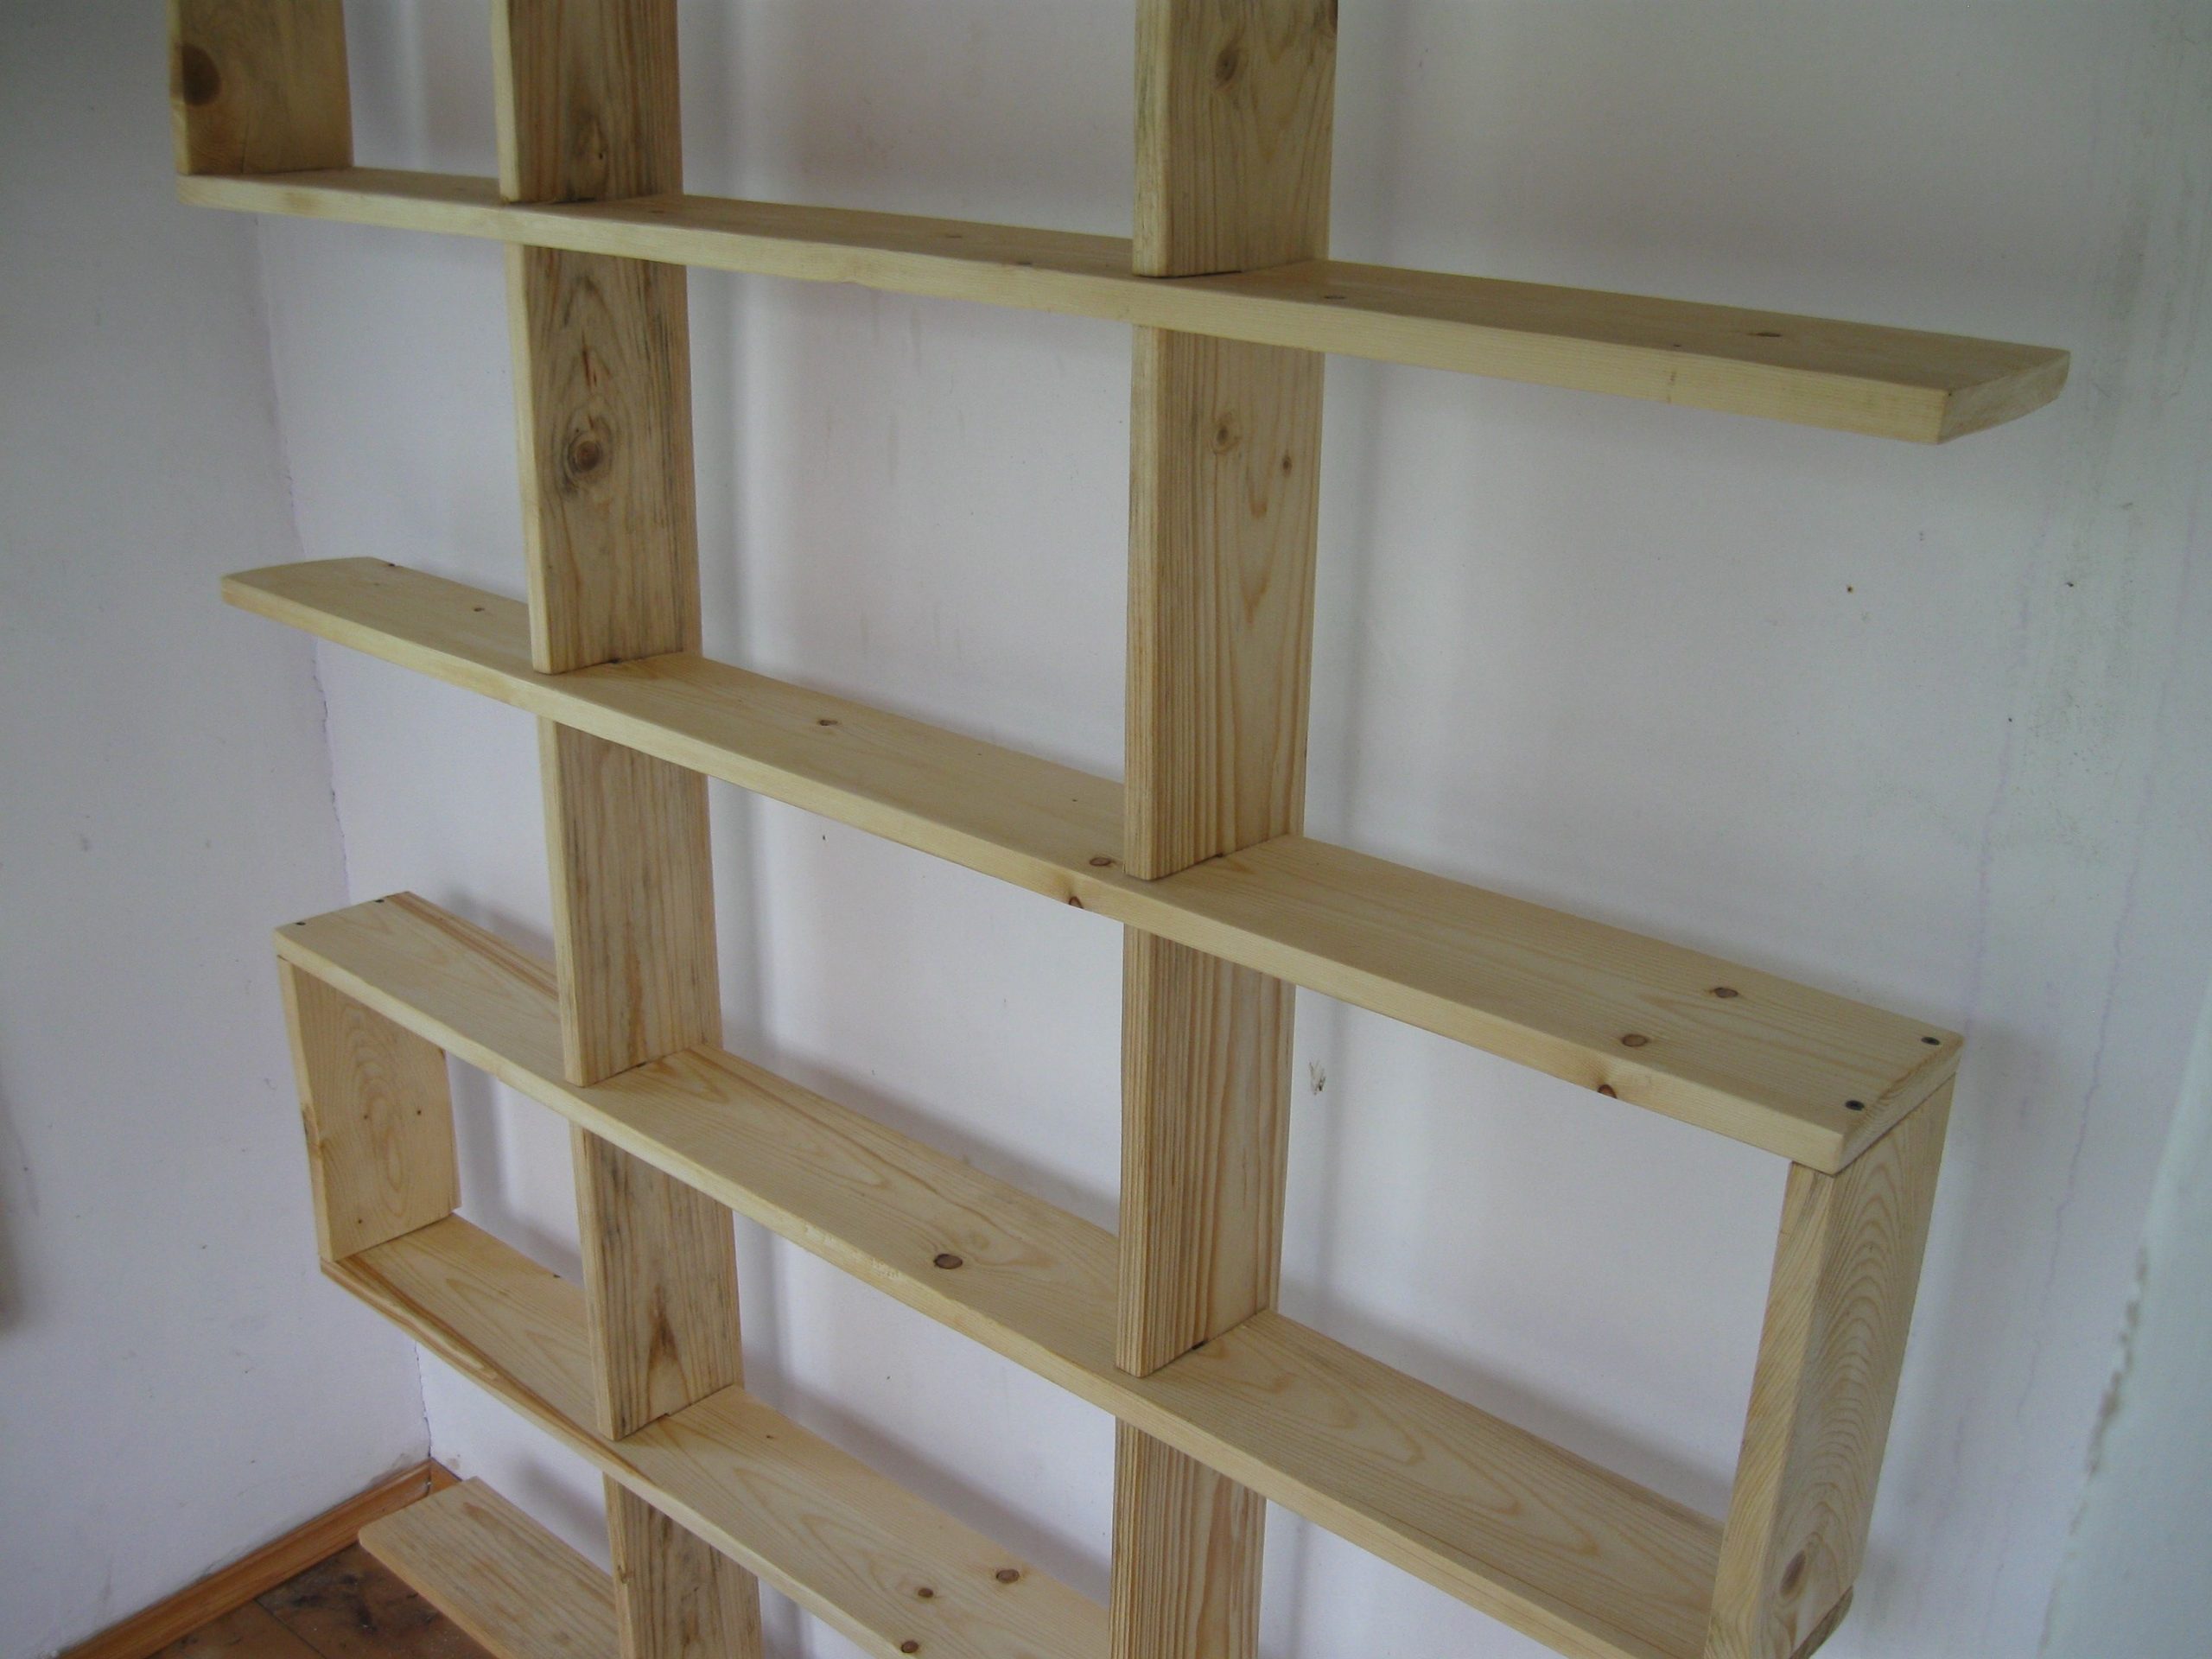
If you plan to assemble a kitchen rack, then the length should be up to a meter. If this technology is neglected, the boards will begin to bend under heavy objects. The width corresponds to the depth of the rack, the length should be such that the boards fit snugly into the frame.
After determining the length and width, you need to go directly to the blank of the shelves. The thickness of the board must be at least 2.5-3 cm. It is possible to fix the shelves with transverse bars - this will give them additional strength. You can attach such a bar with small nails.
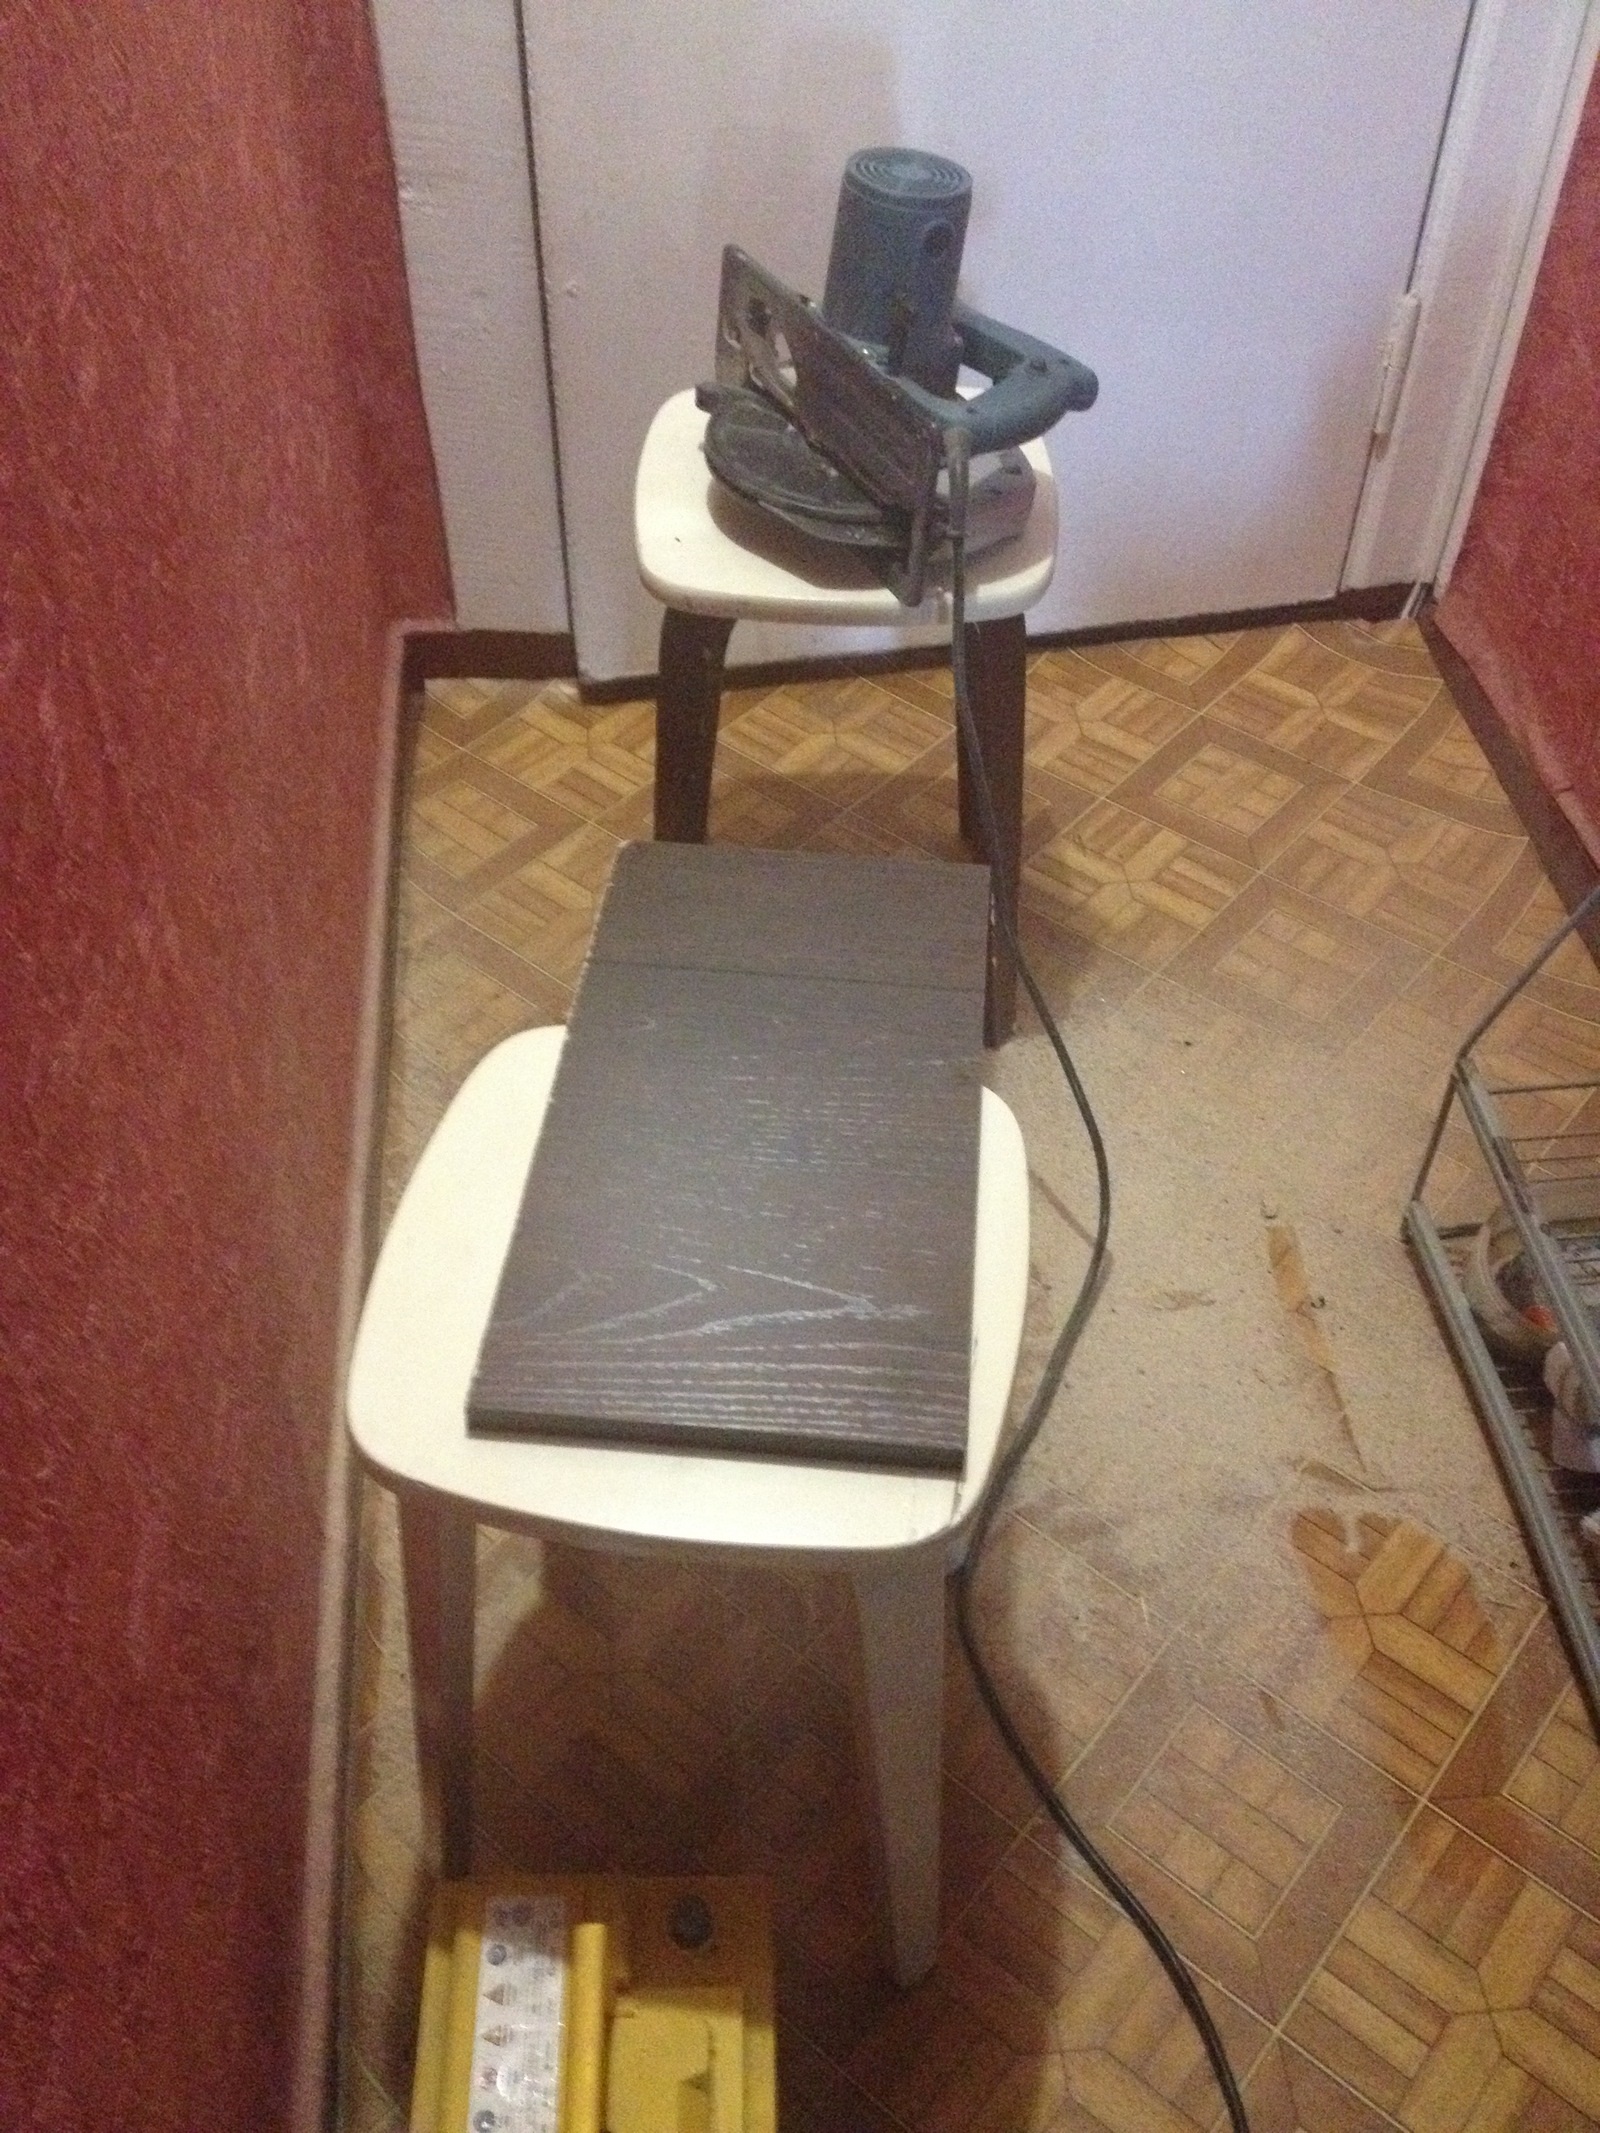
Base manufacturing technology
The second stage of work is the preparation of the foundation. Let's move on to its bottom. A thick board is useful, equal in width and length to the dimensions of the rack. To add the desired strength at this point, you can also nail the crossbars.
We turn to the side walls if their presence suggests a design. If your budget is tight, you can substitute plywood of acceptable thickness for wood planks. Its width should match the bottom base. The height should be in accordance with the developed drawing.
Having prepared the sides, you need to mark the place of attachment of the shelves with a pencil or chalk. Their height can be different, depending on the items that need to be placed in this structure. Experts advise to make the distance between the shelves about 20 and 40 cm.You can apply these two indicators to compactly place each thing, to make it versatile.
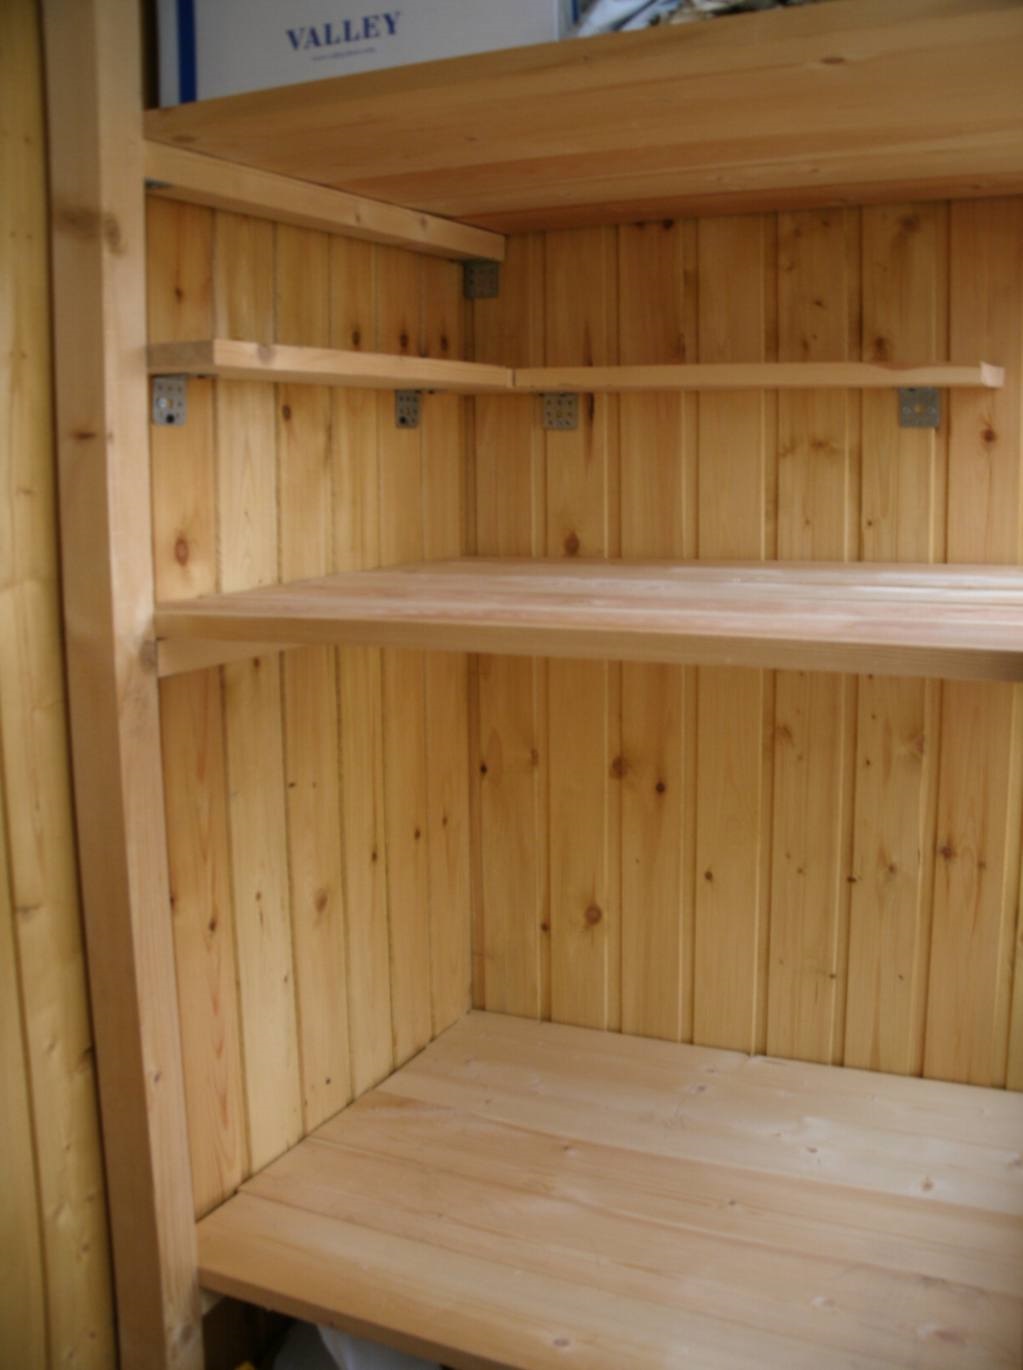
Another step is the blanking of the back wall. Some craftsmen do not use this part, the texture of the wall surface suits them. But if the design involves this part of the rack, then it can also be made from thick plywood.
How to assemble a rack completely
Assembly steps:
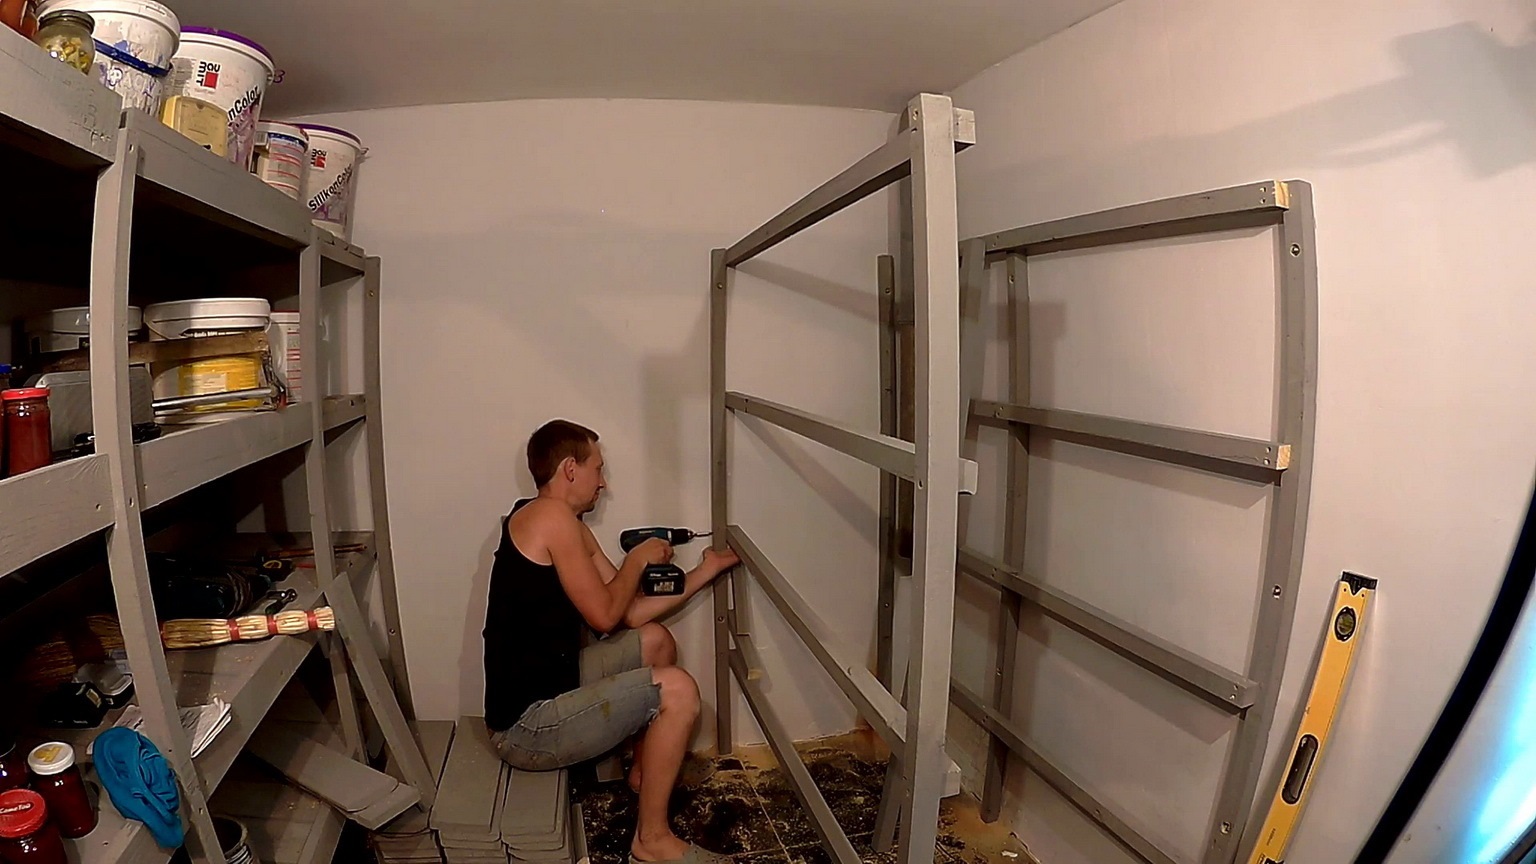
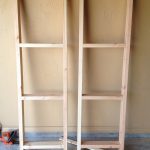
- The rack should begin to be mounted from the bottom. The side parts and the back wall (if present) are attached to the bottom shelf. Metal, plastic corners or other fasteners can be attached to the sides in the marked places.
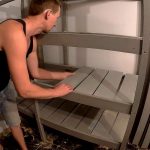
- Shelves are placed on the holders, fixed with self-tapping screws. It is convenient to perform these actions together with an assistant. You should use the level.
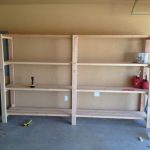
- One by one, moving upwards, all the boards are fixed at the marked height.
- At the end of the assembly, paintwork can be performed.
You can use an example to consider a drawing of a metal rack.
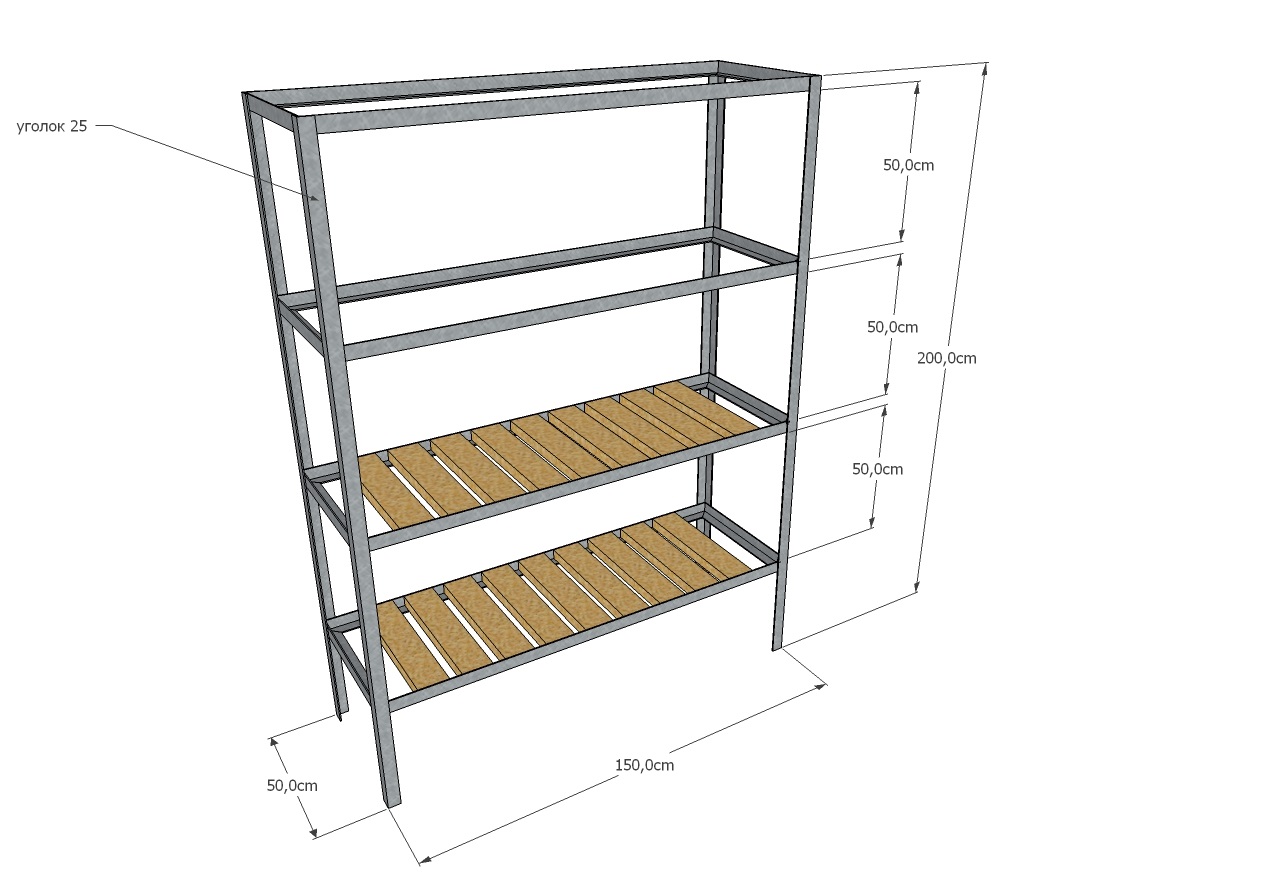
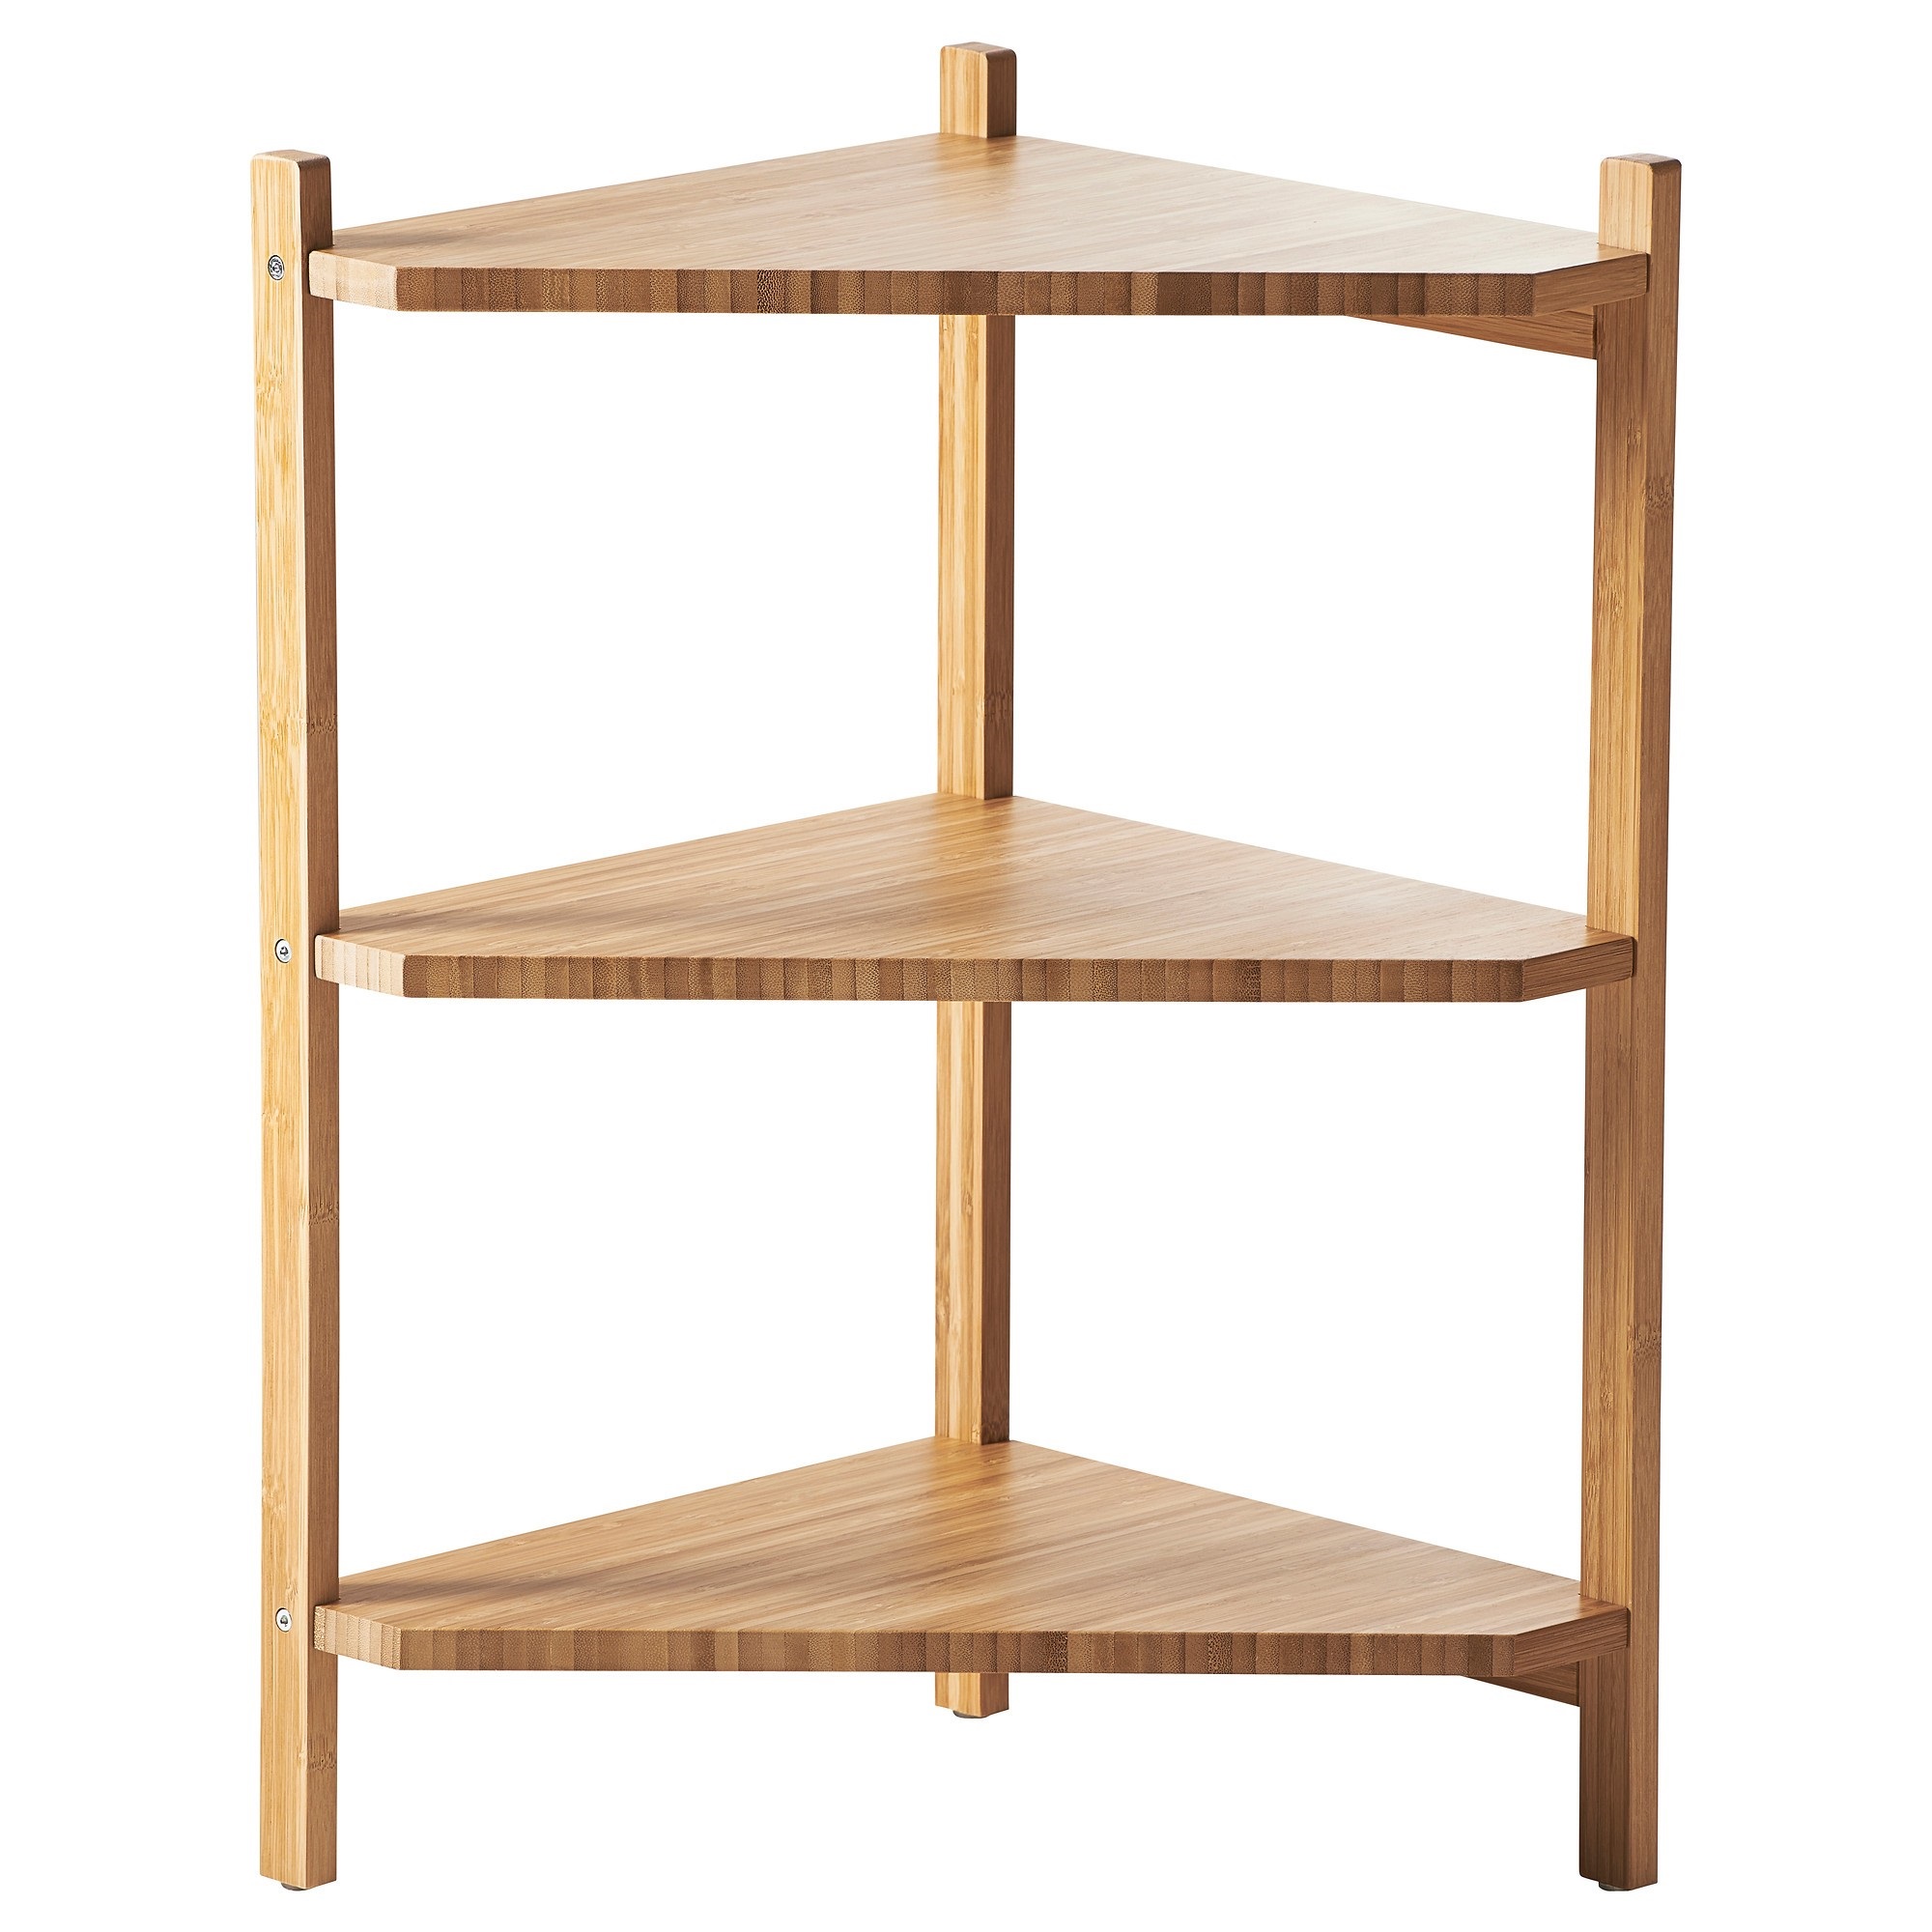
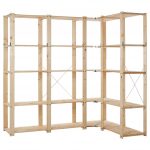
The corner structure is slightly different and is more difficult to assemble. For it, it is required to connect two side walls with the help of bars at the desired angle.
If you follow the instructions, correctly perform all the required steps, then after a while you can bring your idea to life, boast of a special rack made with your own hands, into which you can put away any things required for storage.
Video: how to make a rack with your own hands






























Discussions
An excellent option for grooved chipboard