How to make a shelf for icons with your own hands
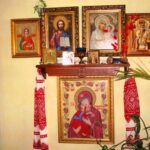
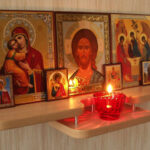
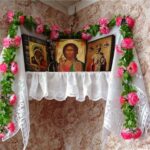
Since ancient times, believing Orthodox Christians have treated icons with reverence. These shrines were sure to be in almost every home. They were placed in a specially designated place, usually it was a corner and was called a goddess or a red corner.
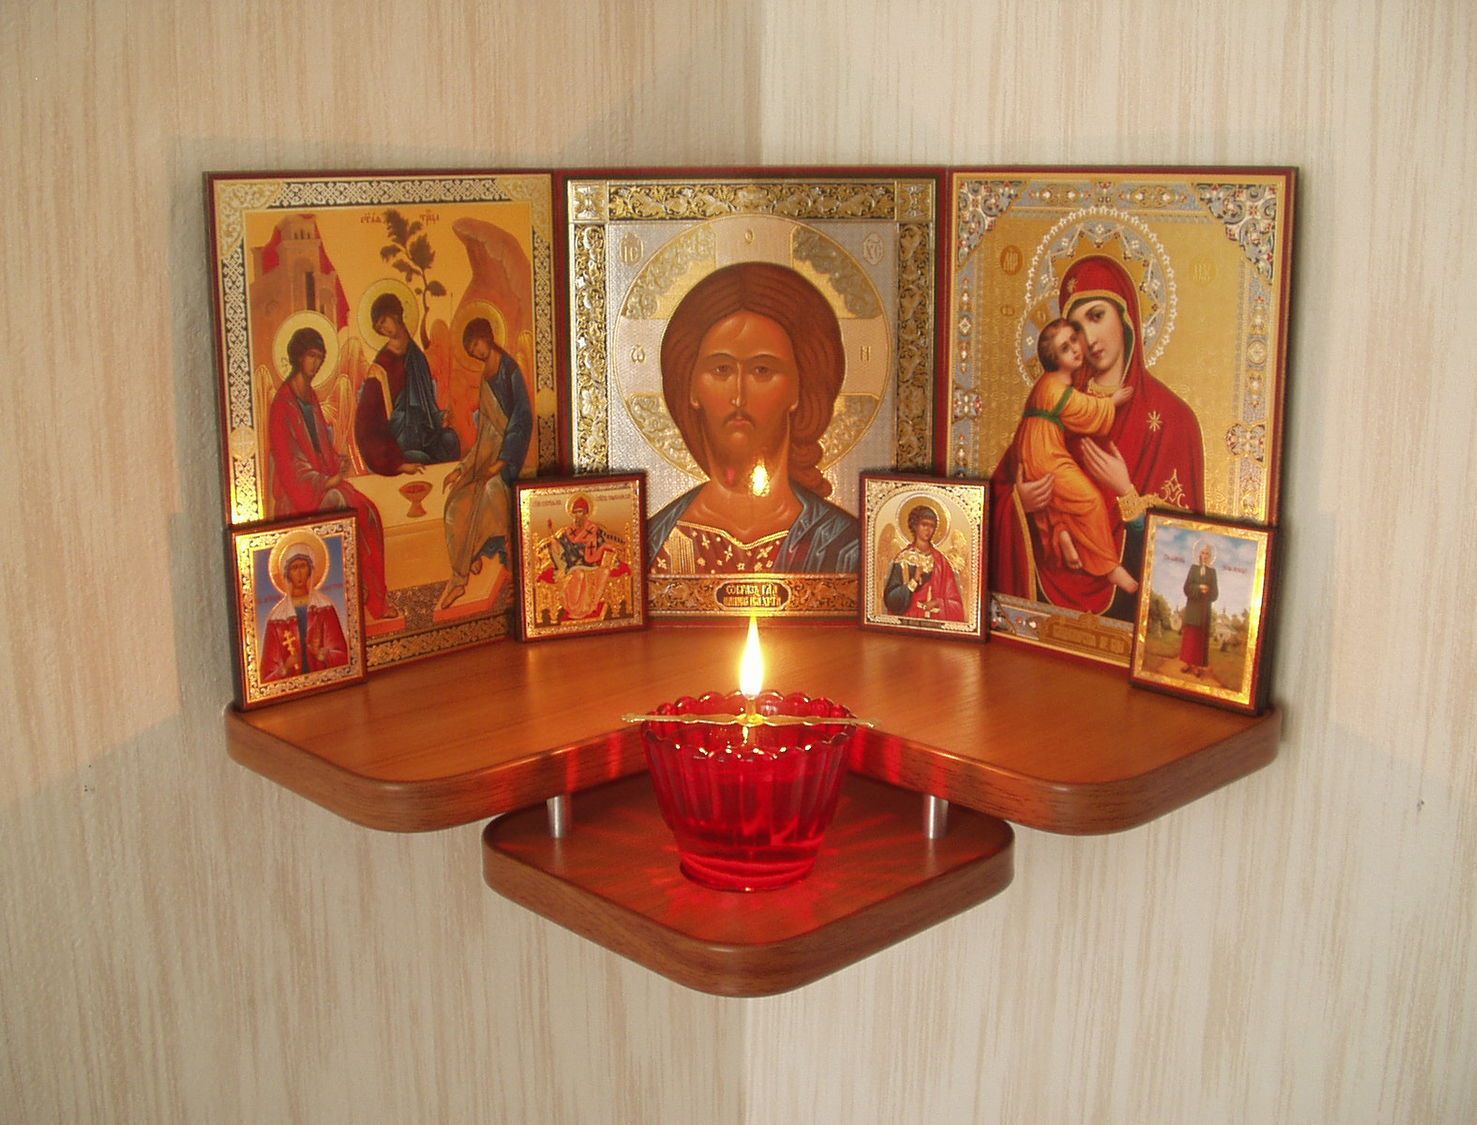
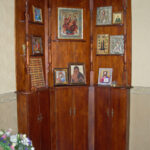
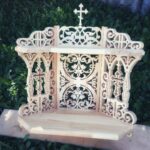
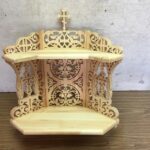
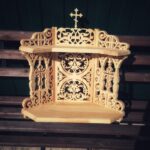
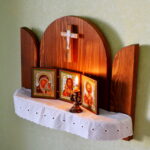
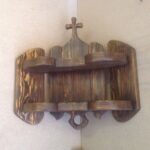
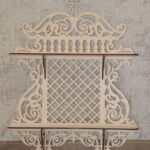
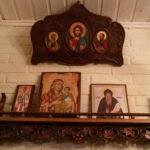
Now people are also striving to decorate their homes with icons, hanging them on a wall surface or placing them on a special stand. A do-it-yourself shelf for icons made by yourself will be an excellent alternative to a purchased one, not only in terms of convenience, but also beauty.
Homemade icon shelf
By investing love and soul and heart in the process of creating an iconostasis, you can create not only a thing useful in application, but also a real design masterpiece. There are many options for making such shelves. But there are certain requirements for them.
So, the frames of images should not be overlapped. No foreign objects can lie next to them, only that which is directly related to the shrine.
Design options
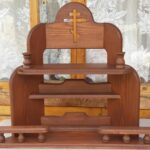
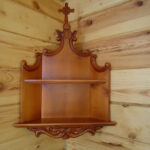
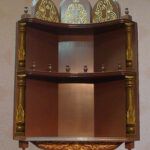
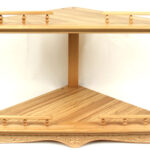
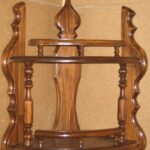
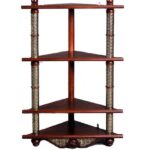
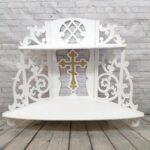
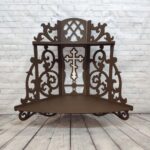
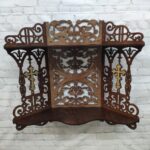
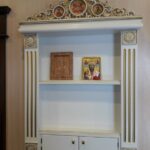
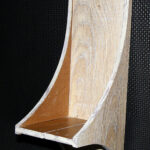
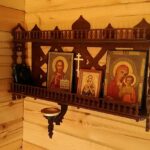
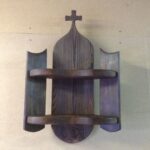
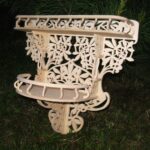
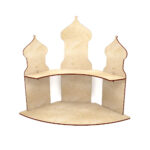
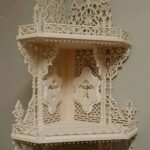
The best option for placing icons is considered to be the corner facing east, or a wall also located on this side. Do-it-yourself shelves for icons can be straight, angular, single or multi-tiered. The design of this attribute can be very varied.
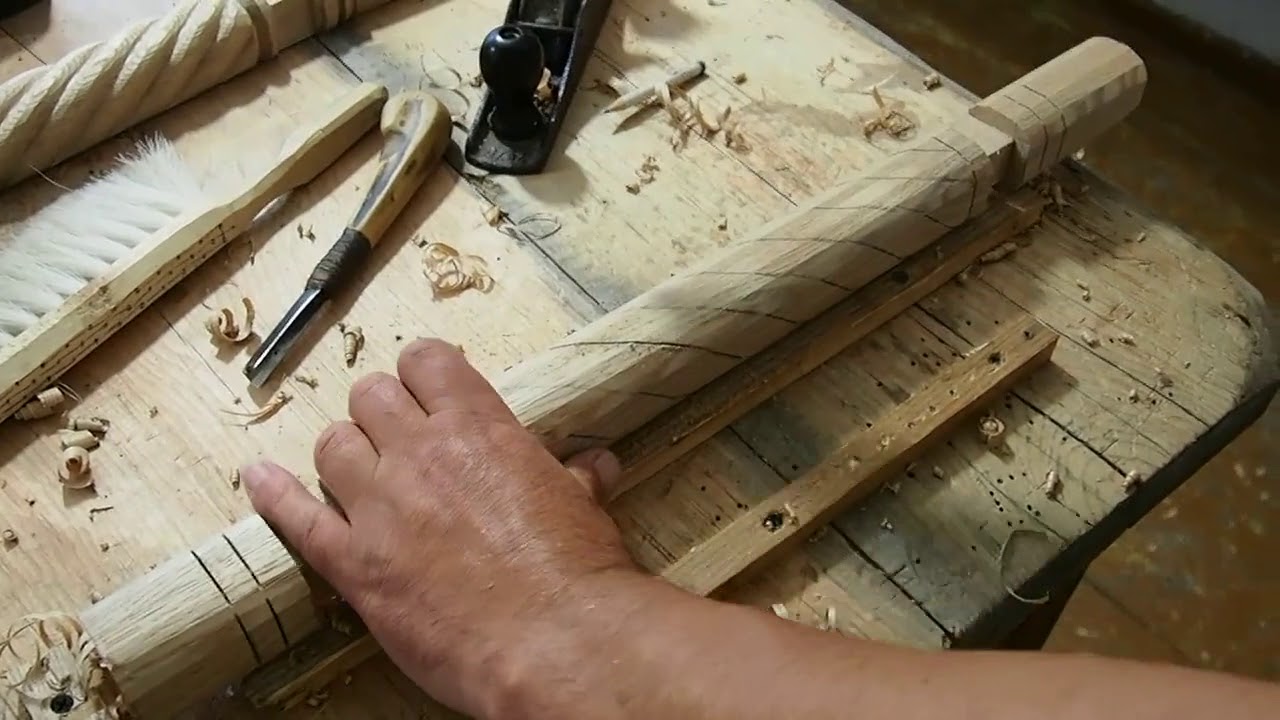
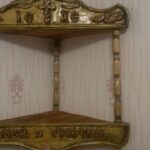
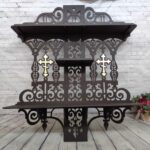
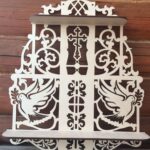
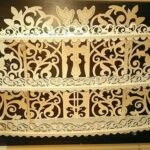
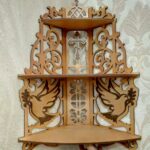
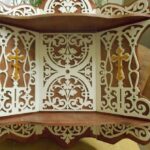
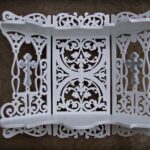
Quite often, the iconostasis is decorated with all kinds of patterns depicting plant motifs and various birds. So, before you make a shelf for icons with your own hands, you need to decide on the following parameters:
- its design;
- location;
- the number of tiers;
- spaciousness.
Next, you need to prepare tools and materials for work.
Materials and components
Since ancient times, the most suitable for a rack for icons is a tree in all its variants. However, there are no strict material requirements.
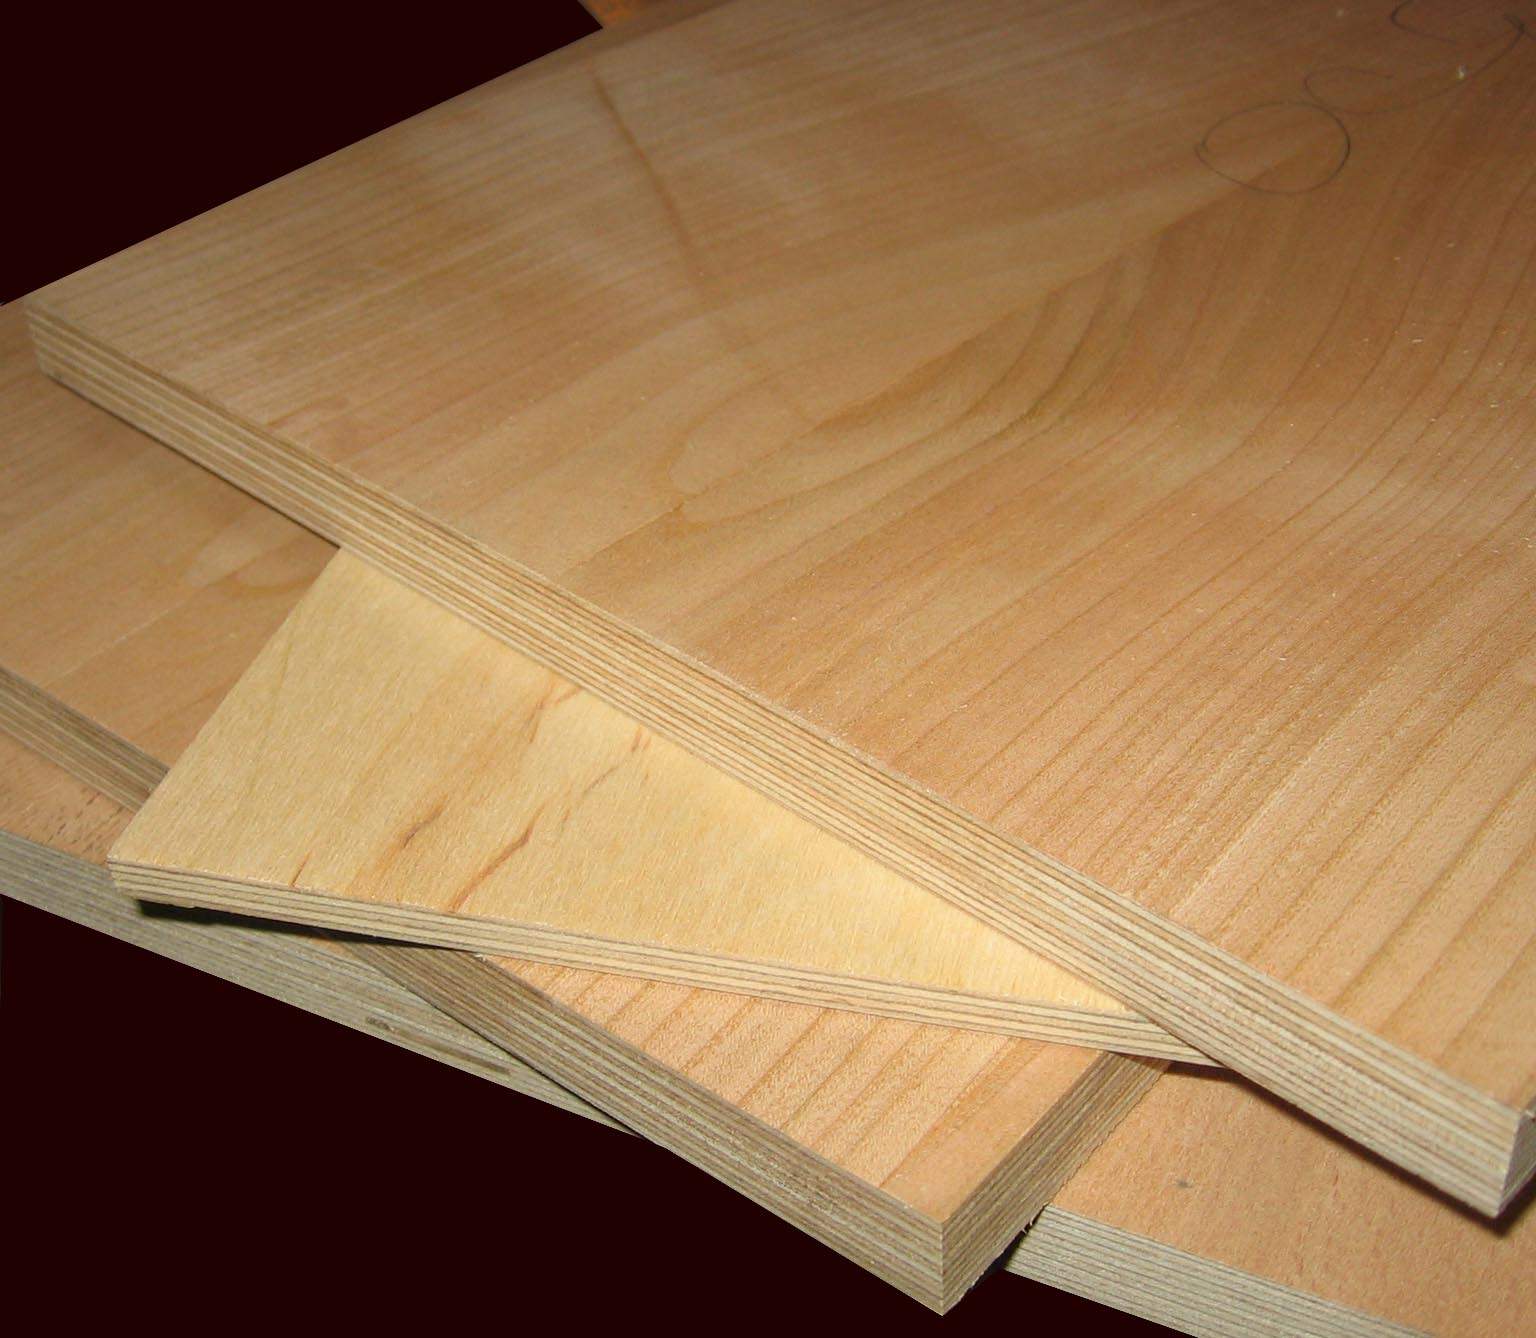
It is possible to use both metal and plastic. The tree is chosen due to the relative ease of working with it.
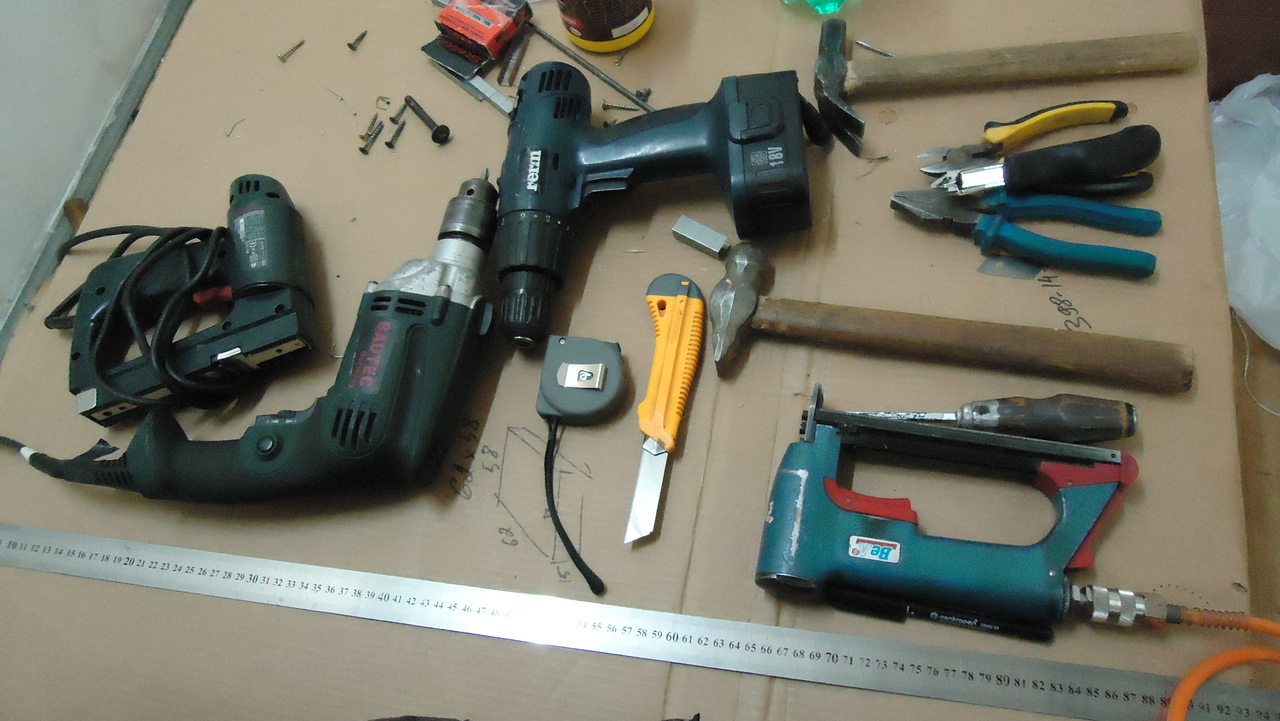
So, what is required in the work. Materials:
- solid wood boards;
- plywood;
- sandpaper;
- enamel for covering a wooden surface;
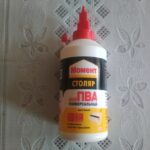
- glue for carpentry;
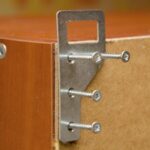
- corners and hinges for wall mounting;
- hardware, dowels and screws.
Instruments:
- items for the drawing;
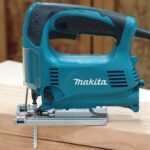
- jigsaw;
- manual milling machine;
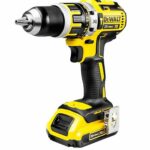
- screwdriver or hammer.
A set to make a shelf for icons with your own hands may vary slightly depending on the model, decor.
Decorating methods
As a decoration for the shelf being made, it is possible to take a variety of both ready-made decorations and those made by yourself. The latter option will bring not only aesthetic pleasure, but also satisfaction with one's own capabilities and abilities.
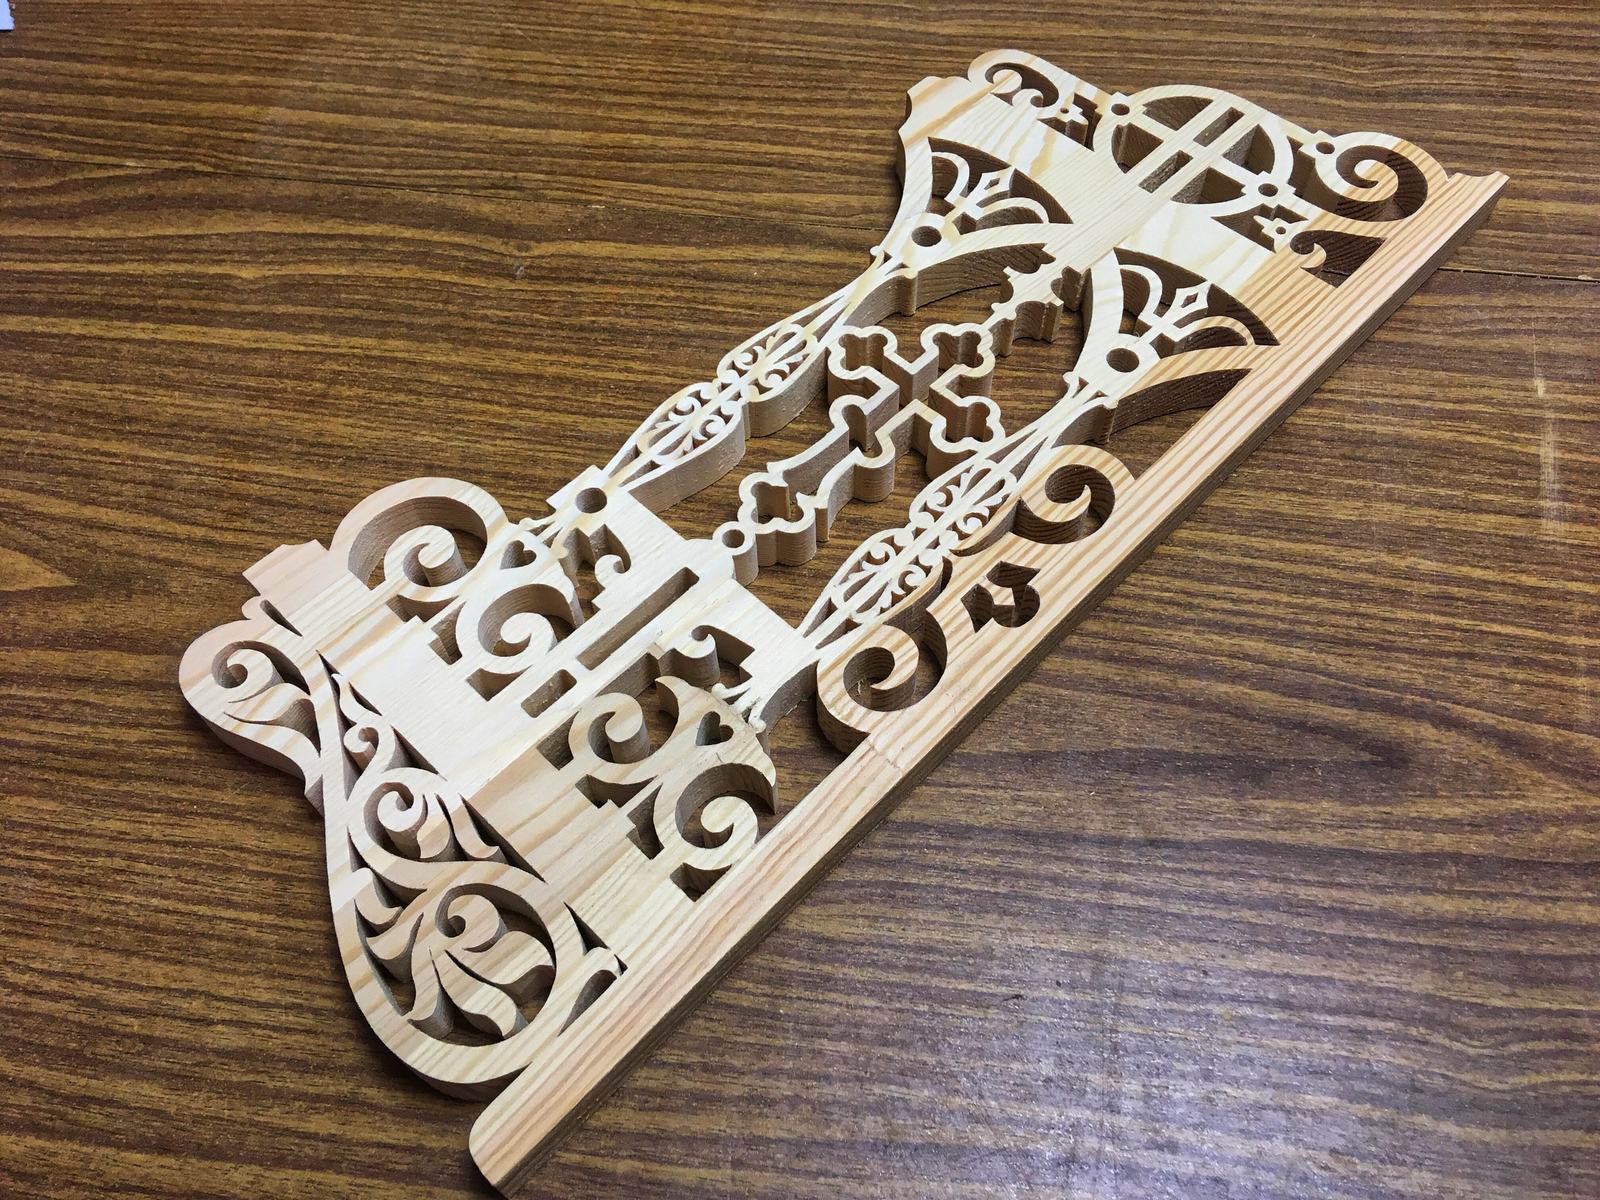
The following is used to frame the product:
- wood carving;
- imitation process.
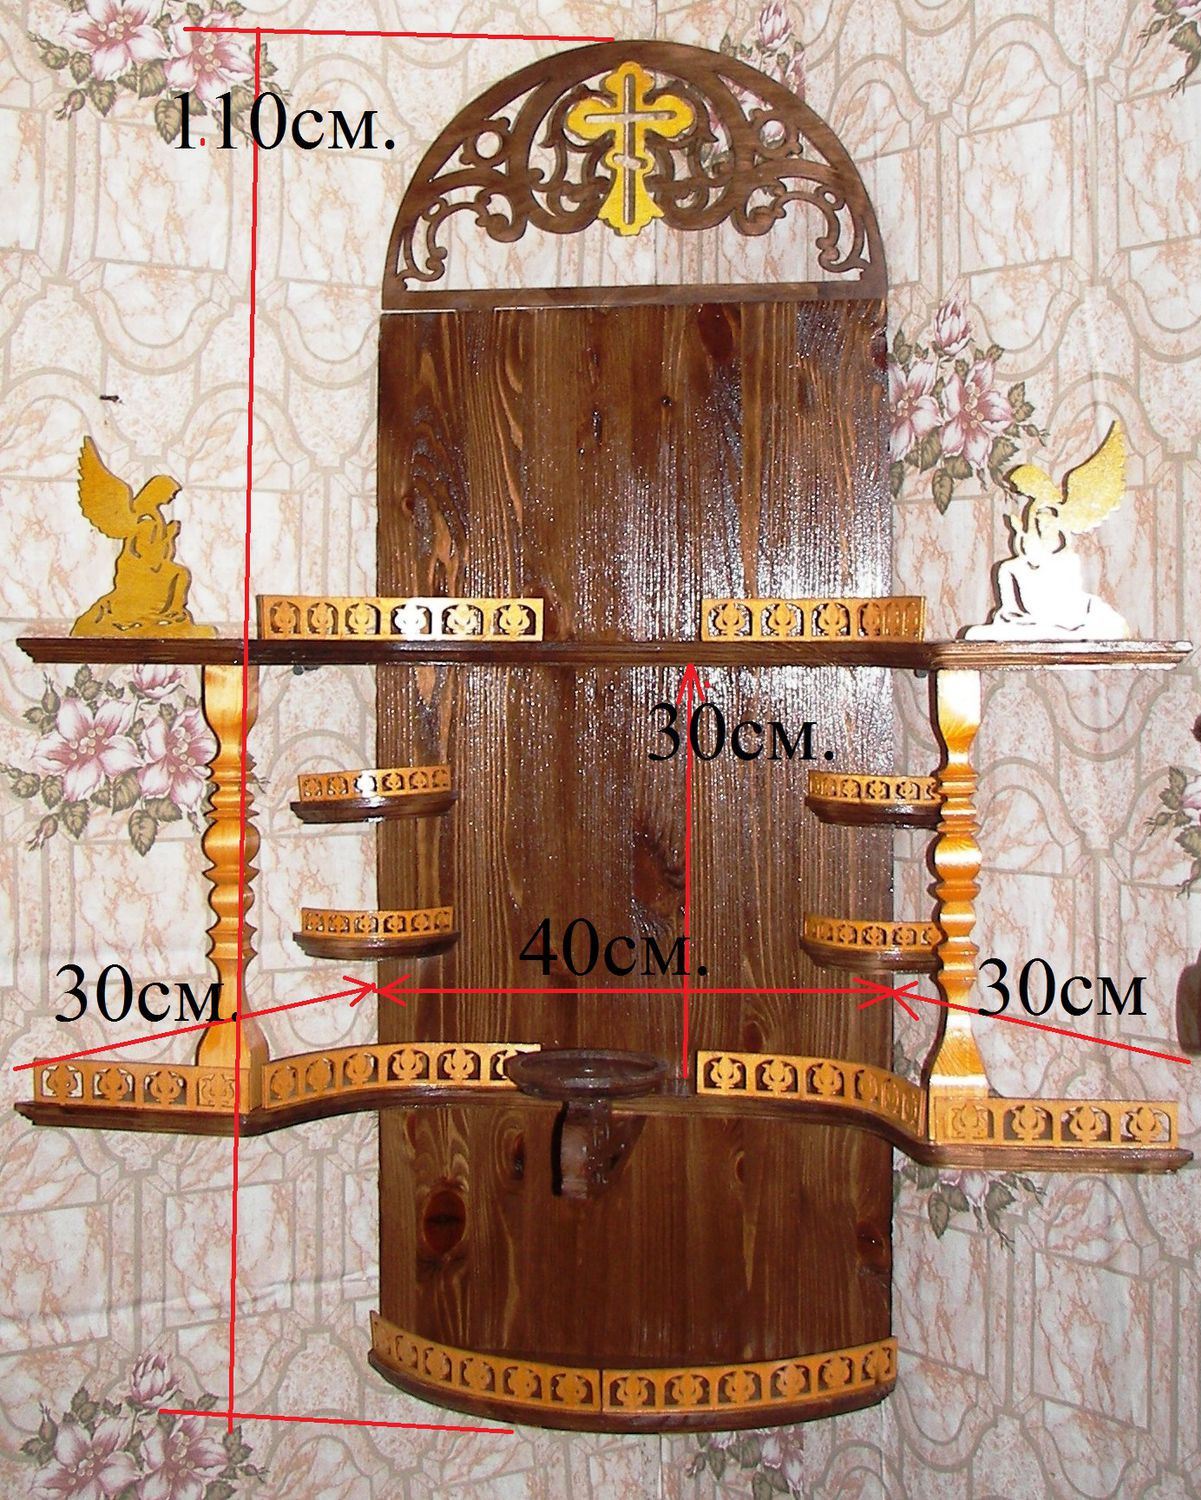
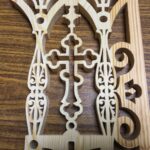
The first option is cutting out bas-reliefs and patterns from a wooden blank.Here you will need special tools and a wooden board about 15 mm thick.
Important! The most suitable soft species: conifers (spruce, pine), as well as birch, aspen or juniper.
The imitation process is the burning of a pre-applied motif on a tree. This is followed by the processing of individual elements with enamel.
Manufacturing of parts
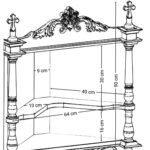
To achieve the desired result, as well as the durability of the described product, all stages of work should be carried out in a clear order, observing the recommended technology. To begin with, measure the dimensions of the future product (length, depth and width).
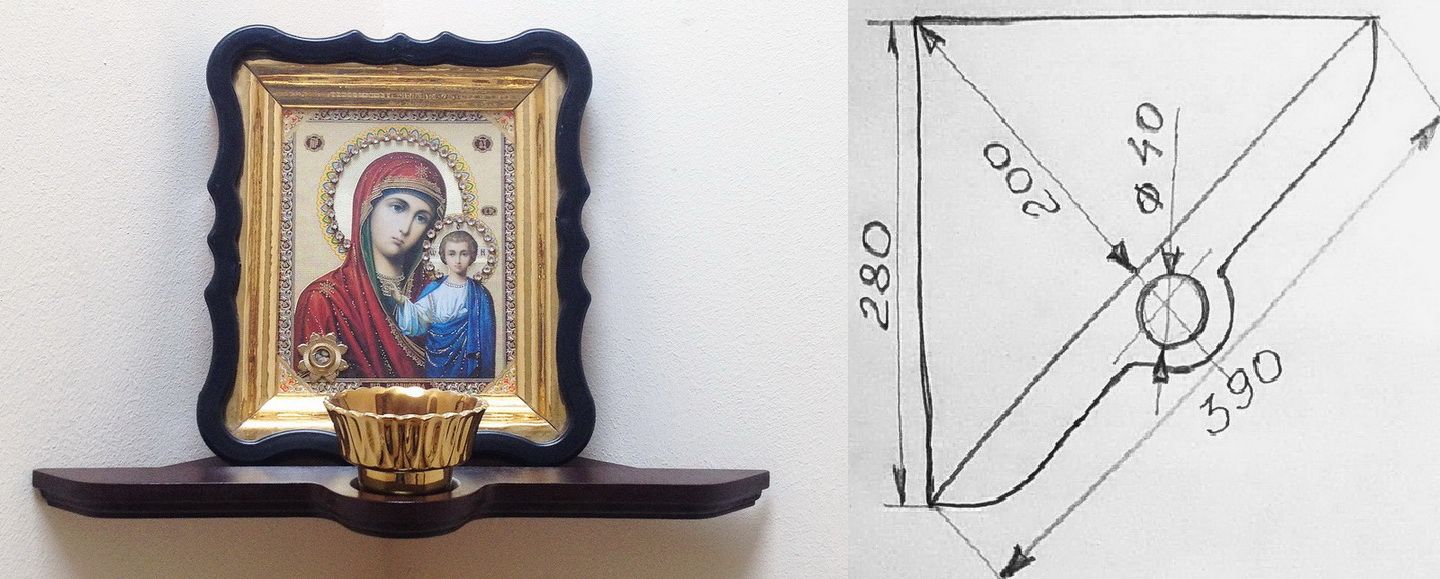
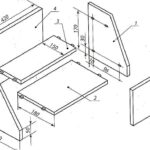
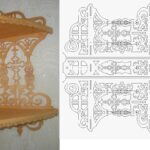
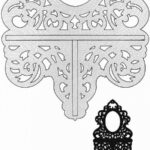
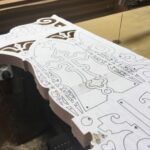
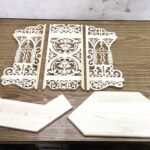
On paper, a drawing is made first of the finished product, then in detail. Then it is transferred to a piece of wood or plywood, depending on the selected material. It is better to number the details in the drawing and the workpiece so that there is no confusion during the assembly process. The jigsaw cuts out the components of the shelf.
On a note! If the edges of the product are passed through with a hand milling machine, they will look much more attractive.
The surface is sanded to smooth out irregularities and chips.
How to make and secure a corner shelf
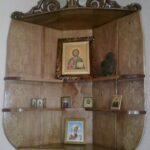
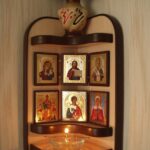
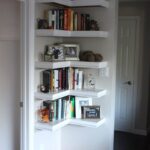
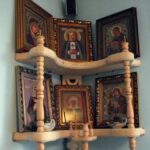
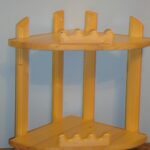
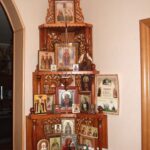
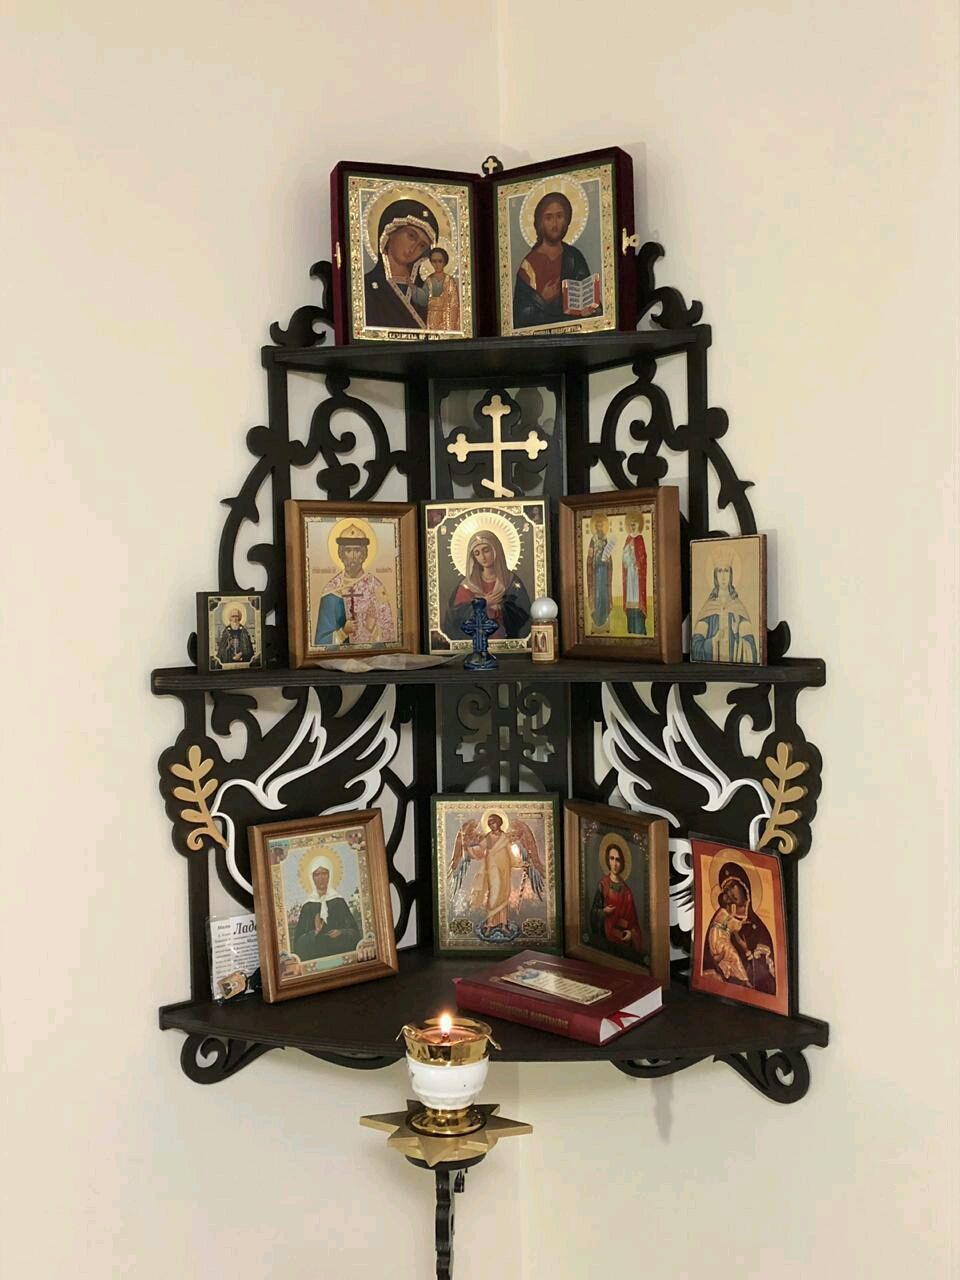
Most often, it is the corner shelf for icons that is made. It usually has about 2 - 3 tiers. This is due to the fact that several icons are located in a fairly small space.
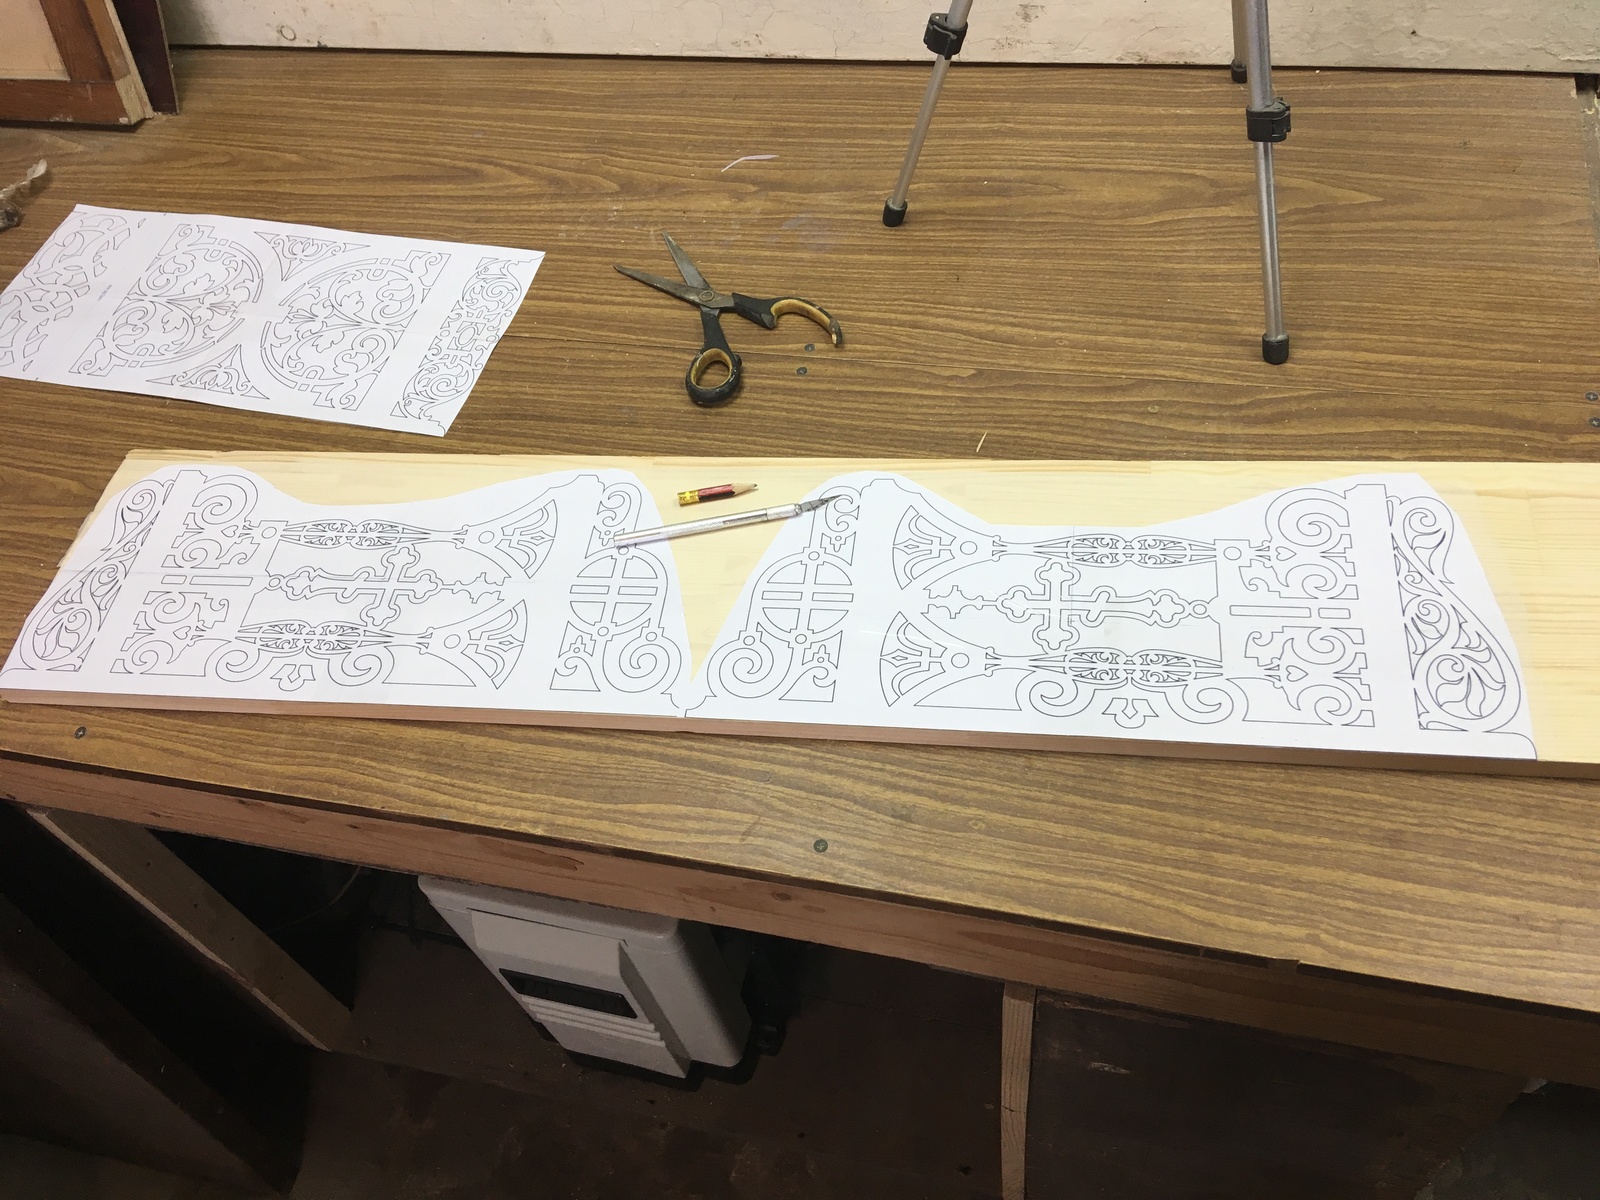
The most suitable dimensions would be a height of 70 cm, and the same shelves 50 cm wide. A smaller product will not be able to accommodate all church utensils, and a larger one will be very voluminous.
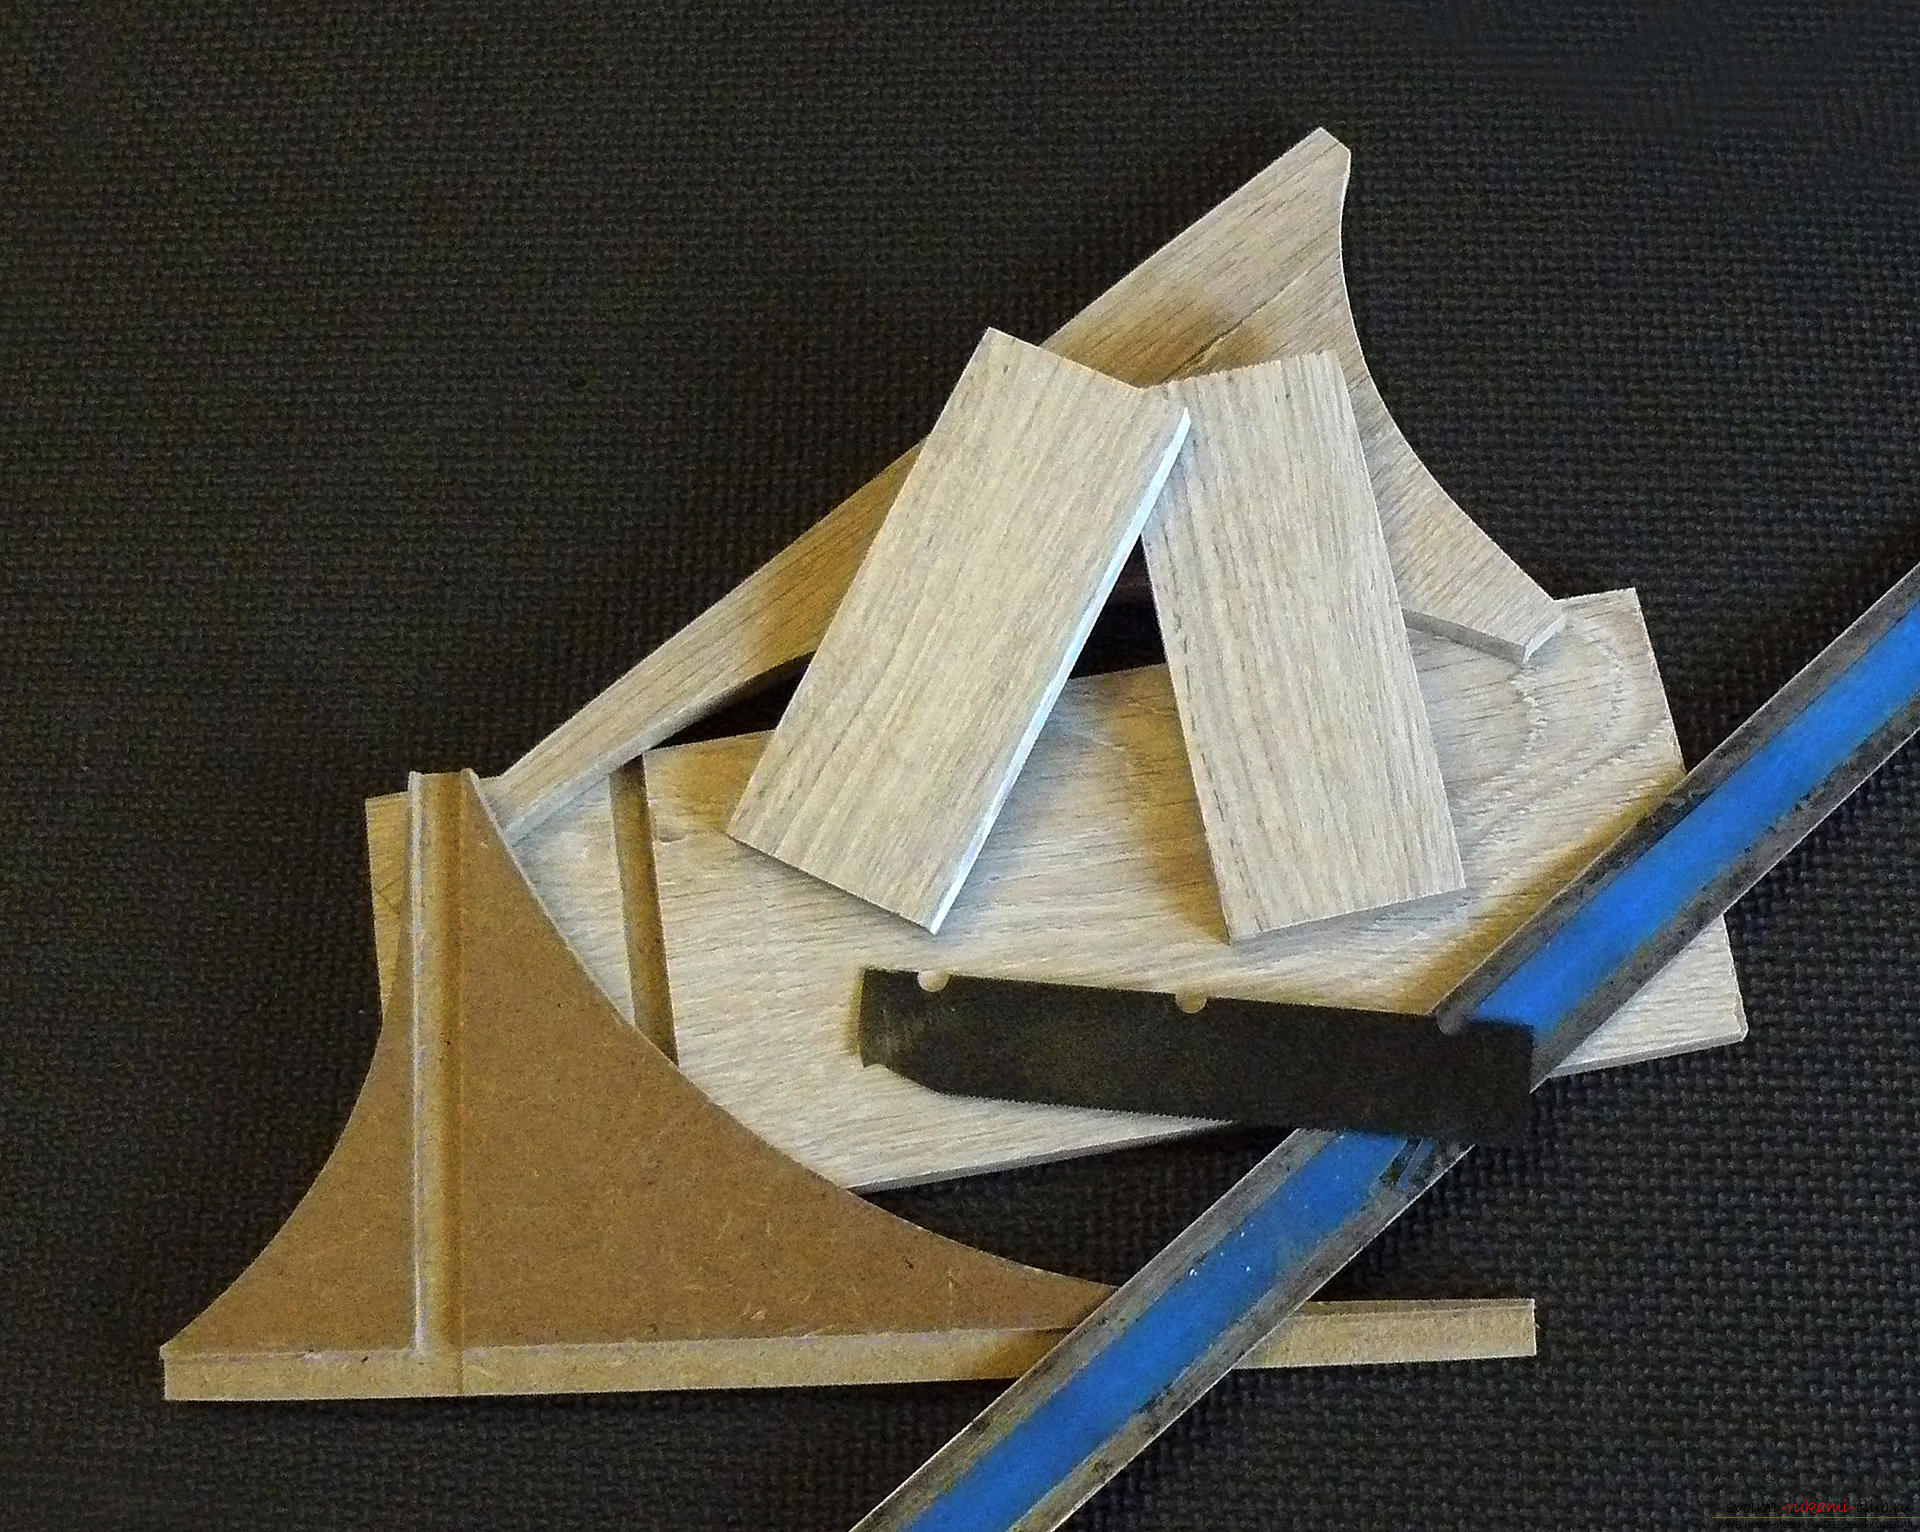
How to make a shelf for icons with your own hands:
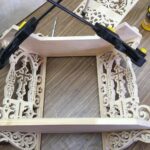
- collect pre-prepared shields by gluing or fastening with staples, nails;
- adjust the blanks if there are any inaccuracies;
- attach or apply decorated elements;
- assemble the entire structure into a whole, attaching parts to each other with nails without hats, glue or corners.
The finished shelf must be firmly attached to the wall to prevent it from falling over in case of awkward movements. But it must also be removed from the hinges freely for cleaning. The number of loops is calculated according to the scheme 3 pcs. for 1 product.
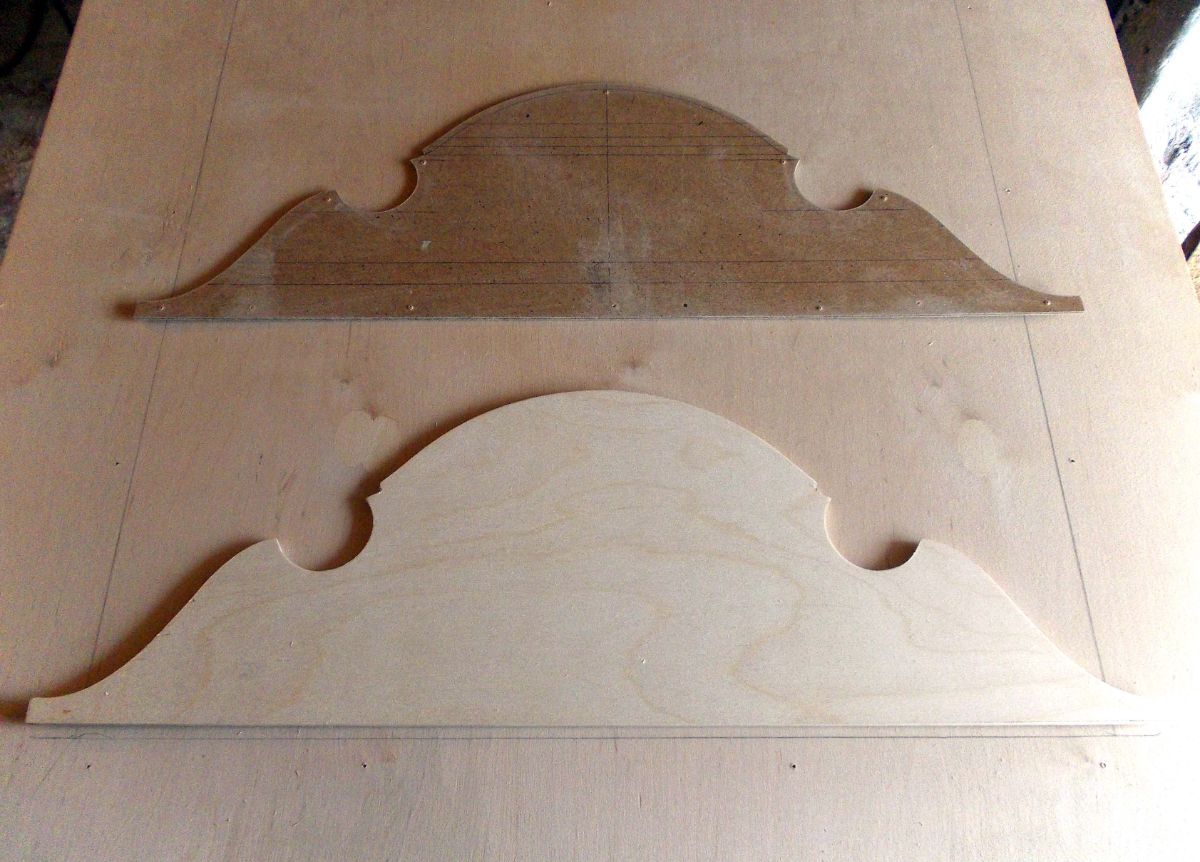
As a fastener, it is better to choose hardware with hidden fastening. Before hanging the finished product, it is important to check the strength of the installed screws, the resistance to removal from the wall. Then hang the finished iconostasis.
Location of icons
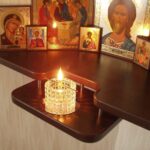
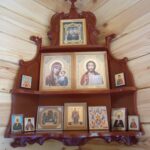
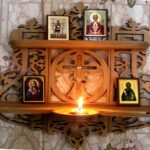
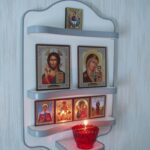
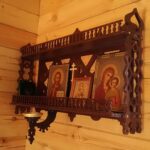
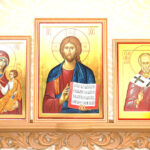
According to the instructions of the church, the icons must be in a certain order. So at the very top in the center is the image of Jesus Christ, to the left of it - the Theotokos and the Archangel Michael, to the right - John the Baptist and Gabriel. Icons dedicated to the holidays (there are only 12 of them, like the great holidays celebrated by the church) are placed on the second shelf. The lower shelf is suitable for the saints most revered in the family.
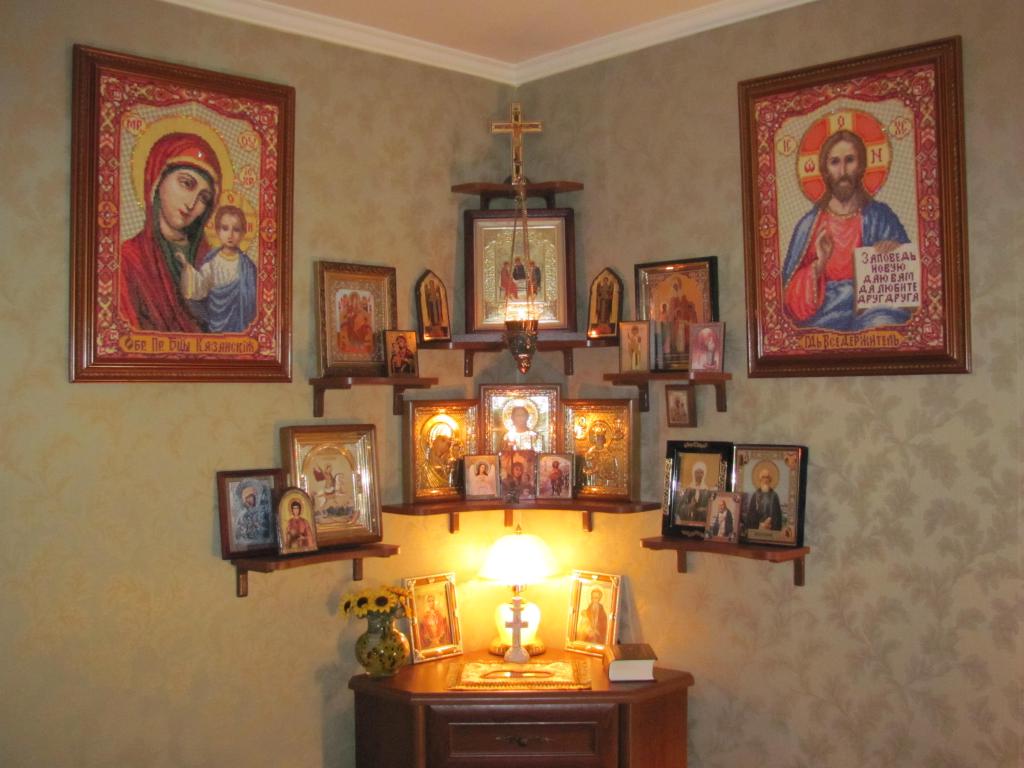
It is not difficult to make a shelf for icons on your own. There are a large number of them. By choosing the most suitable model, observing all the above stages of manufacturing, as well as investing your soul, you can make a real work of art that will delight the eye and serve faithfully for many years.
Video: do-it-yourself shelf for icons
